How to Update a Reupholstered Ottoman

Freebies are always welcome in this house.
Forgotten pieces found in the garage.
Roadside treasures begging for a rescue.
Or something someone just doesn’t want anymore, like this reupholstered ottoman.
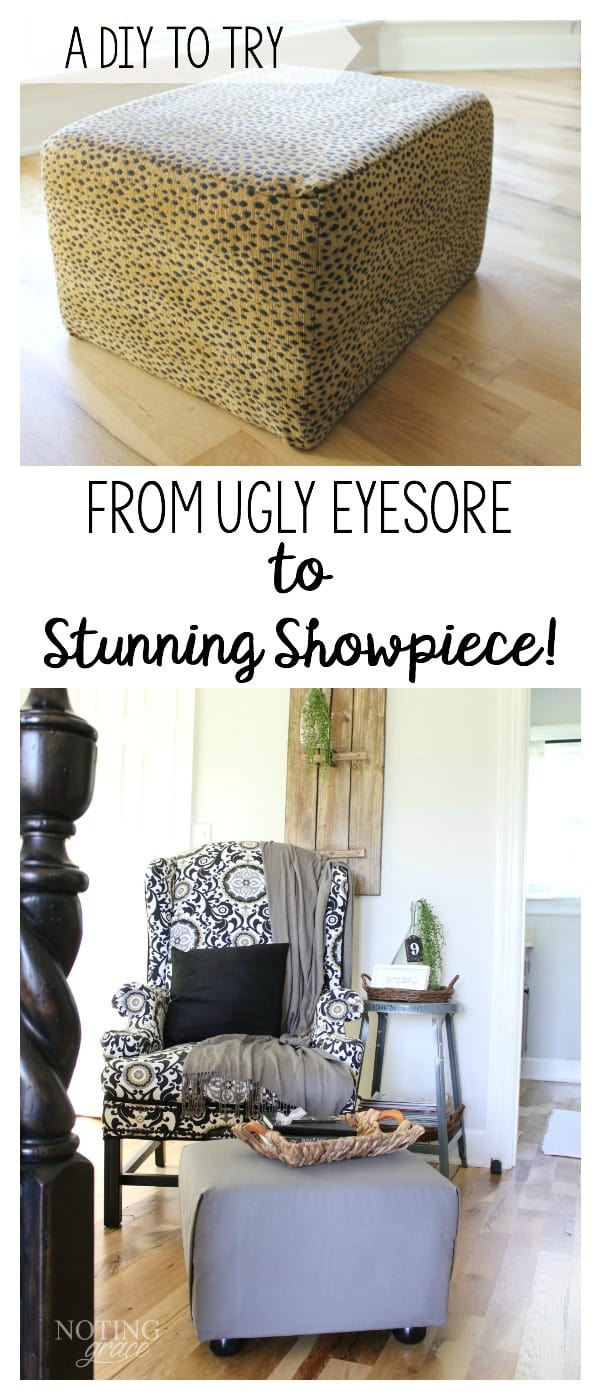
This leopard print reupholstered ottoman.
I’m sure you are as baffled as I am that someone would discard as unique of a piece as this (<— sarcasm). Hey – I’m not knocking you animal print lovers out there! If spotted leopard decor is your jam, you rock on! It’s just not quite the fit for this home. While many of you may pass up a chance to change a piece like this, I’m going to convince you that you can take something that you think won’t work for your home, and make it into something you will use all the time!
So you wanna see how easy it is to transform a piece to match your decor?

Do you all remember my no-sew wingback chair I recovered? [you can read all about it here]
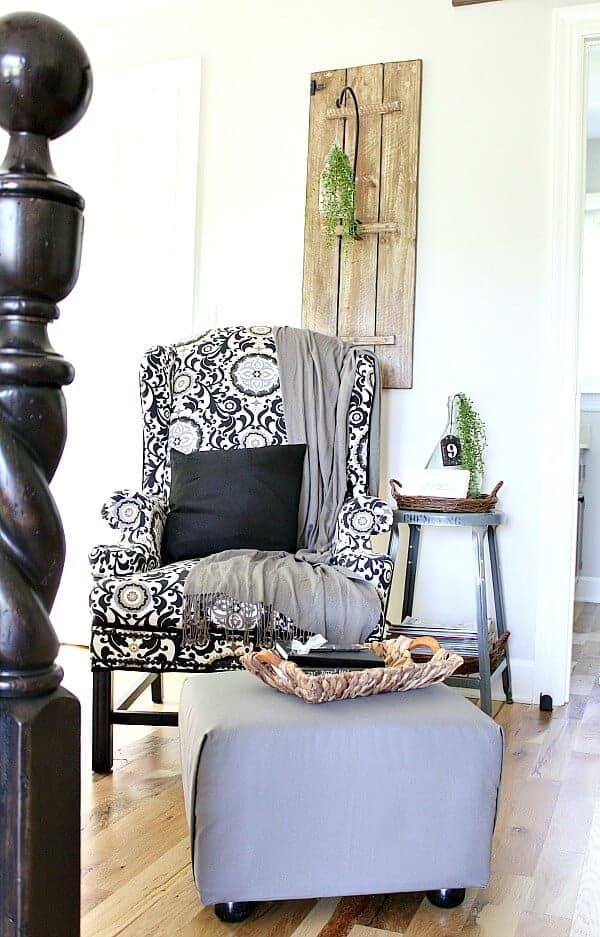
I loved how it turned out, but this little beauty moved from room to room until it finally found it’s home in our master bedroom, creating a cozy reading nook for me to escape to.
Funny thing, though. It just wasn’t working. I mean, it looked great in the space, and it’s structurally sound, but I couldn’t quite get comfy – I couldn’t relax. I needed something to prop my feet up on.
Light bulb moment!
I remembered this ottoman my MIL gave me. Someone had given it to her and it sat unused in a room in her basement. She knew I could repurpose it for something fun, and of course I took it, but it sat in my garage for almost a year.
I brought it in to give it a closer look to see if it would work for my chair.
It sat a little too low for comfort. I flipped it over and noticed that it had feet at one point. Where the legs are now is a mystery, but this little ottoman was about to get a new dress with matching heels! This post contains affiliate links for your convenience. You can read my full disclosure policy here.
Materials needed to for your Reupholstered Ottoman:
- Ottoman – our was second hand
- Tack Lifter
- Fabric and Possible Batting if needed (Here’s the fabric I used)
- Staple Gun (I used a pneumatic staple gun that I hooked up to our air compressor, but a hobby staple gun would do the trick)
- Bun feet
- Black paint
- Hammer and scissors
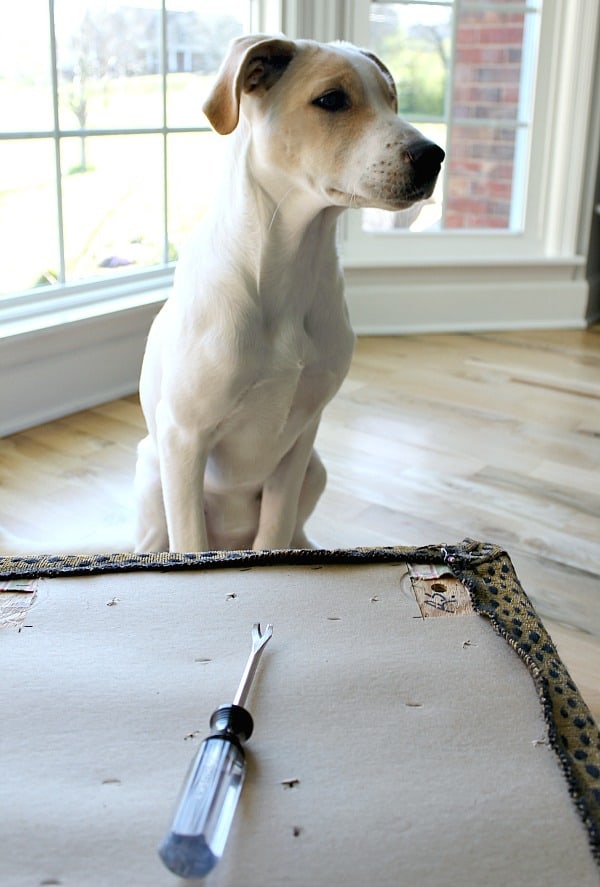
I got my handy dandy tack lifter. If you don’t have one of these tools in your arsenal, friends, you are missing out. This little tool has saved my manicures more than once! (you can purchase this exact tool here) Of course I had a furry little helper curious to see what I was up to.
What I love about this tool is how quick it is to strip staples. You just put that little claw under the staple and it pulls it out like buttah! I’ve used it on furniture, old picture frames, and lots of other DIYs.
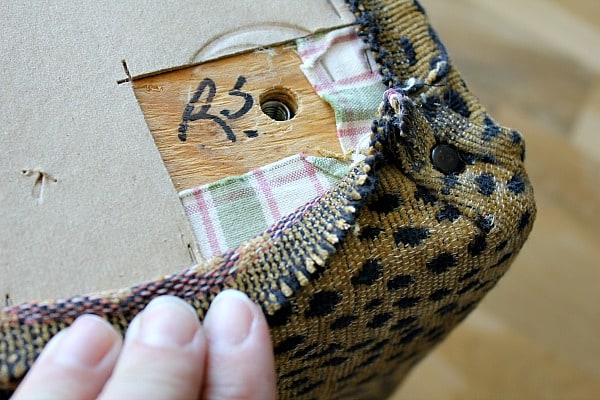
I said buh-bye to that leopard print in less than 3 minutes. But I saw what this little wildcat was hiding.
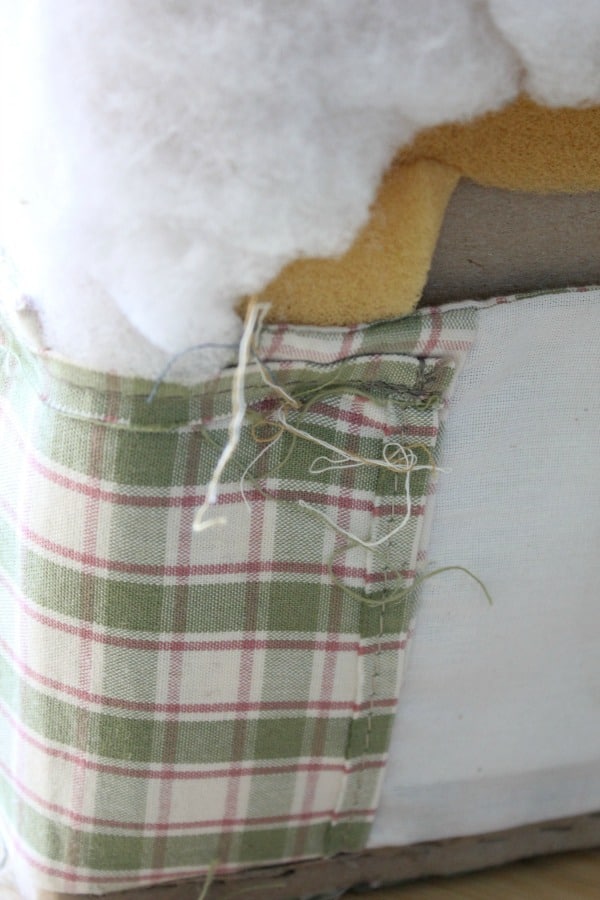
A soft plaid, circa late 90s. Do you all remember this phase? I almost removed it, but this was attached pretty smoothly so I left it on, knowing my fabric I was going to use would cover it.
It was time to move outside to the air compressor, but I had some resistance from my helper, Ollie.
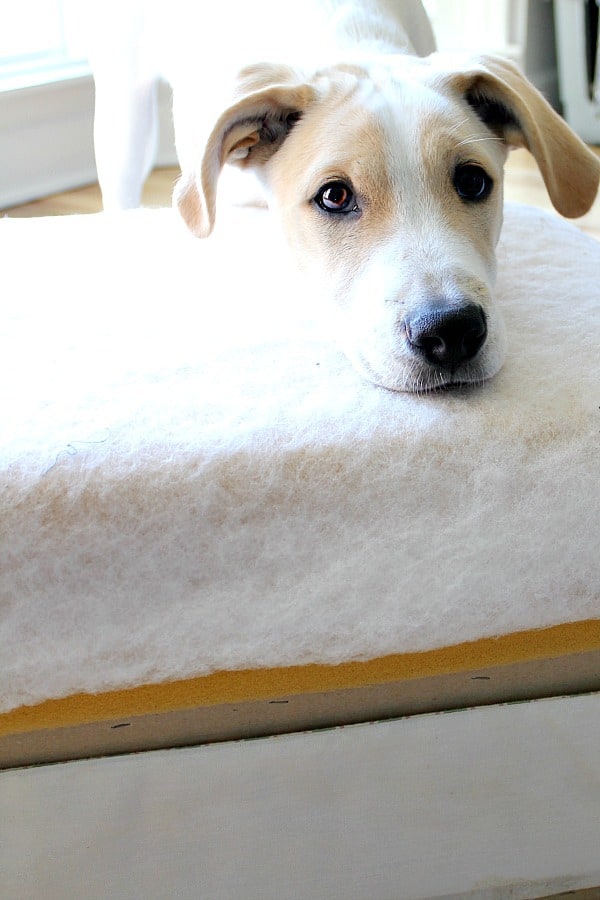
Isn’t he the cutest?
So I set my ironed piece of fabric on a covered work table. I used a gray canvas duck fabric. Here’s a link to exact fabric I used. Place the ottoman upside down since you will be stapling the fabric to the bottom.
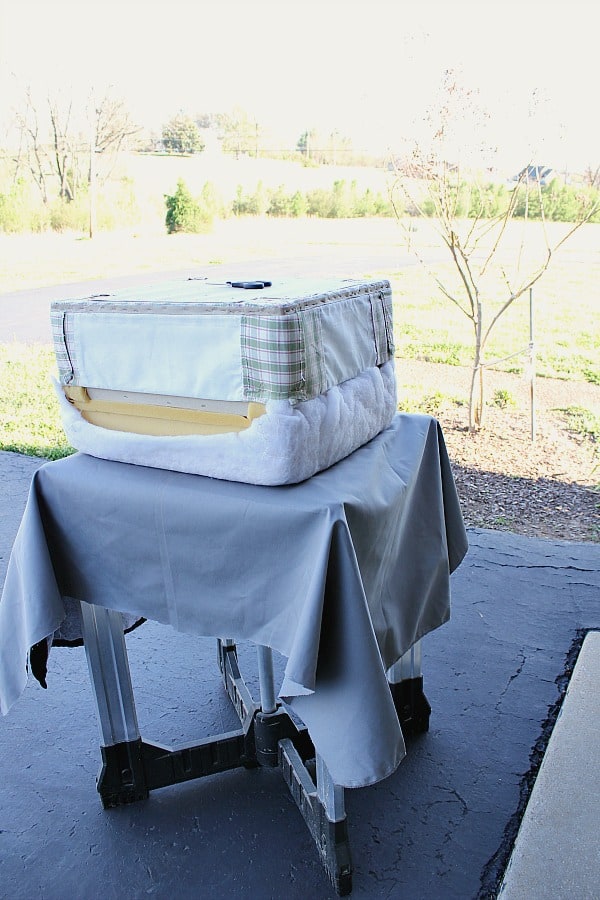
When I recovered my wingback chair, I invested in a staple gun that connects to our air compressor and boy, does it make the job easier. If you have a chance to get one, it certainly takes the muscle out of the work!
I hooked it up to our 20 gal air compressor and pop pop pop – it was so quick, I was finished in no time. We got our air compressor at Lowe’s. It’s nothing fancy and not too expensive if you use it often like we do.

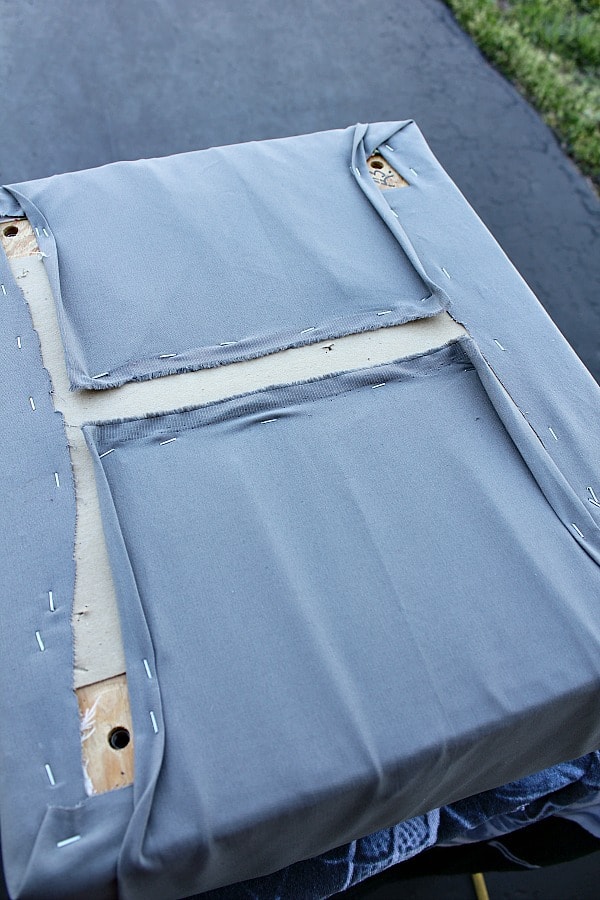
It’s just like wrapping a present. You pull the fabric taut, but not tight. If the fabric is pulling underneath the staple, then it’s too tight and you’ll have a puckered look to your fabric.
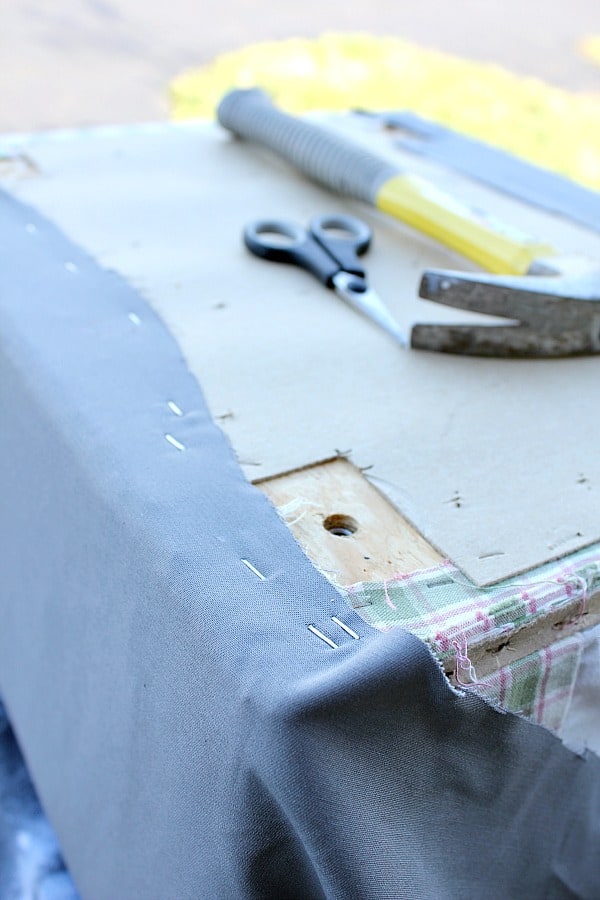
Start on one side and do the opposite side next. Simply repeat with the ends. It may not be pretty, but it’s bottom and it won’t be seen.
Tip: I always keep a hammer handy to nail in any staples that didn’t bite into the wood.
She’s got her new dress and it was finally time to add her shoes! I got small bun feet that were unfinished. These are approx. 2.5 X 1.5 and I painted them black.
It was such an easy DIY! Even if you don’t have a pneumatic staple gun, this project would only take you an afternoon to complete.
Are you ready for the reveal?
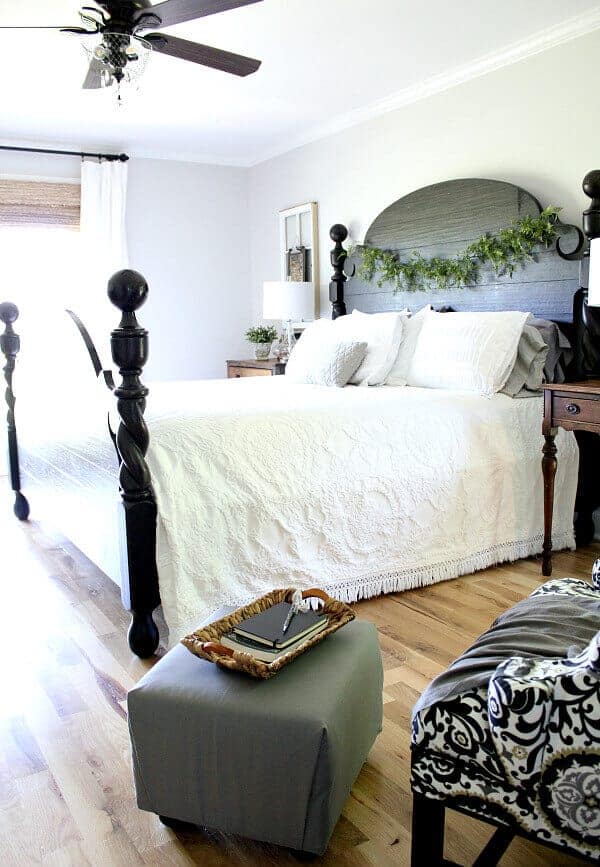
And now I have a perfect reading spot in my Master Bedroom!

I love how the gray fabric is a beautiful compliment to the wingback chair. I wanted this reupholstered ottoman to be simple and understated so that the chair is still the hero in the room.
So before you pass up an ugly eyesore, rethink your choice and see how you may transform it like I did!
So if you like this post, here are a few other furniture makeovers that went from Ugly Duckling to Stunning Swan:
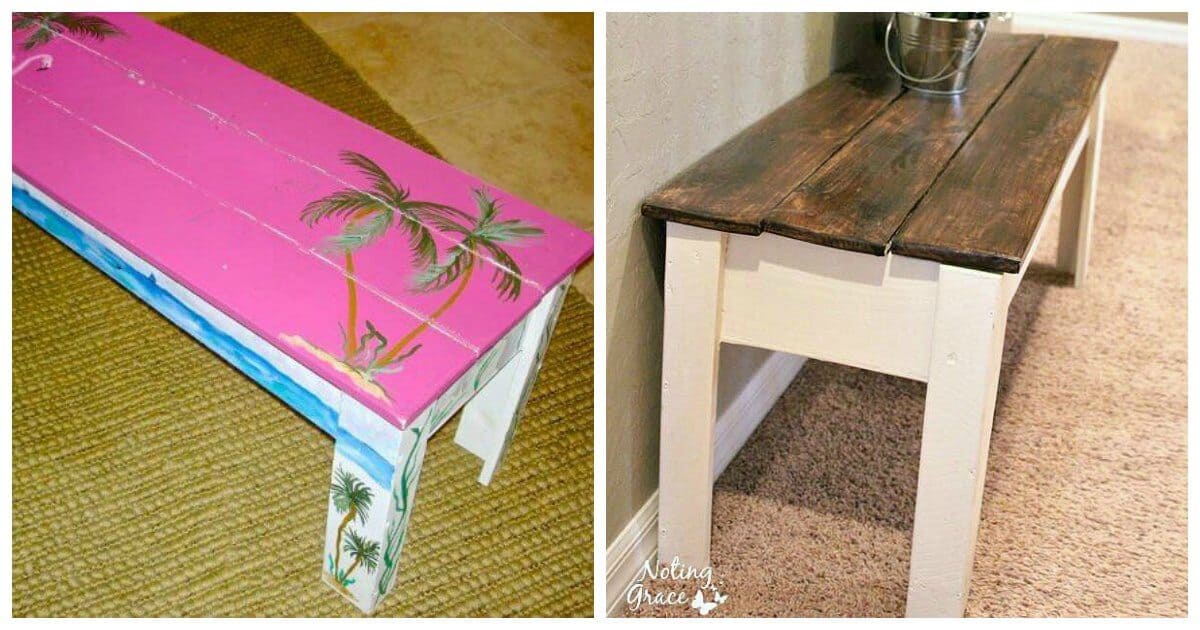
From Trash to Treasure – A painted bench makeover
No-Sew Reupholstered Wingback Chair
So do you have a piece of furniture that you have transformed? I would love to see what you created, so send me a pic.
If you would like to try reupholstering a piece of furniture, be sure to pin this for later! 😉
Thank you Karrie! I appreciate you stopping by and taking the time to comment!
Love what you did with your bedroom,. All of it, bed, flooring. Just beautiful. Love it all.
Karrie