DIY Chandelier Tutorial – How to Turn Trash into Treasure
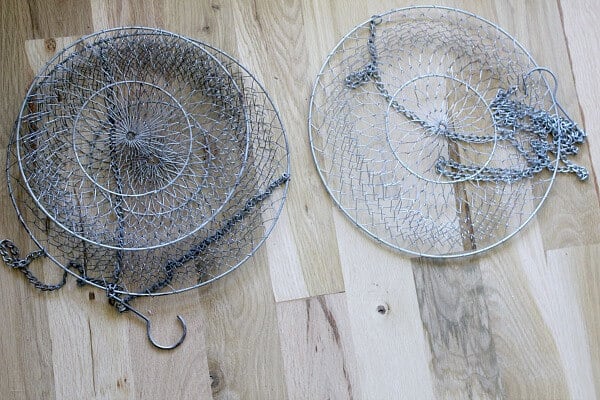
Have you ever wanted something so bad you could taste it, but it was not going to work with your budget? When we made over our one Master Bedroom Closet into a separate His and Hers – I wanted a gorgeous, sparkly chandelier in my she-chic closet. However, it wasn’t in the budget.
I was bummed. Let down. Honestly, a bit heart broken.
My vision for what I wanted my closet to look like wasn’t going to happen – until I stumbled upon a vintage find I had stashed away from a garage sale and inspiration struck!
Well, actually, it was a side-tracked inspiration.
I shared with you how I made our boring ceiling fan into a farmhouse-y feature.
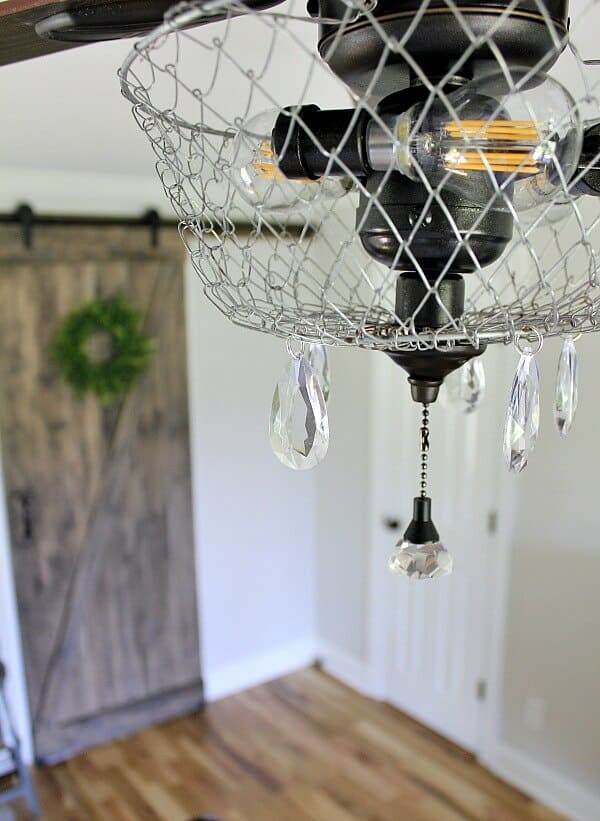
When I saw how cute that vintage mesh basket looked with those crystals – I knew I could create my chandelier I wanted! Here’s how I did it! Affiliate links are provided for your convenience. You can read my disclosure here.
Supplies for a DIY Chandelier
- Vintage mesh basket
- Mini Pendant Light kit
- Crystal Pendant Globe – Lowe’s
- Teardrop Crystal Garland
- Crystal Ornaments
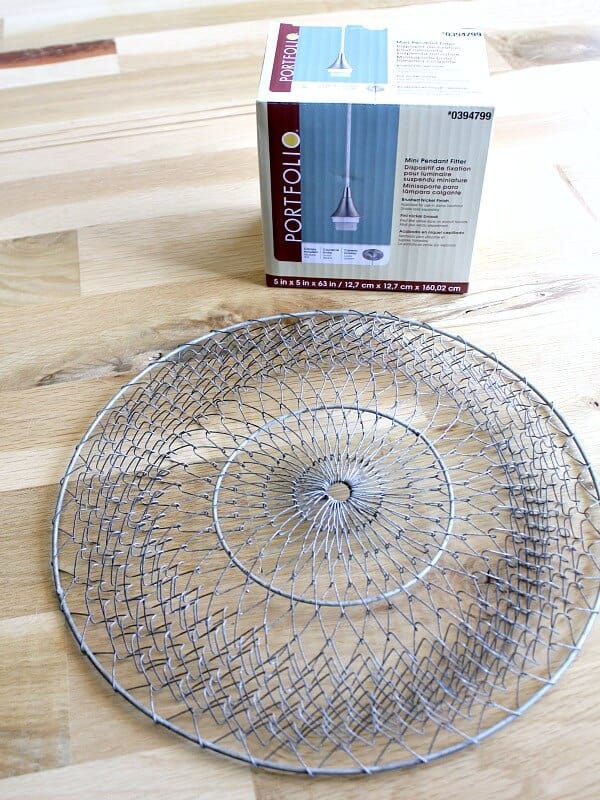
To begin, I took one of the baskets and a pendant light kit I purchased from Lowe’s.
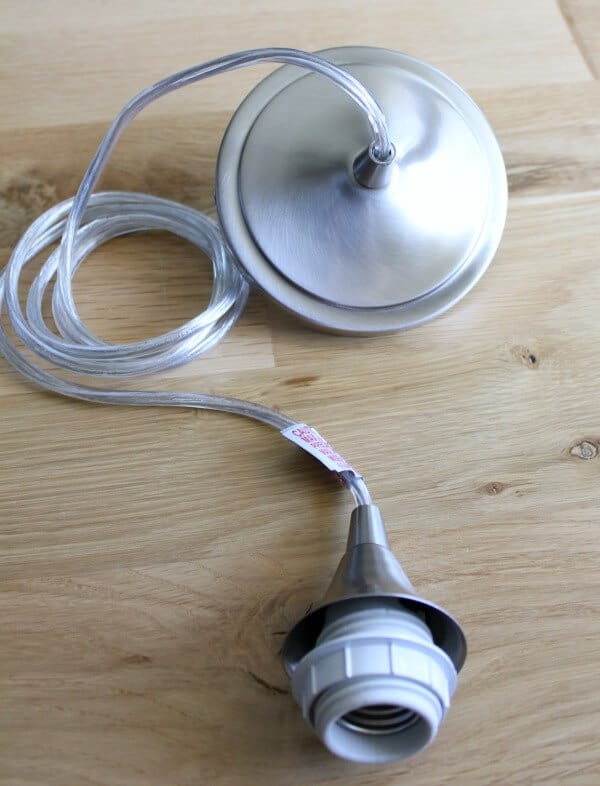
You can wire the light kit up to any standard ceiling fixture and it easily separates to adjust the length. It’s perfect if you want to add the basket like I did!
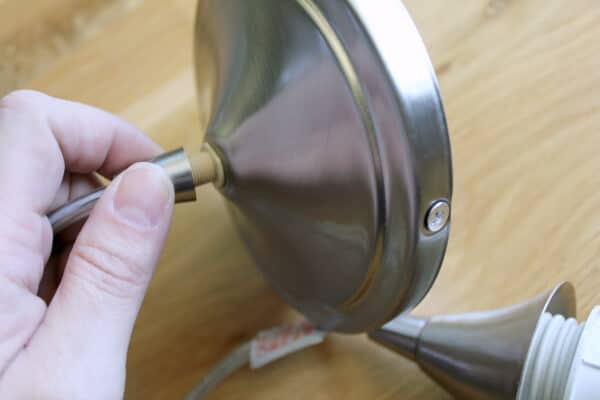
A threaded cover is at the base that you simply unscrew…
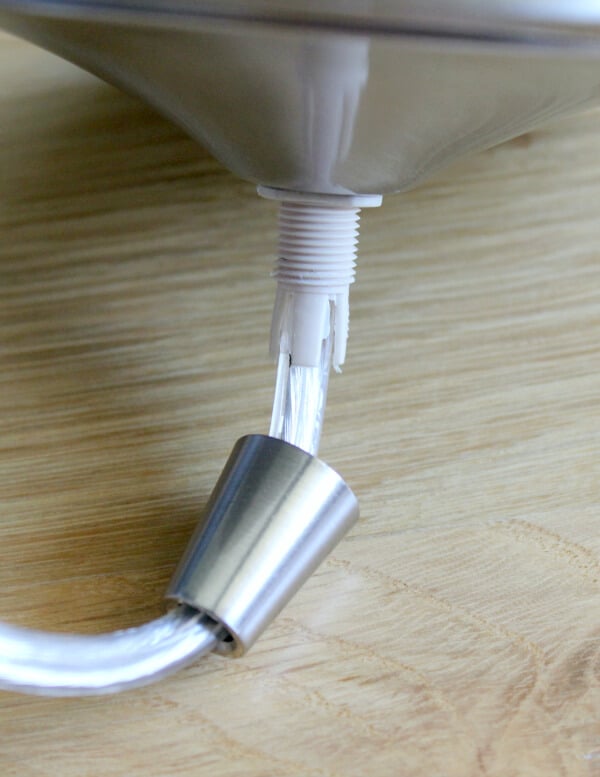
and separate from the base plate.
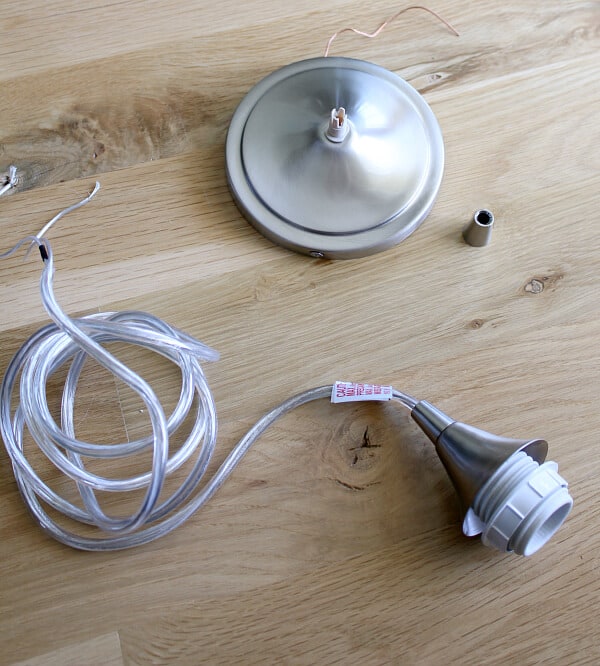
Now you can pull the cord completely from the base allowing you to thread it through the mesh basket.
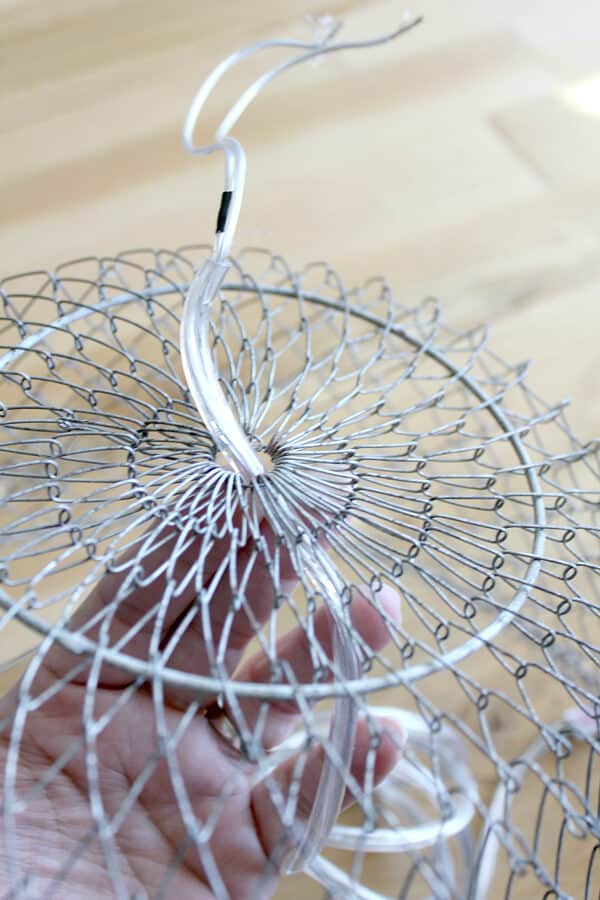
The center hole in my mesh basket was wide enough for the cord to go through easily, but yours may need a bit of adjusting depending on the size of your basket.
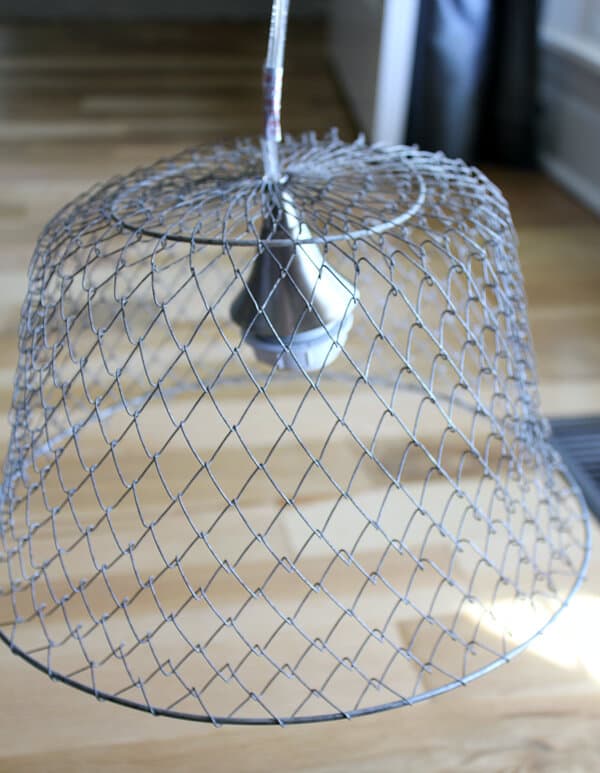
One I had the basket on the light fixture, I simply repeated the above steps in reverse to reassemble the light kit.
Now for the fun part!
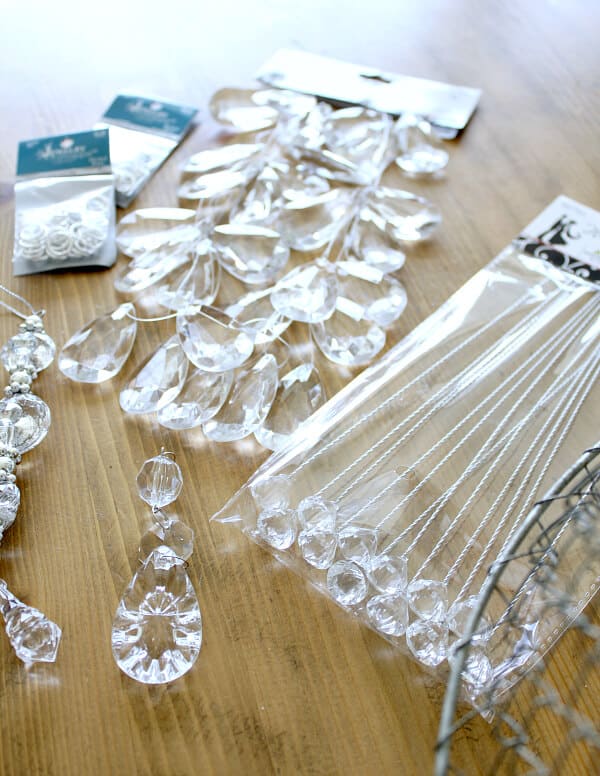
I went to Hobby Lobby and found lots of acrylic crystals and sparkly things in their wedding decor aisle. I also scoured my Christmas ornaments for any crystal type of ornament and got to work.
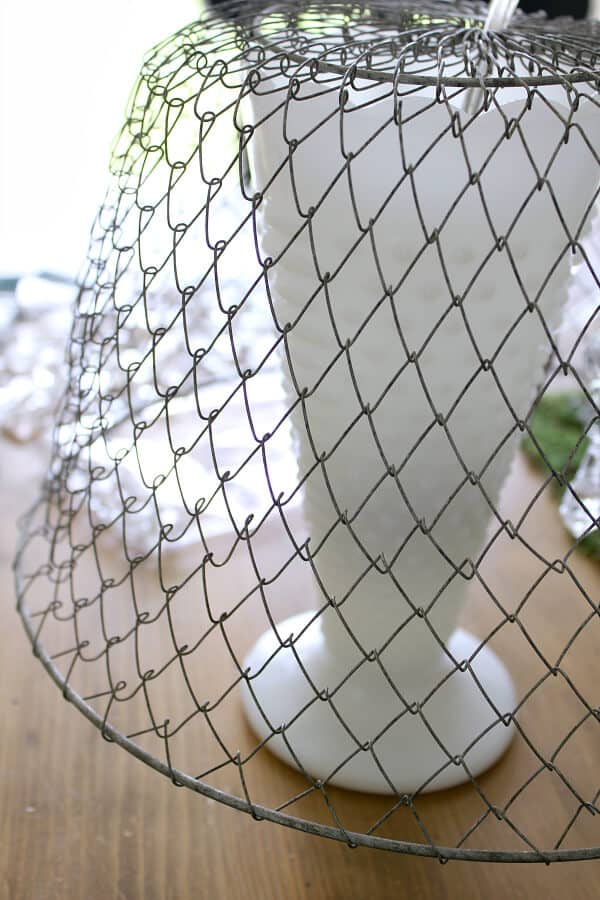
Here’s a tip – set your basket in a vase or something tall the you can easily turn to add the crystal drops.
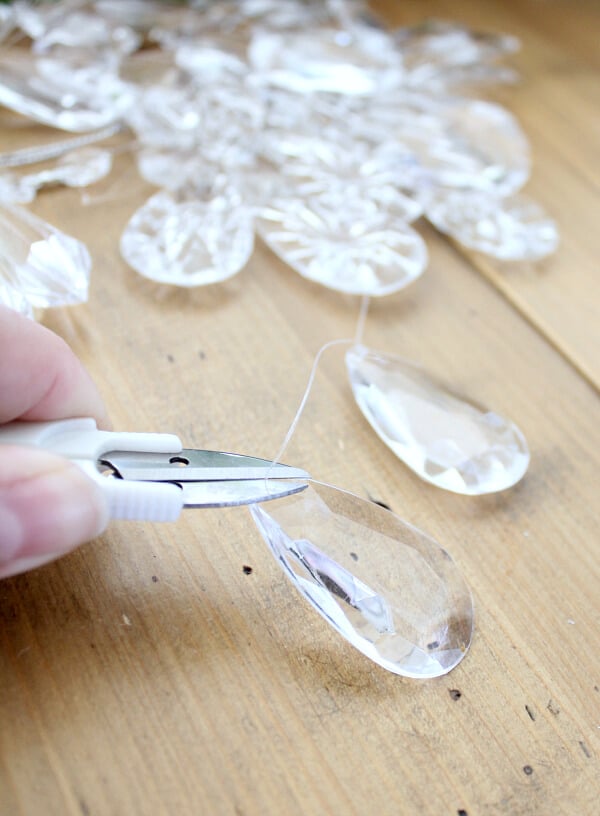
I separated each crystal from the strand it came on.
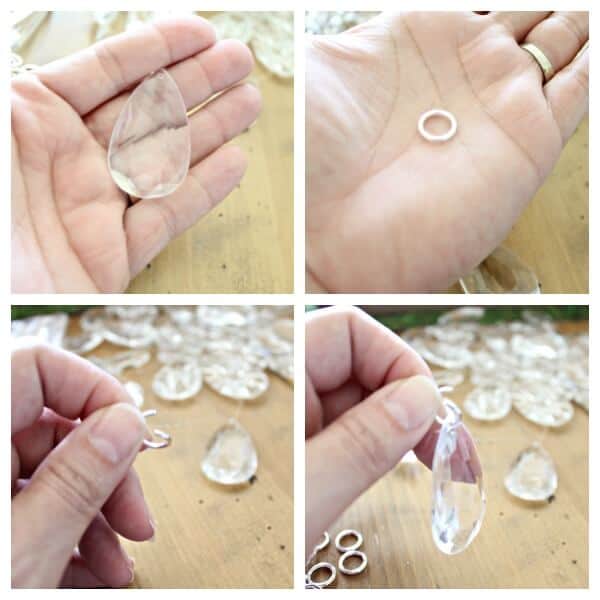
Then I added jump rings to each individual crystal. You can find the jump rings in the jewelry findings area at your craft store. They are easily bendable and great to work with.

I just added them around the edge of my basket, making sure to even space each crystal.
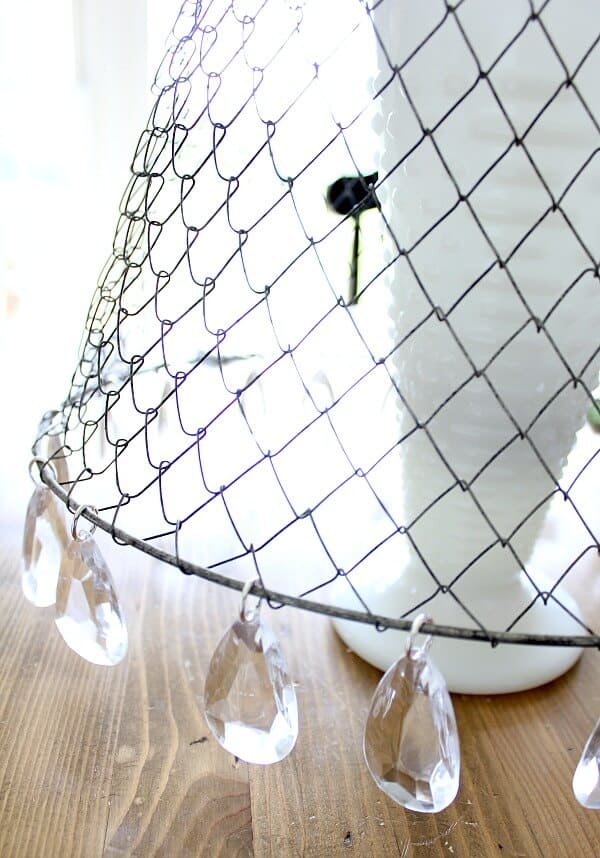
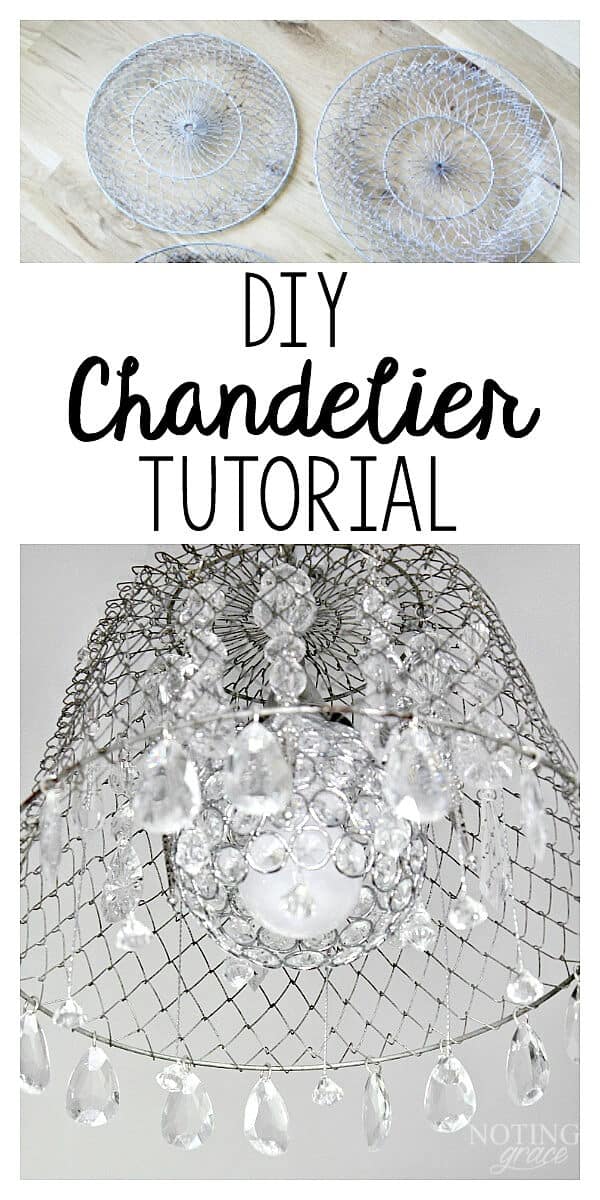
My DIY Chandelier is looking so good!
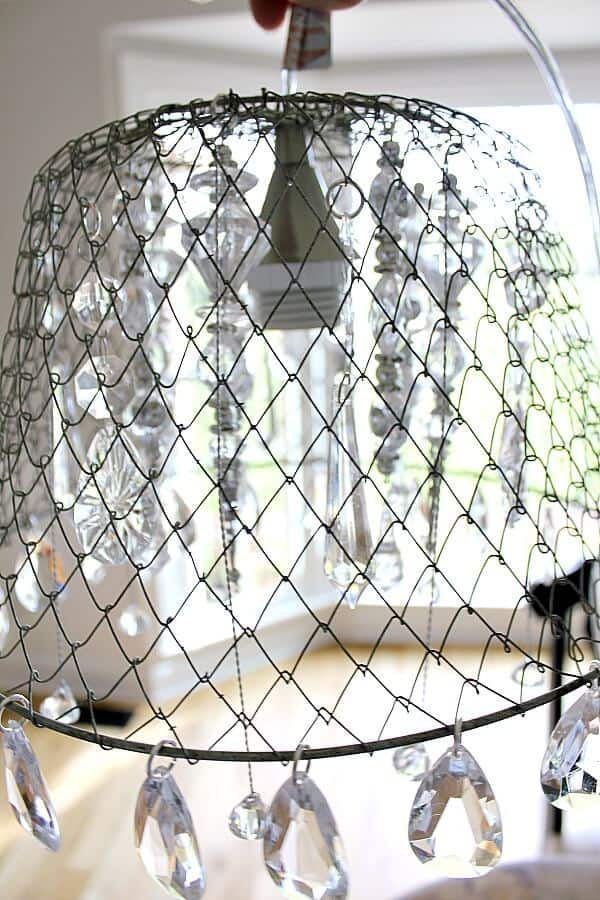
Next I wanted to create depth by adding crystals to the inside of the basket. This is where the ornaments and other dangling crystal you find come into play.
There’s no exact method – just use your eye and create a look you love with the items you have. It took trial and error to get the look I wanted, but it only took me about 45 mins to assemble all the crystals to get a look I loved.

Finally, we can hang it up! We removed the old, ugly fluorescent light that was in the closet.
*I’ll stop here to give a disclaimer. We are not licensed electricians and don’t feel qualified to give out electrical advice. You can find lots of tutorials on the world wide web teaching you how to wire a light, or you can contact a local electrician to wire the light for you.
So, since we aren’t pros – we’re going to skip the wiring step.
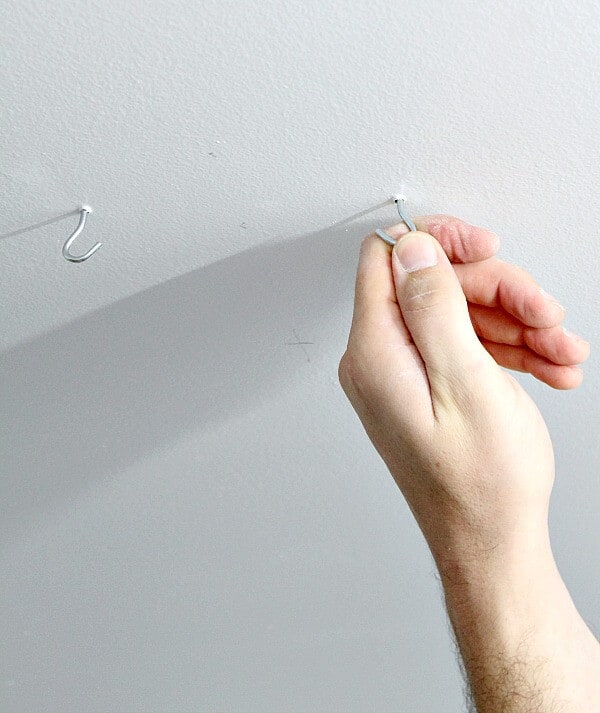
Since our electrical box was right next to the door, we had the length of the pendant cord to allow us to place it in the center of our closet’s ceiling.
Since we hung the mesh baskets with hooks, we made sure they were screwed into the stud for security. We added some clips that we found in our tool box to help hold the cord against the ceiling.
They are hard to see, but if you look closely, you can see that white u-clip just above the basket.
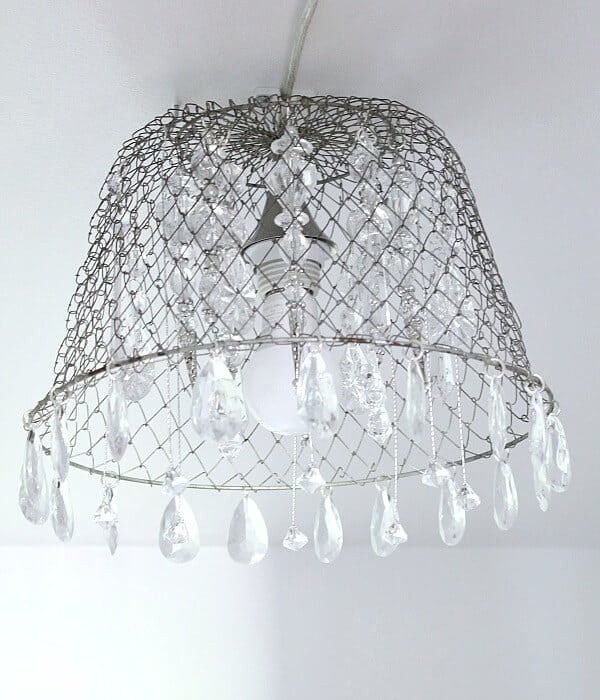
At last, she is in place – isn’t it pretty?!
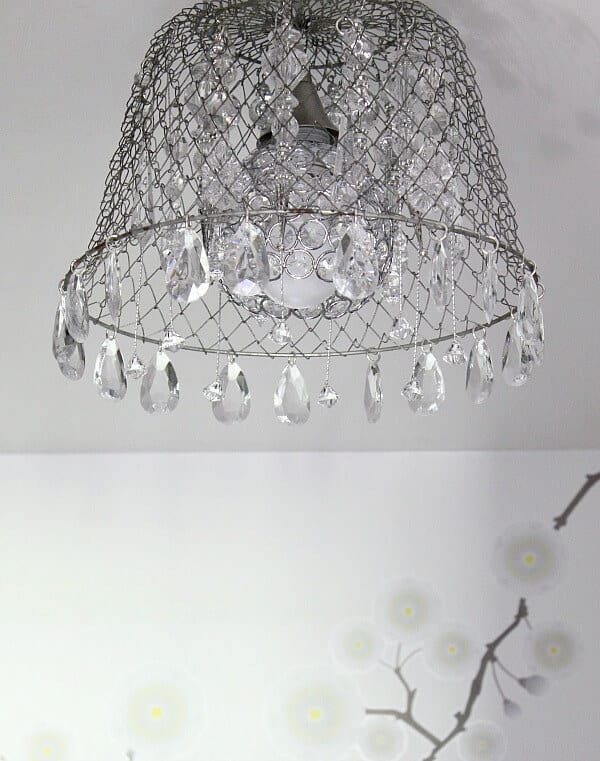
The last step was to add the crystal globe. There are lots of different types of shades, cages and globes you can use with these pendant light kits and I chose this sparkly one.
This DIY chandelier has been such a fun project!
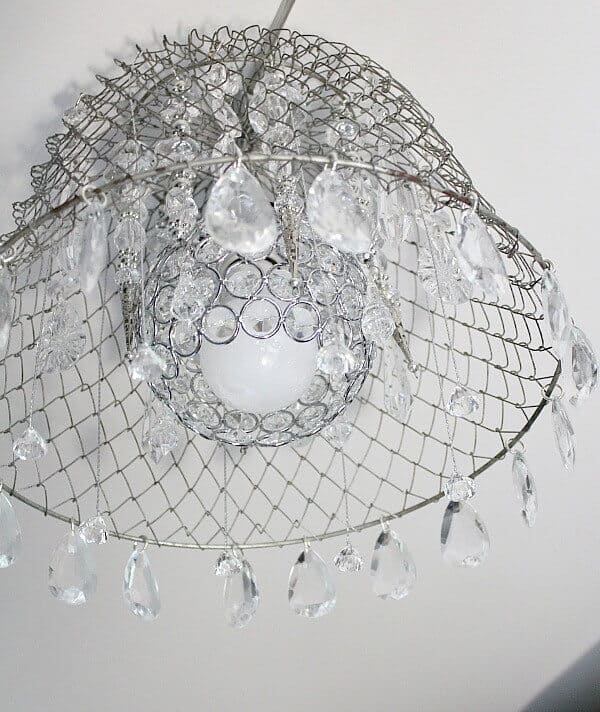
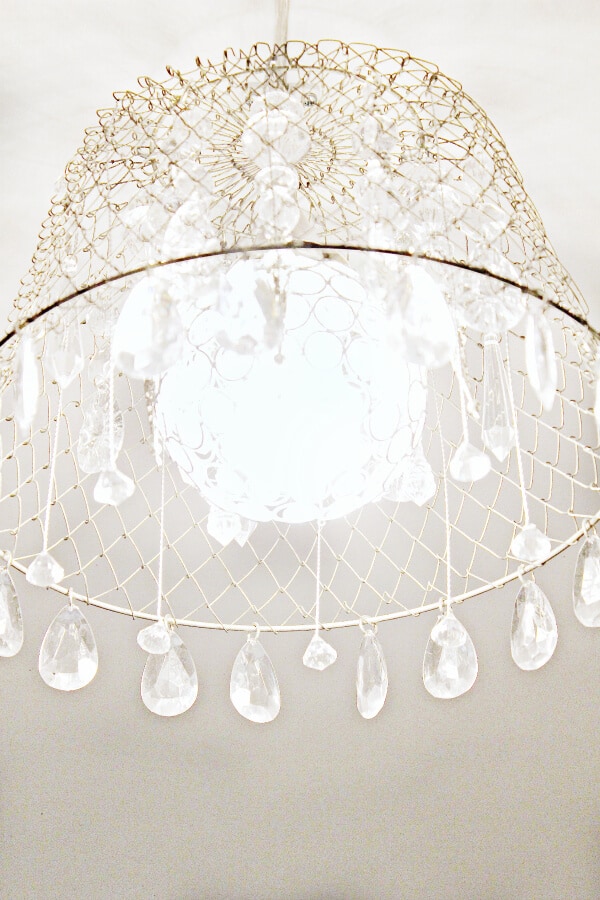
Just look how she glows!
I adore it so much, that I’ve named her. She is affectionately called my She-Chandy!
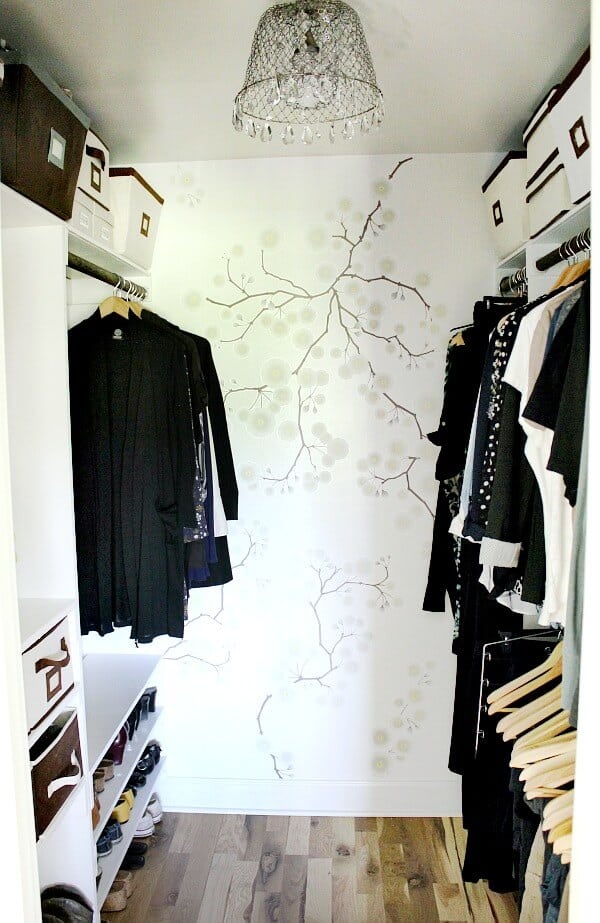
It’s like jewelry for my ceiling. My DIY Chandelier looks pulled so together with it’s new DIY chandelier.
To see how the other closet turned out for our Master Bedroom Makeover, you can read all about that here.


Hey Gail – it really is super simple! Hope you have fun creating your own!
That looks very nice. And so simple. Maybe
I could give it a go.
Thanks Jen
Gail Morgan. My July 8, 2021
Great! I’m so glad this helped you. Thanks for taking the time to leave a comment.
this article was so good, It really help me to make a chandelier.
Absolutely fabulous