DIY Hand Lettered Artwork That You Can Make Today
If you’ve ever stared at a blank wall and thought, “I wish I could make something meaningful—but I’m not artsy, and I don’t want to waste money,” this is for you.

You can create a piece of art that feels personal, peaceful, and perfectly you—without needing a lettering course, a Cricut machine, or a Michaels haul.
Today, I’ll walk you step-by-step through a hand-lettered wall art project that’s affordable, beginner-friendly, and honestly… a little redemptive.
We’re using thrifted scraps, some paint, and a heartfelt quote or verse—because beauty blooms from the broken-down things.
And because sometimes, the words you choose to hang on your walls? They become the truths that hold you up on hard days.
Making Your Own DIY Hand Lettered Artwork
This post contains some affiliate links for your convenience. Click here to read my full disclosure.
I found this treasure!
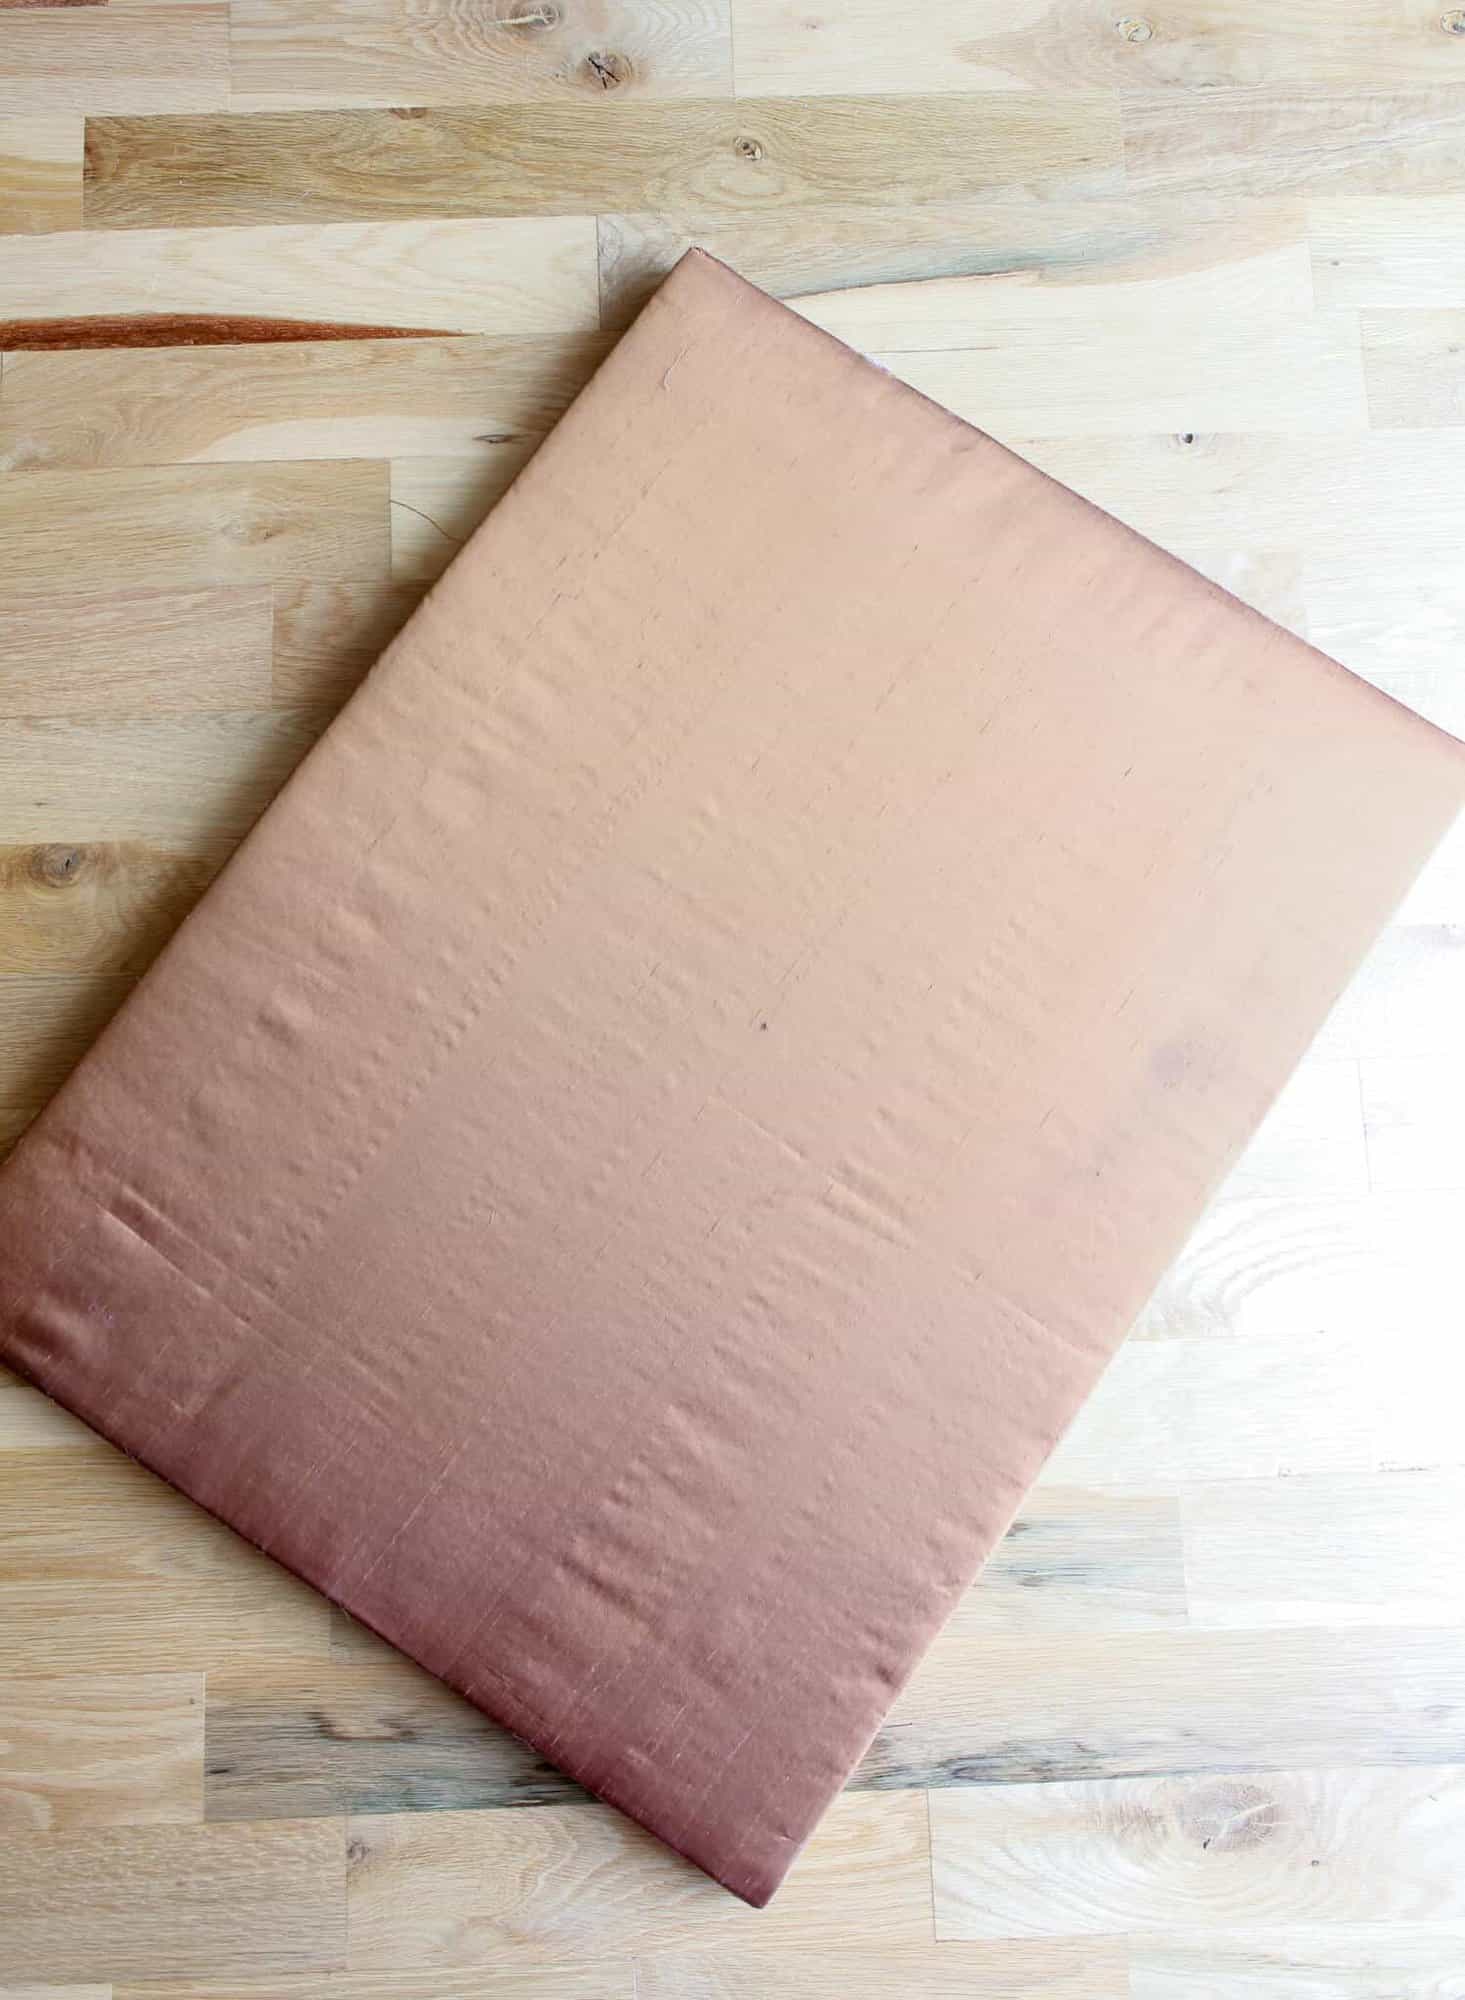
Once upon a time, in a studio far, far away, we made these ‘sound proofing panels‘ to help soundproof our music room. I had taken an old picture and covered it with batting and some rust colored silk.
So this was sitting, all lonesome, in the attic crying out for an update.
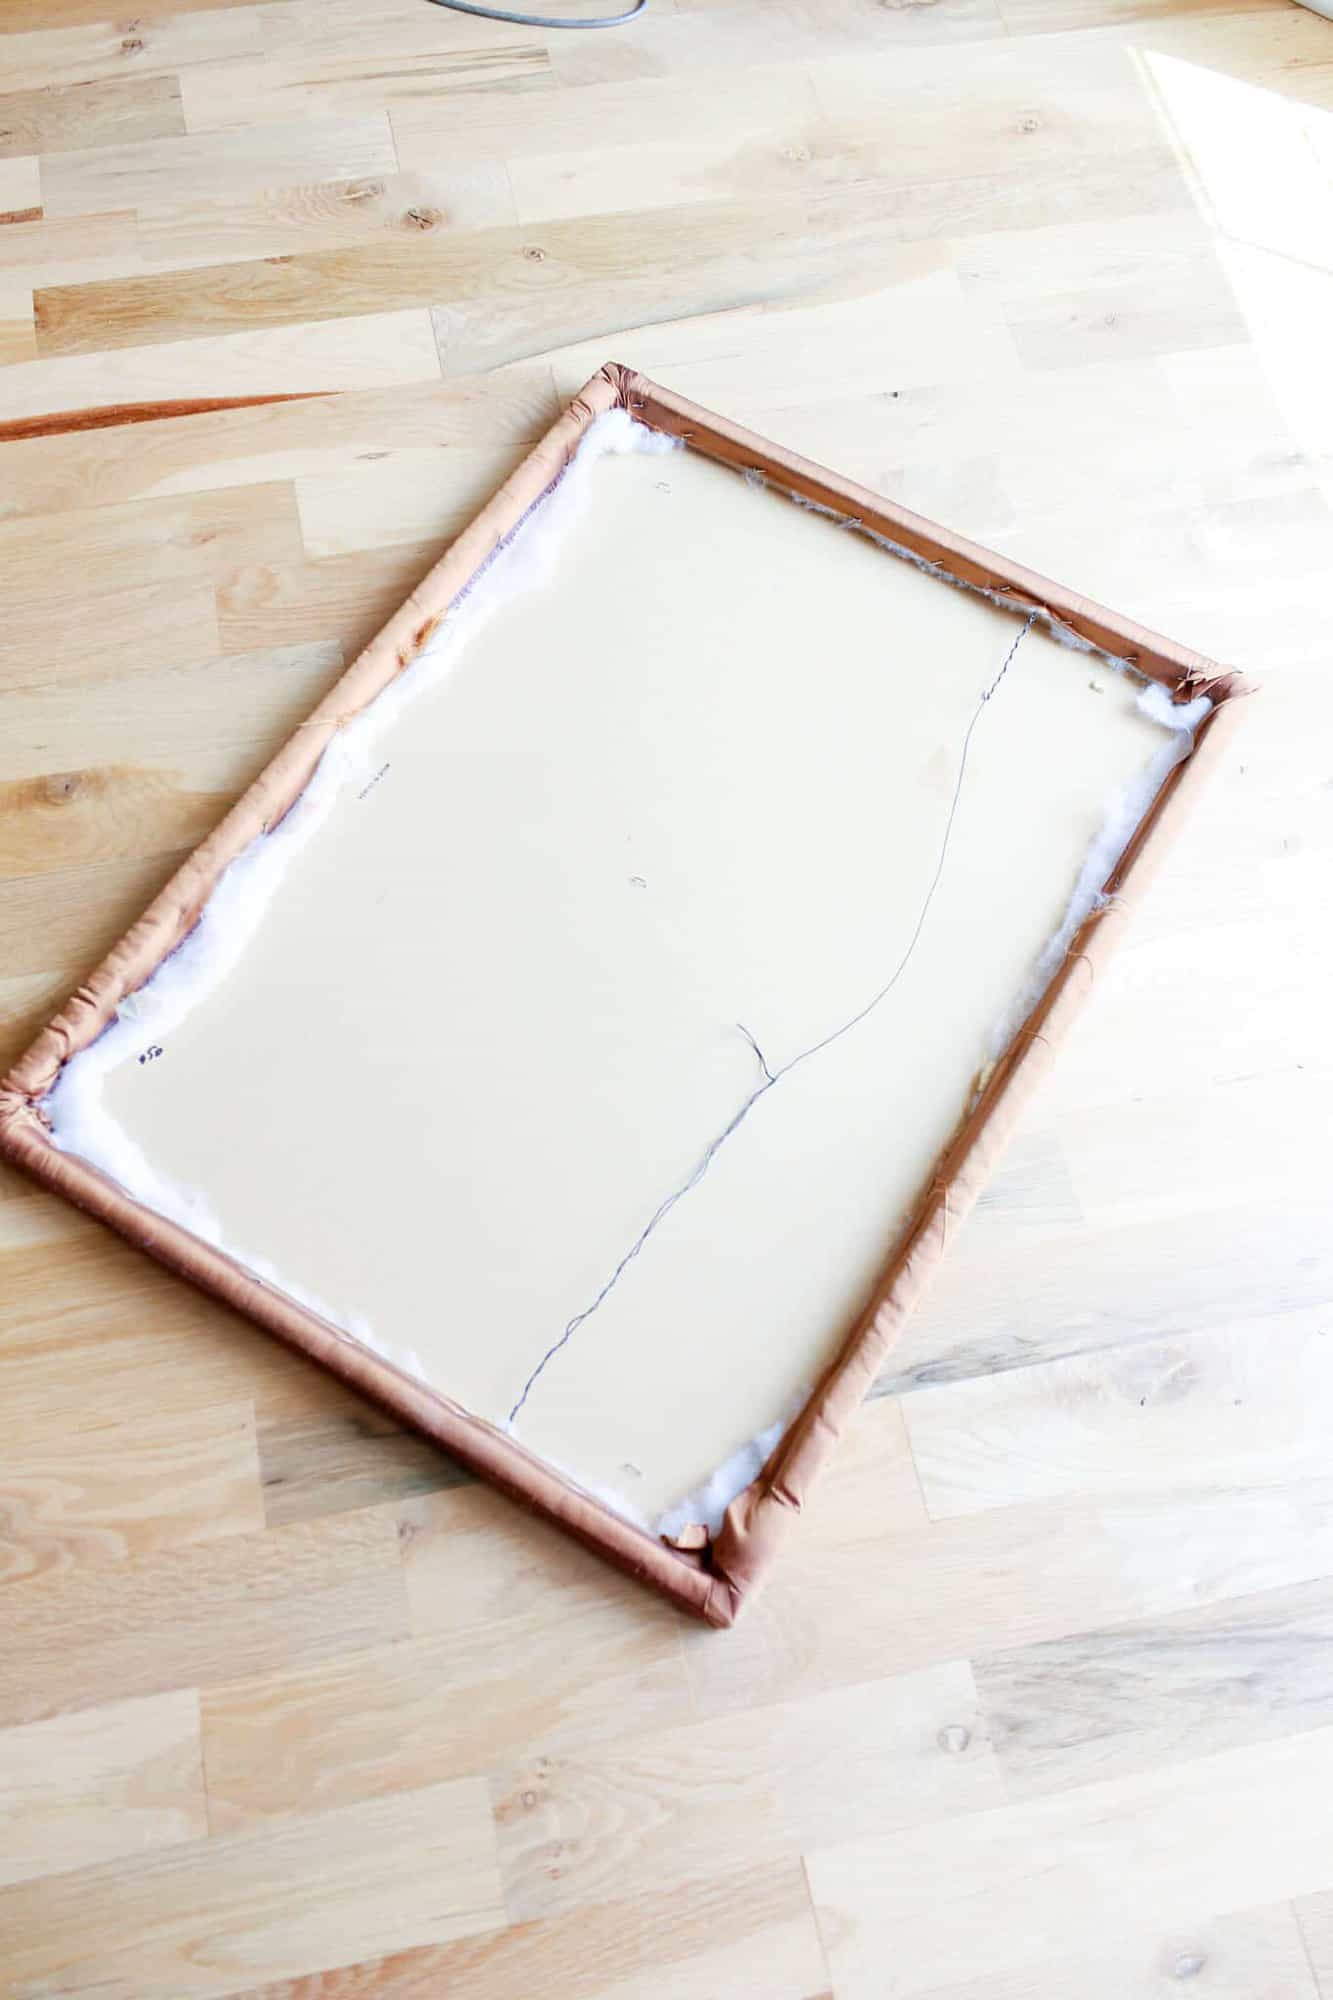
I unwrapped this fabric covered picture as if were Christmas and gasped when I saw what was underneath.
Waves of memories rushed in.
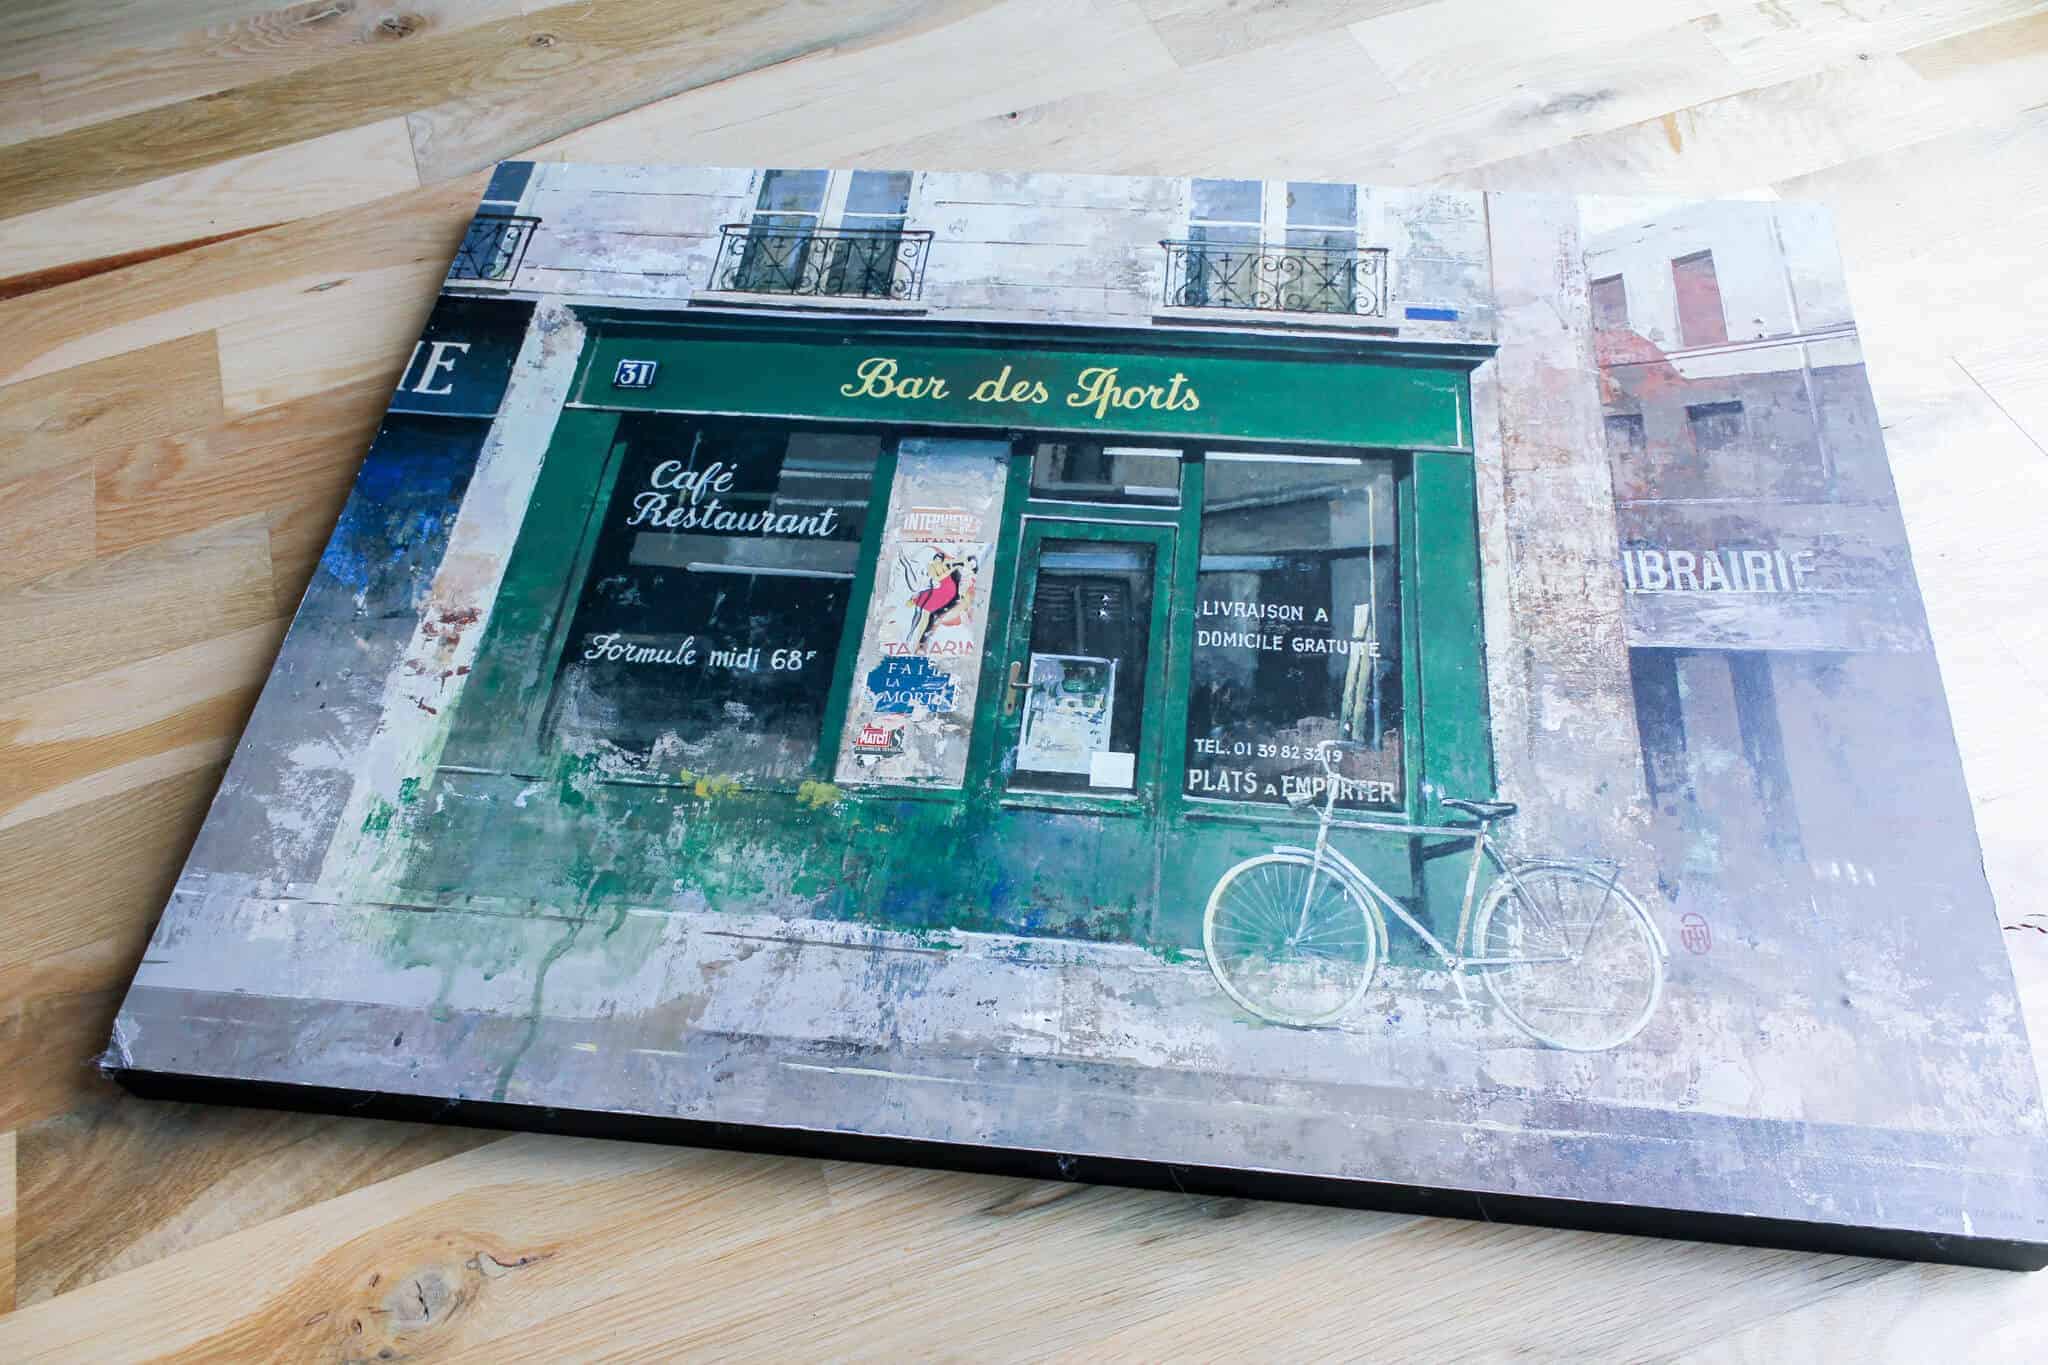
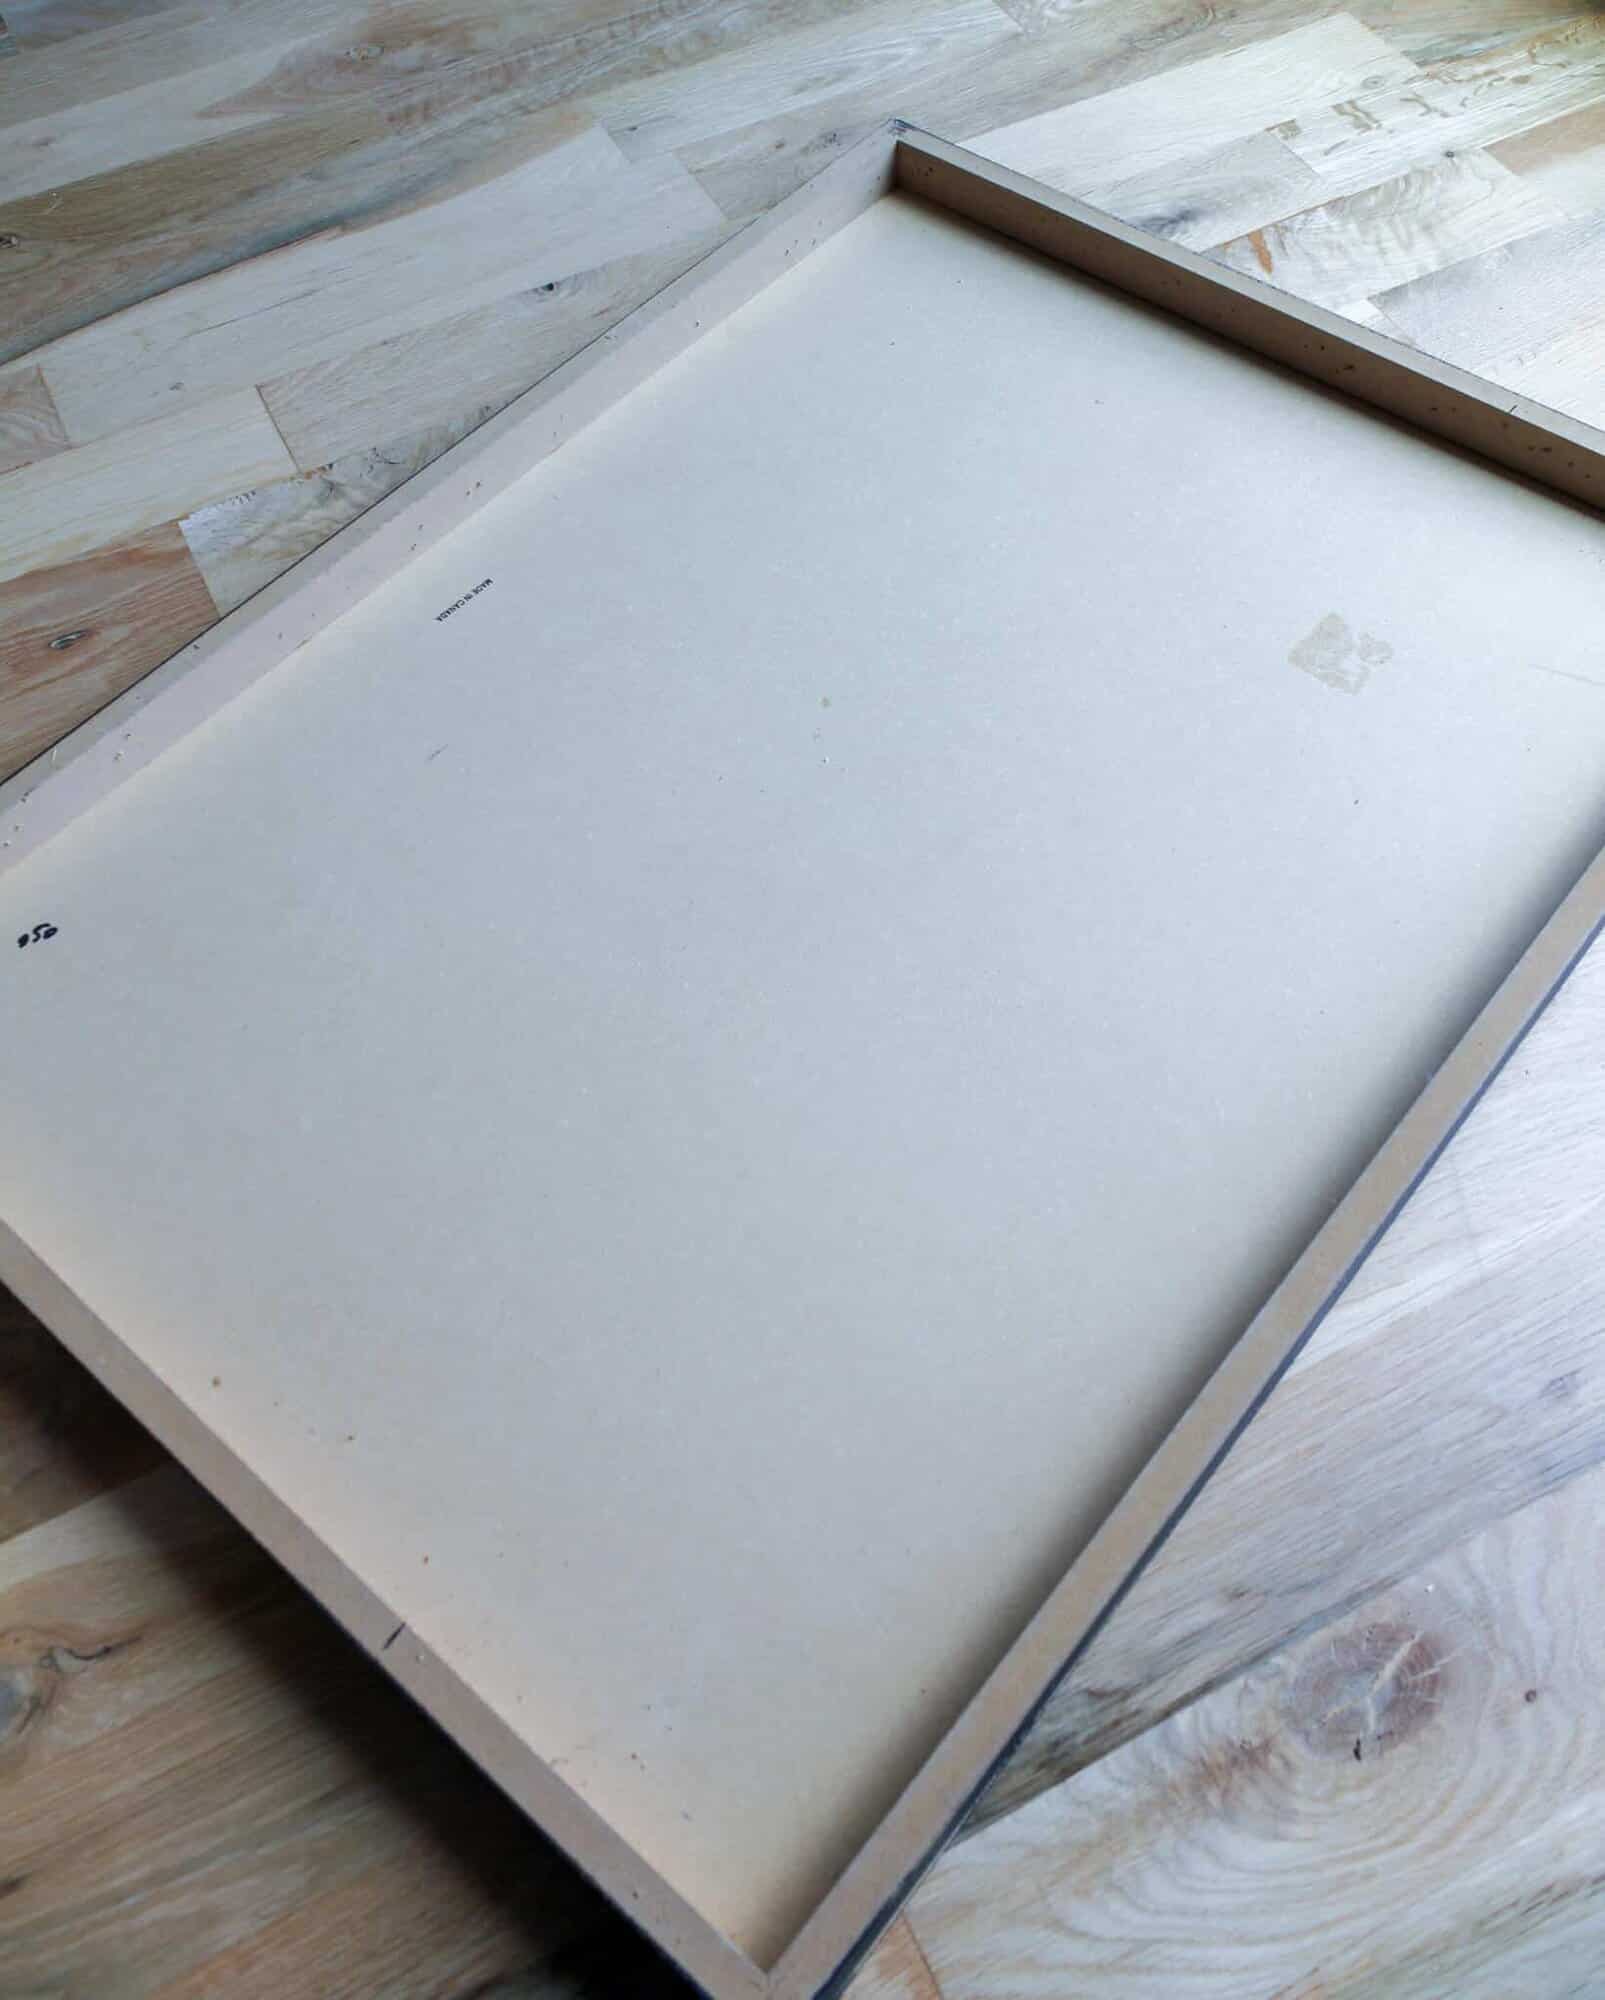
This paper stock over press wood picture is 25 years old. That was when I first attempted to dip my toe into the design world with all the french themed decor.
You know… the wine prints, the juggling Pierrot clown, the French Provence feel, the Paris home decor.
I had it all!
I spent hours watching the Christopher Lowell show, or Trading Spaces – anyone who empowered my inner DIY spirit. It was a time of awakening in my creativity.
Which brings me to this treasure.
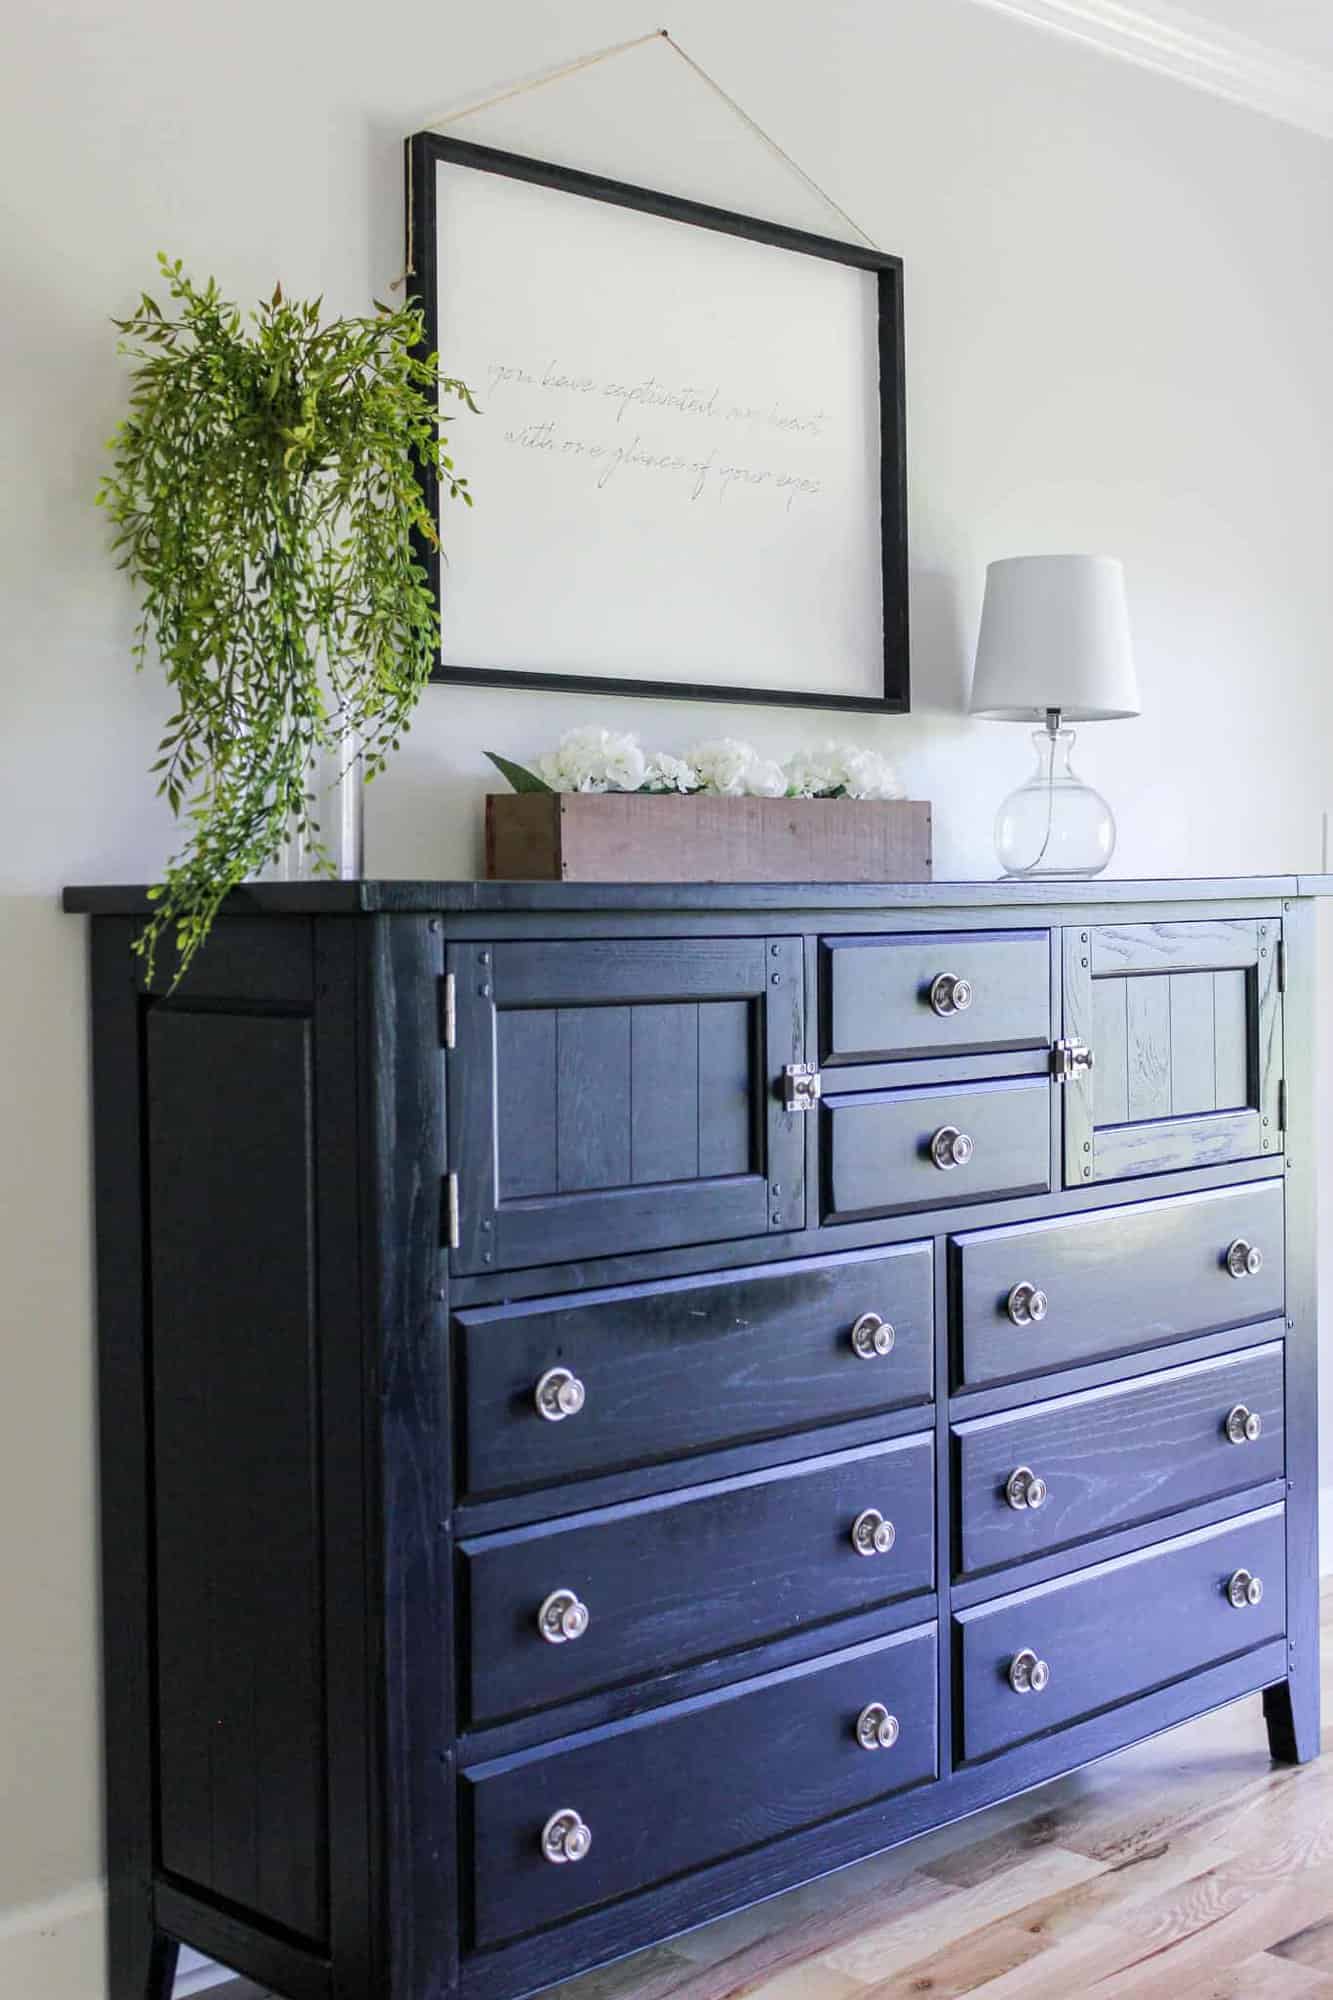
When I saw this dusty and discarded, stored away for later piece, I knew I could use it to create some amazing DIY Hand lettered artwork for my Master Bedroom Makeover.
Why This Project Is Perfect for You
Let’s be honest:
Decorating on a tight budget while juggling family, fatigue, or a fixer-upper can feel impossible.
You want your home to feel warm and welcoming—but between Pinterest overwhelm and rising prices, it’s hard to know where to begin.
This project meets you right where you are:
- Budget: Basically free (use what you have!)
- Time: One afternoon—no perfection required
- Skill level: Beginner-friendly (even if your handwriting isn’t cute)
- Emotional payoff: Big. Because your home should reflect what matters most.
What You’ll Need
Step 1: Find a Quote That Feels Like Home
This is where the heart of your project begins.
Choose something meaningful—a Bible verse, a family saying, even a song lyric. Something that speaks peace to your soul when life feels loud.
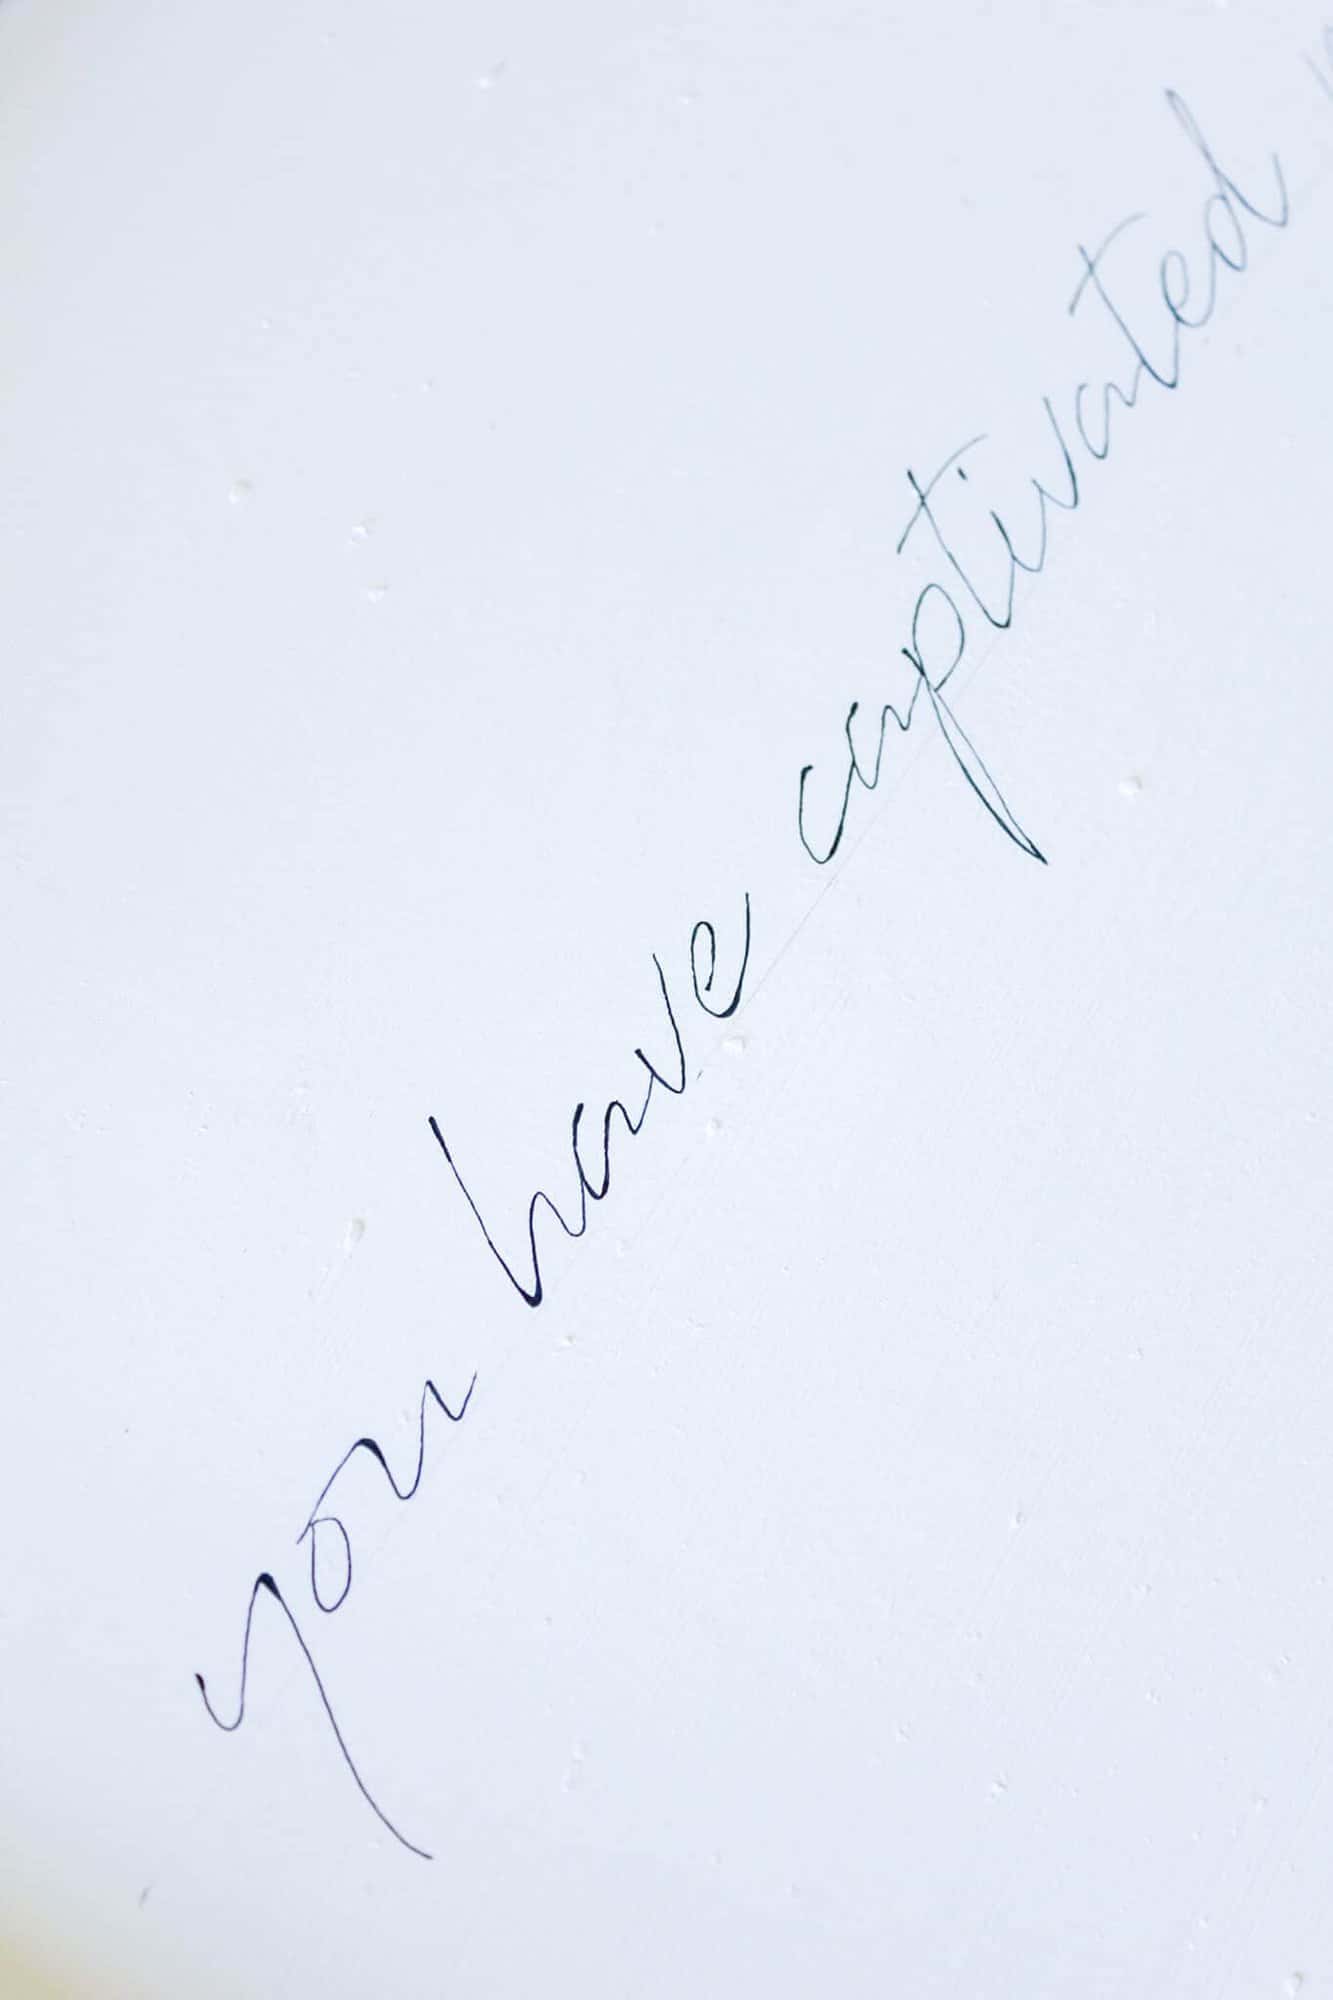
For ours, I picked:
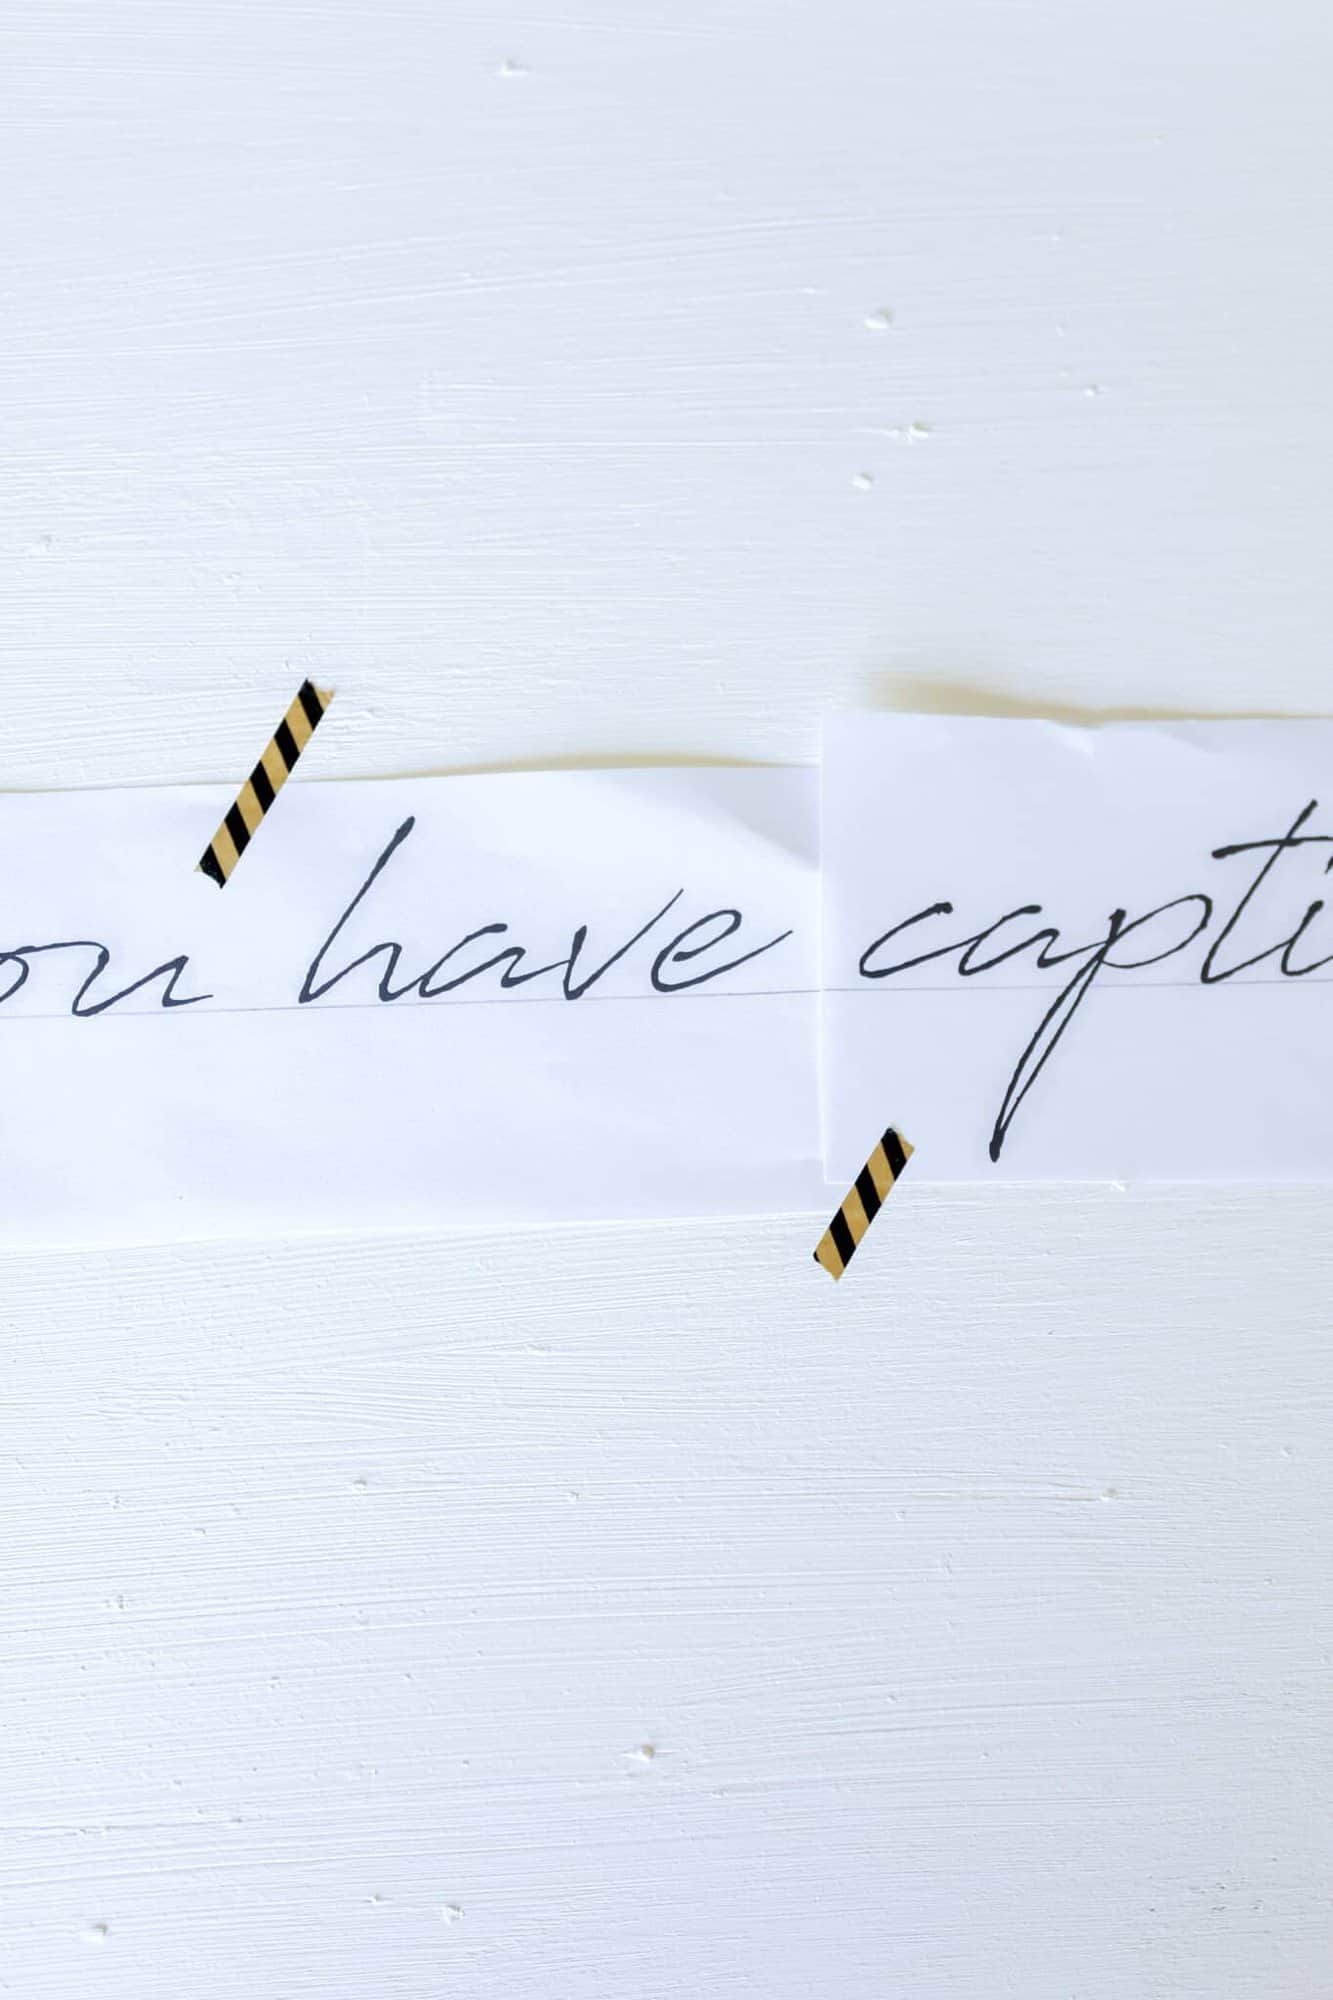
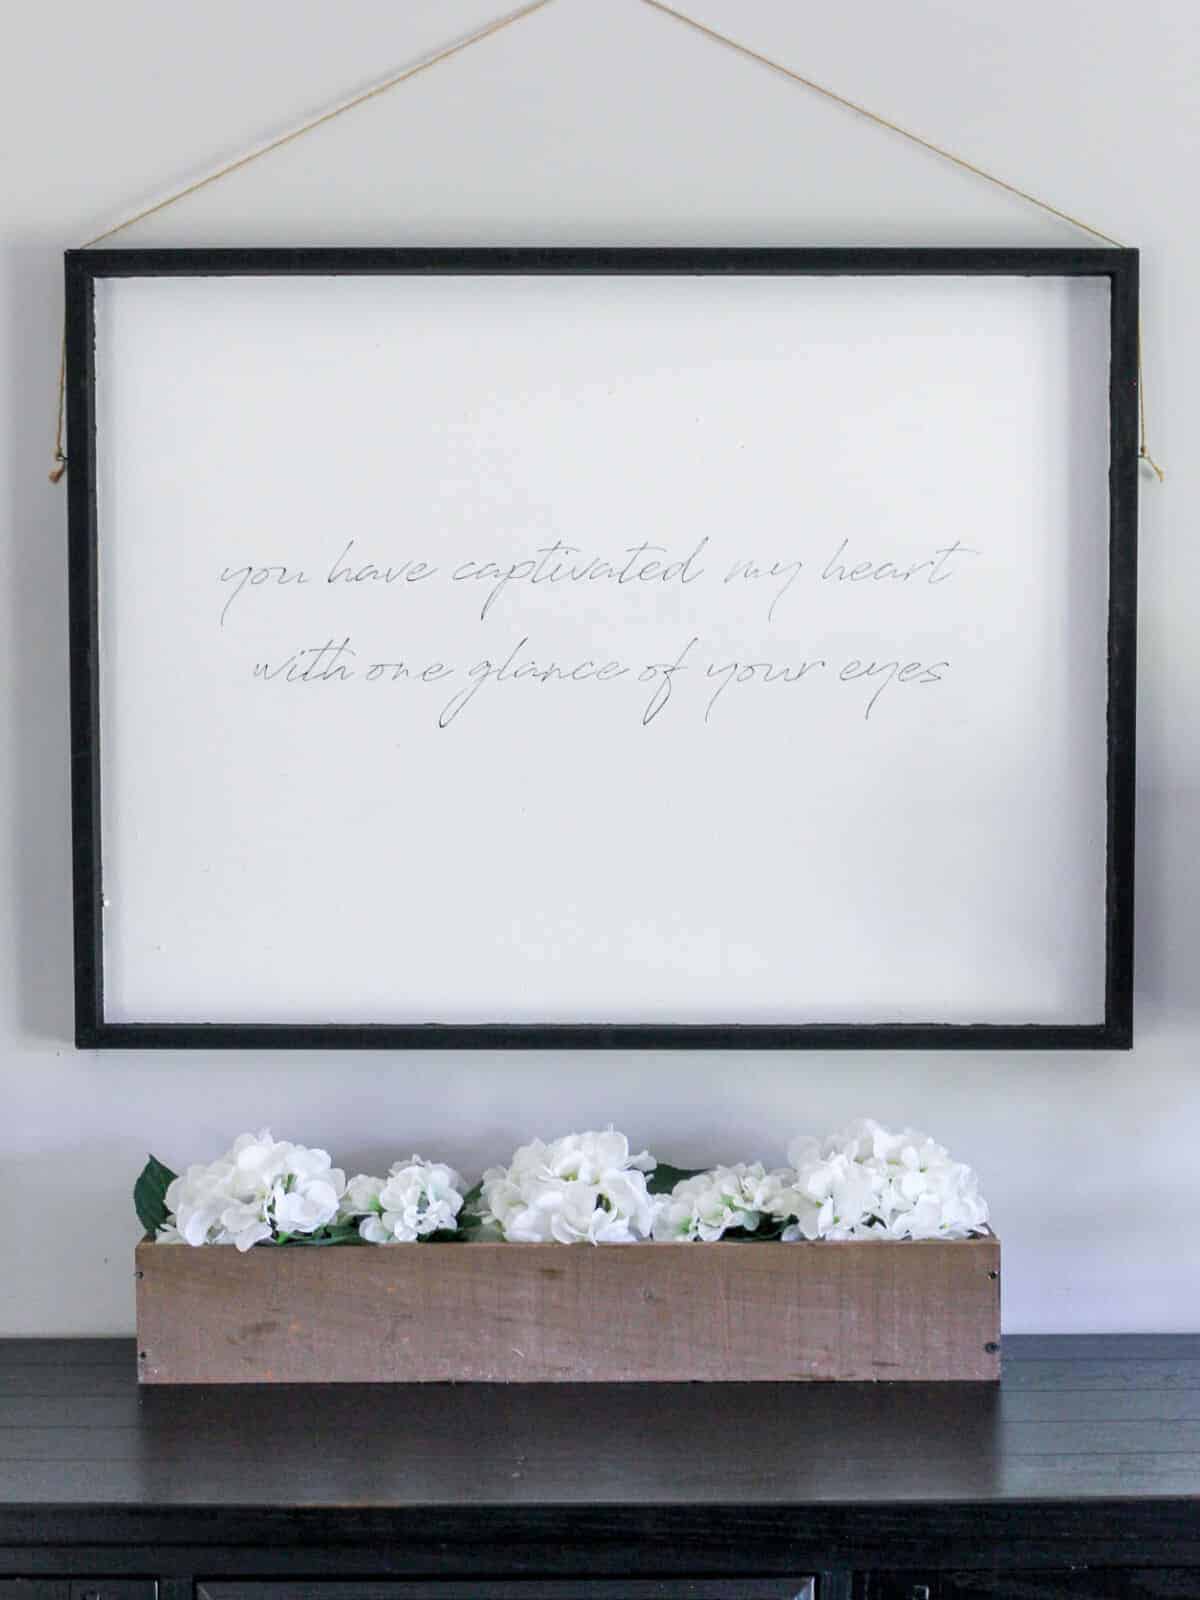
“You have captivated my heart with one glance of your eyes.” – Song of Solomon 4:9
It’s a quiet nod to our love story—something I want to see every morning when I wake up.
Step 2: Print Your Phrase
Pick a simple font that’s easy to trace. Don’t stress about or overthink finding something fancy. This isn’t about impressing—it’s about expressing.
Print the quote, then cut it into manageable pieces. If needed, test a few sizes to get the spacing right for your frame.
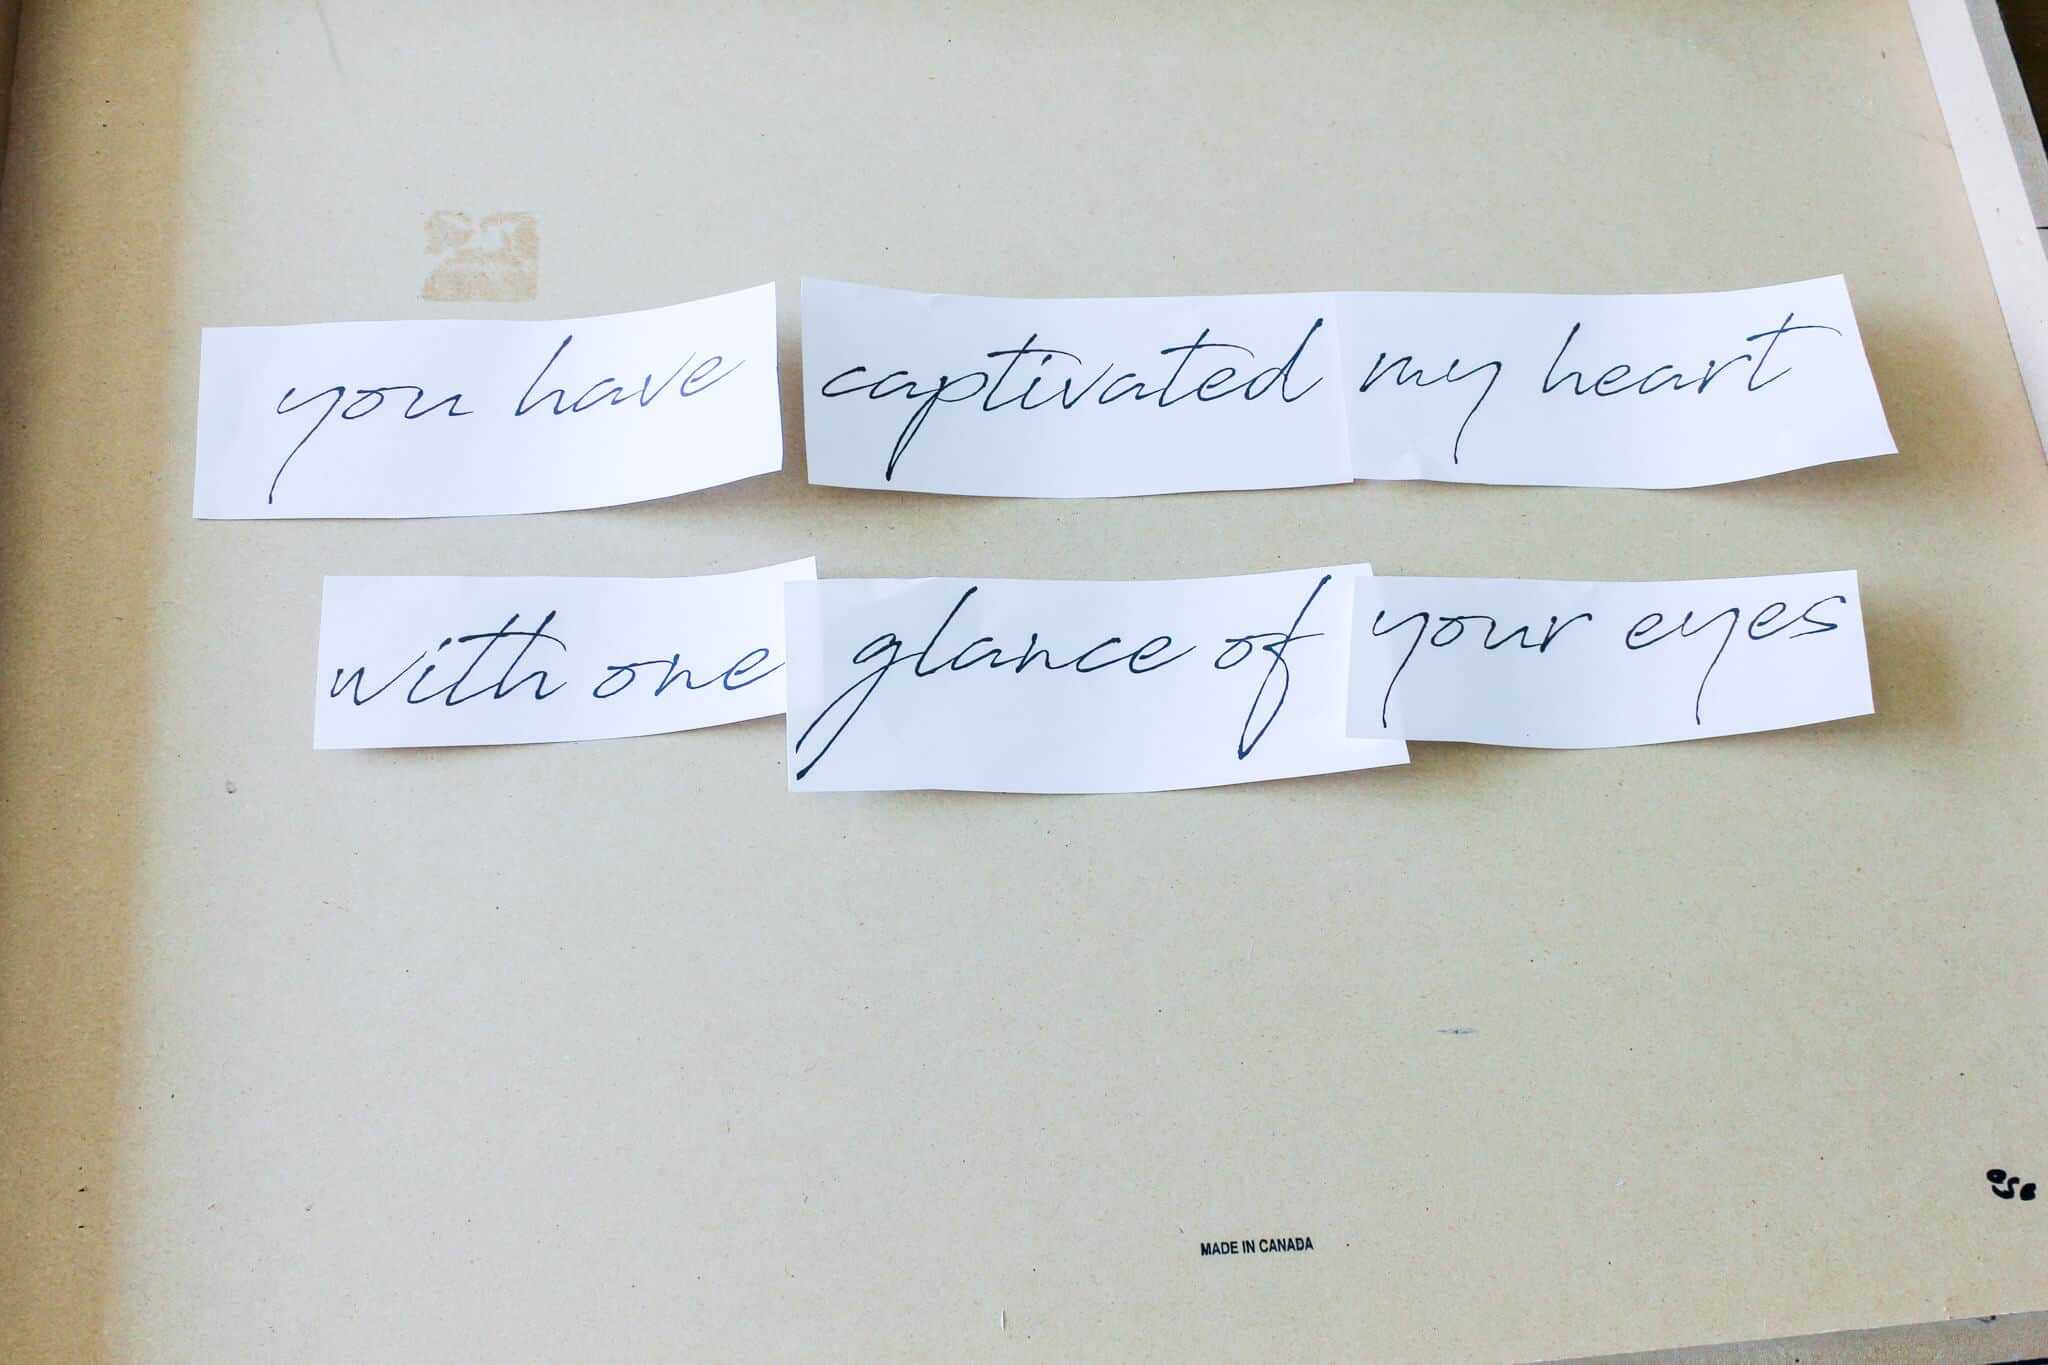
Pro tip: Use a ruler to underline the bottom of each line of text before you cut.
This gives you a guide when placing and tracing later.
Step 3: Paint the Background
Paint the surface of your canvas or thrifted art piece in a base color.
I used white acrylic, but you can choose whatever fits your space.
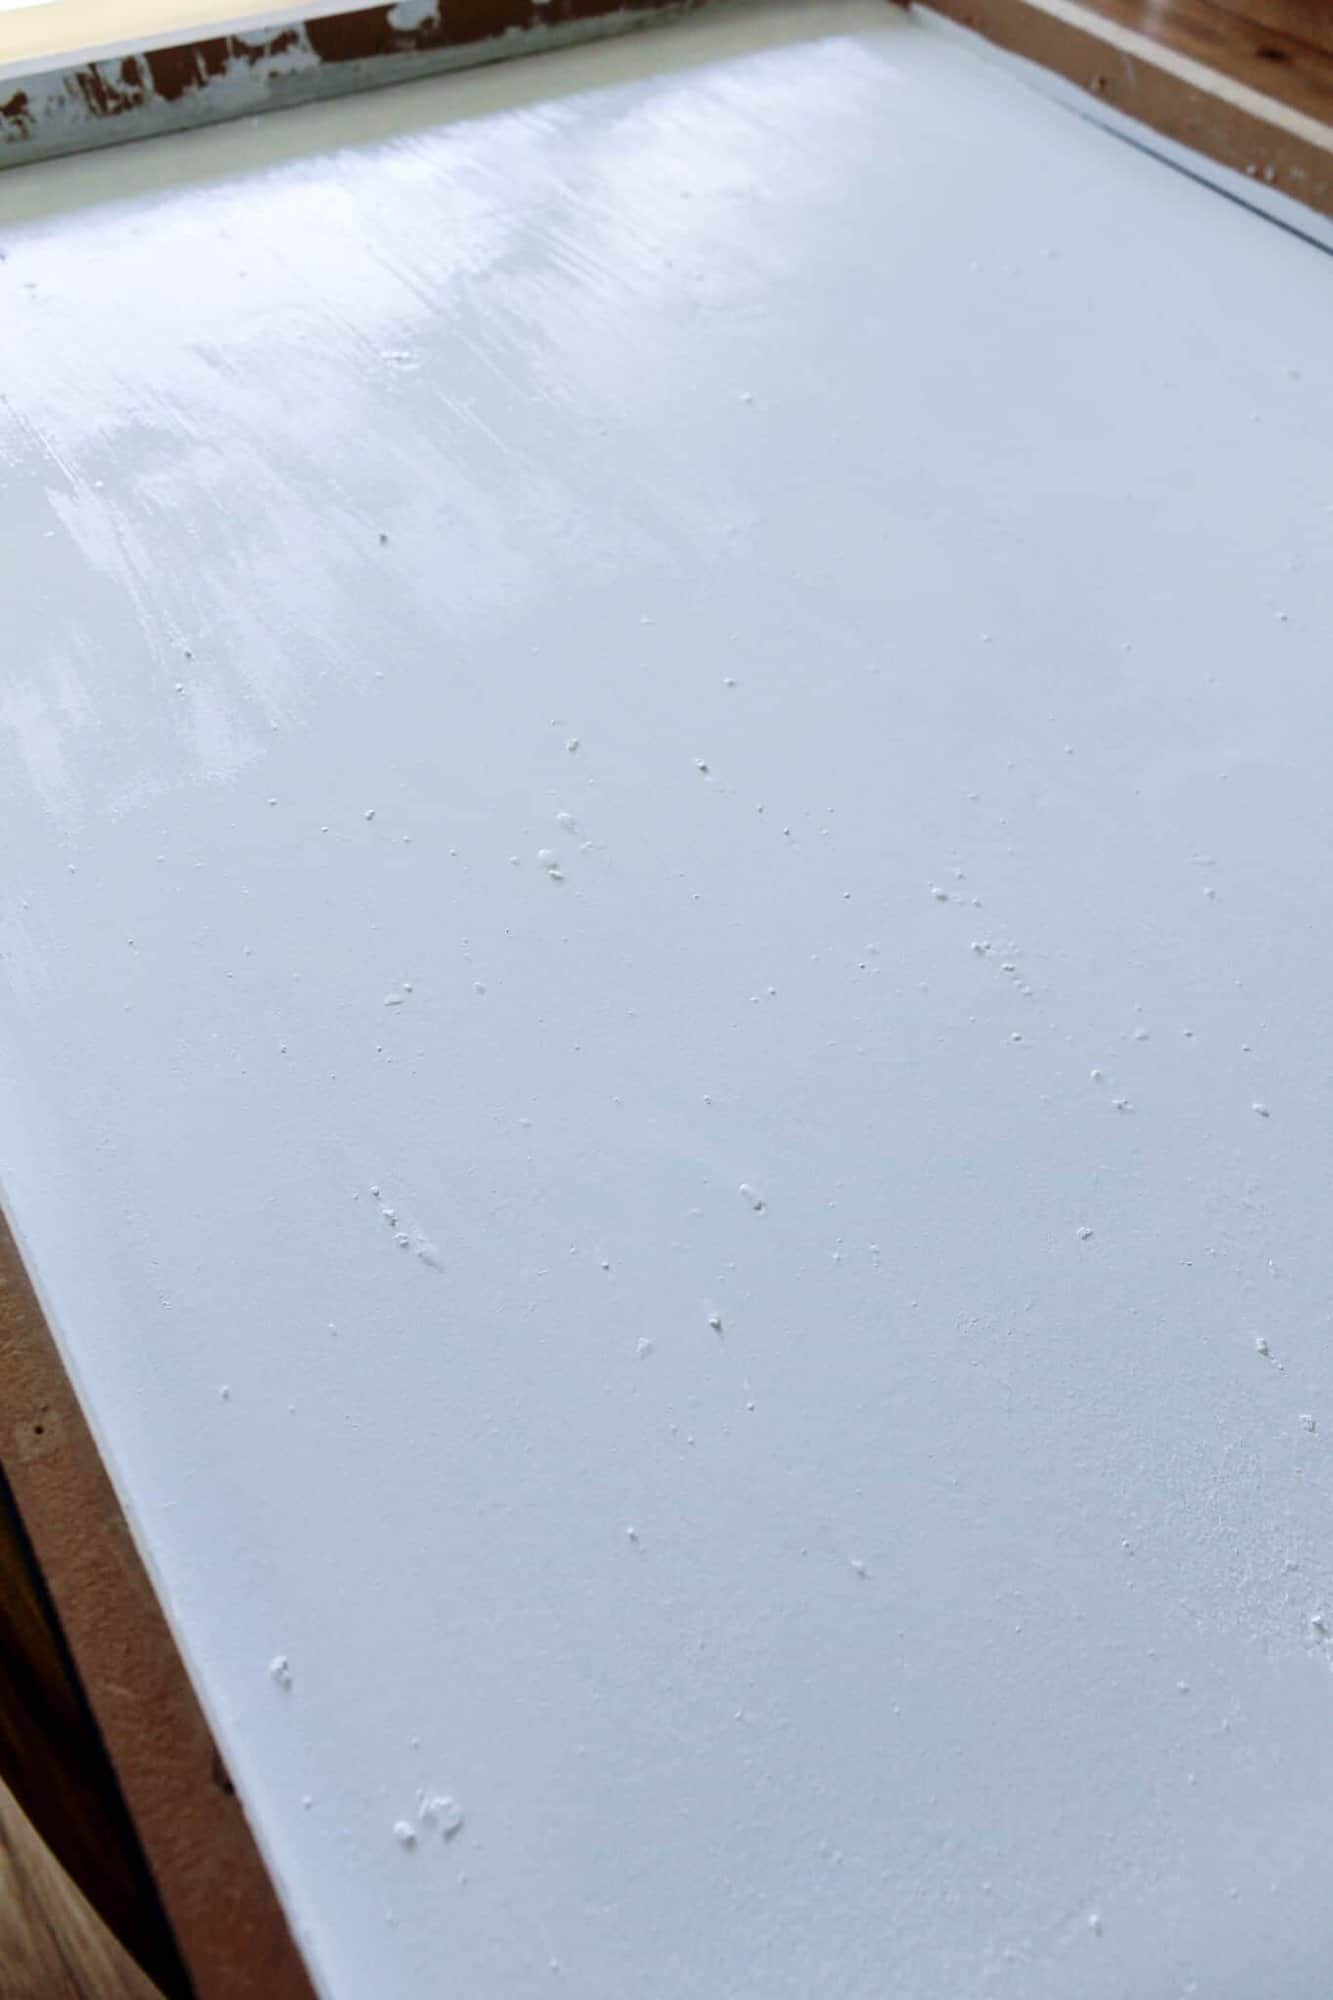
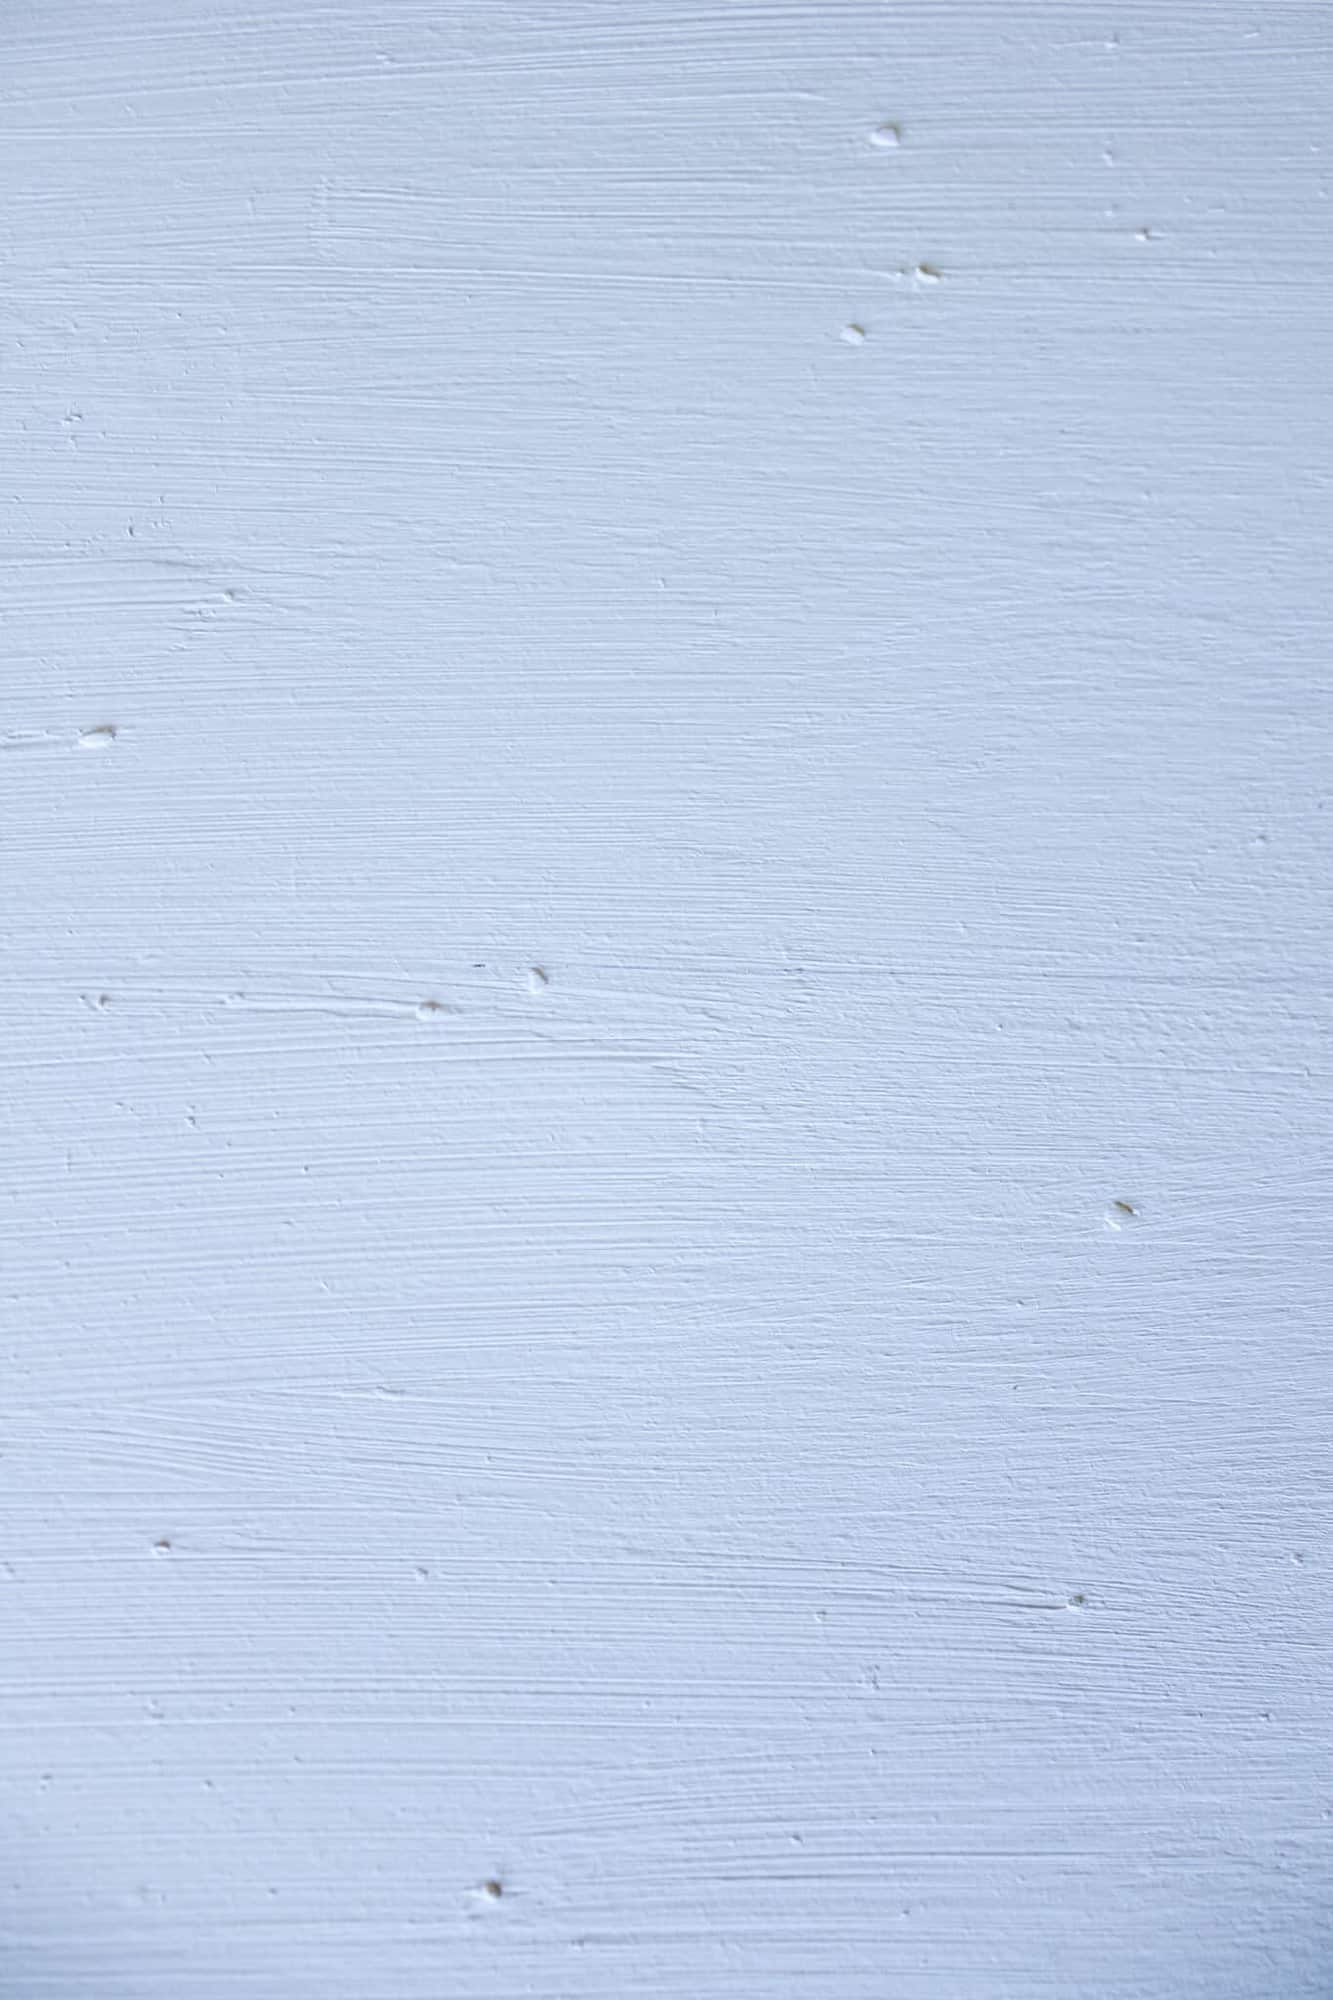
Budget win: My paint was a little dried up, and it left a textured finish. At first I was annoyed—but then I realized it gave the piece a unique, layered look.
Sometimes our mess-ups end up being the most beautiful part.
After the acrylic paint was fully dried, I took a ruler and drew a very faint straight line to place the words.
This is a guide for your printed phrase to make sure it stays consistent, so don’t make this guide line too dark.
Step 4: Transfer the Text
This is the no-skills-needed lettering method. You ready?
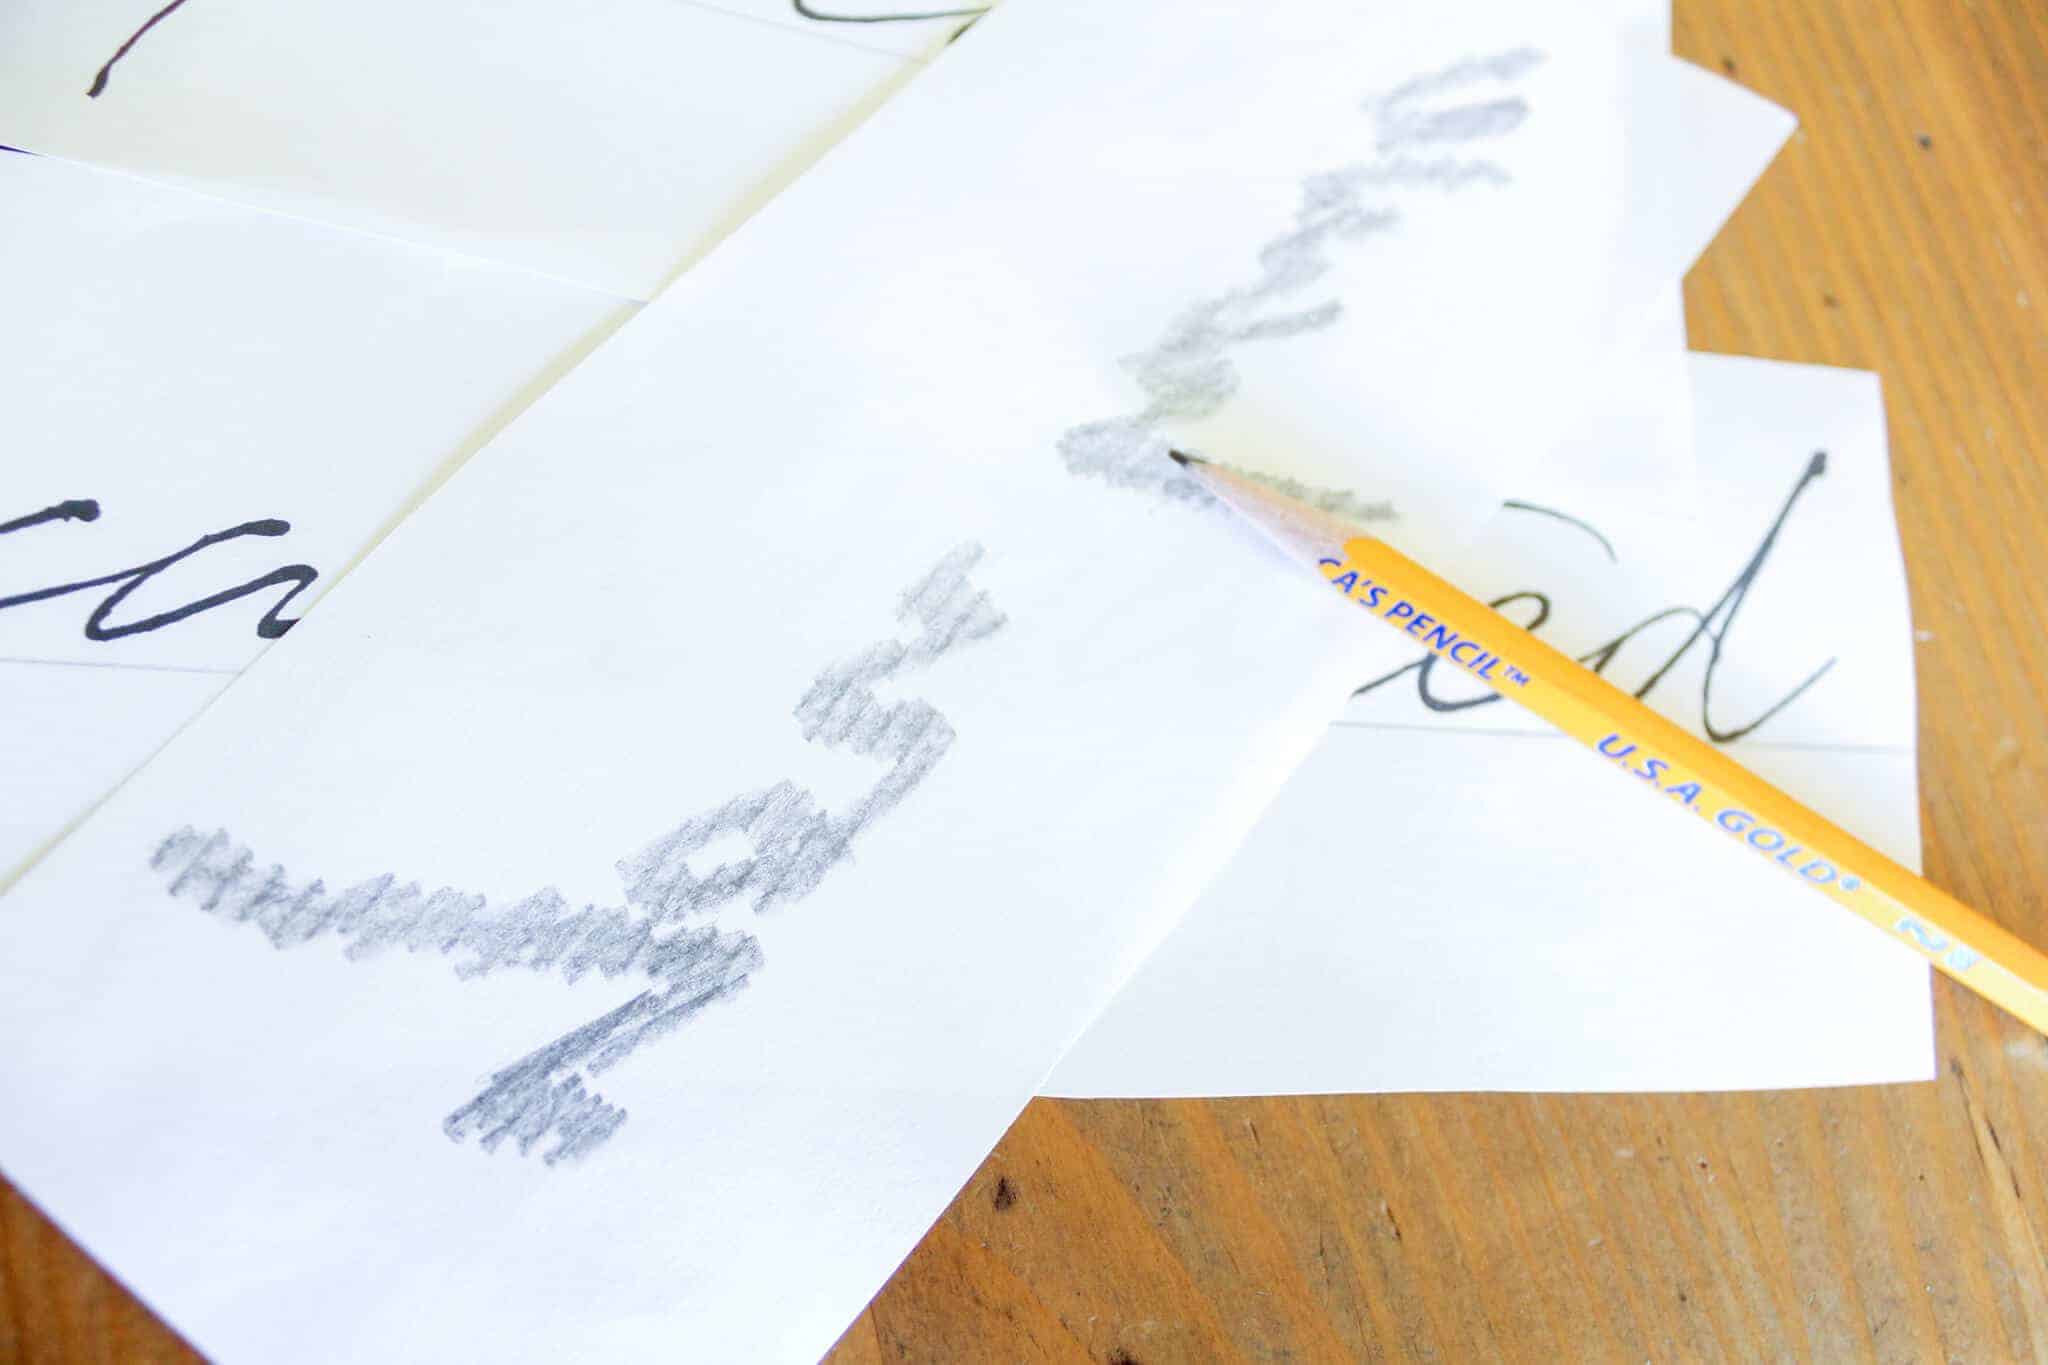
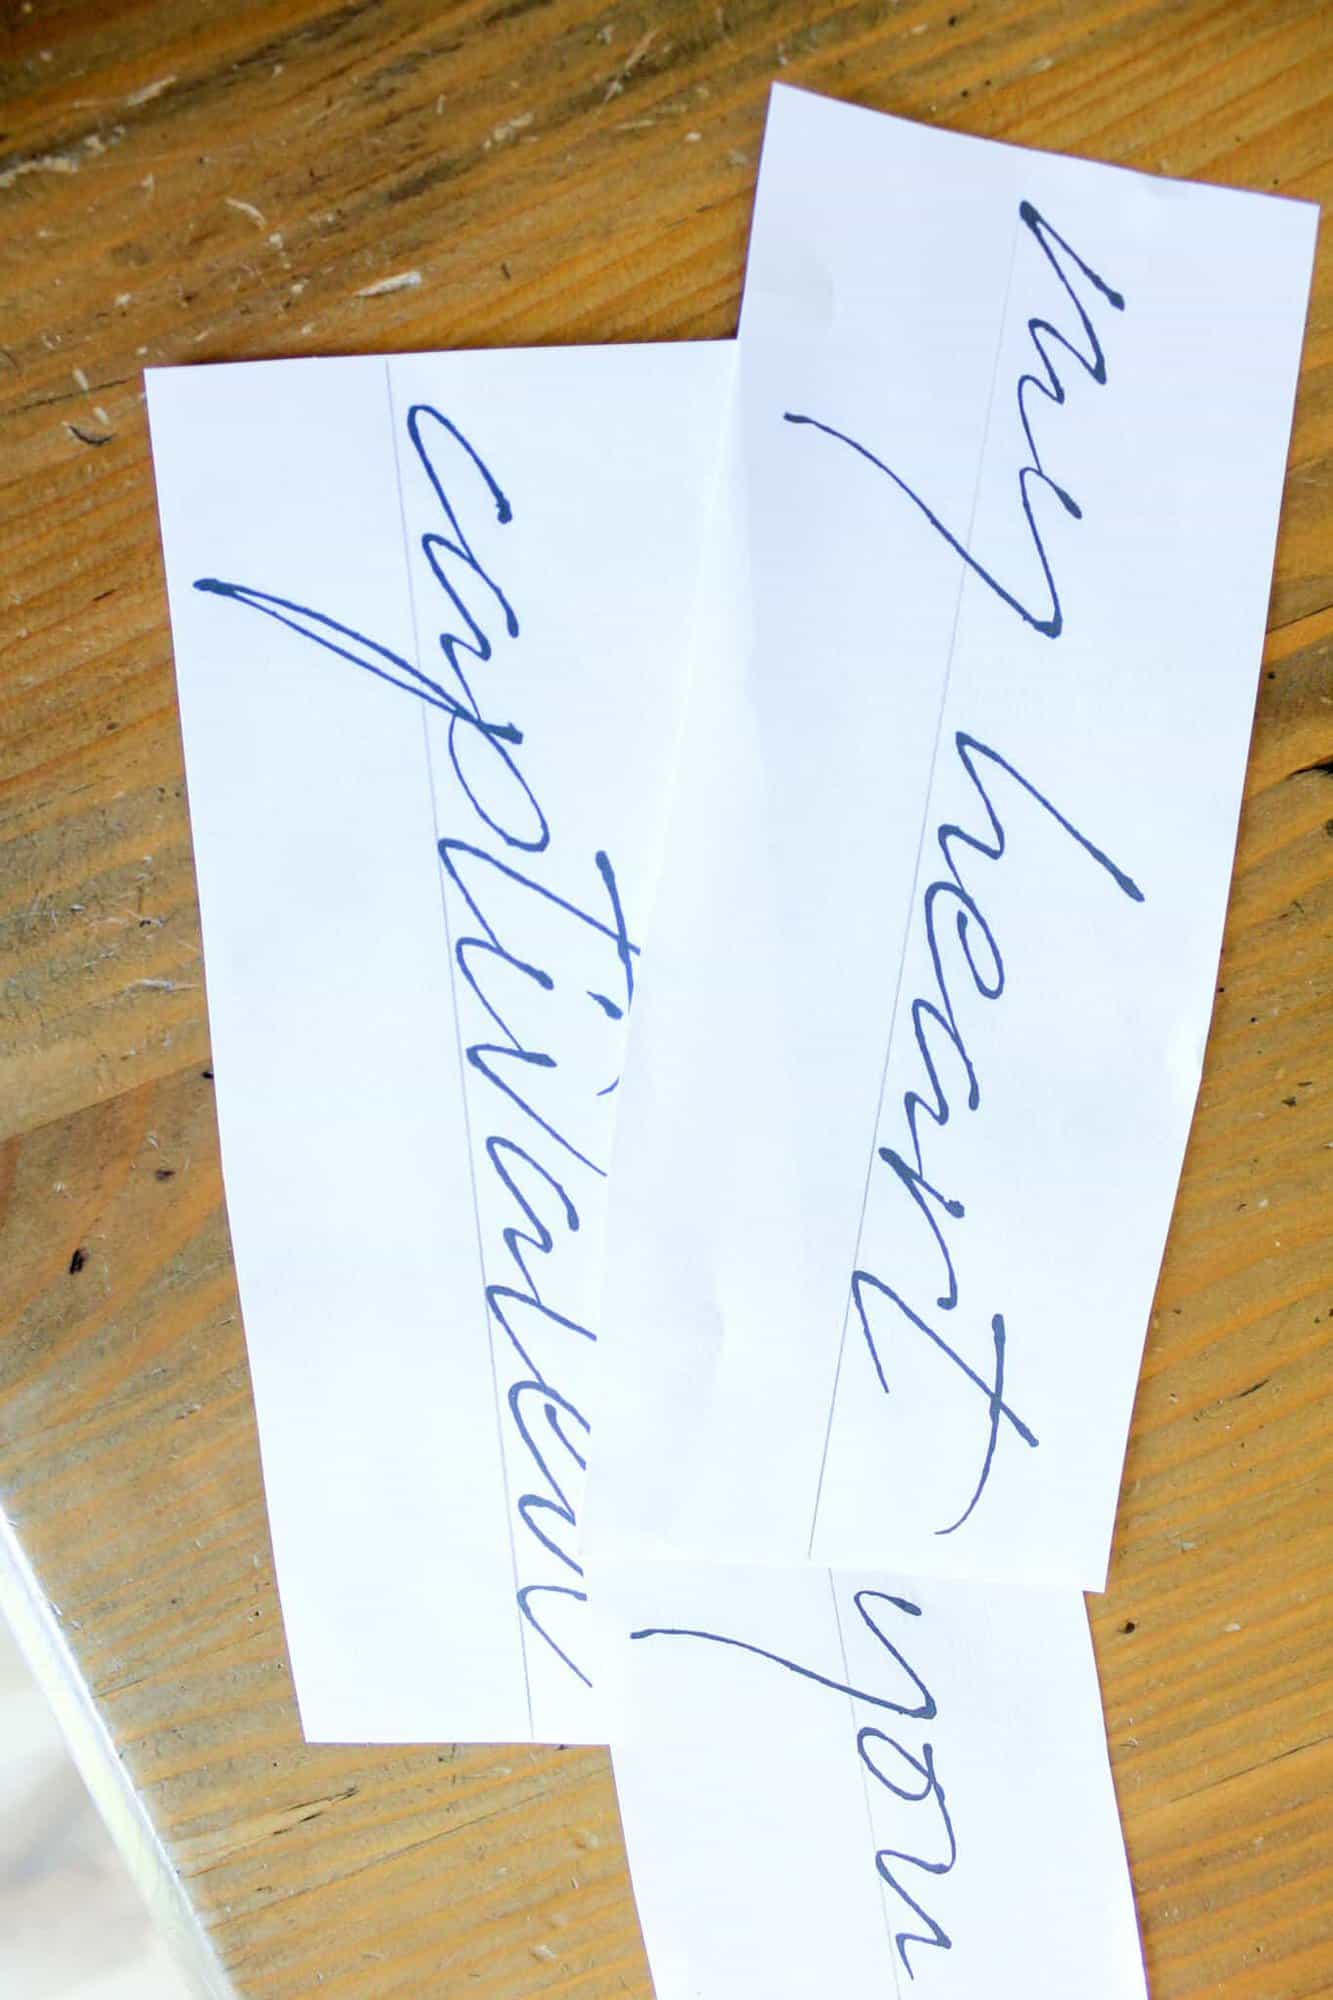
- Turn each printed word over and shade the back with pencil. This acts as a transfer when you trace the words.
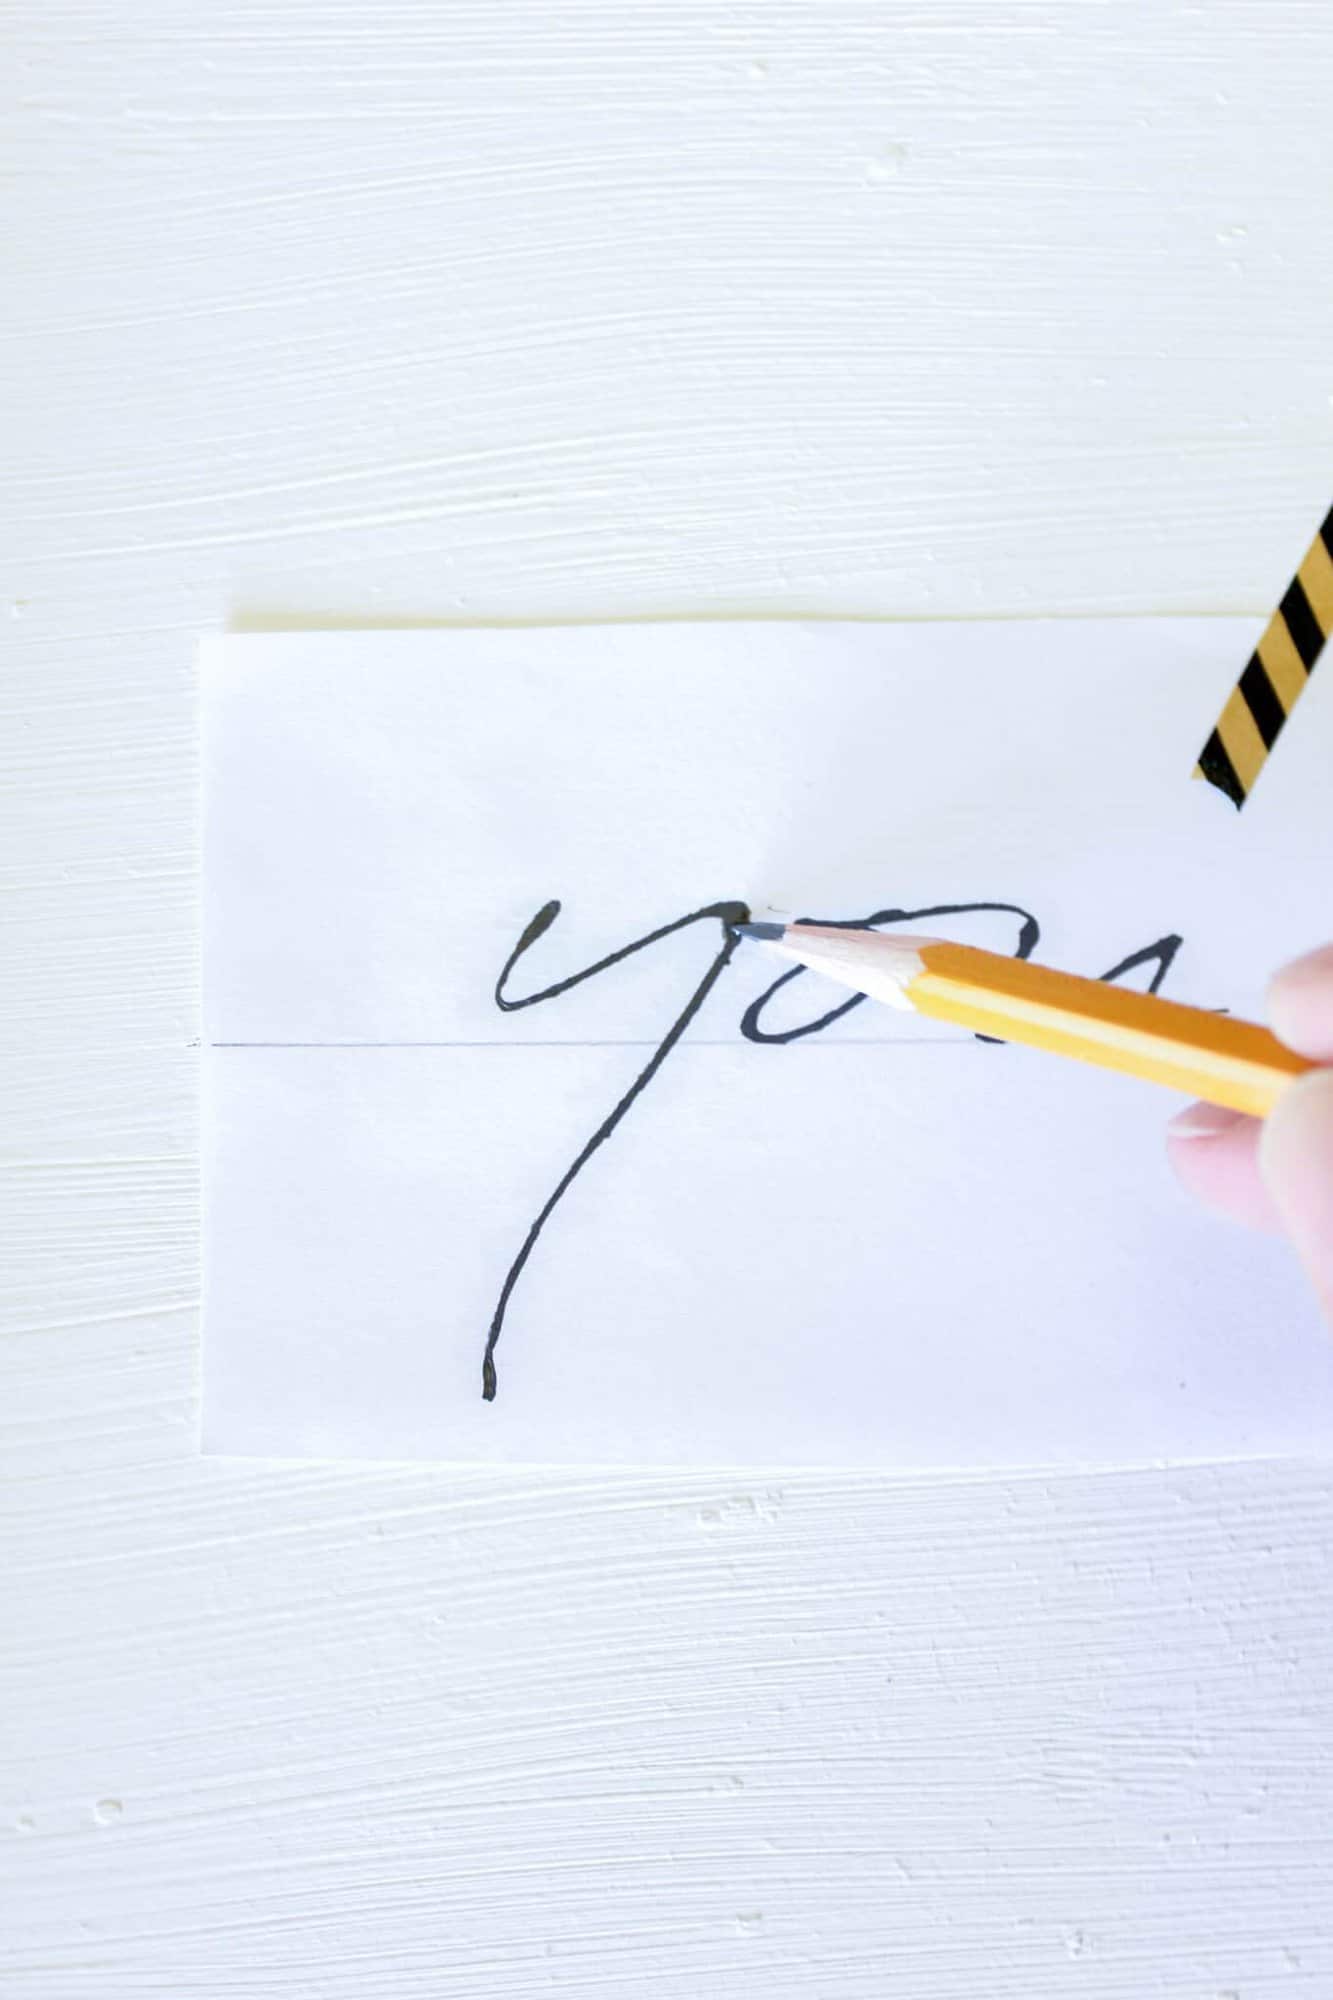
- Flip it back over and line up the text where you want it (use a faint pencil guide line).
- Line up the words with your faint line you started with and tape it in place with washi tape (perfect because it’s not super adhesive).
- Trace the front of the letters with a light hand. The pencil from the back will transfer to your painted surface.
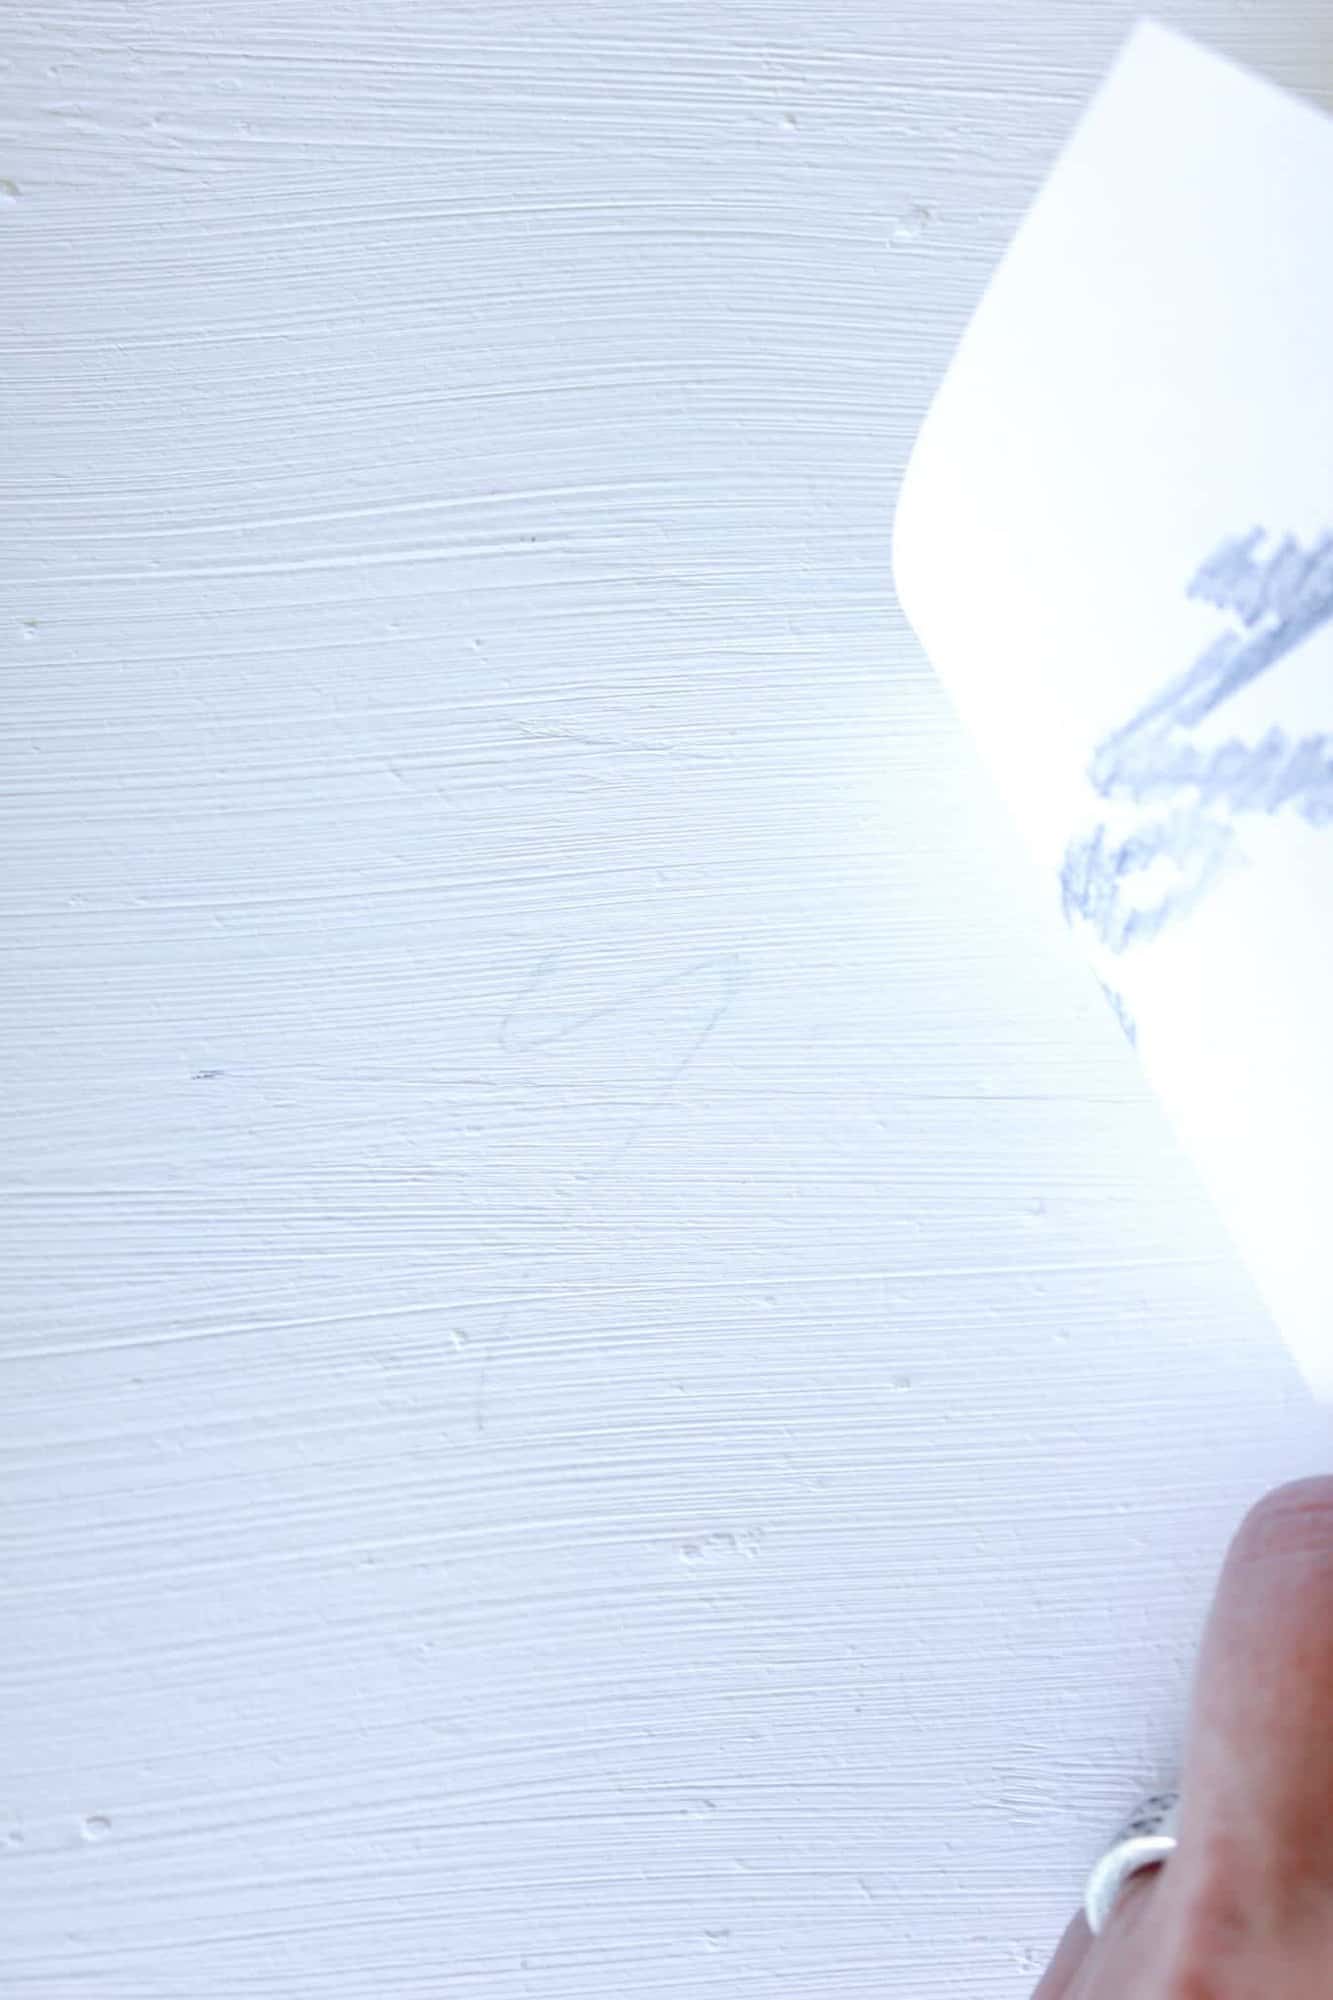
- Lift the paper and check that the lines are visible. If needed, trace again.
No fancy stencils, no vinyl machines, no stress.
Step 5: Painting the Letters
Use a fine-tip permanent marker or paint pen to go over the transferred letters.
Take your time and keep your strokes steady.
This part isn’t about perfection—it’s about presence.
Once you’ve finished the lettering, gently erase the guide lines, touch up any paint, and call it done.
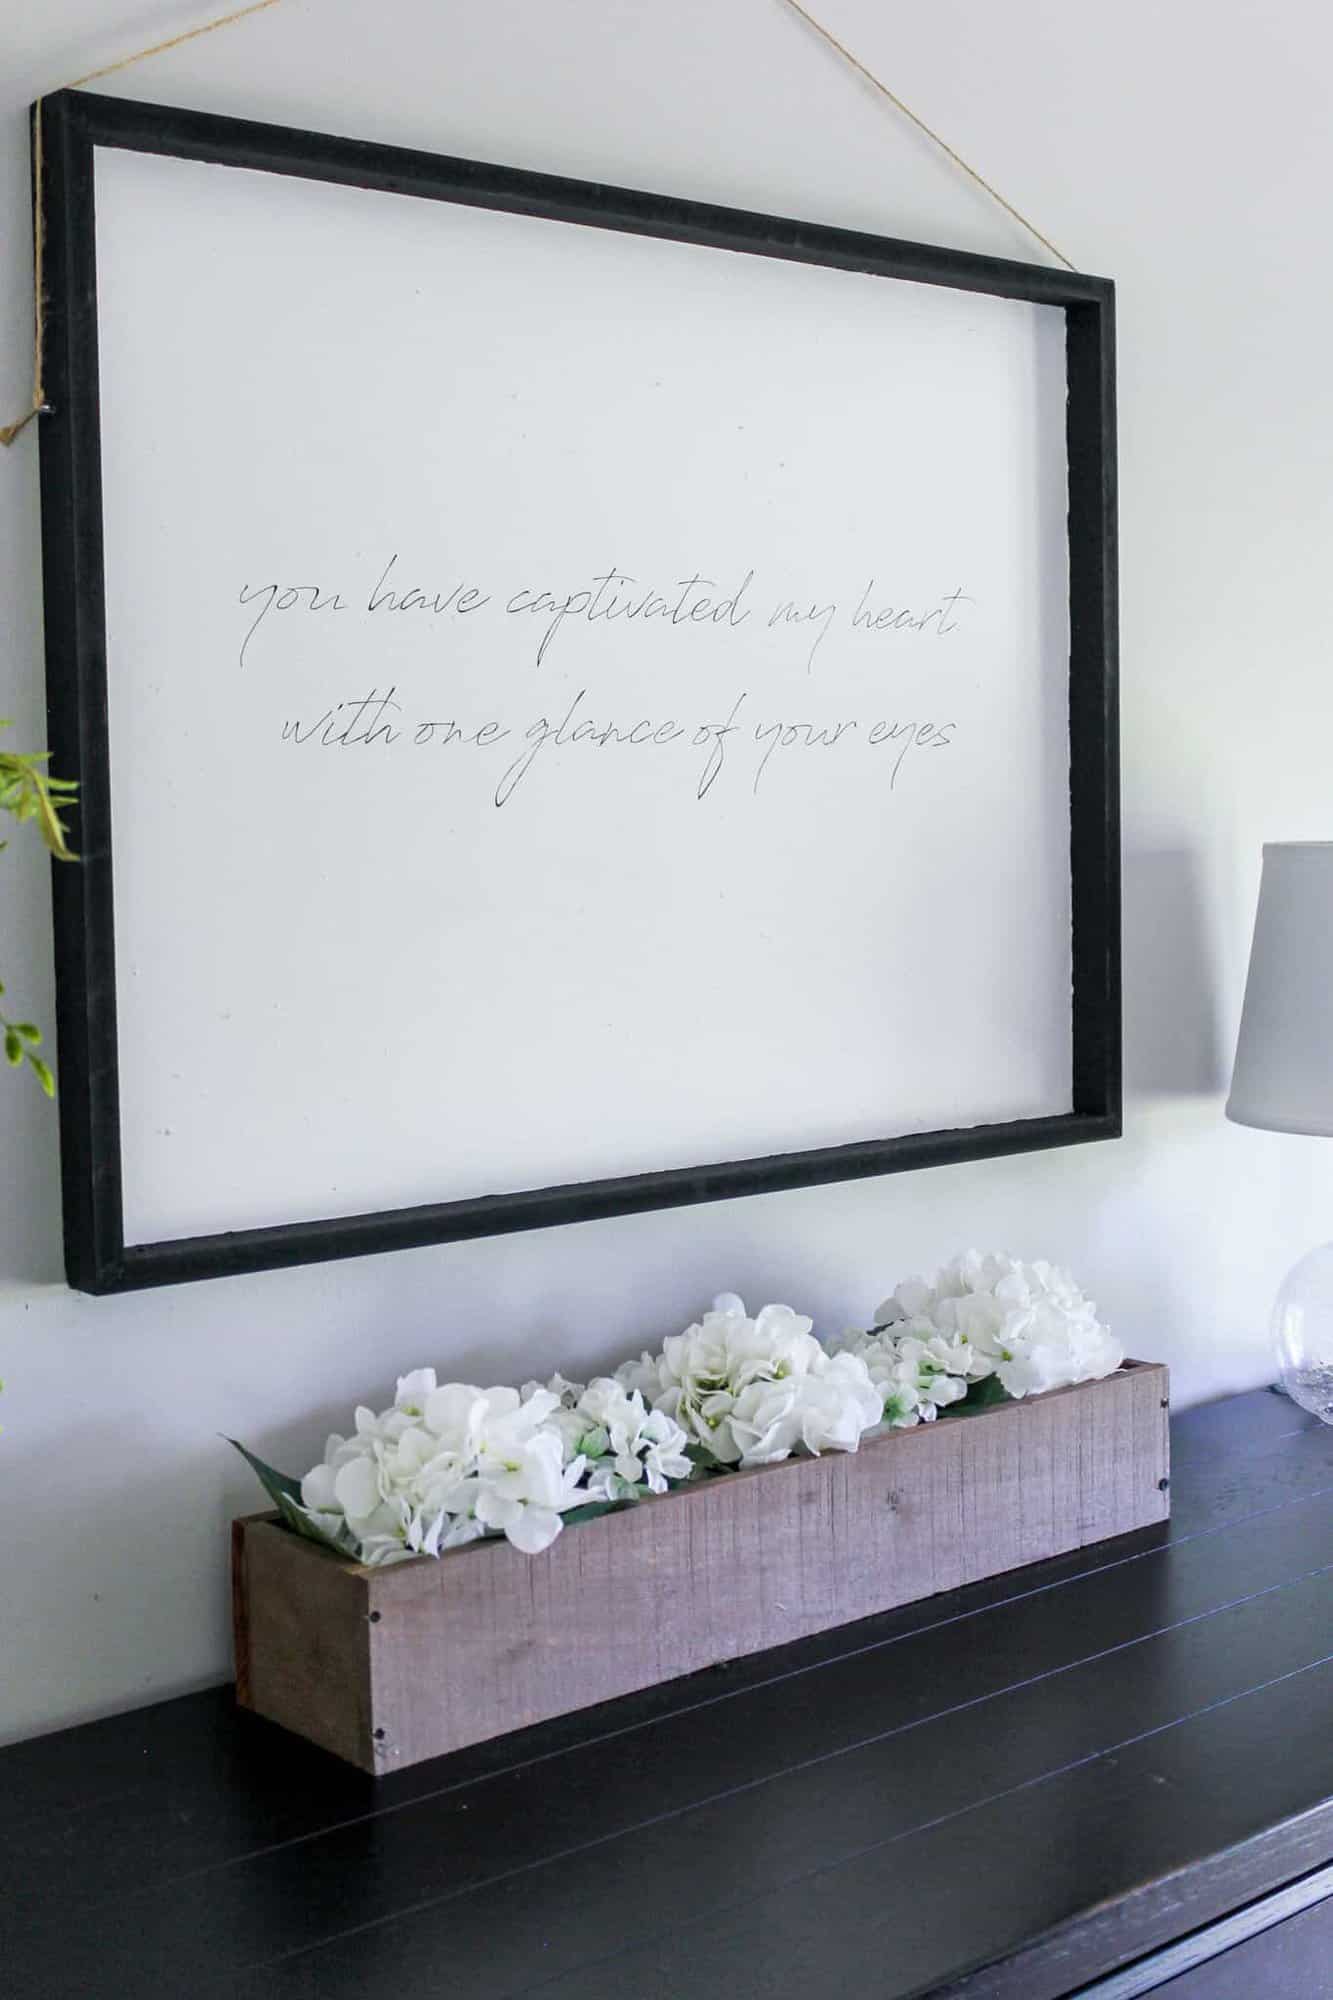
I finished mine with a quick coat of black around the edges to match our master bedroom’s accents and strung it with twine to hang.
And here’s the result!
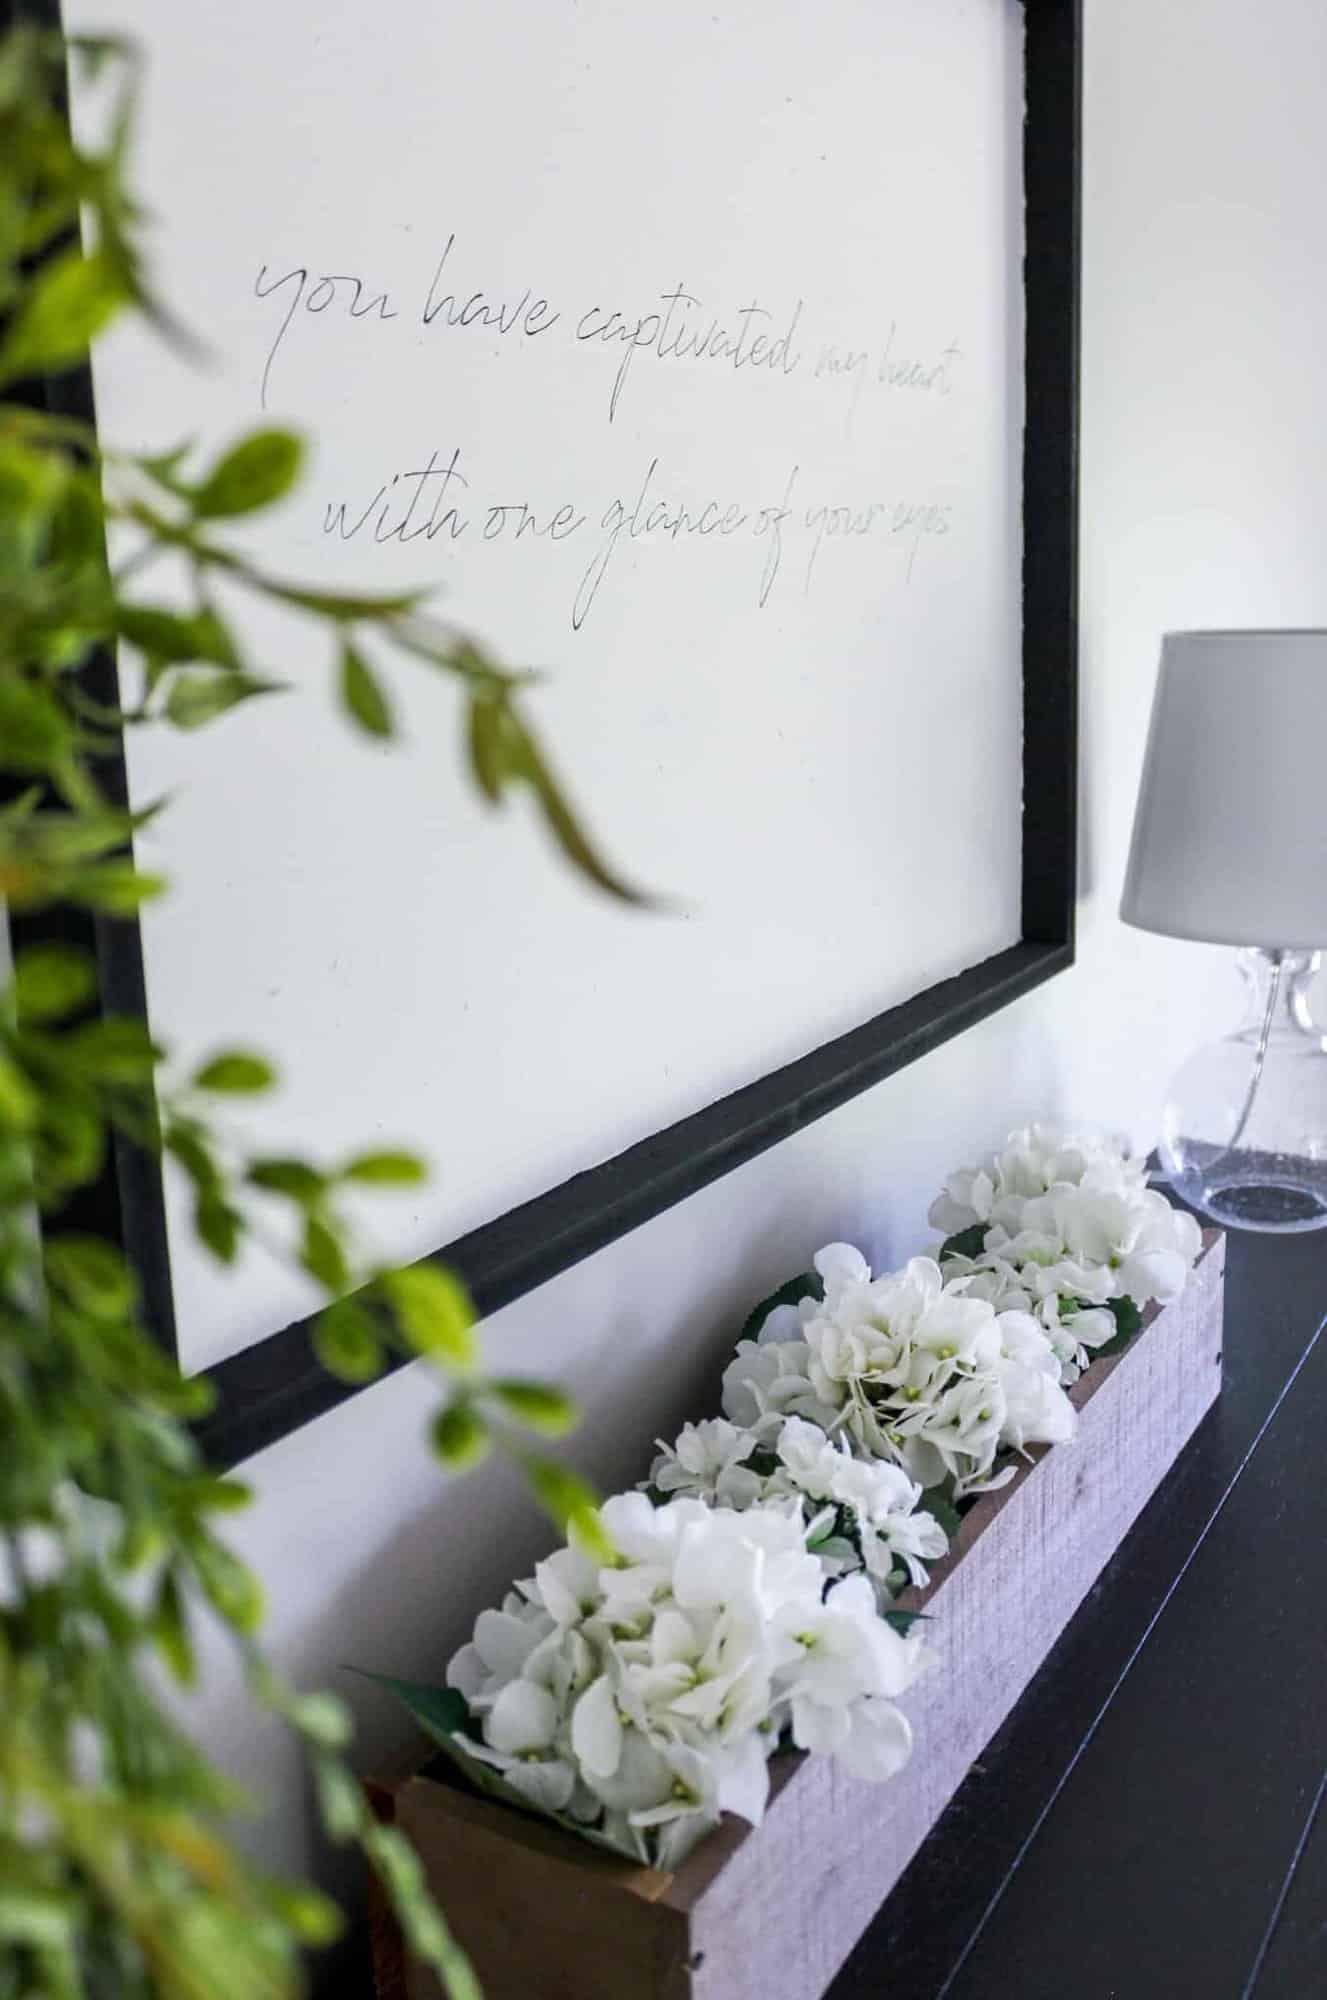
Isn’t that so neat?
This entire project cost me nothing out of pocket.
I used supplies I already had—just like many of you probably do too.
And in the end, I didn’t just make decor. I made a declaration.
Because home isn’t about the trends you can afford—it’s about the truths you choose to surround yourself with.
Here’s the challenge, friend:
Look around your home.
Grab that forgotten frame, leftover paint, or half-used marker.
Choose a quote that centers your heart.
Then… just begin.
No one’s grading your lettering. What matters is that you’re creating something that
What started as attic chaos led to a beautiful moment of calm creativity. And isn’t that just like life?
God often pulls beauty from the messiest corners—if we’re willing to look again.
This is more than decor. It’s a small step toward a home that reflects your values, your faith, and your journey.
You don’t have to be a designer.
You don’t have to have a perfect home.
You just need a little courage, a little paint, and a whole lot of grace.