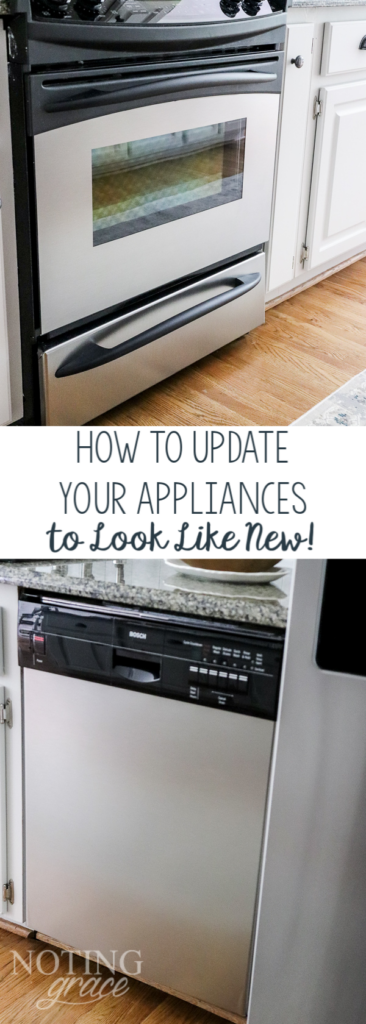
How to Update Your Appliances to Look Like New
Thank you to EZ Faux Decor for partnering with me on this post! Here’s how to update your appliances to look like new without spending tons of money!
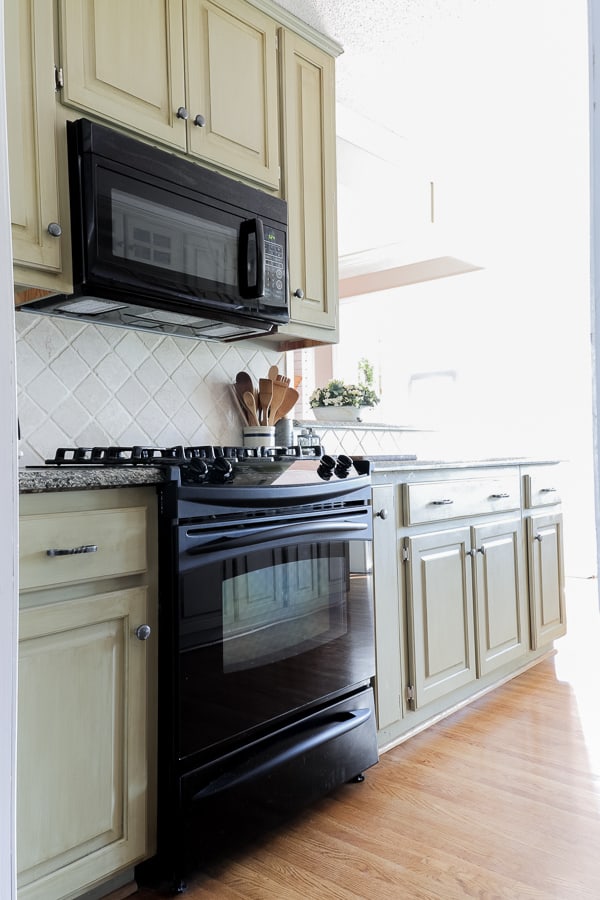
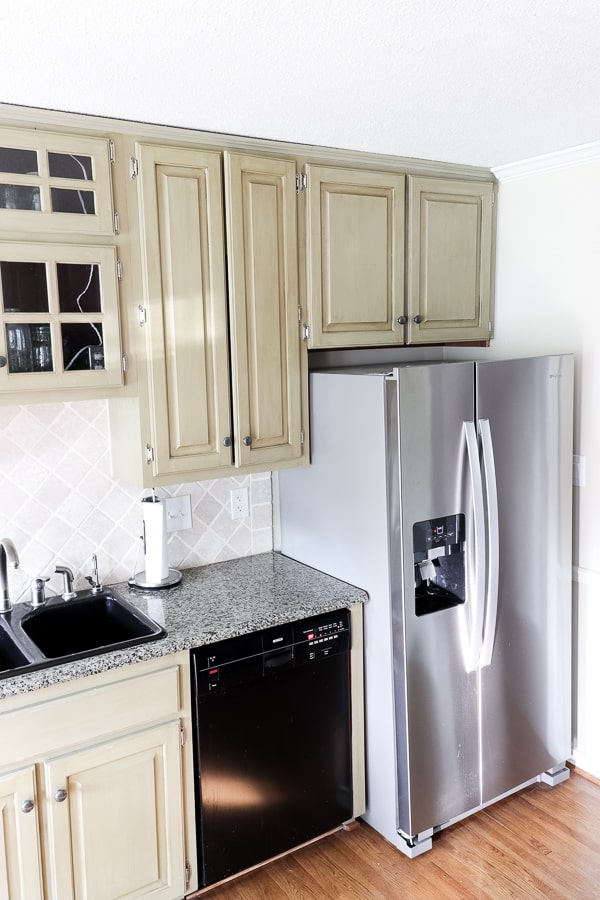
When we moved into our Meadow Brook Home, our kitchen was dated with plain, black appliances. We needed to replace our refrigerator when we moved in, which immediately made our appliances not match!
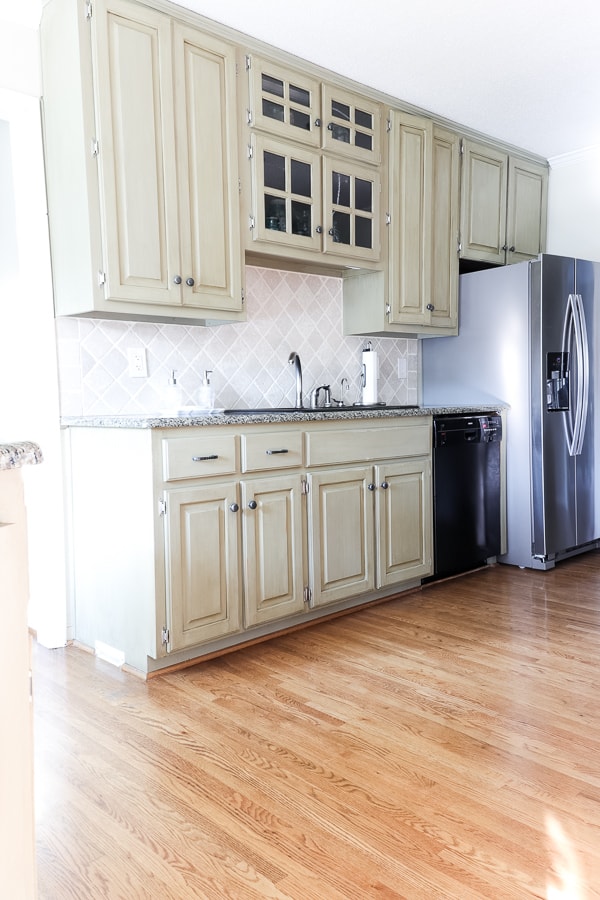
Since we’ve been updating our kitchen on a tight budget, I needed to find a solution to get my appliances to match without spending thousands of dollars.
Using the EZ Faux Steel from EZ Faux Decor helped us update our appliances in one afternoon!
It’s a simple peel and stick film made with non-toxic adhesive that easily removes, but is strong enough to withstand heat and is tear and stain resistant.
How to Update Your Appliances
to Look Like New
EZ Faux Steel (we used 36″ x 72″)
Tape Measure
Scissors
Cleaning solution
Squirt Bottle with a drop of dish soap
Squeegee – provided with the kit
Razor Blade
We first started by cleaning our appliances really good.
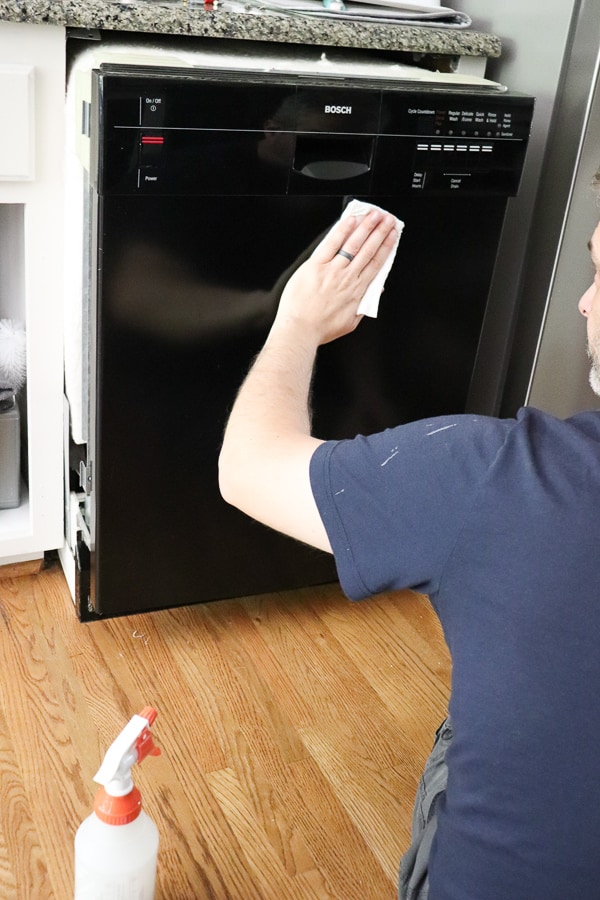
Our home was a rental before we bought it, so there were years of gunk and neglect on the appliance fronts, so we needed some elbow grease to get at a few stains.
Next, measure your appliance front.
I found using a sewing tape measure to be easiest in getting around the sides of the appliance.
The back of the film has a grid to help mark your lines to cut.
Cut about an inch over what you measure to ensure complete coverage.
This next step is optional, but highly recommended by Trent.
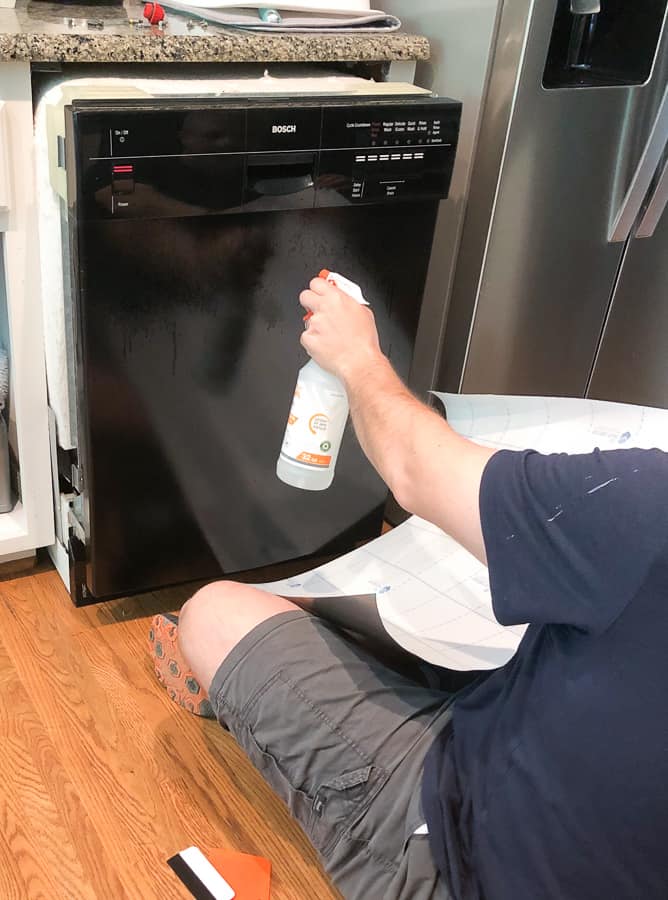
Spray your appliance very sparingly with water diluted with one drop of dish soap.
Trent used to work for his parents automotive business in their detail department installing decals and pin stripes.
The addition of the water/soap combo helps to get the film exactly where you want it to go. It allows for a little bit of give when you are first placing the film on the surface.
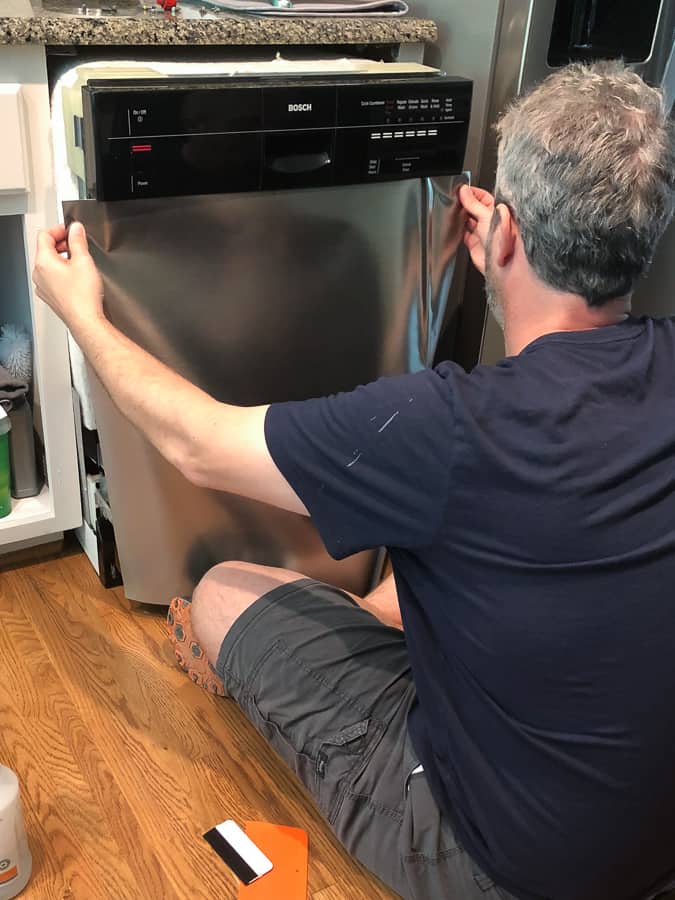
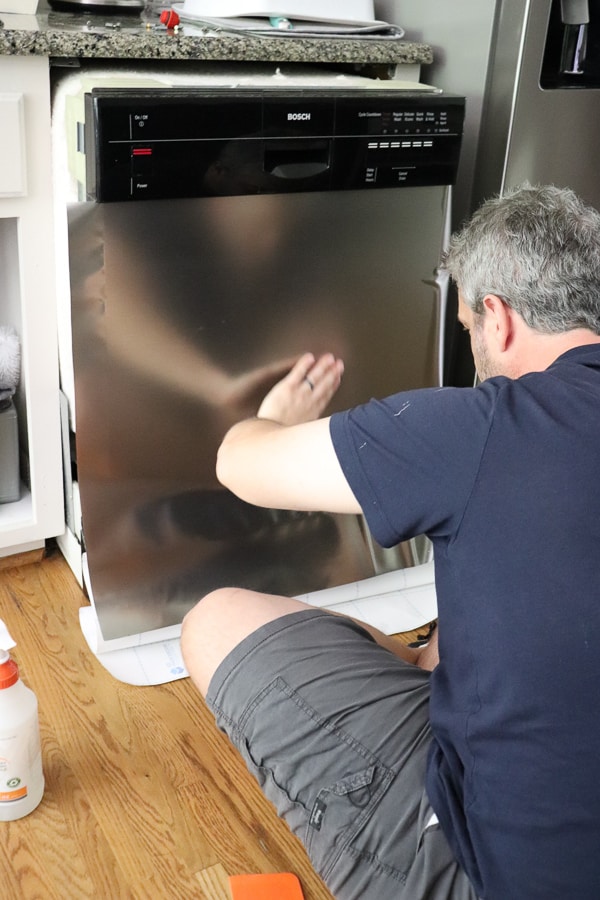
Once you have your film in place, you are ready to finish applying it.
Work in small sections, from the inside out, using the squeegee to move any air bubbles out.

Sometimes stubborn air bubbles will be there, but be patient and work them out to the side and they disappear!
When you reach the bottom of the piece, you are ready to wrap the sides of your dishwasher.
Use your razor blade to carefully trim any excess.
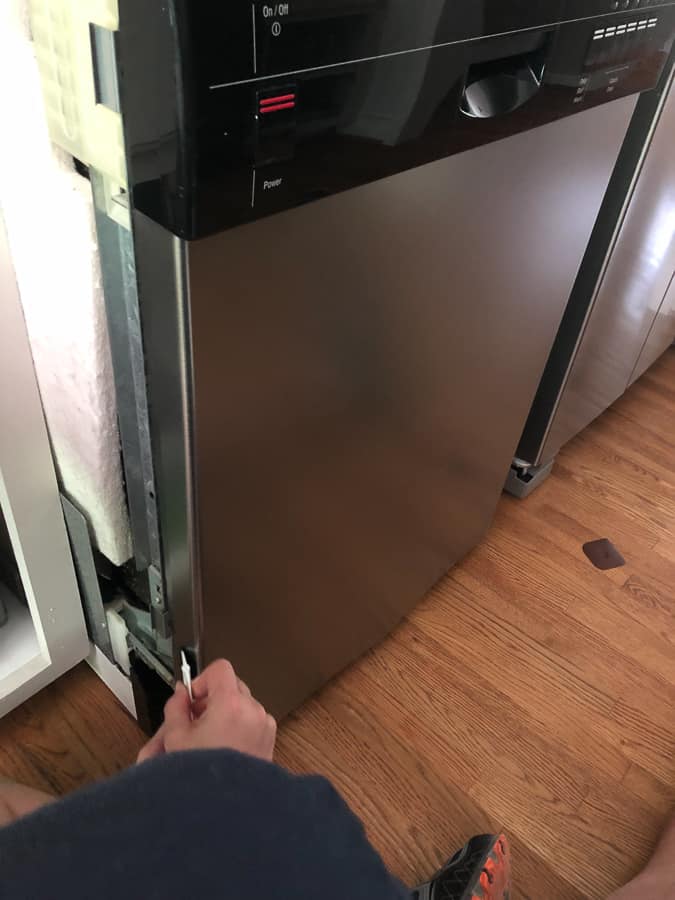
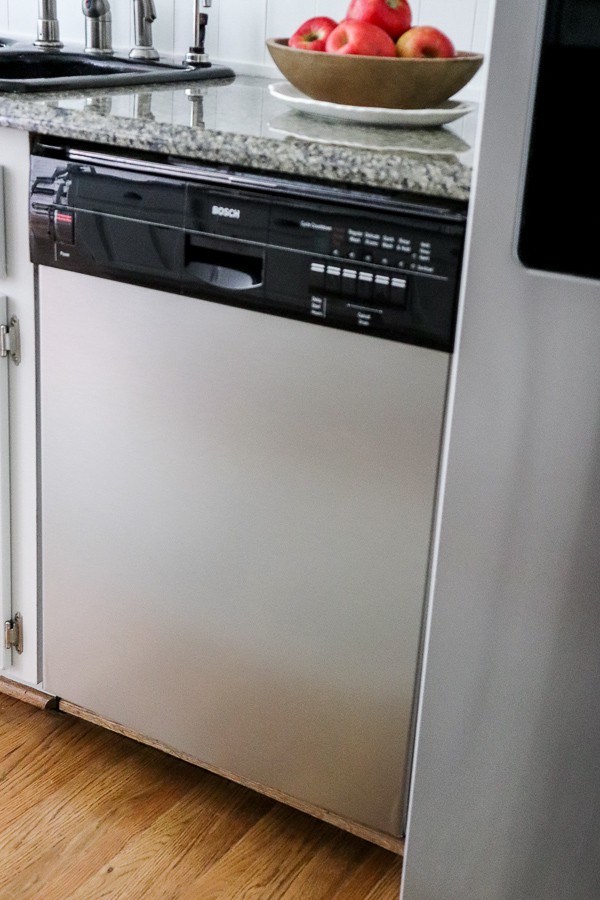
Now the appliances are a great match!
For our stove, we installed the film the same way with the exception of the sides of our stove door. Our stove front was glass and didn’t need to wrap around, so we simply trimmed the excess at the edge.
Next, we measured out the opening for the window and using a razor blade, cut out the square for the front.
And just look!!
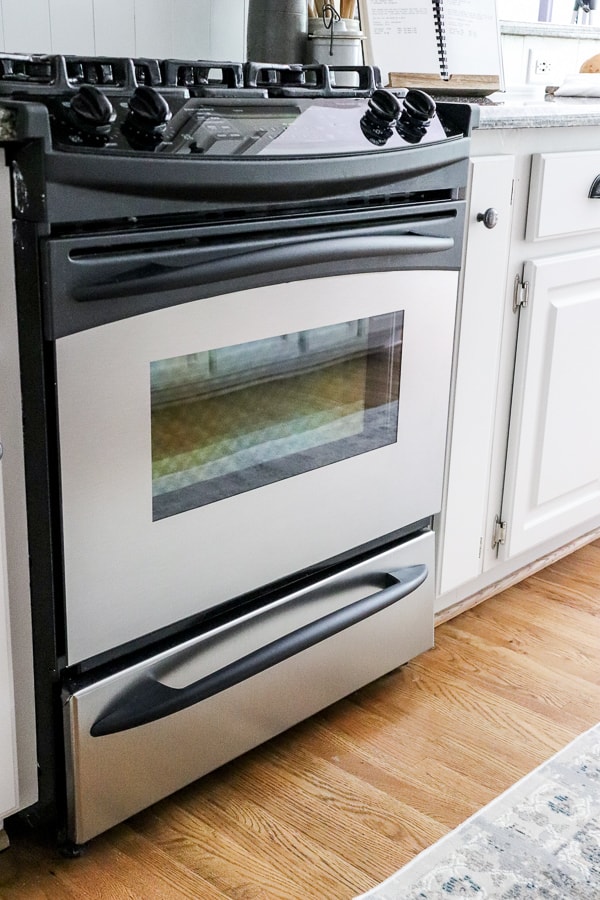
It looks as if it were made that way!
I still can’t believe it!
We even had enough left over to do a small strip down the side of our fridge to cover the gray textured side.
Look at the difference between the before and after!
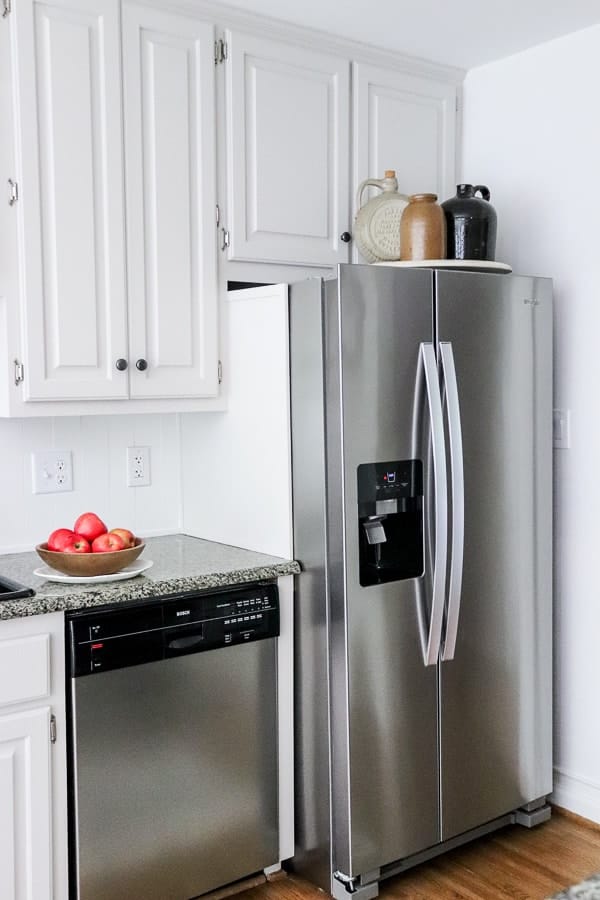
I can’t believe this is my kitchen!
So for $65 and an afternoon, that’s how to update your appliances to look like new!
Stay tuned for the full kitchen reveal tomorrow!
Pin this for Later!


Hey Dee! Thanks for reaching out! We did eventually replace the oven, however we kept this one for about 2 years and the oven door looked the same up until that replacement time. Hope that helps!! Let us know if you have any other questions!
Is it still holding up on the oven door or have you replaced it? I would think that the heat would make it bubble over time, no?
Great question! You could do it either way. If the handle is easily removable – go for it! That would give you the most seamless look. Trent is a master with a razor blade and he cut around to make it work for our stuff.
I hope that helps! And thanks for taking the time to comment!
Jen
Hi there! How did you manage the film around the oven’s handle? We have a similar situation with our dishwasher. Did you take the handle off first prior to installing he film? Or cut out holes?