Everything You Need to Know to Limewash Interior Walls
If you been thinking about how to DIY limewashed walls, then this post has got you covered! Everything you wanted to know about limewashing your walls coming at you right now!
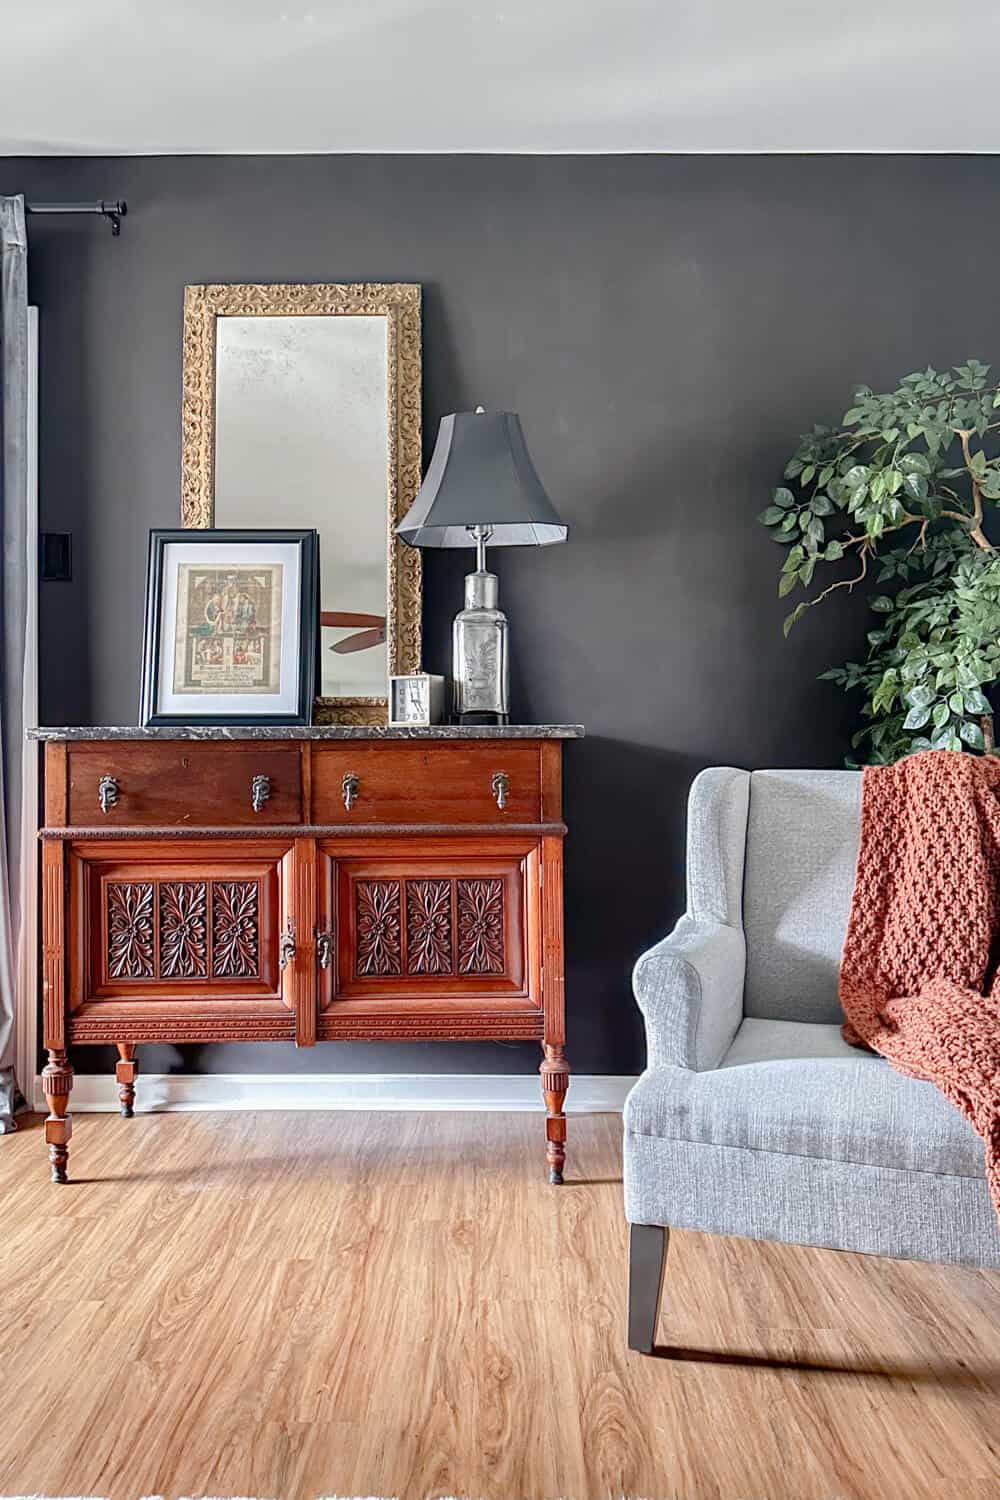
Buh-bye boring flat walls – now there’s something better than regular paint!
Have you seen the latest trend of lime washing walls?
What if I told you it wasn’t a trend, but has been around for centuries?
That’s right – old world, old school painting is coming back around with all the benefits of Eco-friendly products.
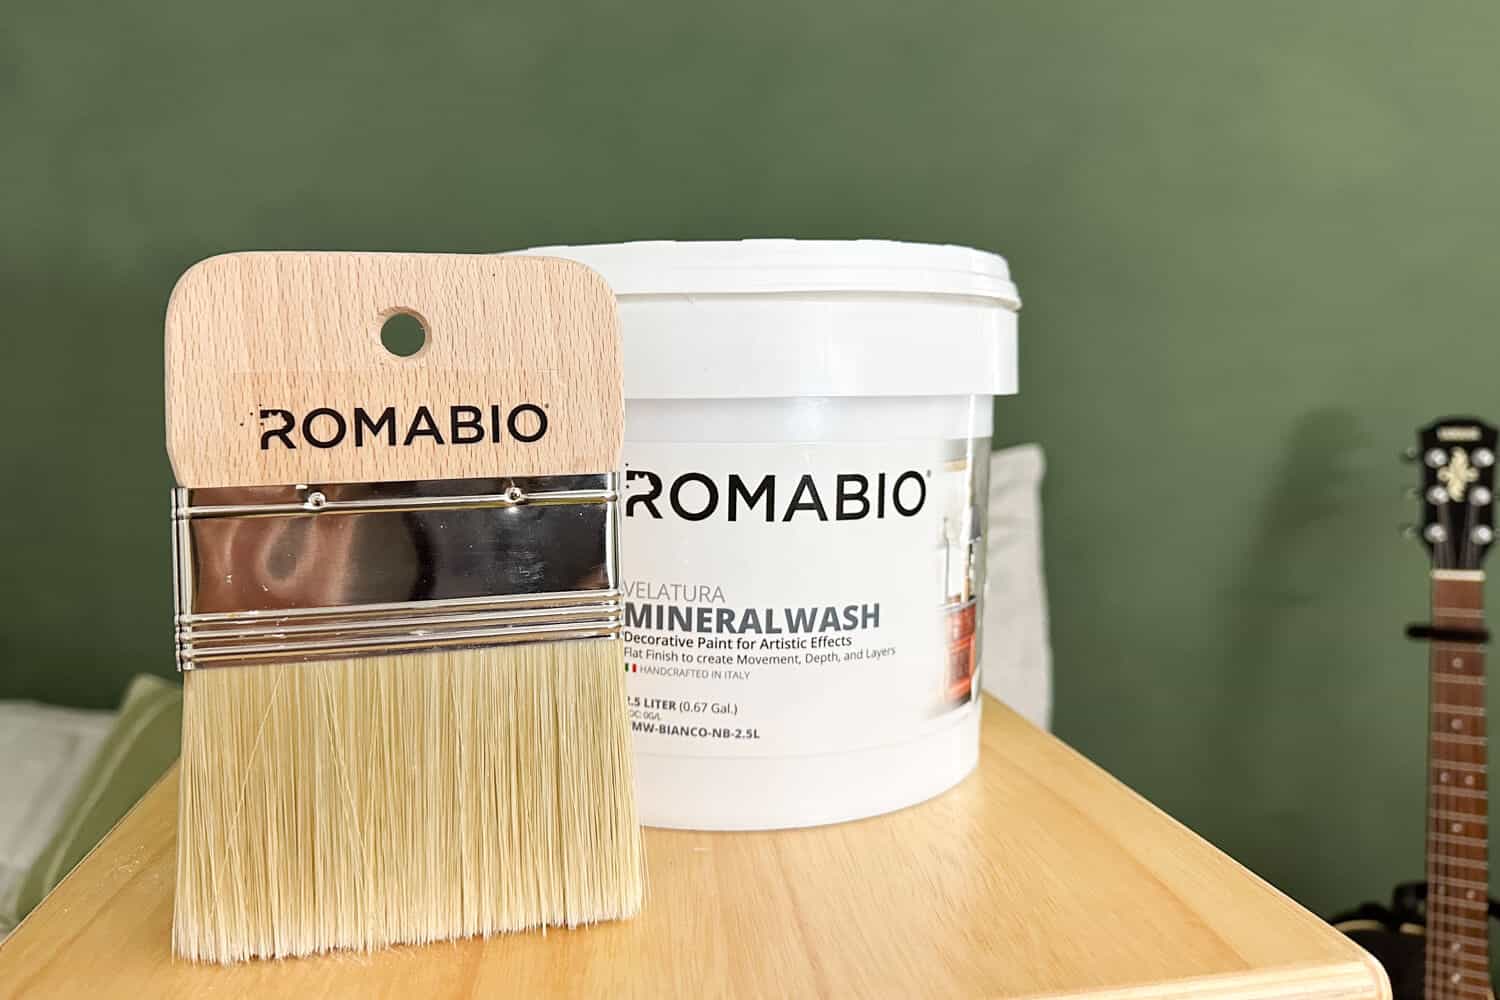
We are so fortunate to have such a great relationship with the brand Romabio.
They created a new product that they launched last year called Velatura Mineralwash and we were some of the first, I guess, guinea pigs who were able to give the product a try this past year and fell in love with it.
Absolutely in love with it!
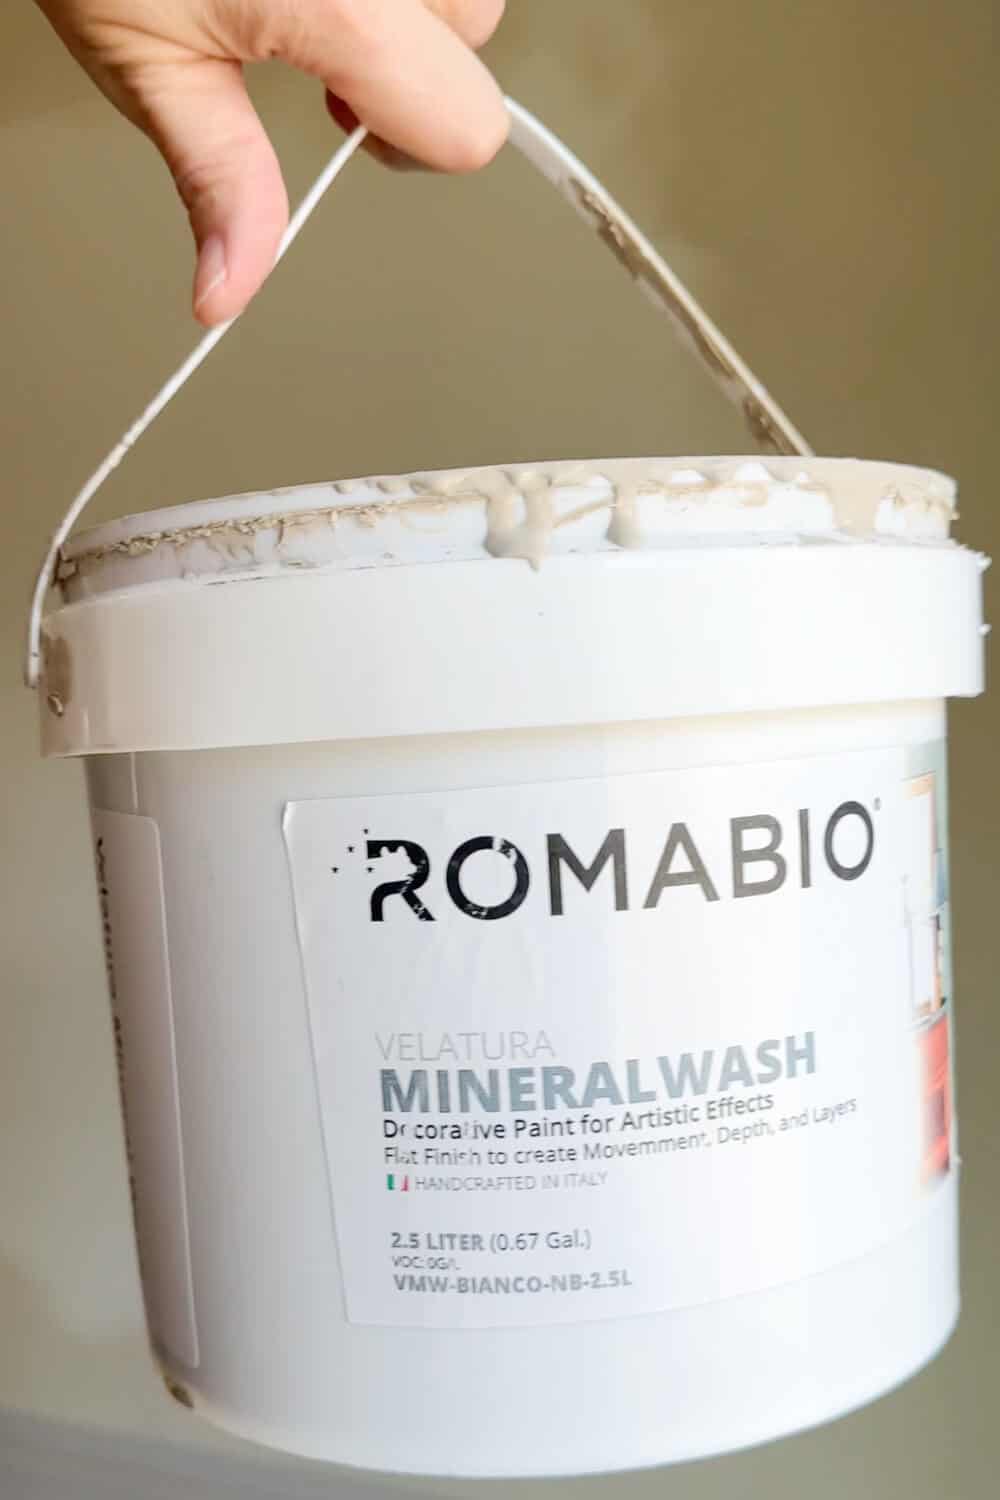
It is a totally different product than their other Classico Limewash which are lime-based paints used for a breathable surface like brick and stone and other masonry limewash applications.
Quick disclaimer right from the get-go that I want to clear up.
Don’t use Classico Limewash on walls!
That product has been formulated specifically for brick walls or stone or other porous surfaces or absorbent materials.
Dry wall has a paper barrier that isn’t an absorbent surface.
If you use it on your drywall, you would get a reaction which is called ghosting or chalking – which means that it’s gonna maybe rub off on you when you brush up against it.
That’s not good!
So they knew that that was an issue and they reformulated it to create the highest quality that offers the same movement that you get from limewashed walls.

It’s called Velatura Mineralwash and it’s so easy to use!
So let’s just jump straight into our project!
Everything You Need to Know to Limewash Interior Walls
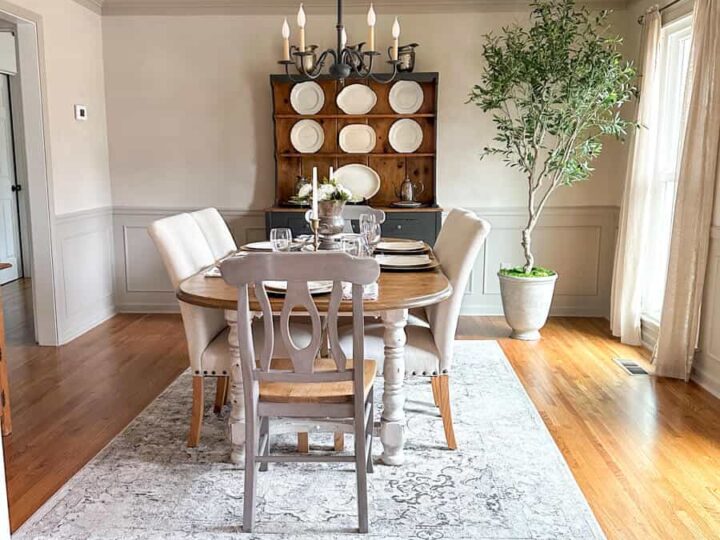
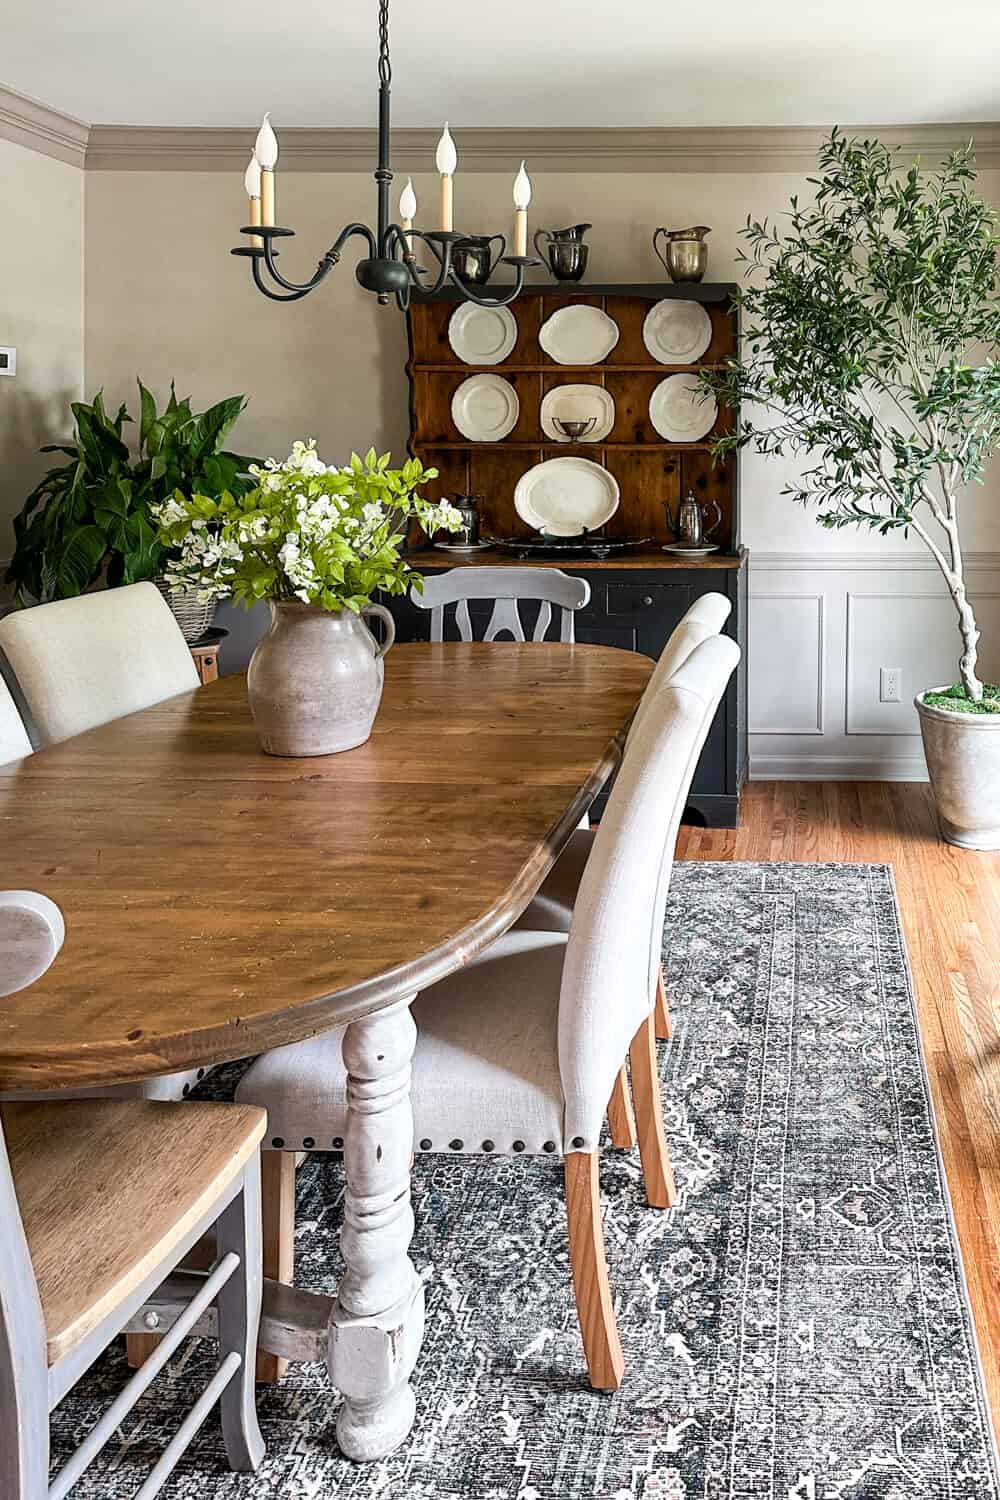
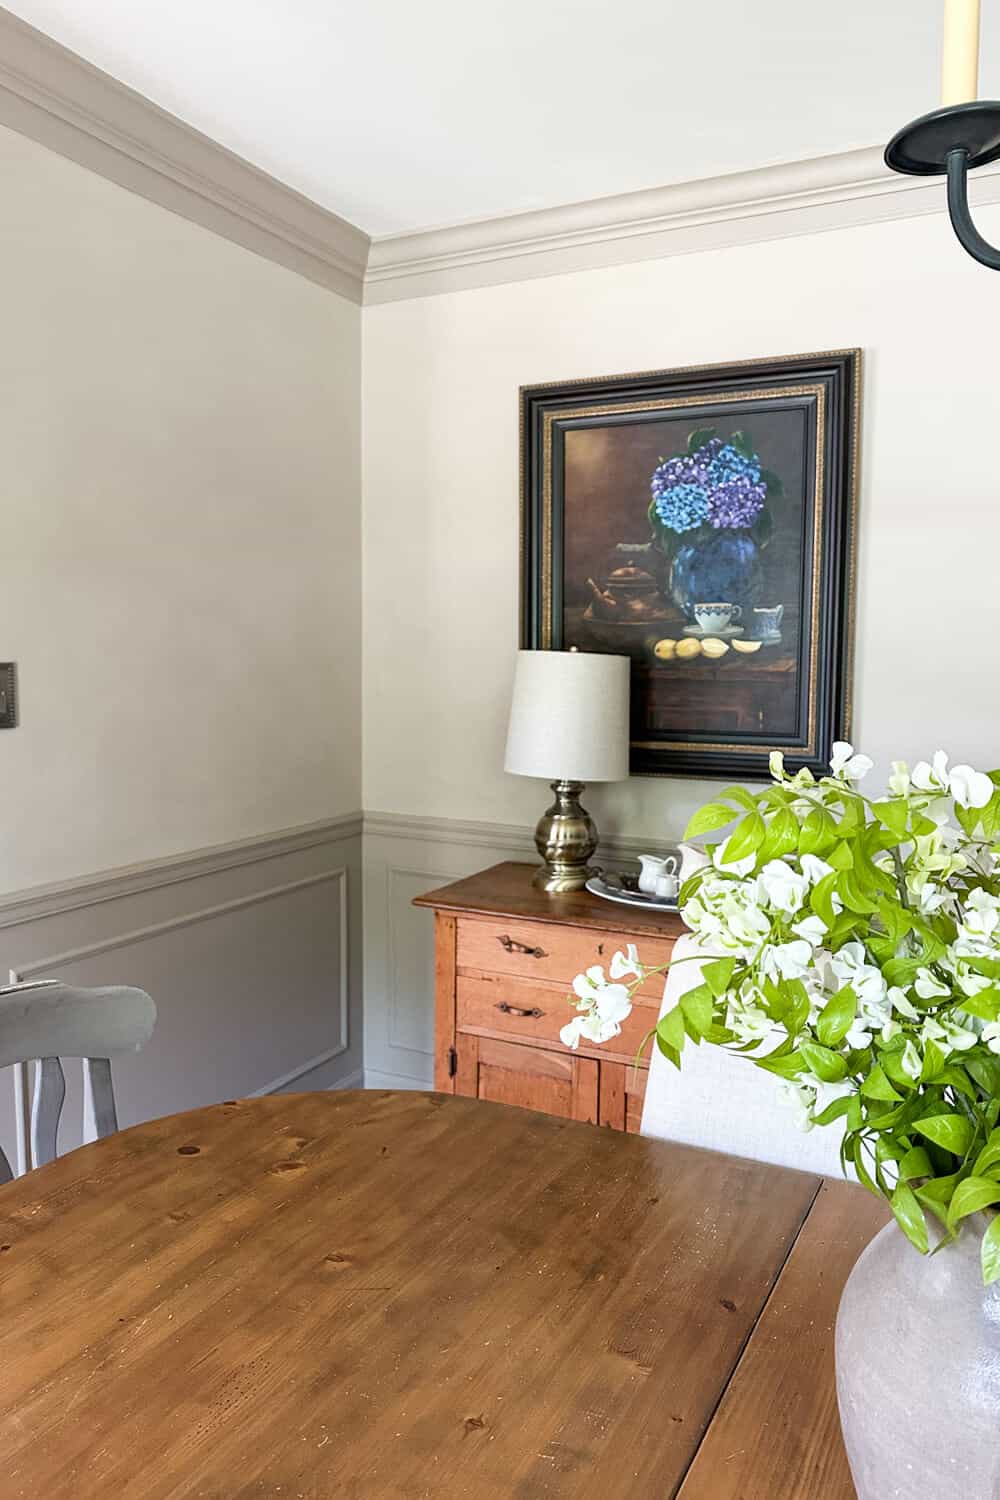
When making over our dining room, we had the opportunity to try a few of Romabio’s colors before we finally settled on the color that we’re using.
Testing Colors
Testing colors is a great way to find which color would work for you.
I found this process really fun!
One trick we did was to purchase cheap drywall squares to try different colors. This also gave me a chance to try out which application technique I planned to use.
We tried a salmon color, a mid-toned blue and lots of lighter colors in different creams.
I also tested out a really cool color called New Hope – a deep teal color.
And I found that the more that I diluted it, the more lighter that the teal was.
So you had the deep base coat and that diluted second coat was much lighter than the base coat and that really helped to create that variation in pattern.
I loved this color, but the color palette was too deep for this room, but I may use this for our home office when we get to making over that room.
Another option that you can do is to use two different colors for a limewashed wall.
That was one of the samples that we did. We applied a lighter color and then used a heavily diluted white on top of that.
That was a neat technique!
It wasn’t quite the tone that I wanted for this room, so we did opt for another one.
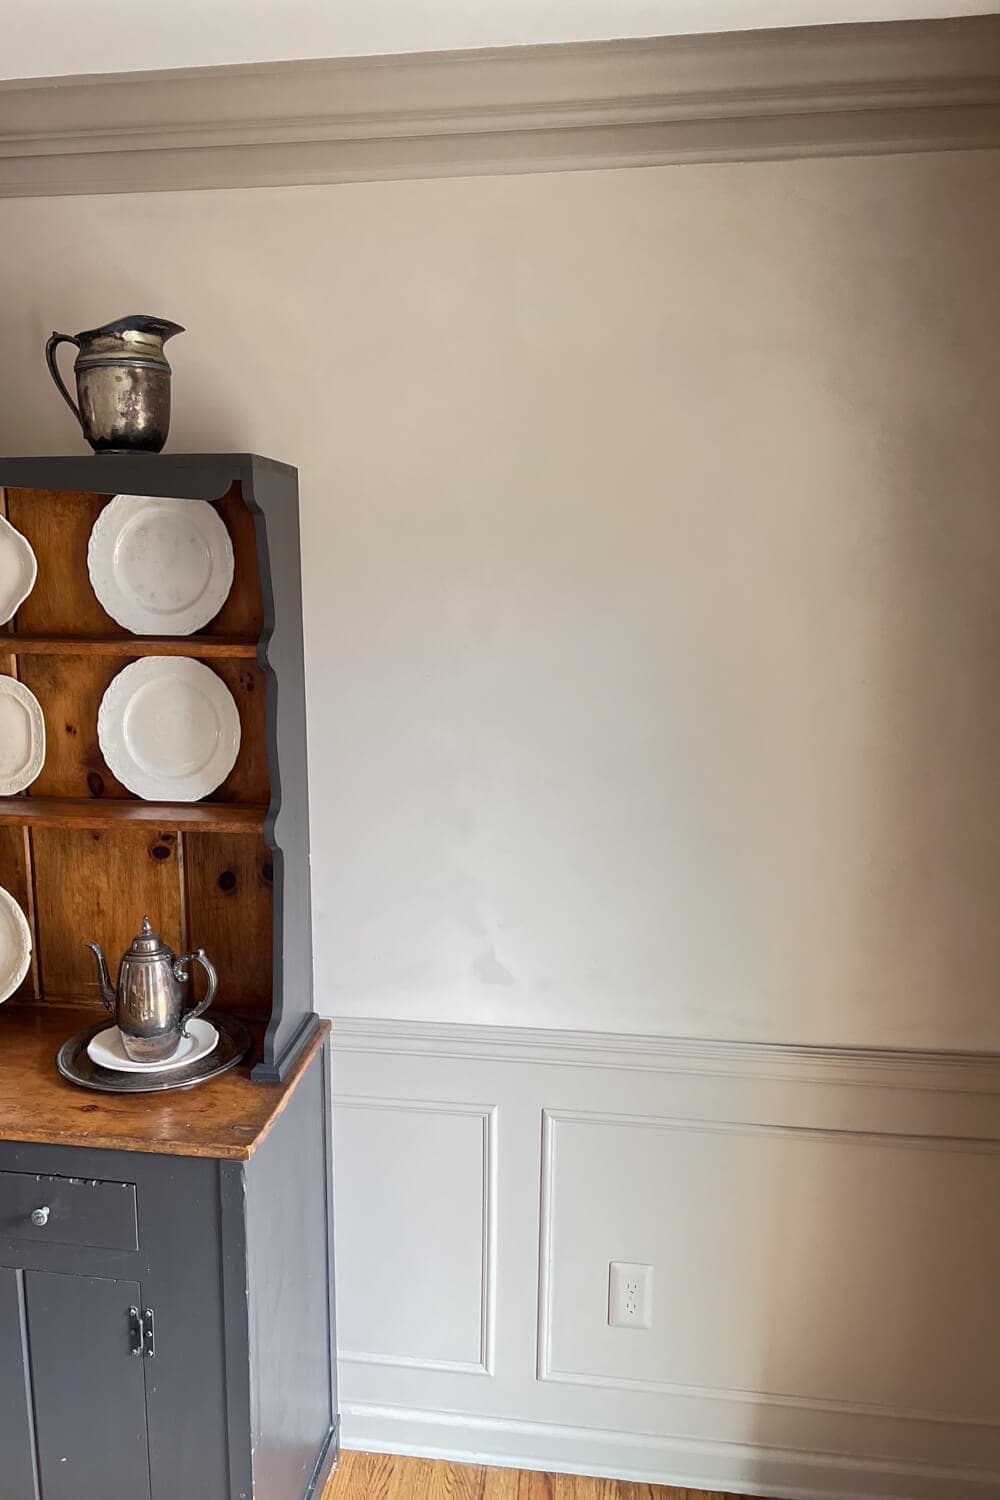
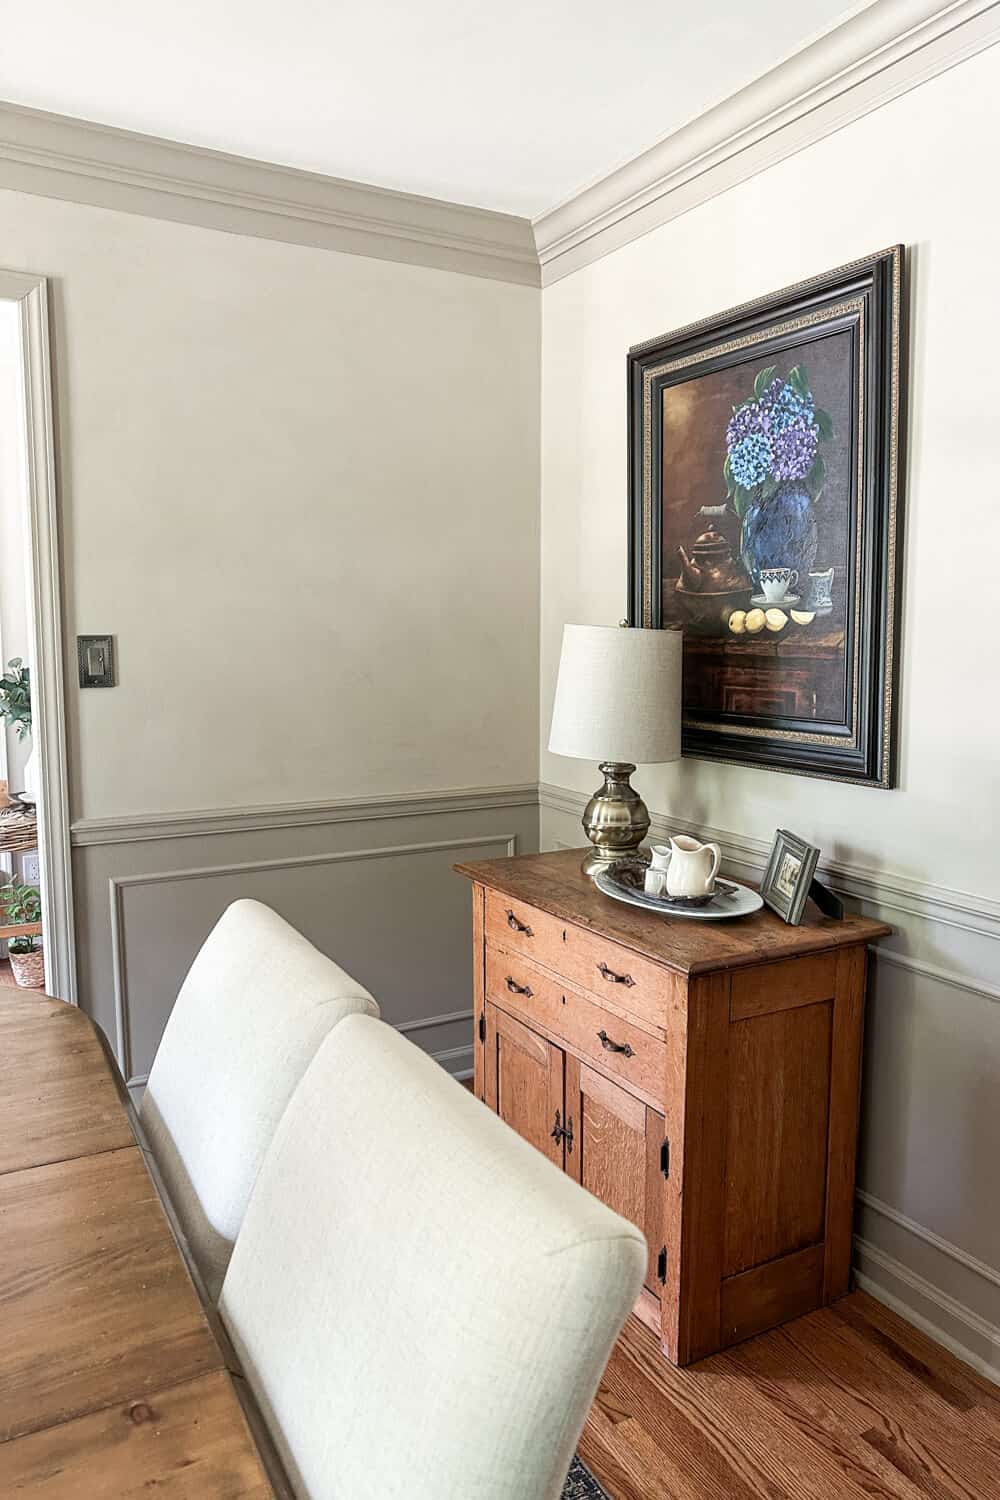
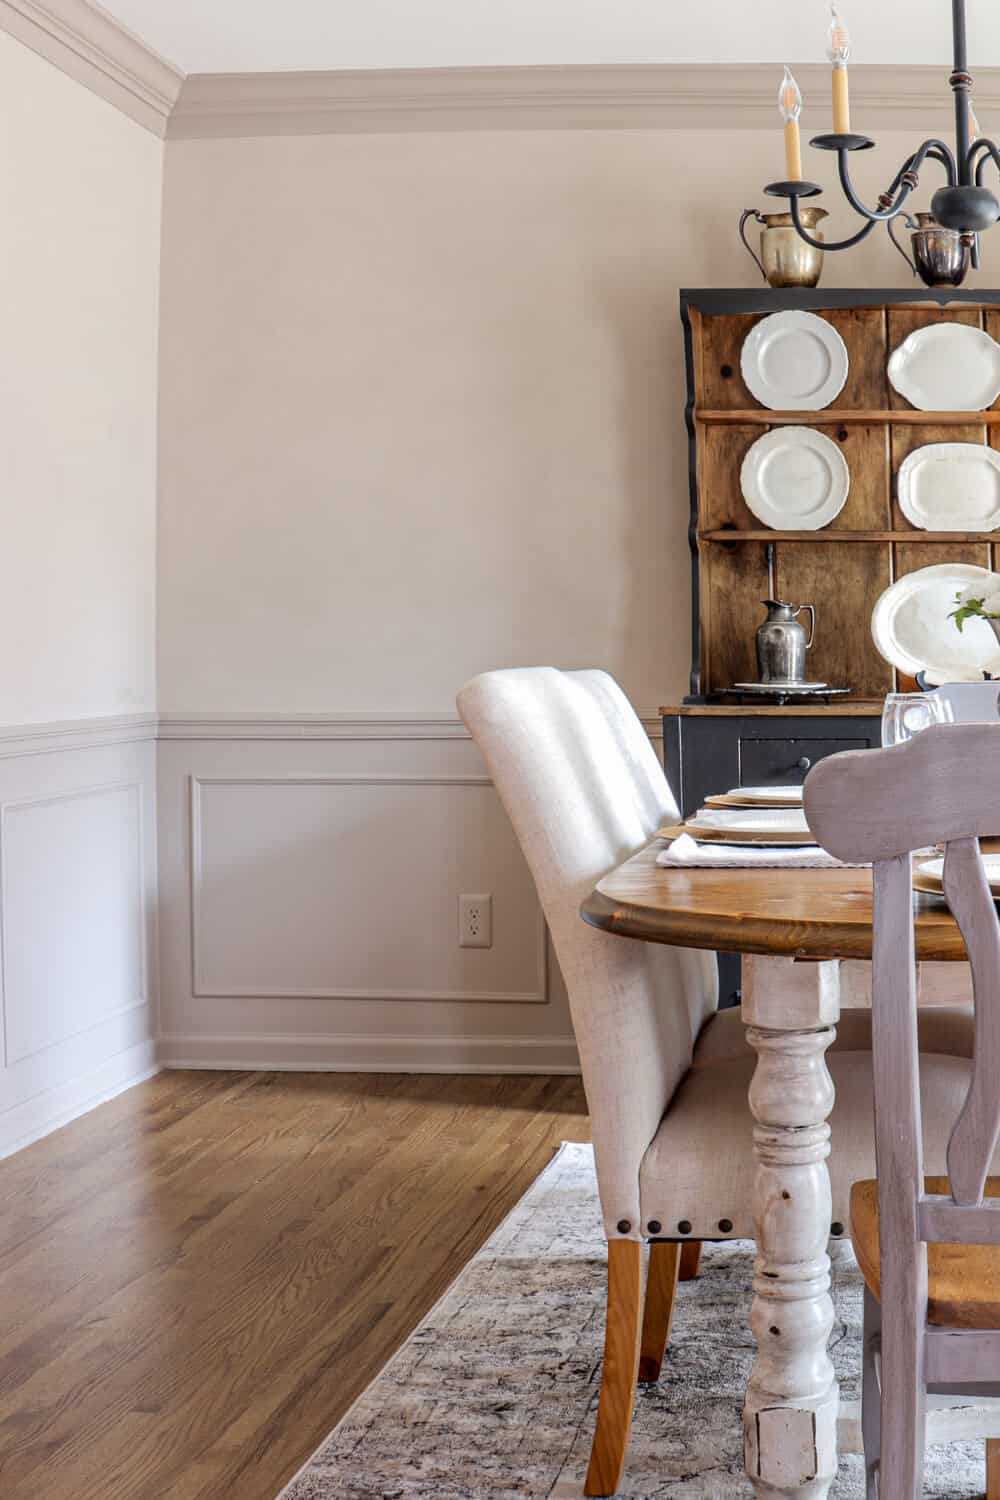
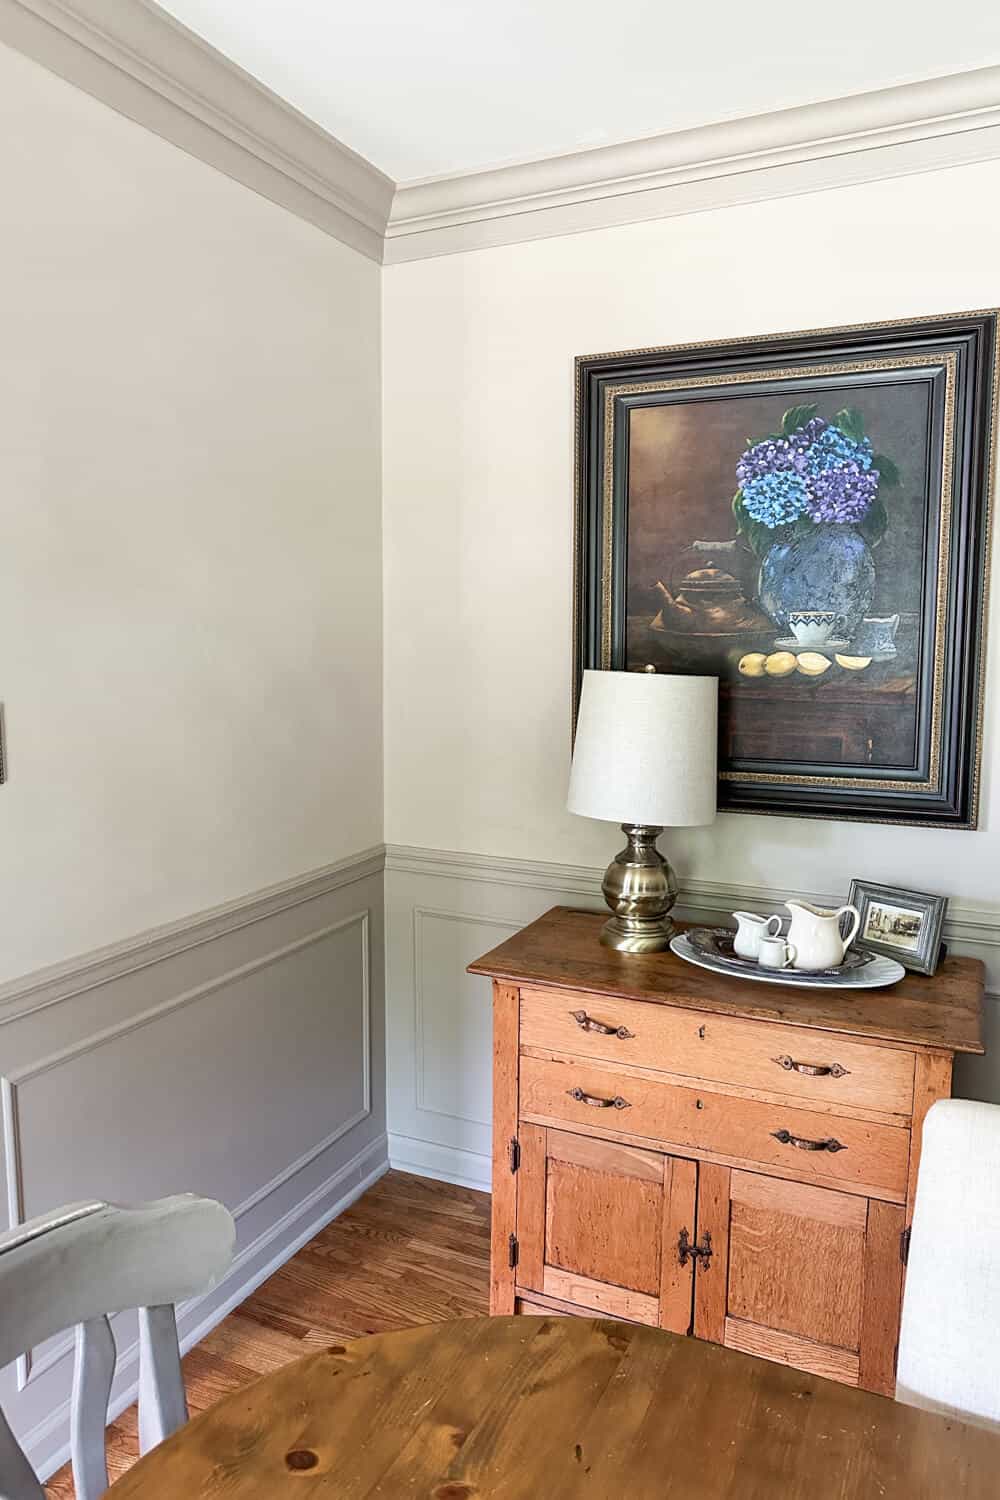
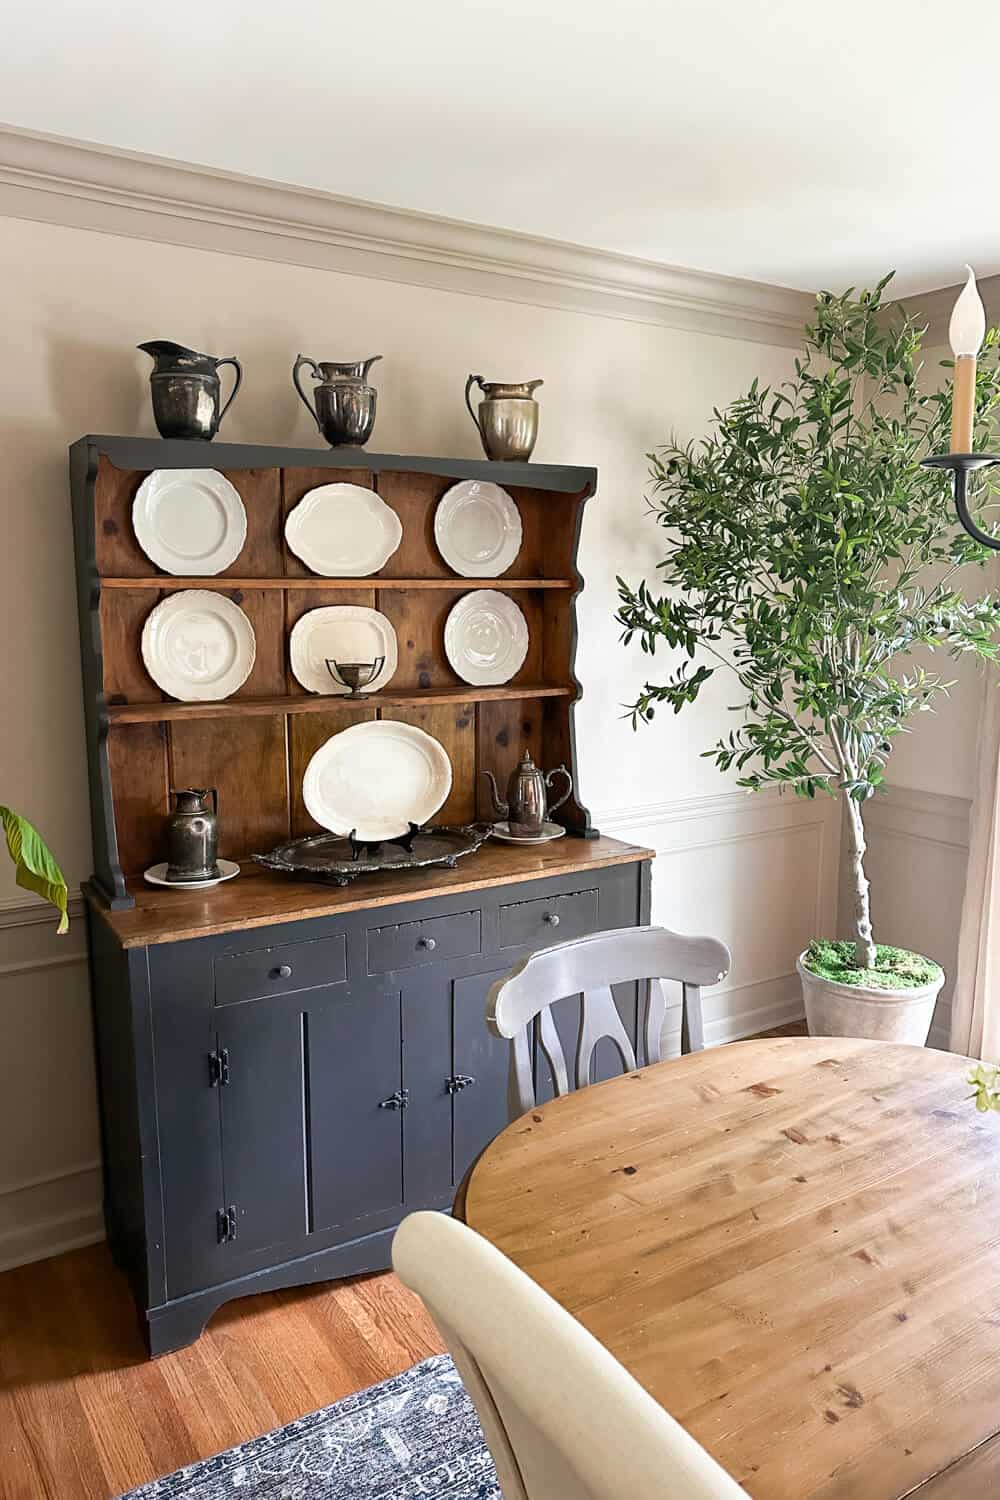
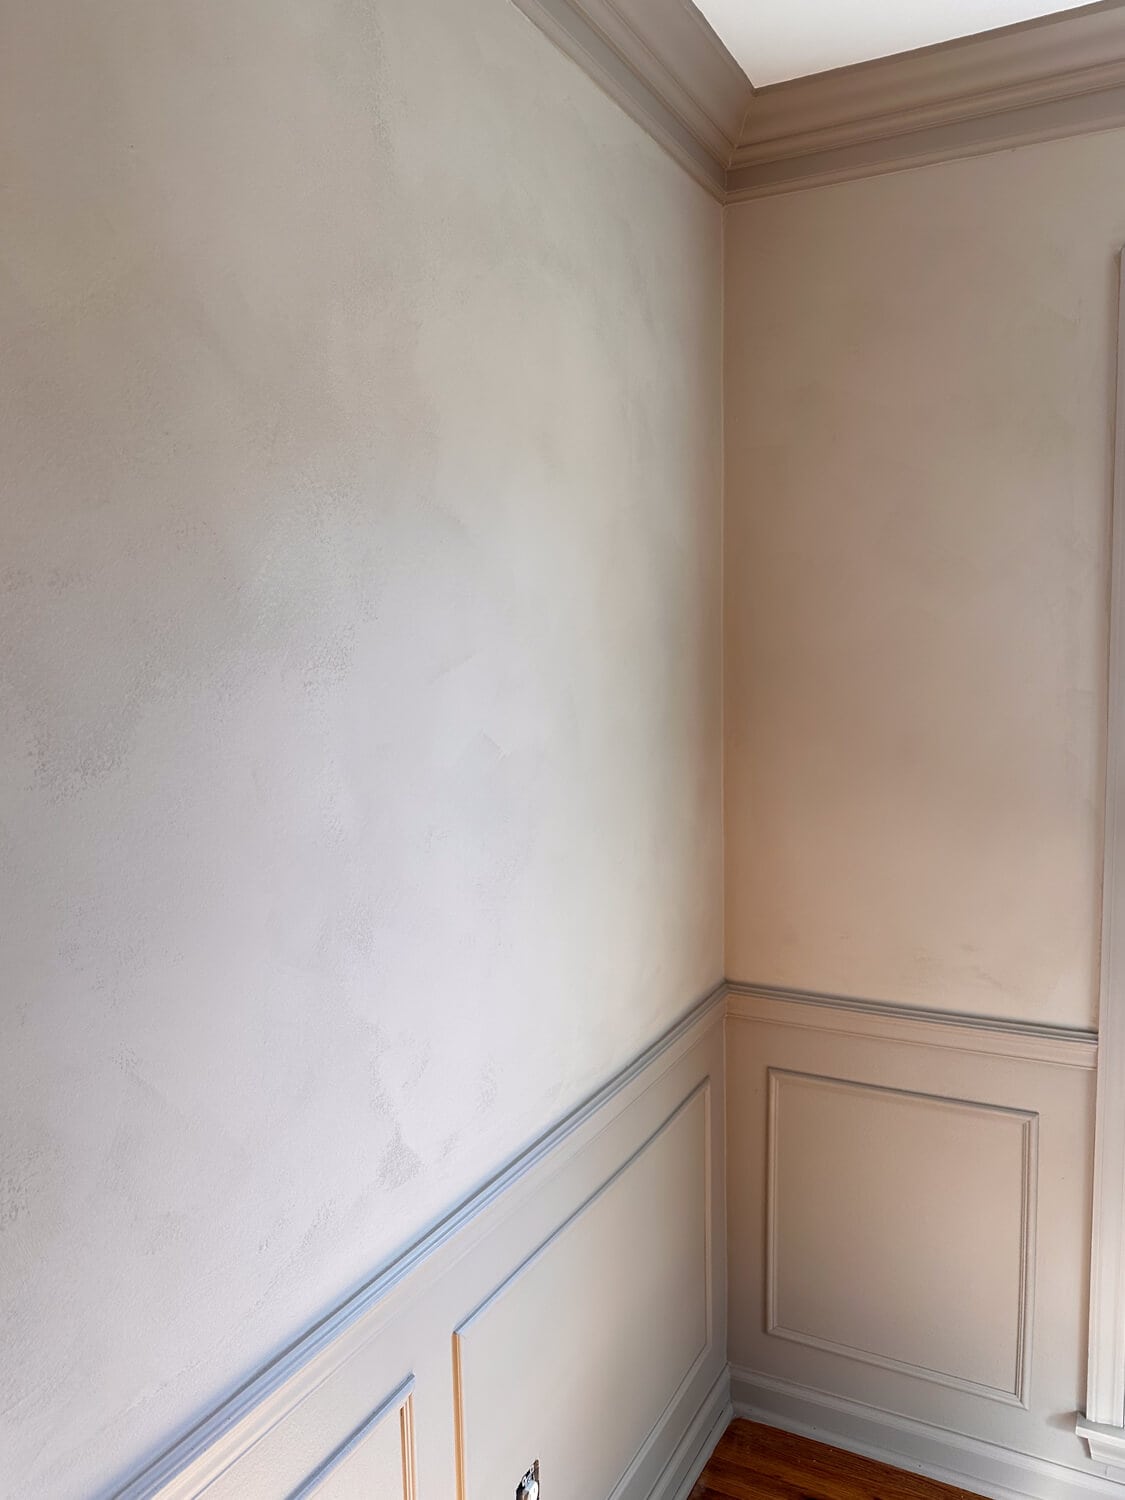
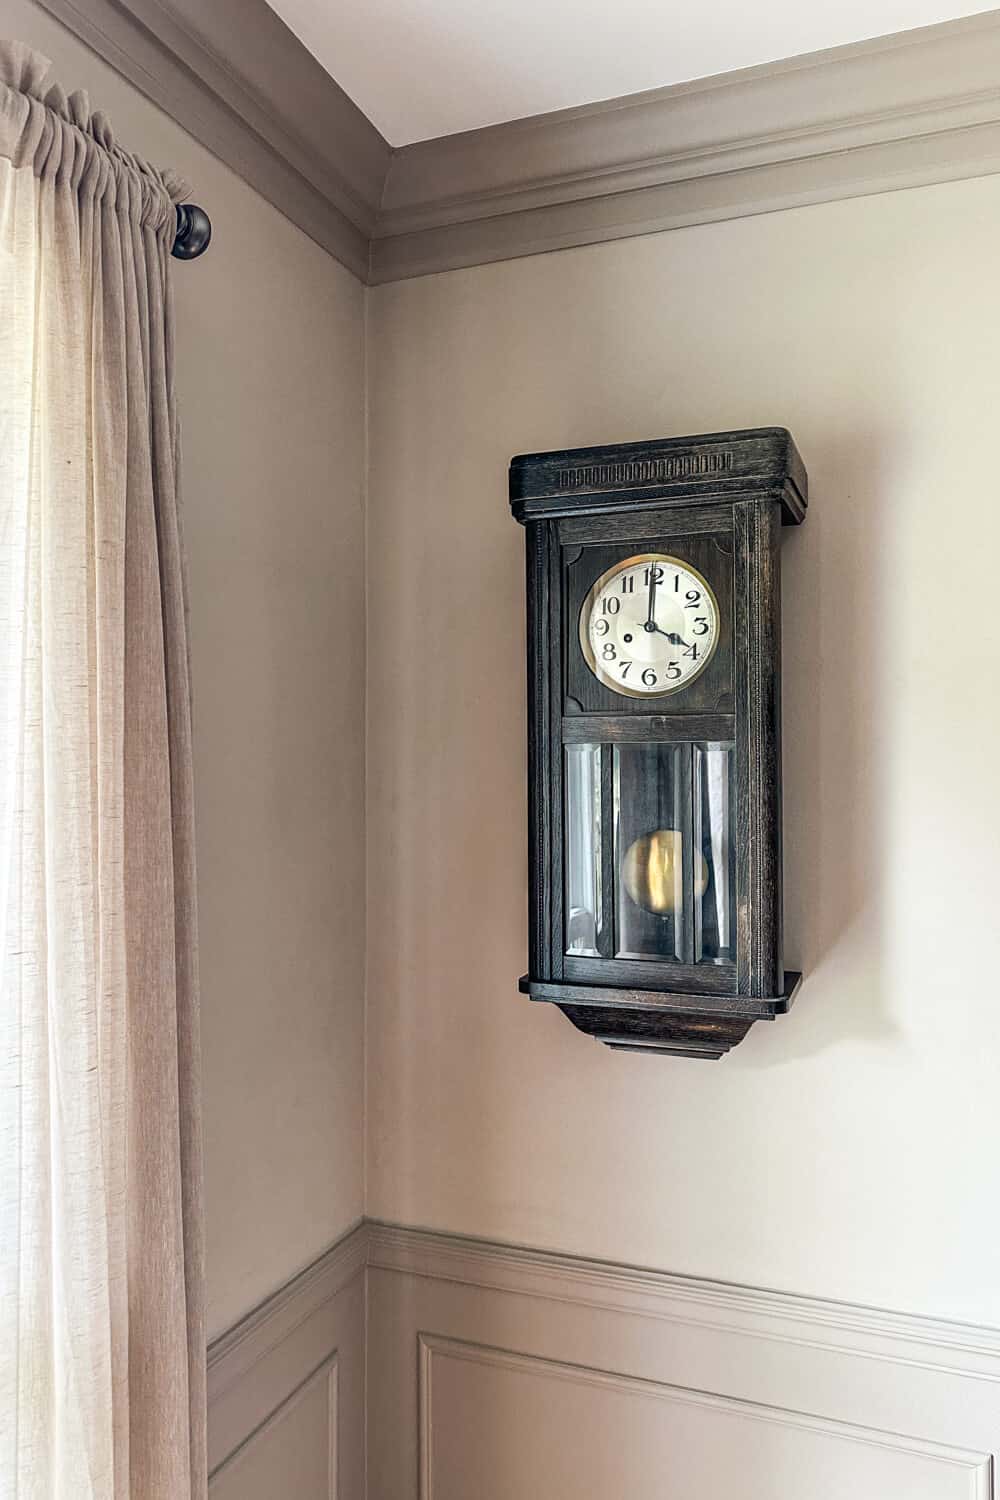
We are using their color Instant Chateau, which is a really neutral greige color.
How to Apply Limewash to Your Walls
We ordered a half gallon bucket and that gives an average coverage anywhere between 250 to 350 square feet depending on how much you dilute the paint. One bucket covered the upper half of this entire room.
The wall we’re working on has an existing paint finish and a nice limewash finish requires an evenly absorbing surface.
You don’t have to have smooth walls for this application. This would also work on a textured wall and may even help in achieving the wall finish you want.
So normally that’s when you would apply primer, however with Velatura Mineralwash, you can skip that primer step. You can apply this to either painted drywall or gypsum board or even unpainted.
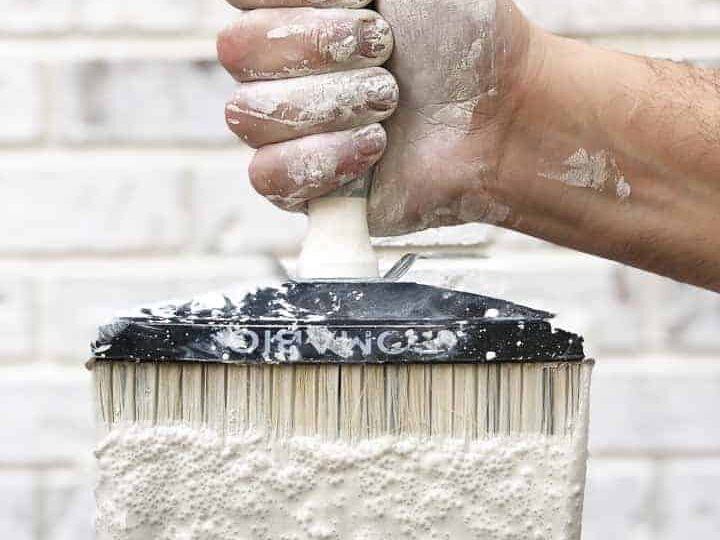
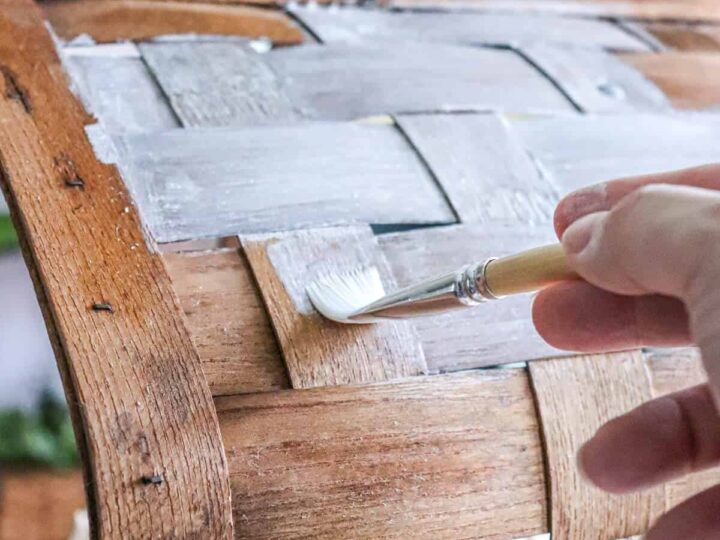
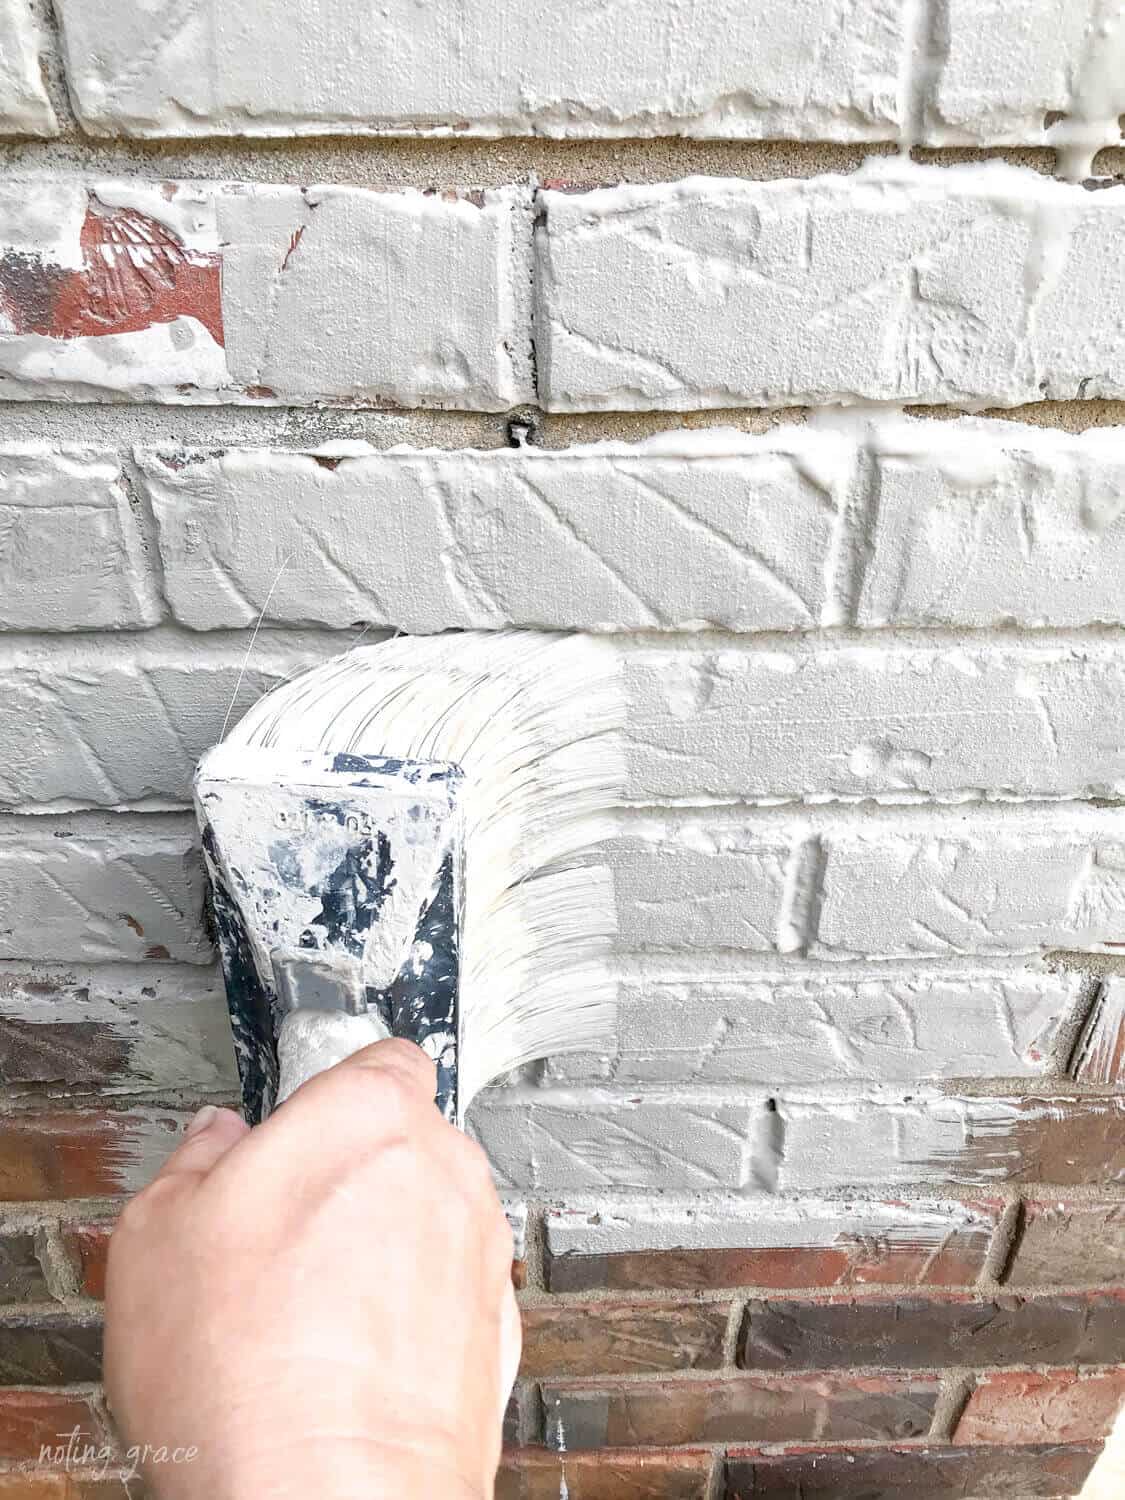
You apply limewash with a brush, so let’s go over some details of the brushes.
Now for the brush, you really want a quality brush.
We are using a proper limewash paintbrush with natural bristles.
Romabio does have a brush called a spalter brush, but you can also use any other natural bristle brush.
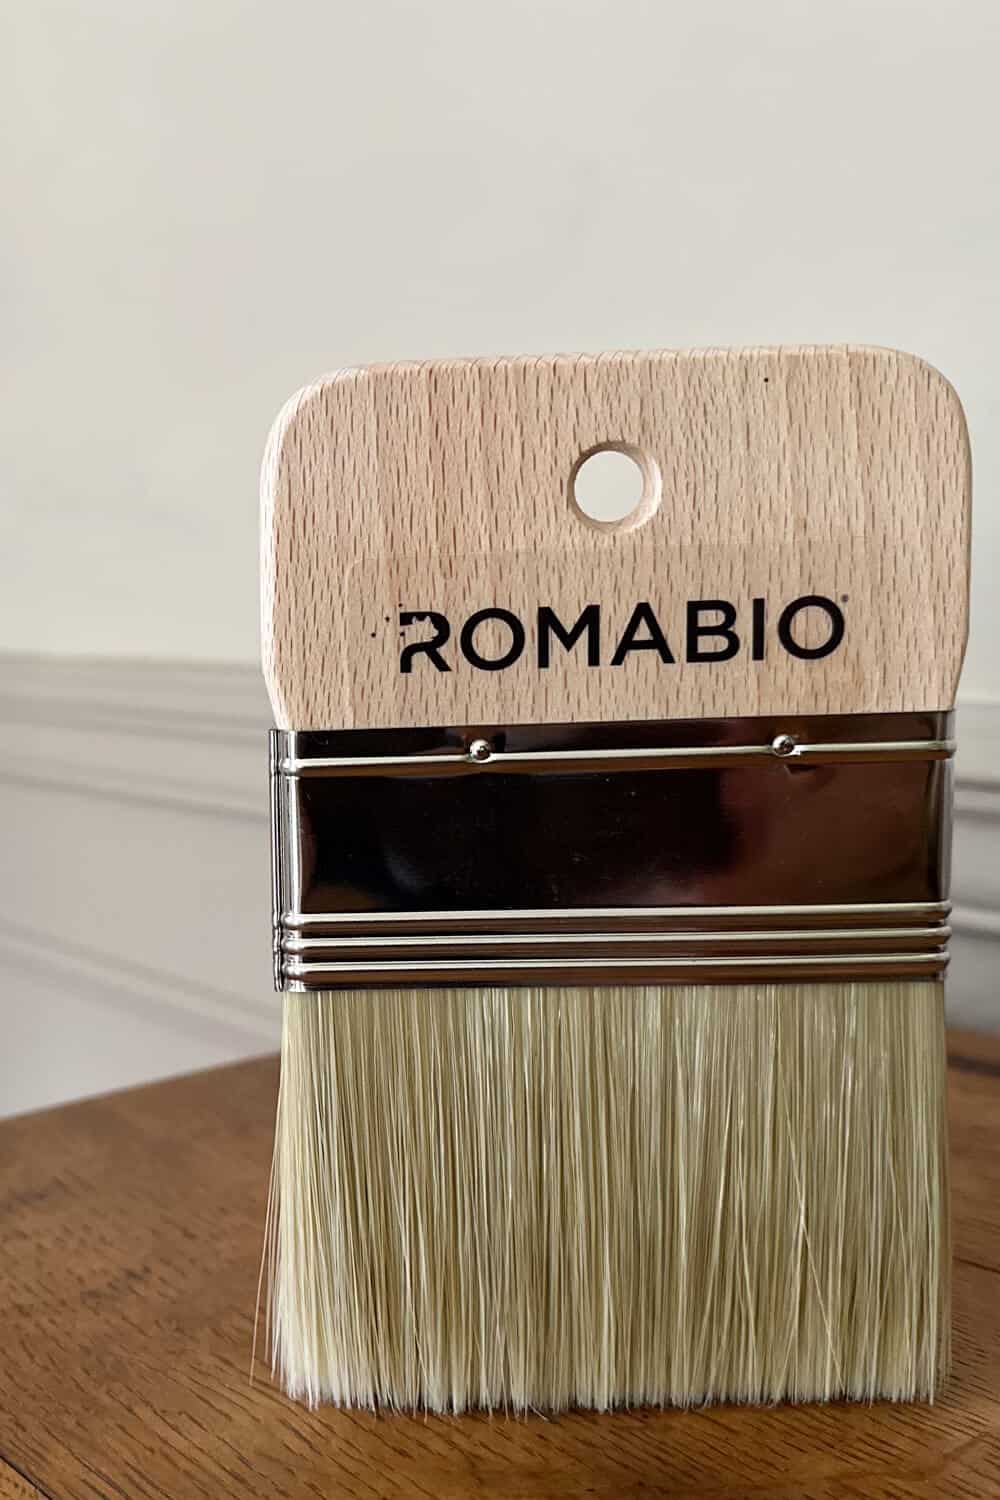
We also love their Masonry Brush, which is a block brush that makes the paint job a lot easier!
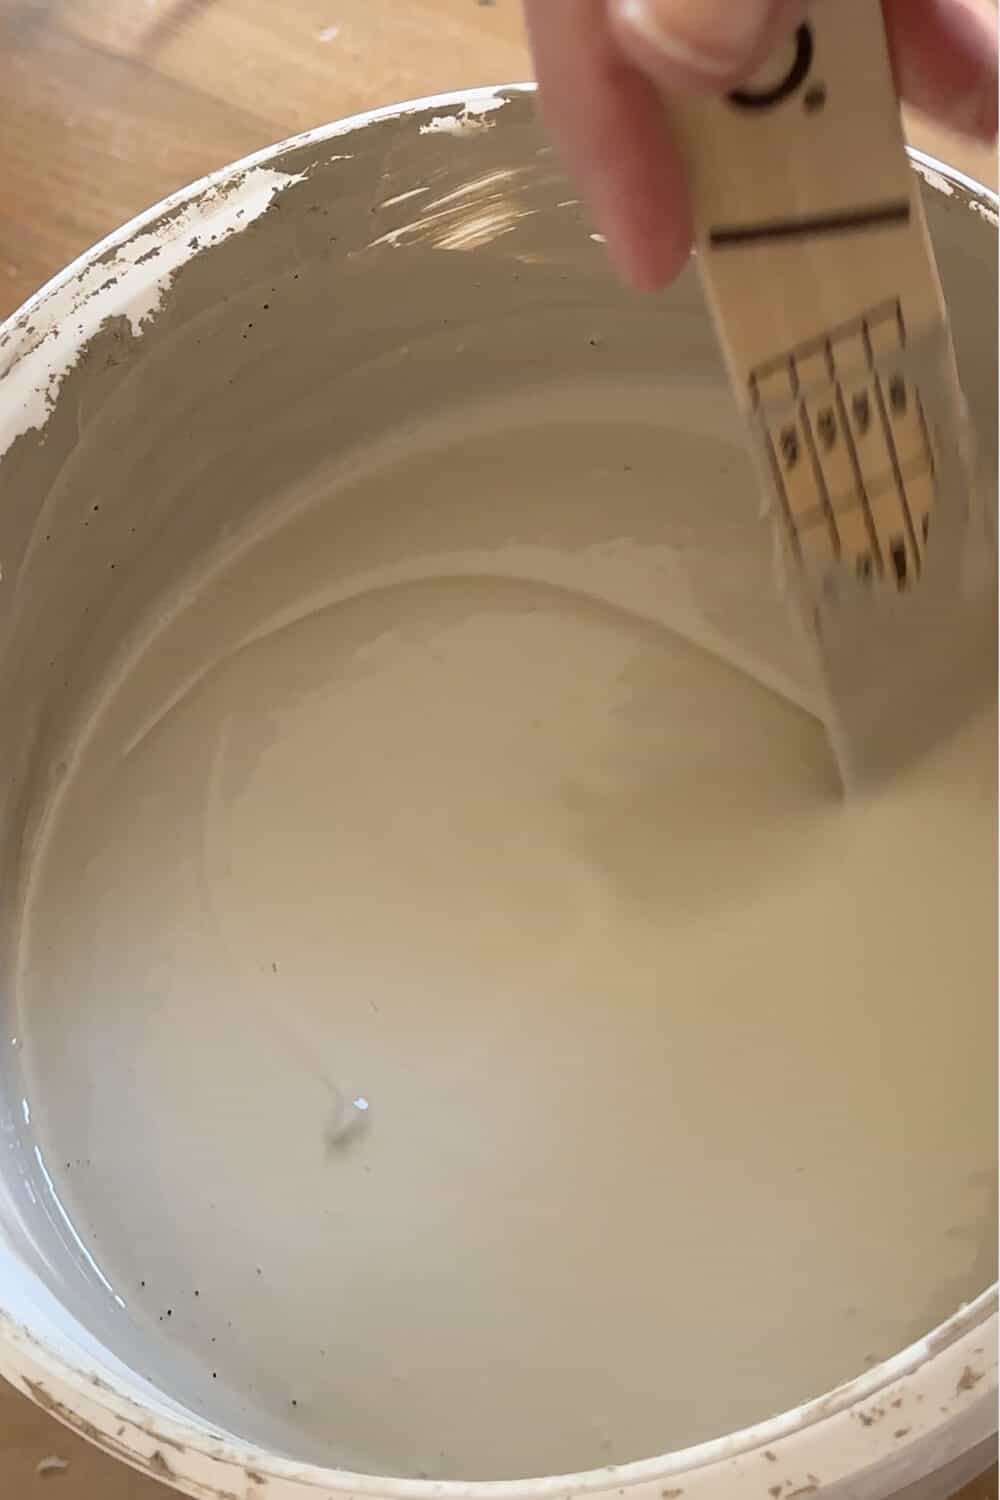
And one trick is instead of holding the brush by the handle, you want to hold the brush by the head and that gives you a lot more control when applying the varying brush strokes creating slight variations in the finish.
The thing I love about Romabio’s brush is that it’s able to hold a lot of paint without it dripping.
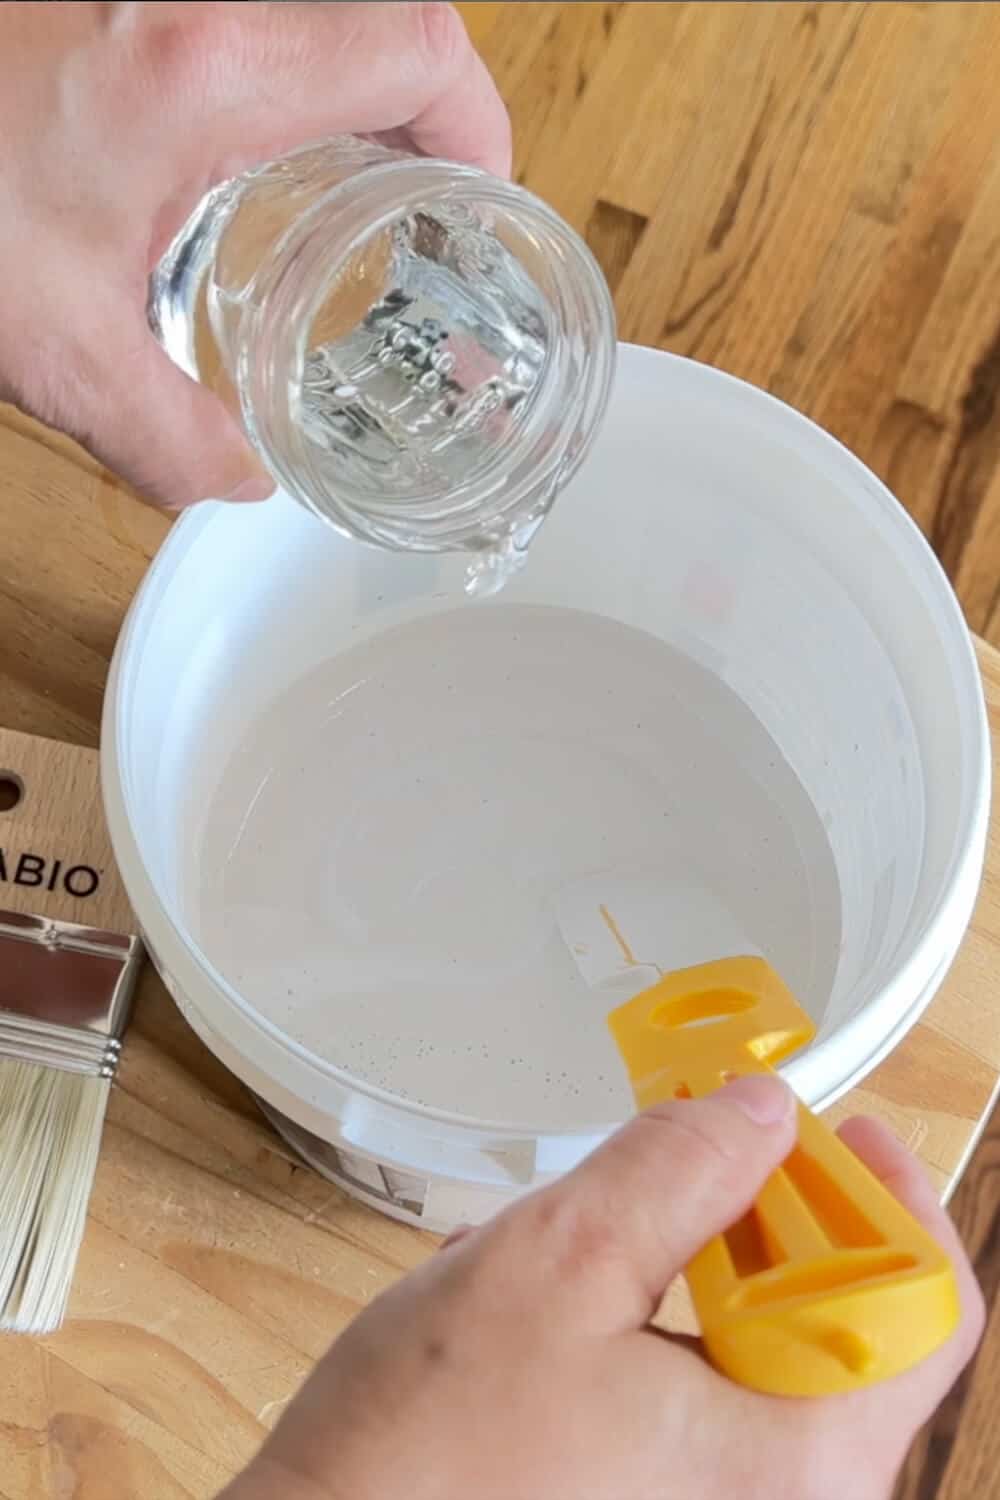
You can apply the first coat undiluted or you can add a little water – about 5% – to help make application easier.
Personally, I found that adding that splash of clean water to the first coat does make limewash thinner and the application process a little bit easier.
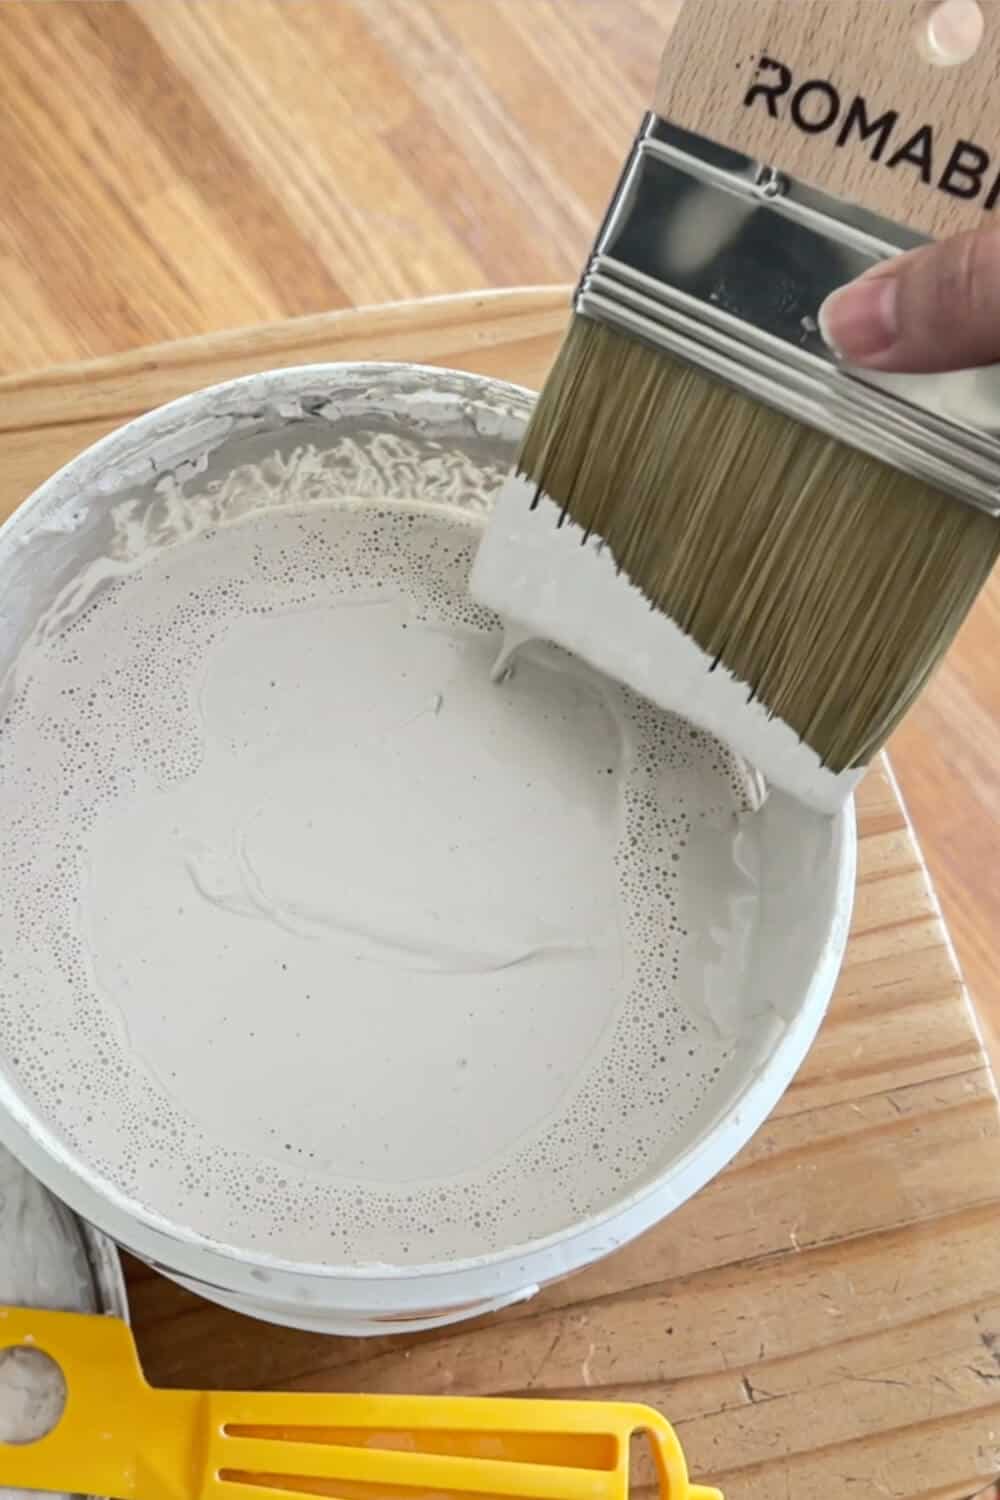
Each time I dip the brush into the paint about a quarter or a third of the way onto the bristles and then we give it a quick little wipe off just to make sure there isn’t too much loaded onto the bristles.
So you just start on a random spot on the wall.
For this project we applied both coats using a cross hatch pattern which just means random strokes that just vary in direction.
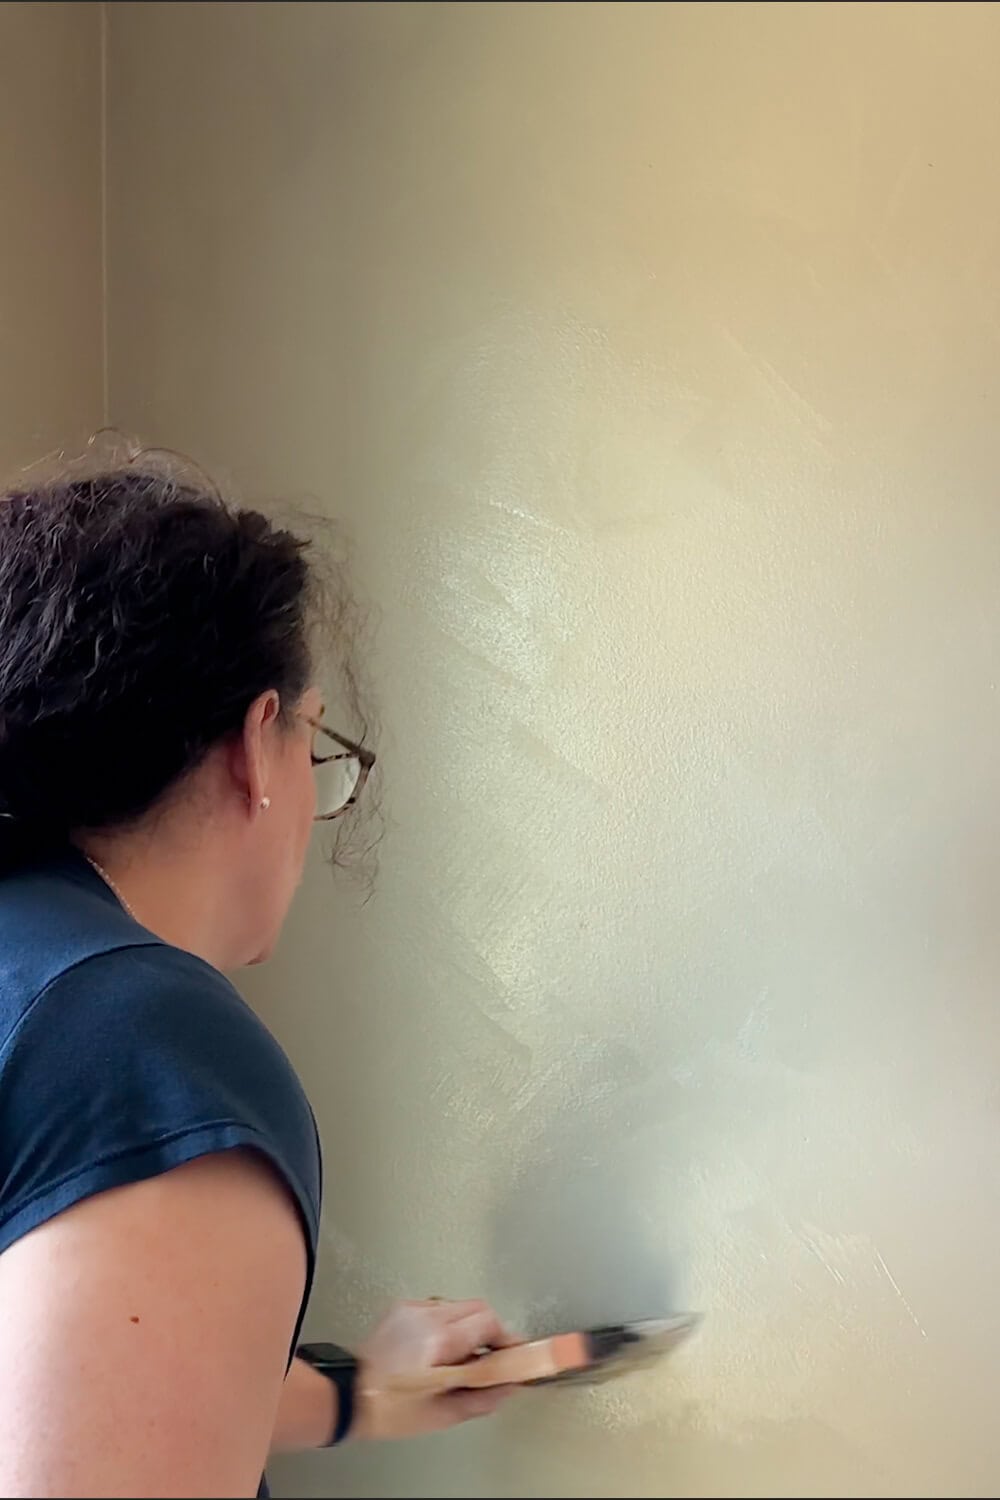
I usually like to cut in first and then feather from that cut in area out into the wall.
So we’re spreading out the paint as far as it can go keeping a wet edge. That just means to not let the paint dry on one patch before you start painting the section next to it.
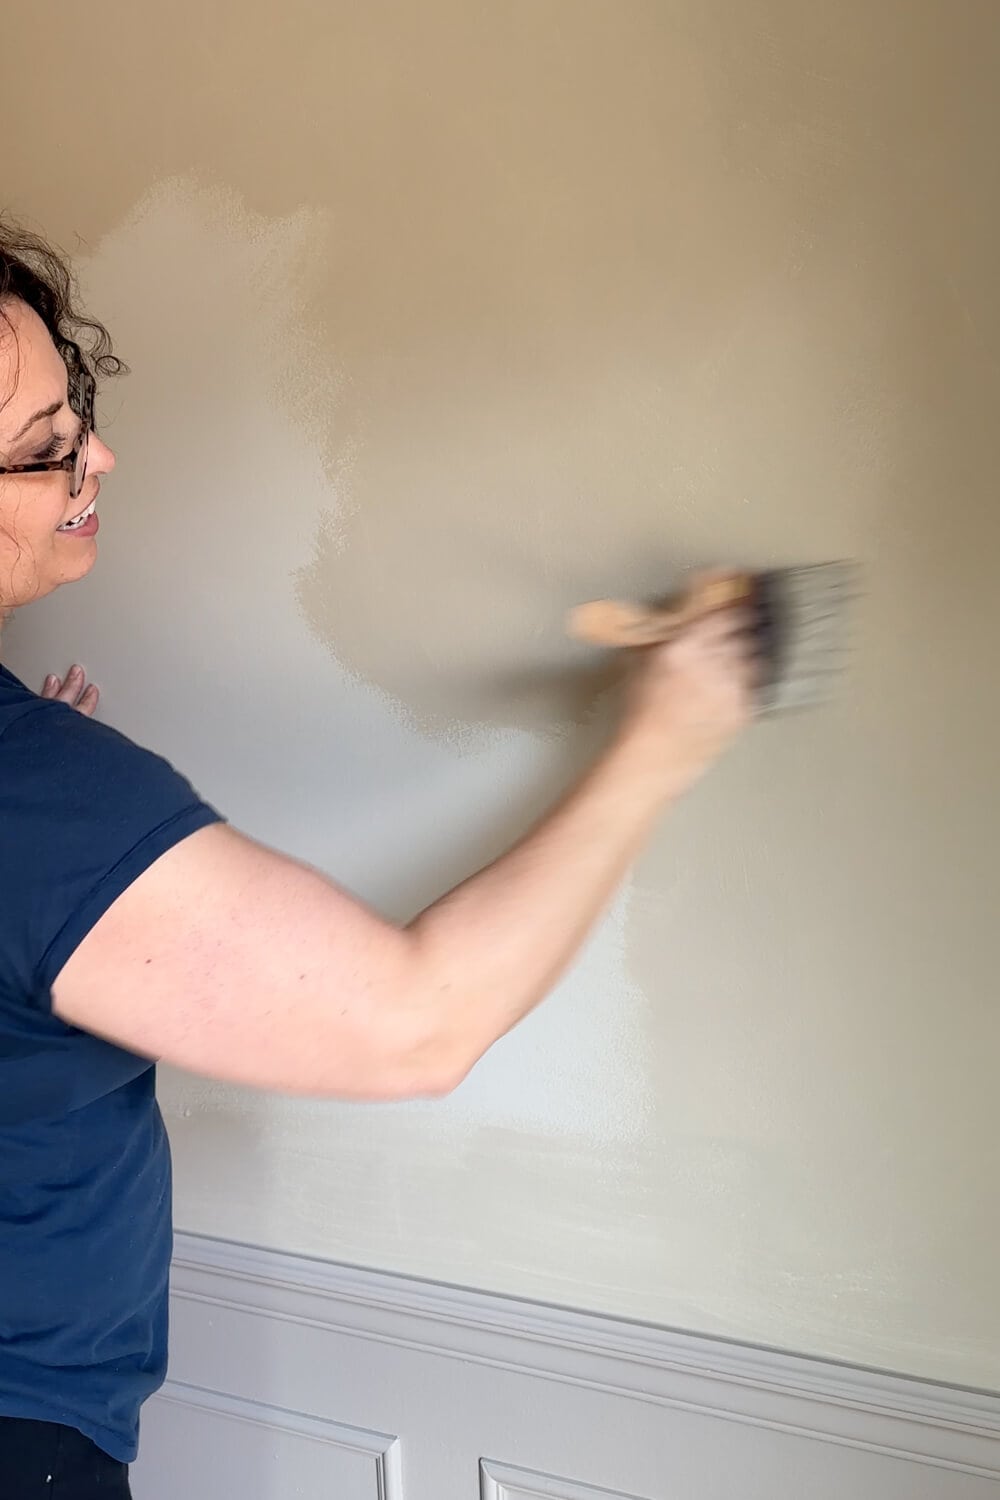
And we’re using firm and gentle strokes in a cross hatch pattern which basically means we’re just putting the brush in random directions.
I have seen where some people will put the first coat on using up and down or side to side brush strokes and then the second coat they use a cross hatch pattern.
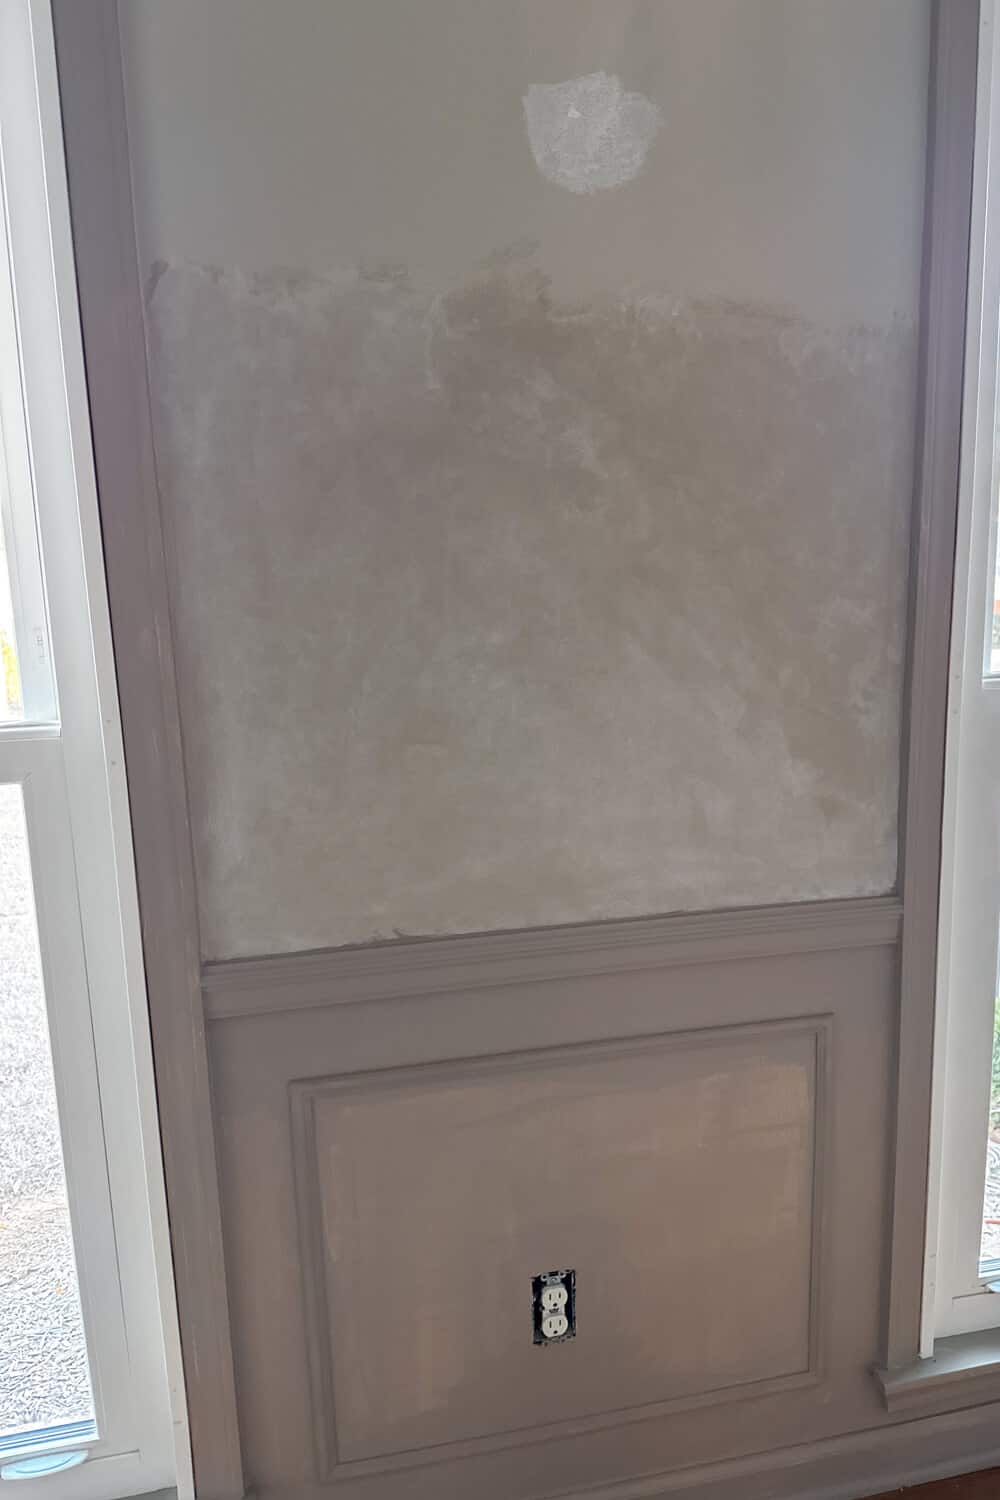
Now one thing to know about lime-based products – they go on darker and they dry lighter. So when you first apply that color it may appear dark don’t freak out.

A third application technique, called the cloth technique – where you can take a rag and then kind of wipe it away. Blend it in. That kind of helps create that cloud loo.
Here’s a Tip: Pigment sinks to the bottom really quickly. So you do want to kind of leave a stir stick within the bucket.
Stir the dilution every now and then just to make sure that everything is thoroughly incorporated.
Let it dry to touch before you start to apply the second coat.
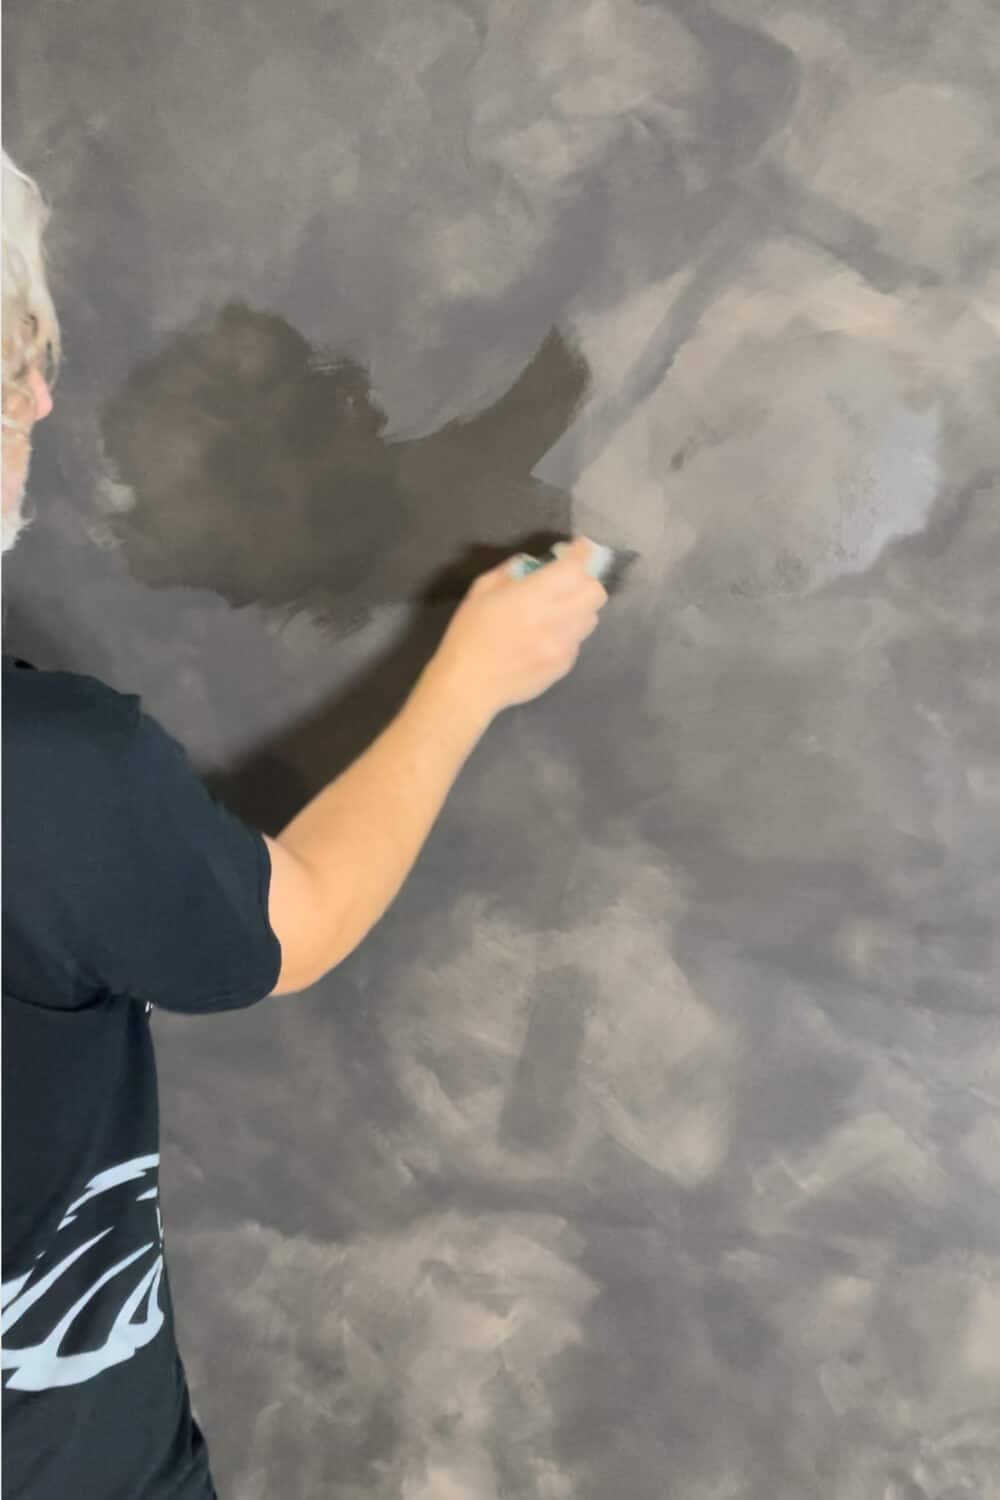
This is a two coat process because the second coat is where you really get to see that movement effect take place.
The second coat does require dilution with water – about 50 to 80%. We used a 50% dilution rate so that means we put one part water with two parts Velatura Mineralwash.
Another easy way to think about it is one cup water to two cups paint.
In the beginning it definitely feels a little bit daunting, especially since you are applying only with a brush, but it does go very quickly.
And then by the time that you get that second coat on, since it’s diluted even heavier, it goes much quicker.
That second coat will also appear a little bit translucent and that’s okay!
That’s because it’s been diluted and as it dries it will no longer be translucent. It will fill into a more opaque finish but with movement on the entire wall.
That’s kind of the process. And then just watch it dry and you’ll love to see that clouding effect take place.
You can definitely build up and apply a third coat on top if you wanted but that won’t give you much depth or movement.
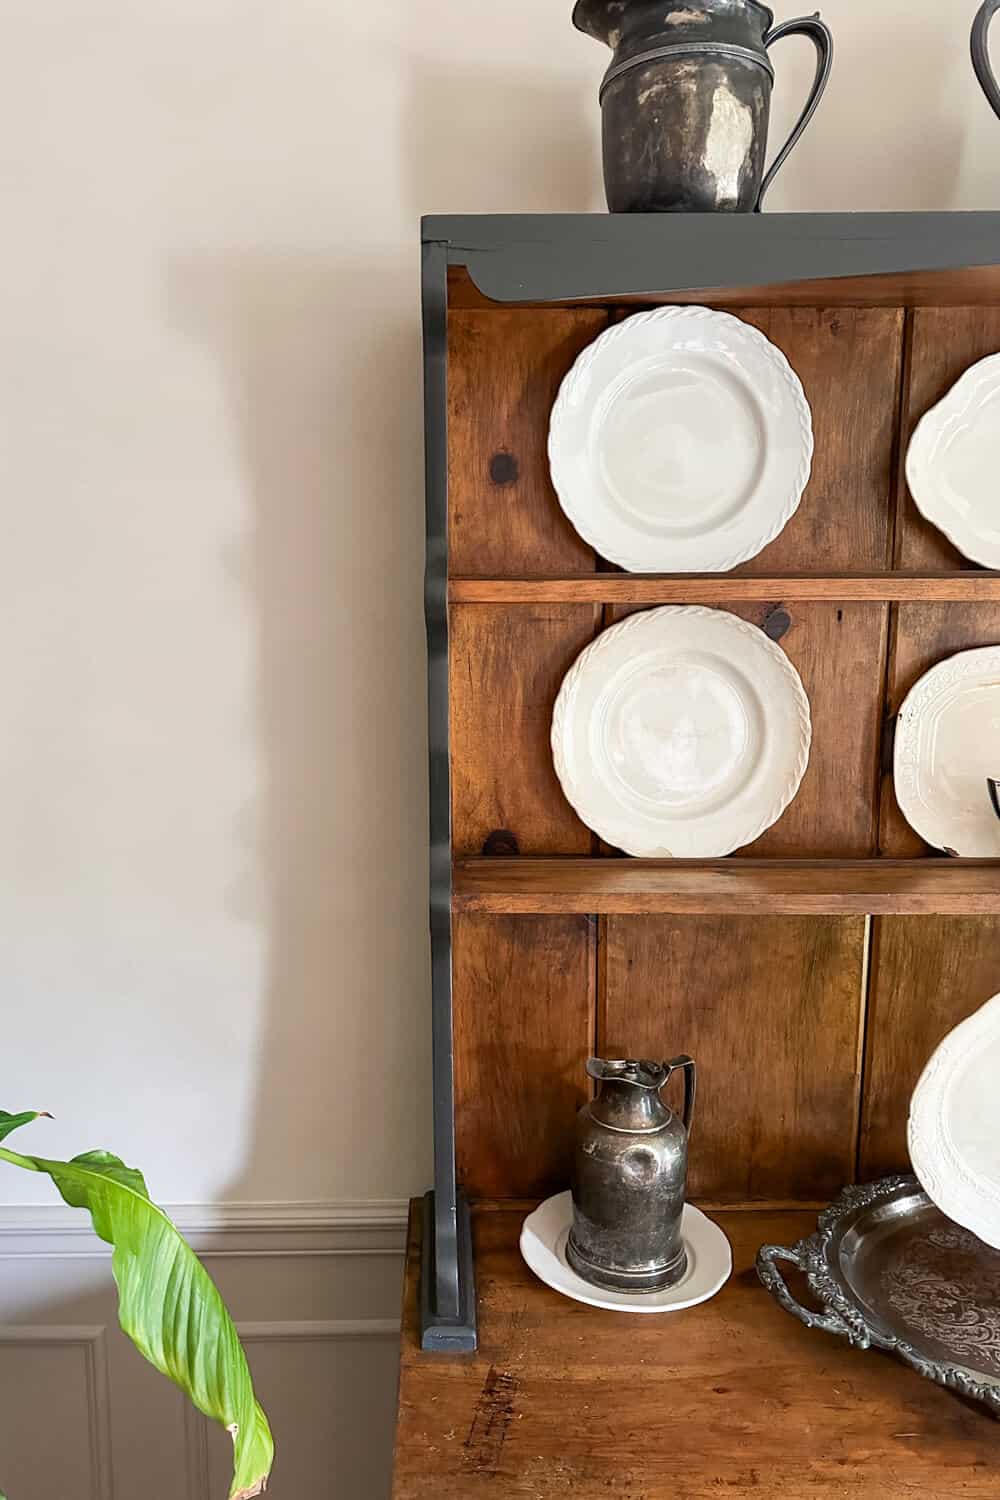
We already have just a very slight movement to the walls. I didn’t want there to be such a drastic movement for this room
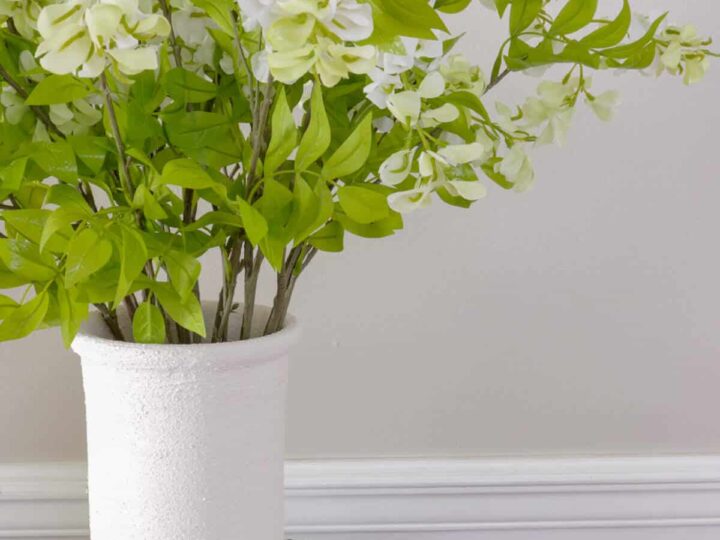
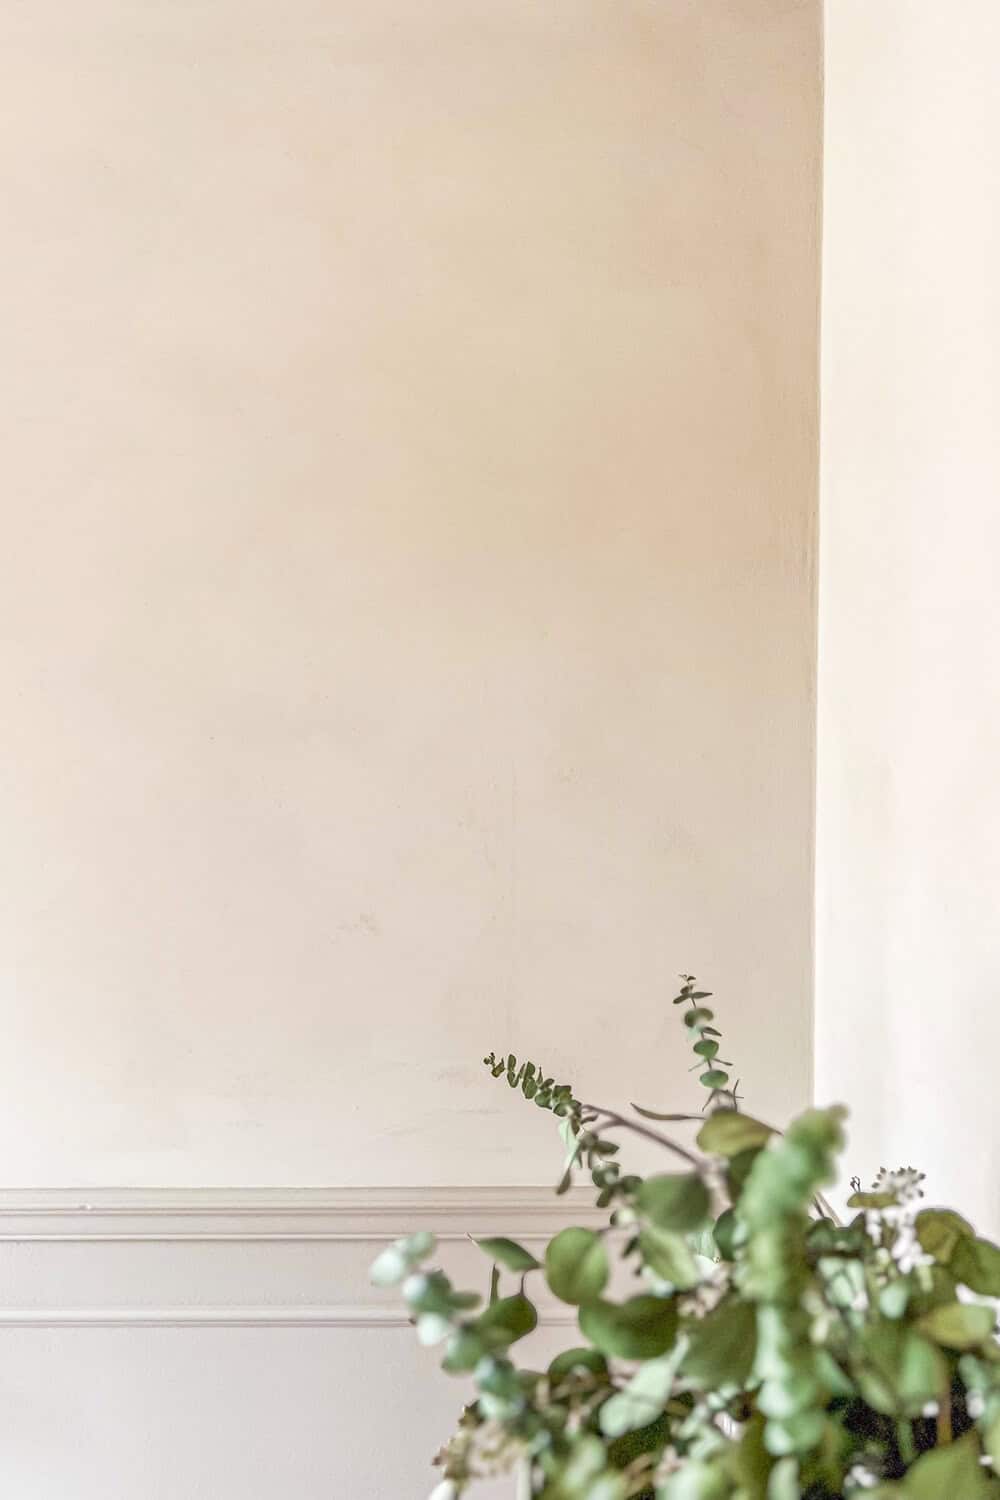
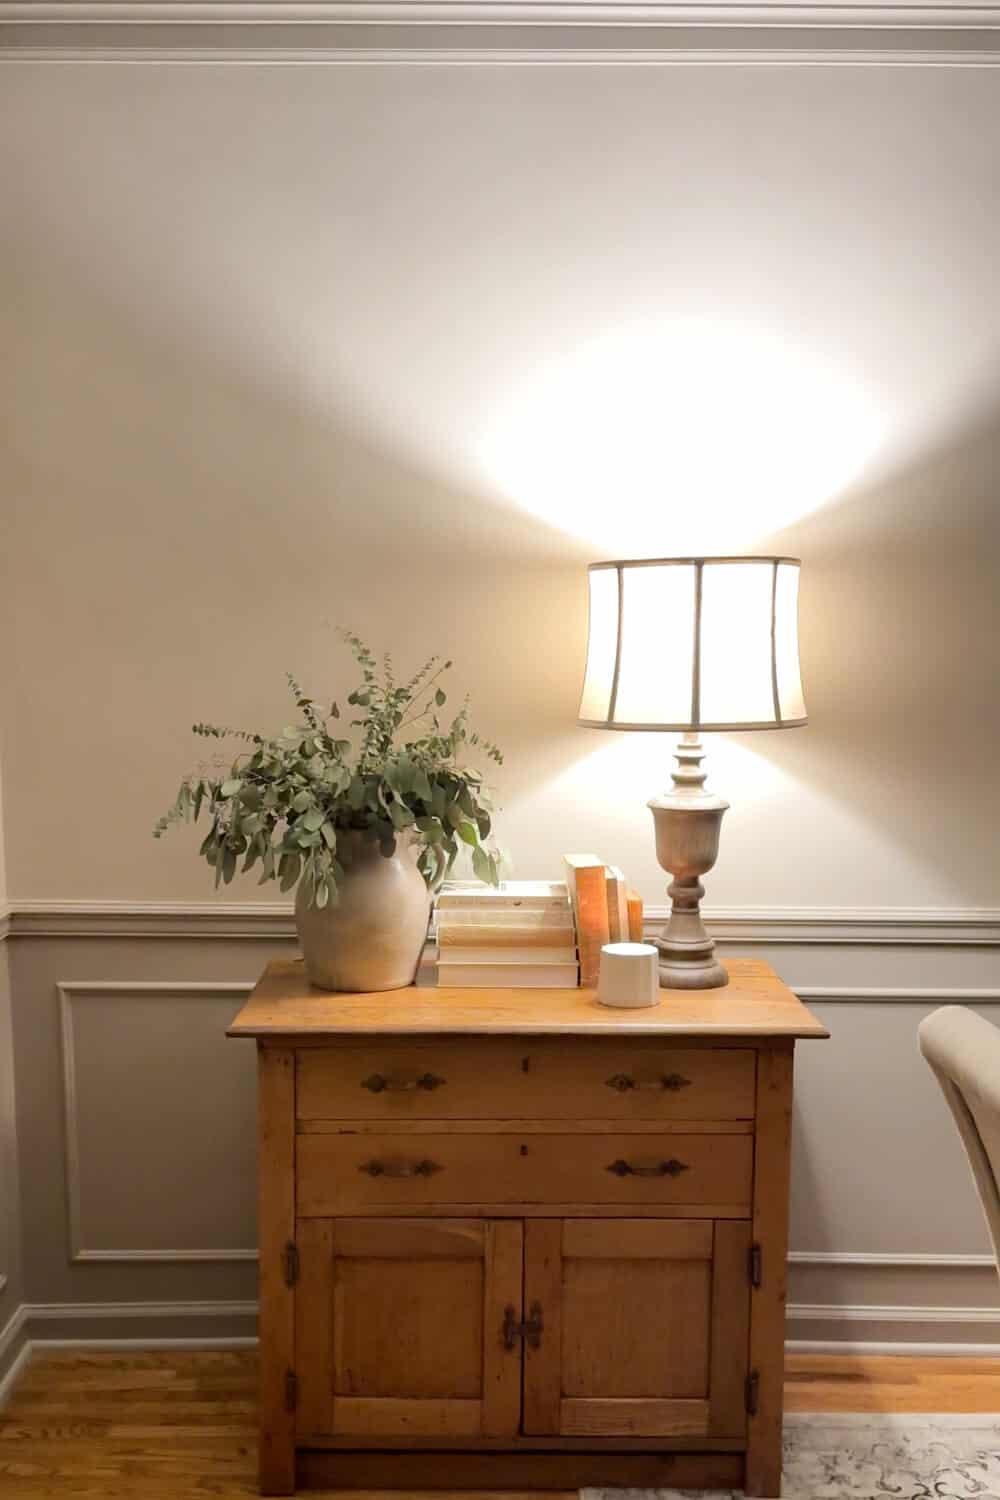
And the matte finish is just so beautiful!
It has just that romantic, subtle visual movement to it.
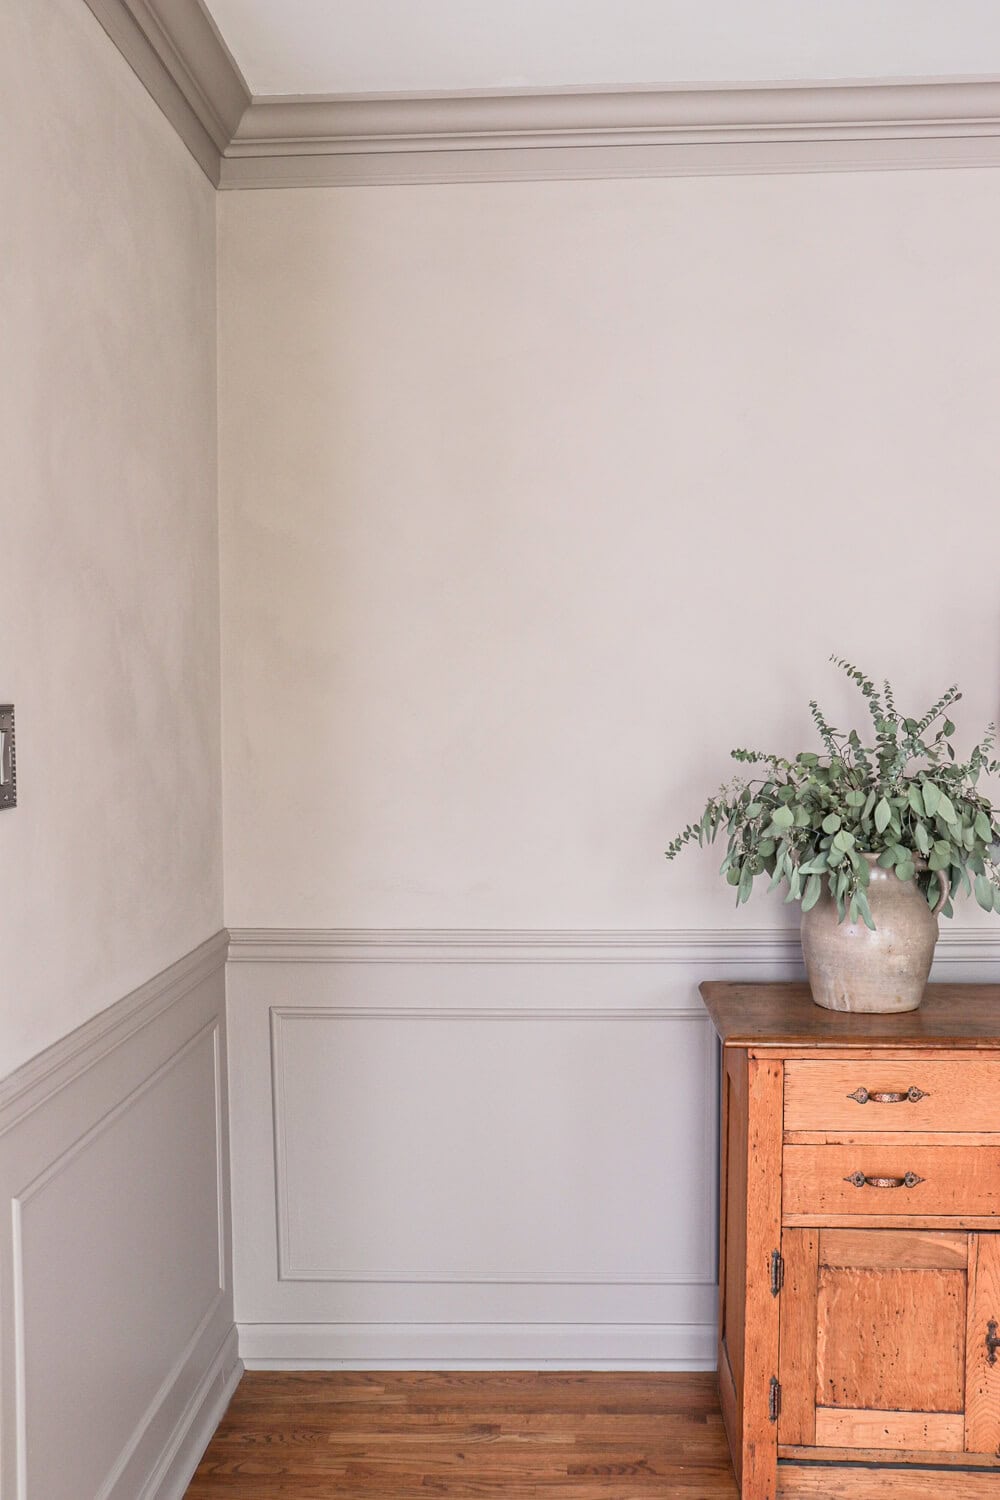
Ours is very, very slight and almost looks like suede on the walls or like a velvet and I loved that look.
It kind of creates this rich feeling to the room.

Other Limewashed Walls We’ve Completed
Once I fell in love with this finish – I had to try it in other rooms!
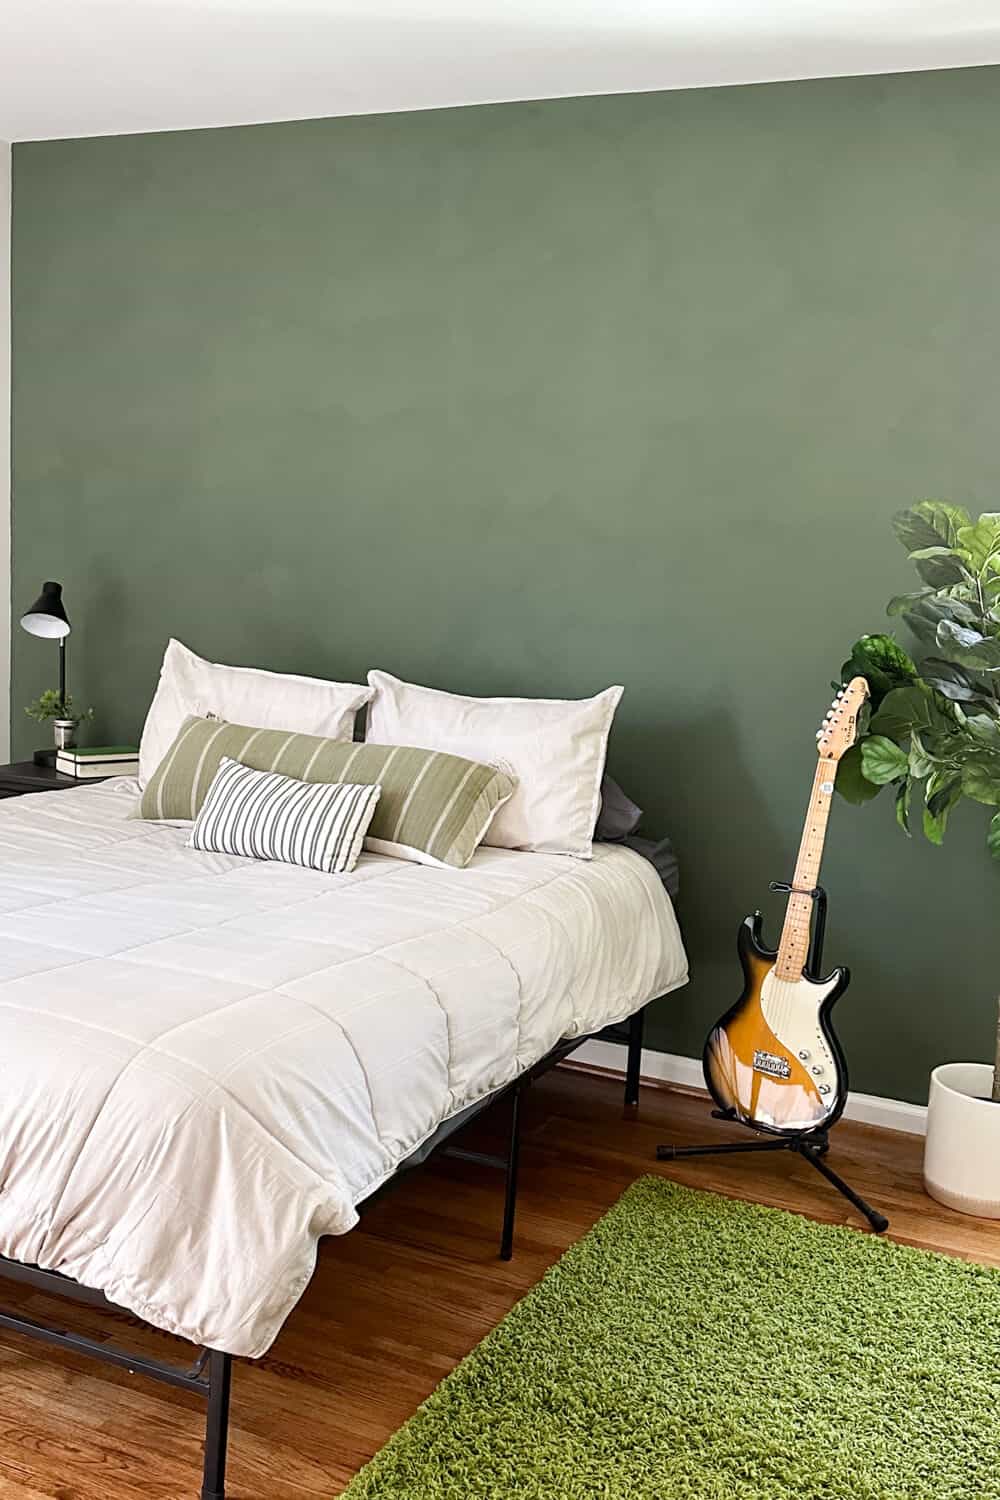
Now we also applied this in our son’s room using a green tone doing just one limewash wall in there.
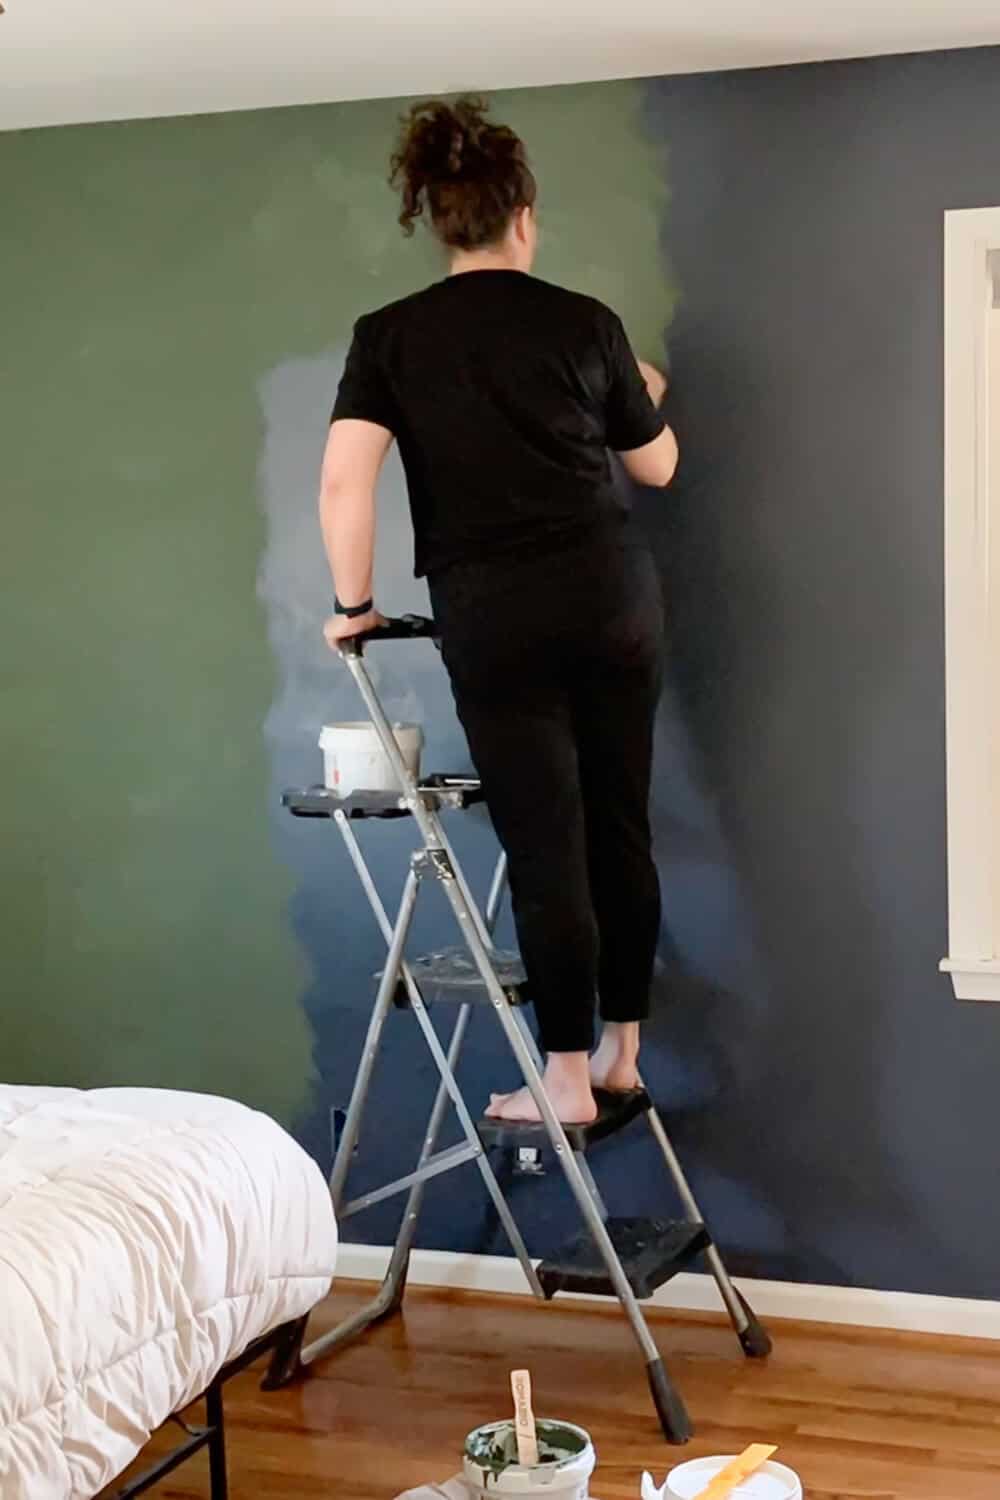
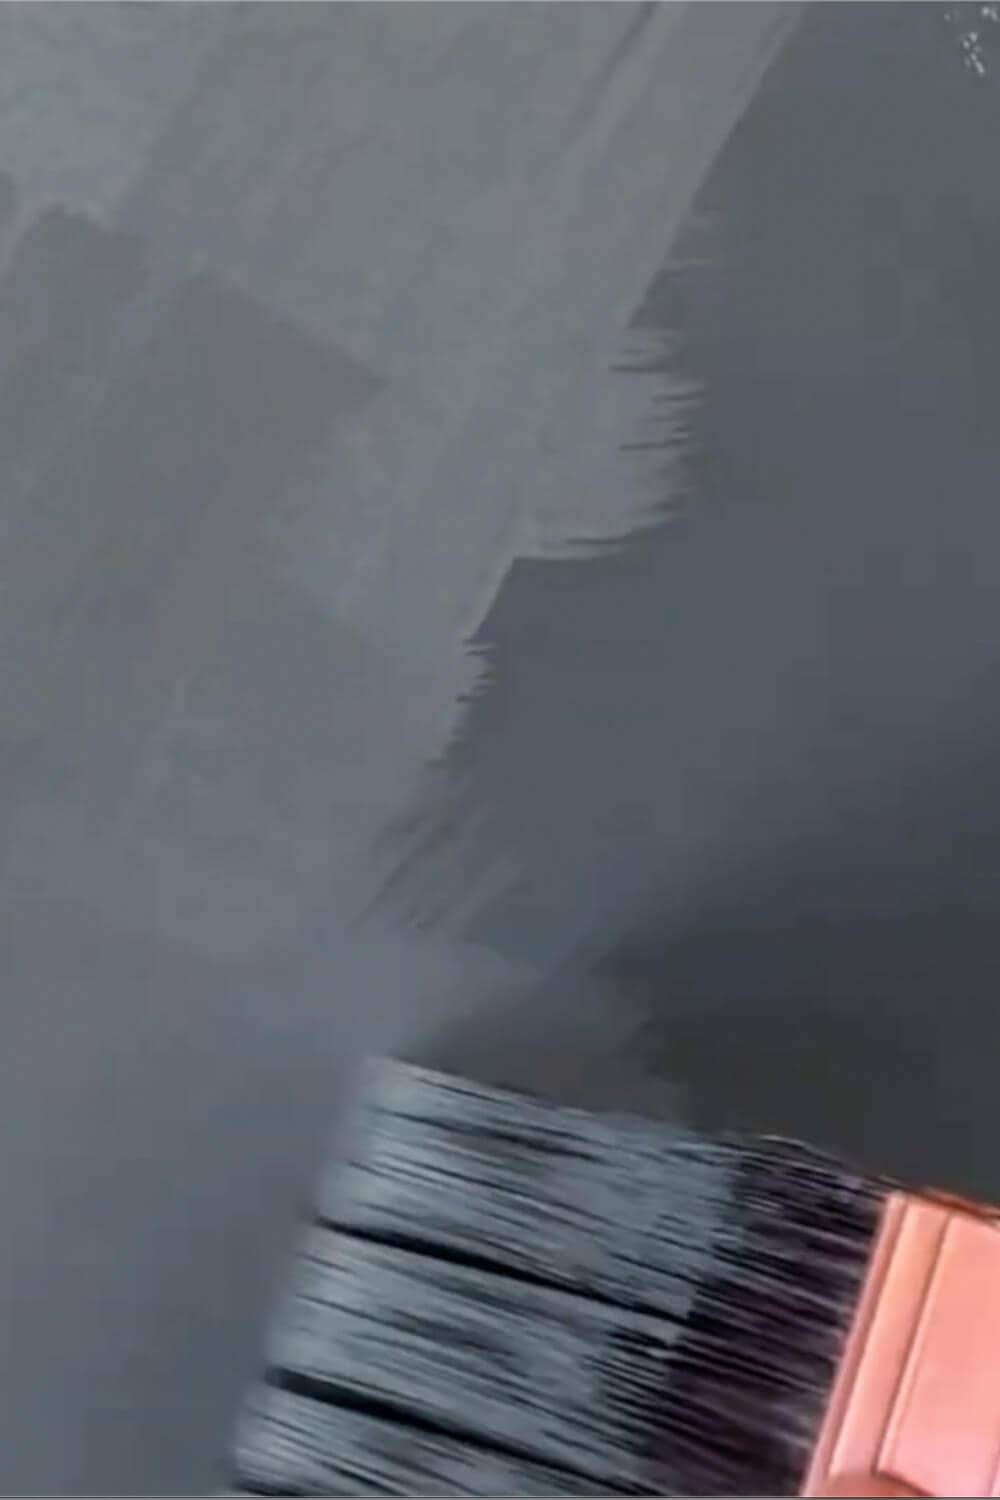
We have also done an accent limewash wall in our basement that is a deep charcoal color.
Here’s a link to the full tutorial post on how to limewash an interior accent wall.

Starting with a base coat in a lighter color, we used Nube Gray and for the base coat and then for the top coat we used a custom color.
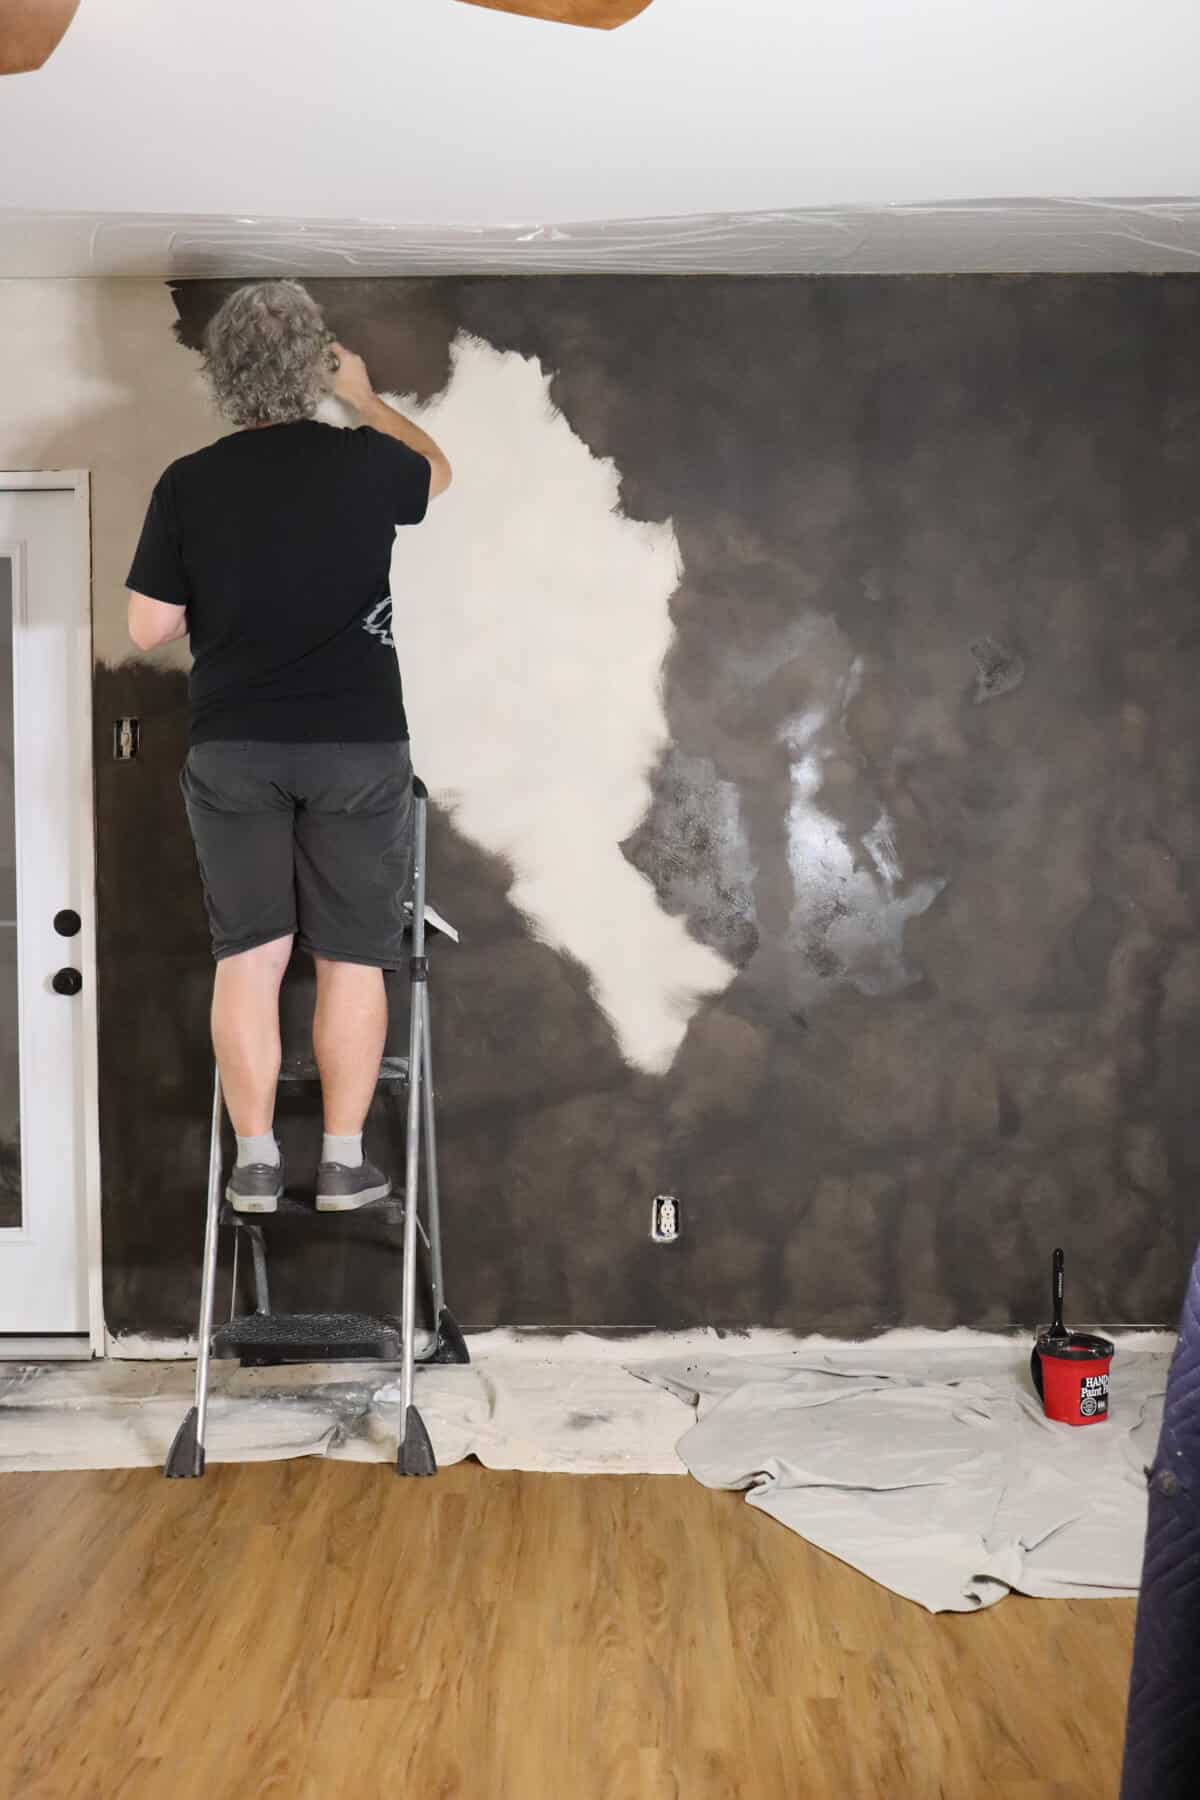
But it’s really similar to another color that they offer on Amazon.
Painting Tips to Achieve the Most Movement
- Start with thin coats and apply a more transparent limewash finish
- Use a number of coats to build layers to achieve your desired effect.
- If you have an uneven finish on your walls, applying Romabio’s mineral-based primer is the best way to get a uniform look.
More Facts about Romabio’s Velatura Mineralwash
- It’s recommended for interior walls in bedrooms, living room walls, and other common areas.
- It’s not recommended for high traffic areas
- It’s Toxin-free, Zero-VOC, and is an environmentally friendly paint
- Brush-applied in two easy steps with no primer
- Multiple applicators can work the same wall or large areas and achieve similar effects
Now here’s something I wanted to tell you. I purchased a sampler of Portola Paints to try, and oh my goodness!
The odor is overwhelming!
Now admittedly, I’m sensitive to smells ever since I had babies (thanks boys! 🙄) and can’t wear perfume without it causing me issues.
So if you are like me, then steer clear of Portola – that odor knocked me over! I couldn’t even stand to sample them, unfortunately!
More Facts about Romabio’s Mineral and Lime Based Paints
- They are all Zero VOC, hypo-allergenic, and virtually odorless.
- They offer excellent adhesion, with high resistance to mold growth.
- Unlike other conventional paints, they are indeed the cleanest and a healthier alternative for your home without sacrificing performance and durability.
- They are made from sustainable, mineral based ingredients that will create the healthiest home.
- The potassium silicates micro-crystallize onto your walls, continuously absorbing carbon dioxide, and cleans the air in your home for years.
- The best part is they are highly durable and almost all of them are washable.
- If you are extremely sensitive to lots of chemicals, we suggest wearing gloves during the application of this paint due to lime’s high ph level naturally.
So if you have been hesitant to give limewashed walls a try this is something you definitely can do!
It’s so easy and we love the result!
Now I want to do this on all of the walls in my home!

We’re currently working on our kitchen so maybe I’ll do some in there -who knows.
So be sure to follow along so that way you can check out all the next rooms that we have coming up that we’re going to make over.
And if you want to follow along with our behind the scenes, head over to our YouTube Channel and be sure to hit the like and subscribe so that way you won’t miss another video coming out really soon!
More Lime Wash Paint Posts
Limewash Applications
We have used Romabio's products for many years. Have fun exploring these posts if you are wanting to transform interior spaces or exterior walls