DIY Lime Slurry Terracotta Vase
If you are looking for a fun and creative diy using a new product, check out this easy tutorial on my Lime Slurry Terracotta vase!

Isn’t it funny how inspiration strikes?
Last month, I had the joy to attend the Haven Conference – a big event for creators of home decor websites to get together, learn, encourage and inspire each other.
On Friday night, I hung out with the fabulous folks from Romabio Paints and they had a terracotta pot painting party!
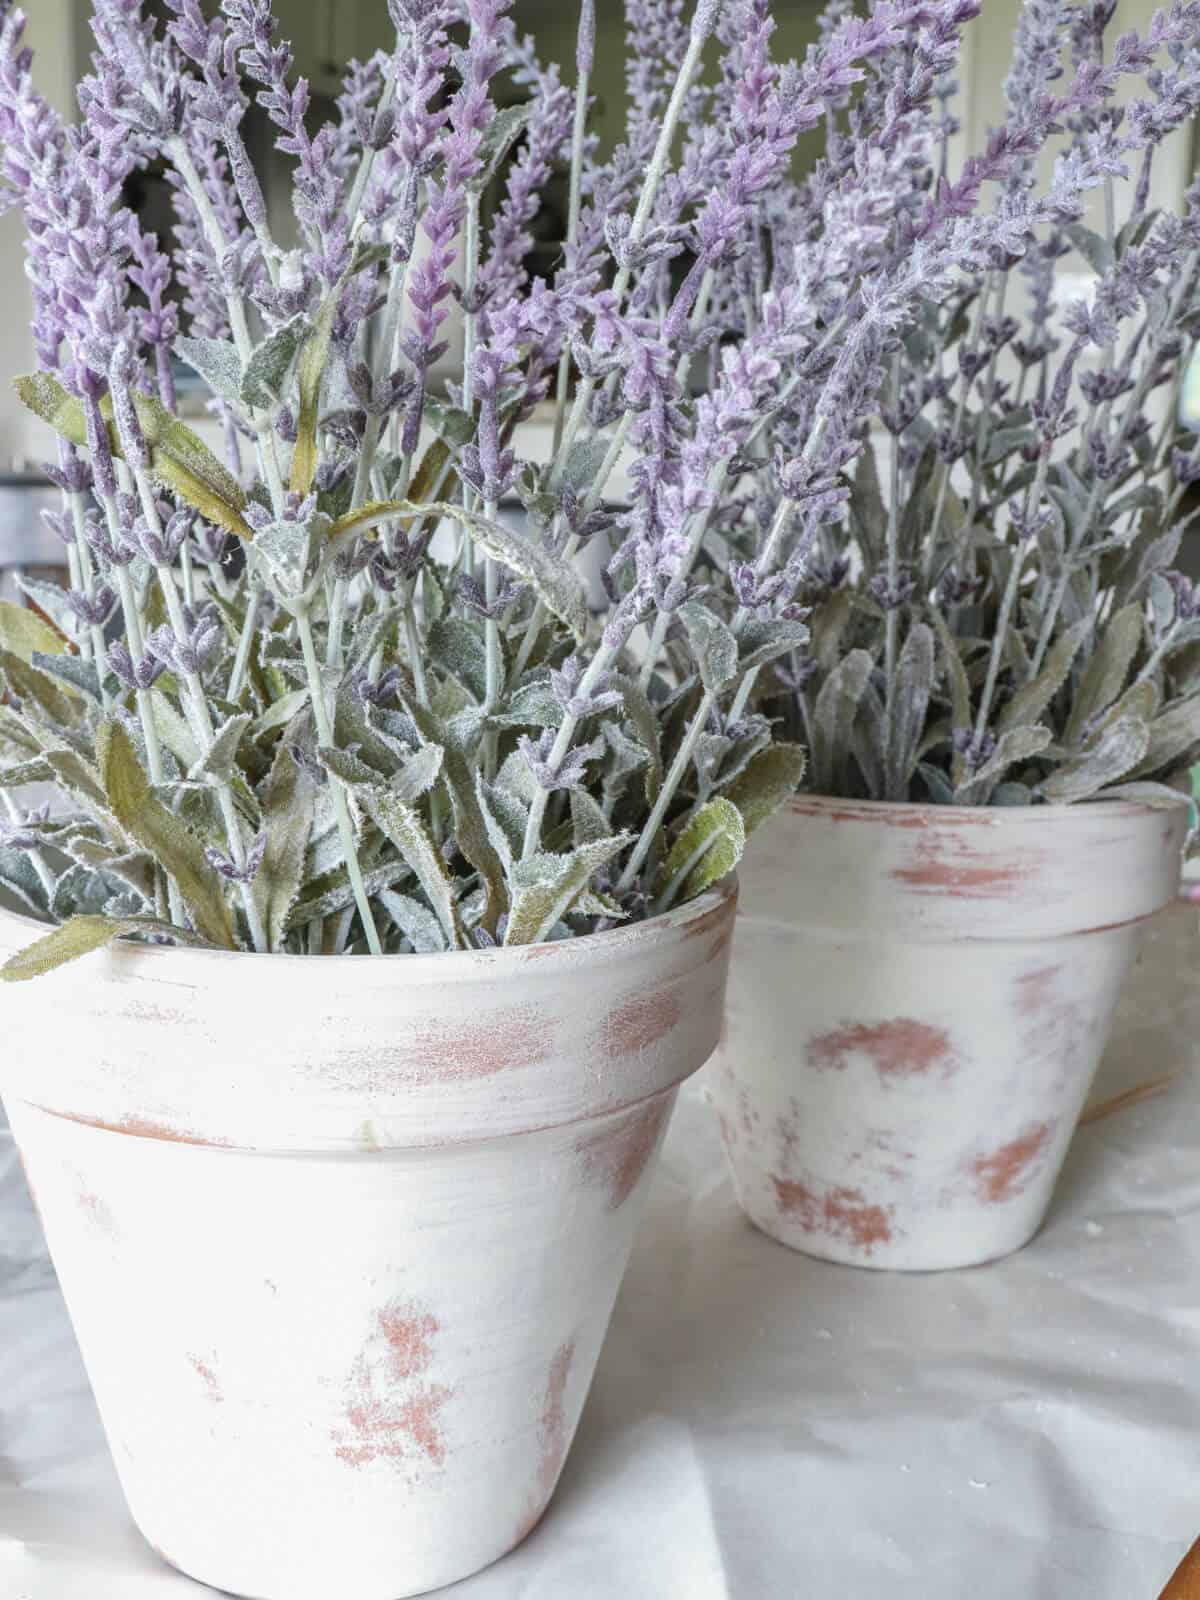
They invited me after seeing my Limewashed Lavender Plants I made a few years back.
At their table, you could try out all different kinds of Romabio products, like their Classico Limewash, Masonry Flat and Masonry Textured Paints, or their new Lime Slurry!
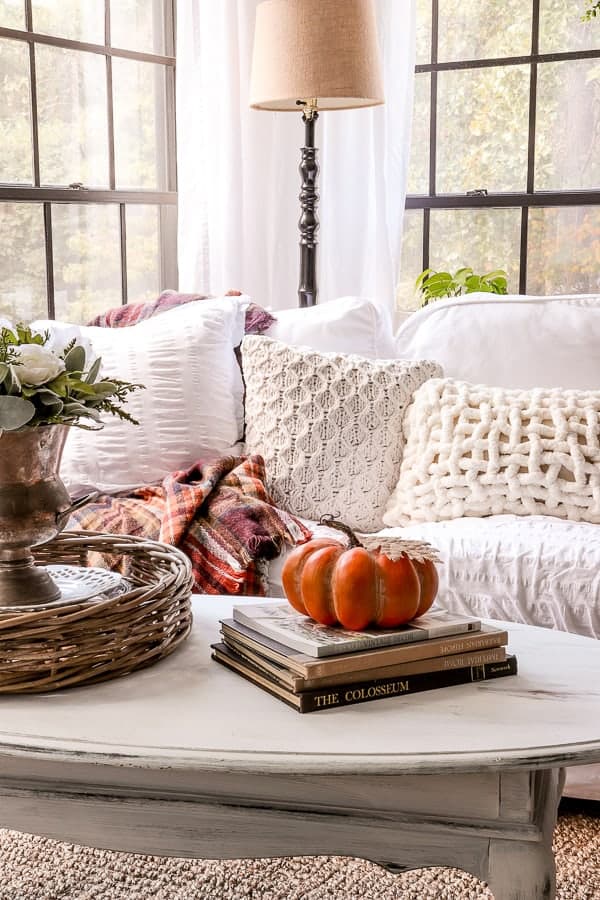
They had us applying samples to different types of terra cotta pots and reminded me of a vase that I had at home sitting there waiting for me to find a creative way to use it!
I fell in love with the Romabio Lime Slurry when we made over our fireplace a few months ago.
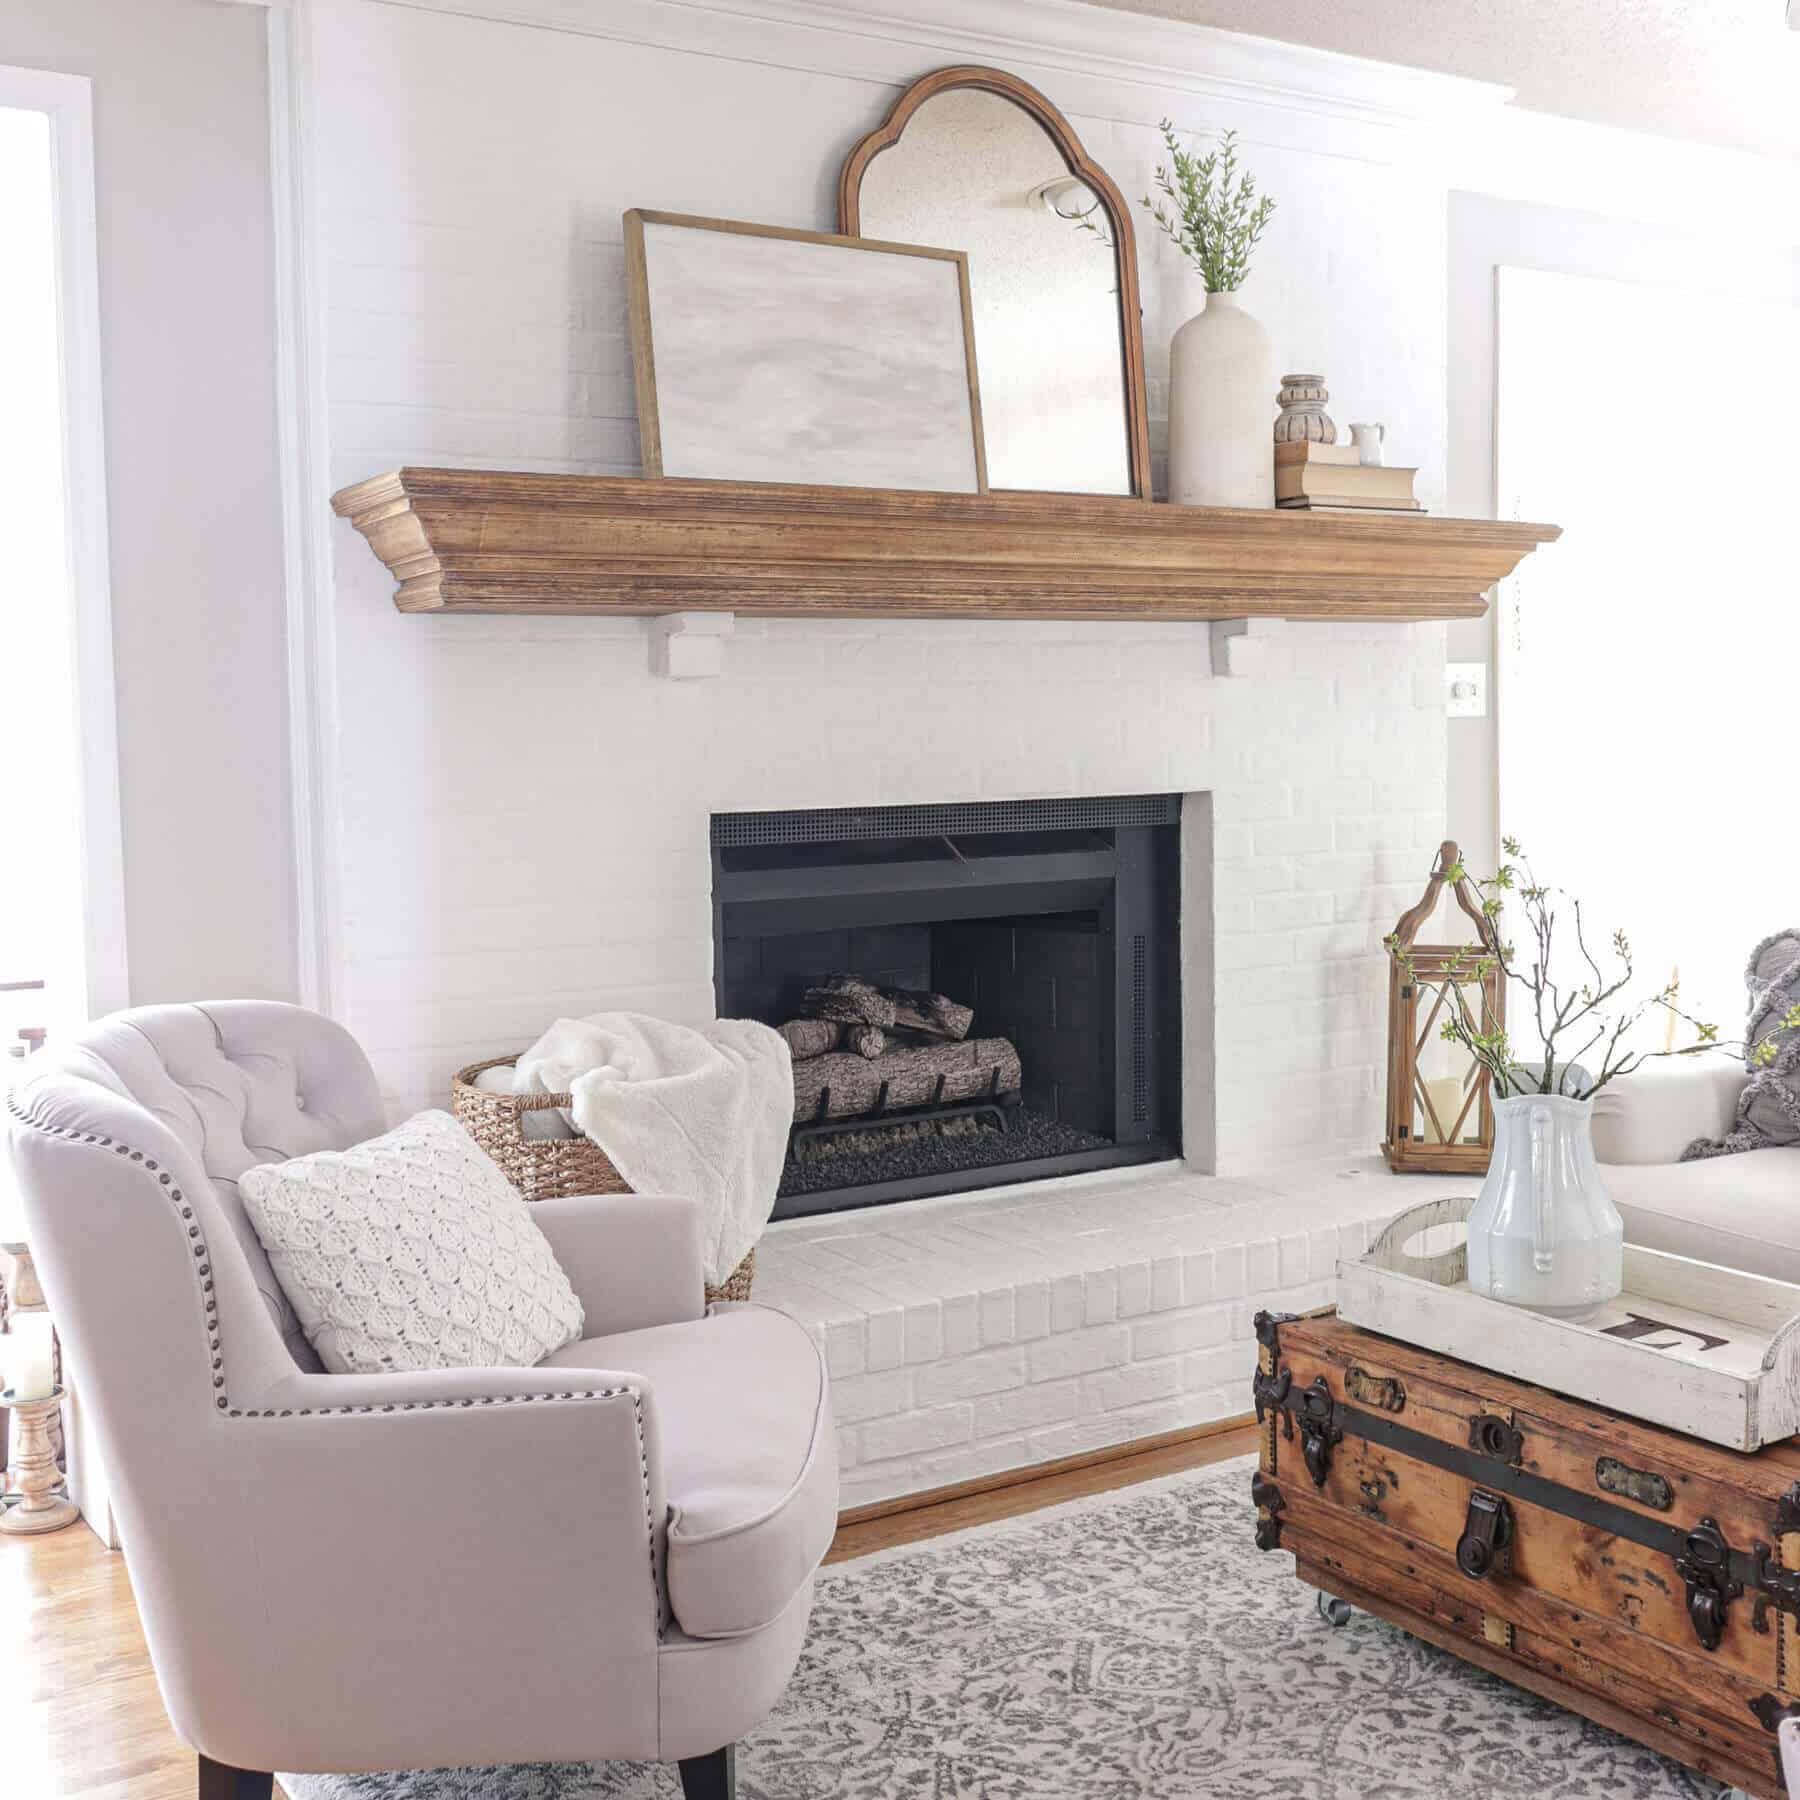
It was a great way to soften the look of our dated fireplace and made me feel like we had a new home by changing the look of your brick.
So now that I’m back from my trip, I dug out that old terracotta vase and got to work on creating this fun and easy DIY project!
DIY Lime Slurry Terracotta Vase
(Some affiliate links are provided below. Full disclosure here.)
These are the supplies you’ll need for this project.
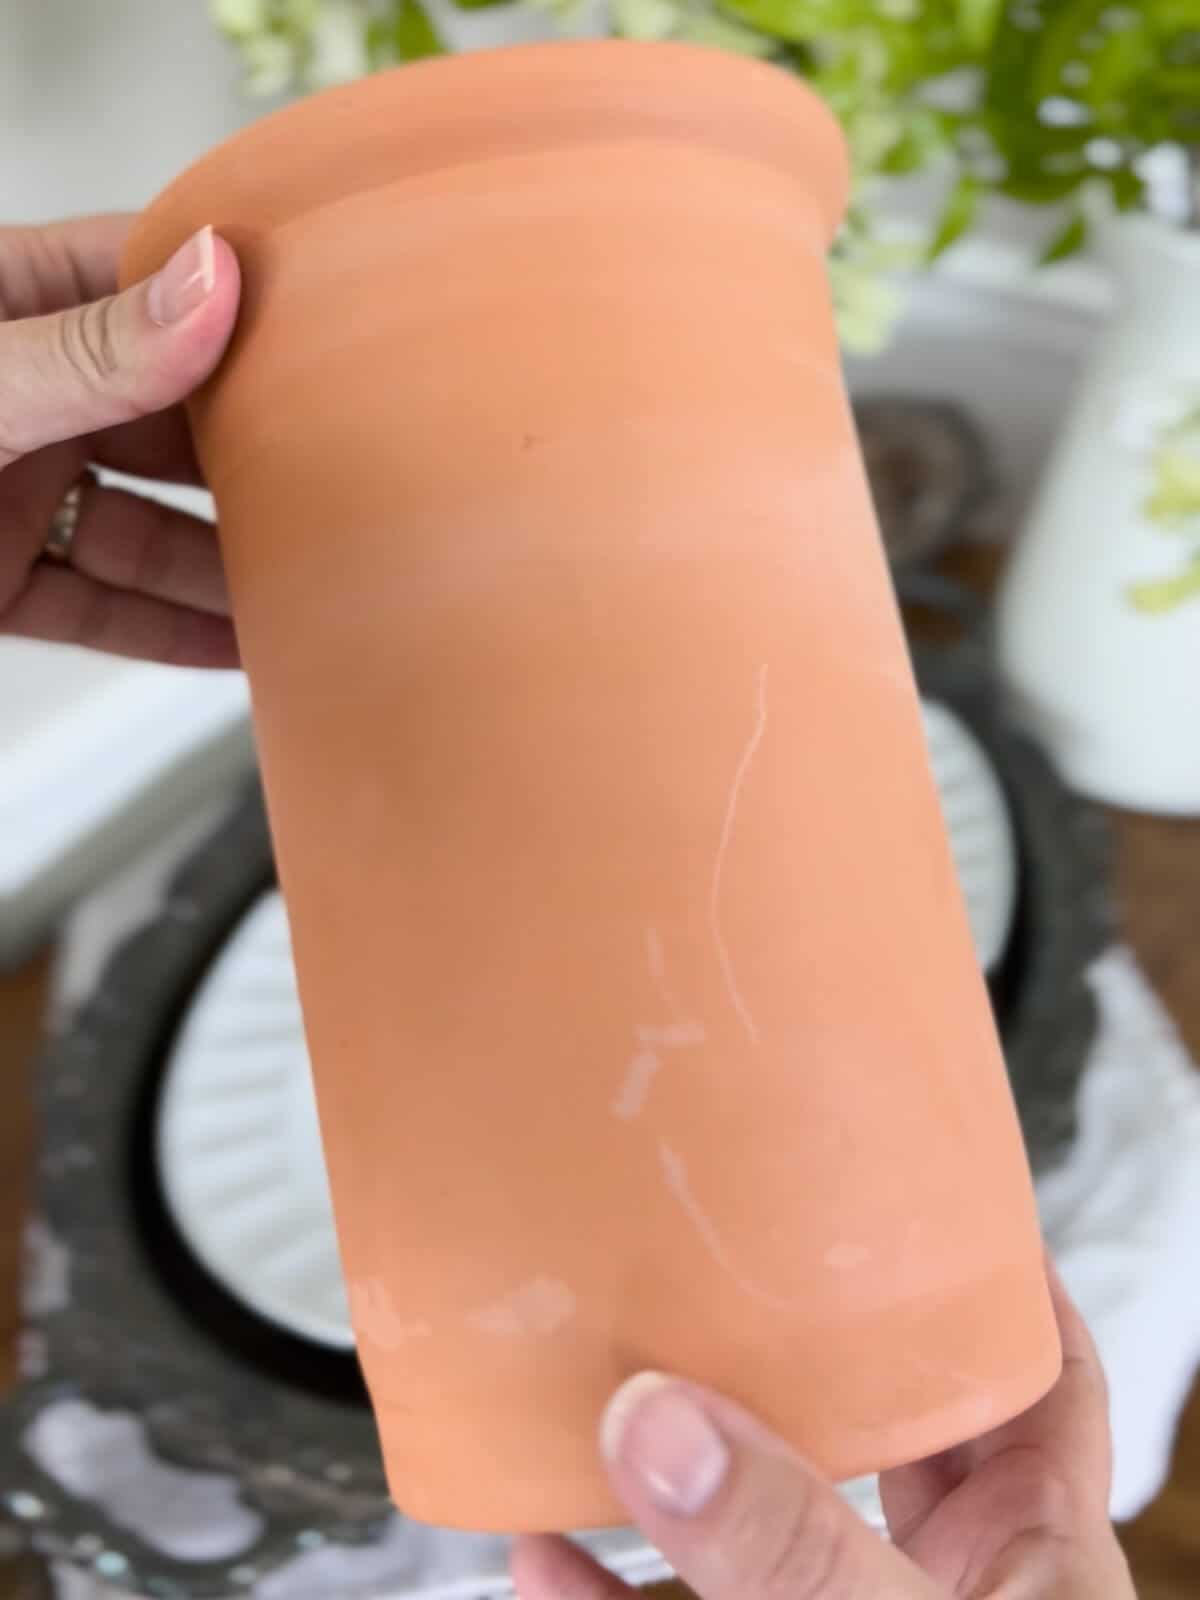
- Terracotta Vase or Pot – I got mine from Hobby Lobby
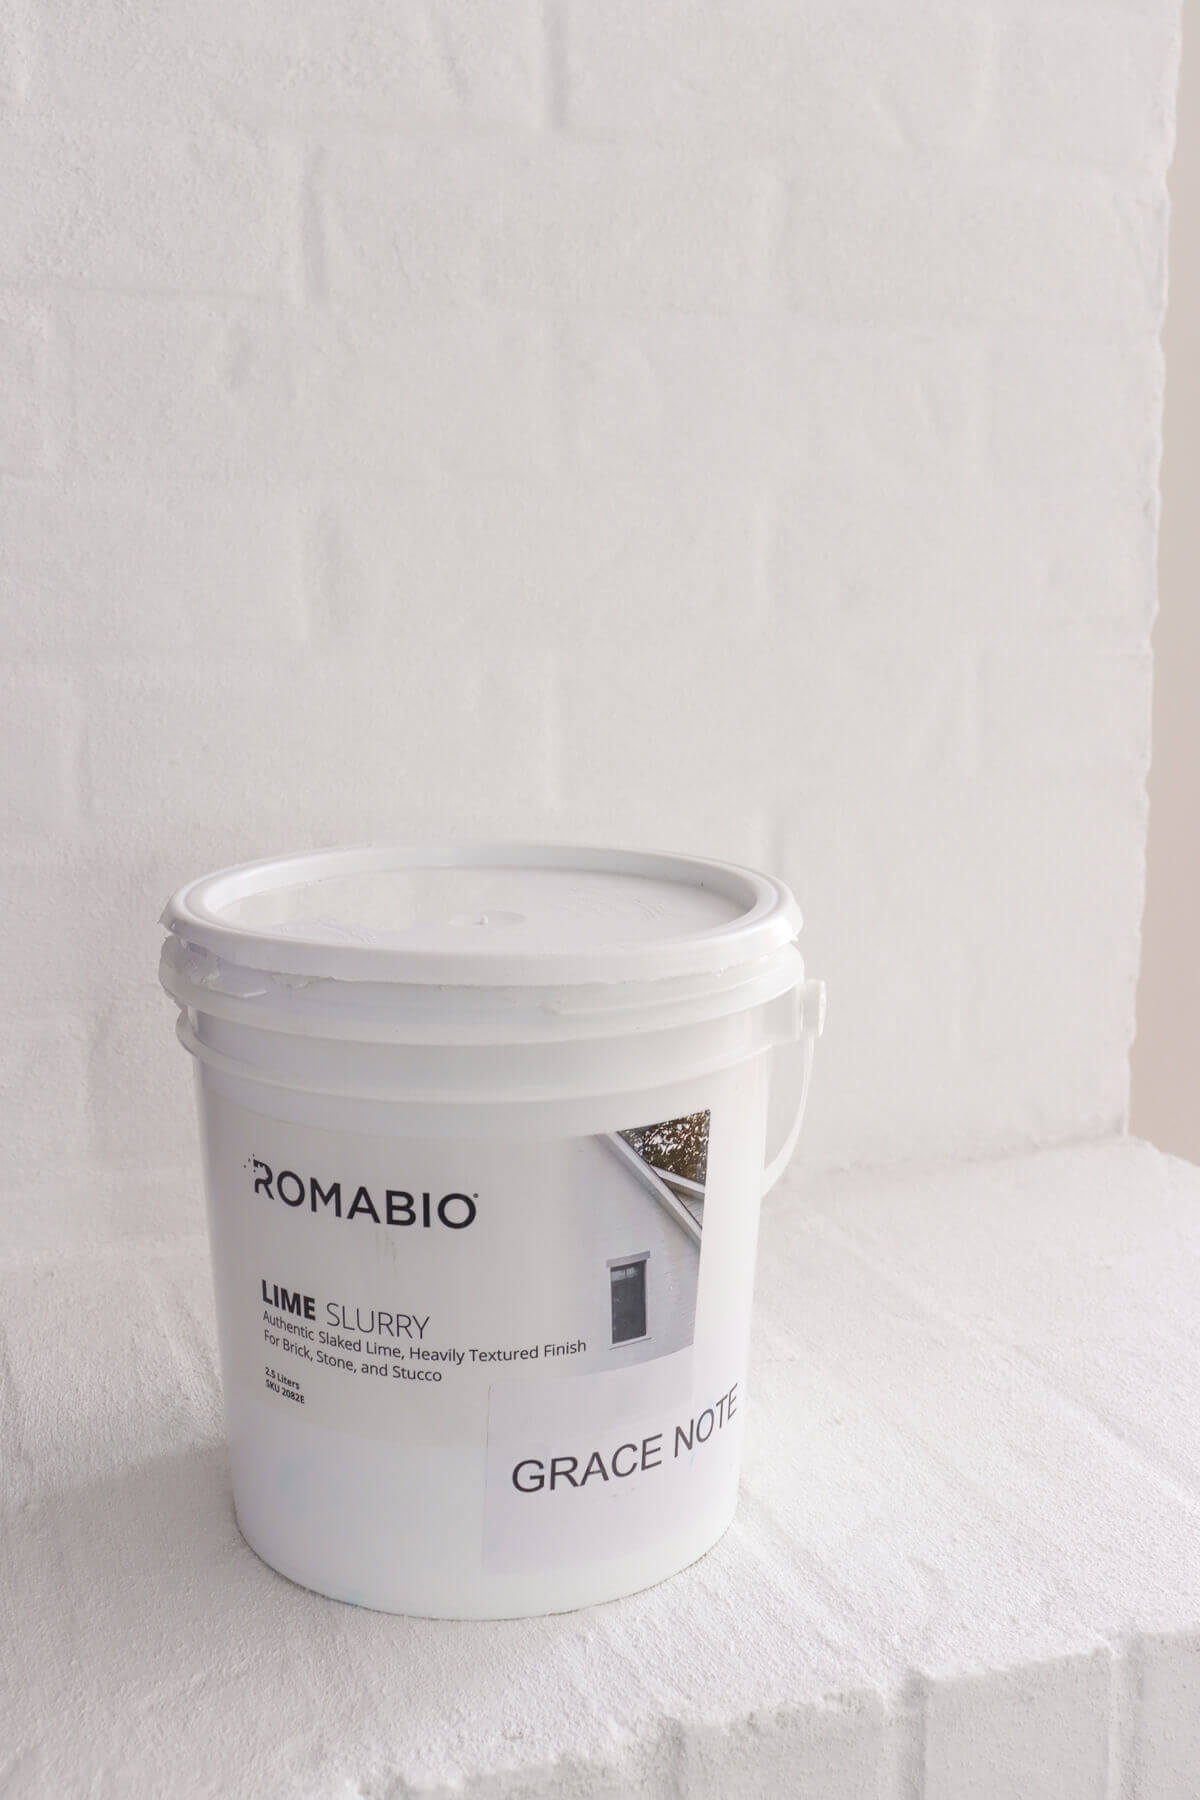
- Romabio Lime Slurry – I used Grace Note White
- Spray Bottle for Water
- Chip Brush
Instructions
After our personal experiences using Romabio’s Classico Limewash on 2 of our homes, I knew the importance of wetting the surface before the initial application.
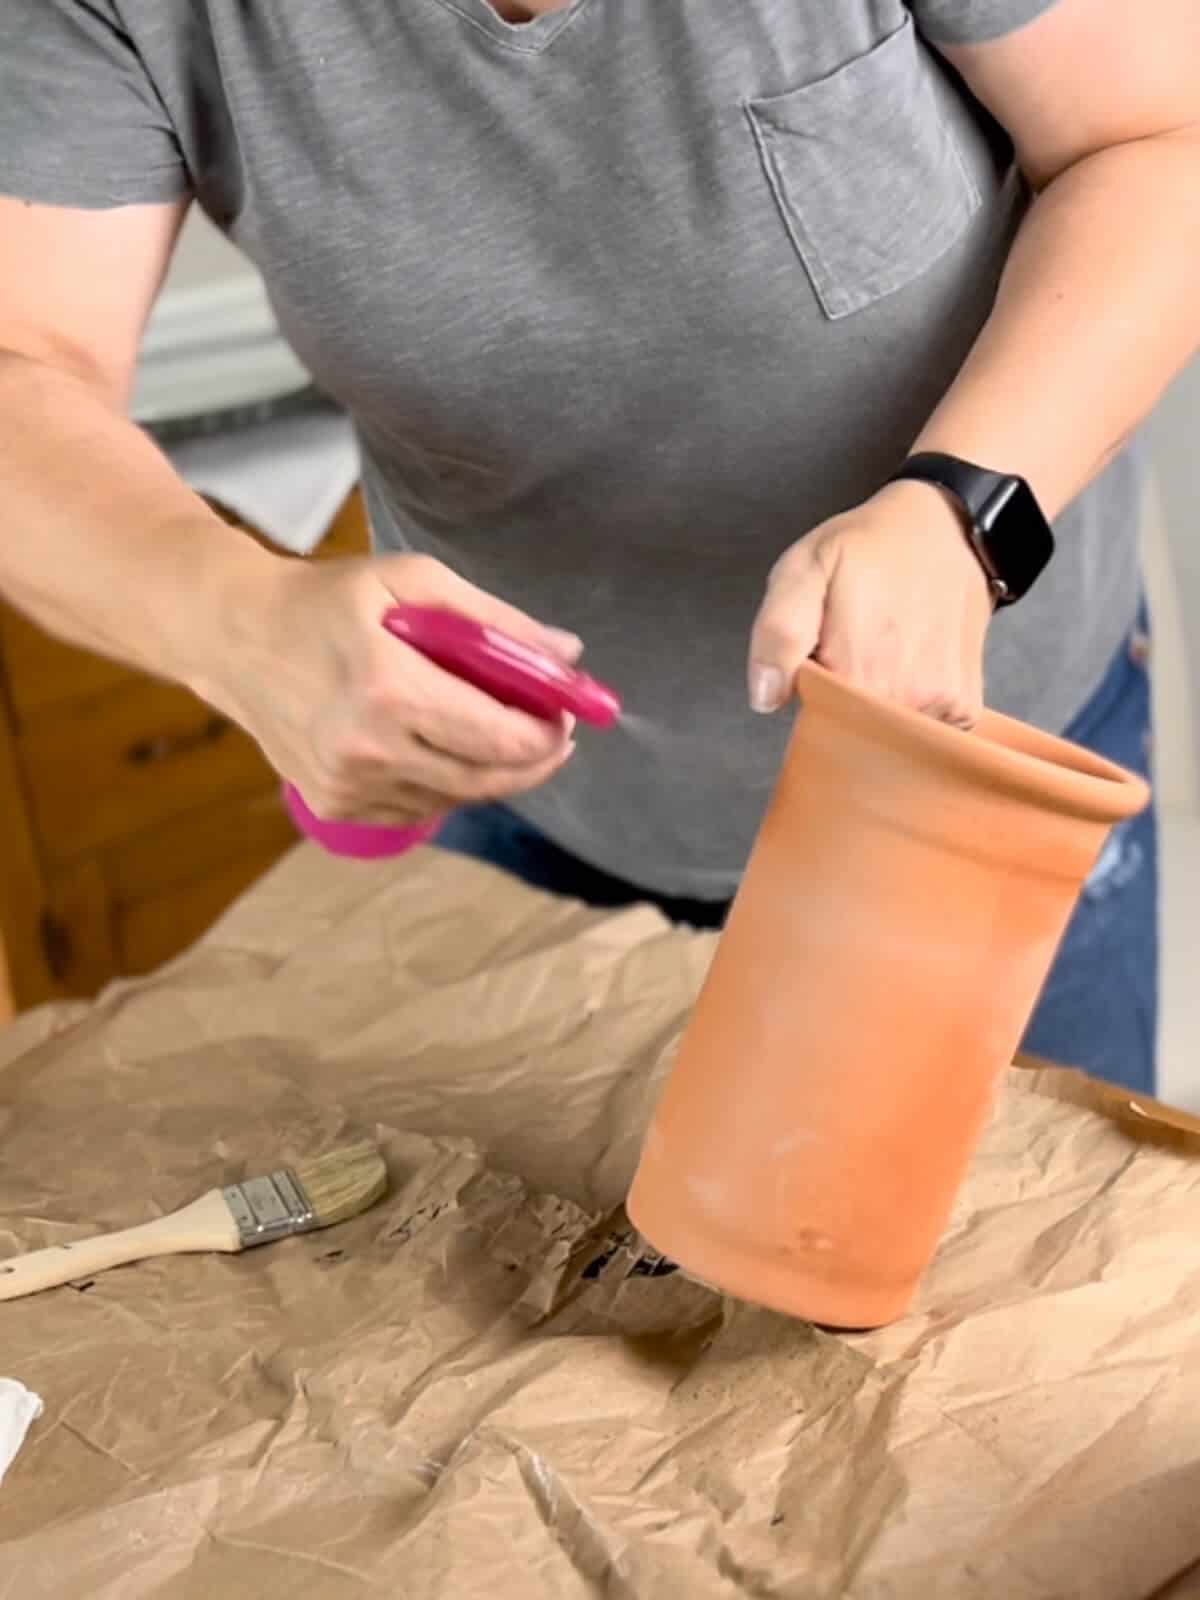
You could use a spray bottle like I used, or a wet sponge would work as well.
The surface doesn’t need to be saturated, just damp.

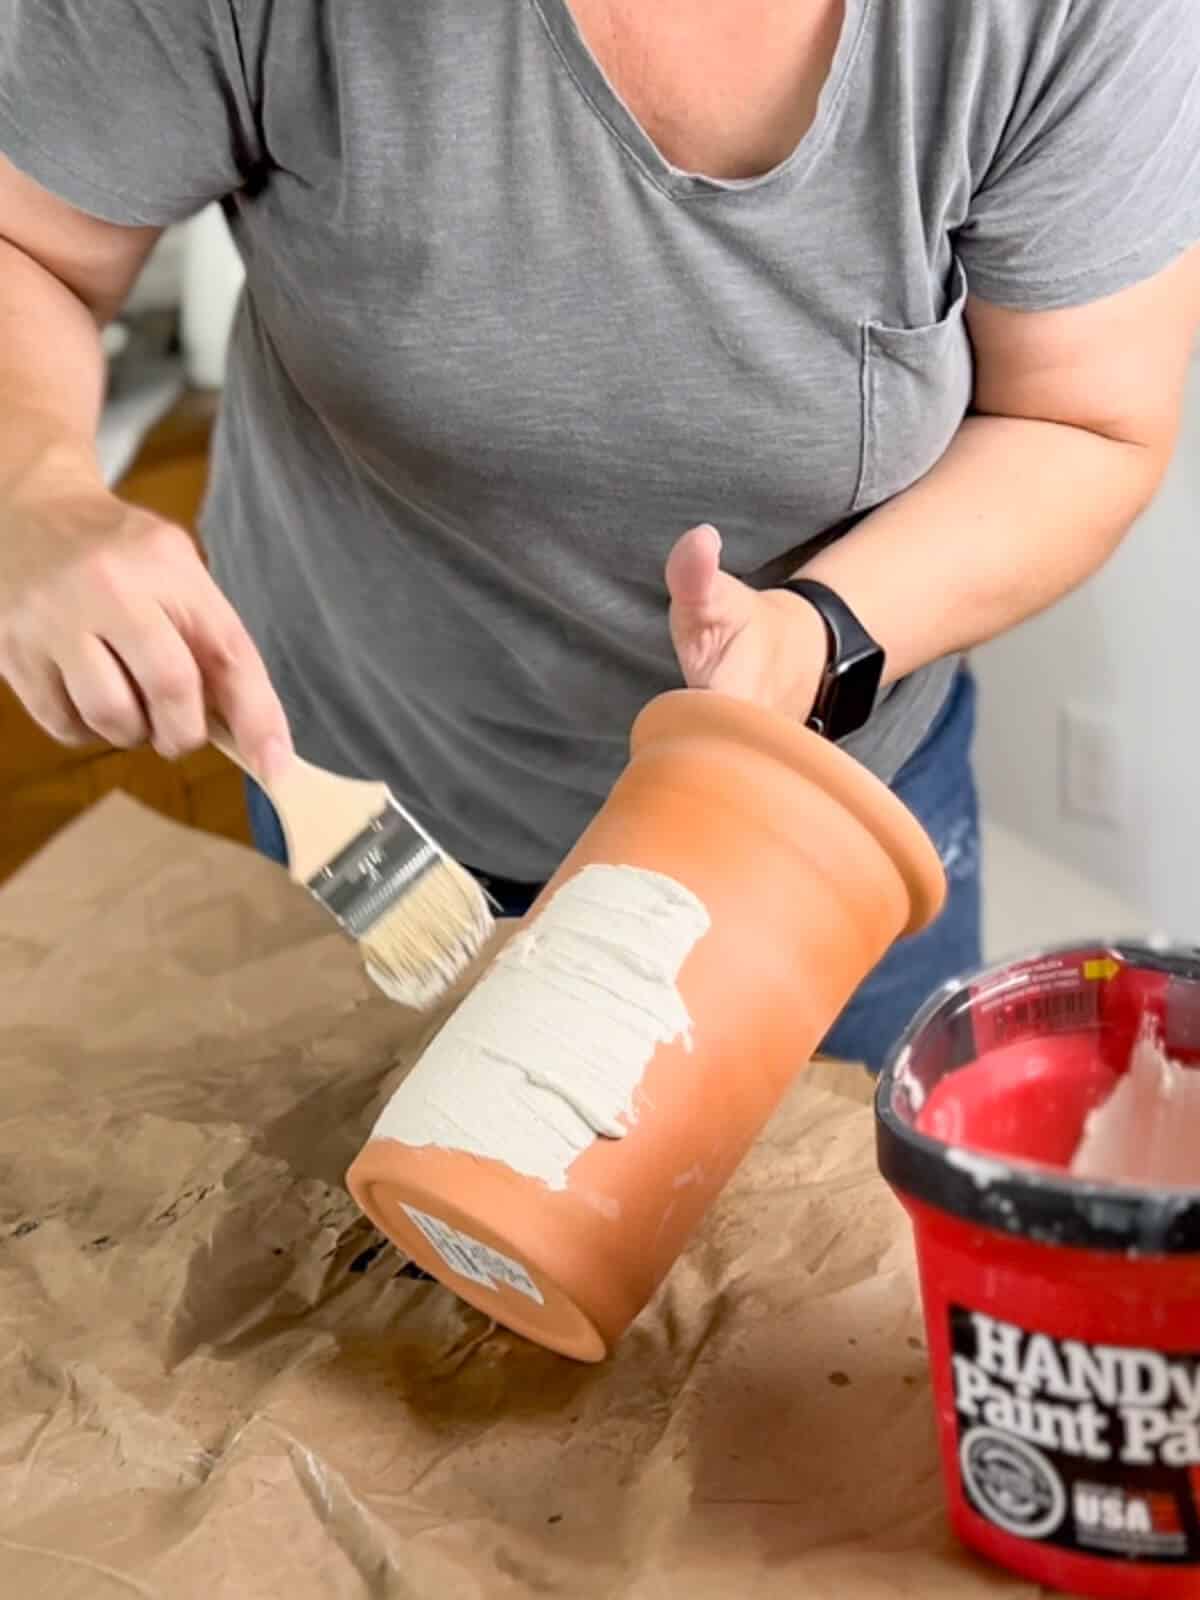
This is such an easy application process.
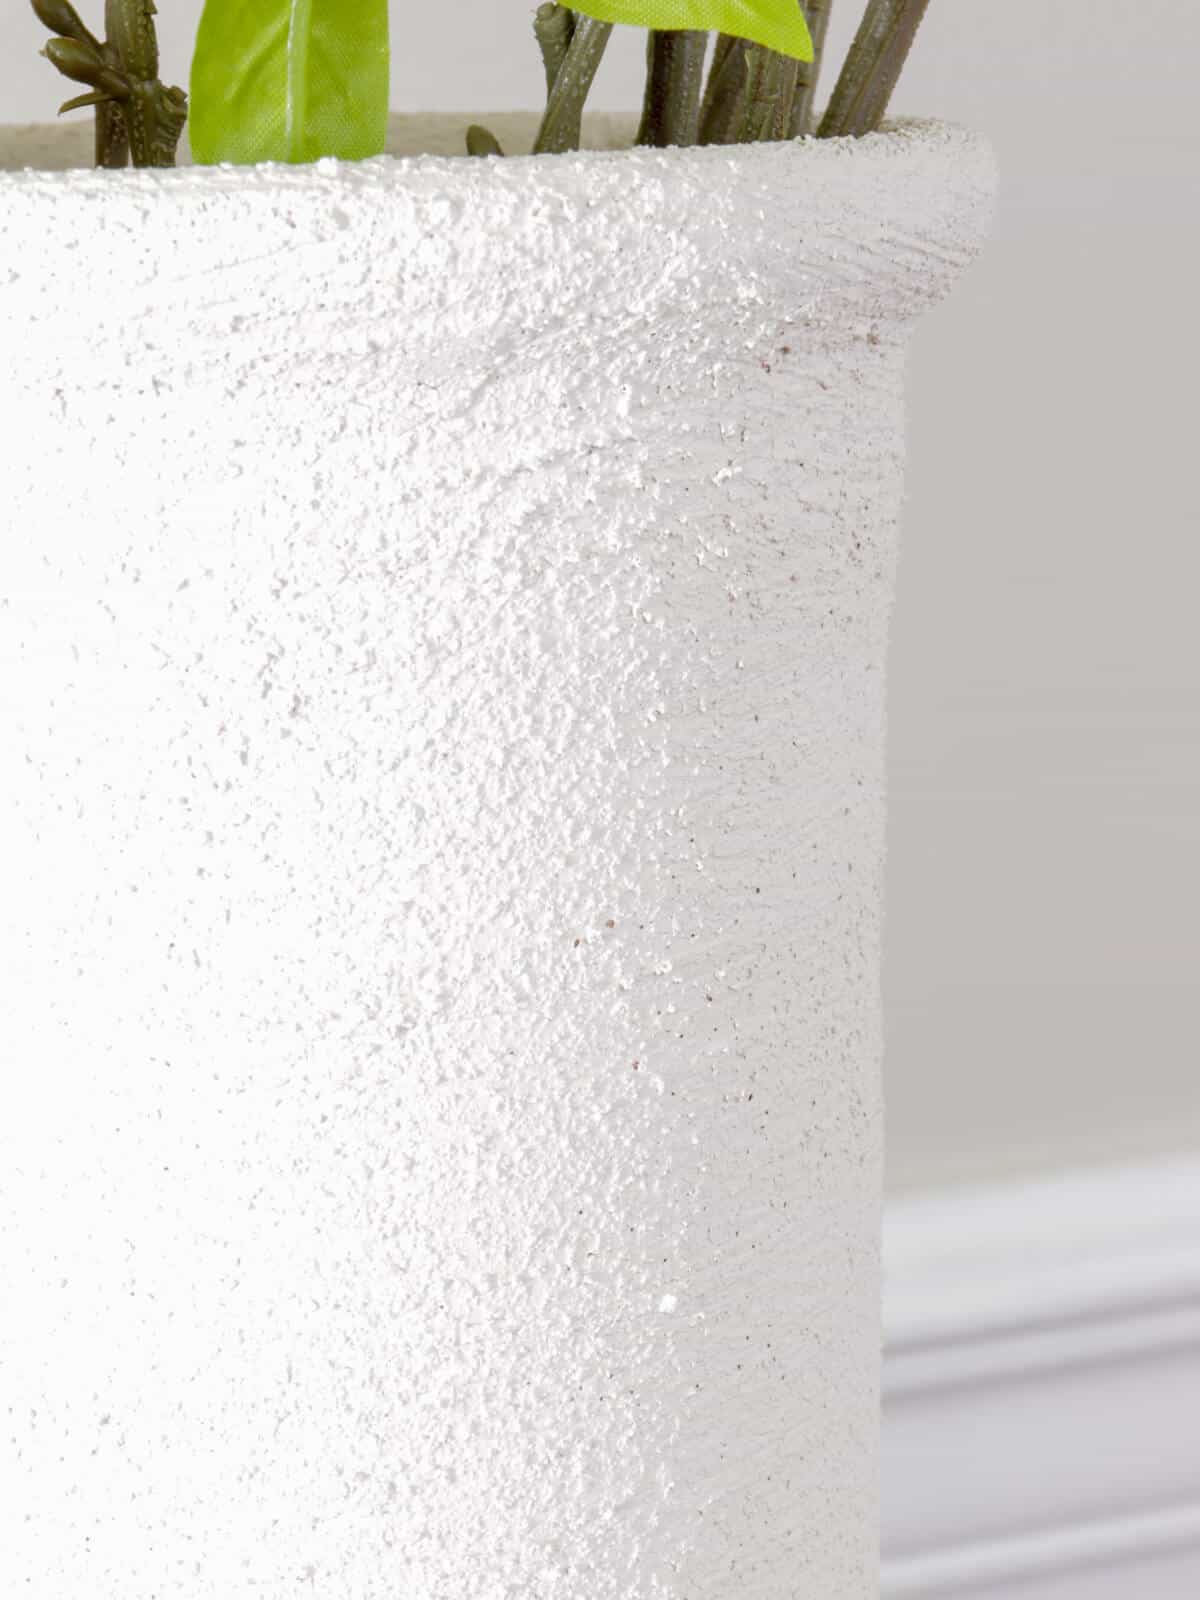
You want to start with a small amount of lime slurry. This type of material has an aggregate to it, so it will be a thick, peanut butter like consistency.
Now, this is not like traditional paint.
There is a unique formulation that gives you some artistic flexibility to create the exact look you want.
If you look at typical lime slurry applications, you’ll notice that most have horizontal lines going across the top of the bricks.
That is the method we used when we applied the lime slurry to our brick fireplace.
So I copied the same application method for this vase.
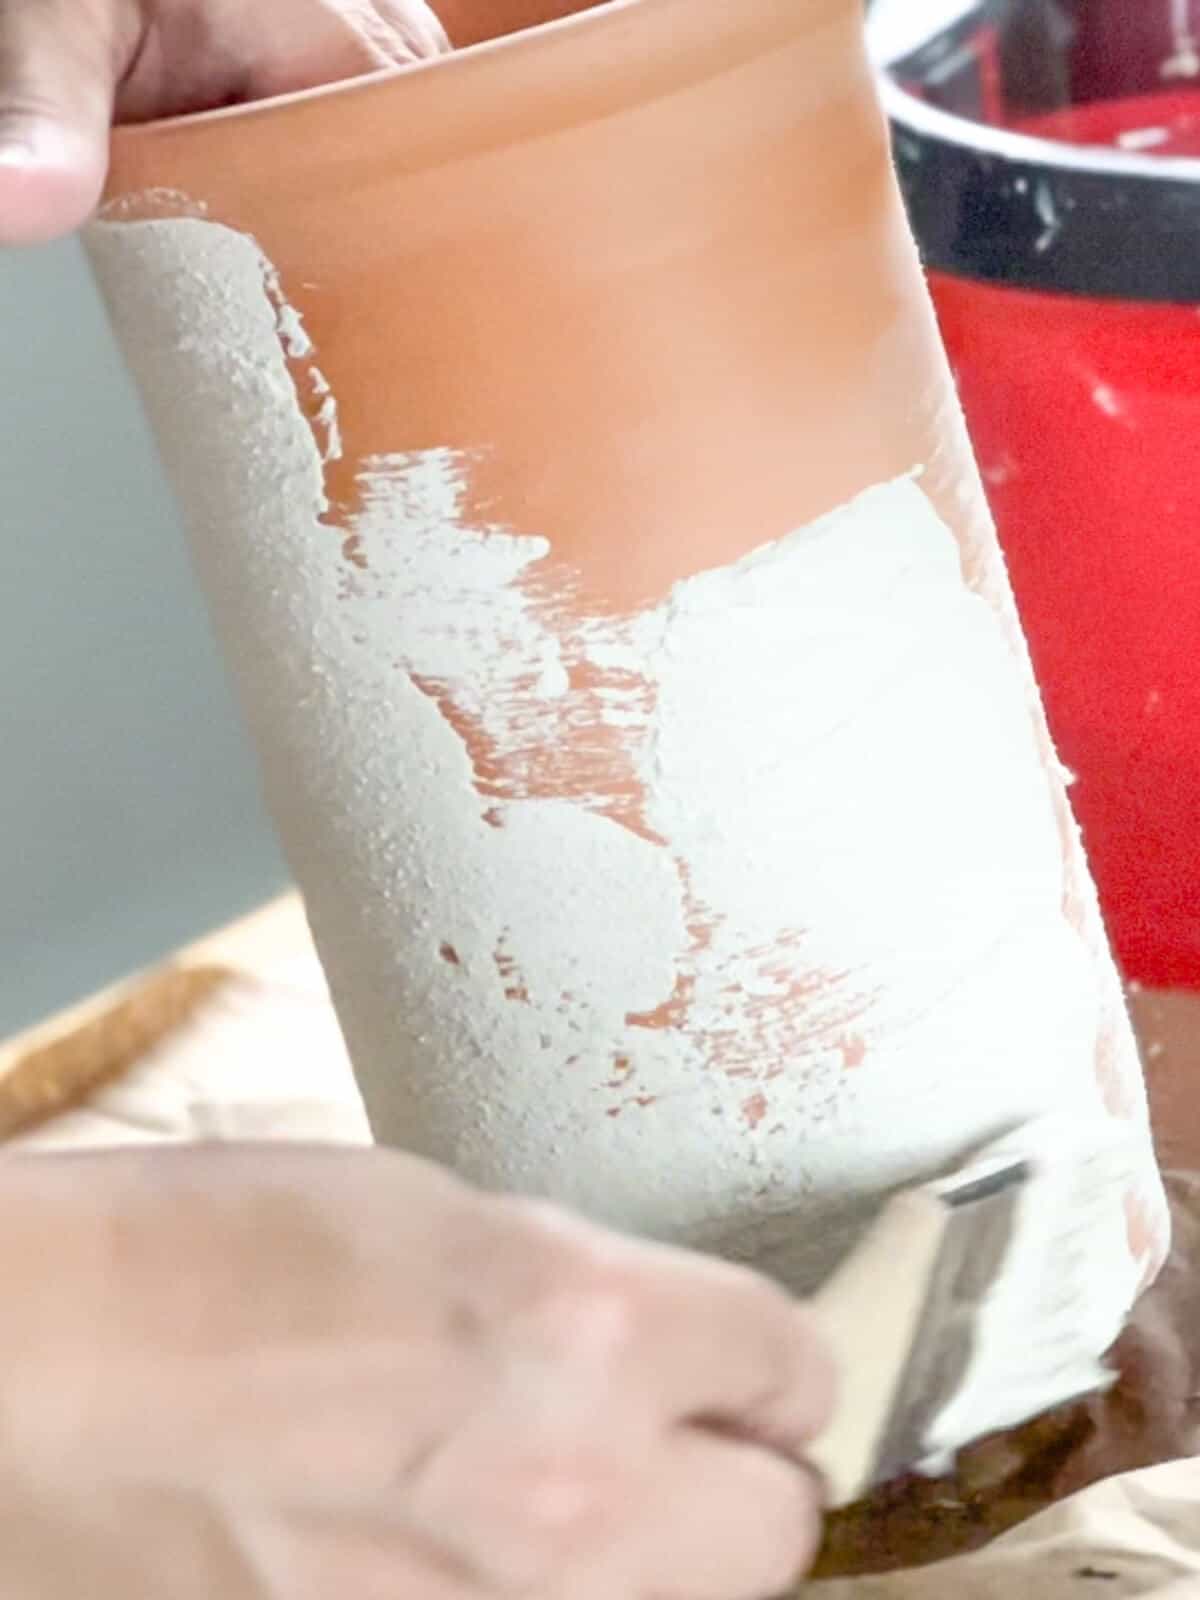
But there are different options if you want a unique look. You can vary the direction you apply the slurry.
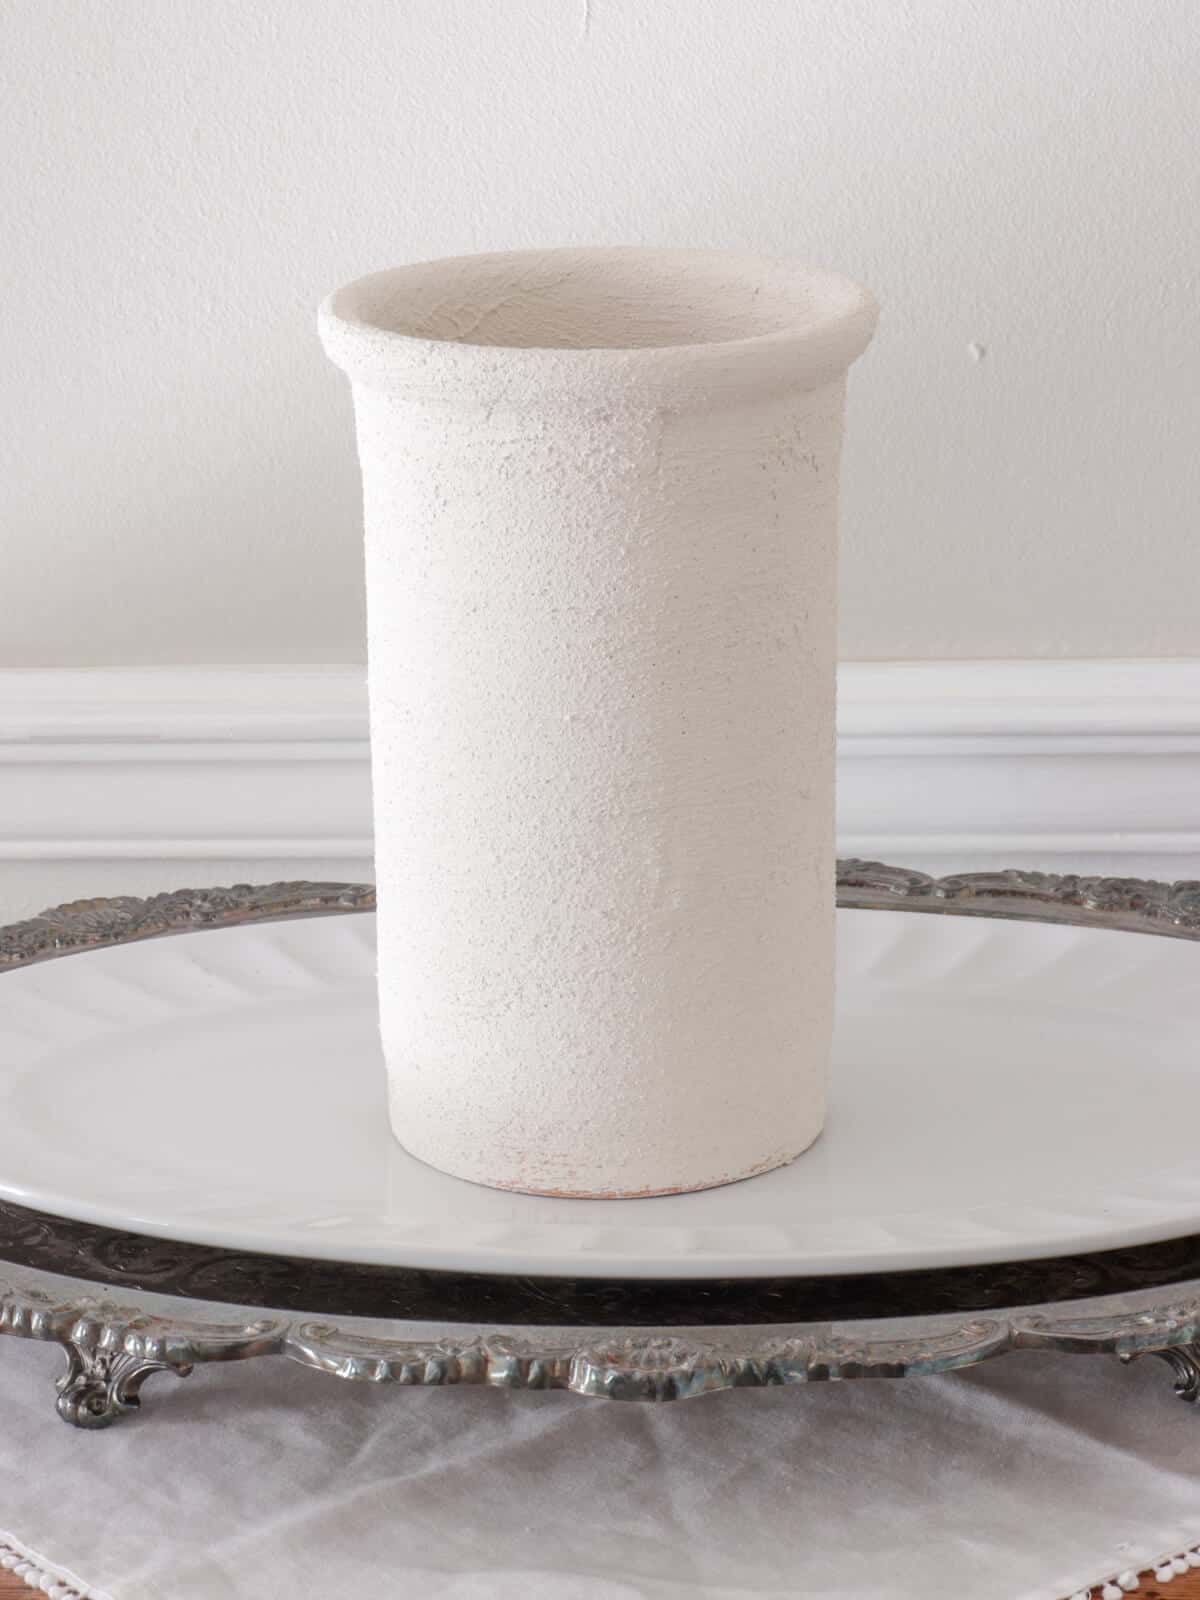
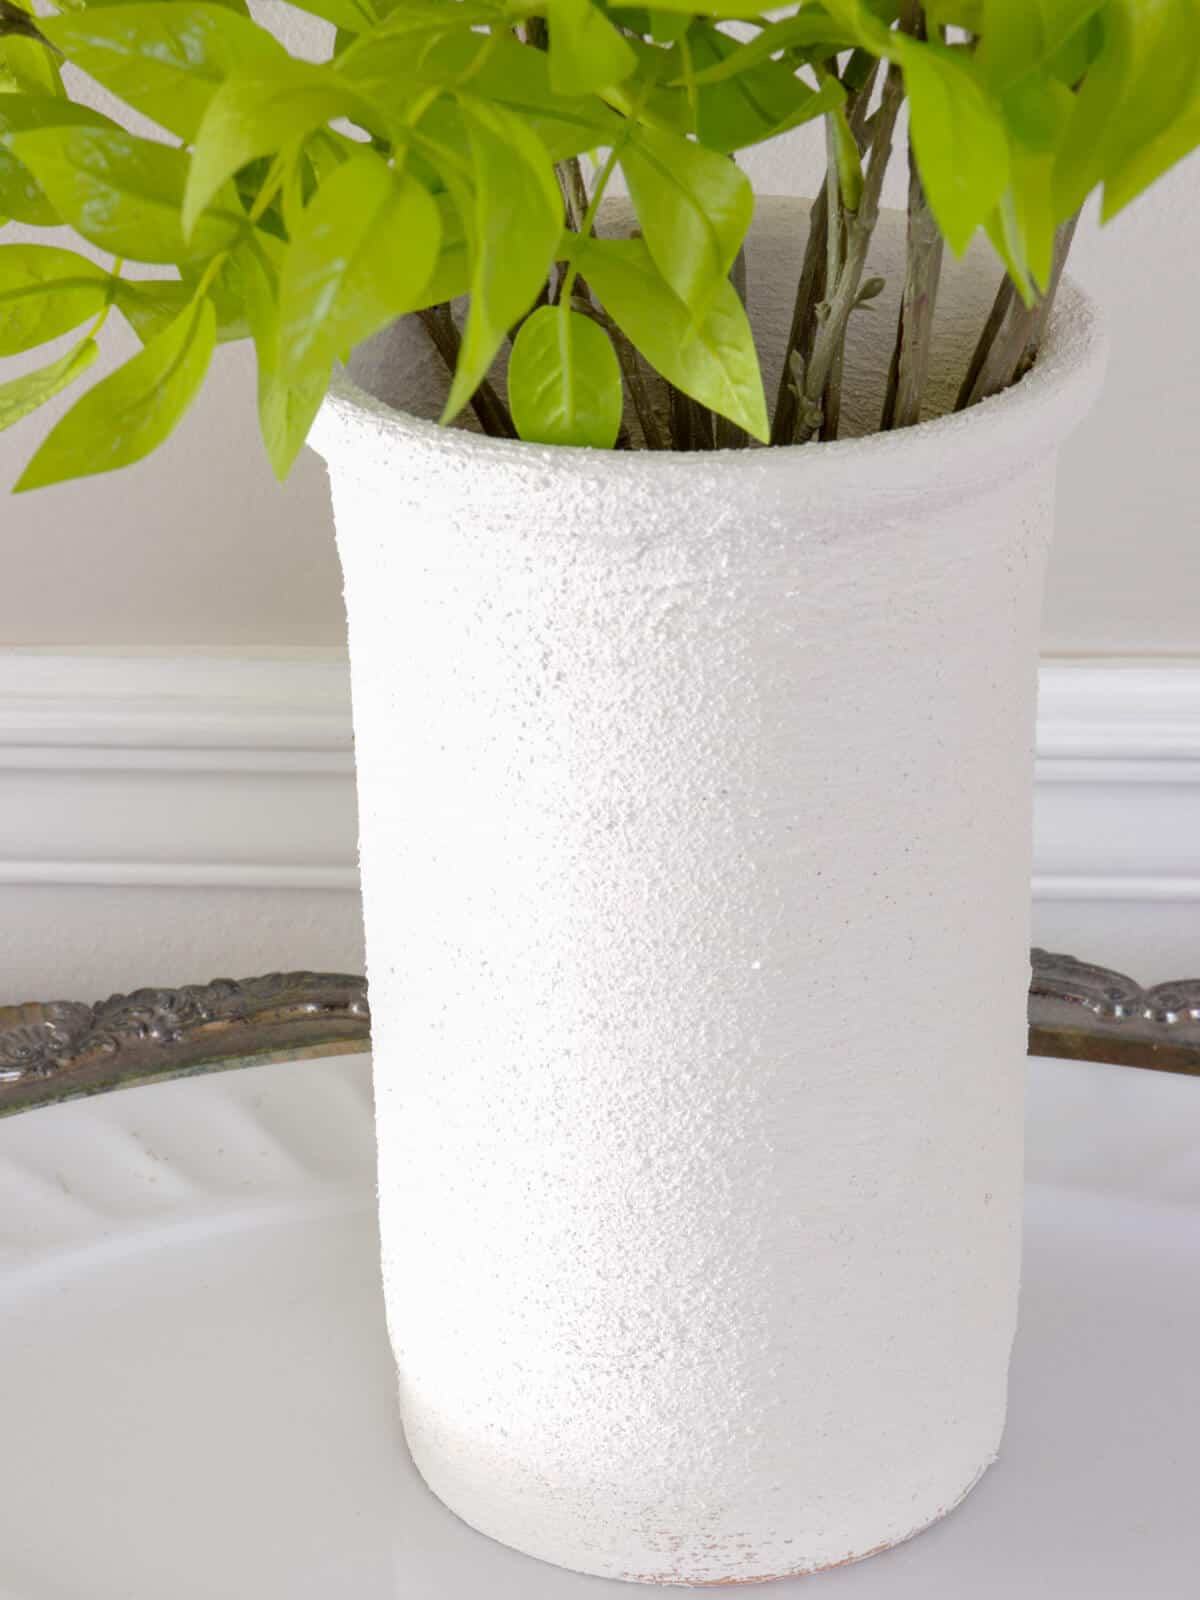
It only took me a few minutes to fully cover the terracotta vase so this DIY doesn’t take a lot of time – which is a plus in my book!
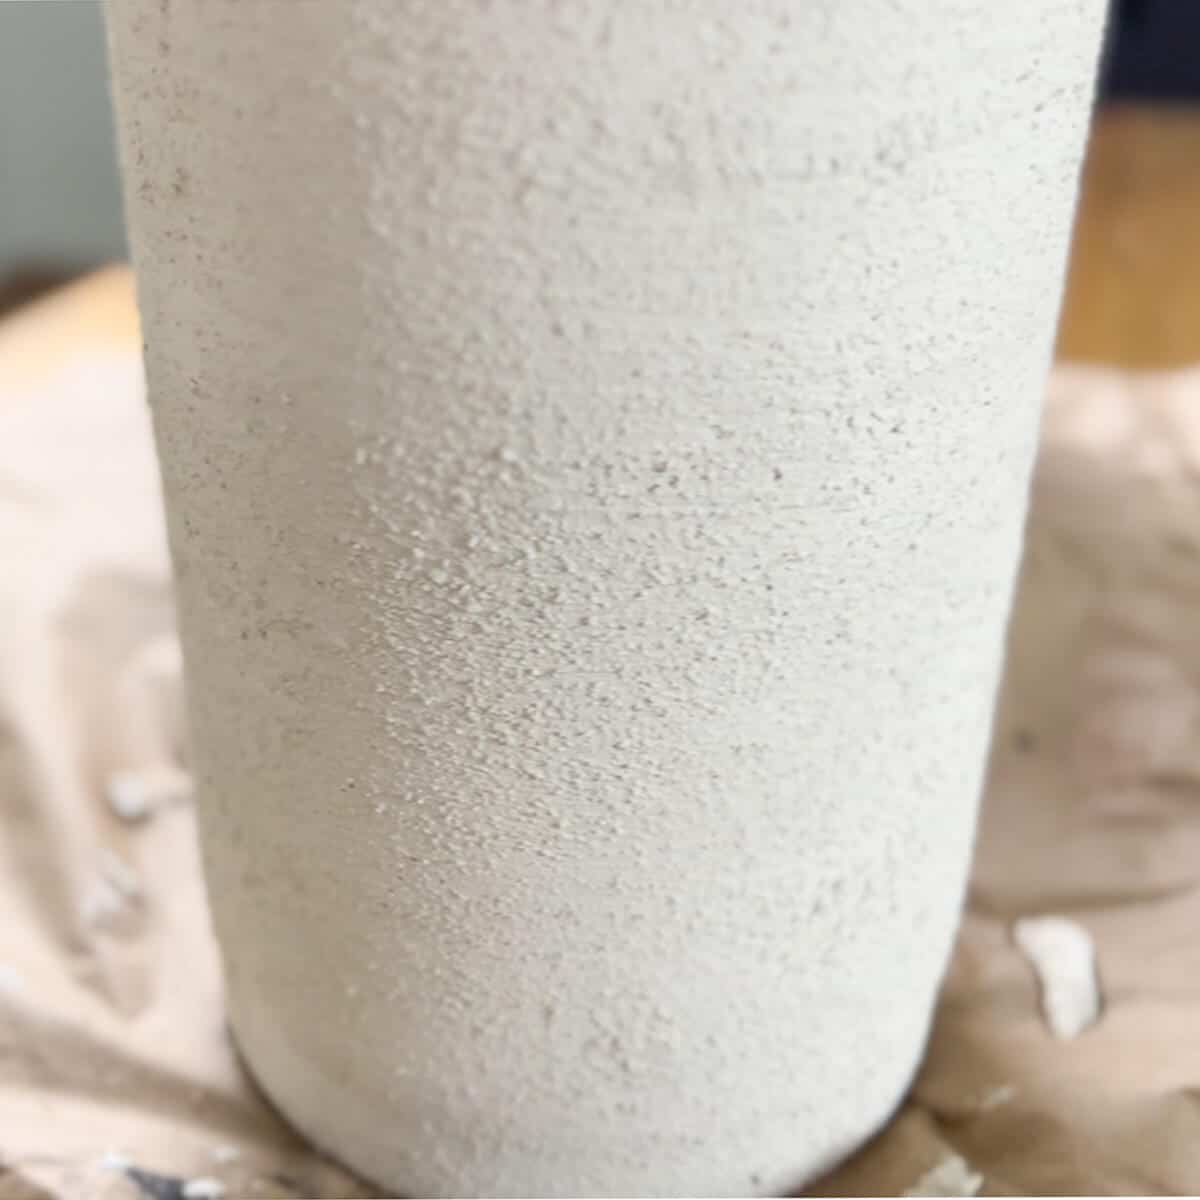
Immediately I can see the beautiful finish!
The Lime Slurry offers high coverage so I only opted for one coat.
Hint: Start with a thin layer for the first coat. You can always go back and add more!
I let the vase dry overnight and couldn’t wait to style it the next day!
Goodness! I just love the textured surface.
It reminds me of my DIY baking soda painted vase, but this has such a stunning texture.

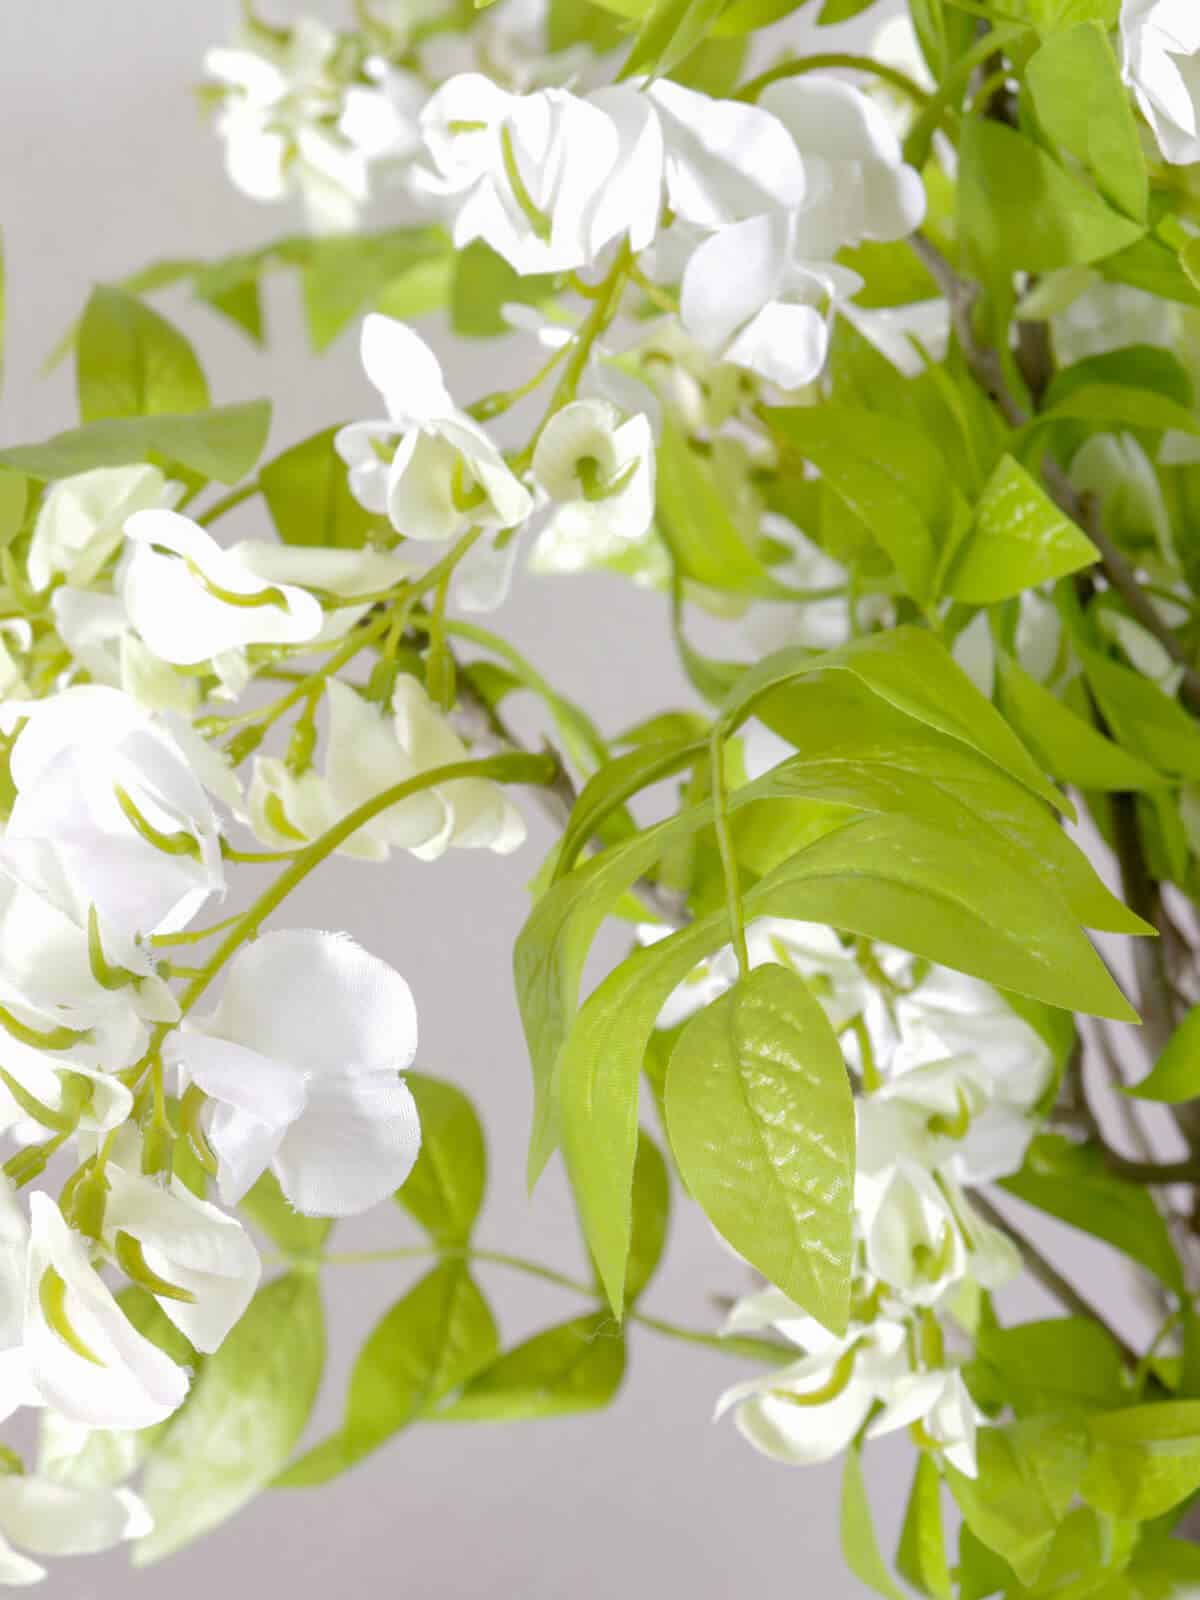
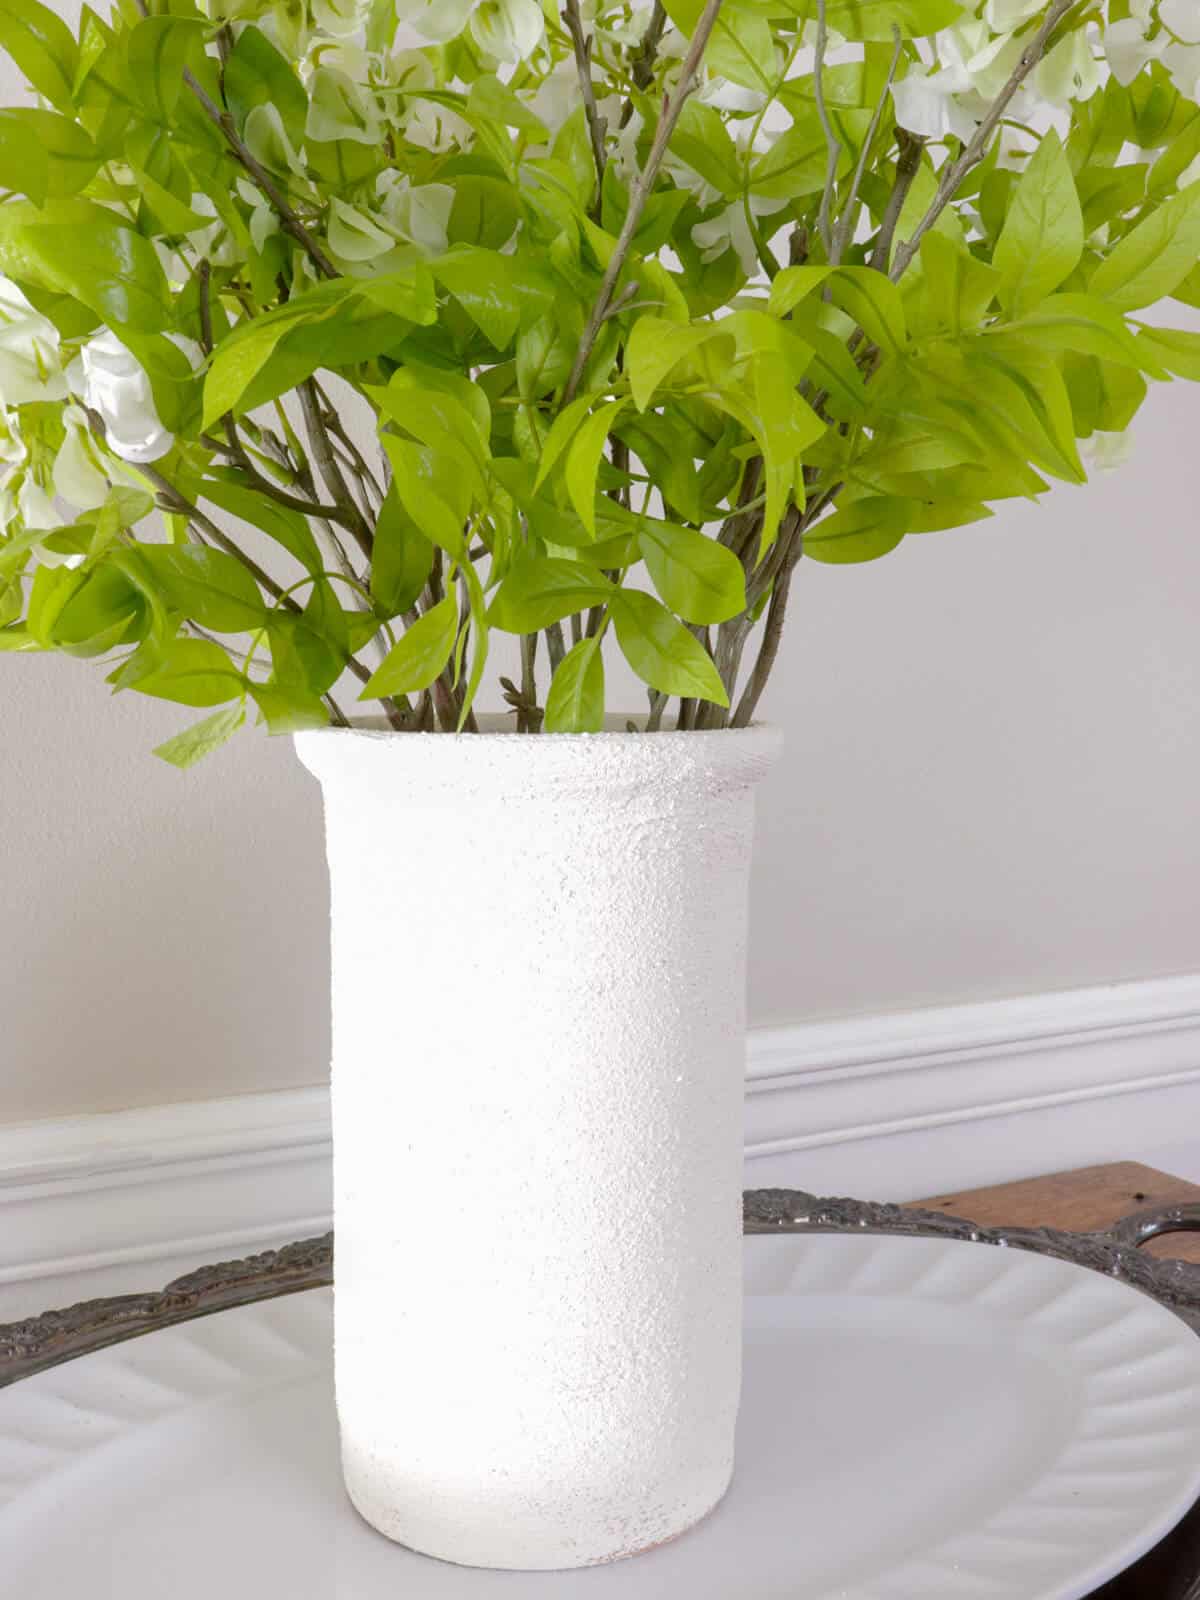
On a recent visit to Target, I found some beautiful faux Wisteria Stems on clearance and grabbed a bundle of them.
I knew the whimsical florals would look perfect in this diy lime slurry terracotta vase.
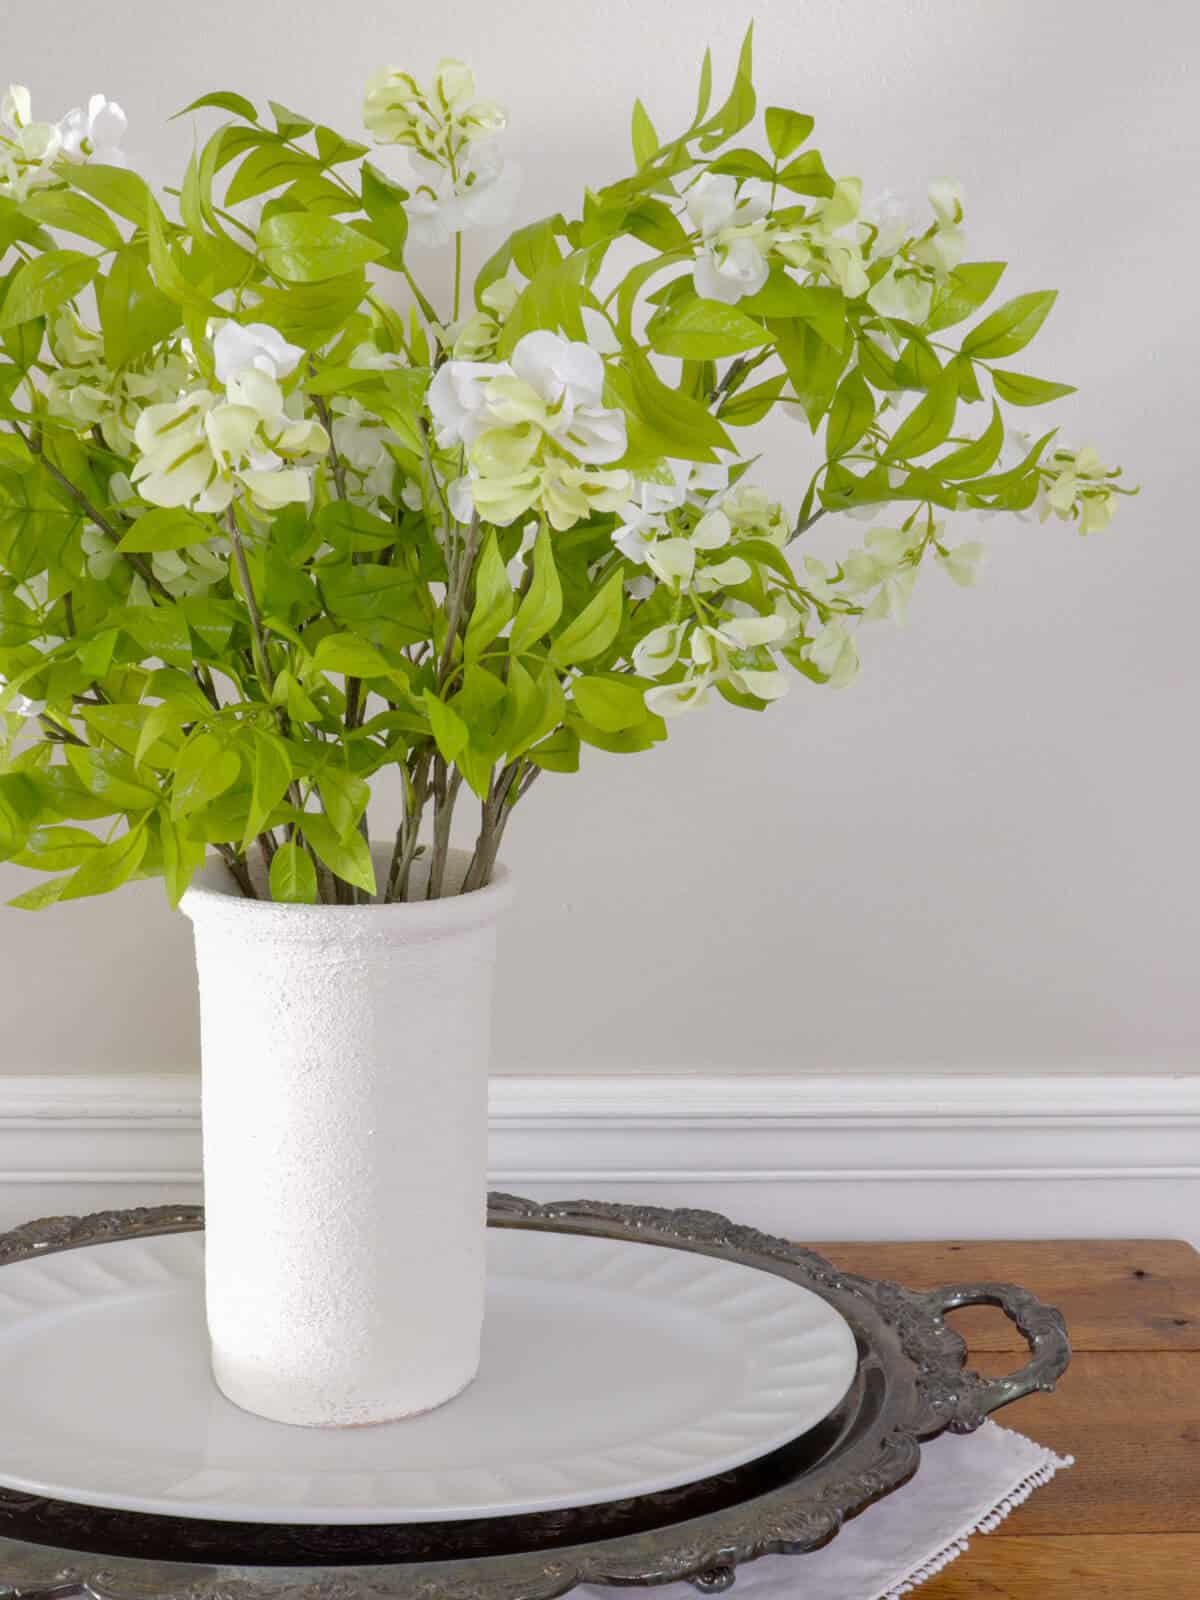
The finished product is such a different look from what I’ve seen before.
I will definitely be trying this on other projects.
Frequently Asked Questions
I’ve had a few questions about Lime Slurry after we made over our brick fireplace.
So I thought I would gather those and share them here if this is the first time you’ve heard about this product.
What is Romabio Lime Slurry?
It is a textured Italian lime paint made by Romabio and used for unpainted brick, stone or masonry surfaces. What I love most about this company is the history. Taking authentic Dolomite lime from the mines in Northern Italy for half a century, Romabio has formulated two uses for slaked lime and this type of paint is by far my favorite!
Not only have they created an amazing limewash paint that we’ve used many times, but they added the texture to their lime formula creating their Lime Slurry.
Once applied, it creates this stunning, flat European finish that fill almost every street on those historical buildings in Italy.
Is the Lime Slurry available in different colors?
Yes and no. It is a white based paint, which you can have custom tinted, but you are limited to lighter colored tints. However, you can achieve darker colors with a top coat of Romabio Masonry Flat (check with your local retailer or contact Romabio). If you are wanting to choose a white paint, my custom color, Grace Note, is a perfect neutral white that pairs well with warm and cool tones.
The Lime Slurry is available on Amazon, but you can purchase the interior paints in my colors that are available.
What does the Lime Slurry feel like?
It is a rough texture, but it’s not so rough that you couldn’t sit on the hearth.
Now if you have a little one who loves to perform pirouettes on the make-believe fireplace stage, it may be a bit rough on their tender feet, but no more than a typical sidewalk.
What types of materials can you apply lime slurry to?
Most absorbent and porous surfaces should work, like brick, stone or other masonry surfaces. But it’s always wise to test in an inconspicuous area first. One trend many homeowners are following in new construction is to choose the cheapest brick on a new home and apply architectural finishes, like Lime Slurry, over the brick surface. It is a great way to change the look of an entire house while also still allowing the brick surface to breathe.
I plan to apply some leftover slurry to a terra cotta pot. I’ll be sure to share the DIY! 😉
Can I apply Lime Slurry myself?
Certainly! While Trent is a seasoned Romabio Preferred PRO applicator, I am not. So I was able to do this myself without any struggles. That’s the great thing about Romabio products. They are very DIY-friendly and have many tutorial videos on their website you can watch.
I hope this encourages you to give this DIY a try! Let me know if you have any questions about the process and I would be more than happy to help out!
Stay tuned for the last step in getting the fireplace of my dreams – replacing the log lighter with gas logs!
Will Romabio Lime Slurry work for my brick exterior?
Yes! In fact, one of my favorite inspiration pics comes from Struttura – masters with Romabio Finishes.
Lime Slurry has similar properties to Romabio’s Classico Limewash in that they are both breathable coatings while drastically changing the look of your brick. The breathability is the main reason I chose Romabio products in the first place!
If the finish is too rough for your liking, they also offer Masonry Textured, which has much smaller aggregates added to the paint.
shop our favorite home items
shop now
Join Our Community
Don’t miss the next DIY! Receive exclusive content, including behind the scenes photos, our favorite home decor DIYs and more!
Check Out These Other Limewash Posts!
- Limewashing an Interior Accent Wall
- How to Lime Slurry a Brick Fireplace
- How to Lime Wash a Basket
- DIY Limewash Terra Cotta Lavender Plant
- How to Install and Limewash Brick Veneer
- 10 Tips for Limewashing Your Home
- How to Limewash a Brick Home
- Limewashing Your Home for Instant Curb Appeal
- Why We’re Limewashing Our Brick Home
- Limewashing our New Home – When to DIY or DIFM
- Limewashing a Painted Brick Fireplace
- Everything You Wanted to Know about Limewash