How To DIY Limewash a Brick Home Like the Pros Do
We changed the exterior of our home this summer with stunning results! Here’s how to Limewash a Brick home. A special thank you to Romabio for collaborating with us on this post!
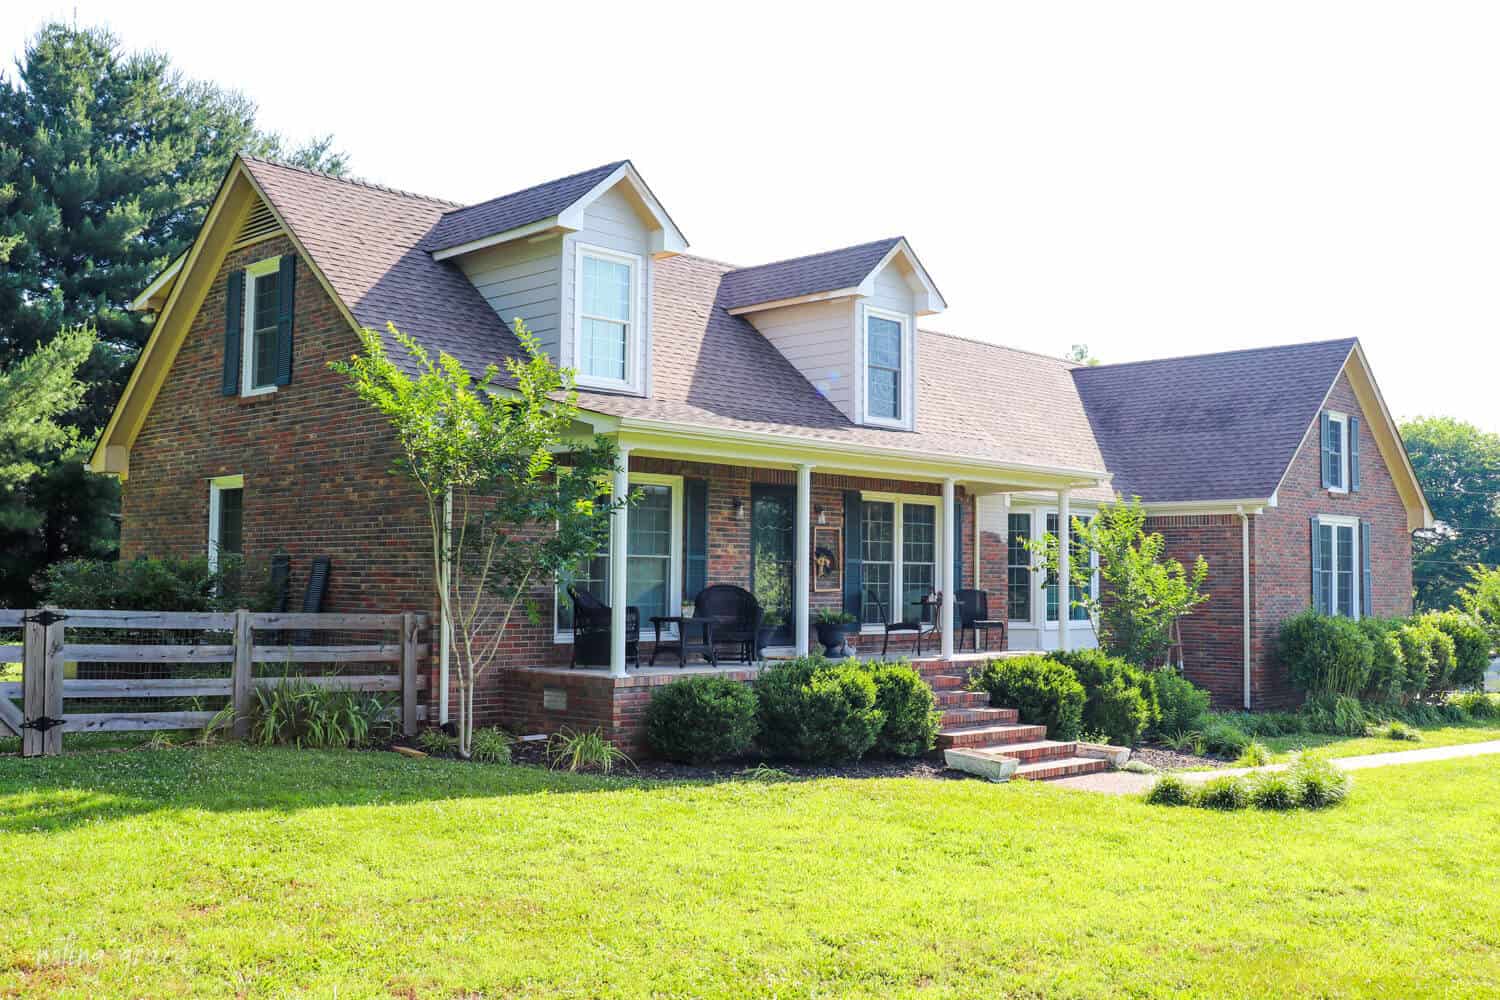
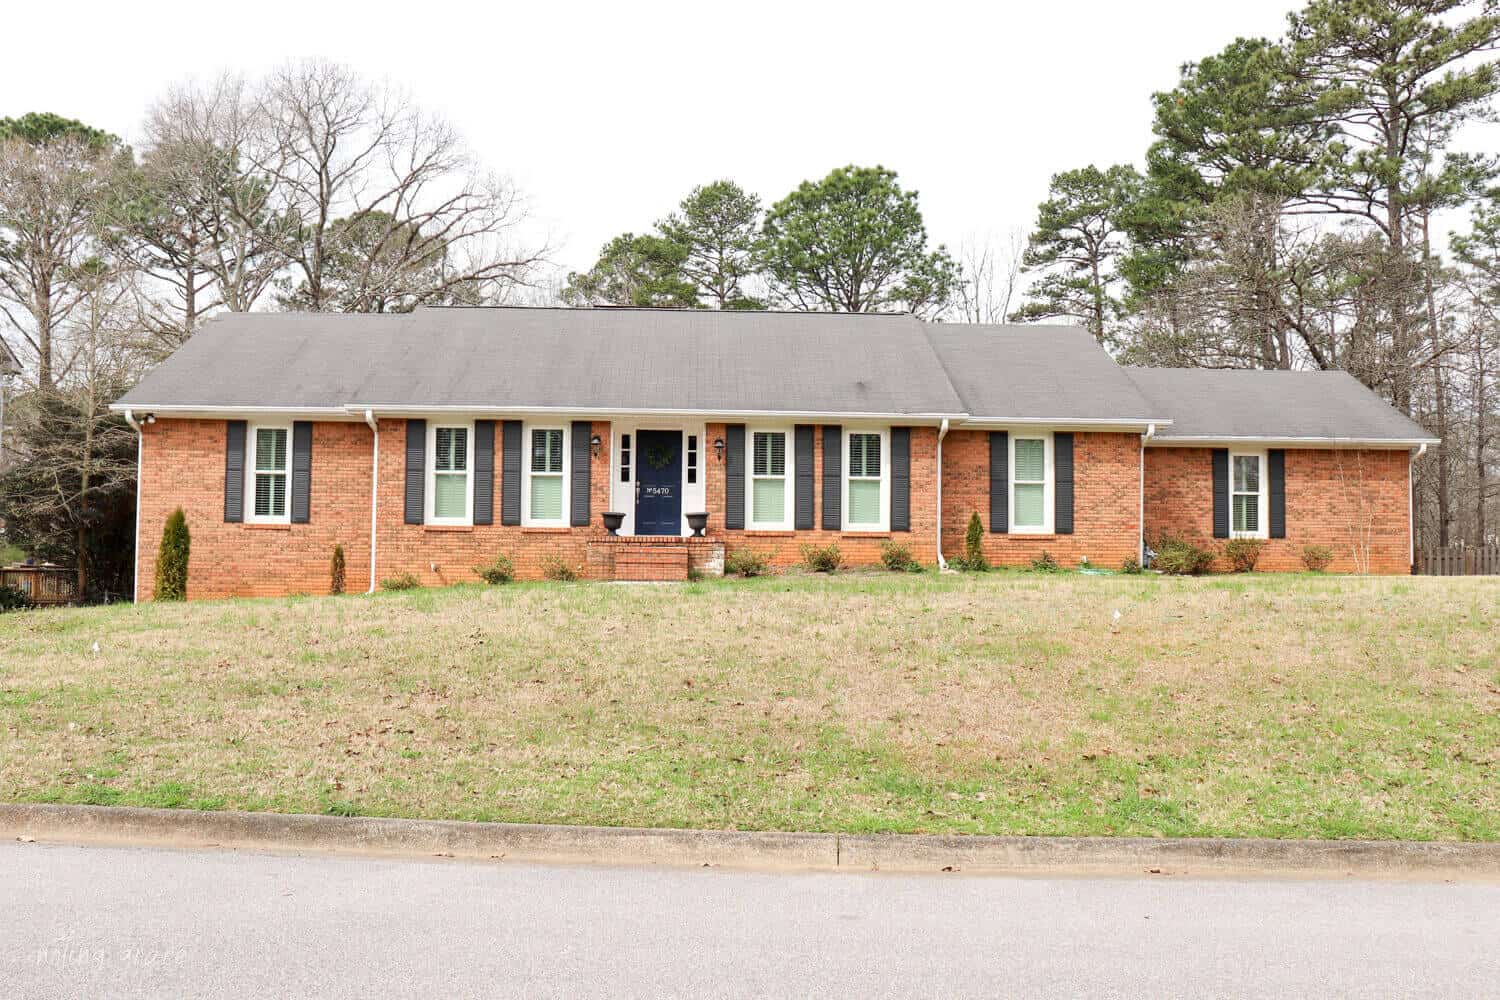
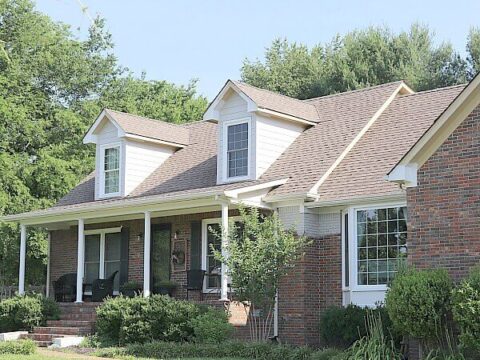
Did you know that I loved everything about our Tennessee home except the exterior?
I would drive up to this house and just wanting to keep on going past – because I didn’t want to turn into this ugly exterior.
UPDATED: Since we have now limewashed 2 homes, I updated this original post. You can read more about our current lime washed home here.
Wouldn’t you want to drive on, too?
Earlier this summer, I shared with you our plans to finally give our brick home a facelift.
I loved the look of a german smear, but quickly found out it was not a diy project.
Then I looked into using latex paint.
Latex may be an easy application, but it can cause issues. Within 4-5 years, you may find chipping and flaking on the exterior of your home because regular paint just sits on top of the brick.
Which means, water can get trapped between the brick and regular paint which makes it bubble up and chip away.
After much research, we were so excited that we found Romabio’s Classico Limewash. Unlike traditional paint, it absorbs into porous surfaces, like unsealed brick or stone.
Lime wash is known for becoming part of the masonry surface it is applied to. In fact, it actually calcifies to the surface allowing the brick to still breathe and wick that moisture away from the home.
Limewash paint has been around since roman times so it stands the test of time.
Romabio offers a product that is user friendly, as well as environmentally friendly which made this DIY-er want to give it a try!
We wanted a technique that was easy to apply, offered coverage but also didn’t harm the brick.
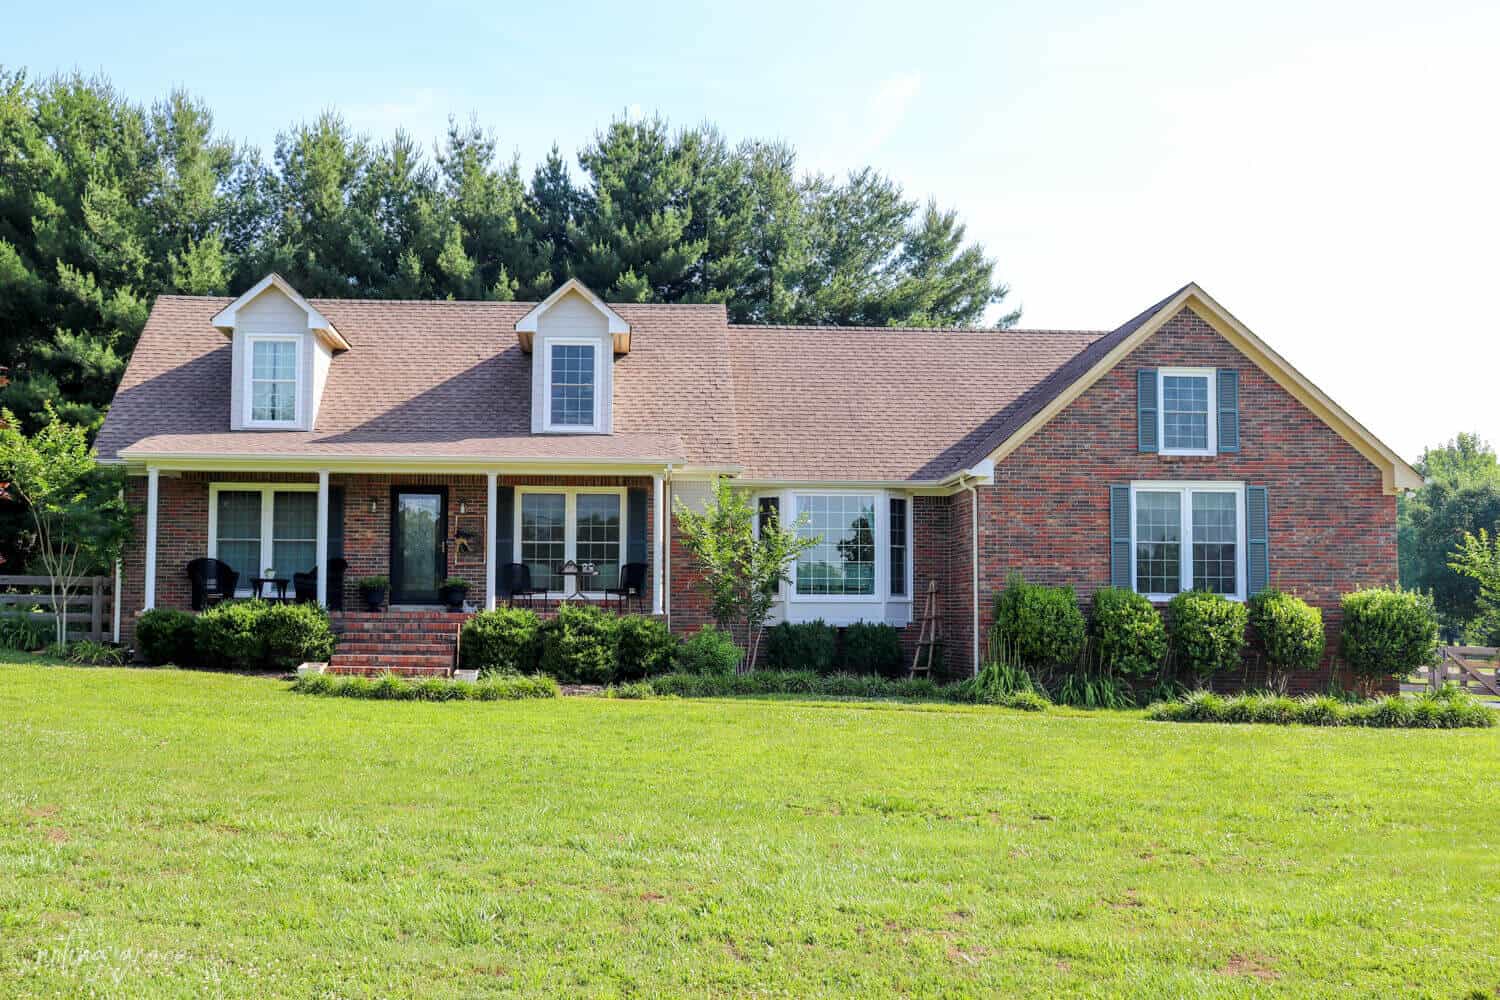
I used to want to keep on driving past this ugly house. But not anymore!
I knew I would love the final result, but I never thought I’d be left swooning!

So the process is simple.
Wet the brick wall, and then apply one coat of Classico Limewash.
It was hard work just getting our house prepped for limewash, because we had to paint all the wood trim and repair a few places of wood rot. So while I was eager to dive right in, I needed lots of patience to get to the fun and easy part!
But, boy oh boy – the results are worth waiting for! Here are some helpful tips if you are considering an exterior Limewash application.
How to Limewash a Brick Home
(Some affiliate links are provided below. Full disclosure here.)
Products Needed:
- Classico Limewash – we used Nube Gray
- Masonry Paint Brush
- Ladder
- Hose
- Pressure Washer if your brick is dirty
- Drill
- Painters Paddle
- Goggles and Gloves
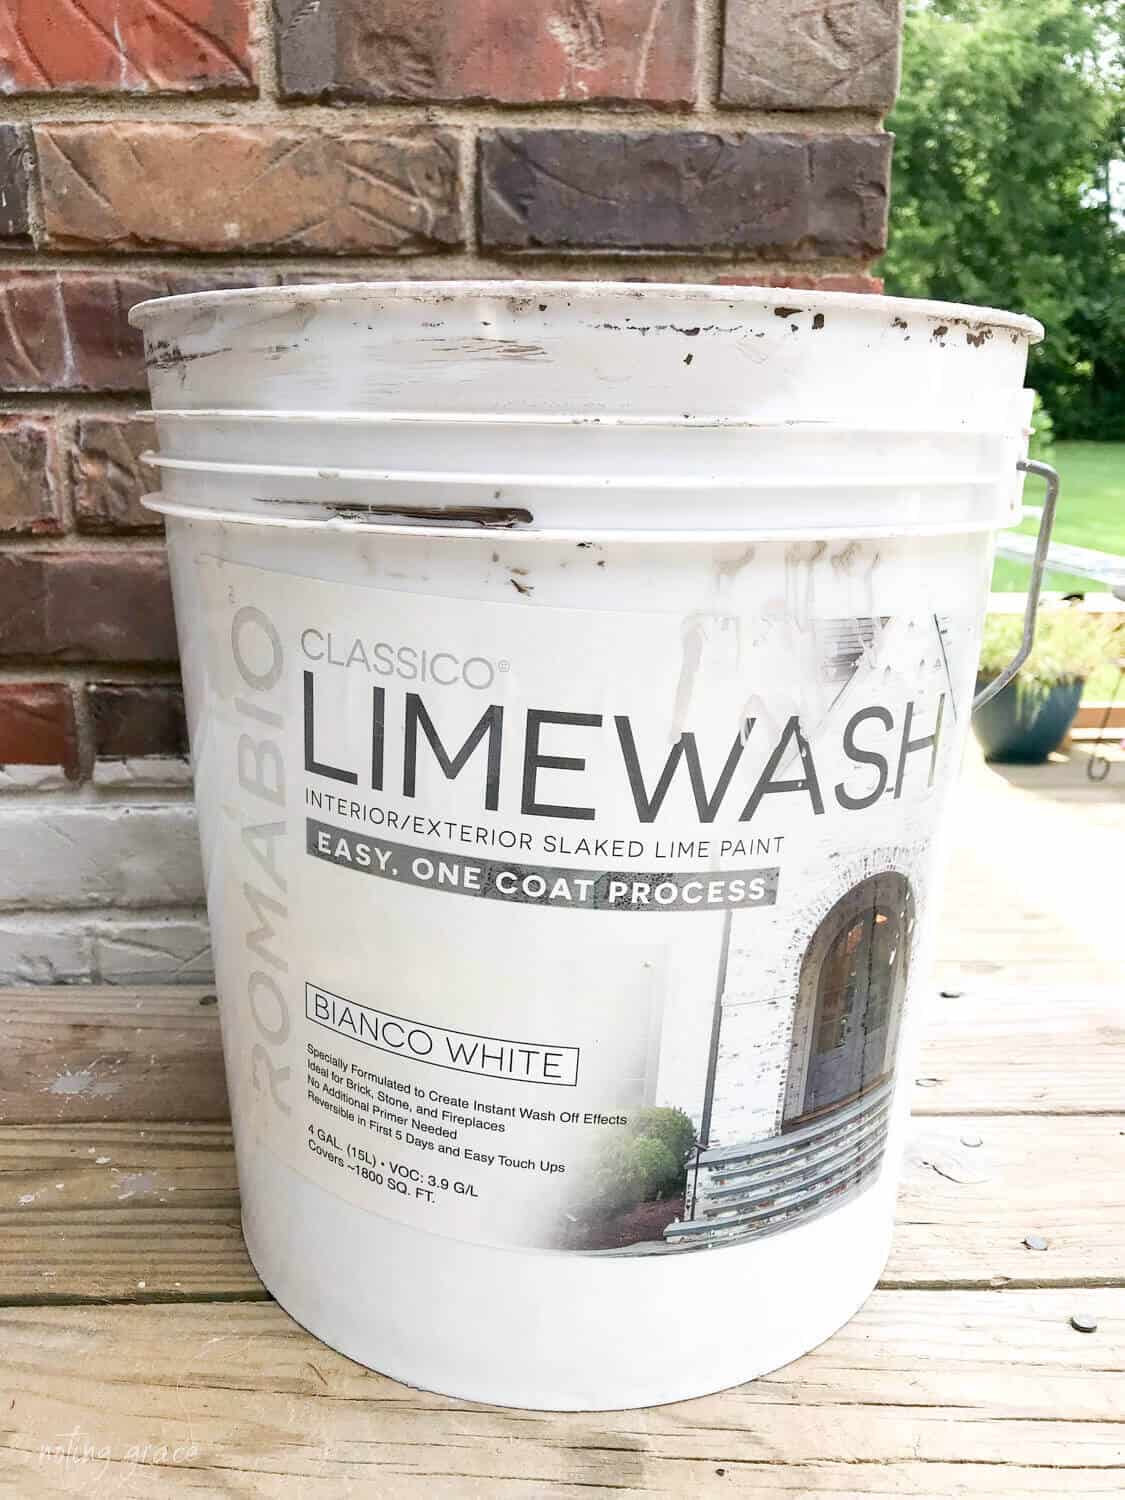
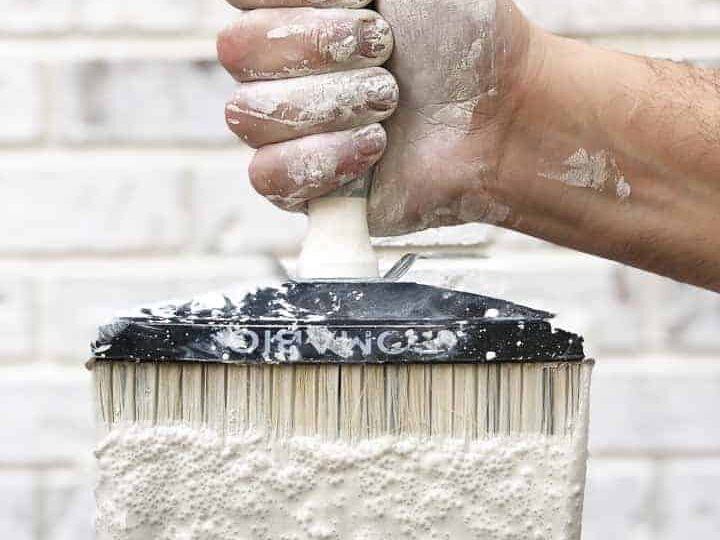
Meet the hero of the story!
It comes from dolomite lime from northern Italy and is an authentic slaked-lime paint.
And don’t let the labeled color fool you – we chose Nube Gray – a gorgeous putty color! The product comes untinted in 5-gallon buckets in the base color of Bianco White. You can get it tinted to many different colors that work with a white base.
Right out of the box, the texture appears very wet-clay like because it is shipped undiluted as lime putty. You water it down to your application preference.
Diluting the Limewash
Romabio Classico Limewash is intended to be diluted and dilution rates can vary.
For our home, we mixed 2 parts Nube Gray to 1 part clean water. Basically a 50 percent water to Limewash ratio.
Then you mix, mix, mix it! A painters paddle that attaches to a drill makes the mixing process easier.
TIP: Now before you begin applying – make sure to wear proper safety gear, like goggles and gloves.
While it’s a natural product from the earth, like any type of paint, you don’t want to get that in your eyes, so put on that eye protection! And if you have sensitive hands, the gloves are a great layer of protection.
Here is how a batch of limewash looks diluted and thoroughly mixed.
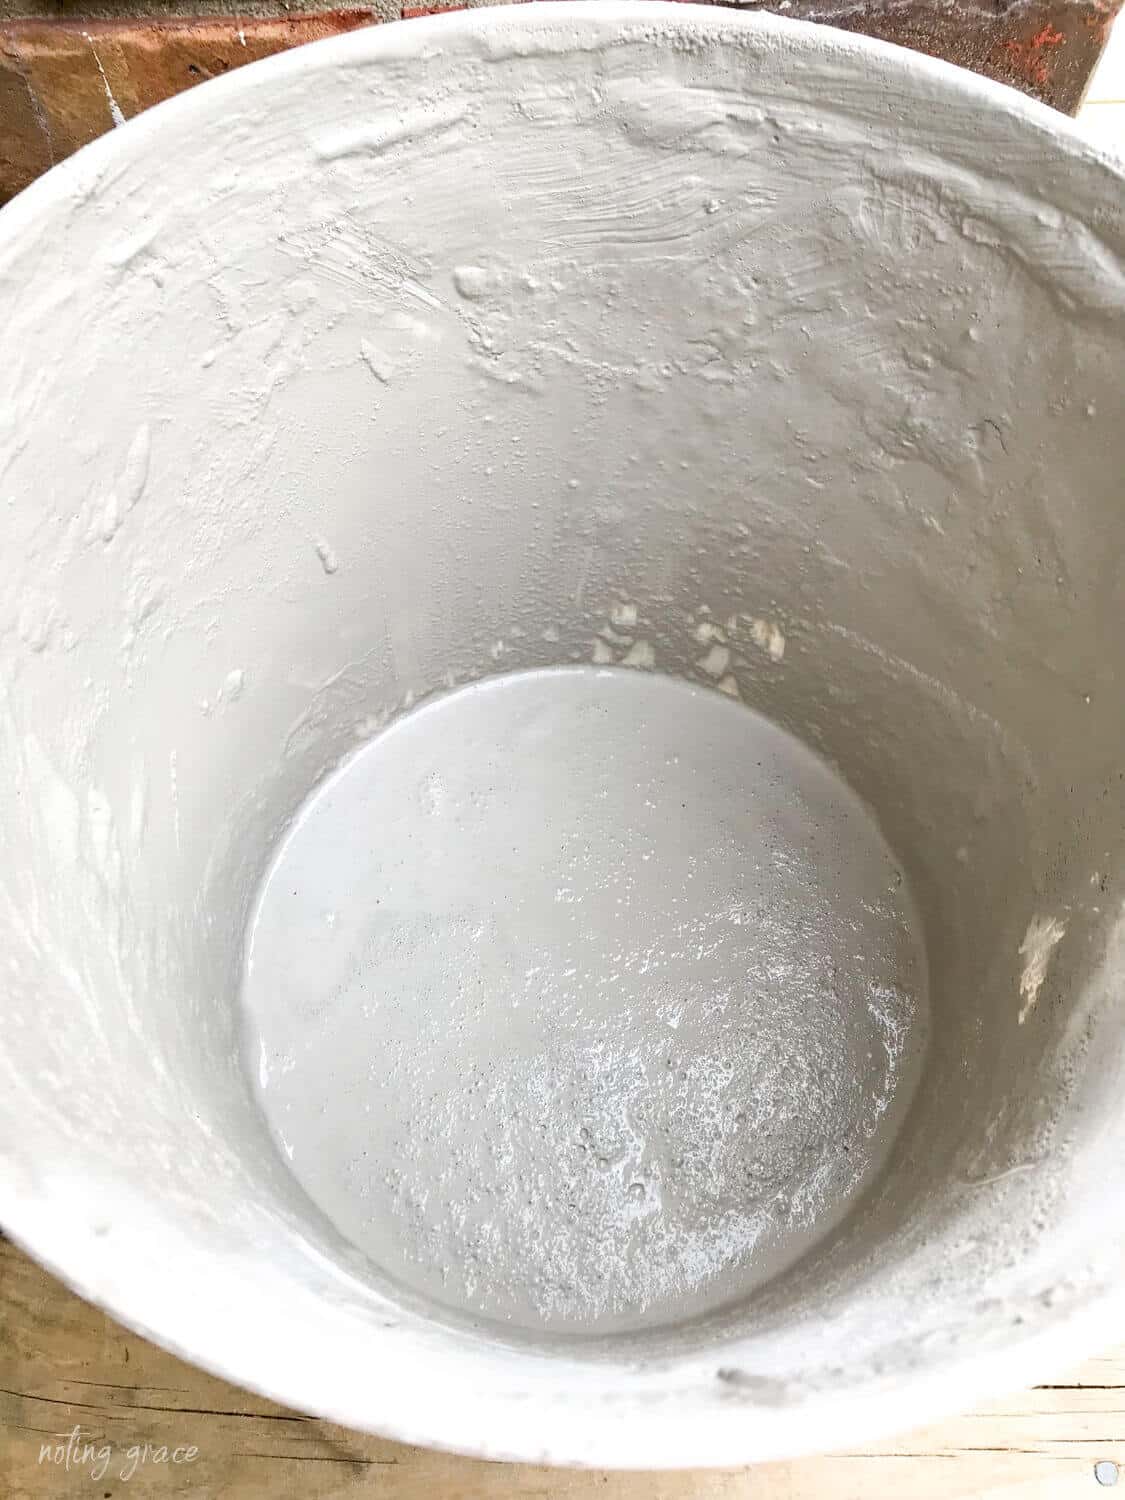
You mix until it’s the ideal consistency of whole milk. Not too thick nor too watery.
If you add too much water, no problem – just add some more limewash until it’s the consistency you like. I like to start with less water and add more as I go.
There’s really not one correct ratio for Classico Limewash. Since it’s a dilutable product, there is a lot of forgiveness in this step.
It truly can vary based on the look you are wanting to achieve.
Be careful with application of this mix. Taking time to prep your area can save you lots of clean up. Cover your shrubs and windows or other non lime washed surfaces for drips and flings.
One tip that we found handy: having a wet towel nearby to wipe up any rogue drips.
Note: The limewash will not harm your plants. It’s from the earth and won’t damage like regular paint would.

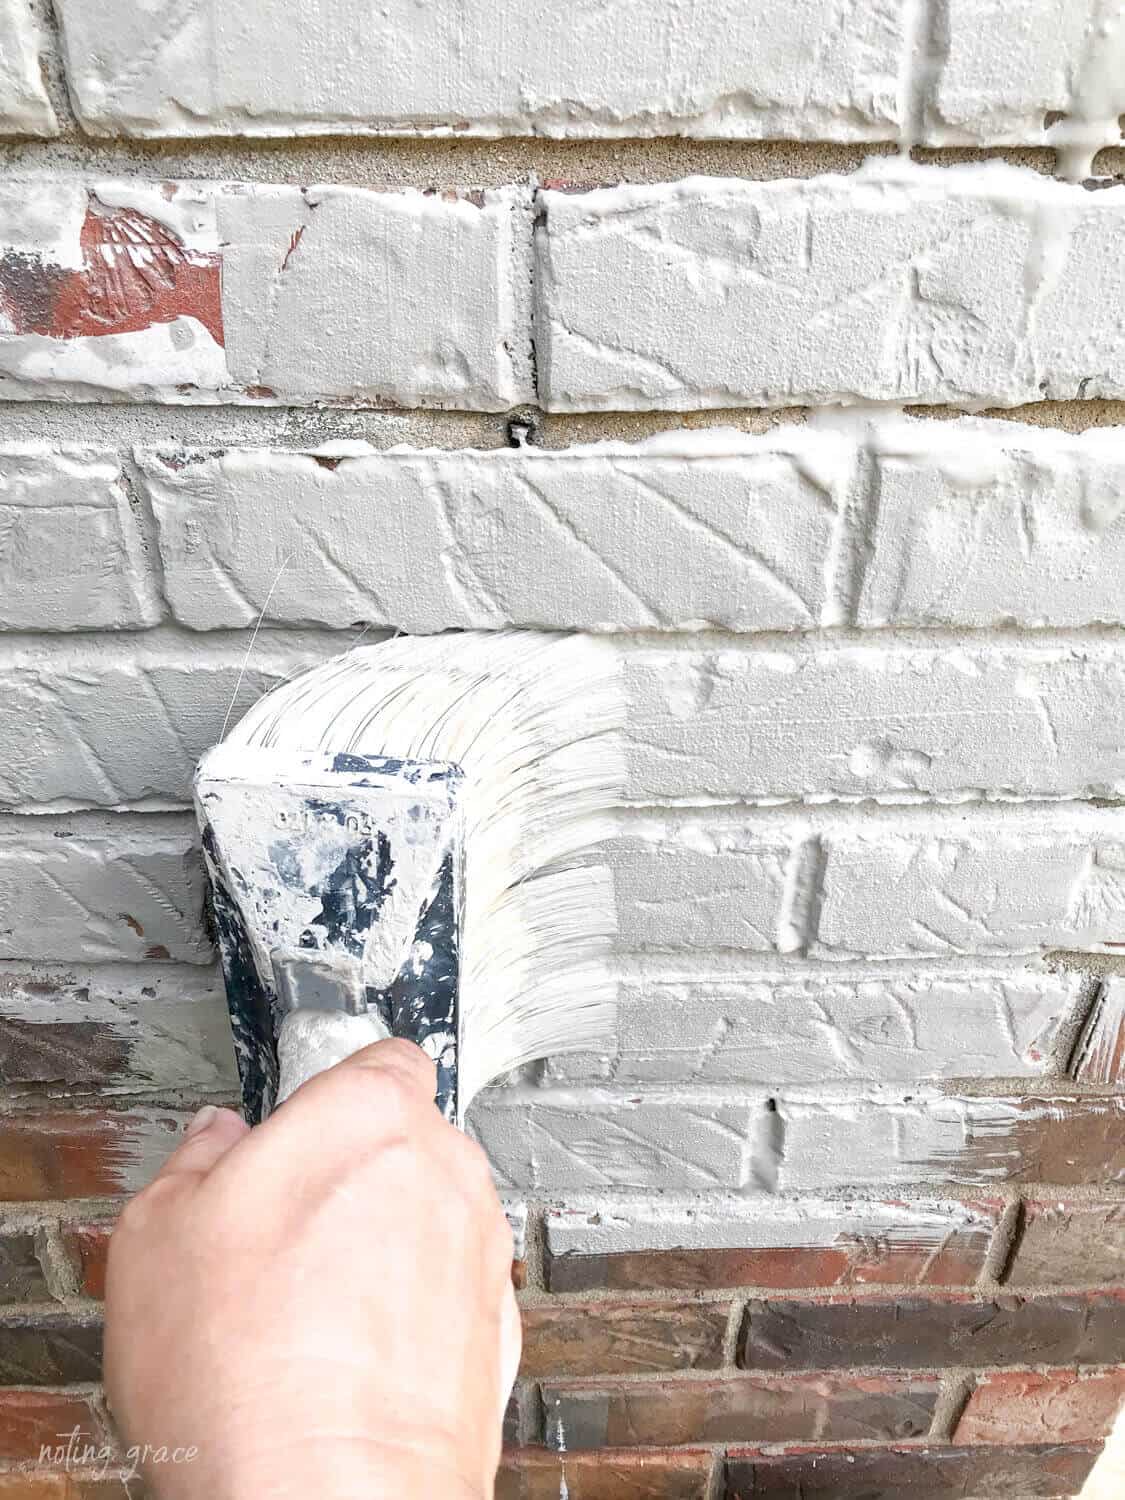
Now every hero needs a sidekick and this monster masonry paintbrush certainly fits the bill!
I love this brush!
Not only does it make lime washing large spaces a simple process, but it’s also so soft! Romabio has them handmade with care, allowing you to save time with a more efficient application, and money by not wasting product.
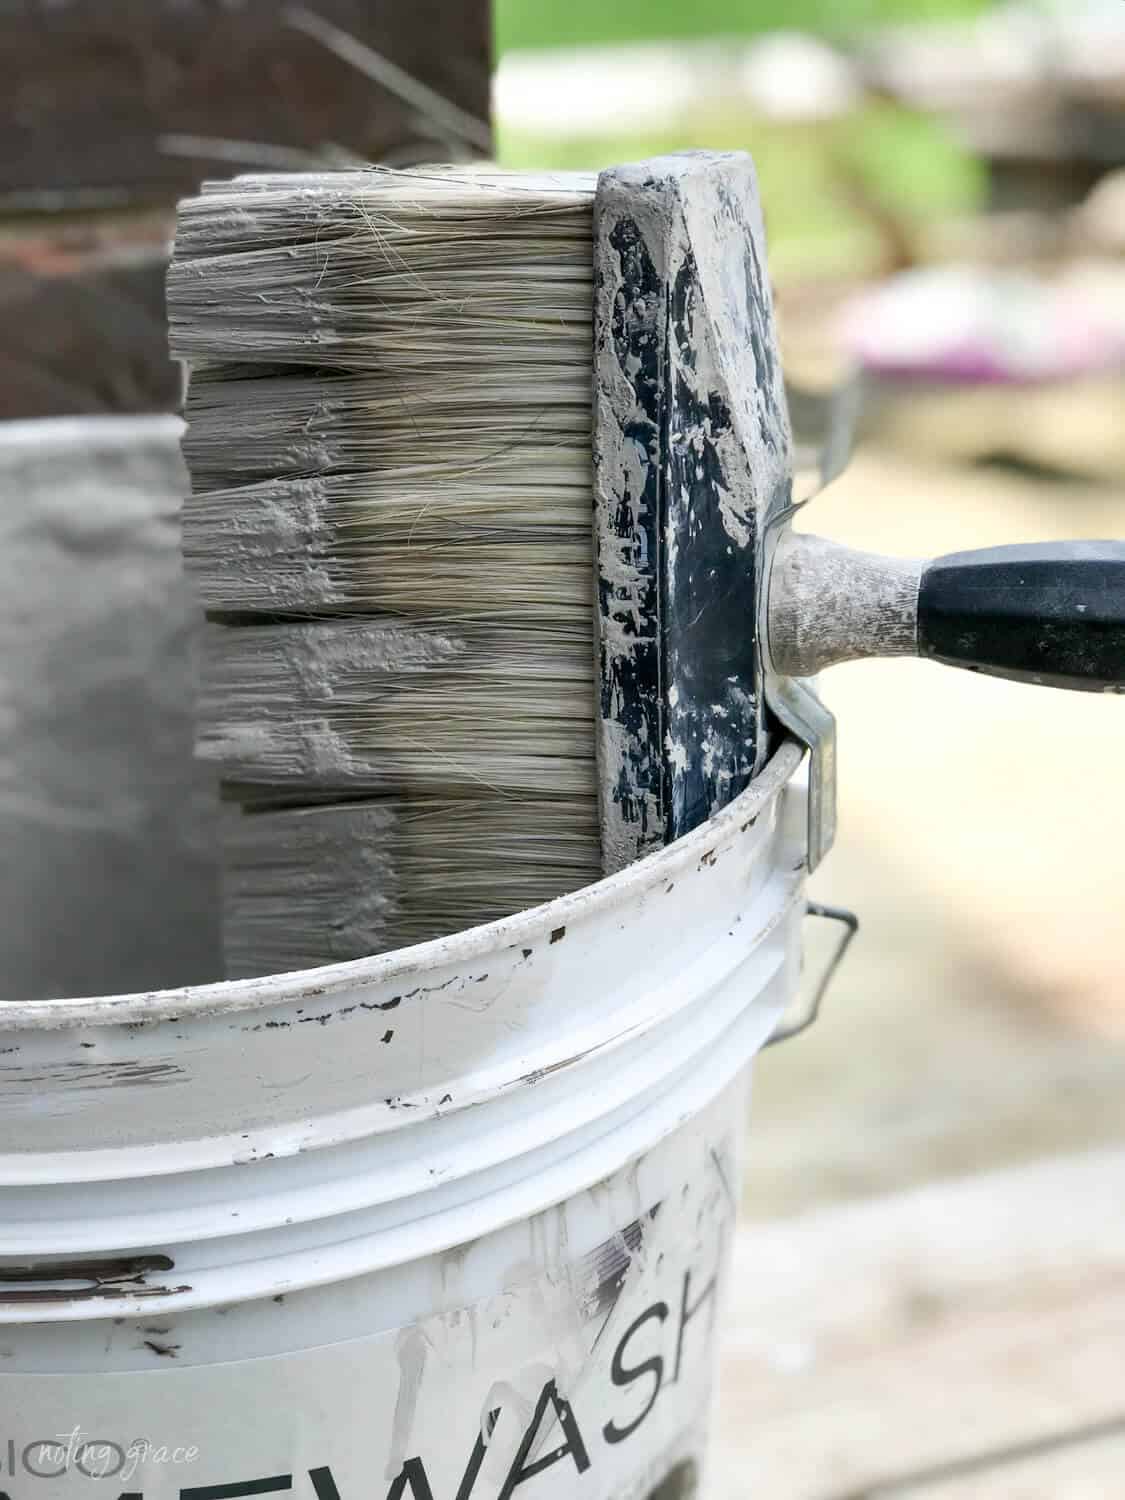
Plus this handy dandy hook allows you to set your brush on the rim of your bucket. But any large paintbrush would do!
Once you’re paint is mixed, now it’s time to prep the brick.
Prepping Your Brick
If your brick exterior is really dirty, you will need to power wash the surface before the initial application.
While Classico Limewash can inhibit mold growth, that doesn’t mean it covers and kills it.
So take the extra step to kill and remove any algae and moss growing on your exterior surfaces.
But if your brick is clean, you can simply use a garden hose to wet the surface of the brick.
TIP: You shouldn’t apply Romabio Classico Limewash to a dry surface.
If you are working in direct sunlight, or have a highly porous brick, you may need to wet the brick often throughout the application process. So keep that hose handy!
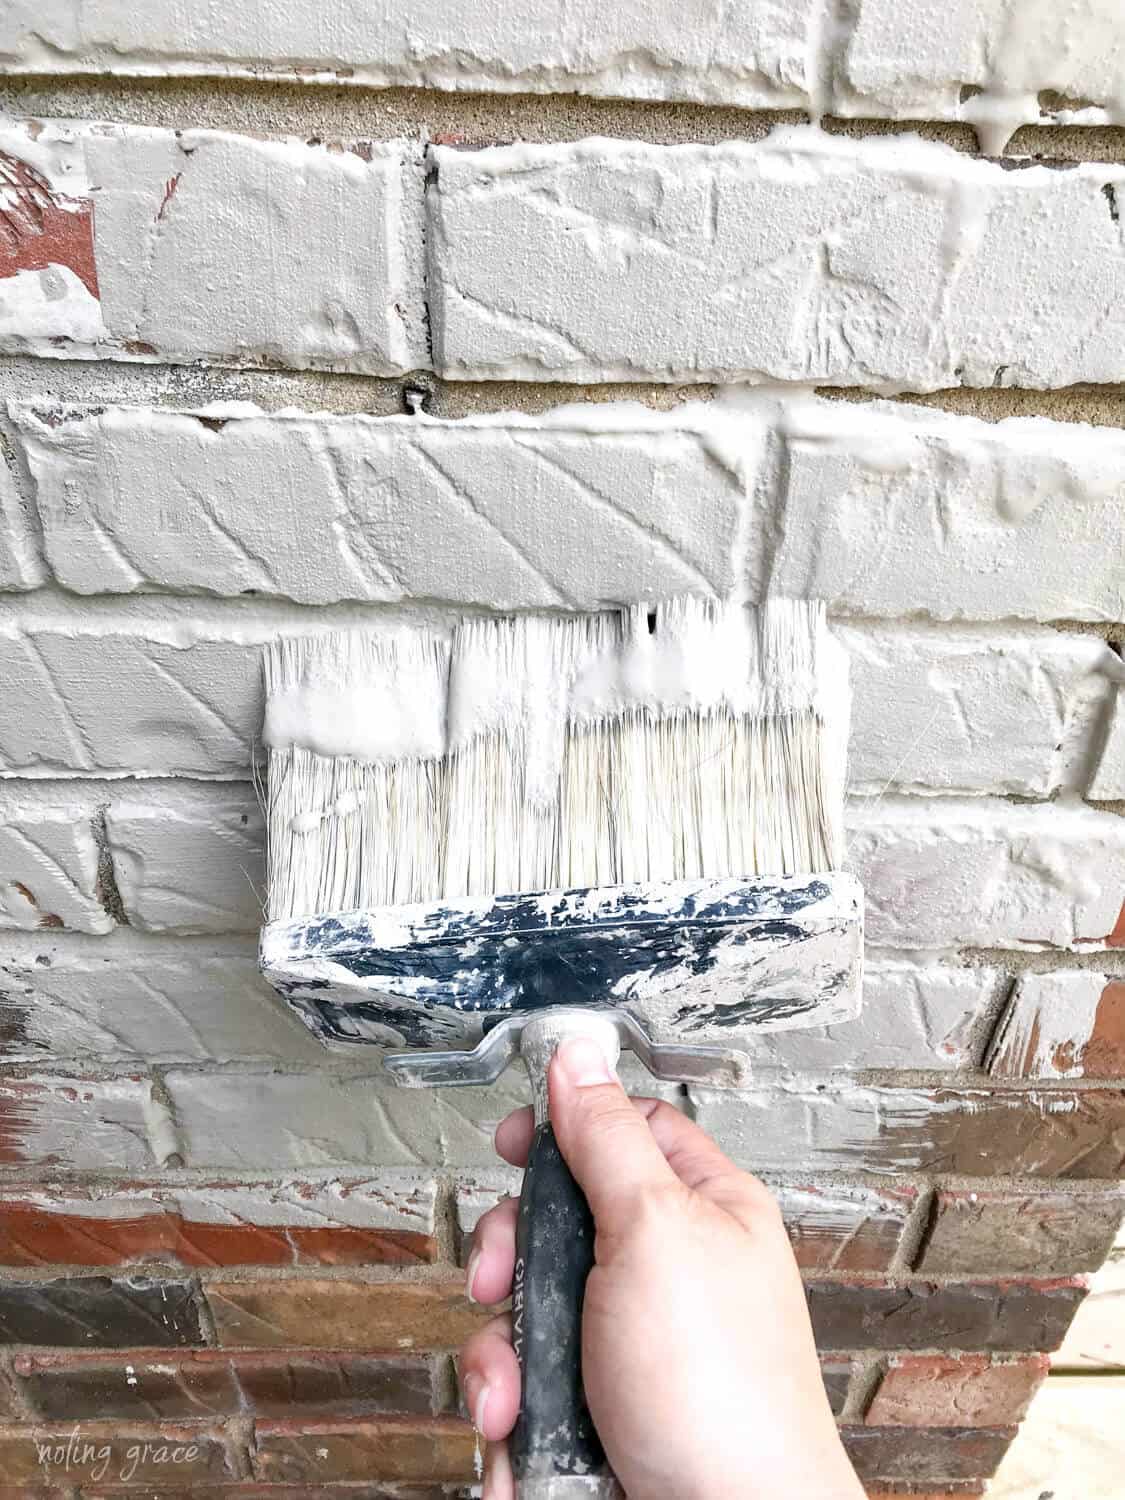
For my limewashing technique, I channeled my inner Mister Miagi –
UUUUPPP!! DOOOWWN!
All kidding aside, you do need to vary your brush strokes to ensure proper coverage.
And don’t be scared if it looks a bit translucent while wet – Romabio tells us that’s how it’s supposed to look at first.
Just apply a thin layer. It will have a different look while it’s wet, but will dry to a lighter, solid finish.
Here’s a pic of our brick half wet/ half dry.
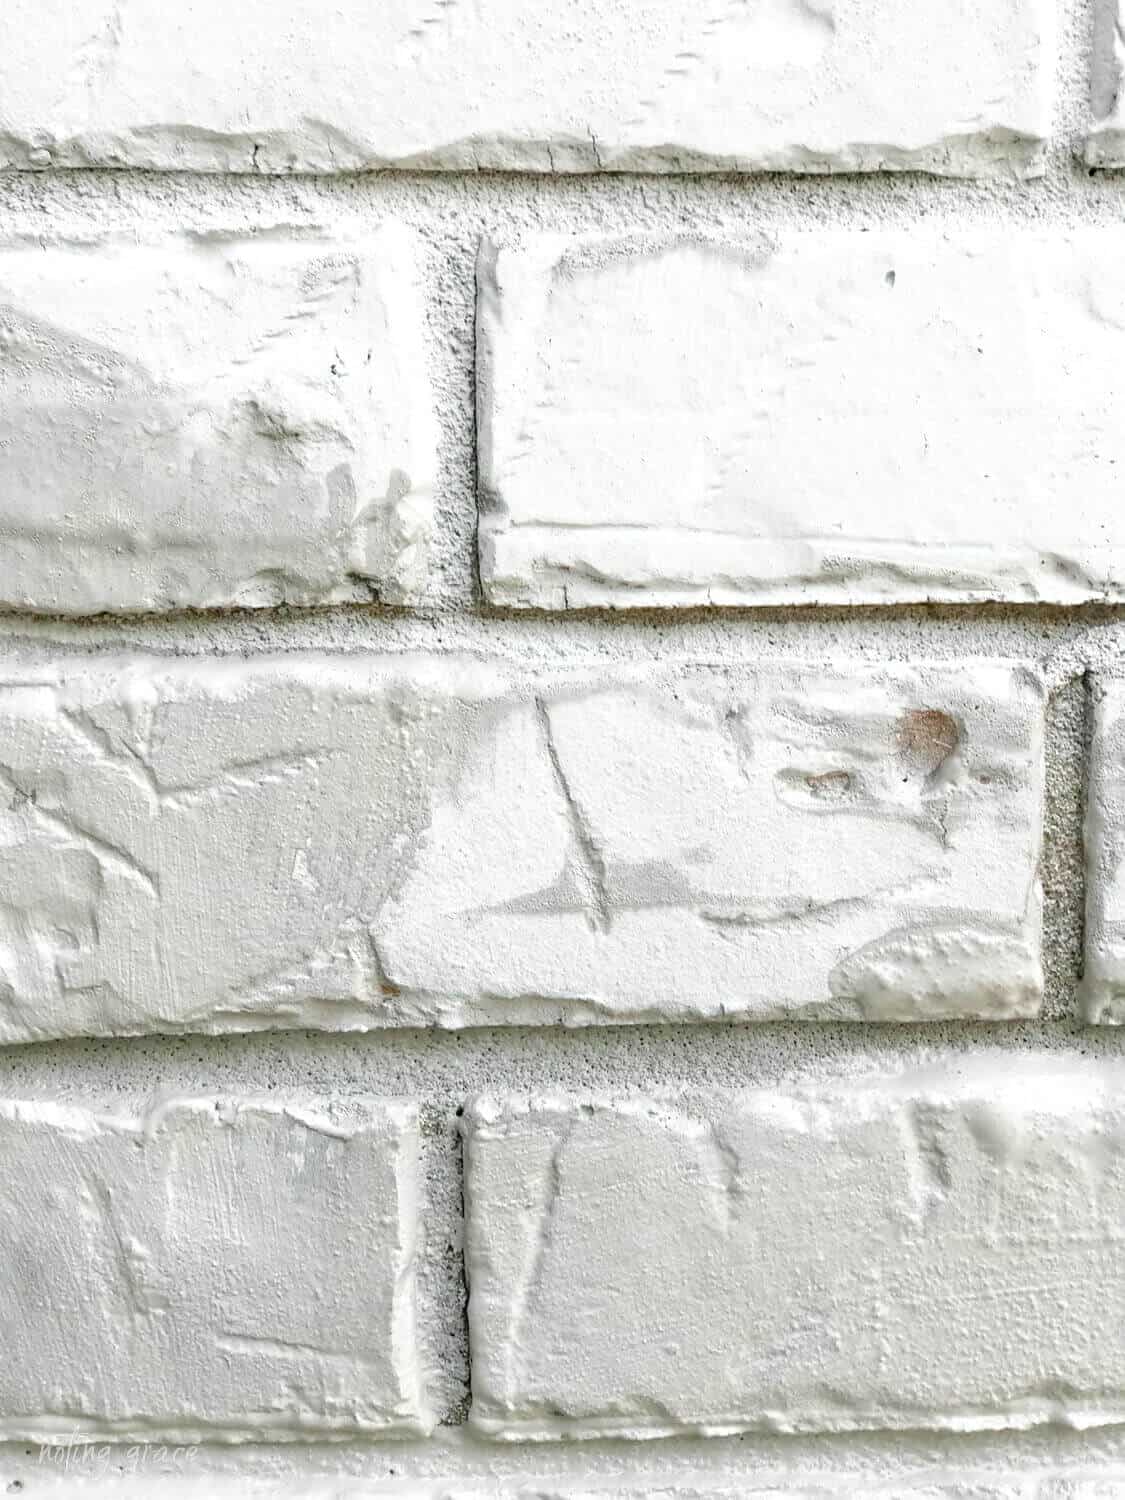
The lighter color is the dried section.
Just look at how that chalky finish appears once it’s dry! Gorgeous!!
TIP: If you plan to distress the brick to get that old world feel, then this is the sweet spot.
Watch for the brick to start turning to a solid finish.
And the whole process is very quick. This side of our house took just only one day to complete.

But one time hurdle we had to battle was the weather. It took us a couple weeks to finish the whole house.
I think what we learned most in how to limewash a brick home was to be patient with nature!
To begin with we had an unusual rainy start to our summer. Now one awesome thing about Romabio’s Classico Limewash is that you are to wet the brick, so you can start limewashing once the rain passes. And you can limewash up to 3 hours before rain is predicted to start.
It’s an easy process that will transform the exterior of a home with beautiful results.
We opted to keep the brick an opaque, solid finish so we could watch the Classico Limewash patina and change slowly over the years.
But, you have the option of creating a forced weathered limewash look by rinsing it off in places with water creating a beautiful, instant patina.
That’s what we chose when we lime washed our second home. (Yes – just 6 months later. You can read that story here. Scroll down to see those pics.)
Tip: If you are wanting a solid finish, Romabio has created another product, called Masonry Flat that will not chip or flake and has a 20 year warranty with 2 coats.
You can apply two coats of limewash which will slow down that aging process, but if you are going to do 2 coats anyway, I would choose Romabio Masonry Flat.
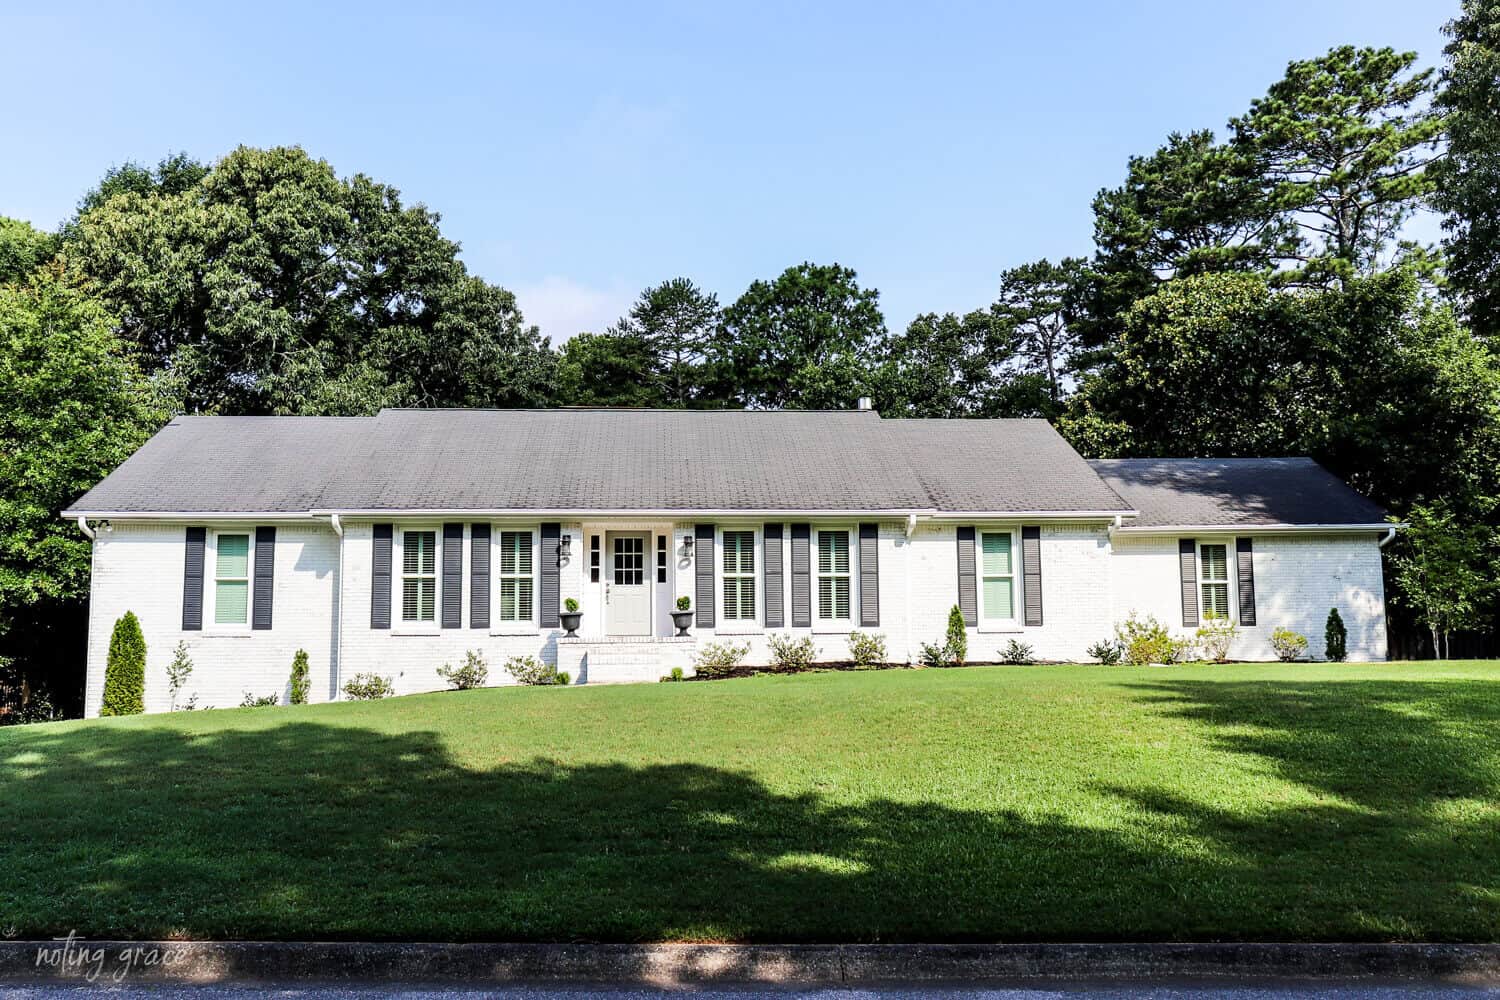
Now how about a bunch of before and afters to see the amazing difference!
I am wowed at the finished product.
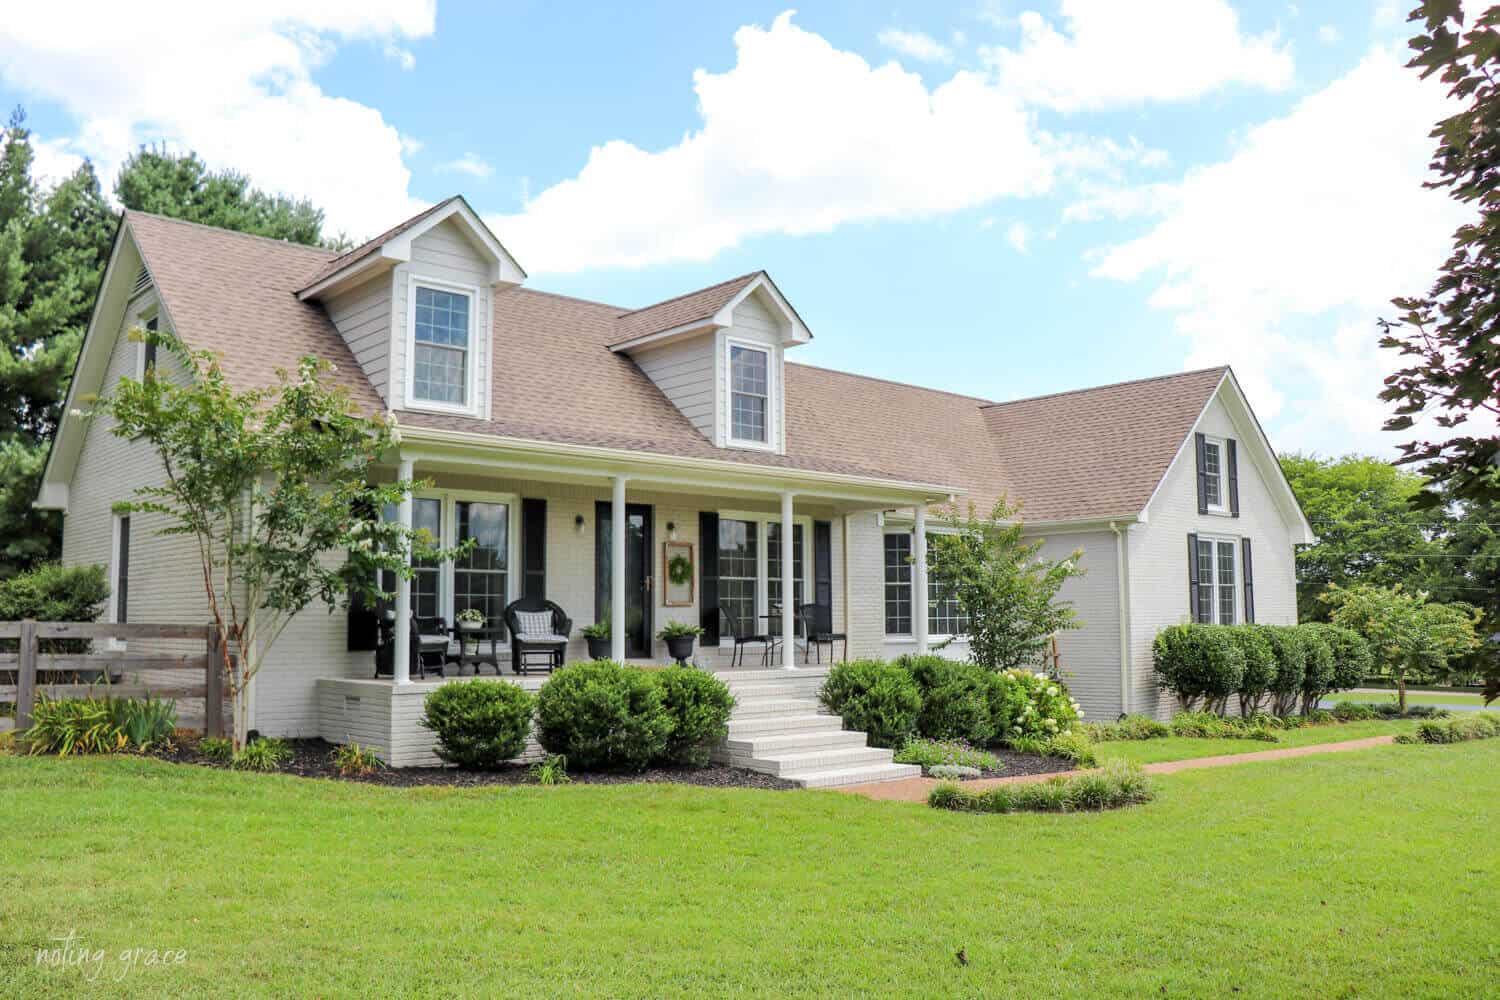
What a transformation!
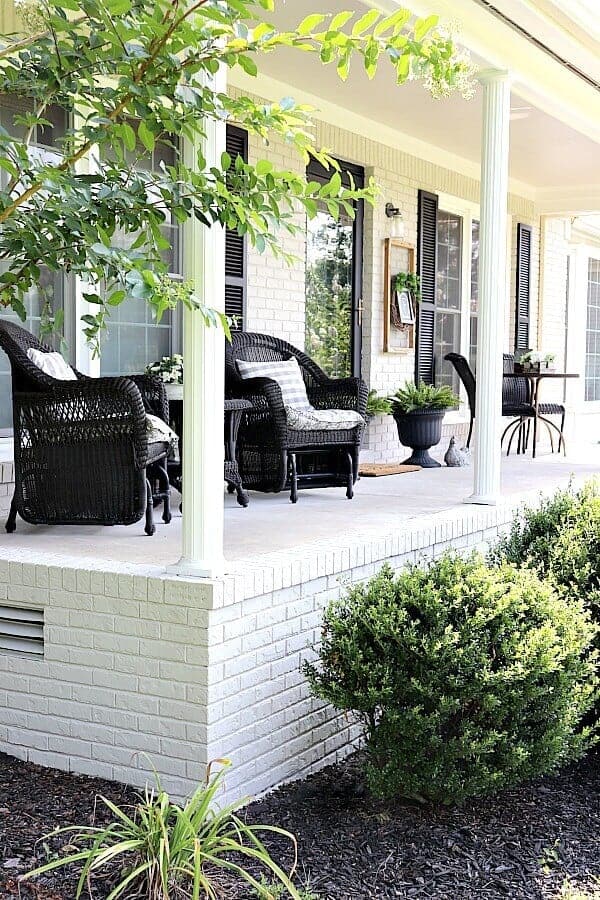
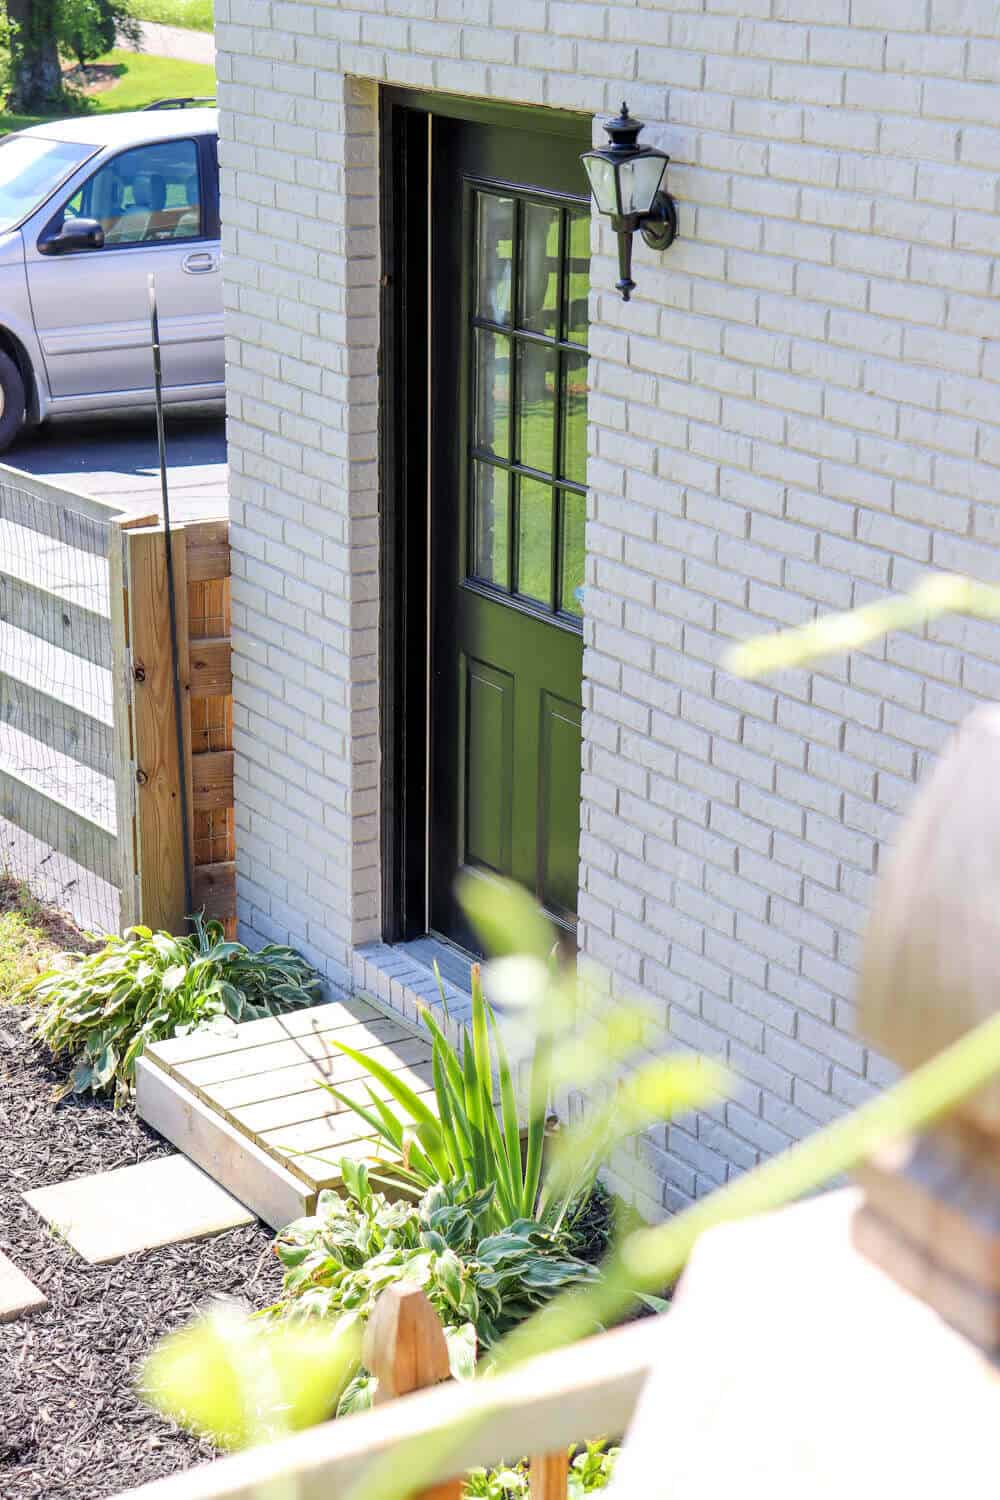
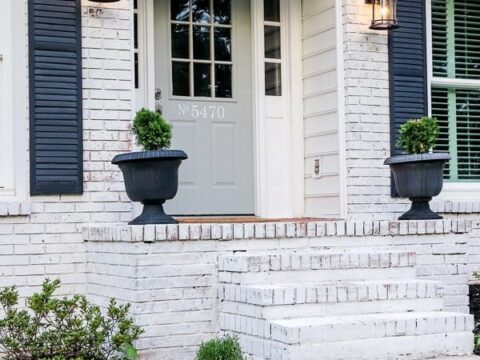
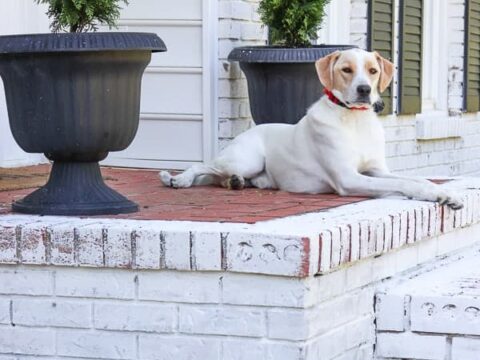
The front porch is the most stunning to me.
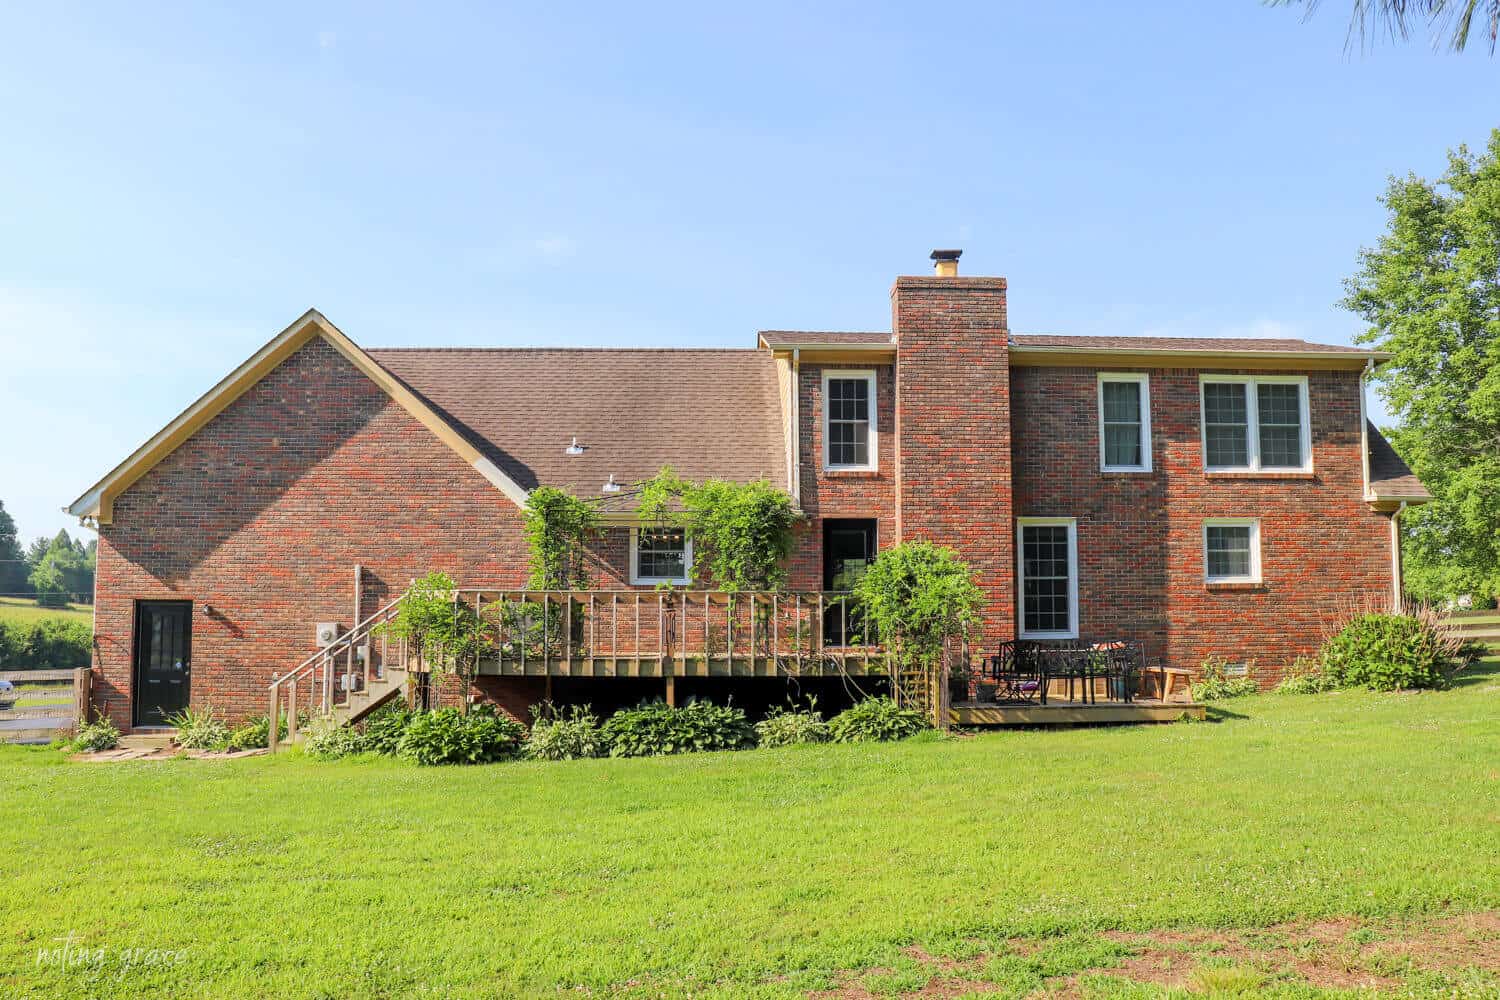
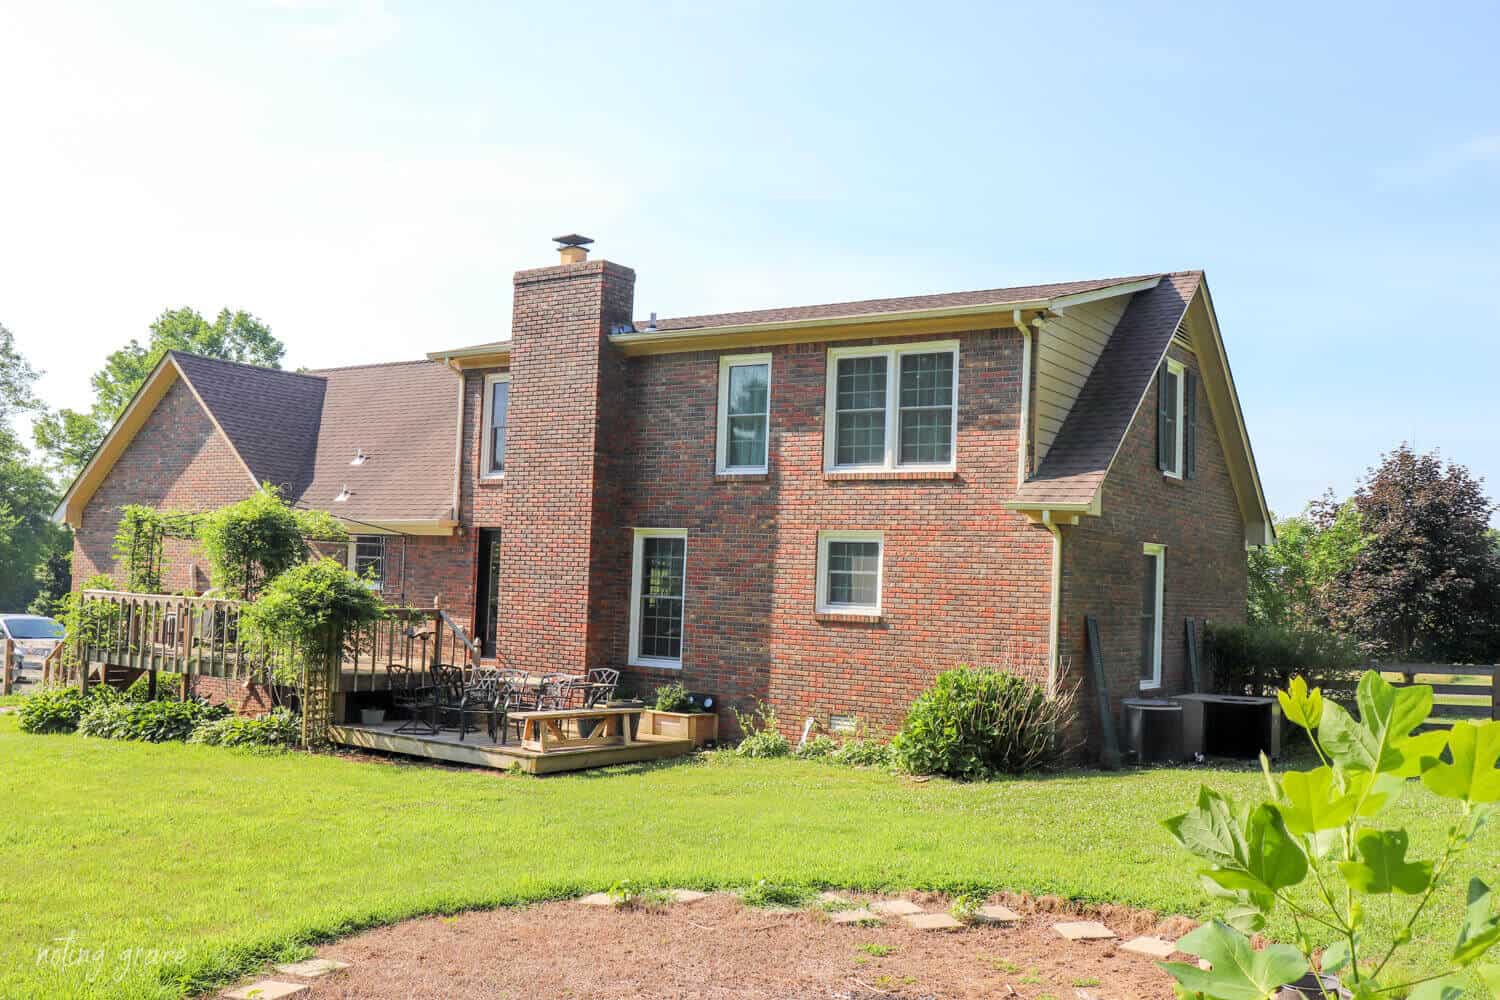
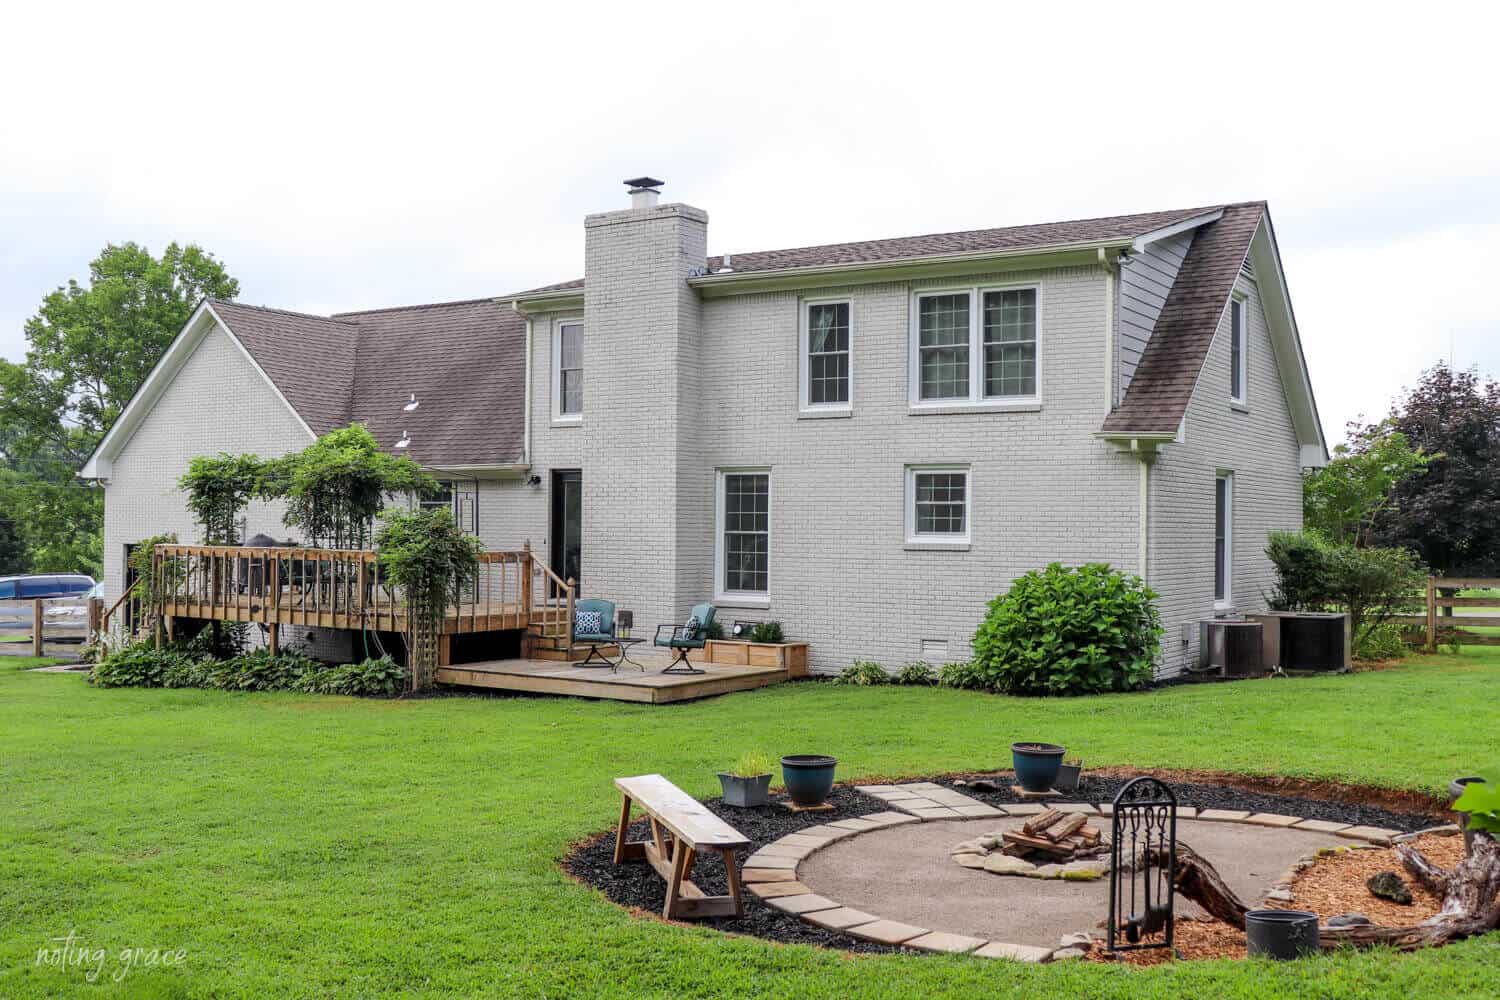
Here is the back of our house.
It looks like a new house.
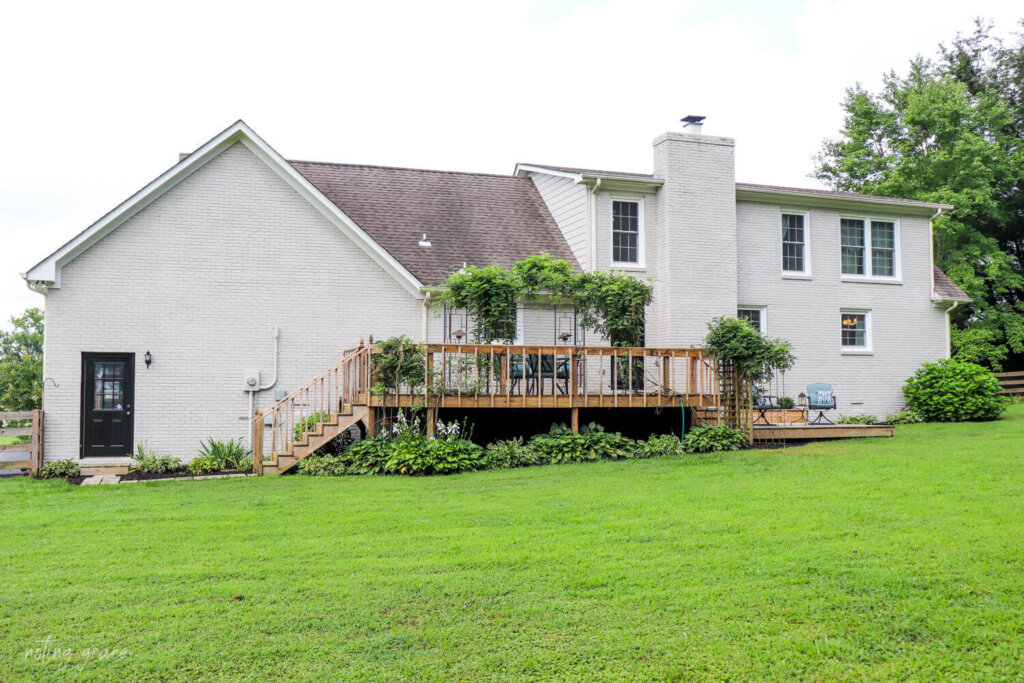

We replaced our garage doors a few years ago and the color is a nice match to the Nube Gray.

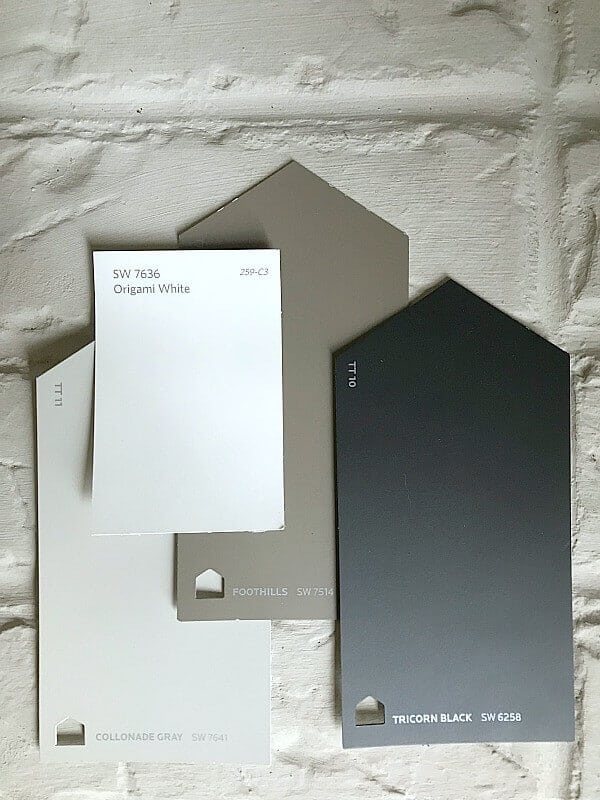
So here are the colors of our trim, siding, shutters, garage and front door.
We used SW Tricorn Black for the doors and shutters, SW Collonade Gray for the dormers and siding, and SW Origami White for the the trim.
I just love the flat finish on the brick.
The black pops against that gorgeous chalky lime wash.

So in one short summer, we transformed the exterior of our home from ugly brick to a fresh modern look with a simple application of limewash.
It’s low maintenance and has the added benefits of being good for the brick!
So, if you want to check out Romabio’s product – they are now available in select Home Depot Stores, and also online!
I hope this inspires you to tackle your exterior.
It’s an easy product to work with while giving stunning results!
I hope this answered any questions you had about how to limewash a brick home. If you have any additional questions, I am so happy to help. Ask me in the comment section below.
I will do my best to answer them as soon as I can. Thanks for always supporting our blog. We love helping you create a home you love!
UPDATE!
We’ve moved and have limewashed another home.
We wanted a lightly distressed white brick and love how it turned out. So, you can check out all the details in this post.
And this has inspired Trent to start his own Limewashing Business! If you are looking for more inspiration, you can see his jobs he’s completed. It’s a great way to get ideas for your own home.
Romabio has pros all across the US, so if this seems too daunting, then ask Romabio for a list of Perferred PRO Applicators in your area!
Check out these other Limewash Posts!
Check out these other Limewash Posts!

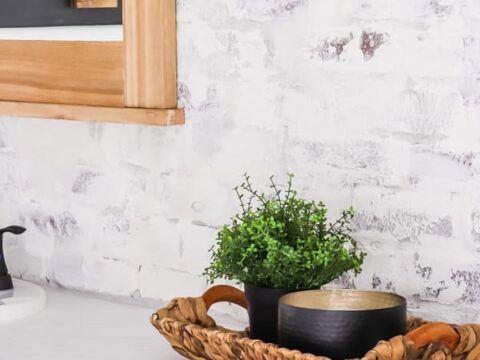


- Limewashing an Interior Accent Wall
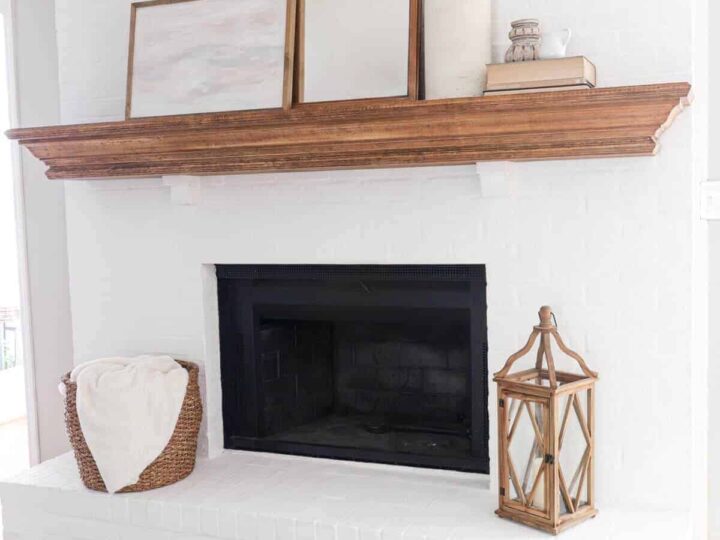
- How to Lime Slurry a Brick Fireplace
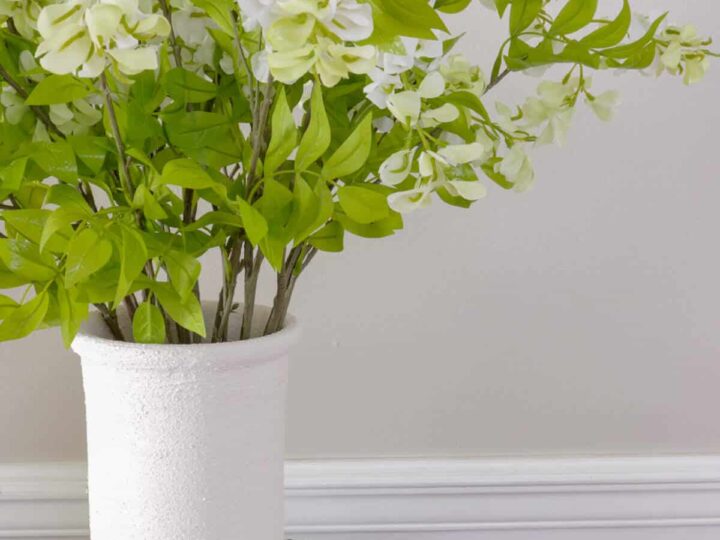
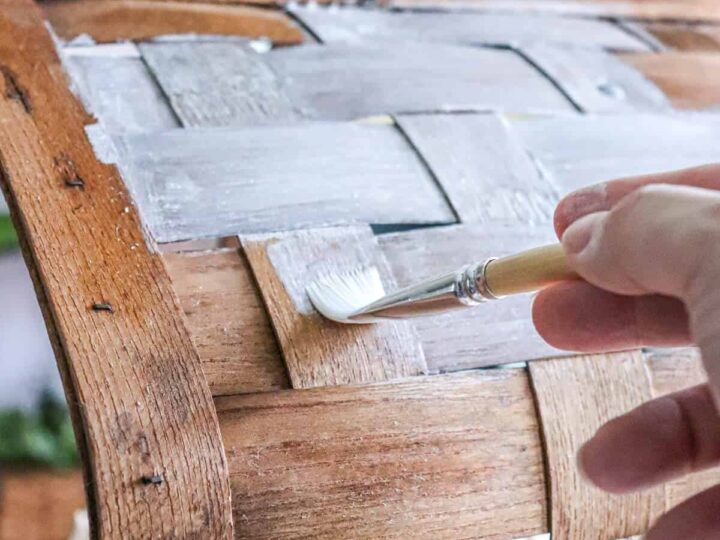
- How to Lime Wash a Basket
- DIY Limewash Terra Cotta Lavender Plant
- How to Install and Limewash Brick Veneer
- 10 Tips for Limewashing Your Home
- How to Limewash a Brick Home
- Limewashing Your Home for Instant Curb Appeal
- Why We’re Limewashing Our Brick Home
- Limewashing our New Home – When to DIY or DIFM
- Limewashing a Painted Brick Fireplace
- Everything You Wanted to Know about Limewash


Thanks for your kind words, Kim! When we purchased the house, it didn’t have railings and neither inspection when we purchased or sold pointed out the railing issue. I wish I had more info, but it was a non-issue for that area, I guess! Maybe check with an inspector to see if that would be an issue. Worst case scenario, if you planned to sell down the road, you may have to add a railing.
I hope that helps!
Lovely transformation. Curious as to how you were able to sell this home (saw on another post that you moved) without a railing on the porch? Code says that railings are required if floor is above 30″ from ground. I want to remove my railing and the slope of my yard is similar to yours. Low on one side and high on another.
Hey there! Yes, the light grey would be a beautiful compliment to charcoal. One idea would be to get some color card chips similar to the colors you want to use and see which color combos would work best.
We are looking to update the outside of our home also, but I am not a very good “designer” haha. 3 sides of our house are siding. My husband likes the idea of dark grey/charcoal siding but the front of our house is a deep red brick. Do you think a light grey limewash would mesh well with a dark charcoal siding?
Hey Jill! If you are wanting to do this yourself – you are out only the cost of materials and supplies, which should be around $500-1000 depending on the size of your house. If you are wanting to hire it out, then you are paying for the labor on top of those supplies.
Hope that helps!