10 Tips for Limewashing Your Home
Have you wanted to Limewash your home, but have been hesitant to start? Today, I’m sharing our 10 Tips for Limewashing Your Home.
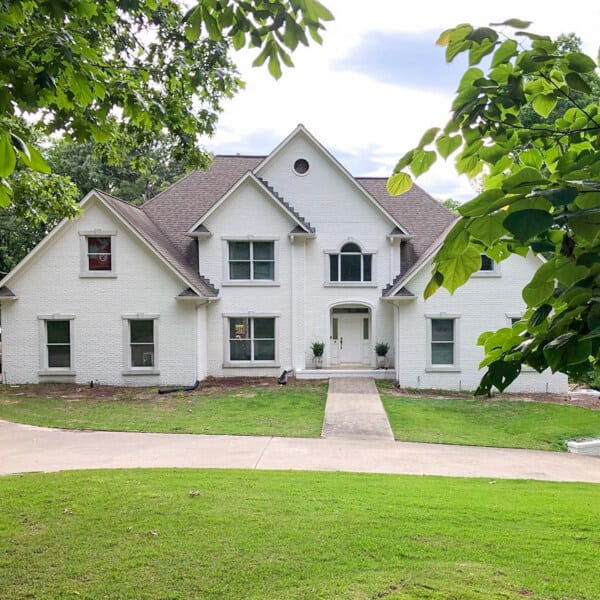
When we set off to transform the exterior of our home, I had no idea it would take us to where we are today!
The pandemic hit shortly after we had limewashed our second home. As musicians, we found ourselves scrambling for additional income when the world shut down.
This has inspired Trent to start his own Limewashing Business!
It’s been almost 2 years of watching Trent grow his successful company and we’ve learned a lot over those years.
We thought sharing these tips with you would be a great way to help you learn more about the application process, decide if this is a diy project you want to tackle, or help with any hurdles you may come across.
10 Tips for Limewashing your Home
(Some affiliate links are provided below. Full disclosure here.)
Before we begin, let us tell you about Romabio Classico Limewash and how we stumbled upon this amazing company.
What is Classico Limewash?

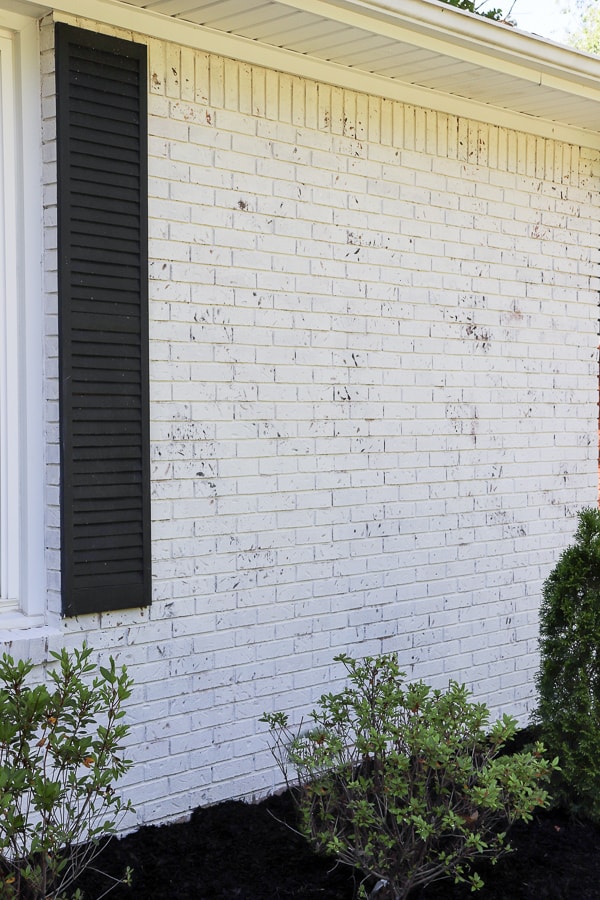
When we first thought of painting the brick siding of our Tennessee home, we were really worried about applying Latex Paint.
Regular paint may be an easy application, but it can cause major issues. Within 4-5 years, you may find chipping and flaking on the exterior of your home because regular paint just sits on top of the brick and trapped moisture has no where to go.
After much research, we were so excited that we found Romabio Classico Limewash. Unlike traditional paint, it absorbs into porous surfaces, like unsealed brick or stone.
It is made from crushed limestone and comes from the dolomite lime mines in northern Italy and is an authentic slaked-lime paint.
Lime wash is known for becoming part of the masonry surface it is applied to. In fact, it actually calcifies to the surface allowing the brick to still breathe and wick that moisture away from the home.
Limewash paint has been around since roman times so it stands the test of time.
Romabio offers a product that is user friendly, as well as environmentally friendly which made this DIY-er want to give it a try!
We wanted a technique that was easy to apply, offered coverage but also didn’t harm the brick.
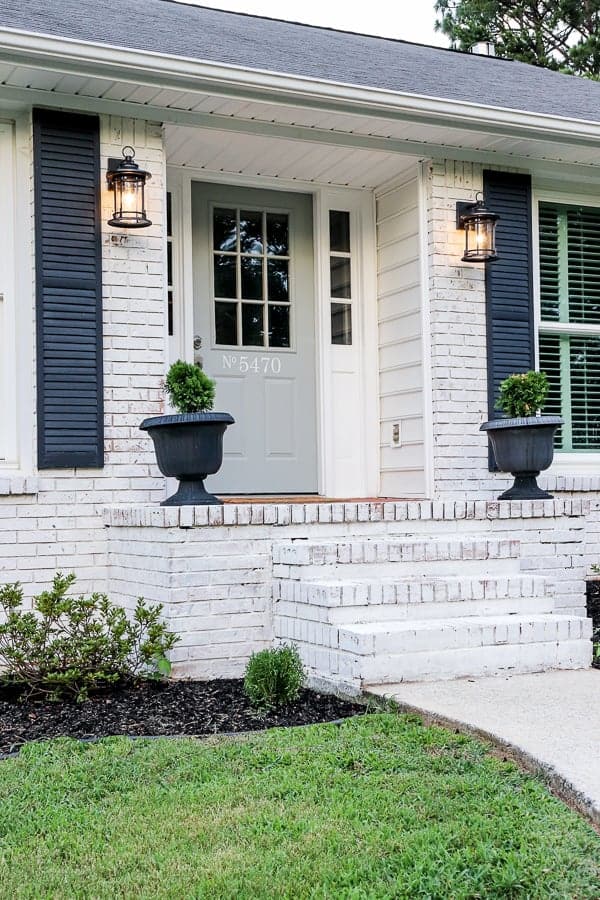
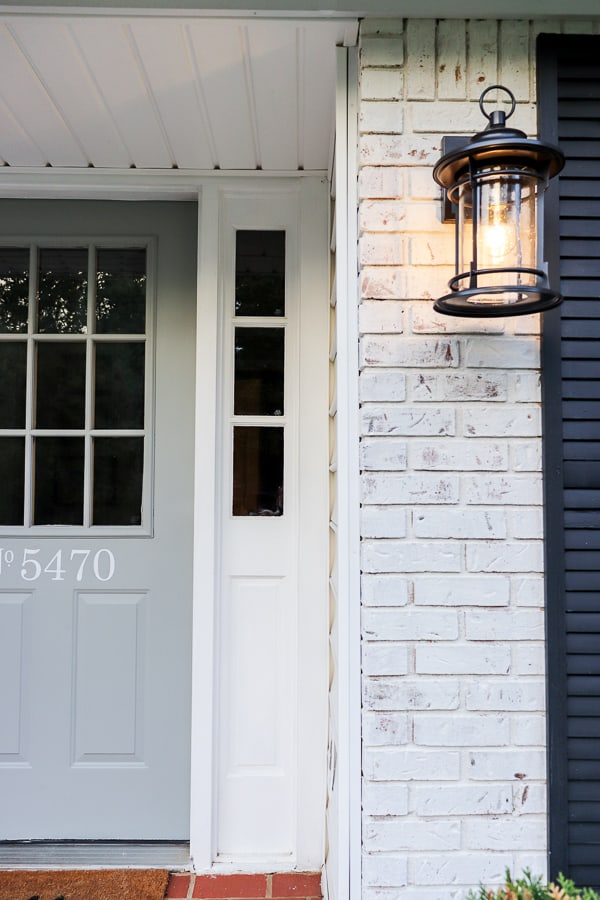
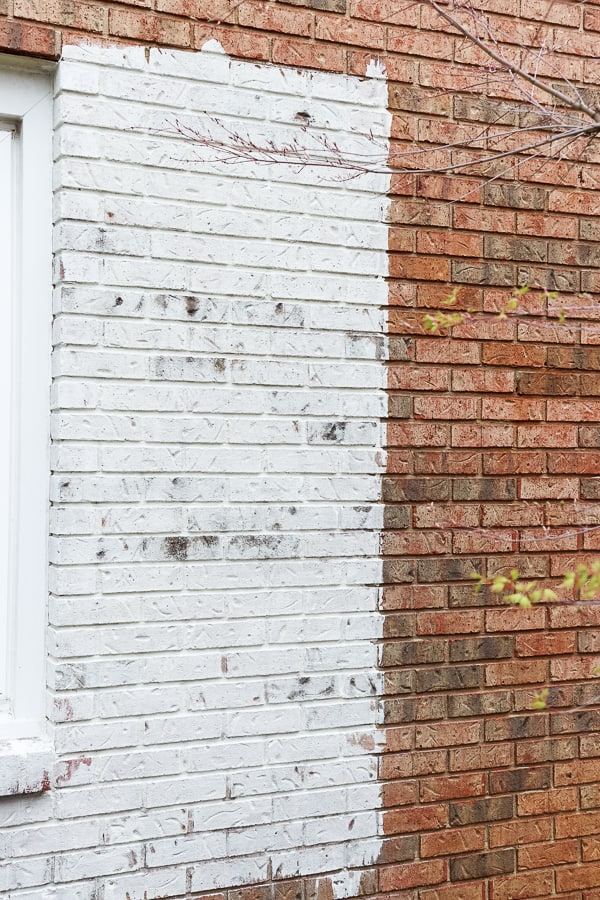
TIP ONE: Before you begin, check if you have absorbent brick
This is a must do! Even though it appears your brick is unpainted, what you may not know is if it is sealed or not.
What you need to do is check the porosity of the surface.
The reason being is that limewash is known for becoming part of the masonry surface it is applied to. In fact, it actually calcifies to the surface allowing the brick to still breathe and wick that moisture away from the home.
In other words, squirt some clean water onto the brick. If it beads up, similar to water on tile, then there is a barrier in place that won’t allow the Lime wash to be absorbed into the brick.
However, if your brick turns dark and you can see the water absorbing into the brick, then you are ready to proceed!
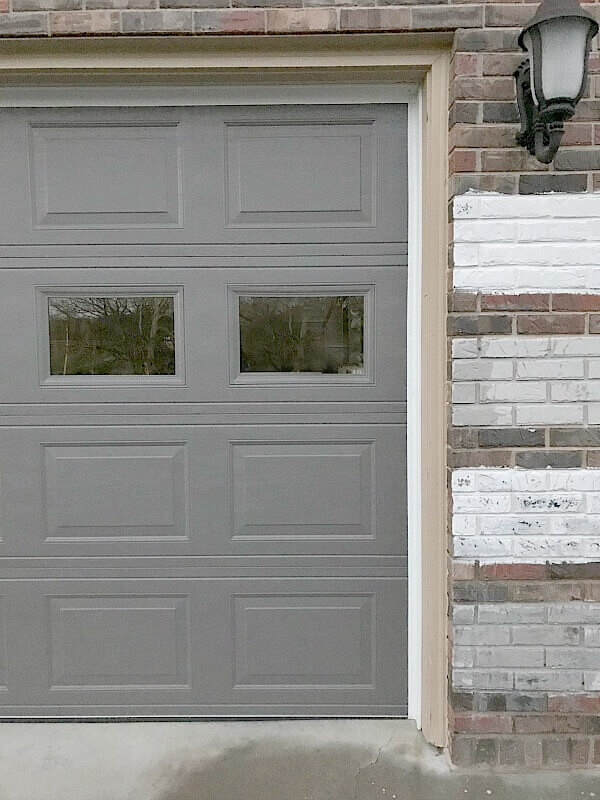
TIP TWO: Depending on the absorbency of your brick, you may have to purchase more
We noticed about halfway through the process that we were running low on our Classico Limewash.
I called and spoke to Romabio about it and was told that some brick is more absorbent than others.
When painting, if you notice the brick is dry within moments, you may have highly absorbent brick.
Even though we calculated our linear square footage properly (multiply the height and width of each wall and add them all together), we needed to order more to complete the job.
This could also be why we needed to wet the brick more often!
Also, if you have larger grout lines, that is another ledge of surface that needs to be covered, and can cause you to have to order more.
So make that extra allowance in the budget in case you have to purchase more.
TIP THREE: Watch your heat and humidity / shade and sun
We quickly learned that limewashing our home here in Birmingham was much different than what we experienced with our Tennessee Home.
There is just enough variation in climate and humidity and we could tell when we started Limewashing.
According to Romabio’s instructions, you wet the brick with a garden hose prior to application. This helps with the calcification process as the Lime wash hardens to the brick.
With our heat and humidity, we noticed the brick needed to be wet more often.
Take that into account if you are in a hot and humid environment. What we found to be most successful was working in smaller sections, rewetting the brick as needed.
Make sure to adhere to the temperature limitations as specified. Don’t apply under 50 degrees and over 90 degrees.
Another thing to consider to not do an application of limewash in the full sun.
There’s a phrase we use often and that is “Chase the Shade.”
You shouldn’t put a coat of Classico Limewash onto a dry surface and if you are painting in direct sunlight, you may find that your brick doesn’t stay wet for long.
TIP FOUR: Create test samples
One thing Trent has learned most is the finding out exactly the look the homeowner wants and how to achieve that distressed look for an exterior limewash.
It’s best to choose an inconspicuous spot, like behind the HVAC units, or on an unseen side of the house.
The best part about Romabio’s formulation is that you can play around with dilution rates and distressing techniques.
This also works if you are torn between two colors.
On our Tennessee home, I used Avorio White and Nube Gray and created test panels to see which look and color we liked best.
TIP FIVE: Diluting the limewash
Romabio Classico Limewash is intended to be diluted and dilution rates can vary.
Then you mix, mix, mix it! A painters paddle that attaches to a drill makes the mixing process easier.
Here is how a batch of limewash looks diluted and thoroughly mixed.
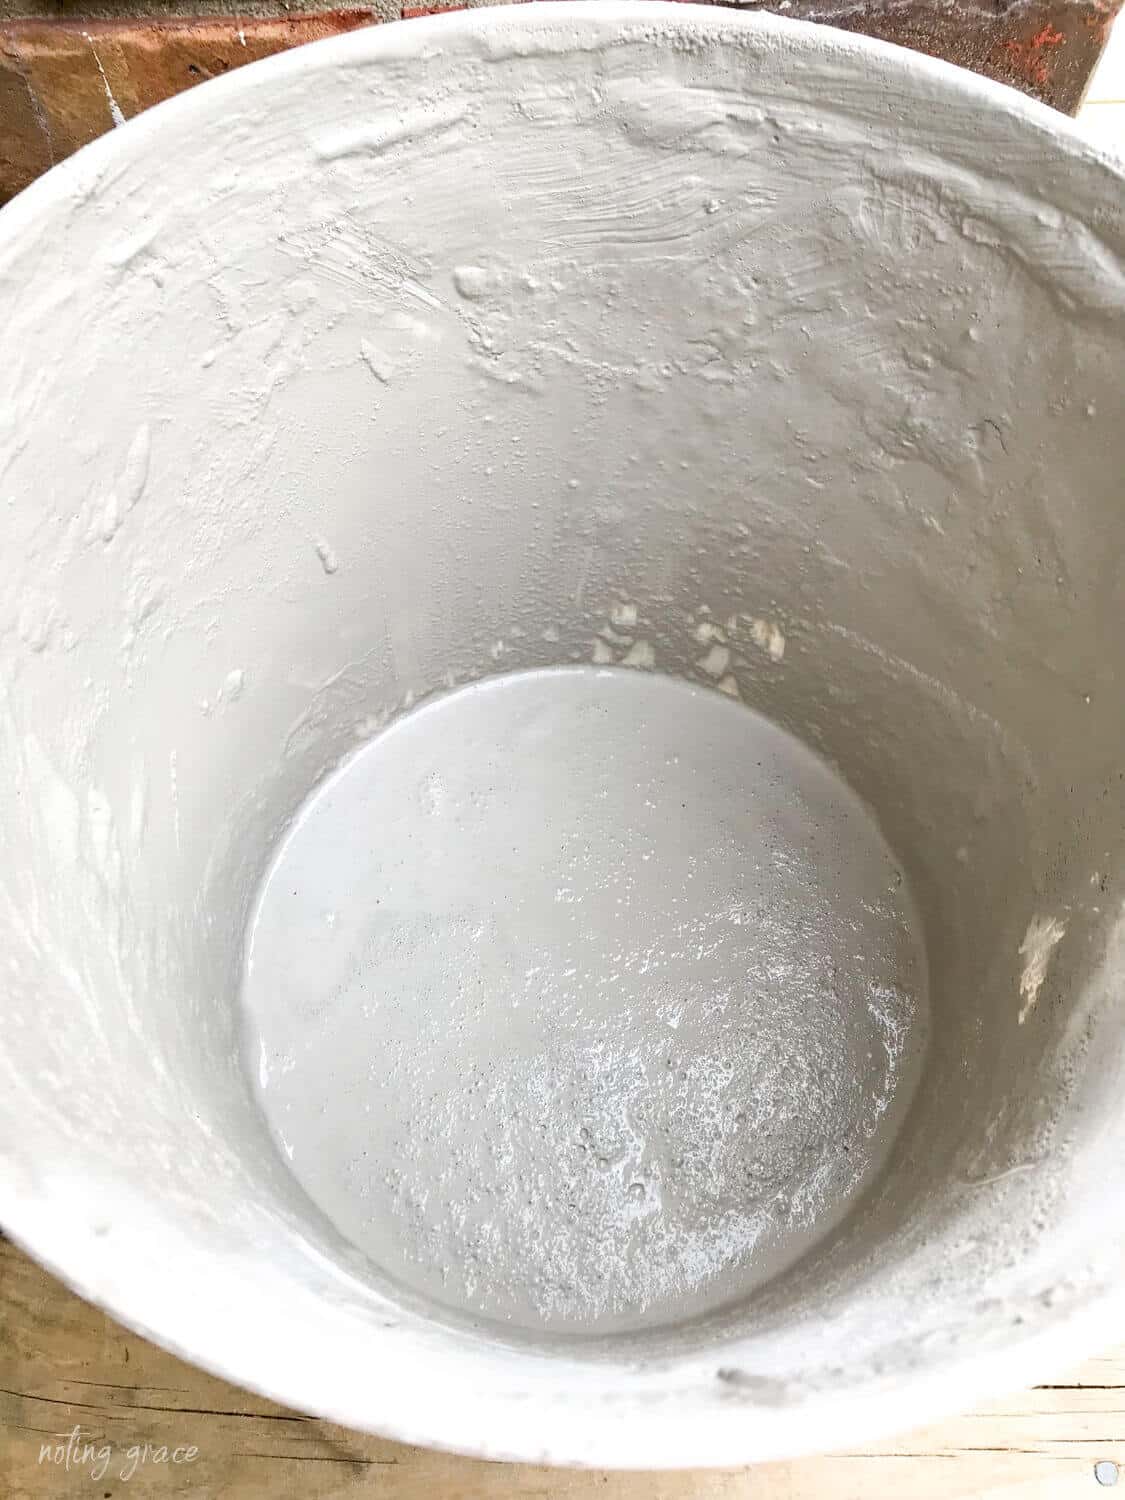
You mix until it’s the ideal consistency of whole milk. Not too thick nor too watery.
If you add too much water, no problem – just add some more limewash until it’s the consistency you like. I like to start with less water and add more as I go.
There’s really not one correct ratio for Classico Limewash. Since it’s a dilutable product, there is a lot of forgiveness in this step.
It truly can vary based on the look you are wanting to achieve.
In the next step, we’ll share how dilution rates can help with distressing the brick.
TIP SIX: Distressing tricks and tips

After you mix a batch of limewash, you apply it to the brick.
It’s best to use varying brush strokes to make sure the mortar lines and brick are fully covered.
And don’t be scared if it looks a bit translucent while wet – Romabio tells us that’s how it’s supposed to look at first.
Just apply a thin layer. It will have a different look while it’s wet, but will dry to a lighter, solid finish.
Here’s a pic of brick half wet/ half dry.
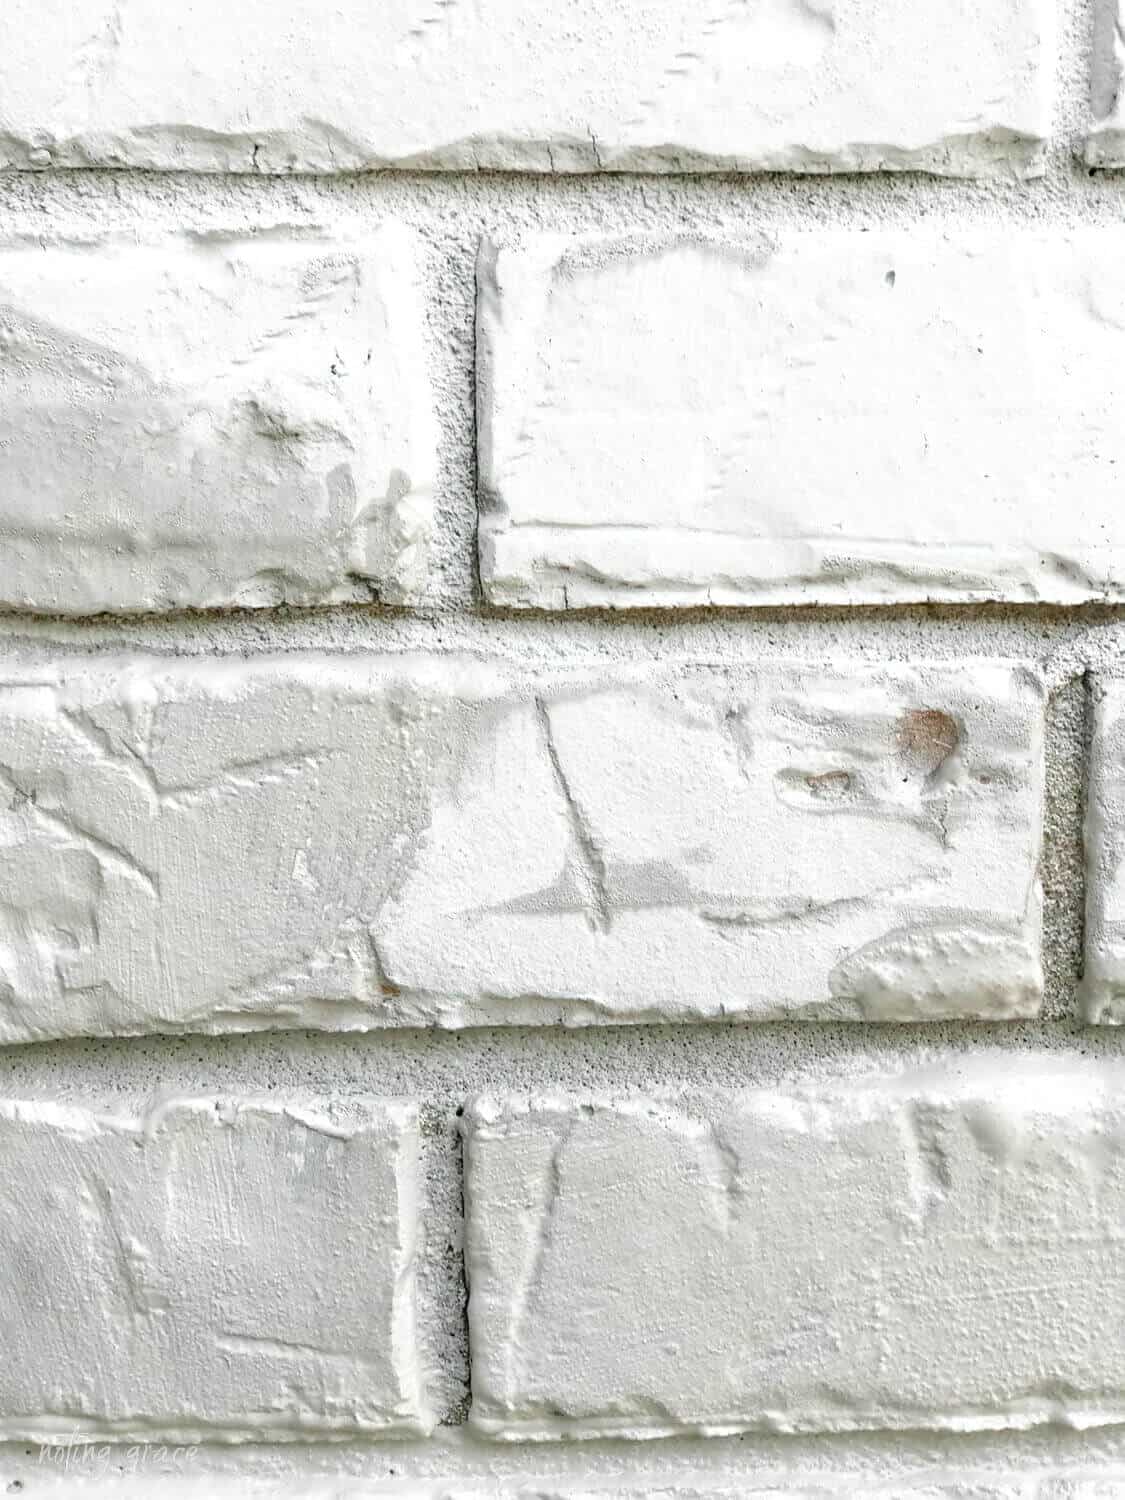
The lighter color is the dried section.
Watch for the brick to start turning to a solid finish.
This is the sweet spot to know when to take your garden hose and start rinsing the brick away.
This time, we opted to start the distressing with a light rinse off.
What’s great is that you can distress it to your liking – there’s no right or wrong way!
We started with a heavily distressed look, but it seemed to be too much.
We found that with our absorbent brick, we needed to start distressing about 20 minutes after application.
Earlier than that resulted in too much being washed off, and any time later the lime wash was already calcified.
So we found that if we used our pressure washer – very lightly – worked on the calcified brick.
That being said, use caution because you can take too much off. Our pressure washer has different gauges of PSI and we used the lowest one.
TIP SEVEN: Interior Limewash application
Obviously, you can’t bring a garden hose into your living room to squirt limewash off your brick fireplace or wall.
So how do you distress interior brick differently than exterior applications?
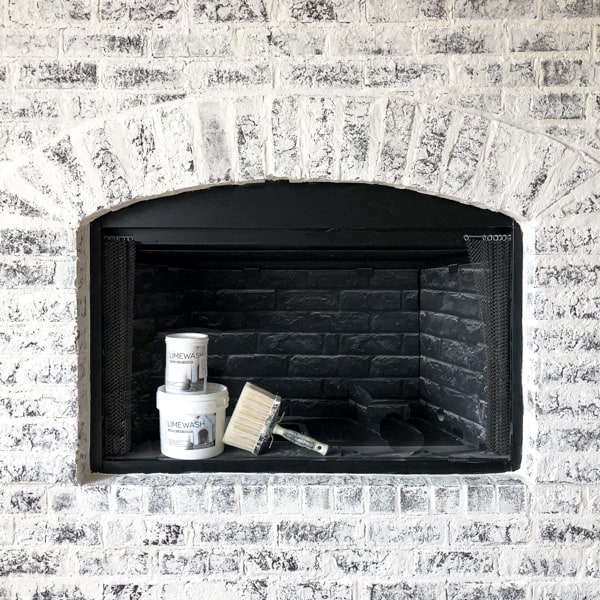
First off, you don’t need to mix 5-gallon buckets of limewash.
Romabio’s Classico Limewash comes in a variety of sizes and most of the time, a 1 quart container is all you need for an average sized fireplace.
Using a spray bottle, dampen the brick surface.
You can use a smaller brush and apply a thin coat of limewash.
Have a damp rag handy and use the rag and spray bottle to start distressing as you go.
Once it starts to dry, you can go back and take more off. And if you took off too much, then just reapply a bit more.
For our boys’ bathroom, I wanted a subtle texture to the brick accent wall we created.
I used 3 different colors of limewash and a very lightly diluted limewash.
It was almost the consistency of lime putty.
Then we played around until we got the look we wanted with very light distressing.
TIP EIGHT: Play around with dilution rates
This is my favorite thing about the Classico Limewash.
After seeing all the different looks Trent has created on all the homes he’s painted, every one of them is unique.
And that’s because you can truly customize the process.
The general rule of thumb is to dilute the limewash with 50 percent water.
But with heavier distressing, you can dilute it with equal parts water.
TIP NINE: If you are going solid, consider using Masonry Flat
Not everyone likes the distressed look of limewash.
And you can apply 2 coats of Romabio’s Classico Limewash with beautiful results.
But the Masonry Flat has the same flat sheen as the Limewash and comes with a guarantee to not chip or flake for 20 years with a 2 coat finish.
So if you were going to apply the same number of coats with either product, it’s worth switching to Masonry Flat to get that guarantee.
The Masonry Flat also comes in two different types of bases, so you can have it tinted to darker colors.
TIP TEN: Know when to ask for help
You have it in your mind – the gorgeous reveal of your beautifully lime washed home.
But you can’t get over that hurdle of messing it up. Or not liking it. Or some other reason – bees, heights, the outdoors – whatever it is, those fears can be greater than your vision.
Before Trent had become a PRO, climbing ladders was not his favorite activity.
Back in 2019, we had completed our entire home with the exception of our chimney stack.
The pitch of our roof with large drop offs made neither I nor my husband feel comfortable climbing that roof.
So we found a helper that Trent eventually hired when it came time to start his own Limewashing business.
While we may find this extremely easy to DIY, some people aren’t cut from the same cloth. That’s why Romabio has a list of PRO applicators that specialize in their products. The guesswork and fear are taken out of the equation for you.
So if this seems too daunting, then ask Romabio for a list of Preferred PRO Applicators in your area!
You may be on the fence whether to do this yourself or hire it out. I go over all the details of deciding whether or not to DIY or have someone do it for you (DIFM) in this post.
Have more questions?
I hope these 10 tips for limewashing your home helped answer some questions you may have.
I also answer more FAQs in this post if you didn’t find an answer you were looking for.
And you can always leave us a comment below. Trent and I are more than happy to share what we’ve learned along the way!
Check out these other Limewash Posts!
- Limewashing an Interior Accent Wall
- How to Lime Slurry a Brick Fireplace
- How to Lime Wash a Basket
- DIY Limewash Terra Cotta Lavender Plant
- How to Install and Limewash Brick Veneer
- 10 Tips for Limewashing Your Home
- How to Limewash a Brick Home
- Limewashing Your Home for Instant Curb Appeal
- Why We’re Limewashing Our Brick Home
- Limewashing our New Home – When to DIY or DIFM
- Limewashing a Painted Brick Fireplace
- Everything You Wanted to Know about Limewash


My husband and I want to tackle Lime washing our home. Did either of you spray the Limewash on or use a masonry brush? I have started researching and need as much advice, suggestions, dos and donts before we start. Thank you for the helpful article!!
Thanks for asking Cindy! If your concrete isn’t sealed, the limewash should adhere. You may want to test an area first to make sure. In regards to application on a walkway, it isn’t typically recommended. Those areas get high foot traffic and will cause the limewash to wash away very quickly. Hope that answered your questions and thanks so much for reaching out!
Hi Melody! I’m so glad you enjoyed this post! In regards to your algae buildup, yes you want to make sure that is completely removed before applying. A good pressure washer should do the trick followed up by the algae remover. Hope that helps!
Hi April! That’s a great question! The main thing you want to look at are your non-changeables. For instance, if you aren’t planning on changing your roof for some time, take that into consideration. If it’s a warmer tone, you will want to choose a color that compliments that. Will you be painting your trim, shutters, or front door? If not, try a swatch next to those areas to see which one you like best. I hope that helps in finding a color to fit your home!
Hi, how did you know what color lime wash to use. On your house? That’s the problem I am having
Thank you
April
That was a fun blog hop! I really enjoyed reading about the differences in application techniques, and I also appreciated the before-after photos, which allows us to imagine how our own design sensibilities might affect the final outcome. Love what you’ve accomplished, and am inspired to get started on my own project, now.
I’m going to lime wash the bricks around my flowerbeds and am wondering what you’d suggest about the algae buildup in the shaded areas. I plan to use an algae remover, first. But does it have to be 100% algae-free before I apply the product.
I love this look. I wish I knew it worked on concrete. t
1. I would do or walkway.
2. I would use it on our foundation which is poured concrete.
Our decor is French Country. Would be so happy.
You did a fantastic job
Cindy