Pantry Makeover in Progress
Actually, it should probably read 2 Pantry Makeover in Progress. If you have been following along with me recently, then you know that we just completed a Timeless Farmhouse Kitchen Renovation a few months ago.
I’m going to tell you a story about our house and how we ended up with two pantries!
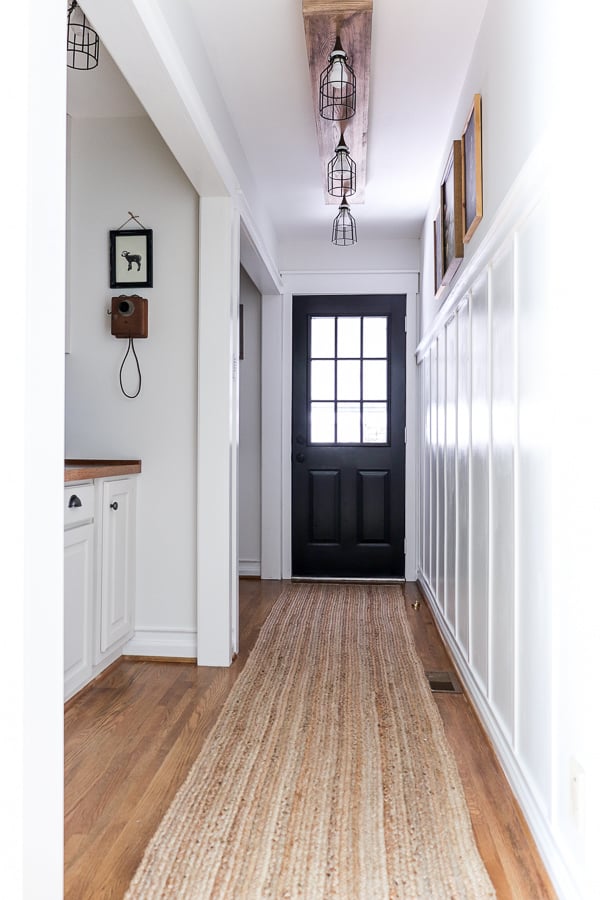
I mentioned this hallway briefly in my kitchen makeover, I didn’t show you all the details.
The ugliness down the hall!
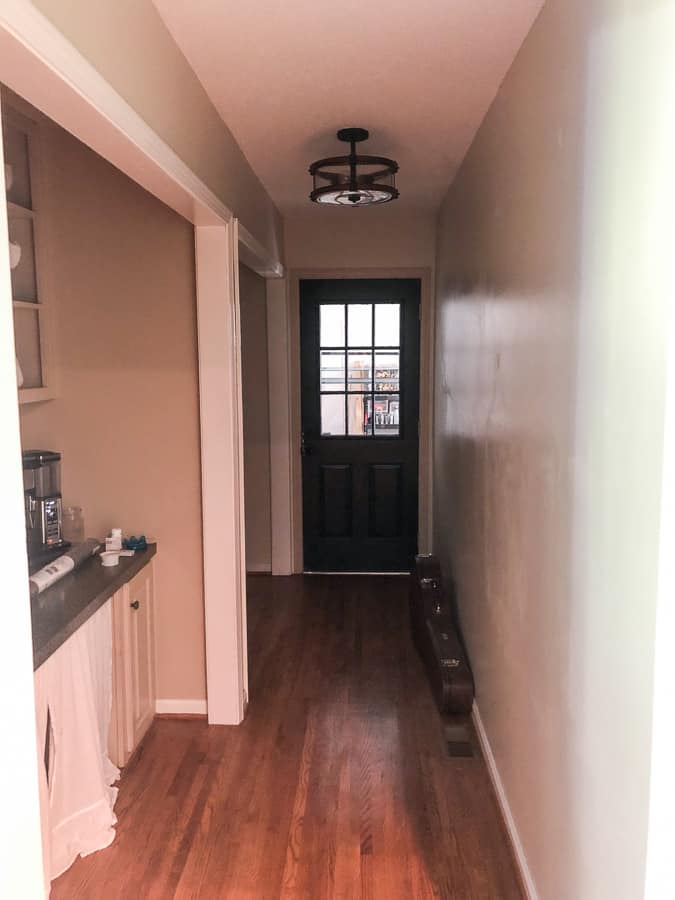
This is the hallway directly off our kitchen where we come and go from our garage.
And yes, that guitar case is usually there since my husband is a music teacher.
When we were limewashing the exterior of our home, we noticed that there were multiple laundry vents – 3 to be exact – on the exterior of our home.
That peaked our curiosity.
Since moving into this house, we’ve learned amazing things about the lady who built this home.
She lived upstairs and finished out the basement for her extended family to live. So there was a laundry room down this hallway for her and second one down in the basement for the other family.
But that laundry was moved to it’s final location.
So this area was where the upstair laundry used to be.
This is a pic from when we moved in. You can see the panel on the wall hiding the old water hook ups for a washing machine.
So, logically, we noticed that this was intended to be the pantry.
Which is what we used it for, but I couldn’t stand looking at this.
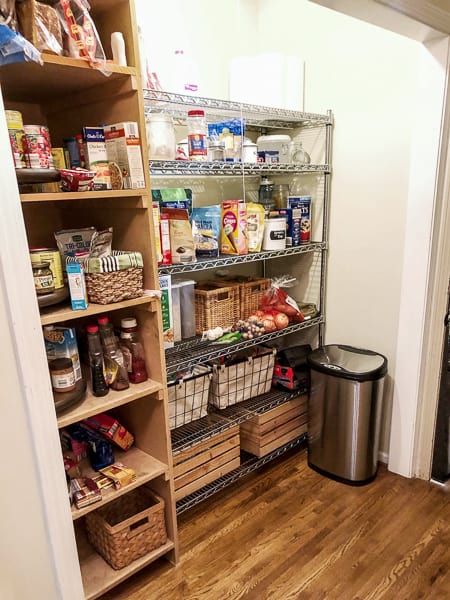
This is what greeted me every time I came home.
A messy, cluttered, unfinished space.
Y’all know that I’m a bit of an organizational freak, so this really got to me.
So we are creating a custom built pantry for this space that I’ll share shortly.
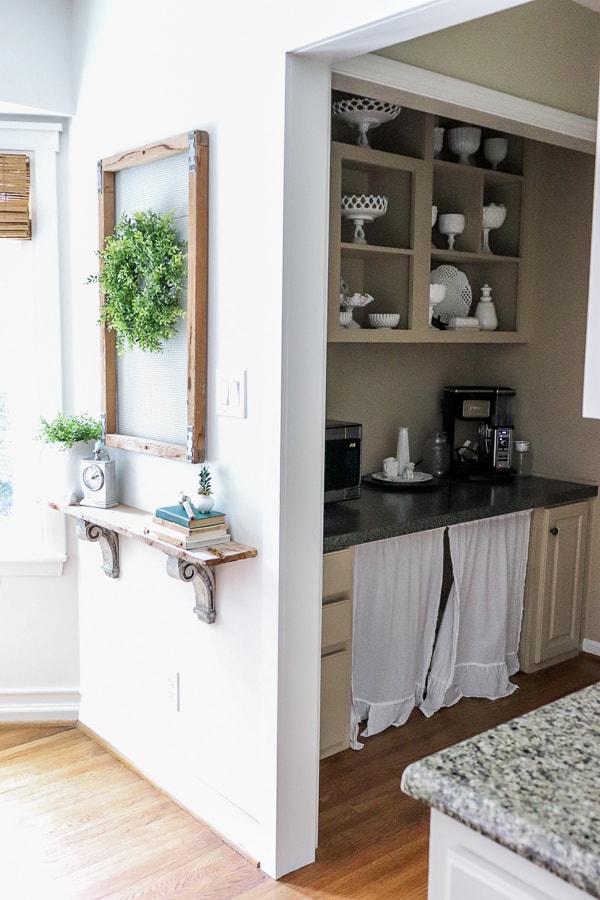
But the space next to it is what I loved when we were house hunting.
The office nook.
This little nook was where the pantry originally was years before the laundry room swaparoo, and they made use of the space by turning it into a small office nook.
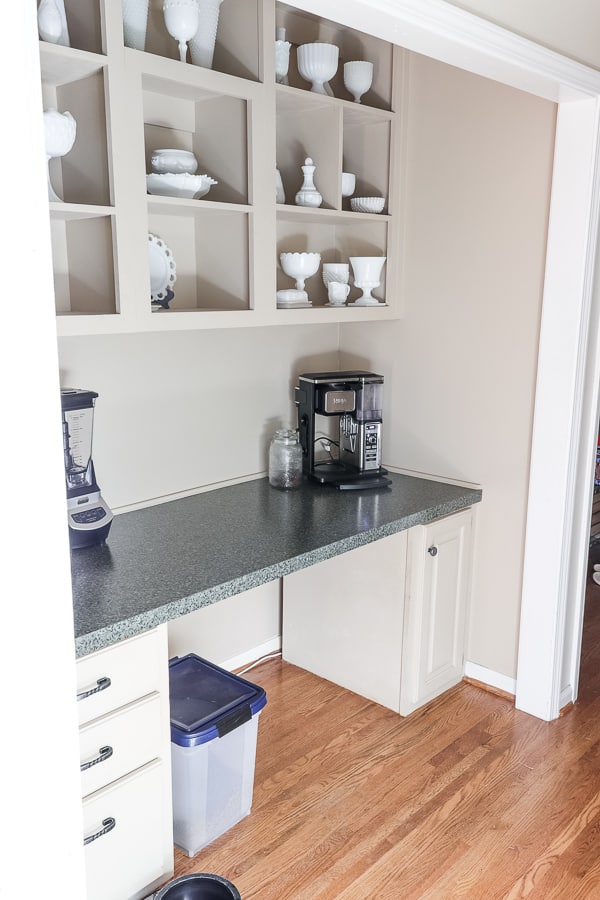
But now, it’s my butler’s pantry, housing all my pretty milk glass and most importantly – my coffee bar!
However – since I have my own Home Office, that space didn’t make sense to keep the lowers open, so the lowers will get a customization as well. Here are our plans for this Pantry Makeover in Progress.
Pantry Makeover in Progress
Let’s start where the inspiration struck.
We had this octagonal island that was HUMONGO and we got rid of it when we renovated our kitchen.
But, I noticed it had door fronts that matched our cabinetry perfectly!

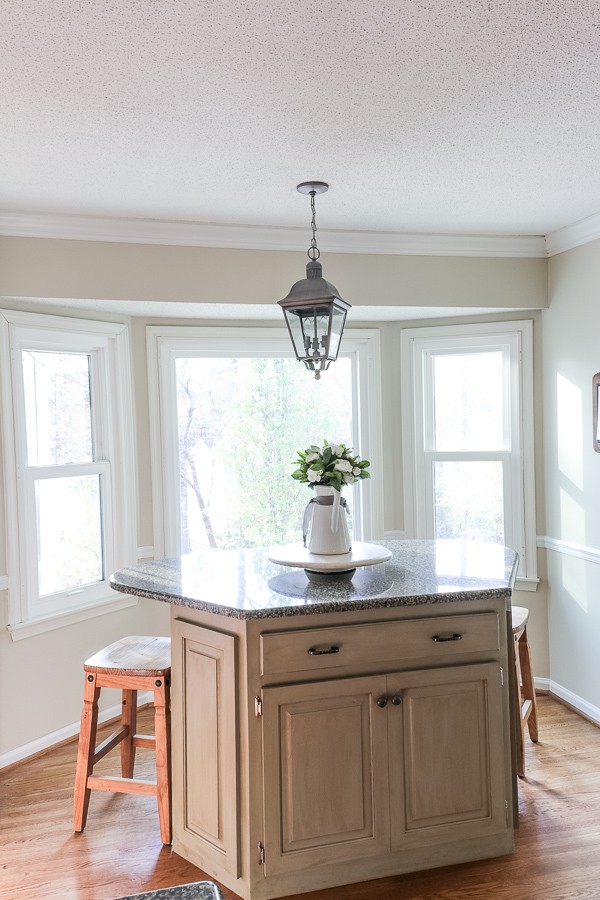
So when we demoed this island, we kept all the doors to use in this hallway of pantries. The two front ones were functional, but there were 6 dummy doors that we could repurpose!
SCORE – right?!
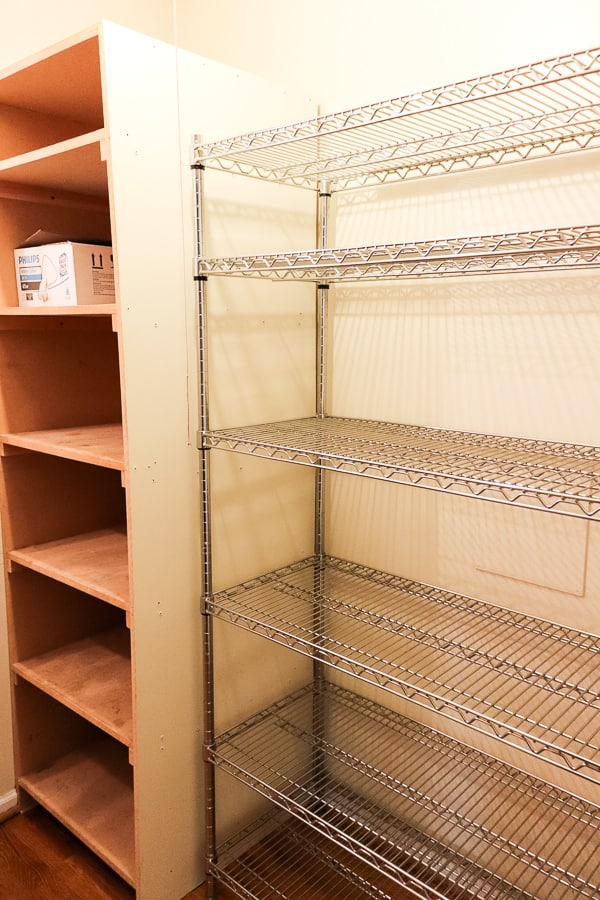
Our Regular Pantry
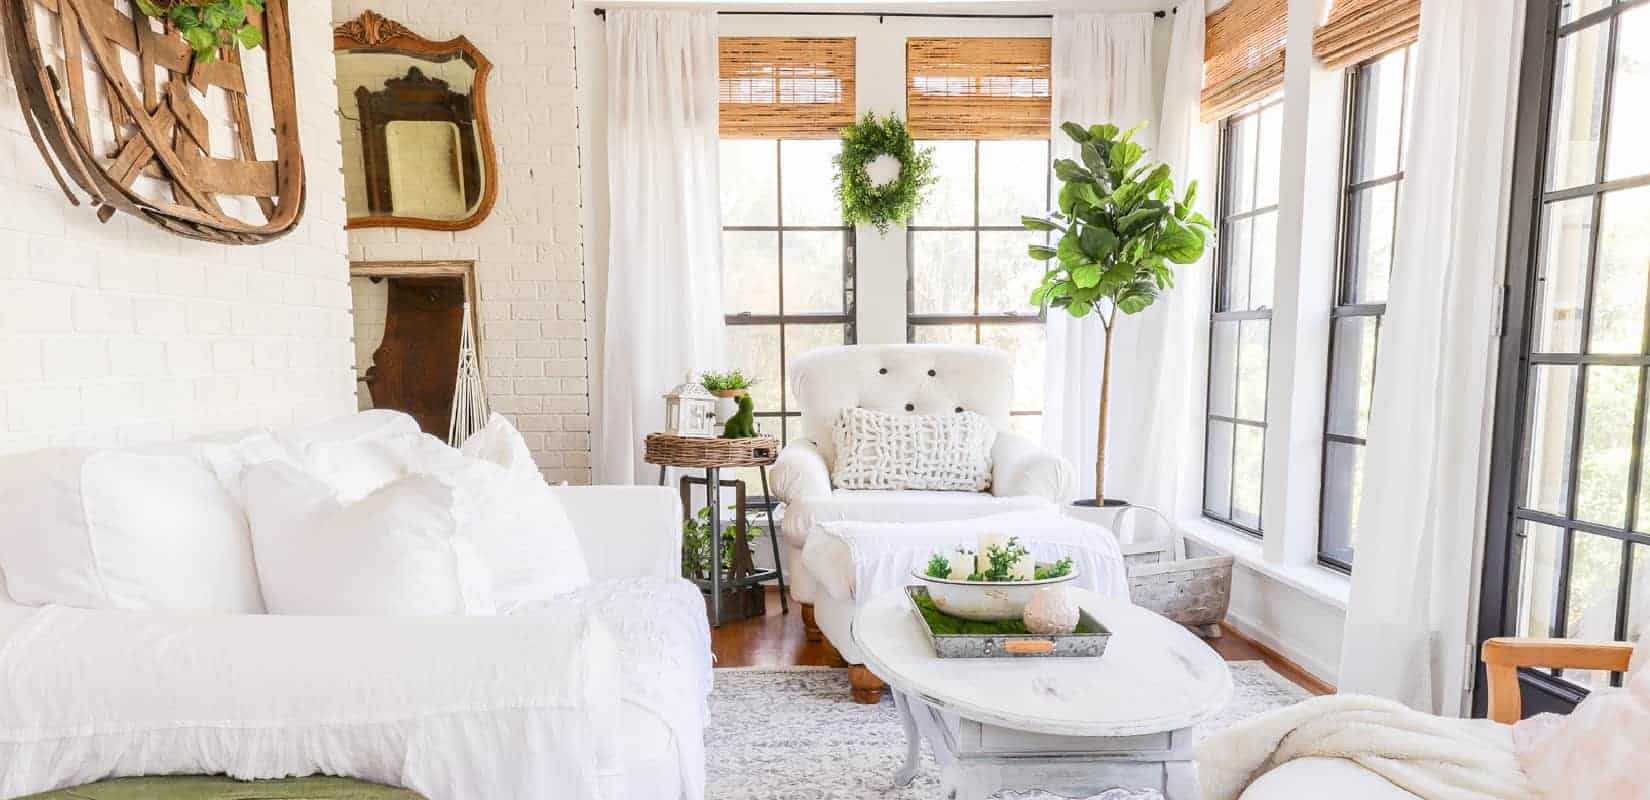
We started in the pantry by removing the old built in and moving the metal shelving to our sunroom temporarily while we built this area.
Let me first start by saying that we are not cabinet makers and have never made cabinetry before, but that was the plan.
Build base boxes to repurpose all those doors for hidden storage!
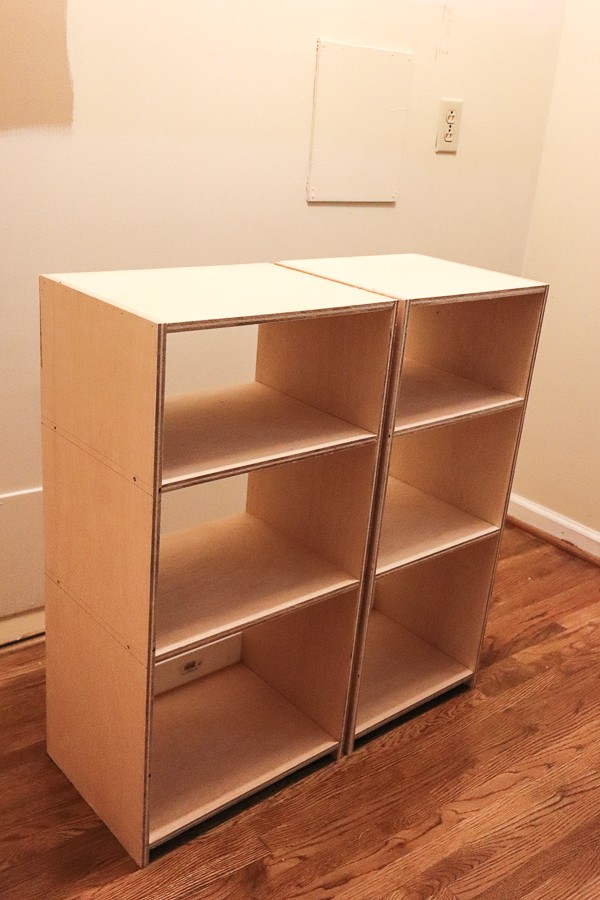
We took the measurements of each door and custom built a box for each one.
We opted for deep storage on the lower cabinets to stow away extra dry goods until needed.
In our kitchen reno, we also swapped our microwave that was over the stove for a custom vent hood. This deep cabinet will be perfect to sit our new microwave on.
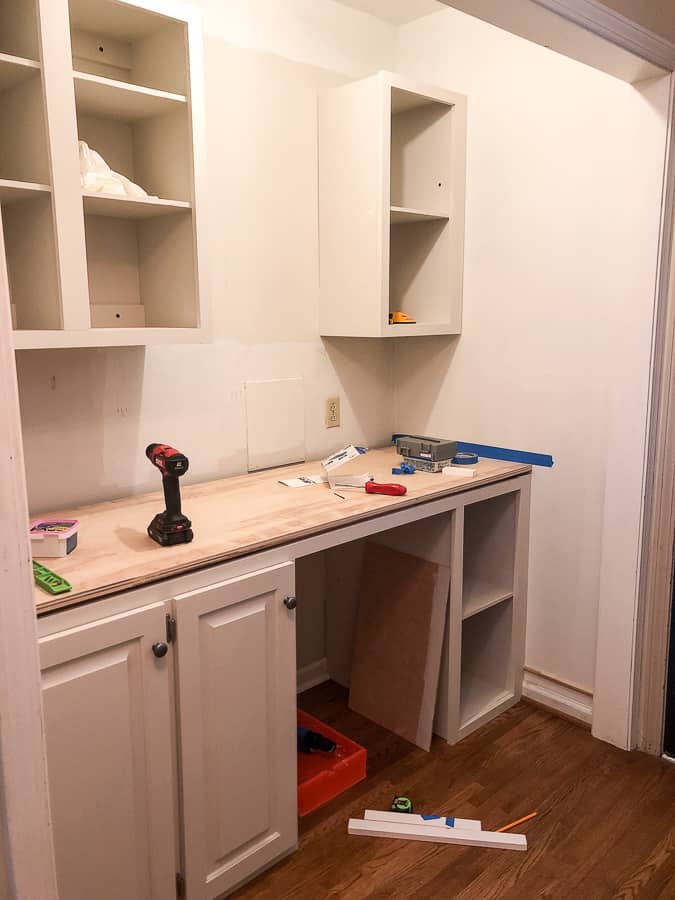
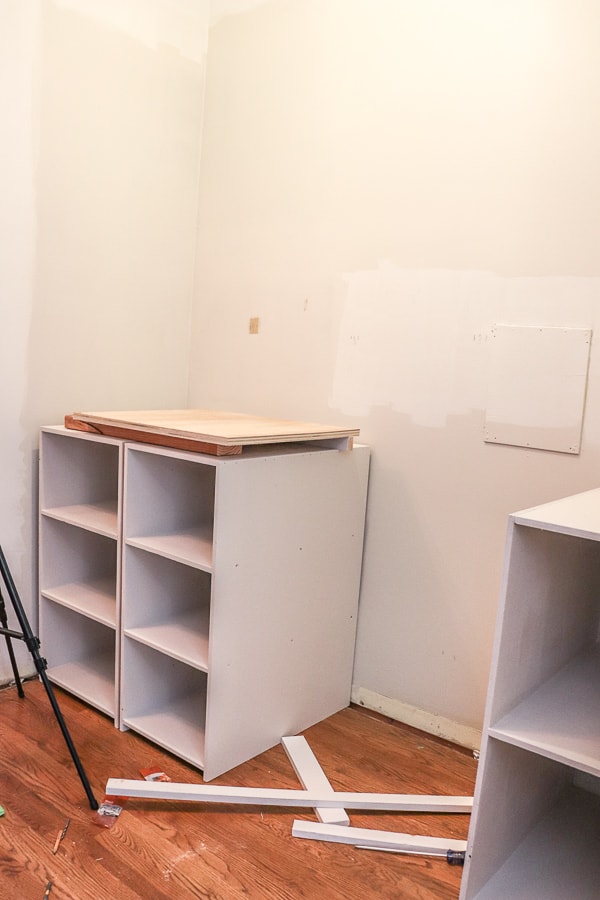
We measured the depth of our kitchen cabinet uppers and matched that for the upper cabinets.
On a trip to the hardware store, we found a really pretty piece of red oak plywood and thought that would be a pretty topper for each pantry. We had Home Depot cut it in half for us – love that option!
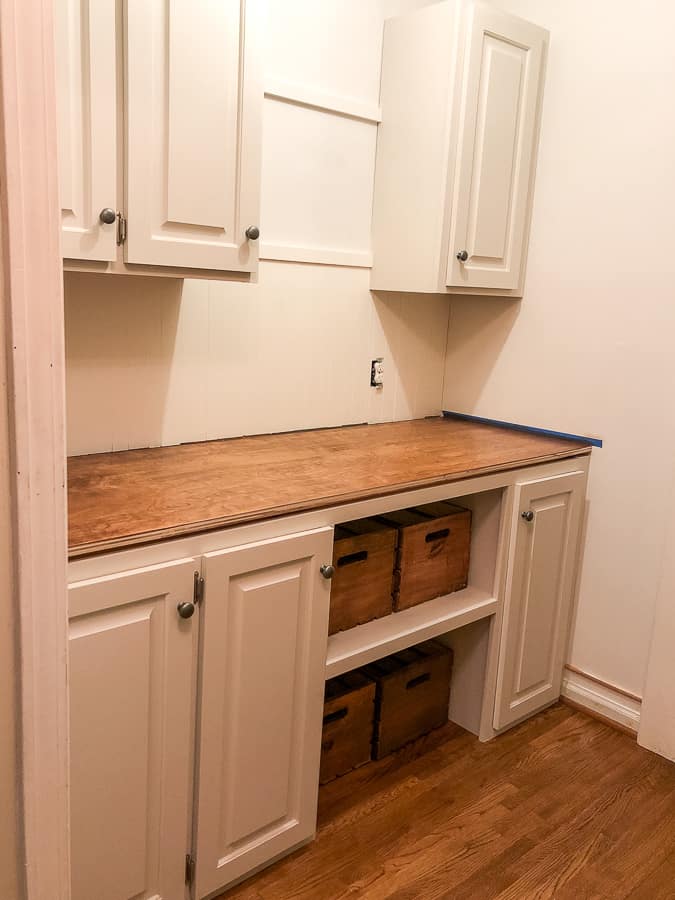
I wanted pull out drawers for quick and easy access when the kids make their lunches for school.
I took these wooden crates I had and stained them the same color as the top. We found drawer pulls and installed them to the bottom of the crates to make access easy.
Since we had that odd piece of wood covering the old plumbing, I gathered all my leftover shiplap pieces and made a DIY backsplash.
The sizes aren’t the same, but I think it turned out kind of cool!
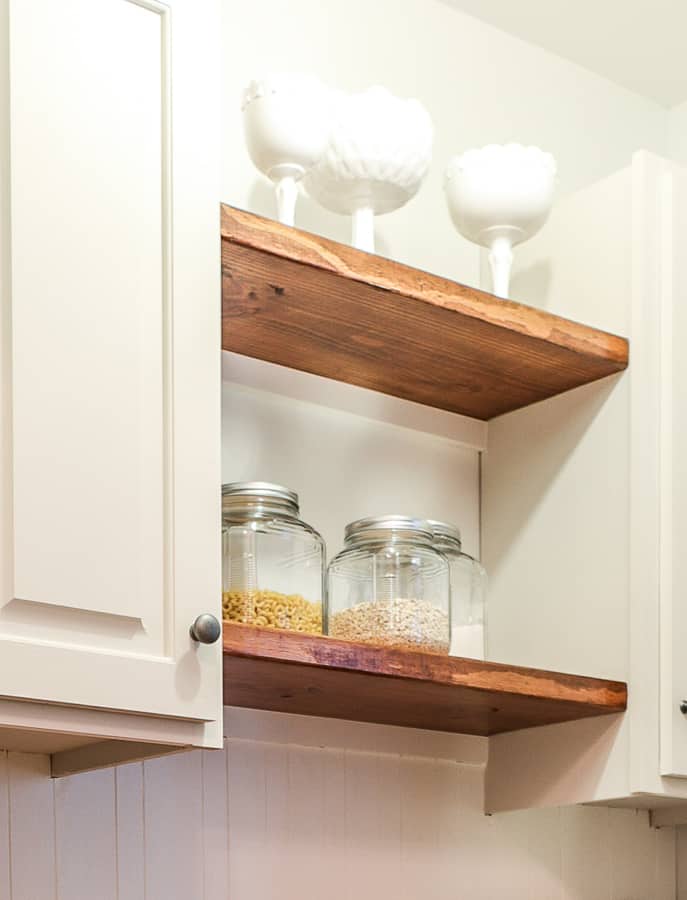
We added open shelving between the upper cabinets and I love how it looks.
All that’s left for this side is to organize my pantry and find a few more pretty jars like these.
Now for the butler’s pantry side.
Our Butler’s Pantry
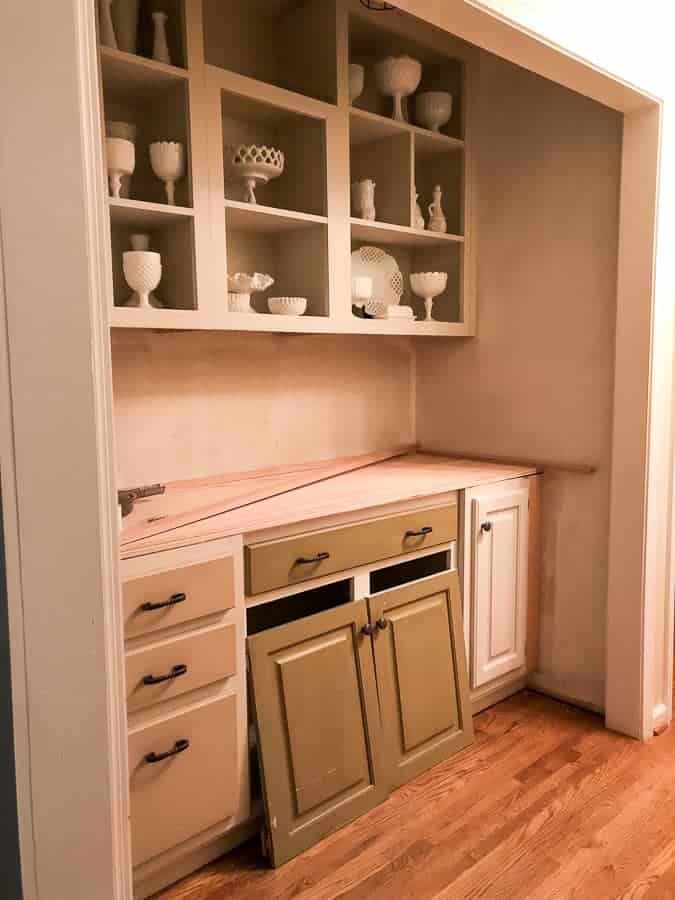
This side was super easy.
We removed the old laminate top and raised the base since the office nook was really low. Then we moved the two existing cabinets in about 4 inches.
After we did that, the old drawer and cabinet doors from the island fit perfectly.
We topped it with the other half of the red oak plywood.
All that’s left is touch ups, installing the baseboards, staining the second top, and adding hardware.
I can’t wait to show you the final reveal!
UPDATE!
Click here to see the Pantry Reveal!


One Comment