DIY Thrifted Lamp Makeover

I stumbled upon this ugly lamp from the thrift store and I knew I could give it a new look. Here’s my DIY thrifted lamp makeover.
Do you ever stumble upon an awesome thrift store find at a great price?
But it’s not quite what you would want for your home.
That’s what happened to me a few months ago.
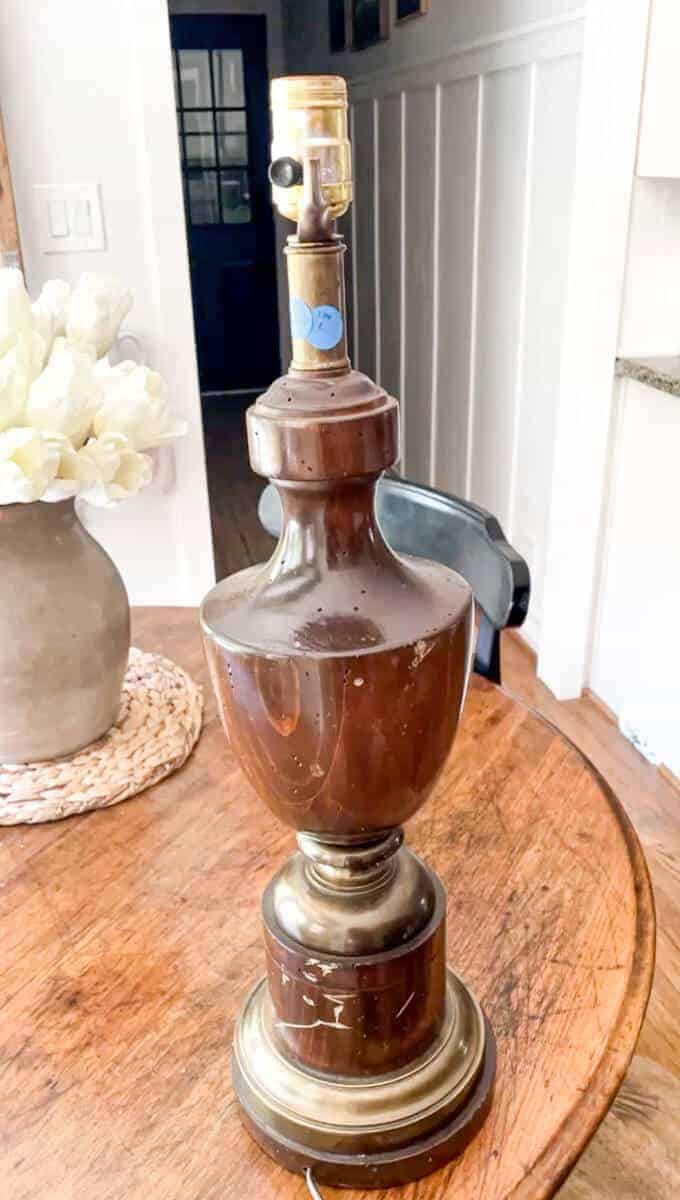
I found this lamp on a recent trip to my local thrift store.
I always love to look at old lamps because there’s so many things you can do with them.
You can paint them like I did with this lamp or create a completely new look by adding a dark wax.
Or sometimes just a good cleaning and a new shade is all that’s needed!
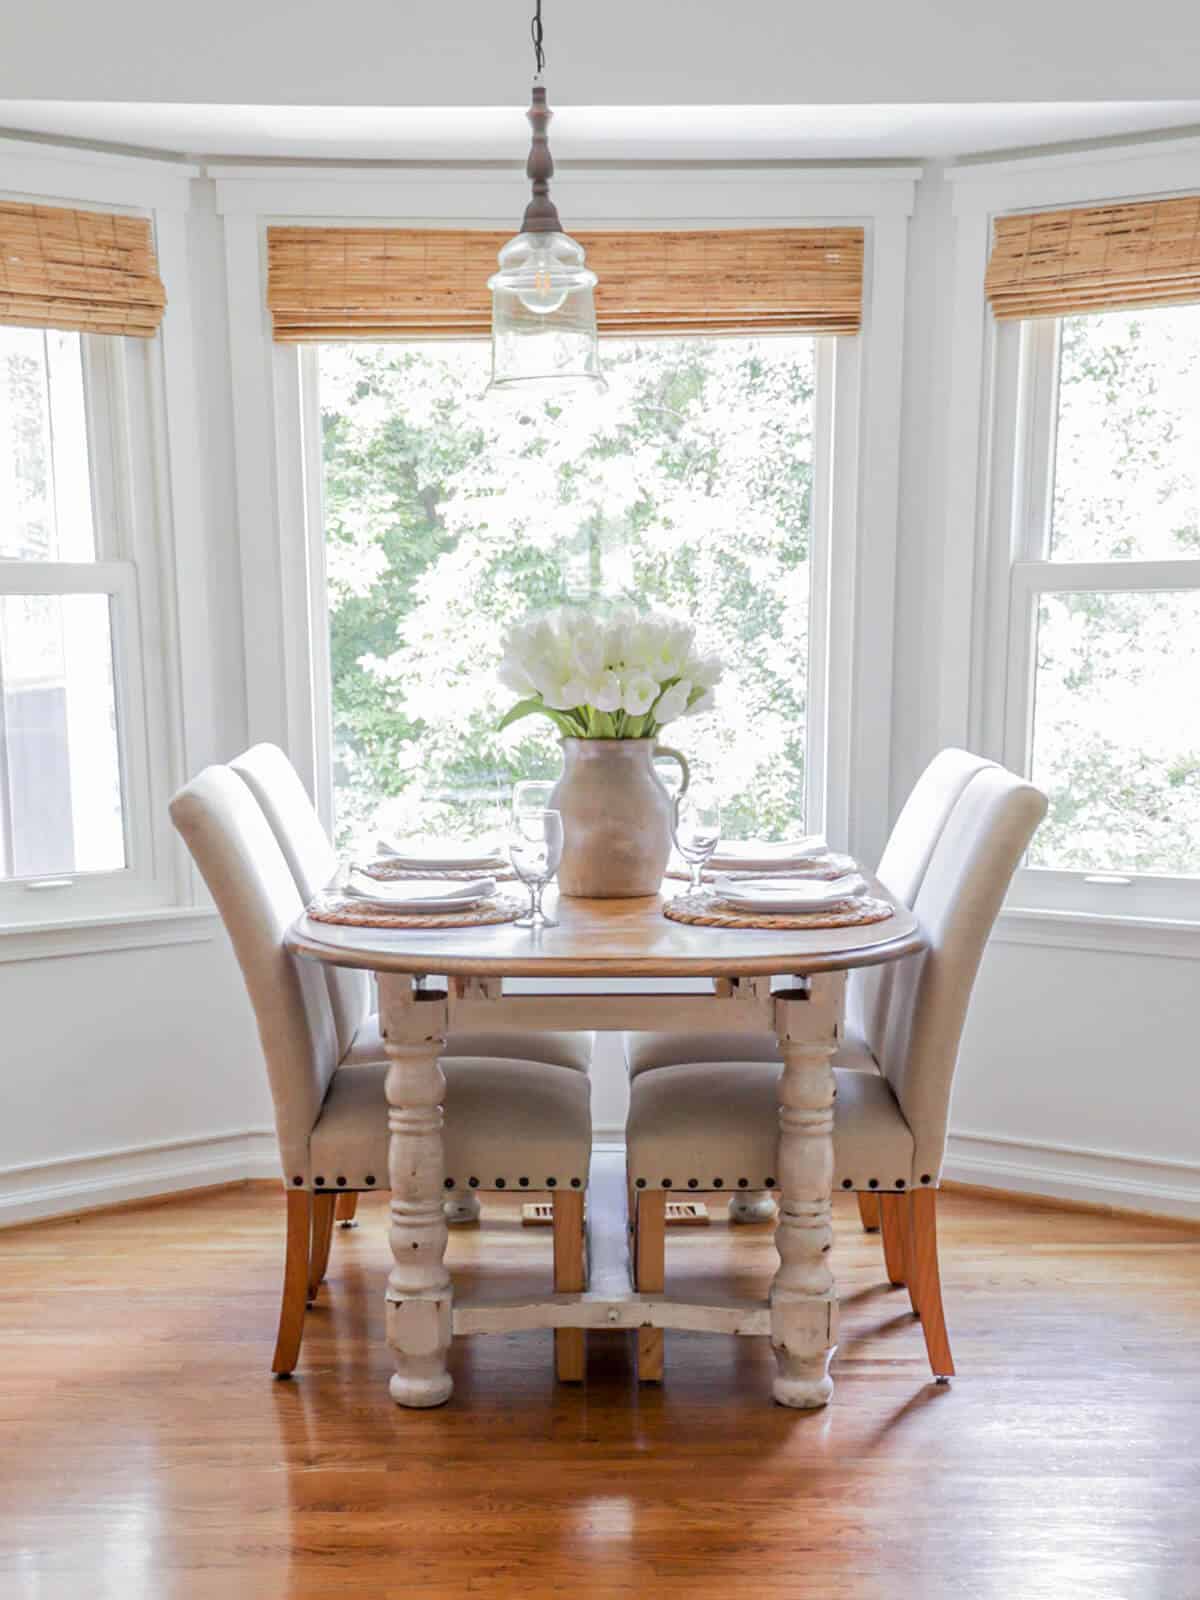
Earthenware lamps are super popular these days, but the prices are so high you can have a hard time finding an affordable one. You can always recreate that look like my friend, Andrea, did with her find.
I knew I would have to do some work on this lamp.
It is all wood, overall in great shape, but needed a little bit of love.
And it was 50% off the price tag!
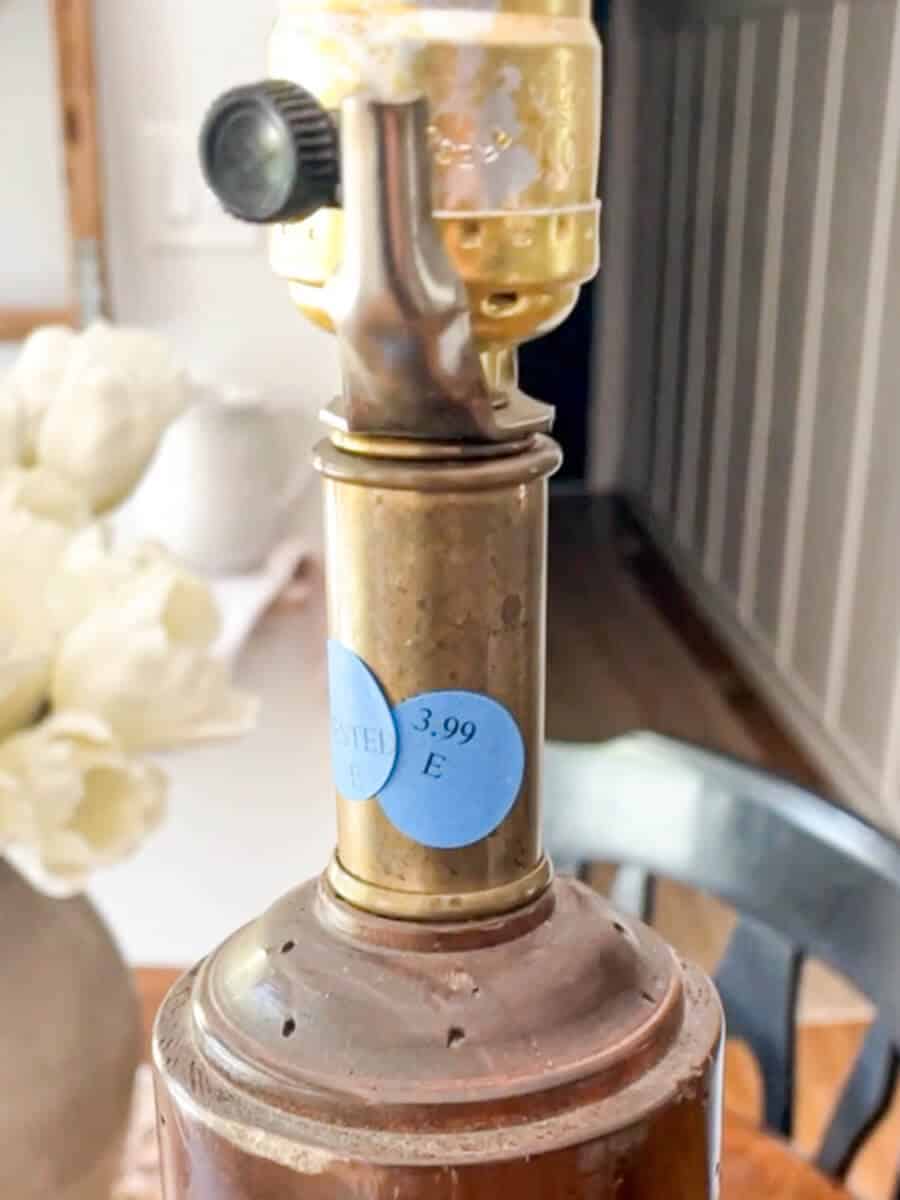
For 2 bucks, I couldn’t pass up the chance to give this diy a try.
It was super heavy, so I knew it was solid wood.
And the antique brass is super hot right now, so I thought this would be a fun project.
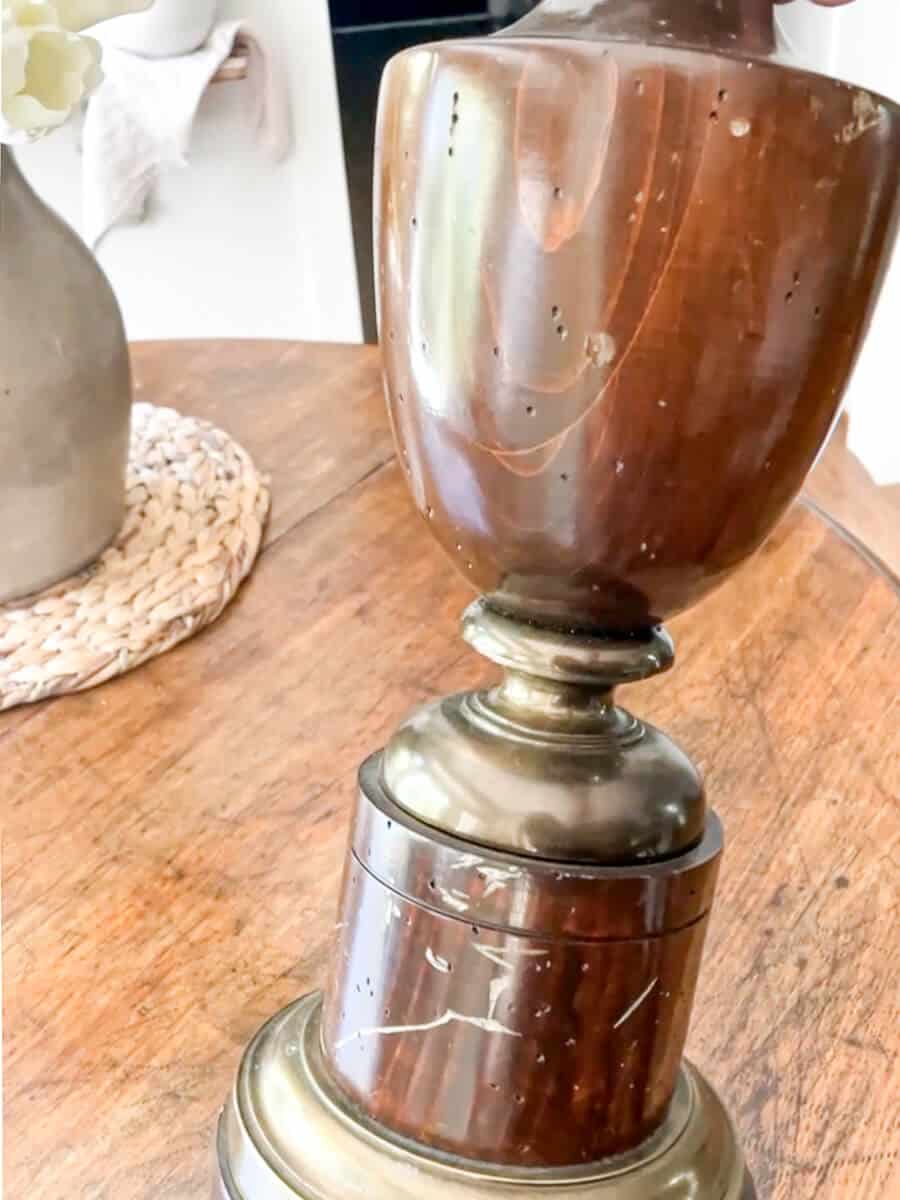
There were some slight scratches on one side of the lamp, but I felt confident those would sand out.
This was inspired by my Unfinished Natural Wood Dresser on this site, and my love for natural wood pieces and I hope this DIY thrifted lamp makeover encourages you to rethink lamps at garage sales.
DIY Thrifted Lamp Makeover
(Some affiliate links are provided below. Full disclosure here.)
These are the supplies you’ll need for this project.
- Old Wooden Lamp – you can find one at your local goodwill or thrift shop
- Sandpaper
- Light Kit – only if your light doesn’t work.
- Wire Strippers
- Lamp Shade – I love these white linen ones
The first thing I did was remove the old lighting system.
Since this was a really old lamp, I wasn’t confident that it worked and the cord looked a bit frayed in one spot.
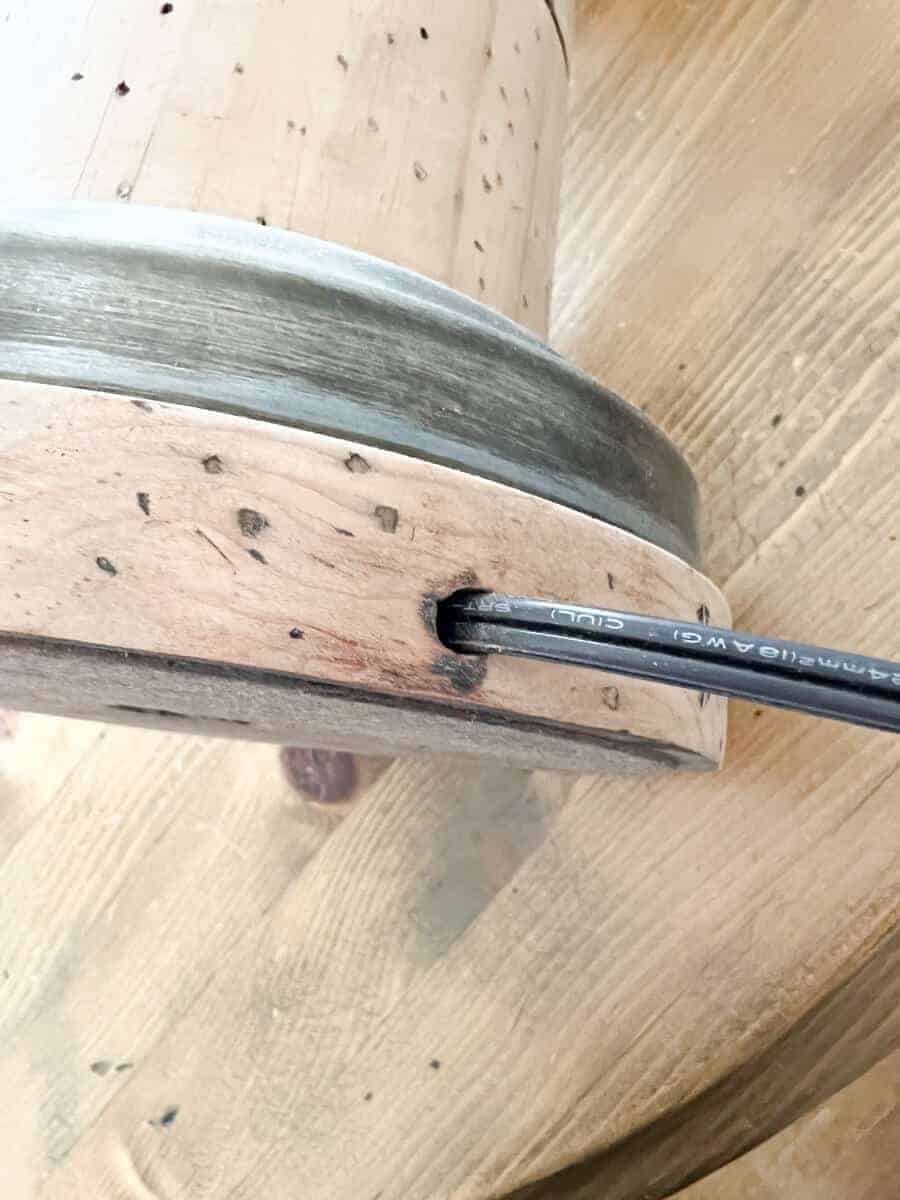
To remove the old lamp wires, I cut a hole in the lamp base to find the wire nut that to cord ran through.
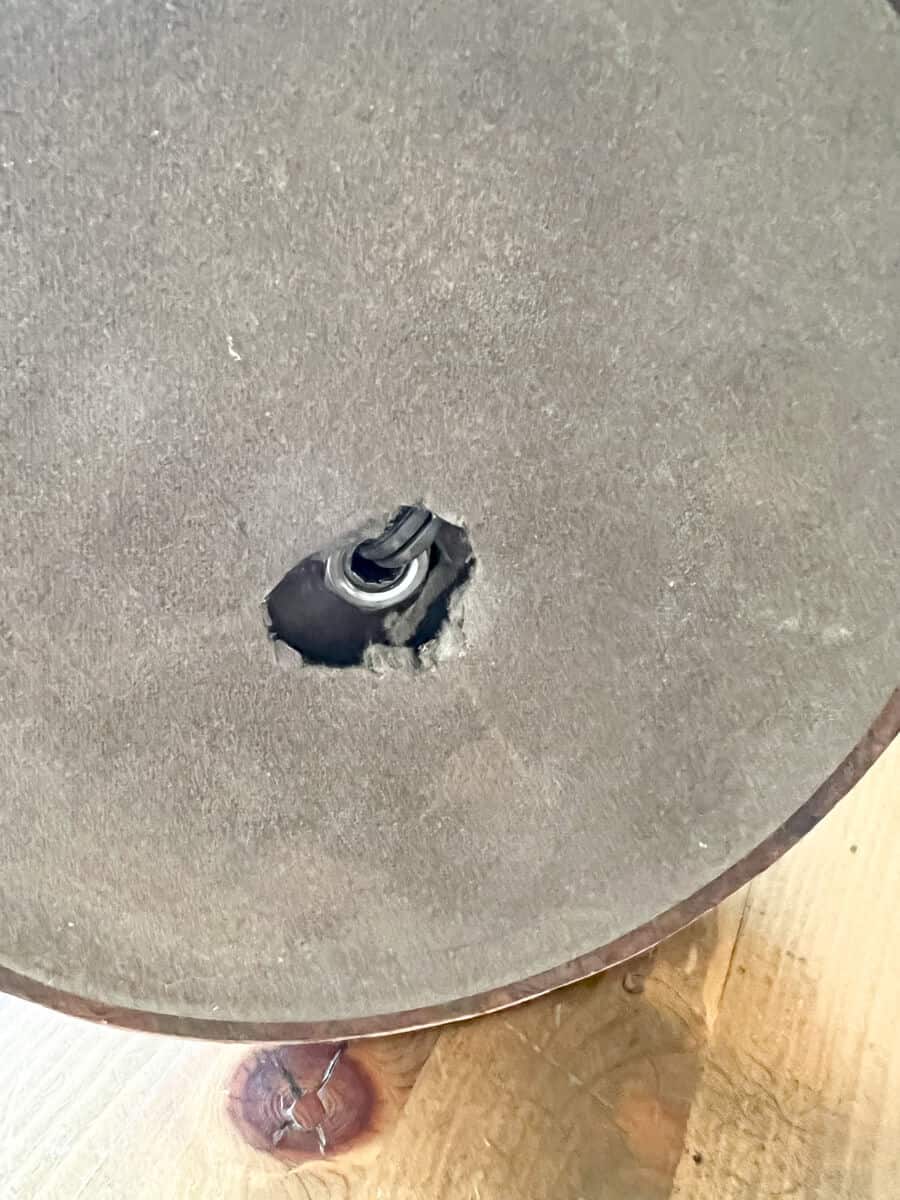
You can completely remove the felt base, but since this is such a heavy table lamp, I wanted to keep the most of felt pad in place, so I only trimmed a small hole.
Just cut the wire with wire cutters and remove the lamp sockets and old cord set.
Once the wiring was gone, I sanded the lamp down to bare wood. Then I gave it a good cleaning to remove the sawdust.
Full Disclosure: I started to take photos of the sanding process, but quickly found that the sanding dust was going everywhere – so I’m missing the inaction photos for this project.
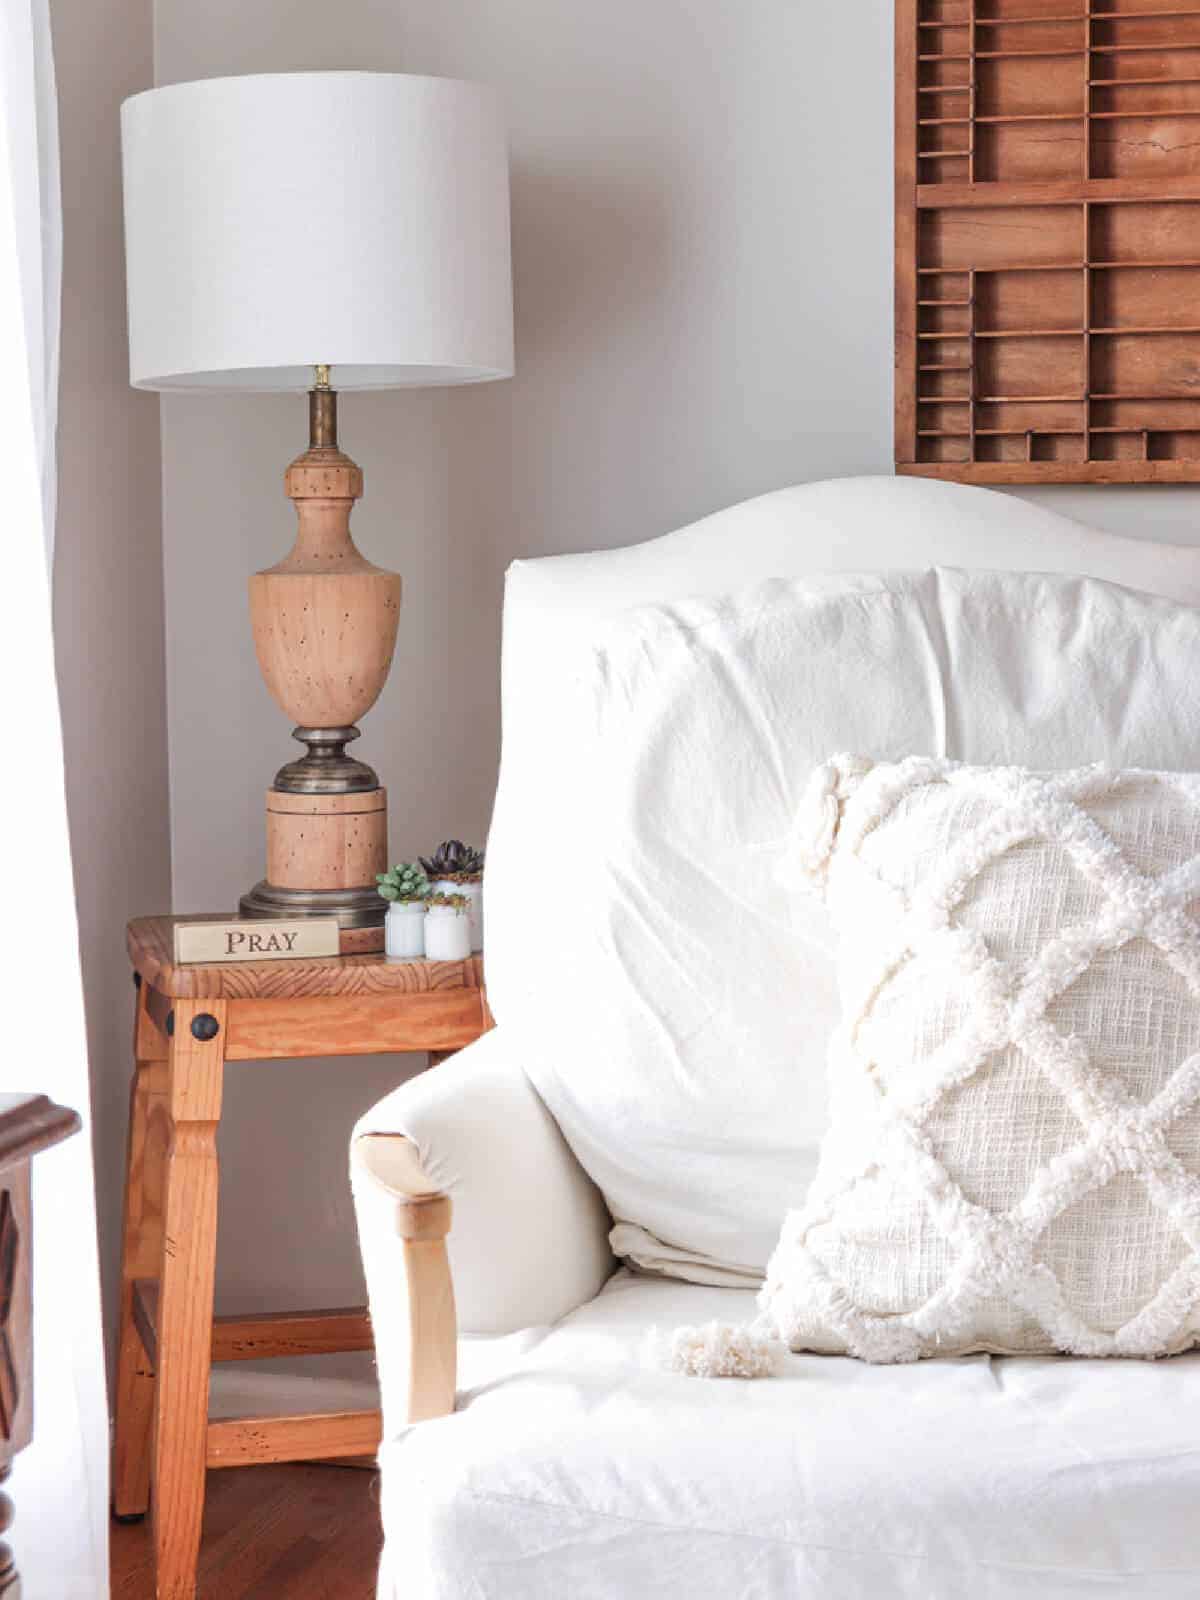
I kept the antique brass that surrounded the lamp. It’s just so pretty!
After the lamp was sanded, I could reinstall a new light kit.
Lamp Wiring Kits are super affordable and easy to install.
How to Replace a Lamp Lighting Kit
Replacing lamp cords are really simple to do with easy installation.
This is great for projects like this, or if your favorite table lamps suddenly stops working.
I purchased one of the universal light kits at Home Depot but they are also available at other home centers or hardware stores.
It comes with detailed instructions with simple steps that I highly recommend following.
I started by running the wire through the base of the lamp.
Once I got the wire fed through the lamp, I screwed the new socket onto the lamp and separated the cords. The instructions tell you to tie a knot.
This is to prevent tension from the cord that could possible pull the wires out from the lamp.
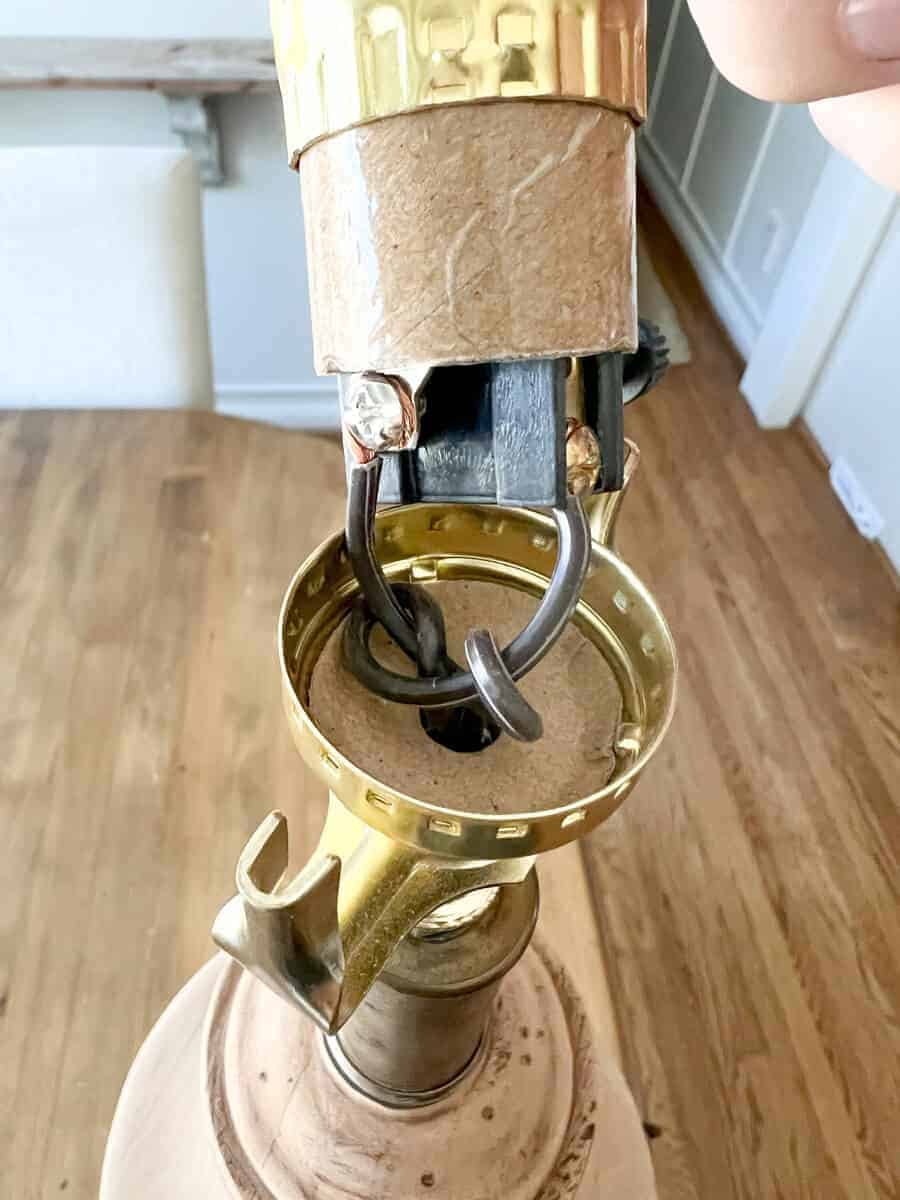
You will need a wire stripper to remove the rubber casing around the wires to expose the copper underneath.
Create a small fish hook and follow the packaging instructions on which wire to attach to which screw. This kit had a silver screw and a copper screw to help show the difference, but lamp kits may vary.
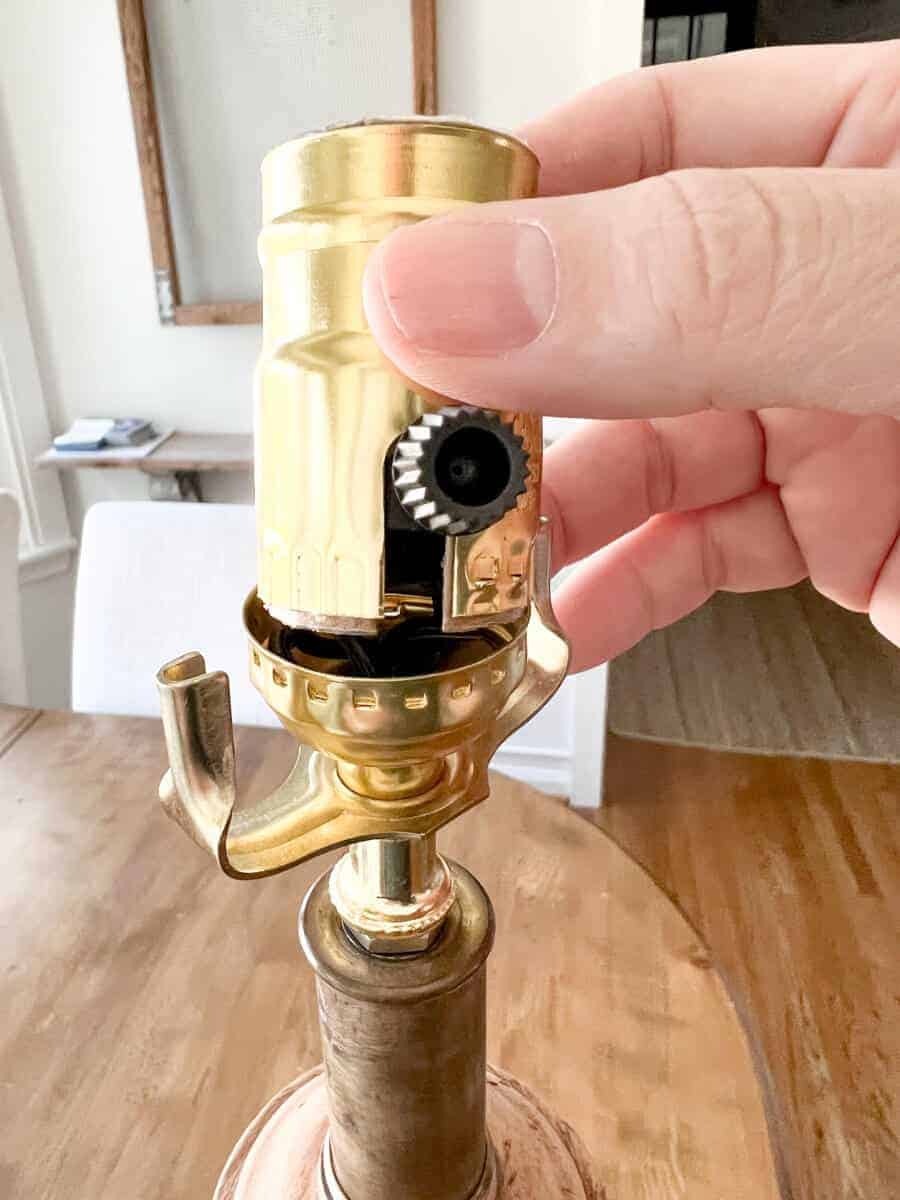
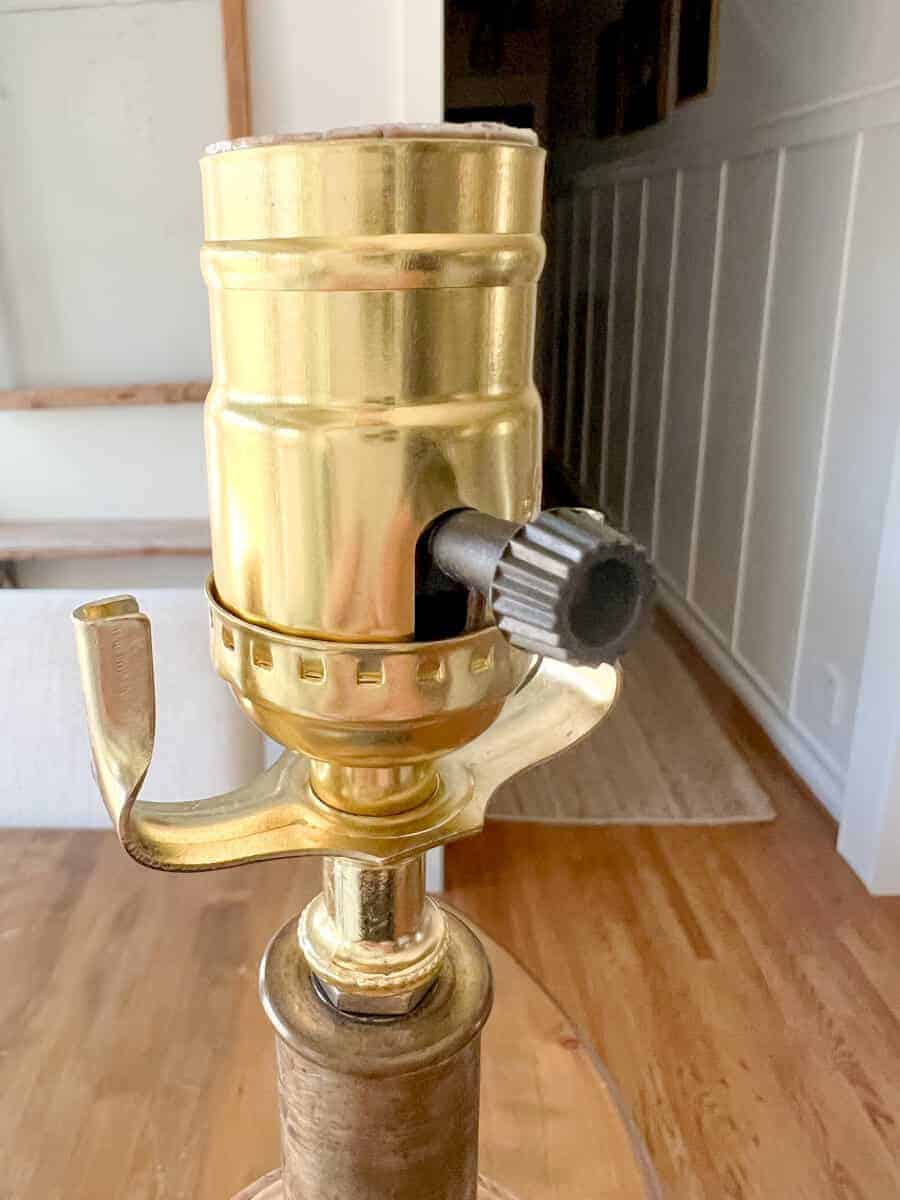
The last thing to do for this thrifted lamp makeover was to place the housing assembly together.
Tip: Try to make sure your toggle switch lands between the sides of the harp that hold the lamp shade. It will make turning it on and off much easier!
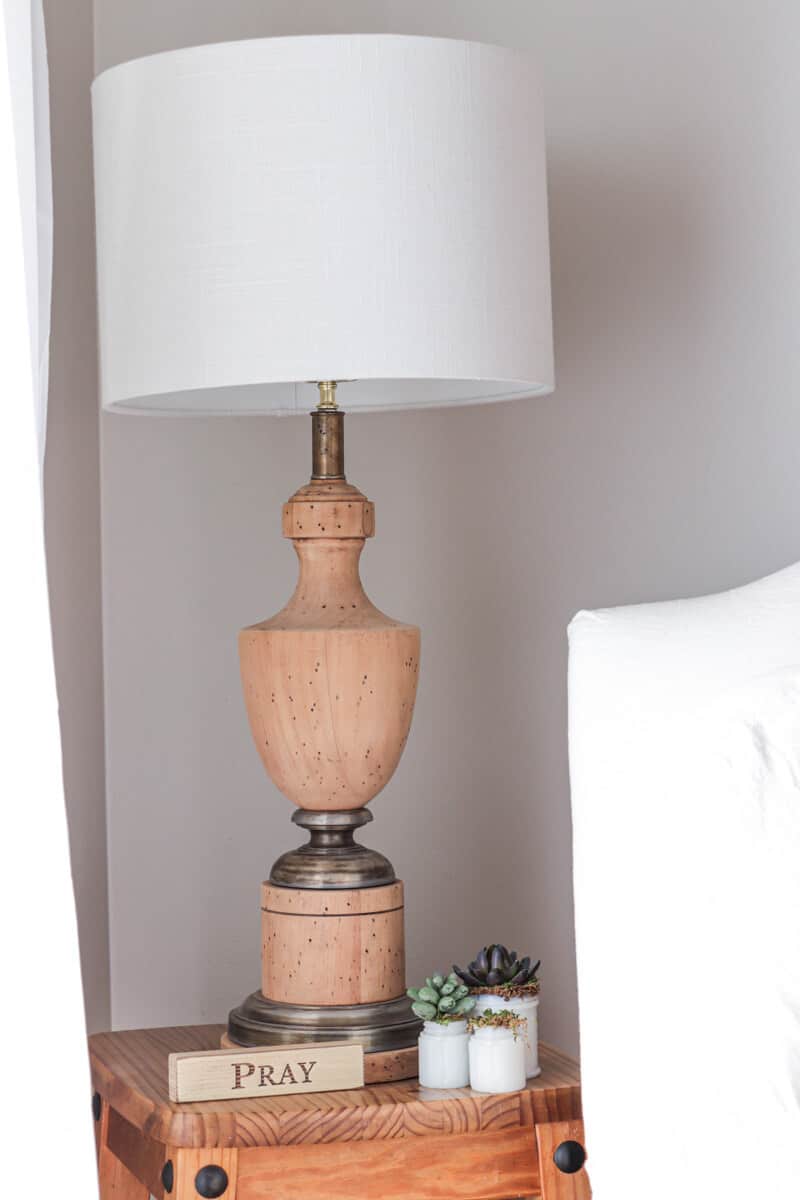
Now I have a new lamp for my home decor!
And I love that I was able to rewire the lamp myself! And you totally do this with your own lamp!
Here’s how it looks in my office.
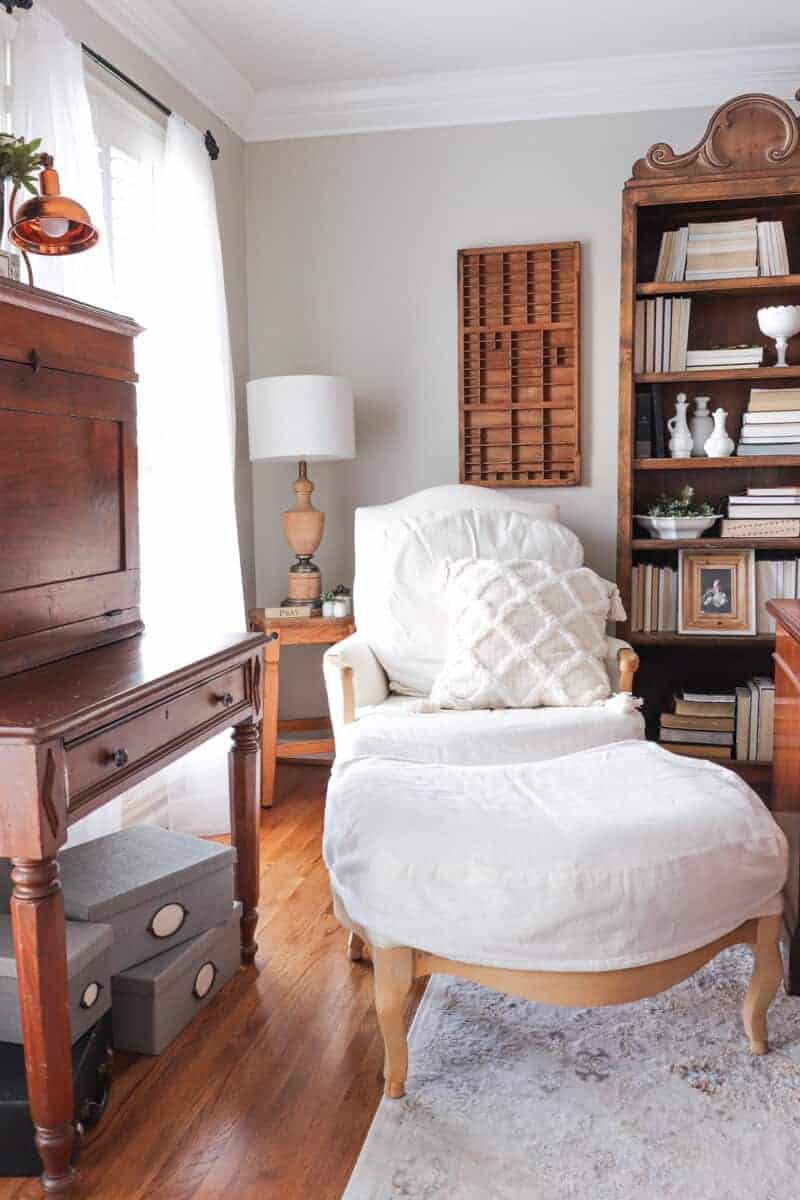
This little lamp DIY has brightened up my office with a flick of a wall switch and I smile each time I turn it on.
It’s a simple project that I’m glad I didn’t pass up!
So the next time you hit up your flea market, or stumble upon a beautiful lamp that needs a bit of love, try this thrift store lamp makeover!

DIY safety
We sometimes take for a granted that we have years of DIY experience. Your safety is super important to us, so here are some tips to remember.
- When sanding, be sure to wear a mask and goggles for protection.
- There is a hot wire and a neutral wire with each lamp kit – make sure you read the kit’s assembly directions thoroughly with each step.
- Before ditching the entire lighting kit, make sure it’s not just a bad bulb. Yup – I’ve done that before!
I am joining a few of my friends as we are each sharing something that we are updating, making over, or refreshing in our homes. We’re calling it New Again, where we are giving new life to something. Enjoy the posts below!
New Again

A Life Unfolding
Vintage Find Into a Drink Table
Noting Grace
DIY Thrifted Lamp Makeover
Sand Dollar Lane
Our Shiplap Kitchen Island Reveal

shop our favorite home items
shop now
Join Our Community
Don’t miss the next DIY! Receive exclusive content, including behind the scenes photos, our favorite home decor DIYs and more!


Thanks so much, Yvonne!
The lamp is amazingly beautiful.
The lamp looks amazing! Like a brand new expensive lamp! Great DIY!