DIY Kitchen Sign for less than $10
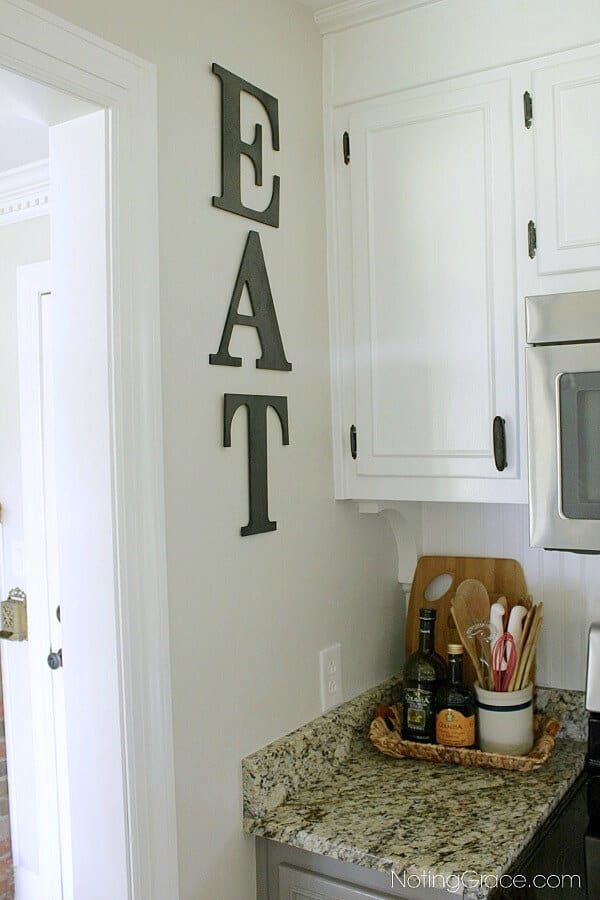
I can’t believe it’s been over a year since our huge kitchen remodel. I still love the results but I noticed that my walls started to look bare. An empty space next to our stove begged to be filled up with a DIY Kitchen Sign.
If you google “DIY Kitchen Sign”, a billion options come up.
I waffled back and forth about using metal signs or pallet wood or different frames.
I couldn’t make up my mind!

Since this was next to the stove, I was worried about using metal letters.
That corner seems to hold all the steam from any cooking, and I thought they would rust.
With the cabinet door next to the stove, I quickly shut down any pallet wood ideas because it would have been too thick.
Here’s how to create this look for yourself.
DIY Kitchen Sign
(Some affiliate links are provided below. Full disclosure here.)
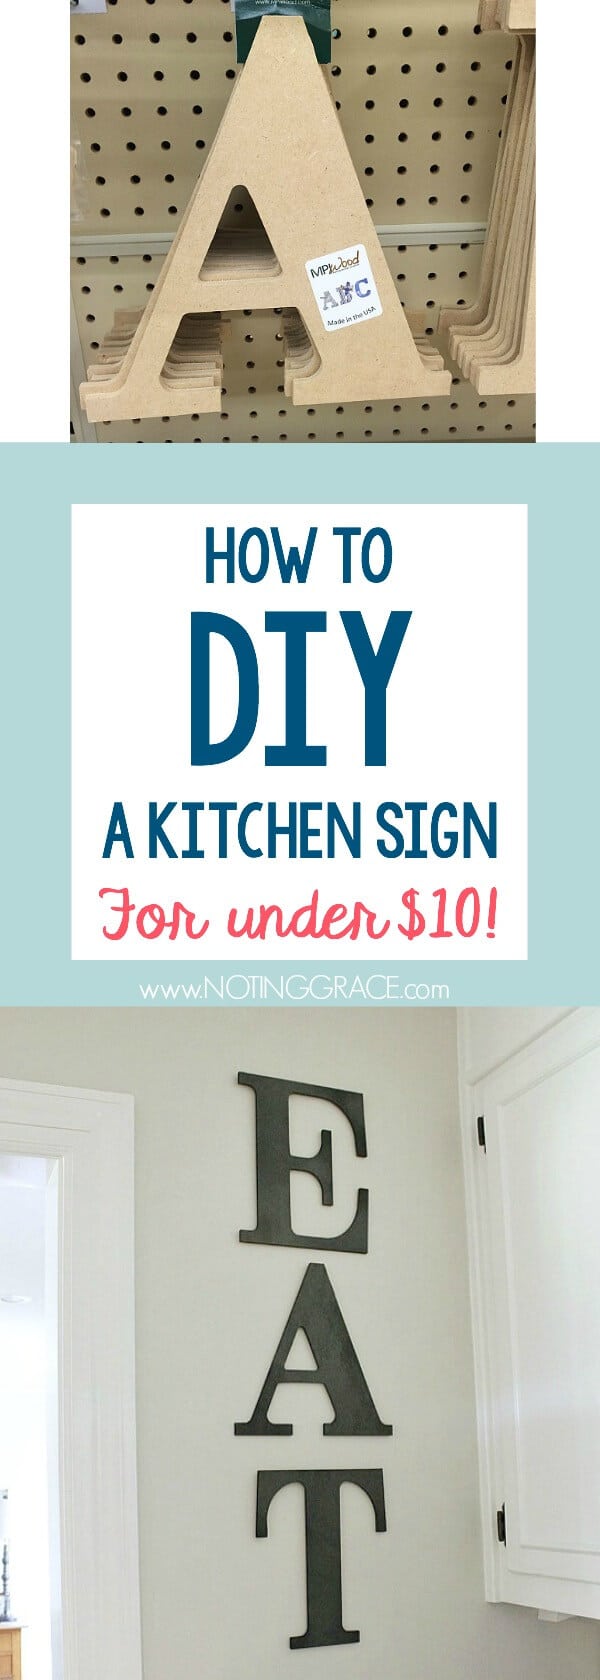
- Wood Form Letters (I got 9.5 inch letters made from MDF)
- Spray Paint
- Earthquake (or Museum) Putty
I stumbled upon these letters at Hobby Lobby that were on sale for 30% off.
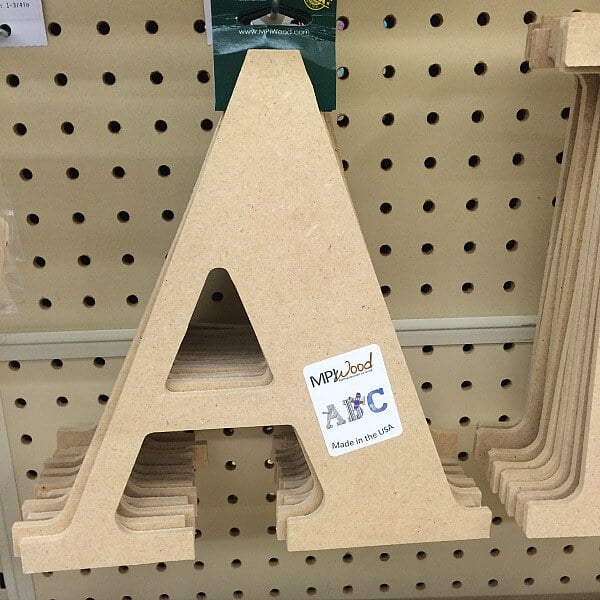
The thinness of each letter worked perfectly with the cabinet door.
And at that price, I could afford to try it. Even if it becomes a complete DIY Do-over.
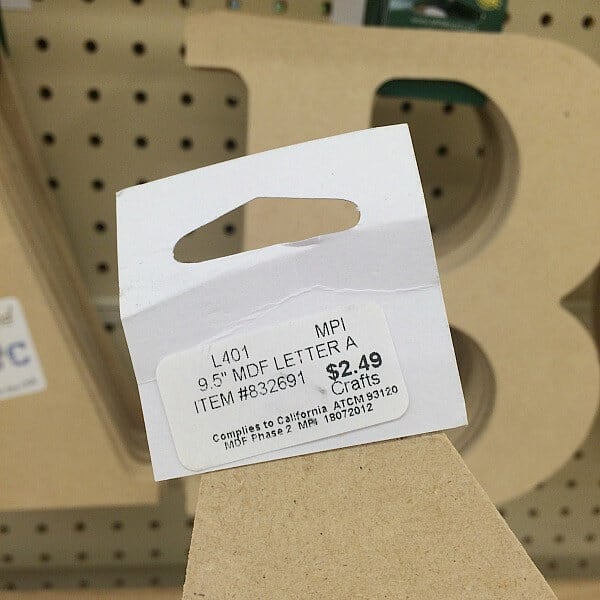
So after the discount, I was able to score all three letters for 5 and a quarter!
You can purchase the same letters here if you don’t have a Hobby Lobby near you.
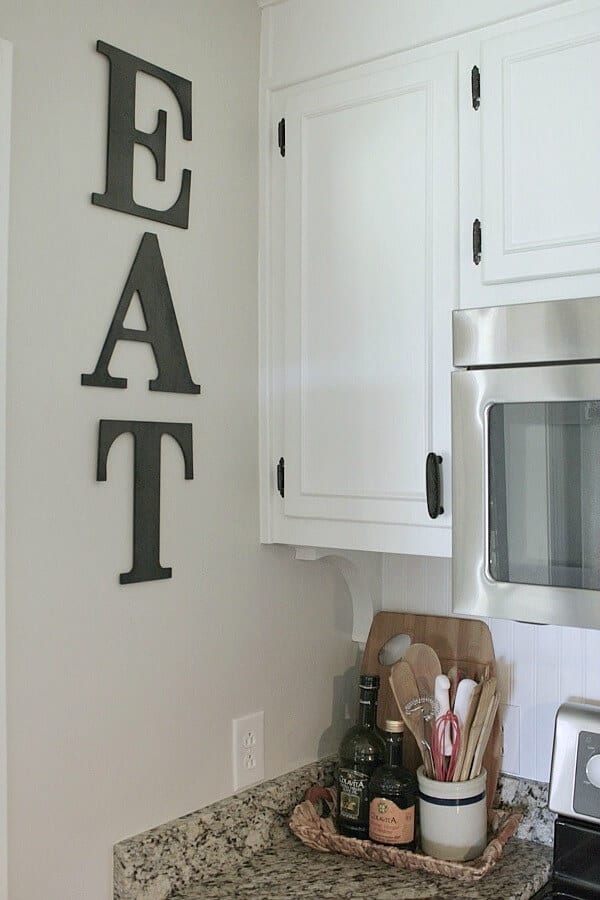
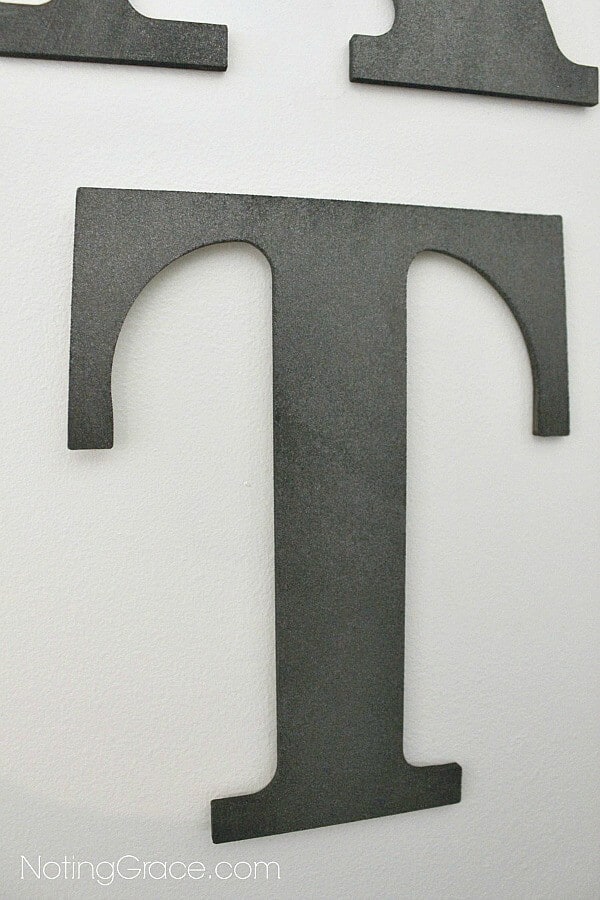
I spray painted each letter with Rustoleum’s Oil Rubbed Bronze to match our kitchen hardware.
Since these letters are made of thin MDF, the grain opened up a bit when I spray painted them. I thought for sure I’d be trashing them.
Luckily, the wood letters looked as if they were metal with the mottling of the grain.
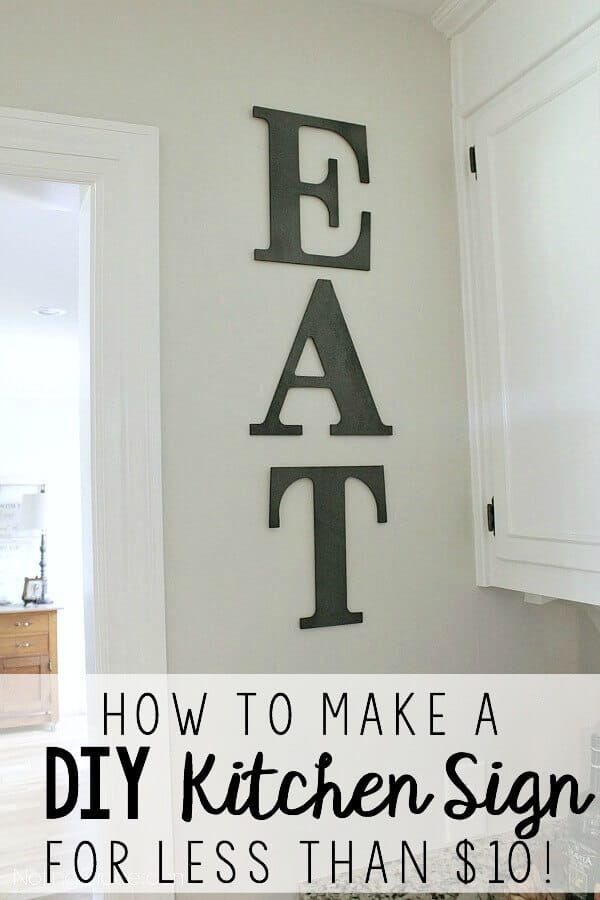
Then, I hung the letters using earthquake putty. Also referred to as museum putty, this stuff strongly holds pictures in place.
They’ve been up for months and even with many seasonal temperature changes, as well as high cooking temps, they have stayed put!

So now I filled my empty space.
I saved quite a bit of money, and now love my little letters!
This DIY Kitchen Sign is a fun addition!
For more details about our Kitchen Remodel,
check out these posts:
OUR FARMHOUSE KITCHEN REMODEL FOR JUST OVER $5000
FARMHOUSE KITCHEN REMODEL PART ONE
FARMHOUSE KITCHEN REMODEL PART TWO – TEARING DOWN THE WALL
KITCHEN COFFEE BAR
Pin this for later

This is such a cute sign! I will have to do this in our kitchen here in West Jordan. We are doing some kitchen cabinet refinishing here soon and this sign would totally finish off the space. Thanks so much for sharing your beautiful home!
Great project! You have such a cute blog! Would love for you to share some of your projects at our link party! http://www.thestonybrookhouse.com/2016/03/dishing-it-digging-it-link-party-89.html
Super cute! I have wanted some of these letters for my kitchen. The ORB spray paint is a great idea–thanks for sharing at the Pretty Project Party!
Amy
Ooh! Be sure to let me know what color you choose! Thank you so much for checking out my post and for commenting. I love to hear from readers!
Cute! I used these same letters, color and word in my kitchen. I took them spdown in November, to paint. I think I'm ready for them to return but I think I'll change the color…but what!? I'm not yet sure.