How we Changed our Bathroom Tile for $150 bucks
Before you rip out your ugly bathroom tile, you should read how to paint floor tiles! We changed our bathroom tile for $150 bucks and it is the best deal for a cheaper alternative to replacing tile! A huge thank you to Rust-Oleum for sponsoring this post and helping us create a bathroom we love!
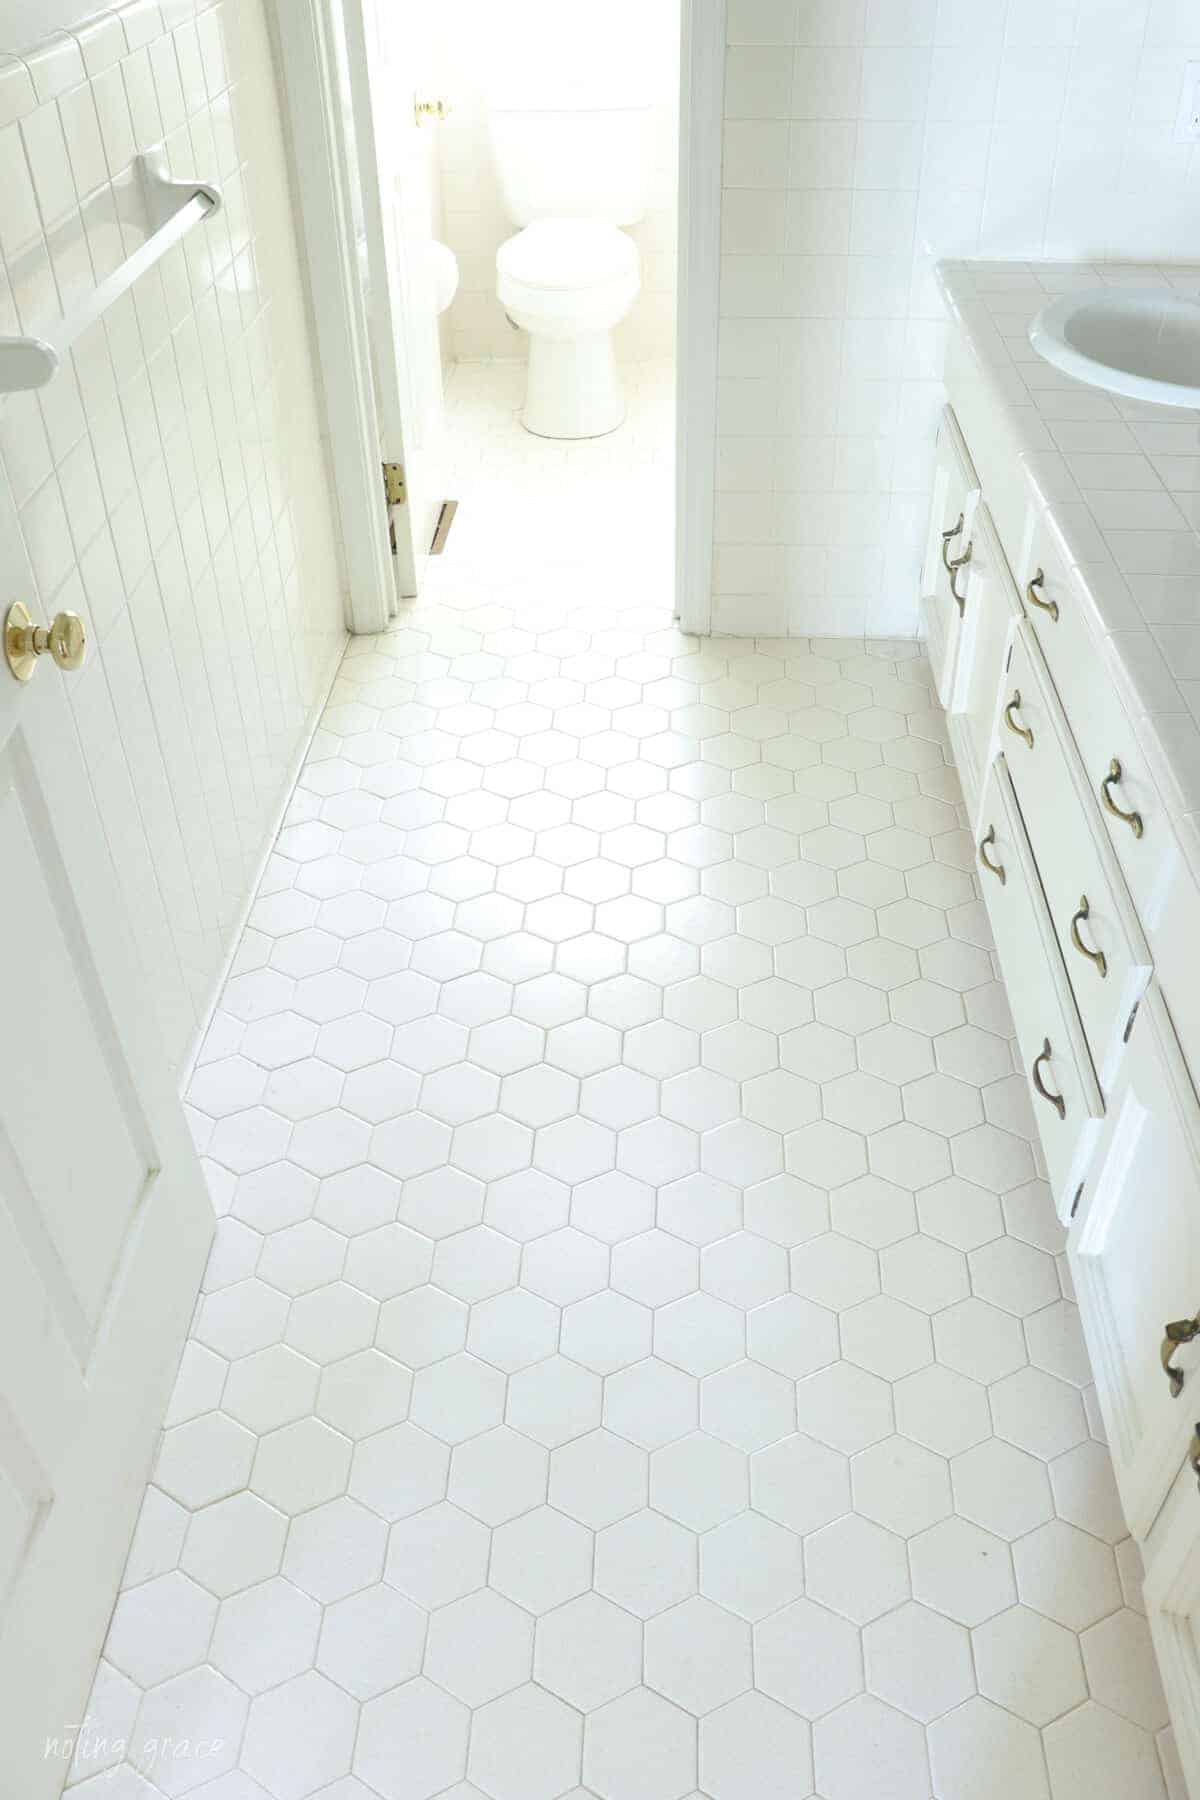
Our dated bathroom needed a major overhaul and needed to be brought into the current century.
But the previous year, we had just gutted and replaced the tile in our master bathroom. So I wasn’t ready for another home improvement project that involved new tile.
After getting a cost estimate, we decided to DIY that bathroom makeover with the exception of a few plumber charges.
Needless to say, my heart wasn’t in that big of a home project.
Plus, we didn’t have money in the budget to rip out the ugly tile and install new.
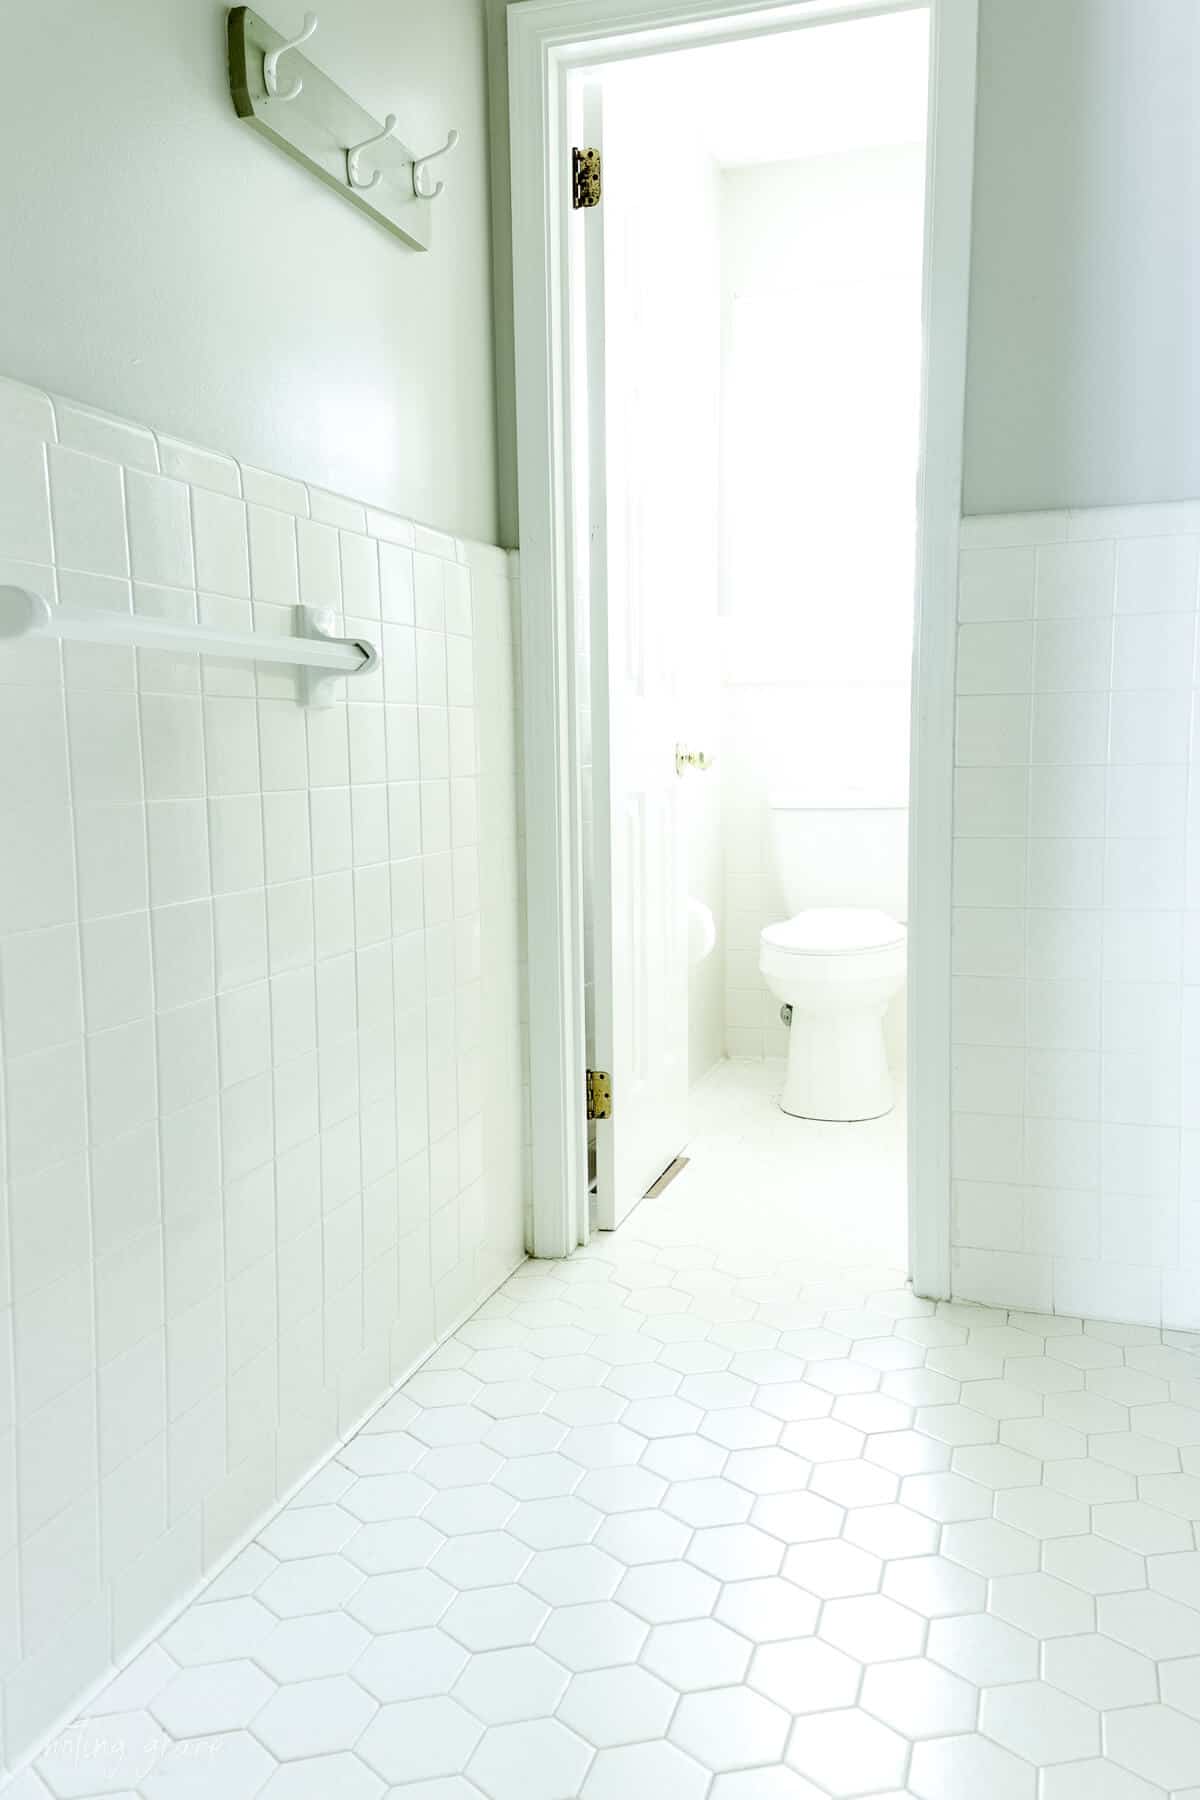
But we also didn’t want to live with this:
With older homes, you will find the tile on most walls which makes for additional work to remove and replace.
And since the ceramic tiles were in good condition, we opted for an option that would help out the total cost of this bathroom reno.
By painting this tile ourselves, we were able to save hundreds on the total budget and focus on the little things that can make this feel like a new bathroom.
Just look at our tile now!
So what can you do to update your tile in a cost-effective way?
We recently revealed this bathroom makeover and the most asked question is about our tile renovation.
Our goal was to transform this bathroom for less than $1000 – including lighting fixtures, an updated bathroom vanity, new toilet, a new glass door for the shower, and a fresh coat of paint not to mention the tile!
Friends, we changed our bathroom tile for $150 bucks in just a few days and gave it a fresh new look.
Here’s how we did it!
Let’s start with the supplies you will need.
HOW WE CHANGED OUR
BATHROOM TILE FOR $150 BUCKS
(Some affiliate links are provided below. Full disclosure here.)
SUPPLIES
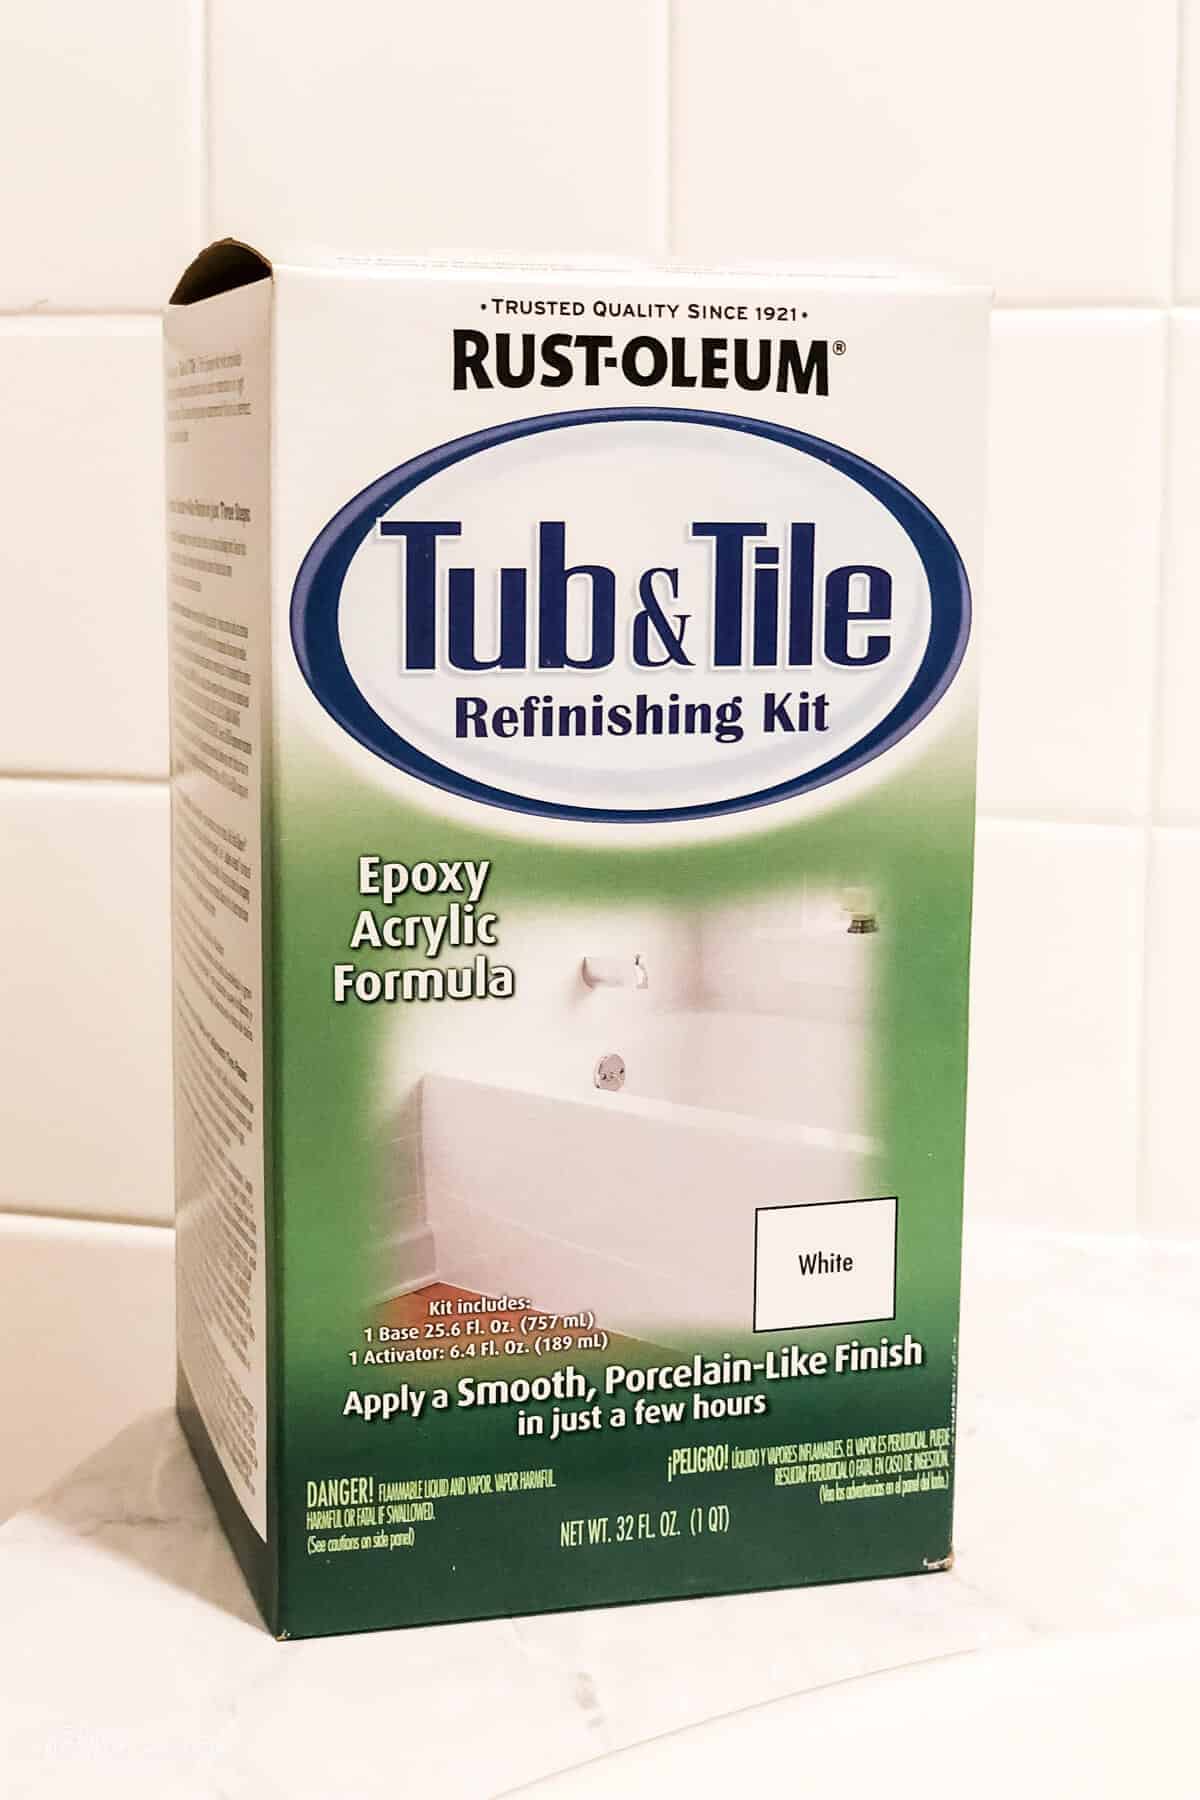
- Rust-Oleum Tub and Tile Paint – available at Home Depot
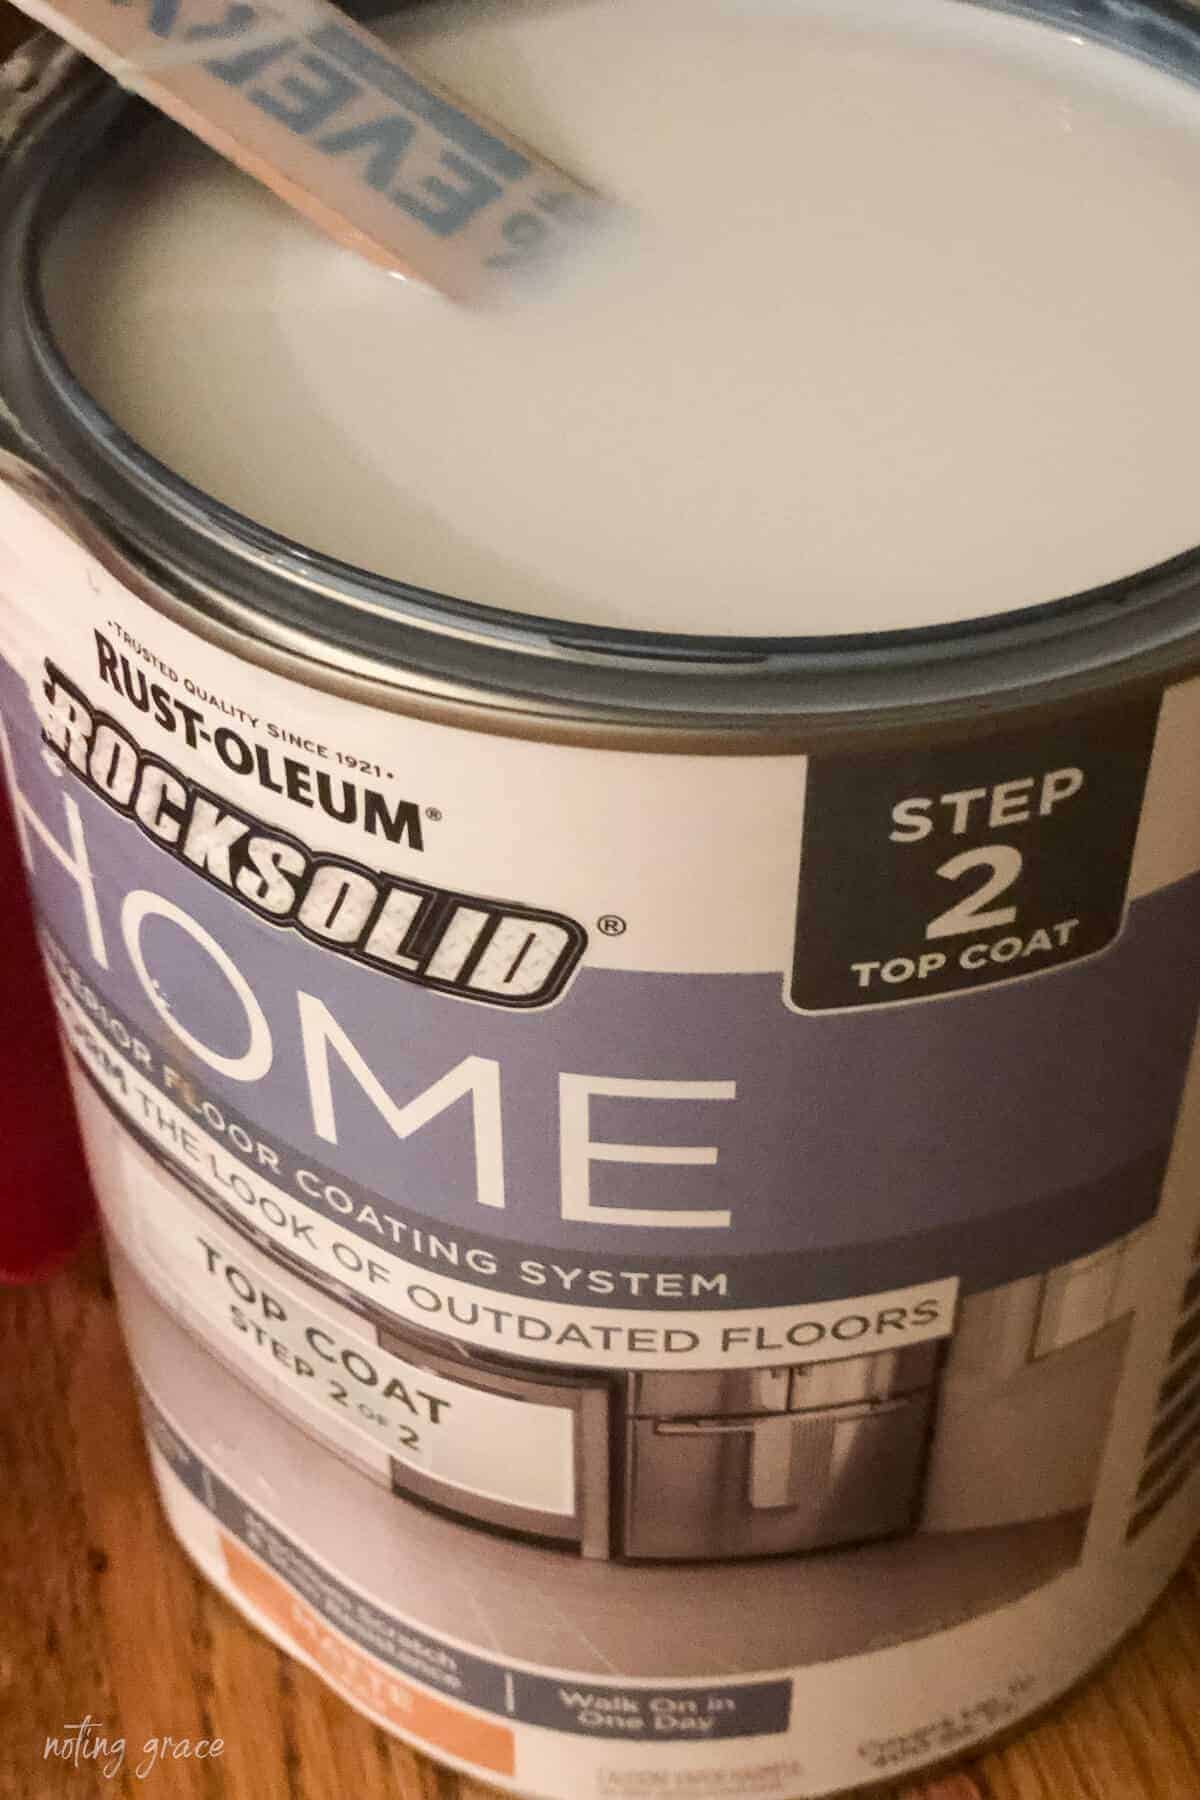
- Rust-Oleum HOME Floor Coating we chose the color Aged Gray
- And Rust-Oleum HOME Floor Coating Top Coat we opted for Matte
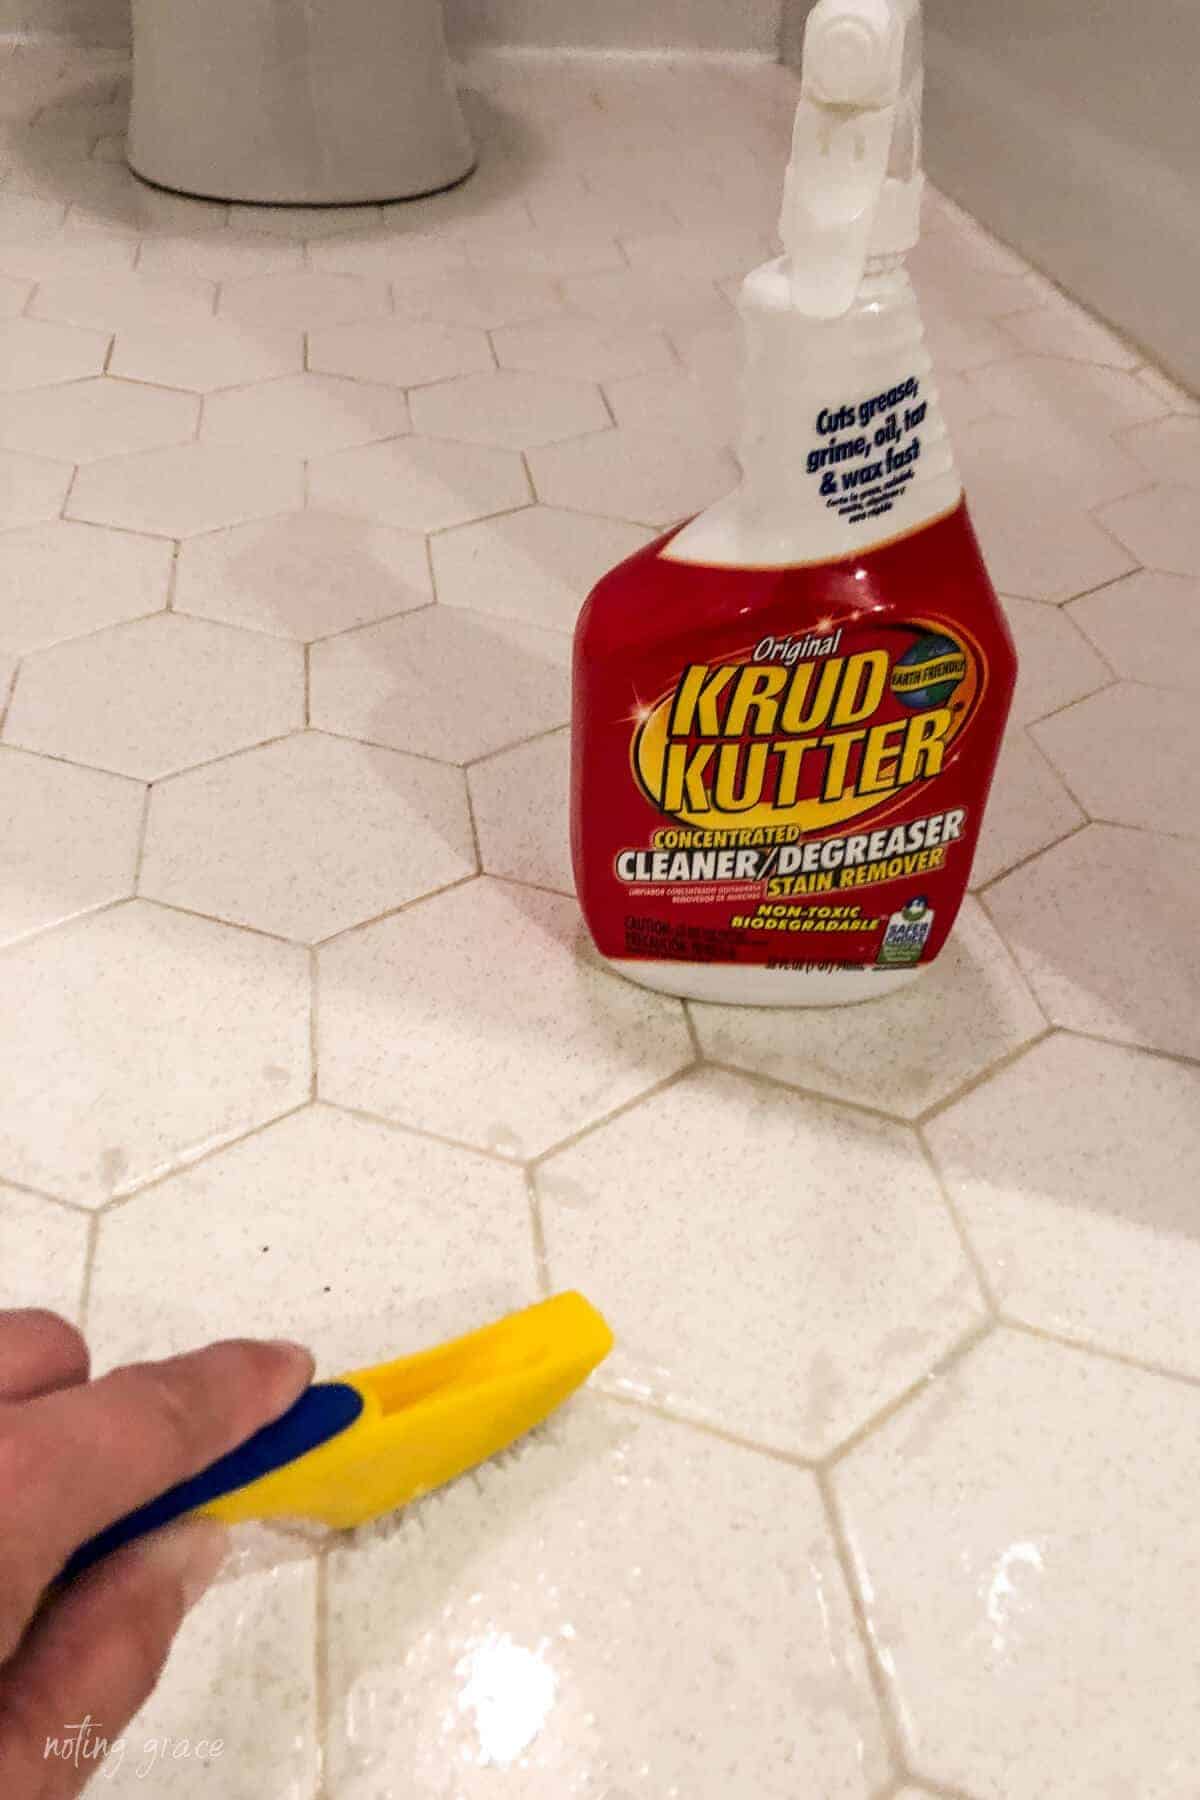
- Heavy Duty Cleaner – we used Krud Kutter
- Wet Sand Paper – 400 grit
- Tack Cloth
- Paint Stick
- High Quality Paint Brush
- Foam Roller
- Painter’s Tape
- Breathing Mask and Goggles
- Latex Gloves
- Fan
Step One: Surface Prep
First things first, make any needed repairs to the tile. For this bathroom, the grout needed to be handled and I share all the details of that project in this post.
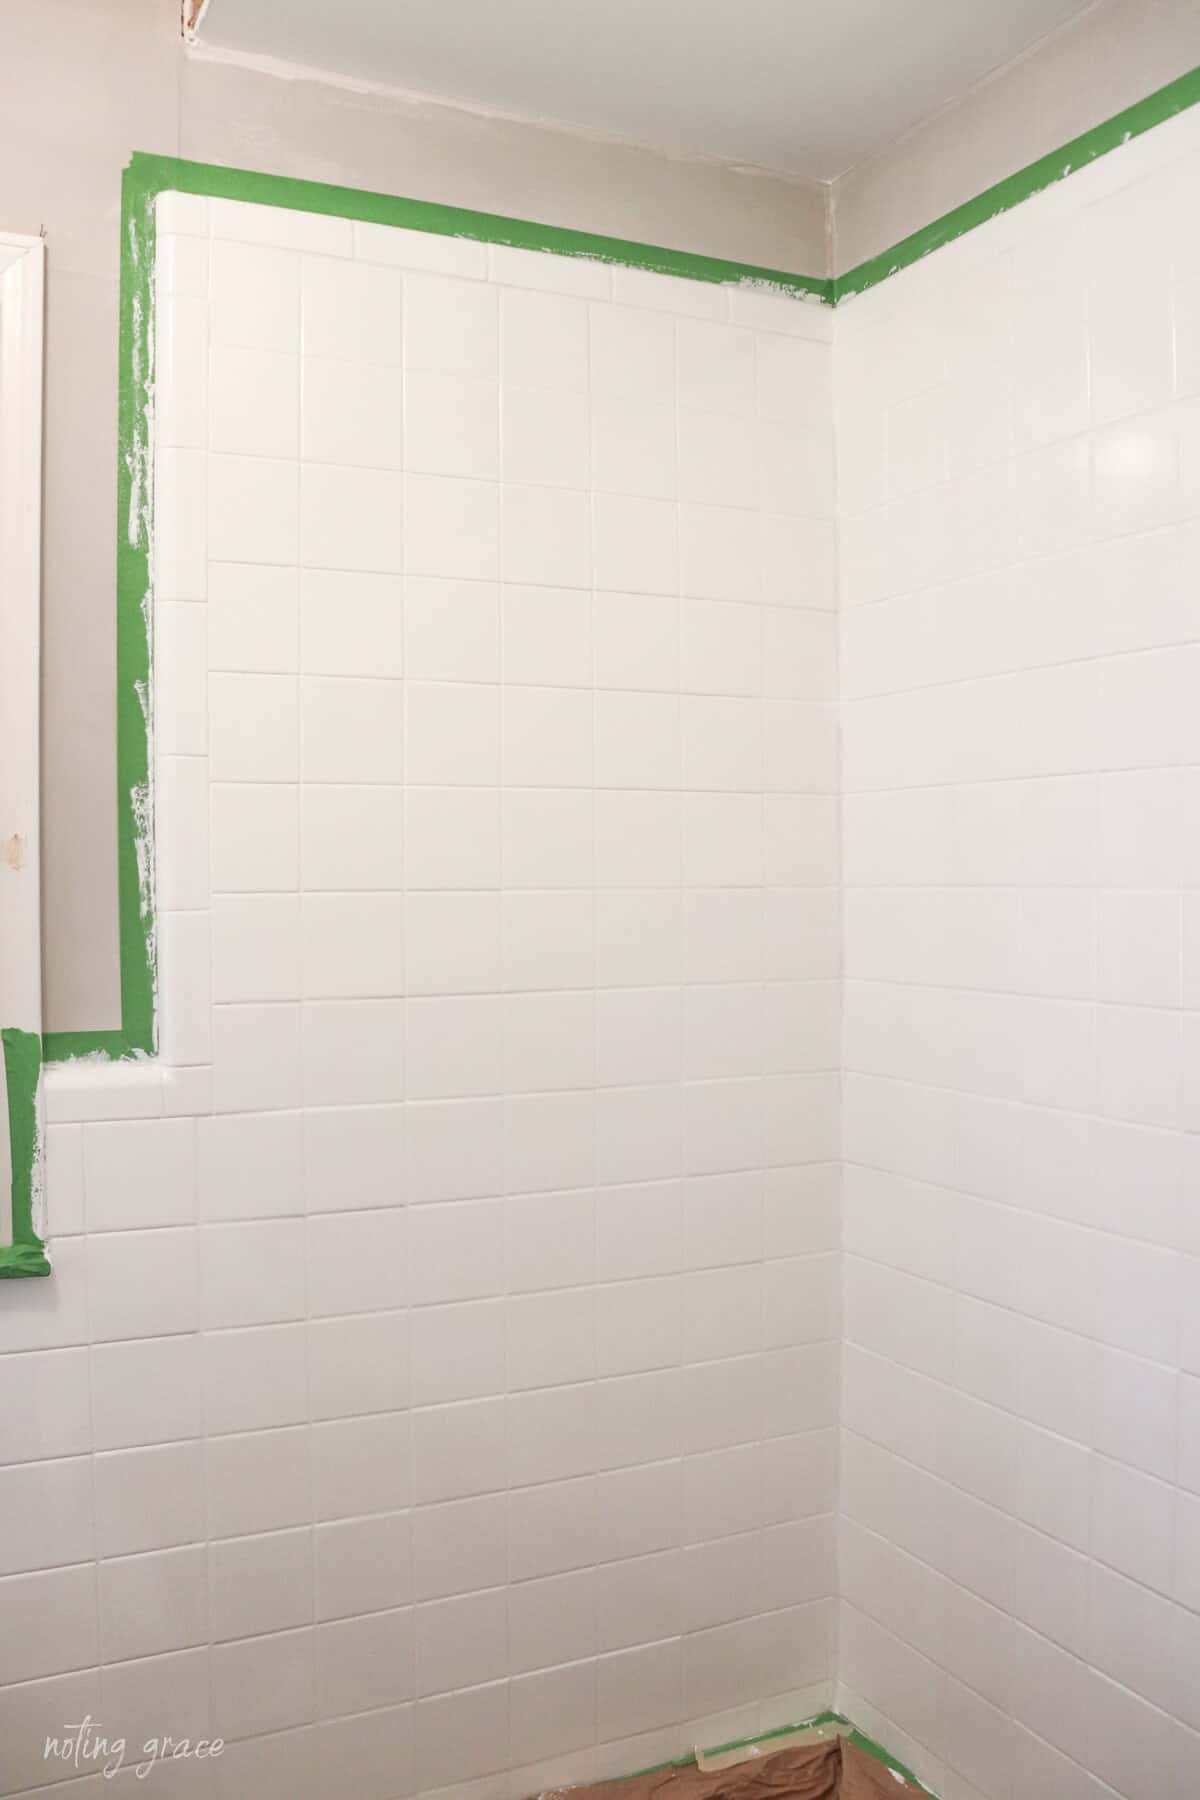
Prepping your area is so important when it comes to painting tile. Remove or tape off all metal drains, shower head, knobs, bathroom faucets (especially if it’s a new faucet like ours), etc. as well as any caulk. We also taped off any areas we didn’t want the paint to hit, like our walls.
Be sure there isn’t any mildew present and repair any cracks or peeling paint.
For the Tub and Tile Paint, you will need to prepare the tile with an abrasive pad or wet/dry medium grit sandpaper. Make sure to hit each tile. It can be daunting scrubbing the entire space, especially if you have as much tile as we do, but it’s so worth changing our bathroom tile for $150 bucks! Just make sure to remove all the sanding dust once you are done.
TIP: I opted for 2 directions to ensure I hit each spot.
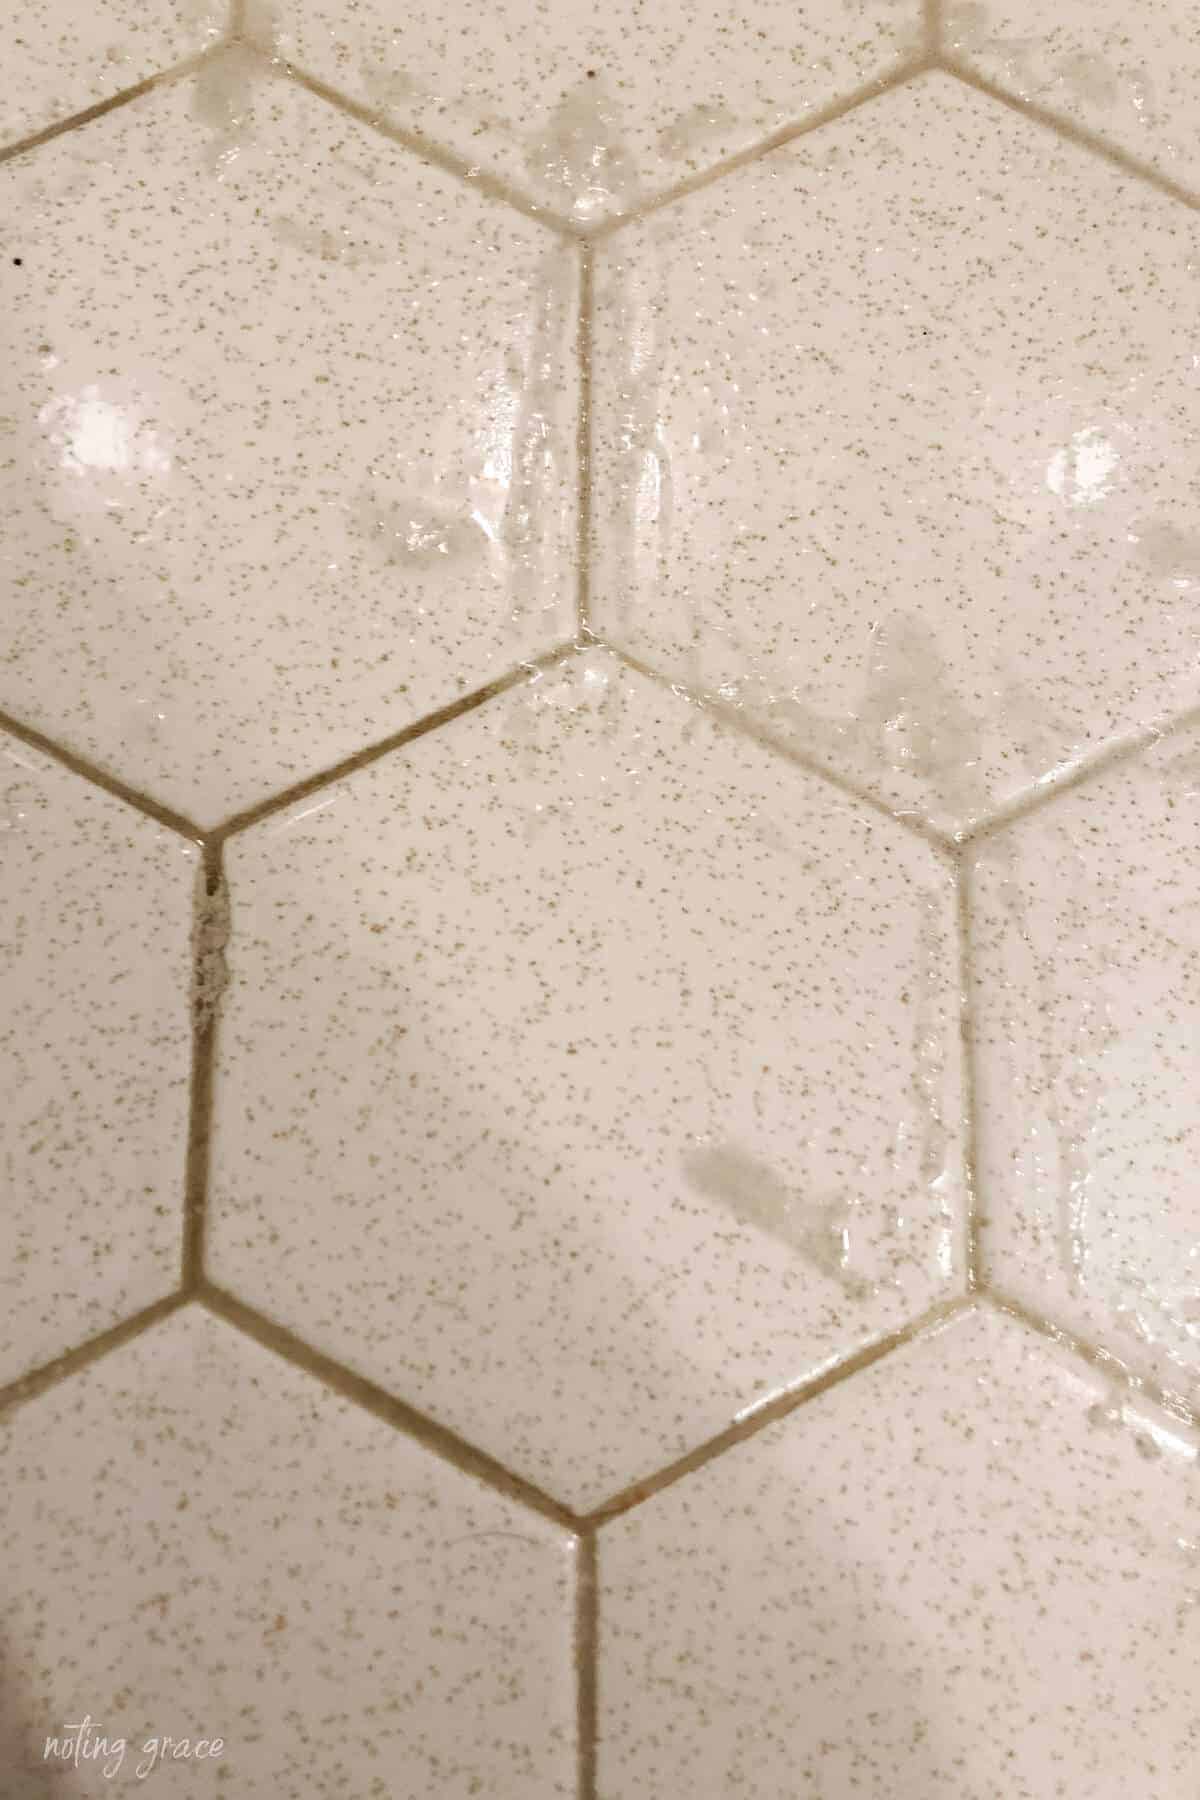
Thoroughly rinse the area and clean with the Krud Kutter and a scrub brush. It’s hard working without being an abrasive cleaner. You want to make sure the surface is very clean before applying the paint.
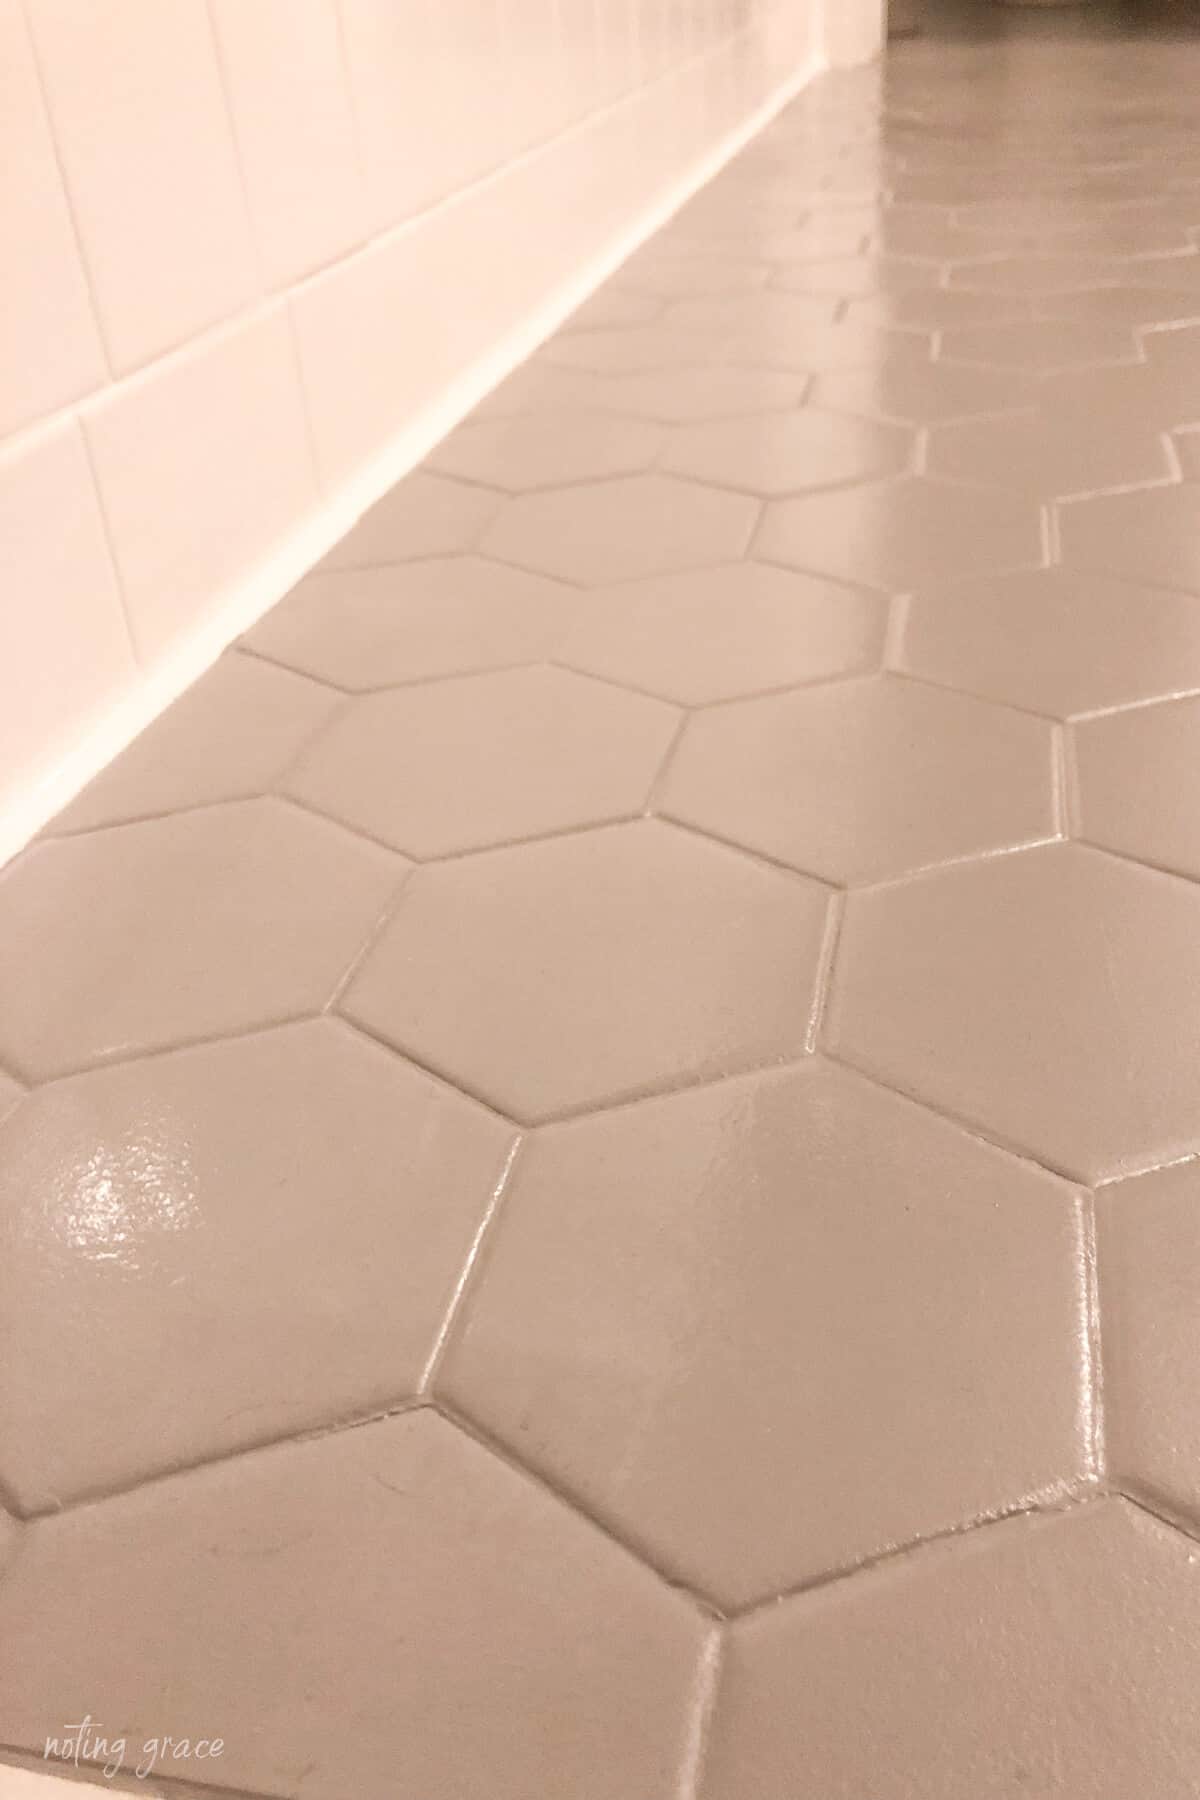
For the floor, the wet sanding isn’t necessary, but the clean surface is a great idea. Especially if your floors were like ours.
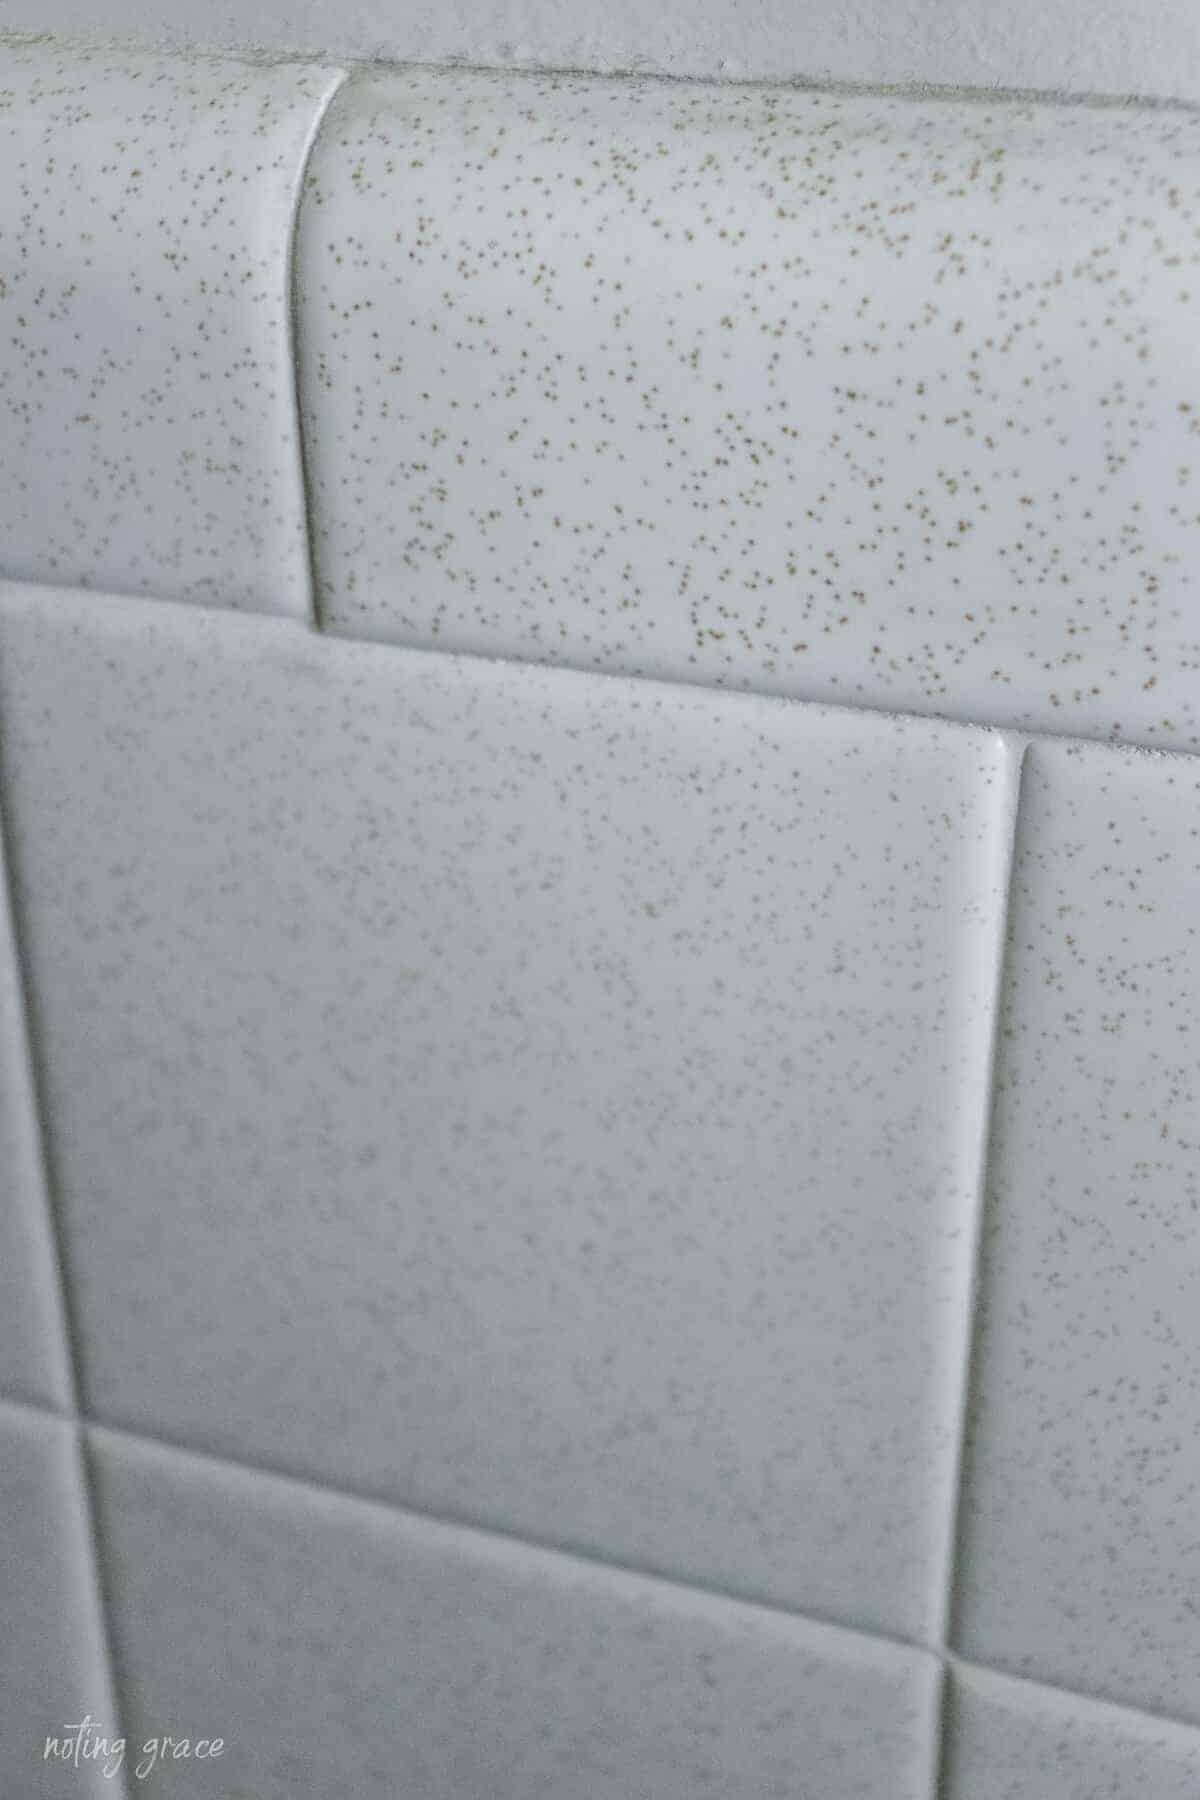
What a difference, right?
And the sad thing is, these floors are clean. The grout just wouldn’t come clean. This Krud Kutter cleaner is no joke!
I used paper towels to wipe up the cleaner.
Once you are sure your surfaces are thoroughly prepped, you are ready to paint.
Step Two: Painting the Wall Tile
Before you open the paint cans, make sure you are properly ventilated. We opened windows and had 2 fans blowing the air out the window. Especially if you have a small bathroom.
This is an epoxy paint and does have a strong odor.
I made sure to wear a breathing mask while I was applying this along with protective gear like my goggles and gloves.
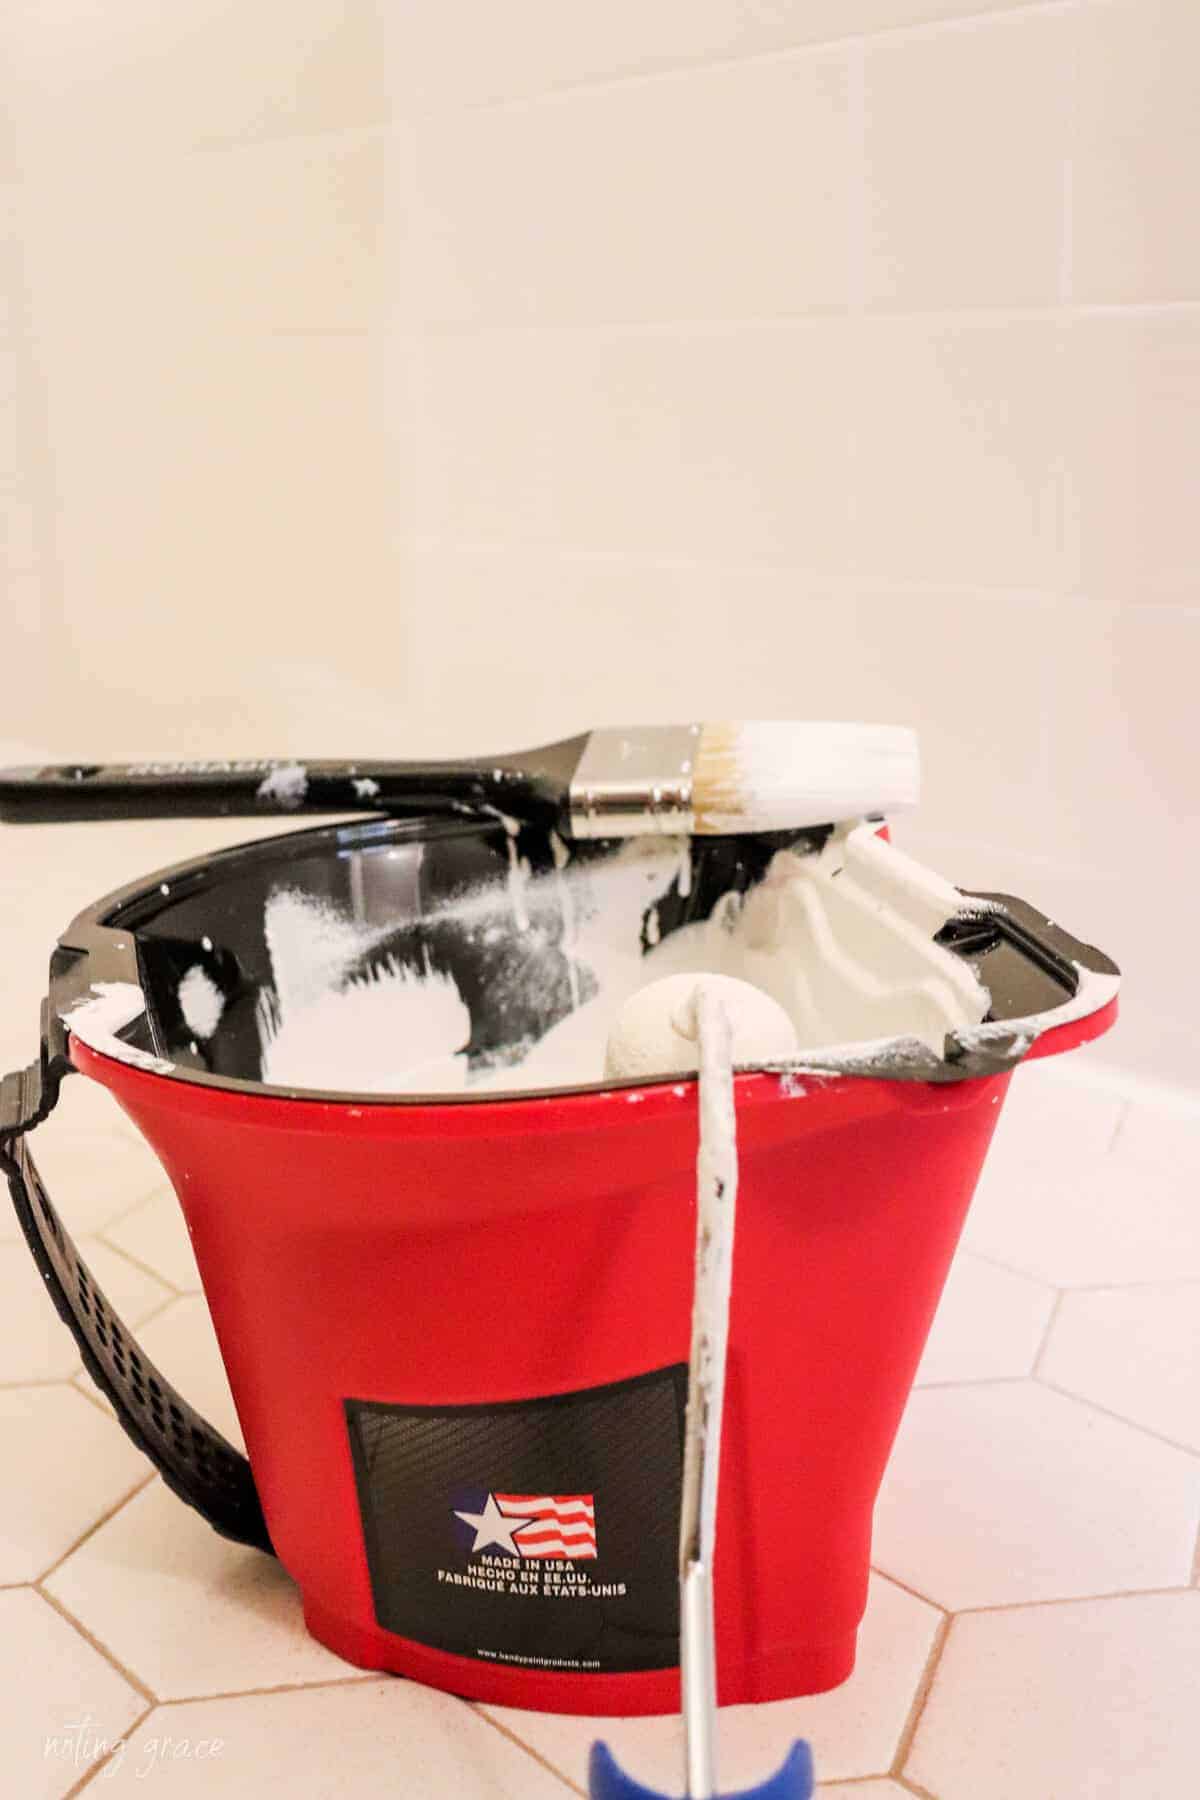
There are two cans inside the package that you mix together. Take your time and make sure they are thoroughly blended.
Make sure to mask off any areas you don’t want painted using painter’s tape.

We started brushing any areas that needed cutting in. Then we immediately starting rolling after.
Work in small areas. We found the paint got tacky quickly.
Here’s a side by side of our tile painted vs unpainted.
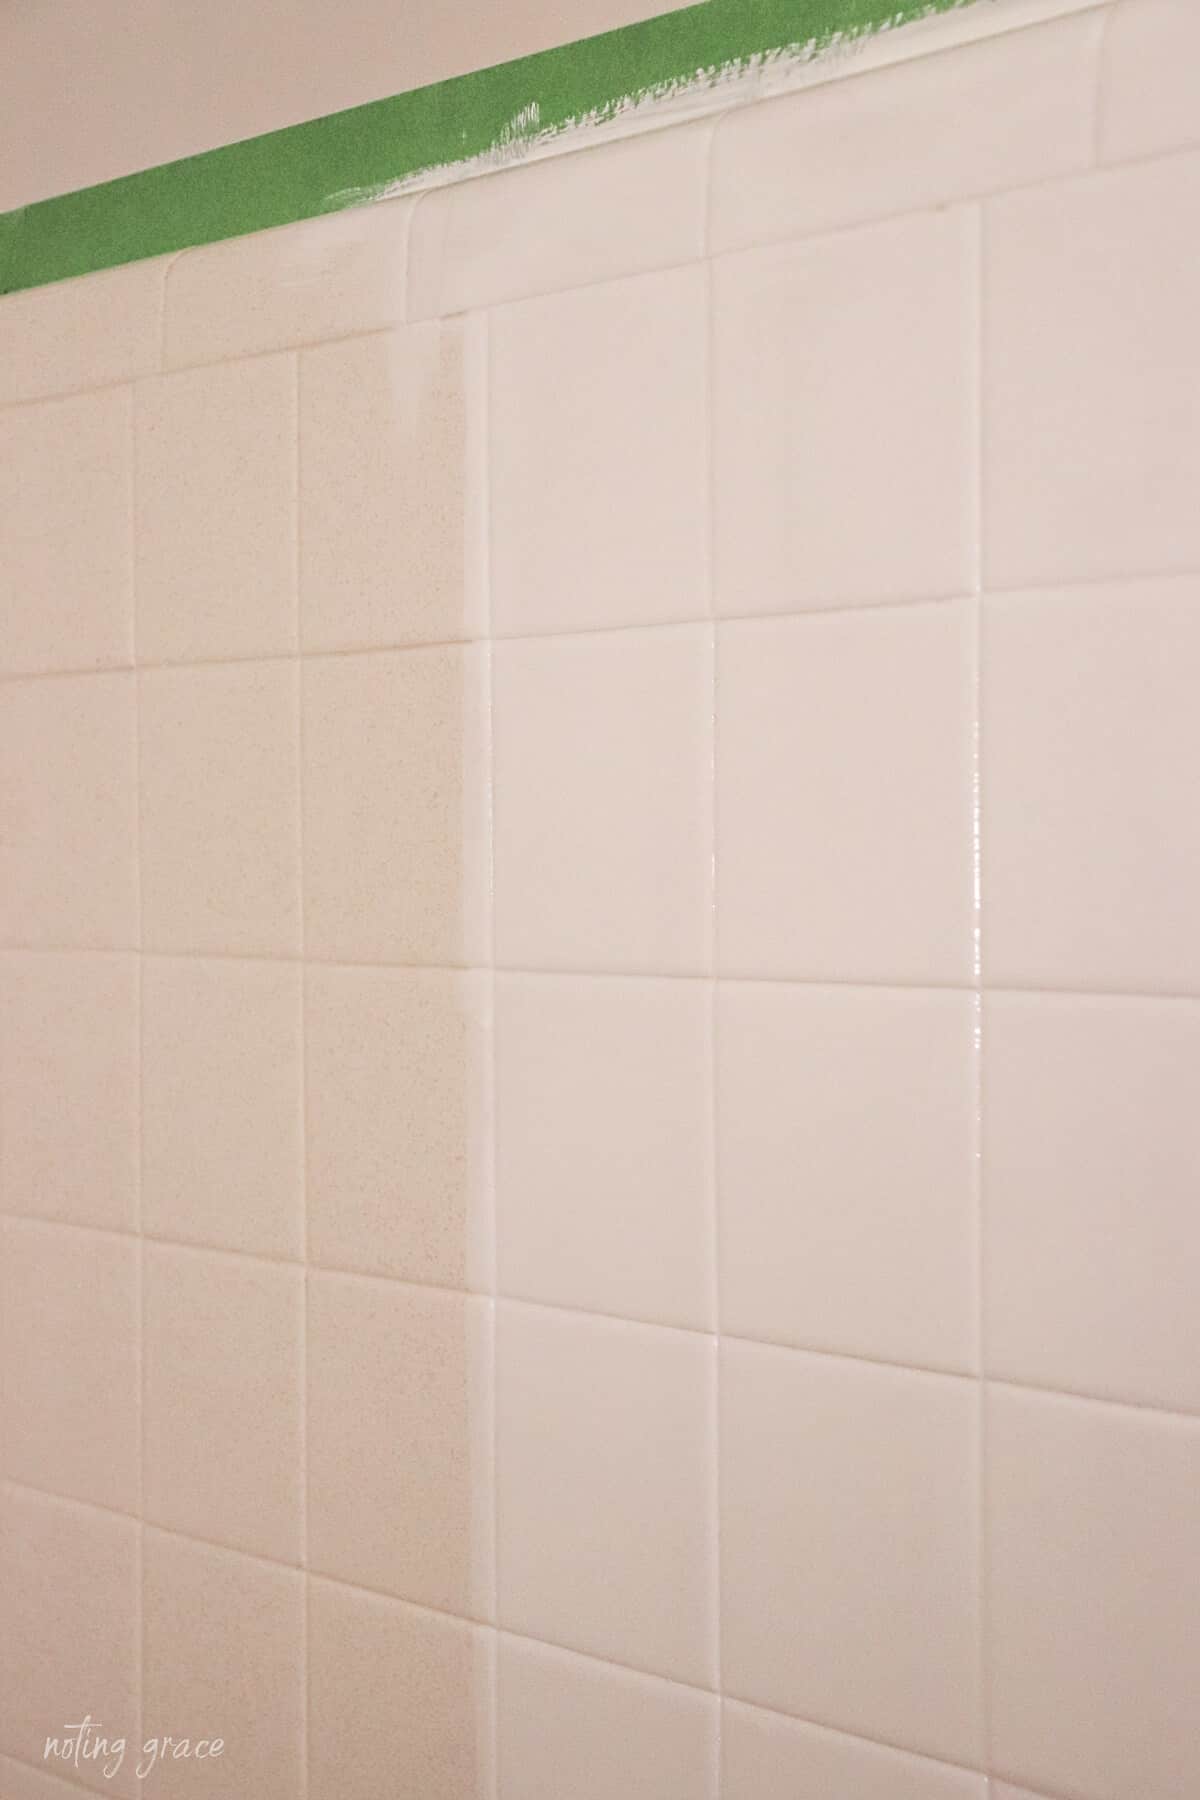
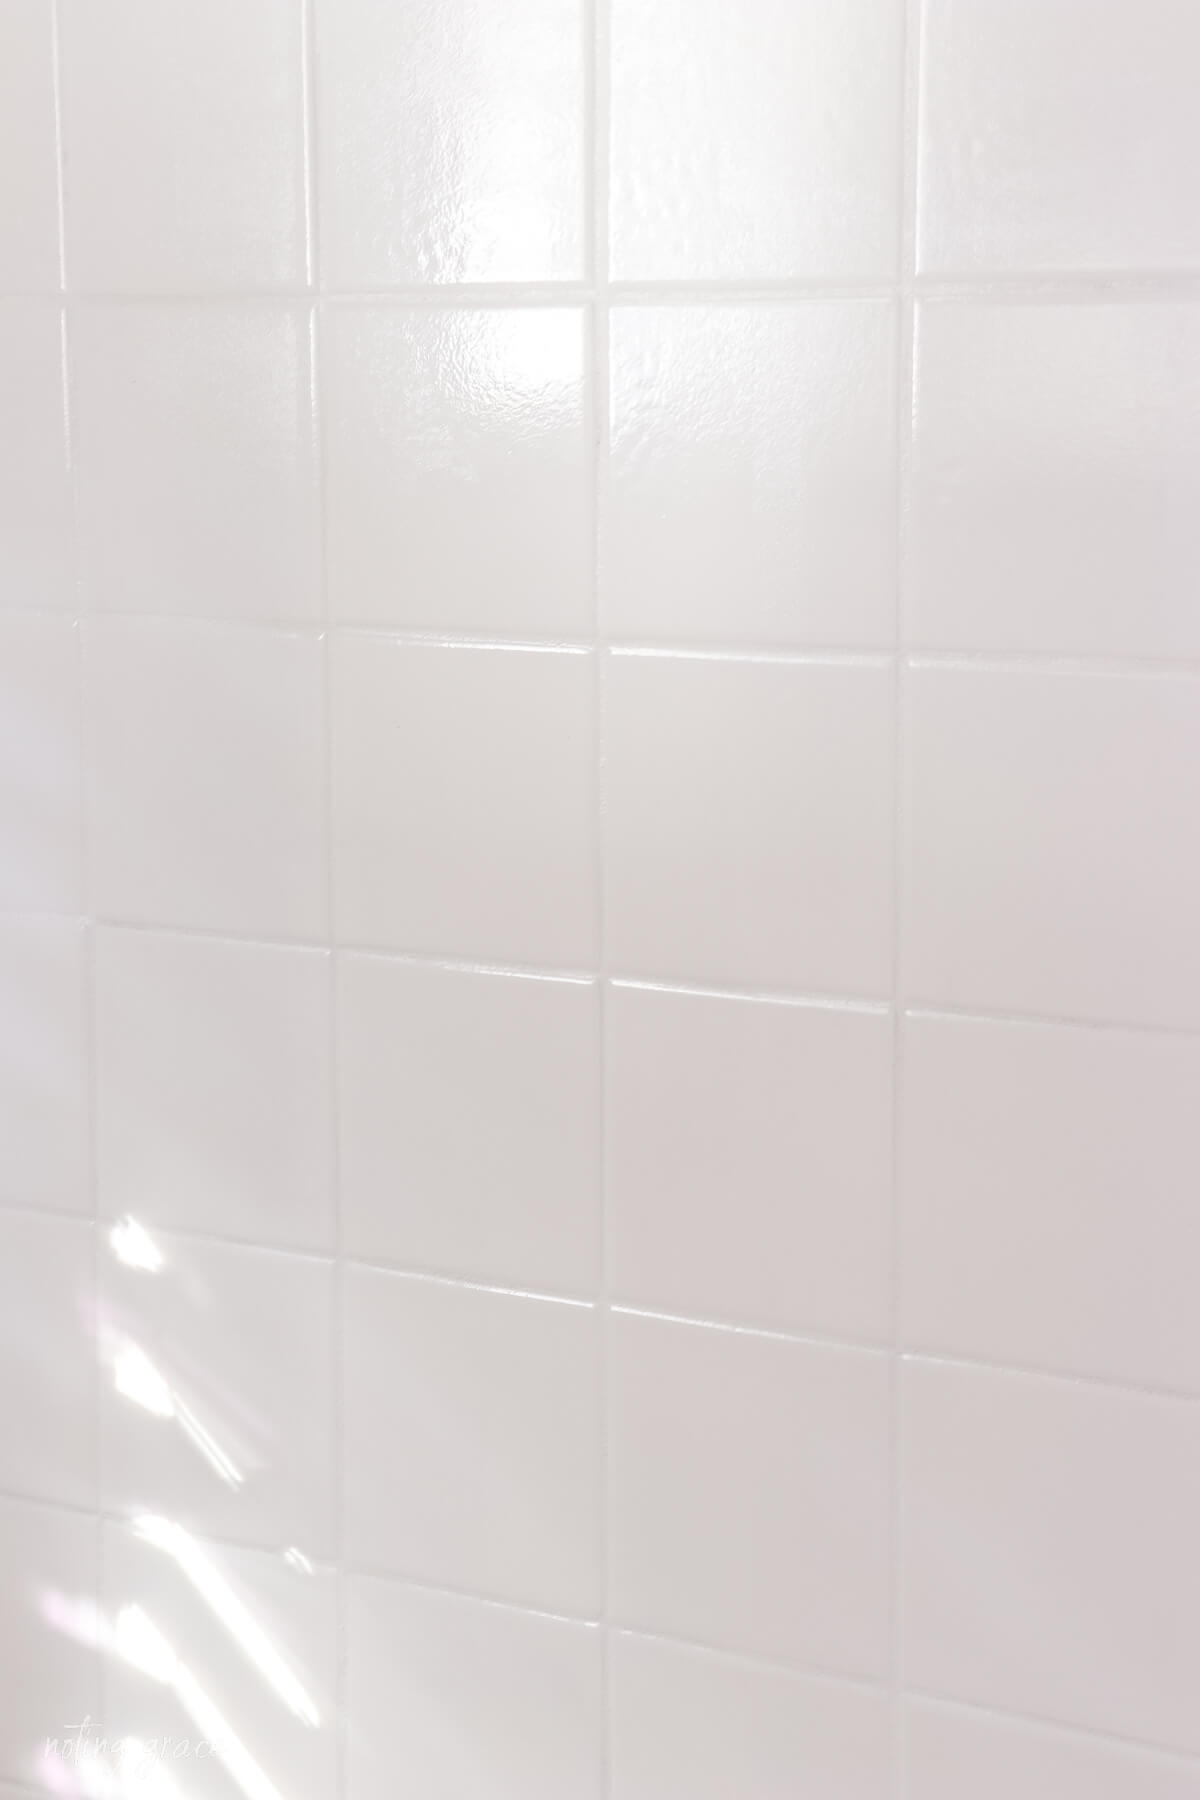
This stuff goes on super smooth. We had the first coat of all the wall tile finished in about 2 hours. That included the tub around the tile and all the tile on the walls of our bathroom – which was a lot.
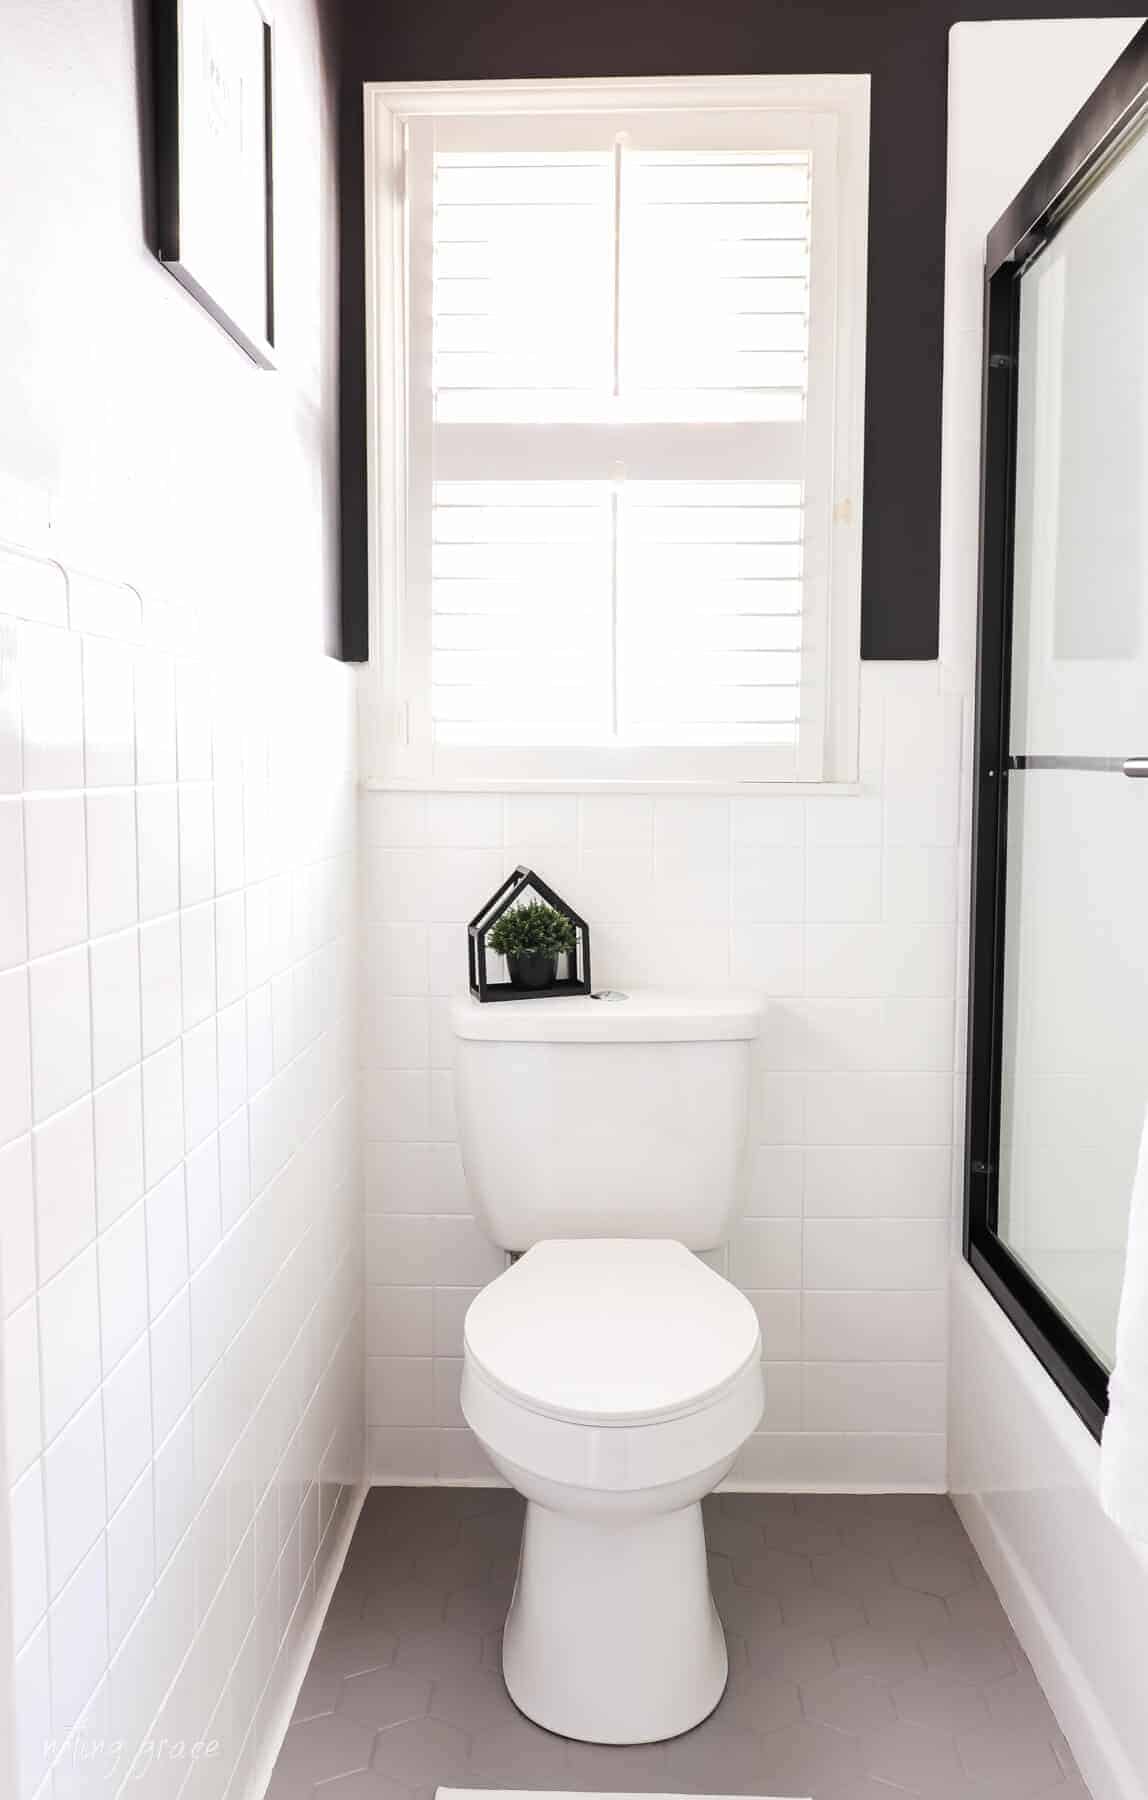
FYI: We didn’t paint our cast iron tub. It was already white and in great condition. But it would be an excellent option to make an old tub look new.
Allow to dry at least 1 hour before you start a second coat.
In one day, we had both coats finished.
We started on the floor a few days later, but probably could have started painting the floor the next day.
It looks so smooth!
One package covers 110 square foot, which should work for 2 coats on an average bathroom.
We needed 2 packages since the tile extended into the double vanity area. And we had lots left over.
I suggest measuring the square footage of tile you have before purchasing. It’s a good idea to have enough product to finish the project.
Step Three: Painting the Floor Tile

The Rust-Oleum HOME Floor Coating is a two step process that was so very easy!
I think this floor tile paint was what made the huge difference in this bathroom makeover.
The first coat of paint is the base coat followed by top coat to protect the surface. What I love most about this system is the variety of awesome colors that are available!
Before we began painting floor tiles, we made sure to sweep any debris from the floor. You want to have a clean surface.
If you are painting the walls as well as the floors, make sure to allow the walls to completely dry before moving painting floor tiles.
Again, take a moment to make sure everything is in good shape before starting.
Next, we taped off the edges. We didn’t want to get any gray paint on our new white wall tiles!

Once prep is done, you are ready to paint the floor.
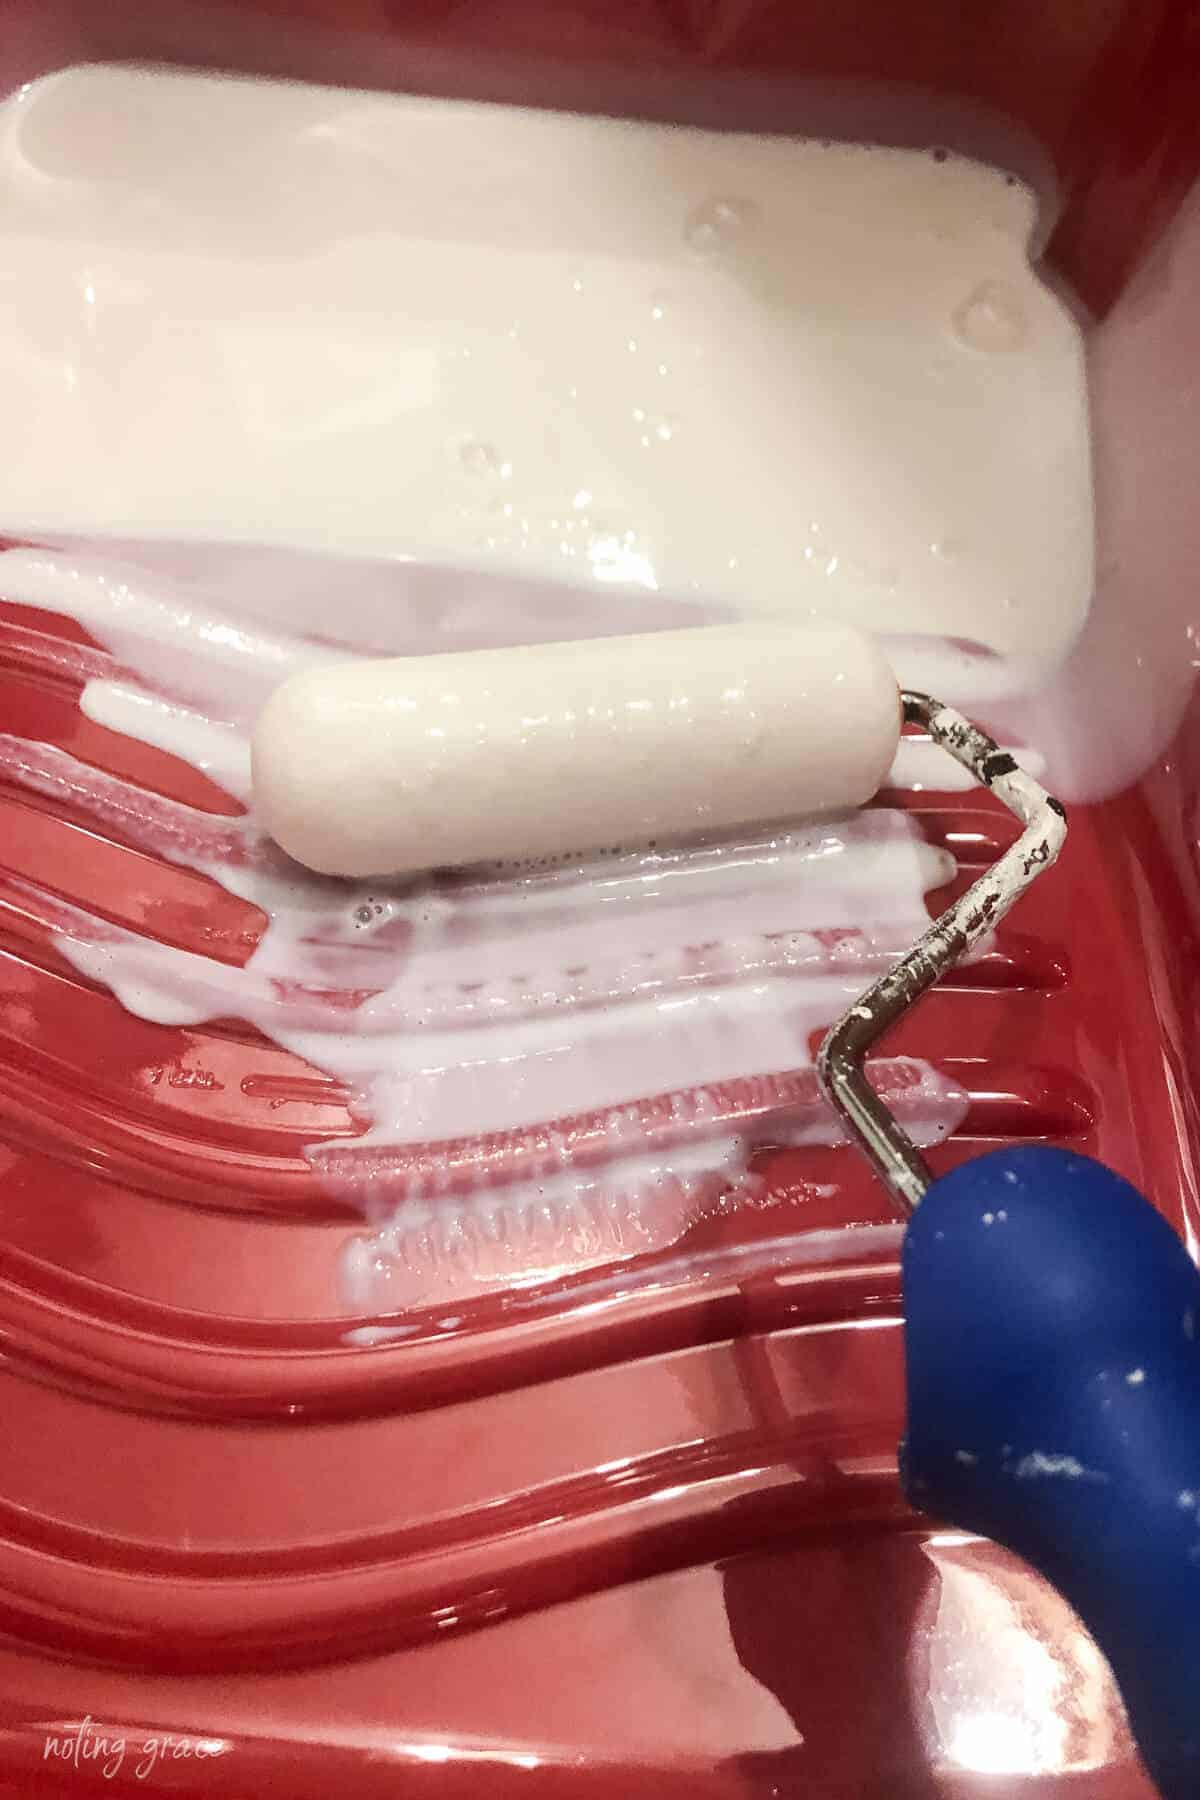
Stir your floor paint before applying, especially if you have a darker tint. Make sure all color is incorporated together. Settling and separation can occur which may show up.
Pour a small amount into a paint tray.
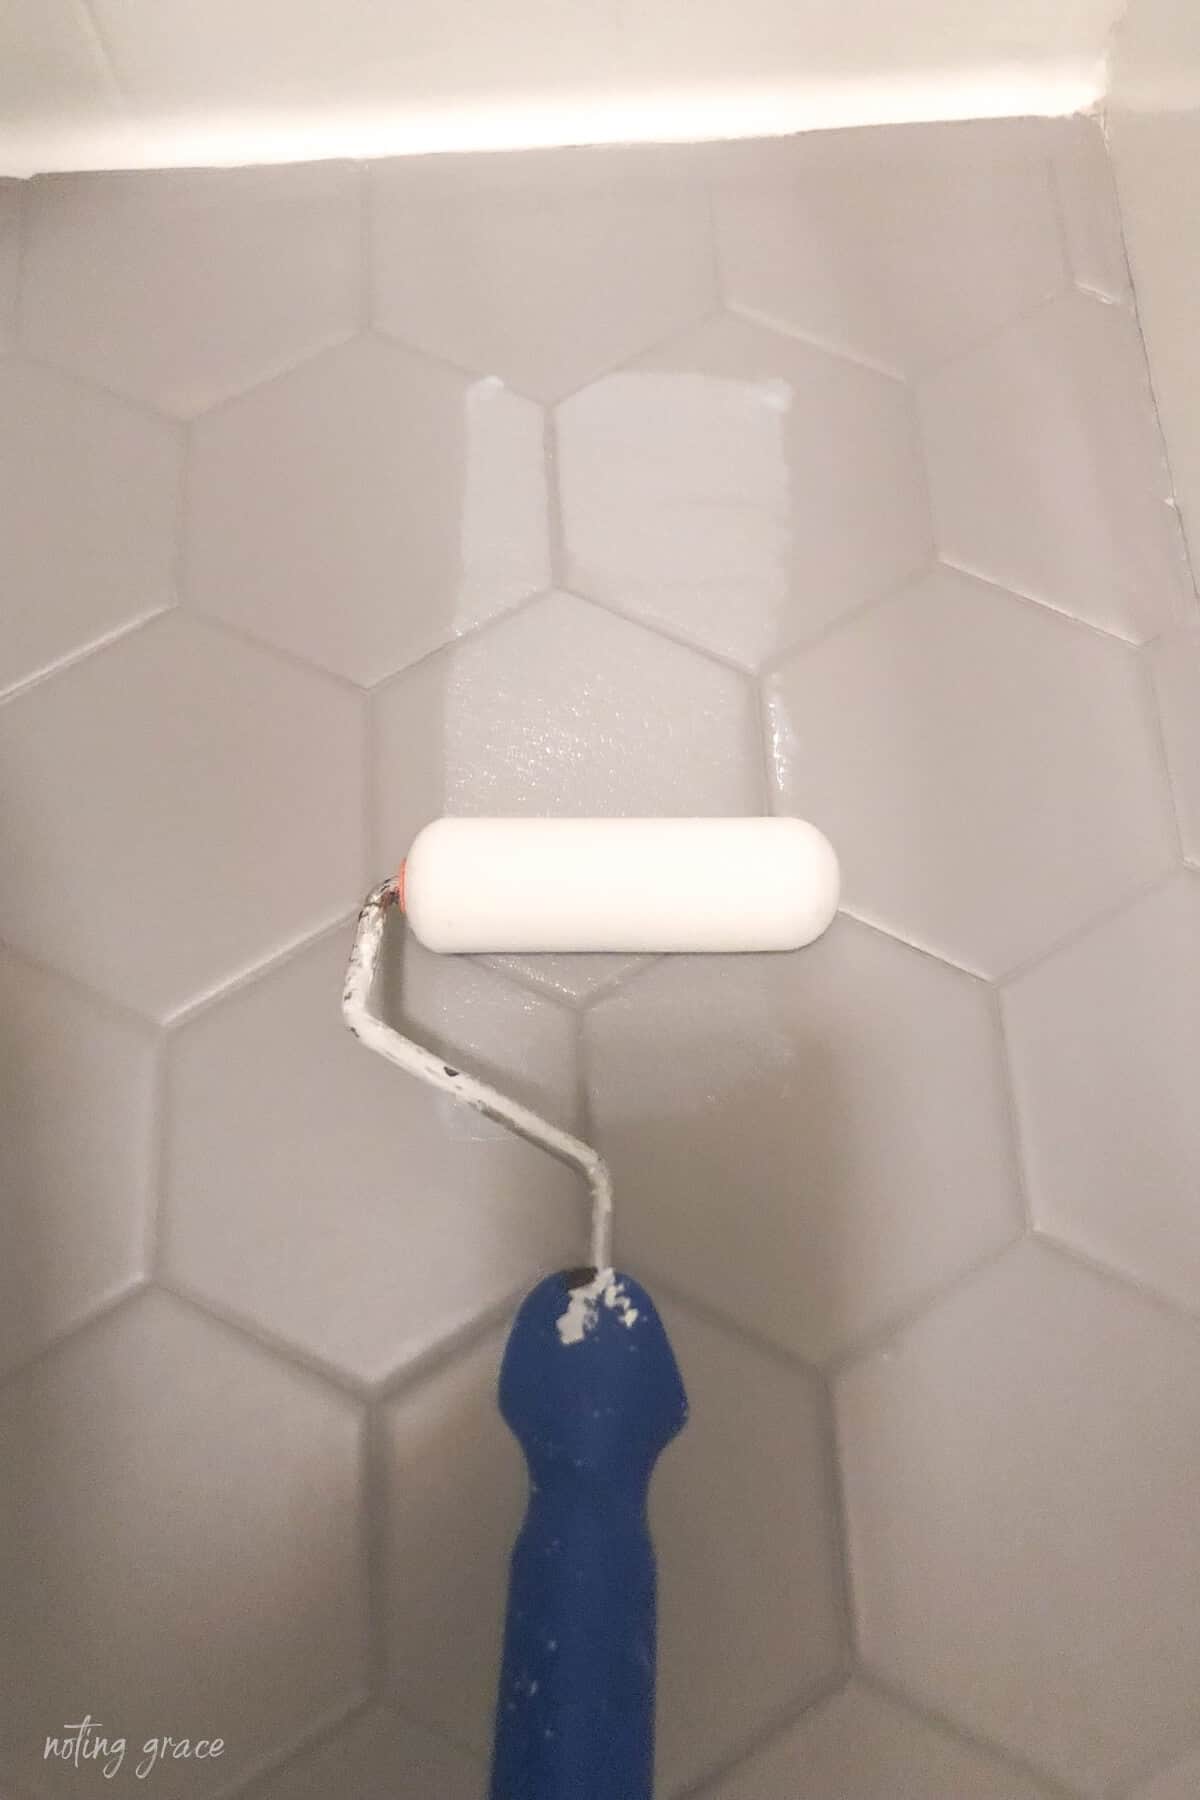
First we cut in along the edges of our ceramic tile floor.
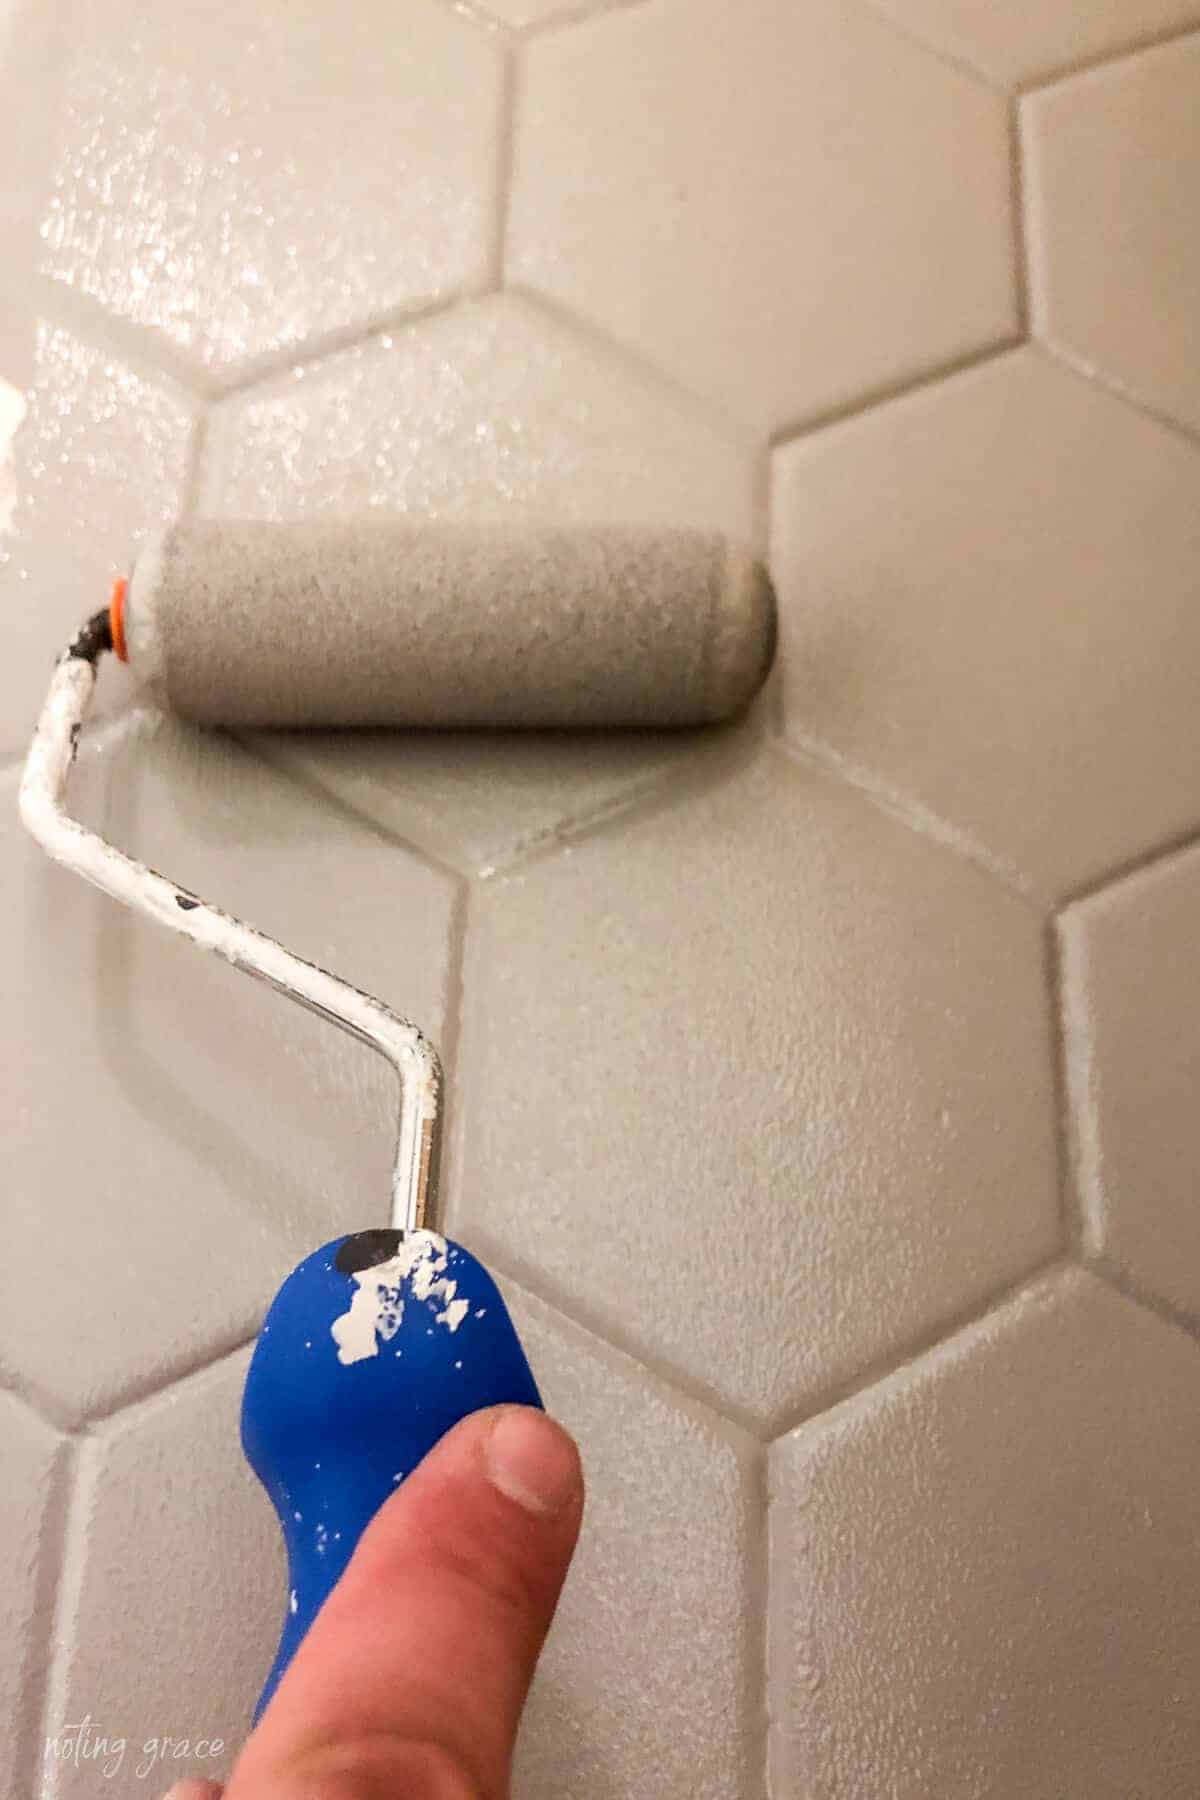
Then we used a foam roller to fill in the tiles. You could also use a small nap roller as well.
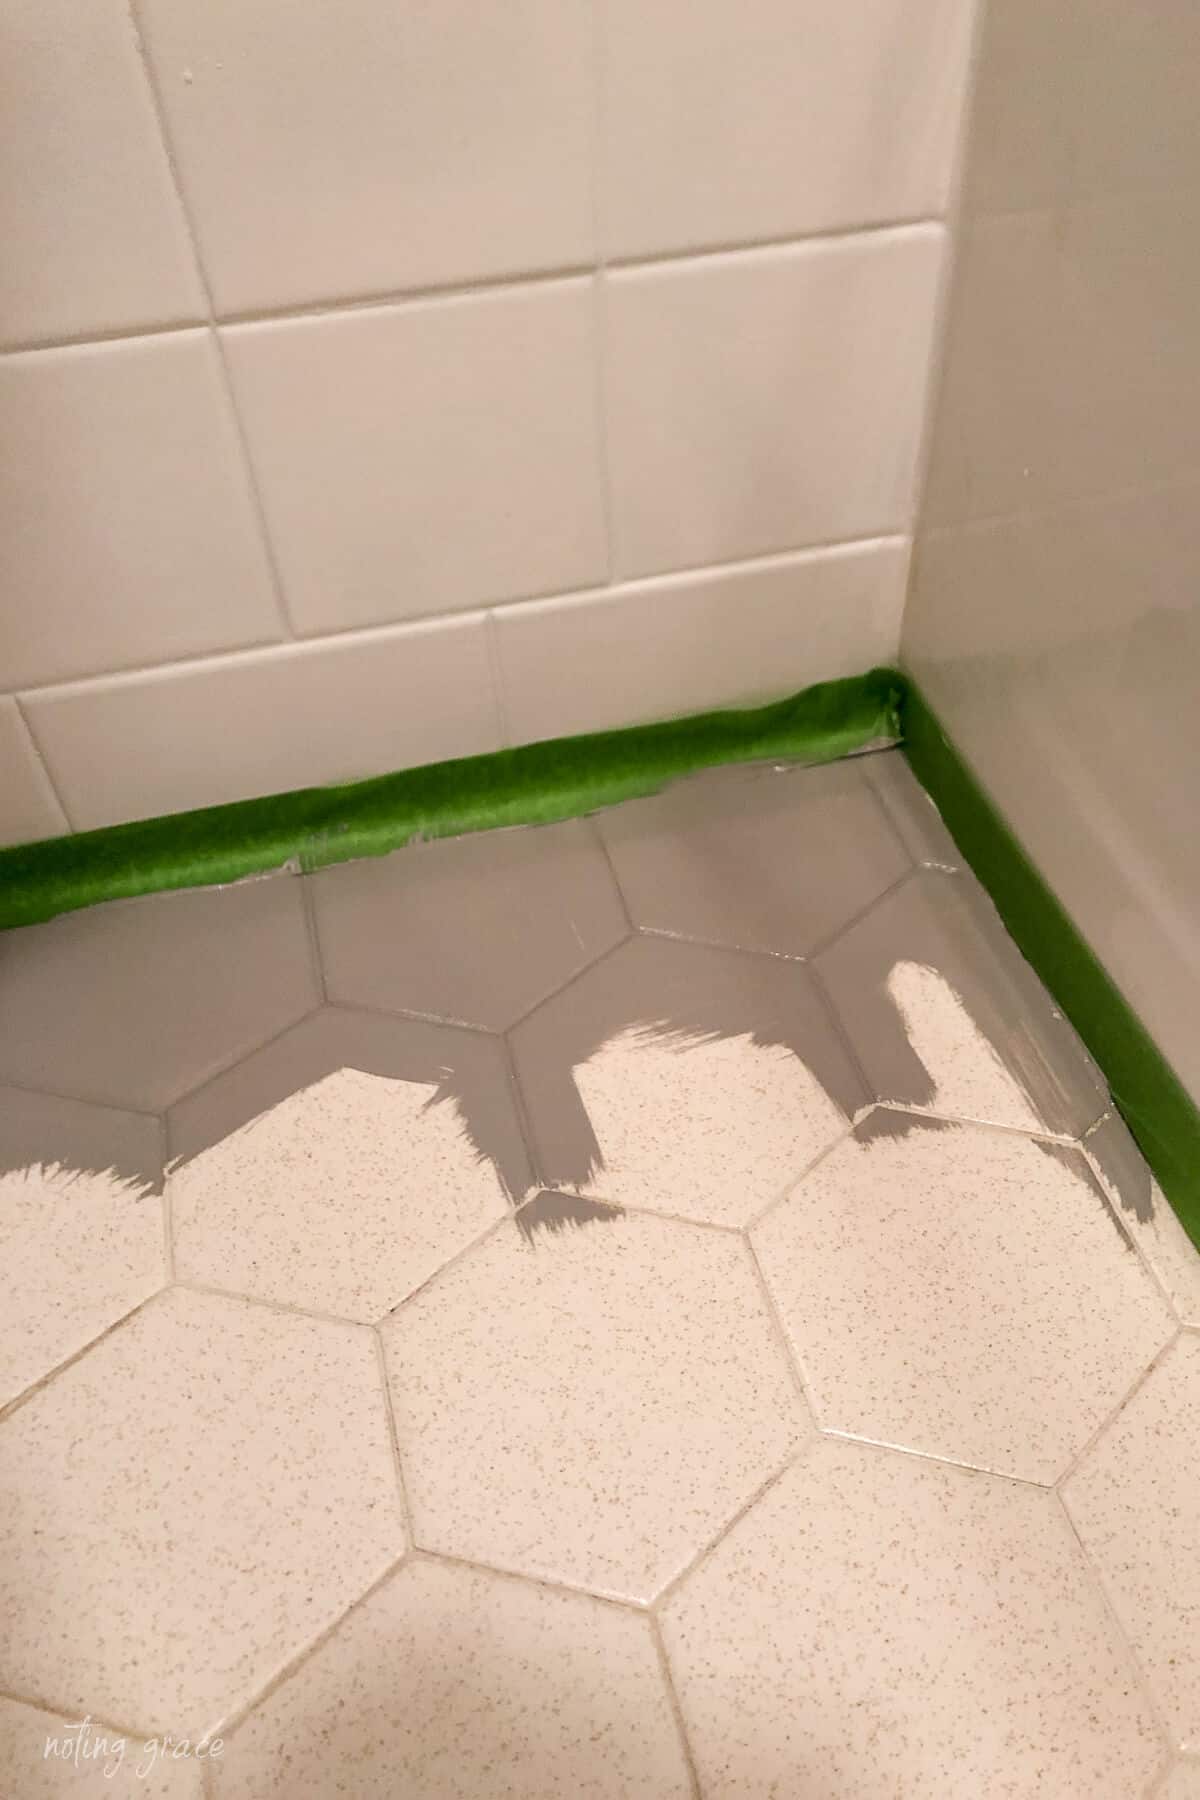
Since our floor was this hexagon shaped tile, we found that our roller didn’t easily get into each grout line.
As we worked our way out, we would brush the grout lines and follow up with the roller.
TIP: A great place to start would be in a far corner and work your way out toward the door! We also removed the tape as we went along checking for bleed through and cleaning if necessary.
The entire first coat process took just under an hour. I couldn’t believe how quickly it transformed the room.
In just 6 hours for dry time, you apply the top coat.
While we went with a solid color over the entire surface, we have seen some gorgeous applications using tile stencils.
We allowed the floors to dry fully overnight and applied the top coat the next day.
The Matte top coat is a very milky texture and goes a long way.
So we used the same technique as we did with painting the floor, combining the brush and roller to ensure it got into the grout lines.
You can see here how the roller wasn’t going to work for the grout lines.
Allow the floors to dry for 24 for a full cure before any foot traffic is on them.
The can does state that it takes up to 7 days for the floor to fully cure, so we kept the boys at bay until then.
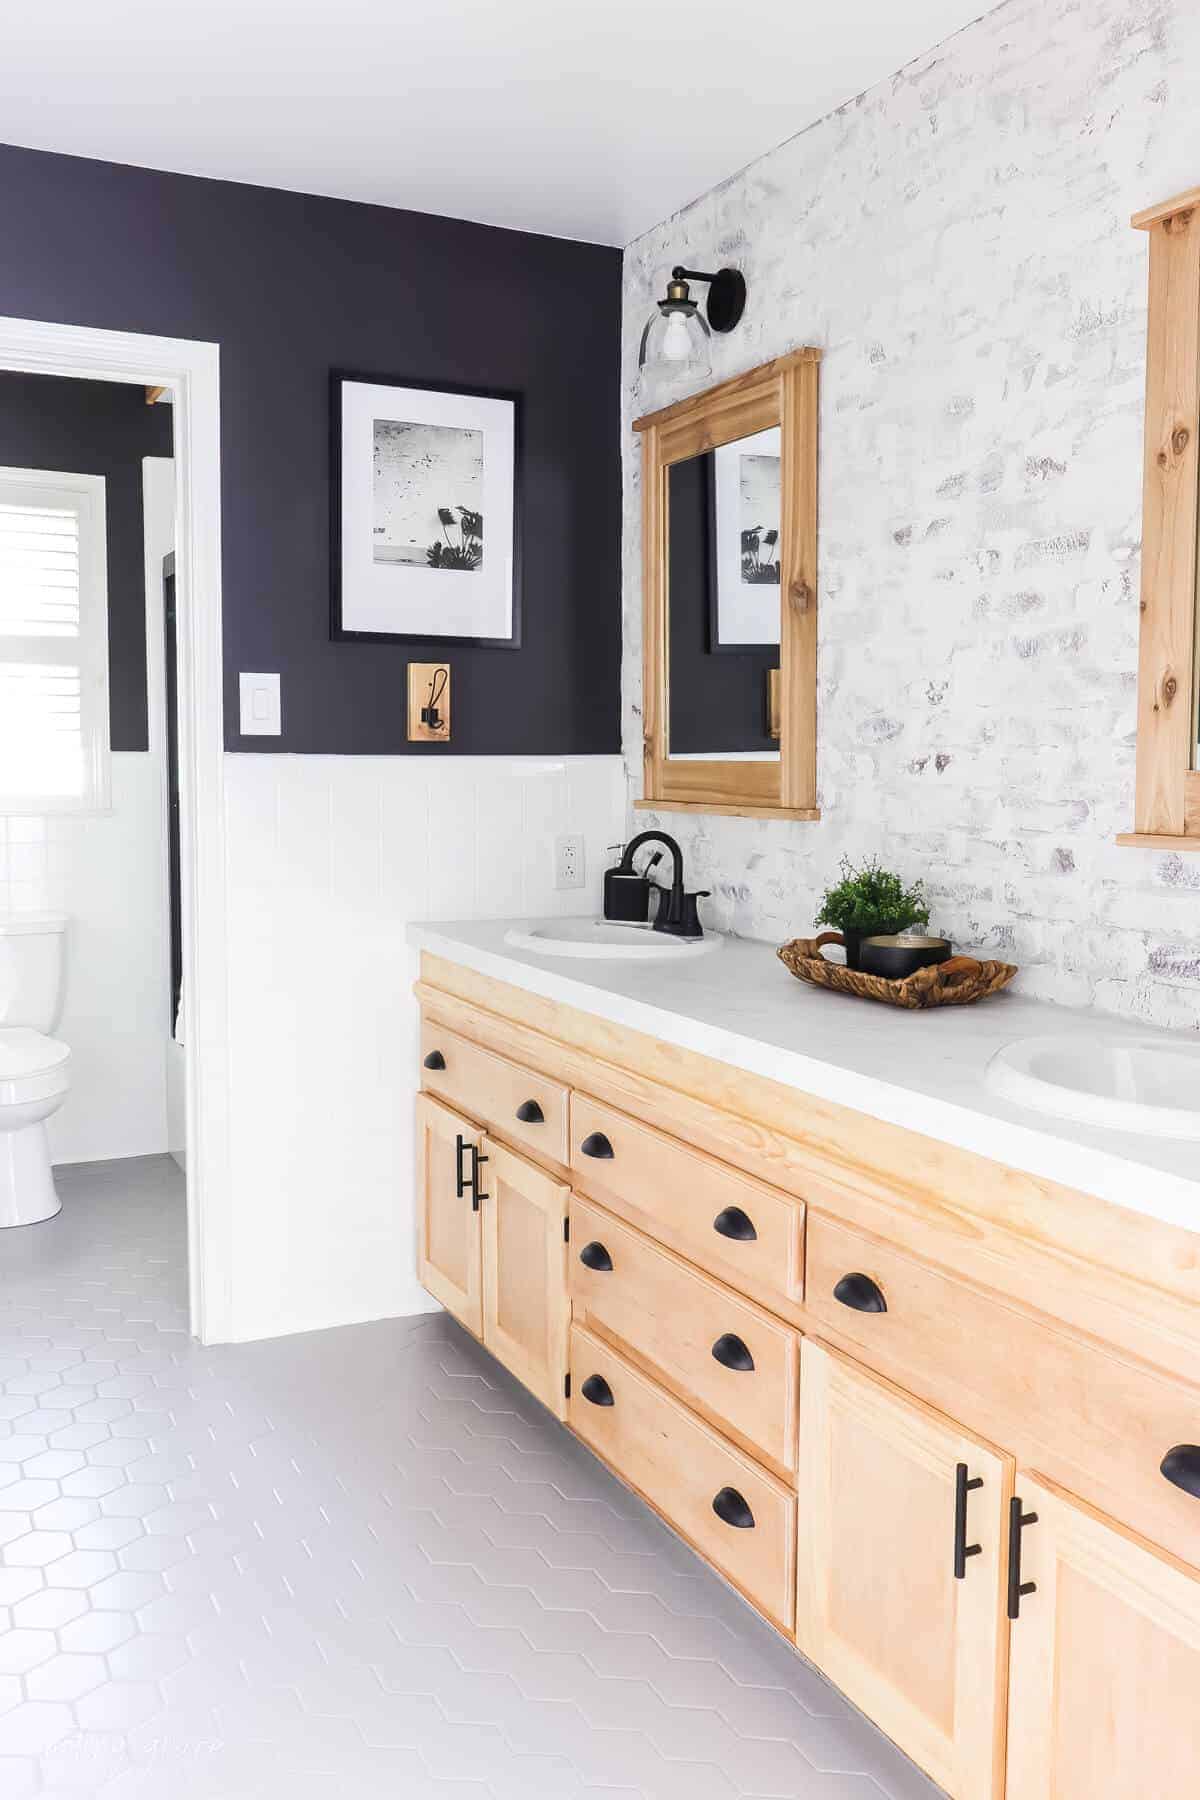
But just look at this huge difference in our bathroom floor!
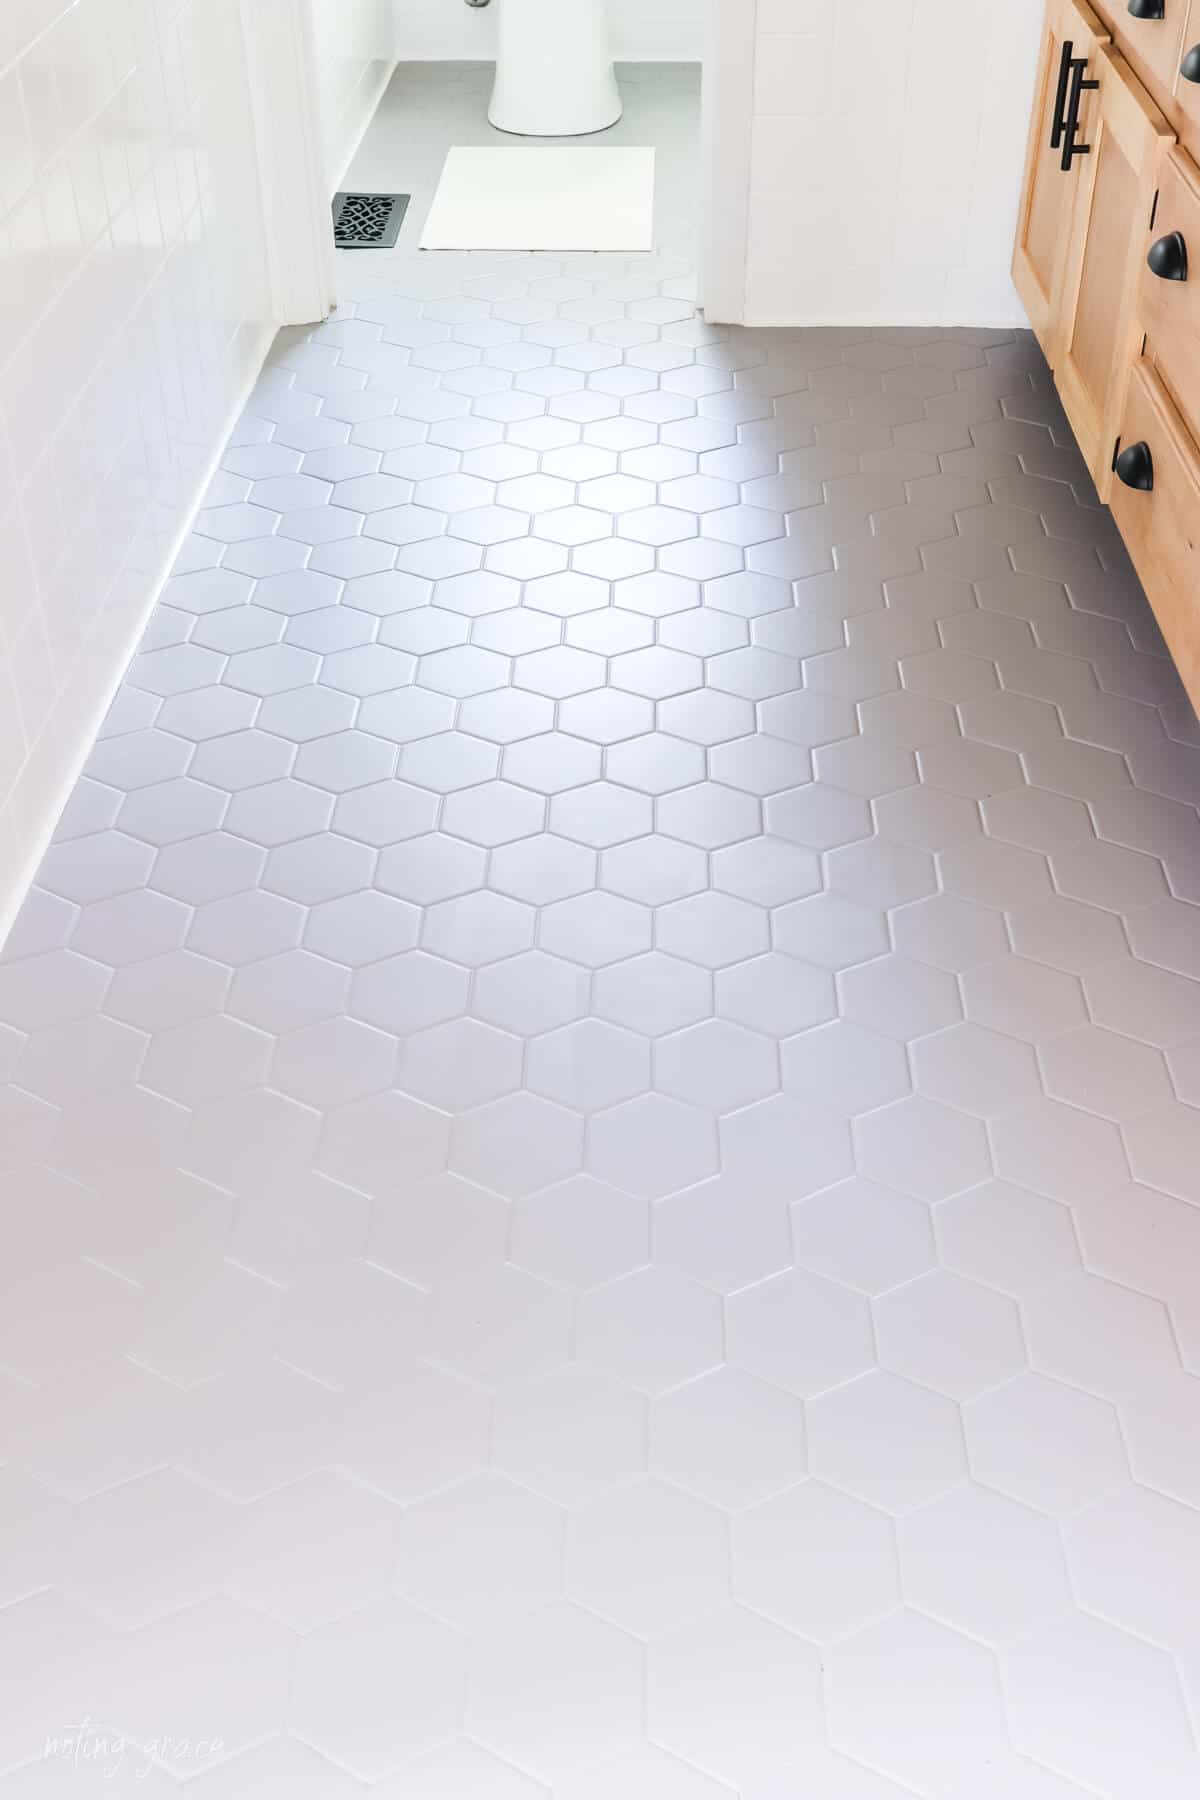
Doesn’t that look like new tiles? Like I said, I think painting the floor tiles made the biggest difference in this space.
We saved so much money on the cost of installation of new tile as well as the labor costs from a general contractor. And with a just a few simple steps and a little bit of hard work.
UPDATE: Do Painted Floor Tiles Last? Read our full review 2 years later!
It was very DIY friendly and is one of the easiest and best ways to update an existing space.
So before you get your sledgehammer out and start tearing out your old tile, consider this diy job as an economical approach.
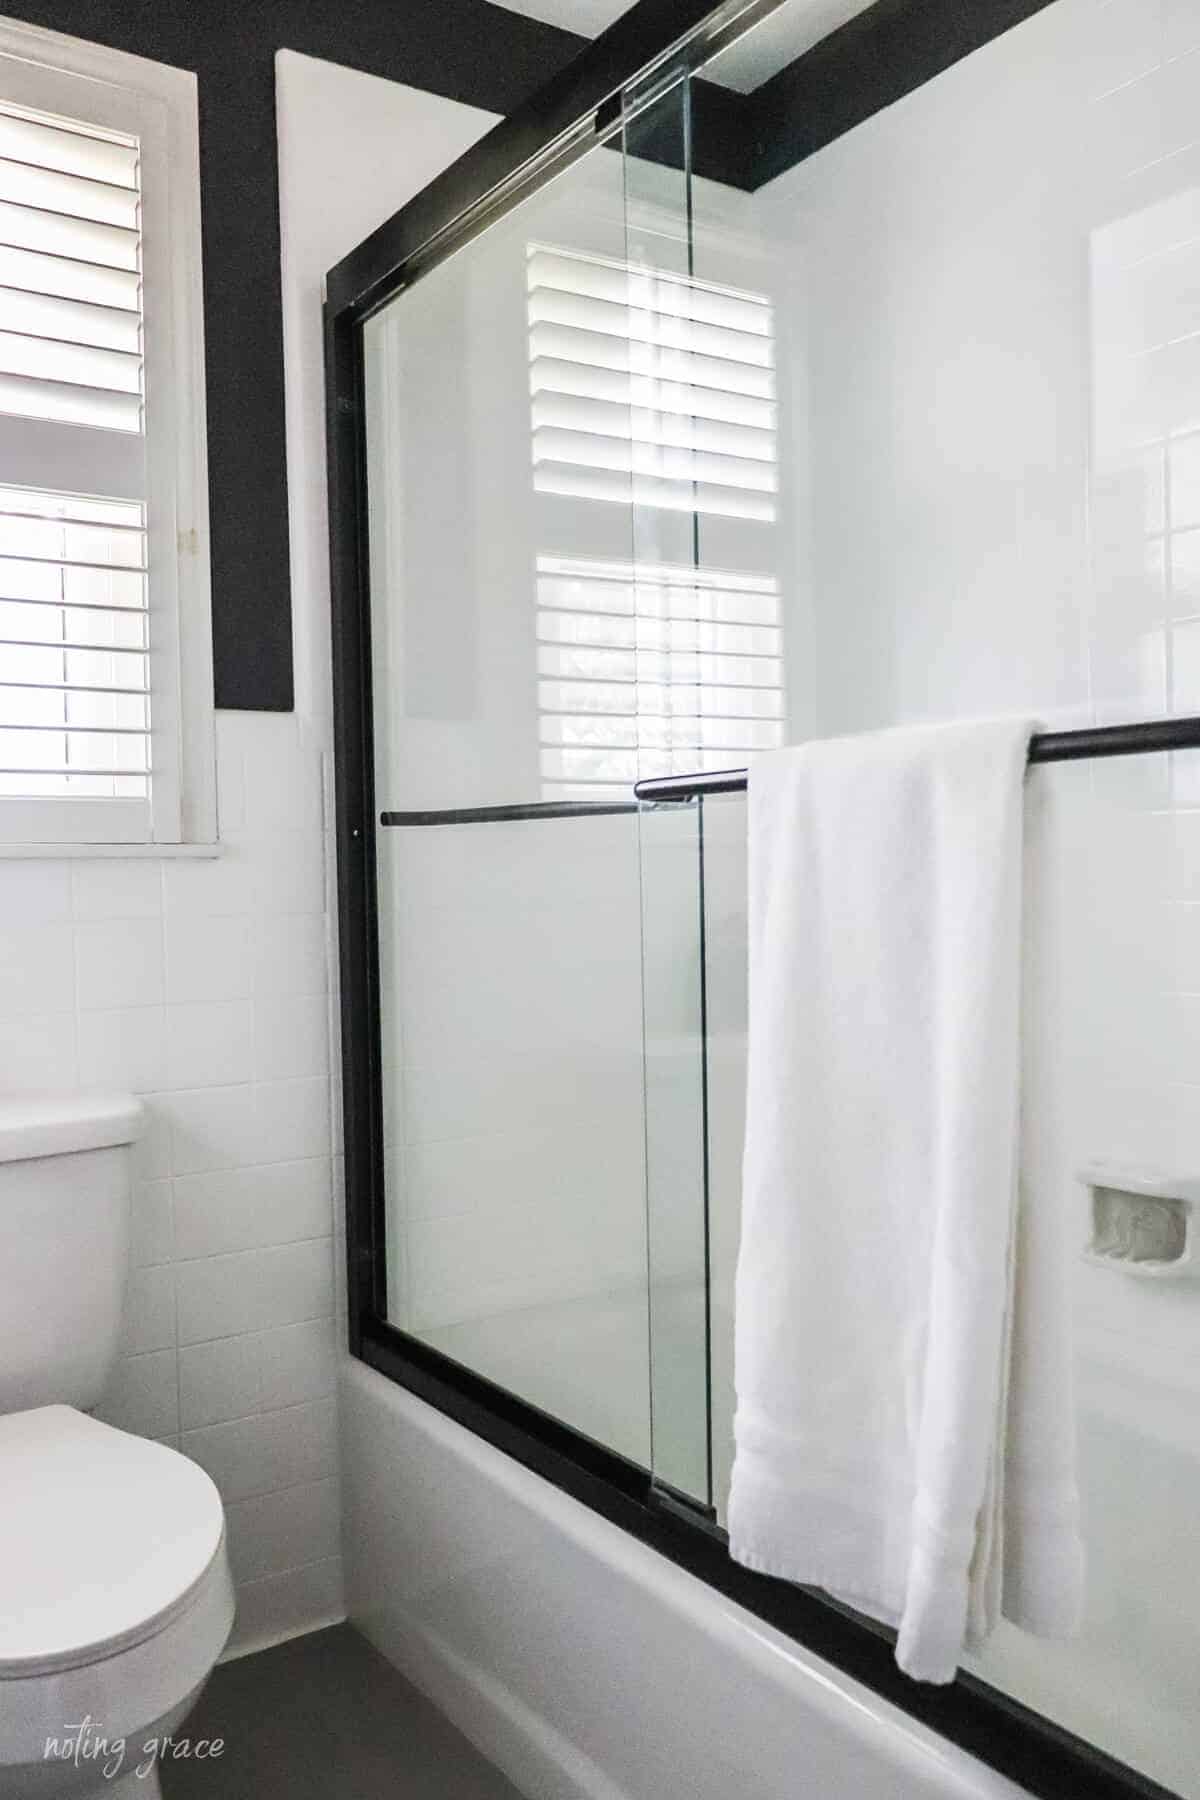
We changed the overall look of our bathroom tile for $150 bucks and just a few days and it looks amazing!

But we couldn’t have done this room makeover without these two amazing products from Rust-Oleum.
It took this room from drab and dated to fab and and new!
We are certainly glad we did!
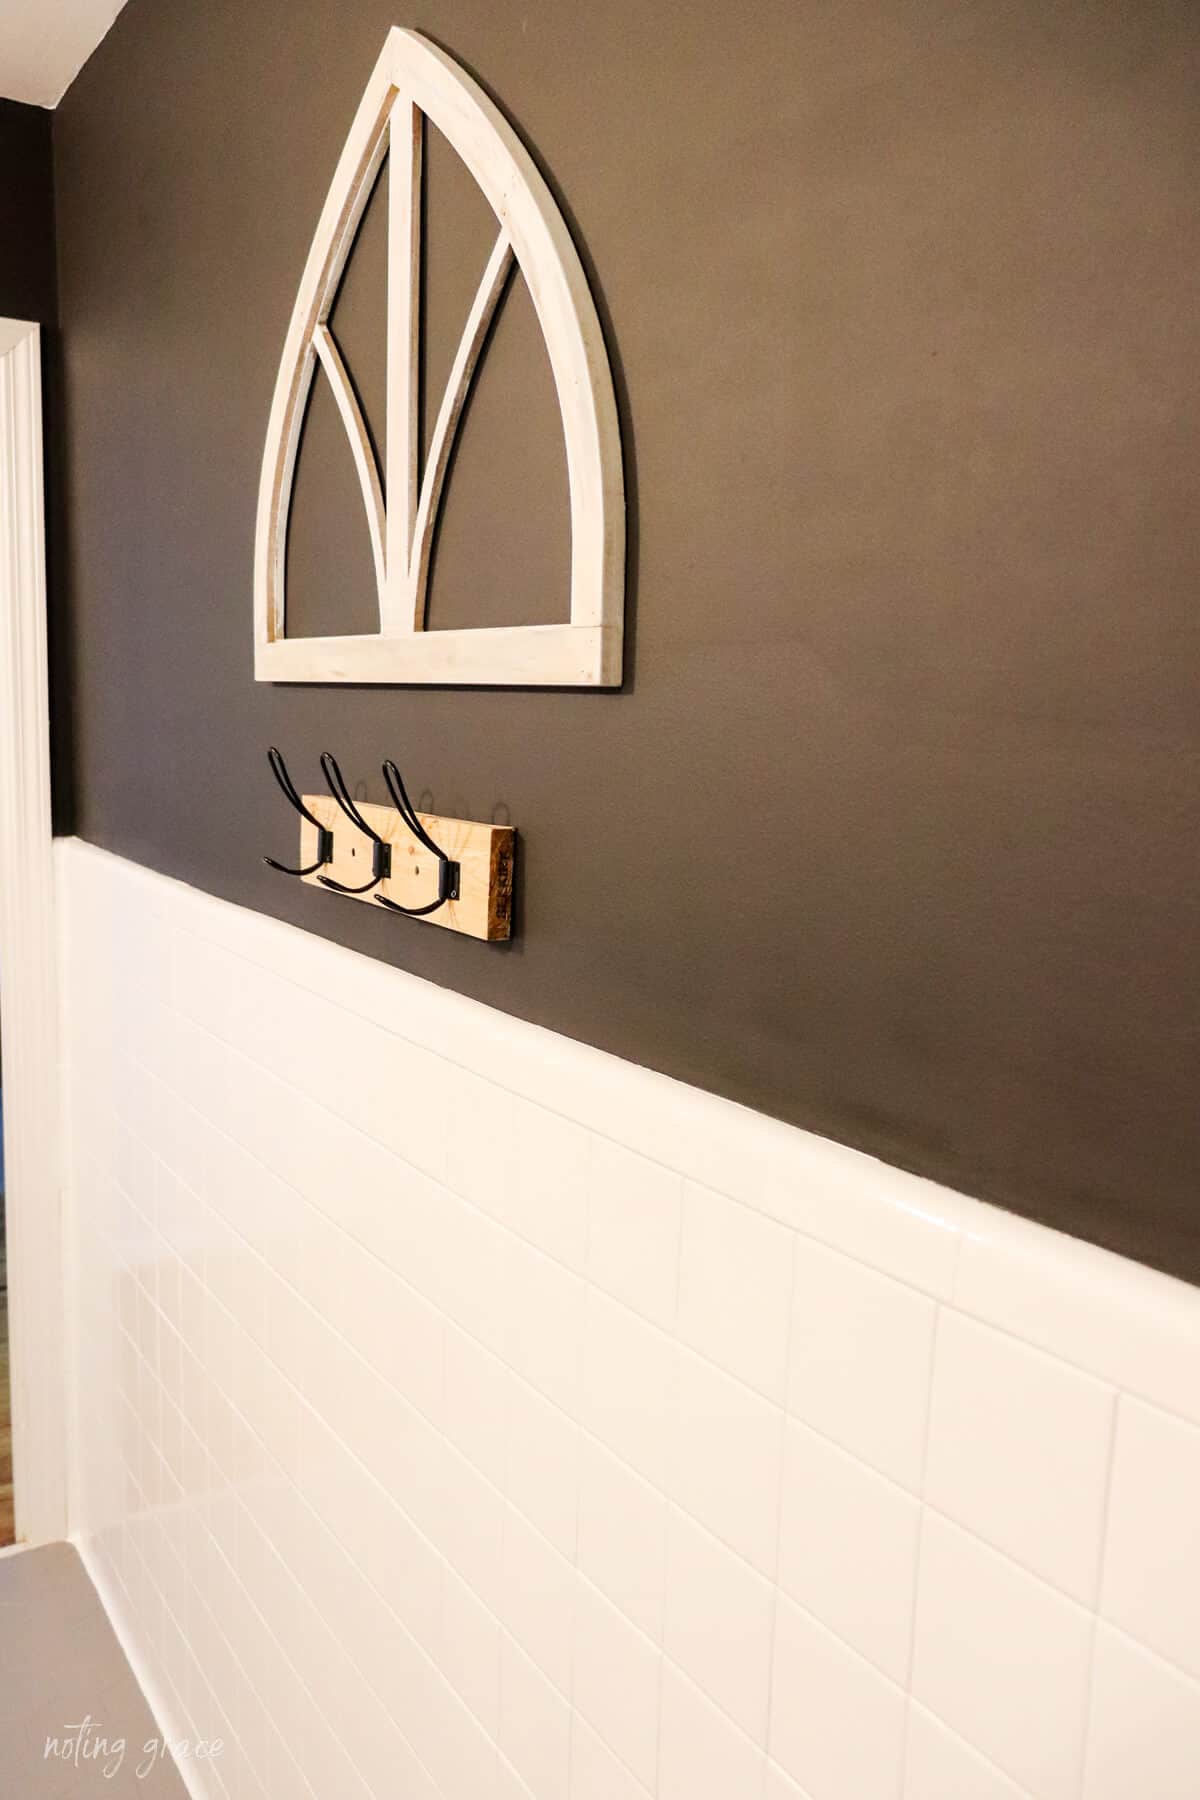
Don’t miss the other posts
in this Bathroom Makeover!
THE BEFORE
RAISE THE ROOF: HOW WE MADE THE BATHROOM CEILING TALLER
DIY SHOWER DOOR UPDATE
HOW TO MAKE A BATHROOM VANITY TALLER
REGROUTING BATHROOM TILE
INSTALLING AND LIMEWASHING BRICK VENEER
DIY CEILING PLANKS FROM LAMINATE FLOORING
HOW WE CHANGED OUR BATHROOM TILE FOR $150
HOW TO MAKE CEDAR FRAMED MIRRORS
THE BIG REVEAL!
Originally Published November 7, 2019 / Updated July 10, 2021

Great question! The floor tile has a satin finish and the wall tile has a gloss finish, but I wouldn’t call it a high gloss finish.
Hope that helps!
Looks great! Did you use satin or gloss finish?