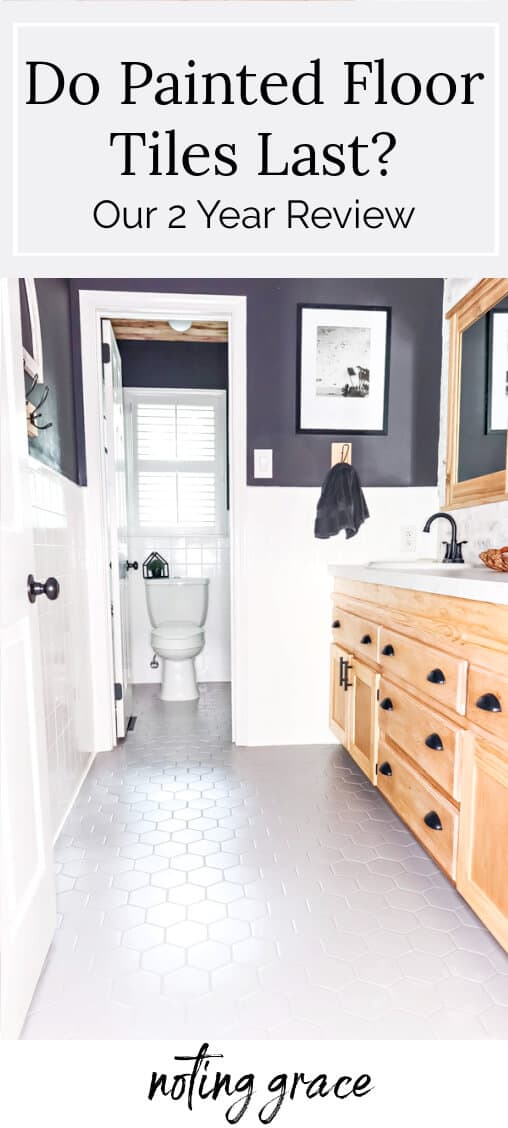
Do Painted Floor Tiles Last – Our 2 Year Review
We painted our boys bathroom floor a few years ago and I constantly get asked about how the painted floor tiles have held up. Here’s our 2 year review.
A little over 2 years ago, we updated our boys’ bathroom.
We didn’t have a huge budget that allowed us to completely gut and replace anything.
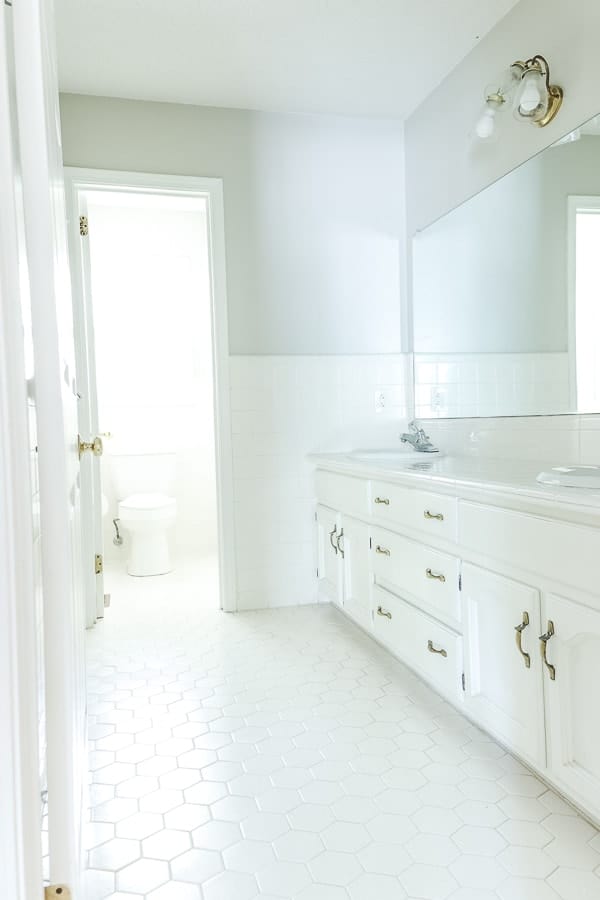
So we thought outside the proverbial box and made over this entire bathroom for less than $1000 bucks.
That meant working with what we had including the ugly speckled tile.
And by using an interior floor paint was a huge savings for the entire project. And it had a huge impact on how this room looked.
We painted the walls and tub surround using Rust-oleum Tub and Tile paint.
And we gave the floor a new look using Rust-oleum Home Floor Coating.
I opted for this after reading all the great reviews on Home Depot. Plus it came in lots of different color choices.
It’s an easy 2 step process of application after you prepare the tile surface.
If you want to read about the entire application process, head over to this blog post.
So now all of you want to know – how has our painted tile floor held up?
What better way to truly test the durability of painted floor tile than with a bathroom that gets lots of high traffic from both of our teenage sons’ daily use as well as our main level guest bathroom.
Well, today I’m spilling the beans on how it held up as well as what I wish I would have done differently.
Our 2 Year Painted Floor Review
(Some affiliate links are provided below. Full disclosure here.)
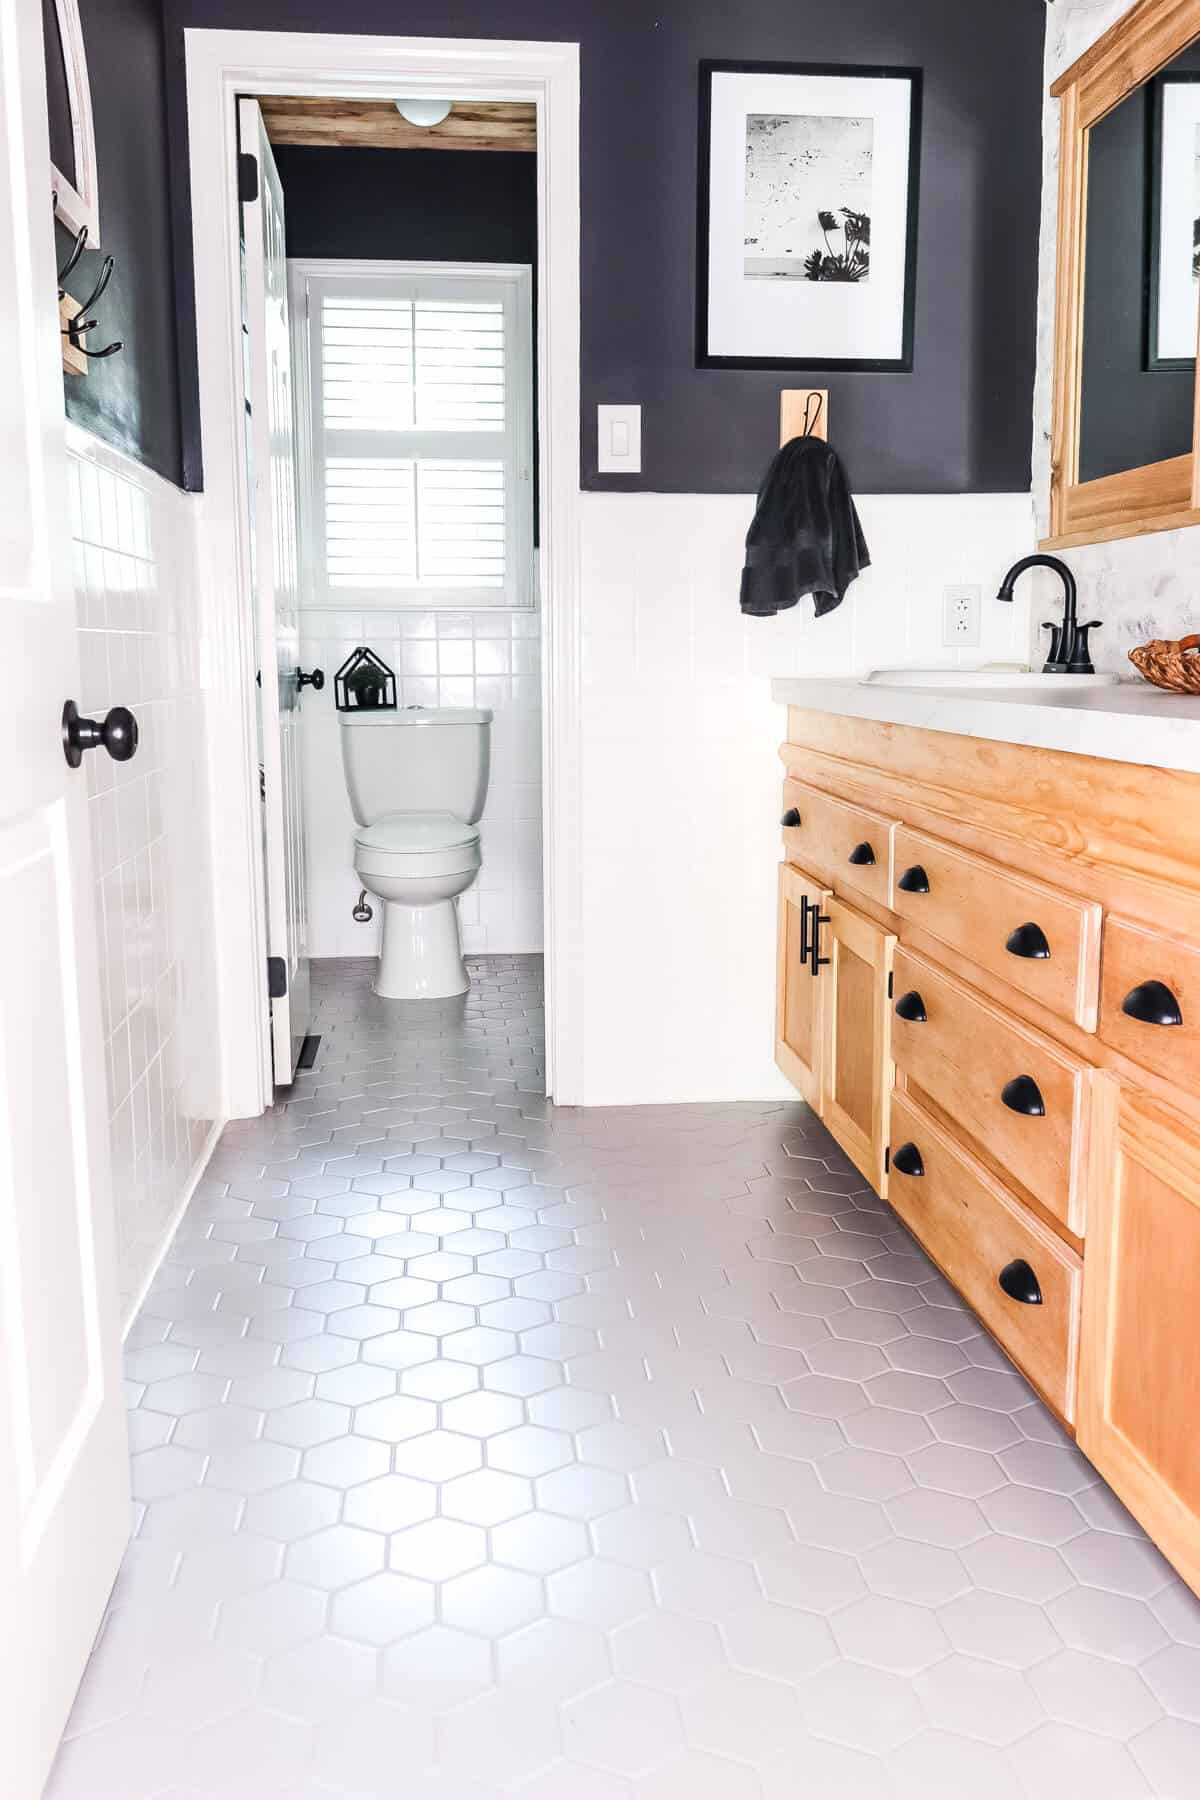
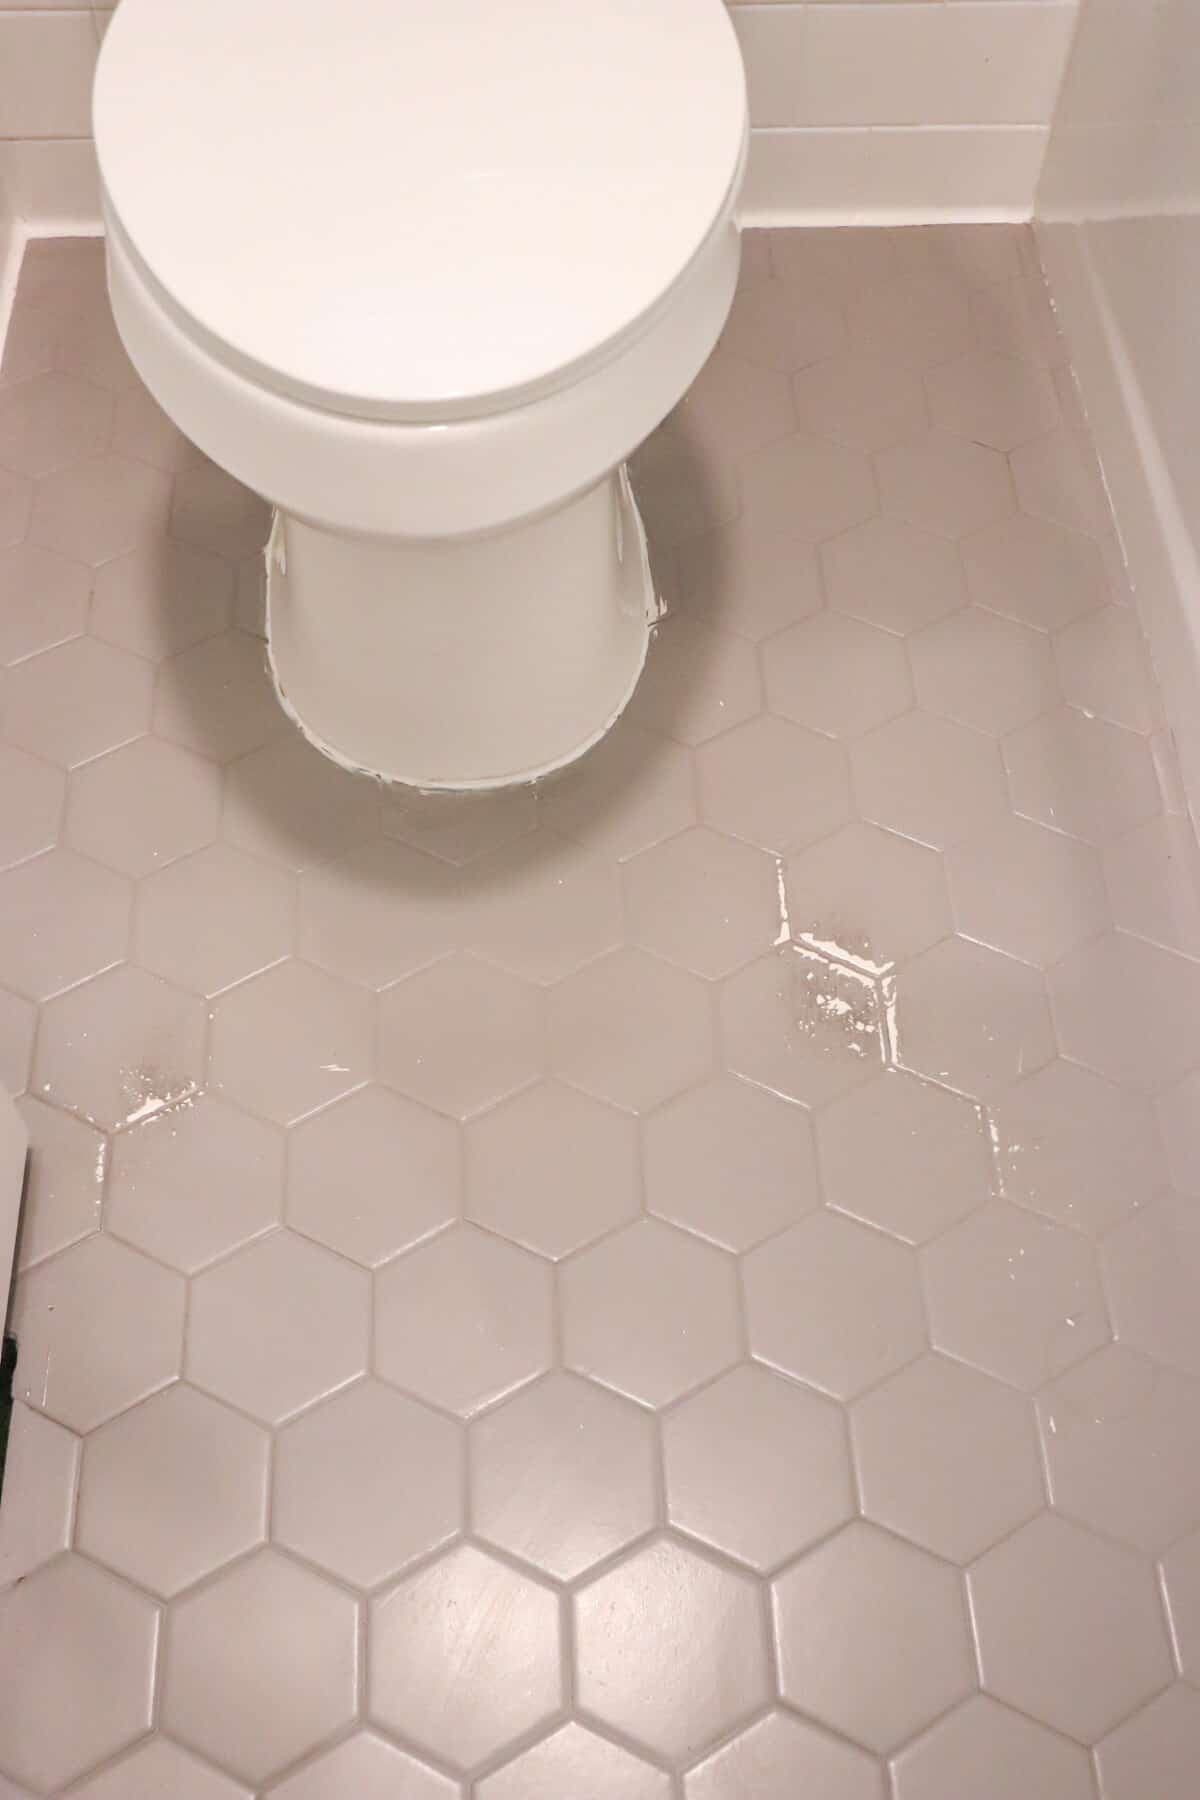
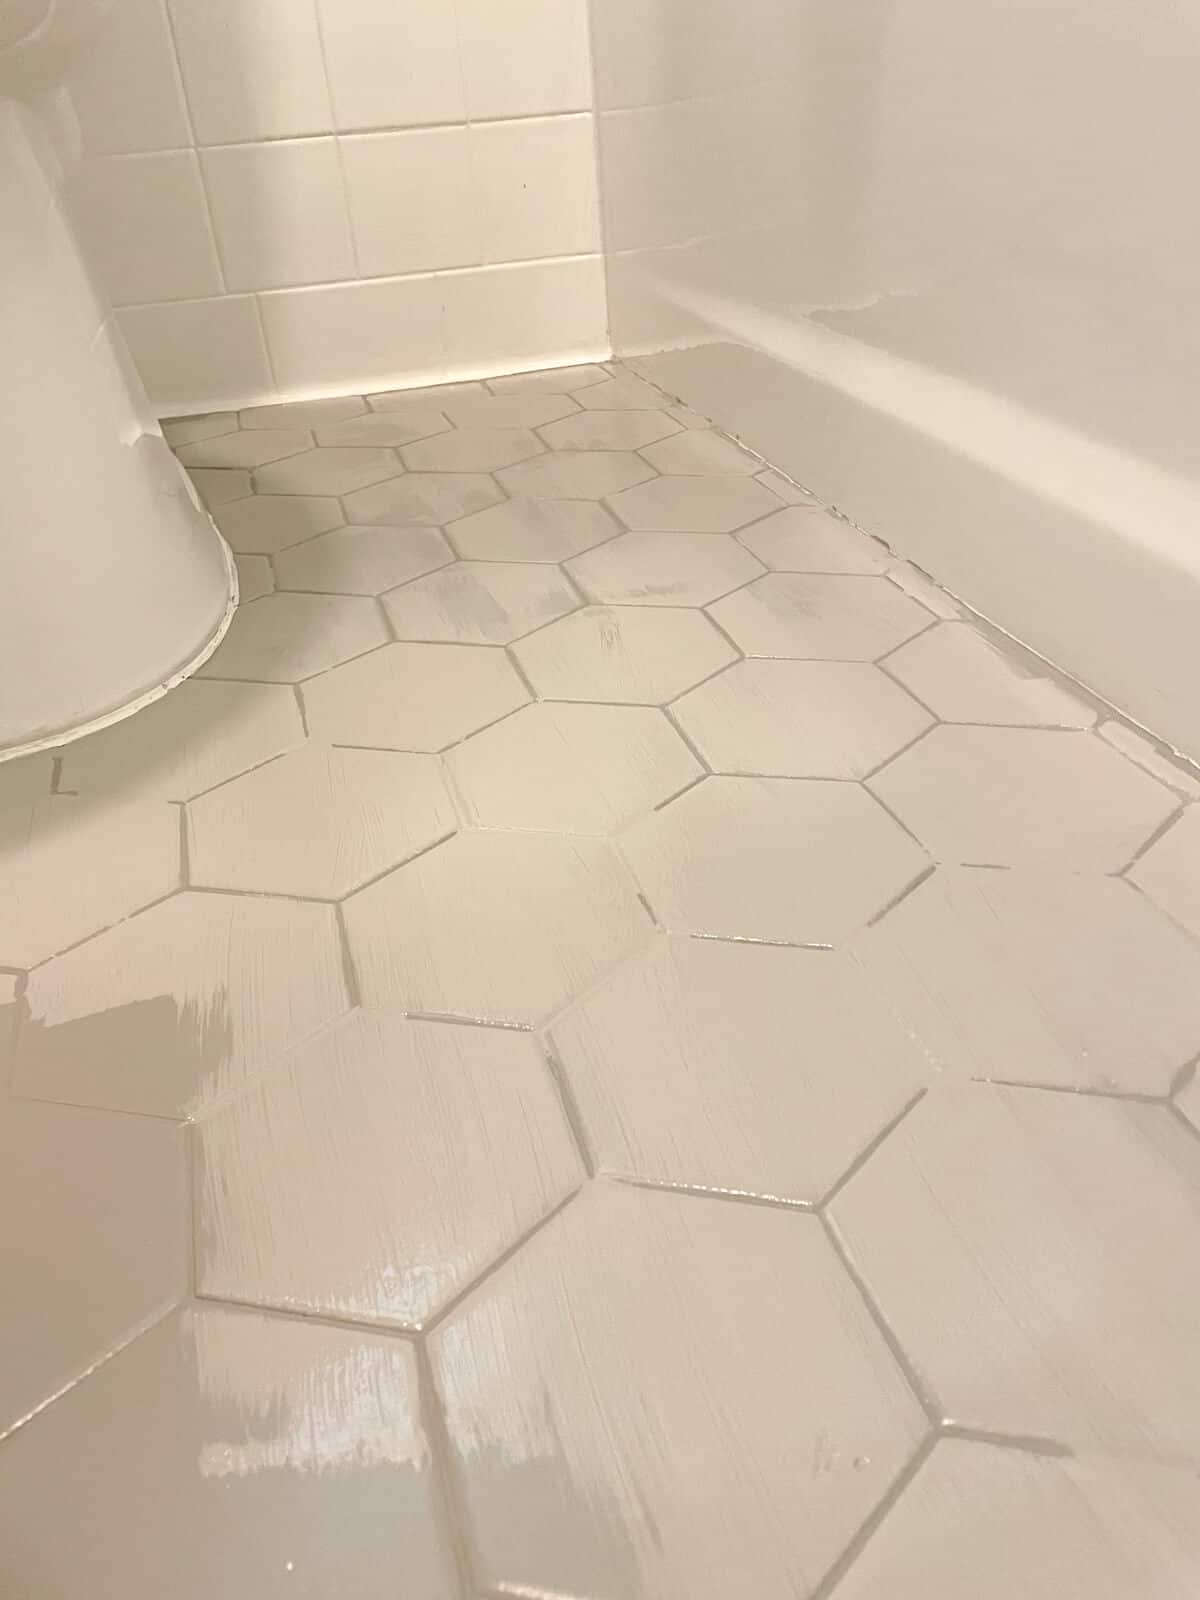
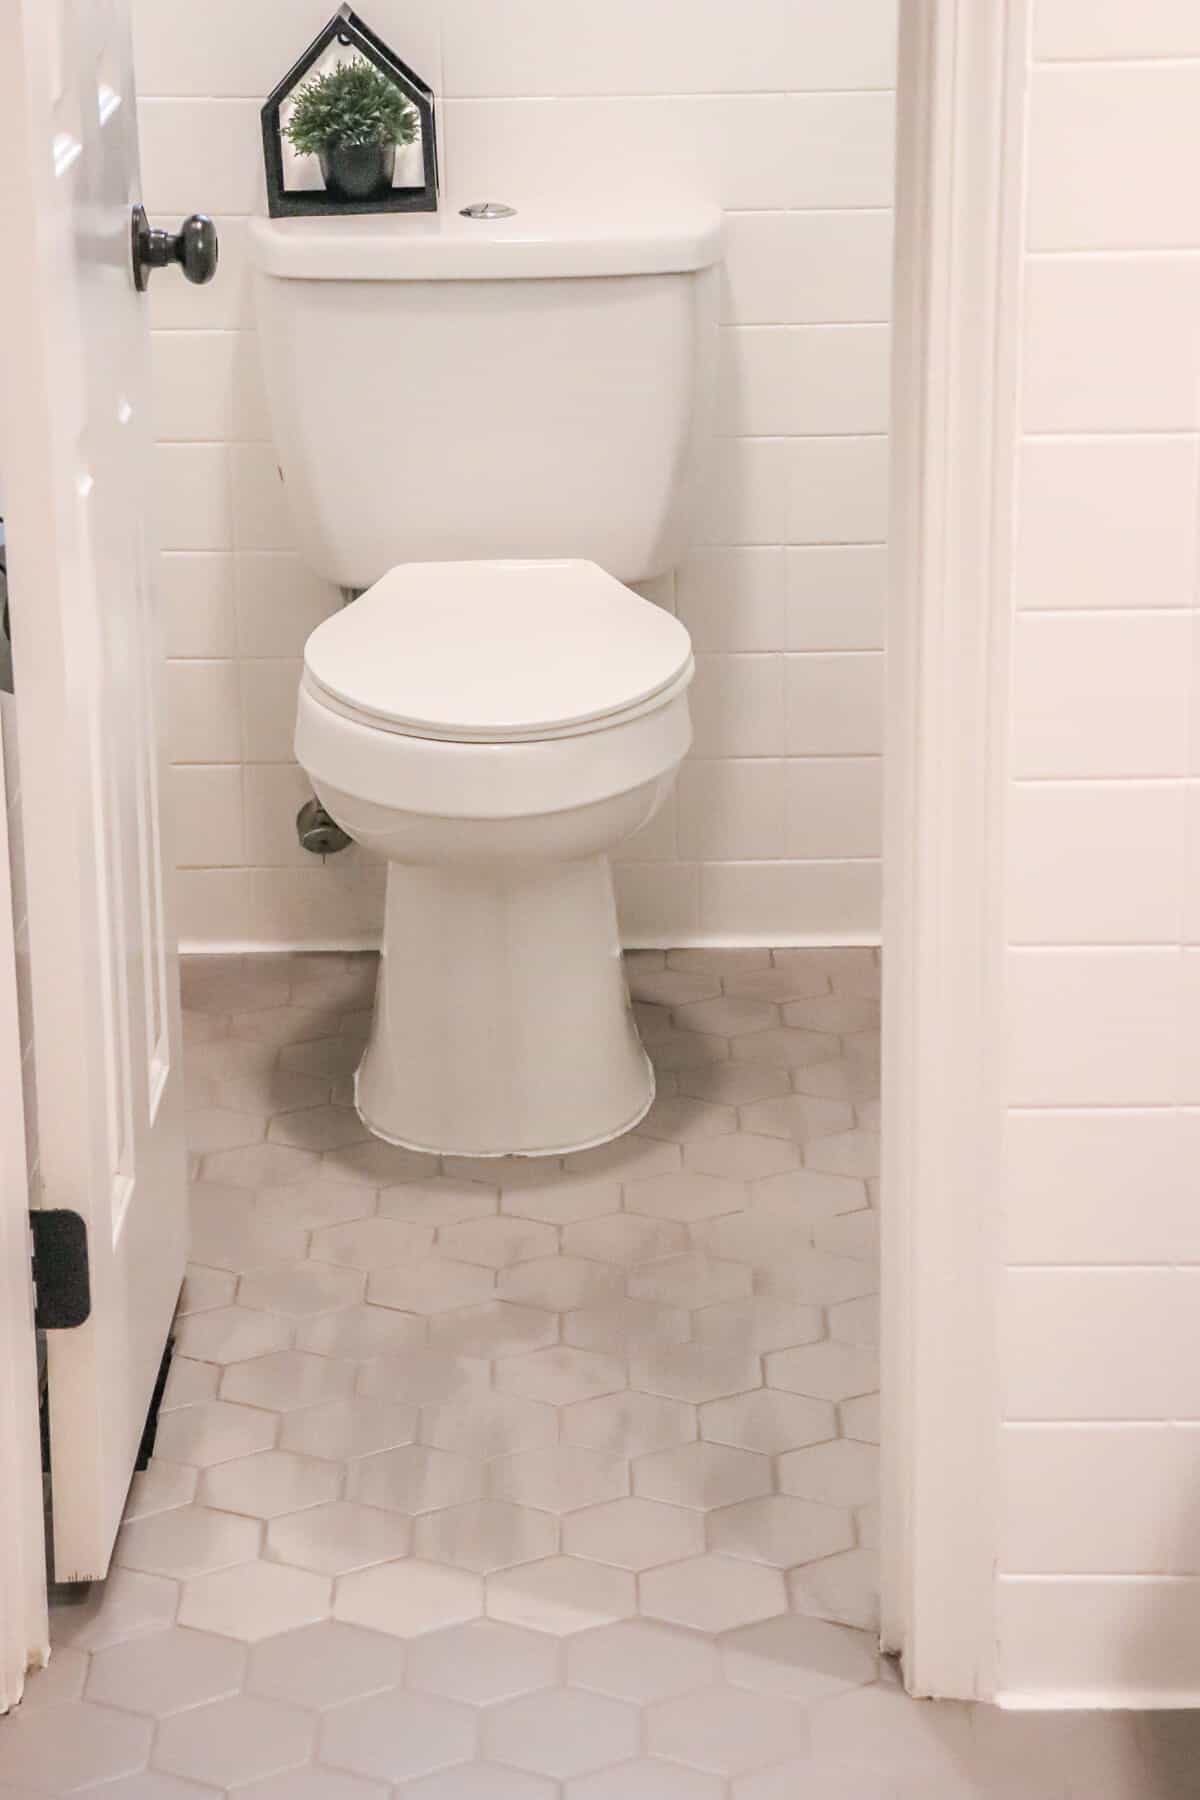
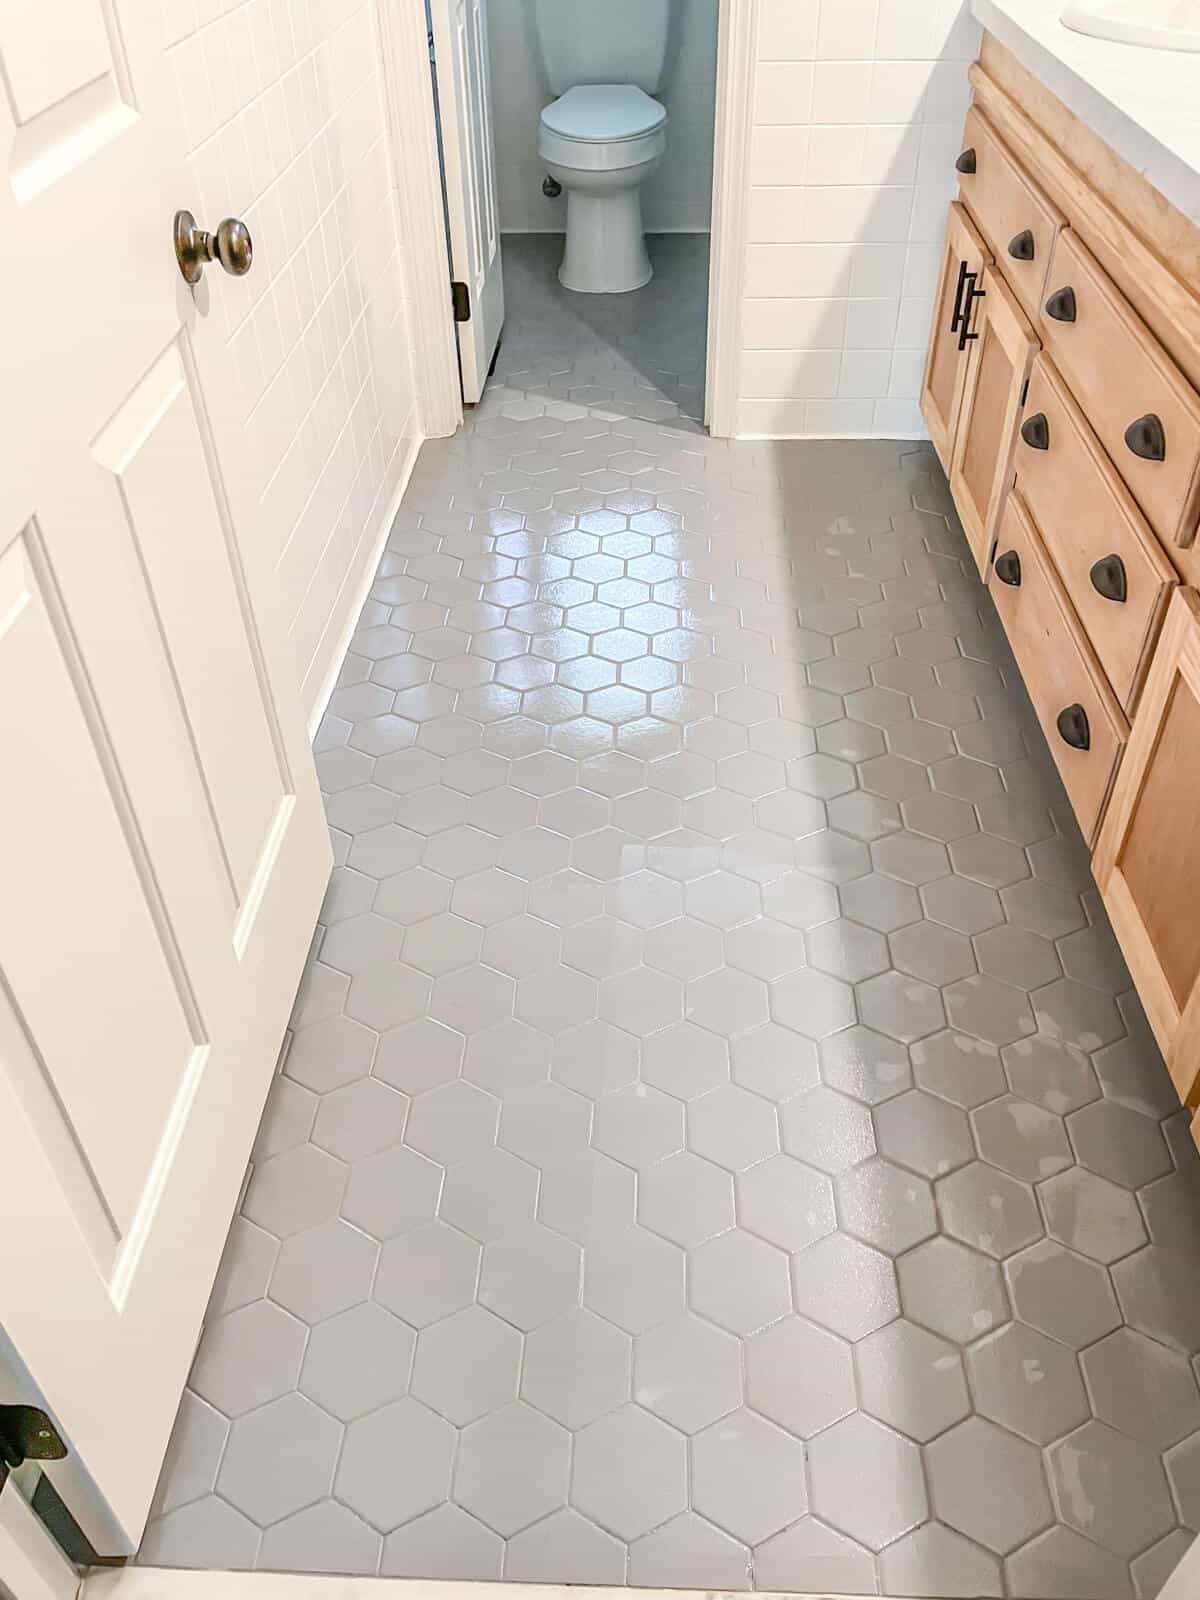
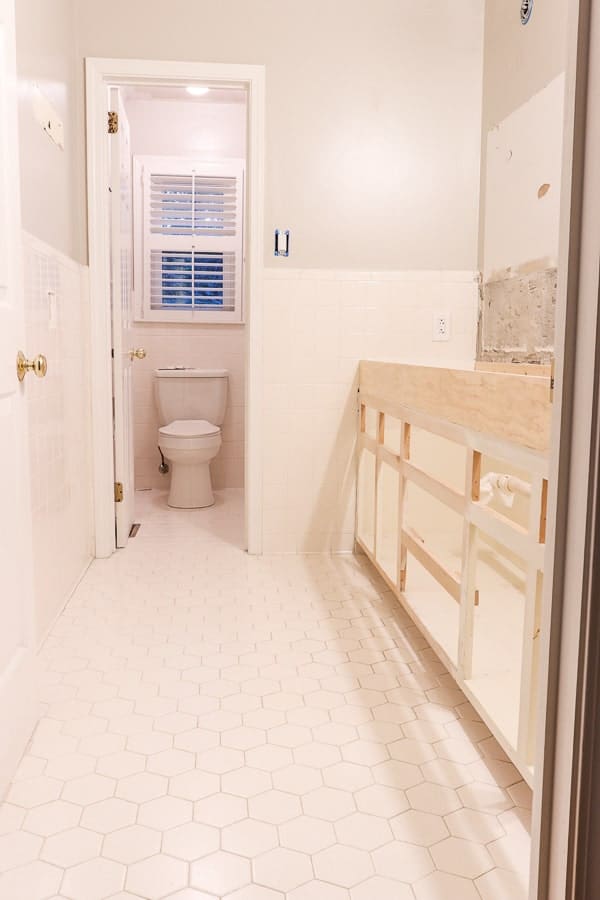
Here’s how the floor looks today.
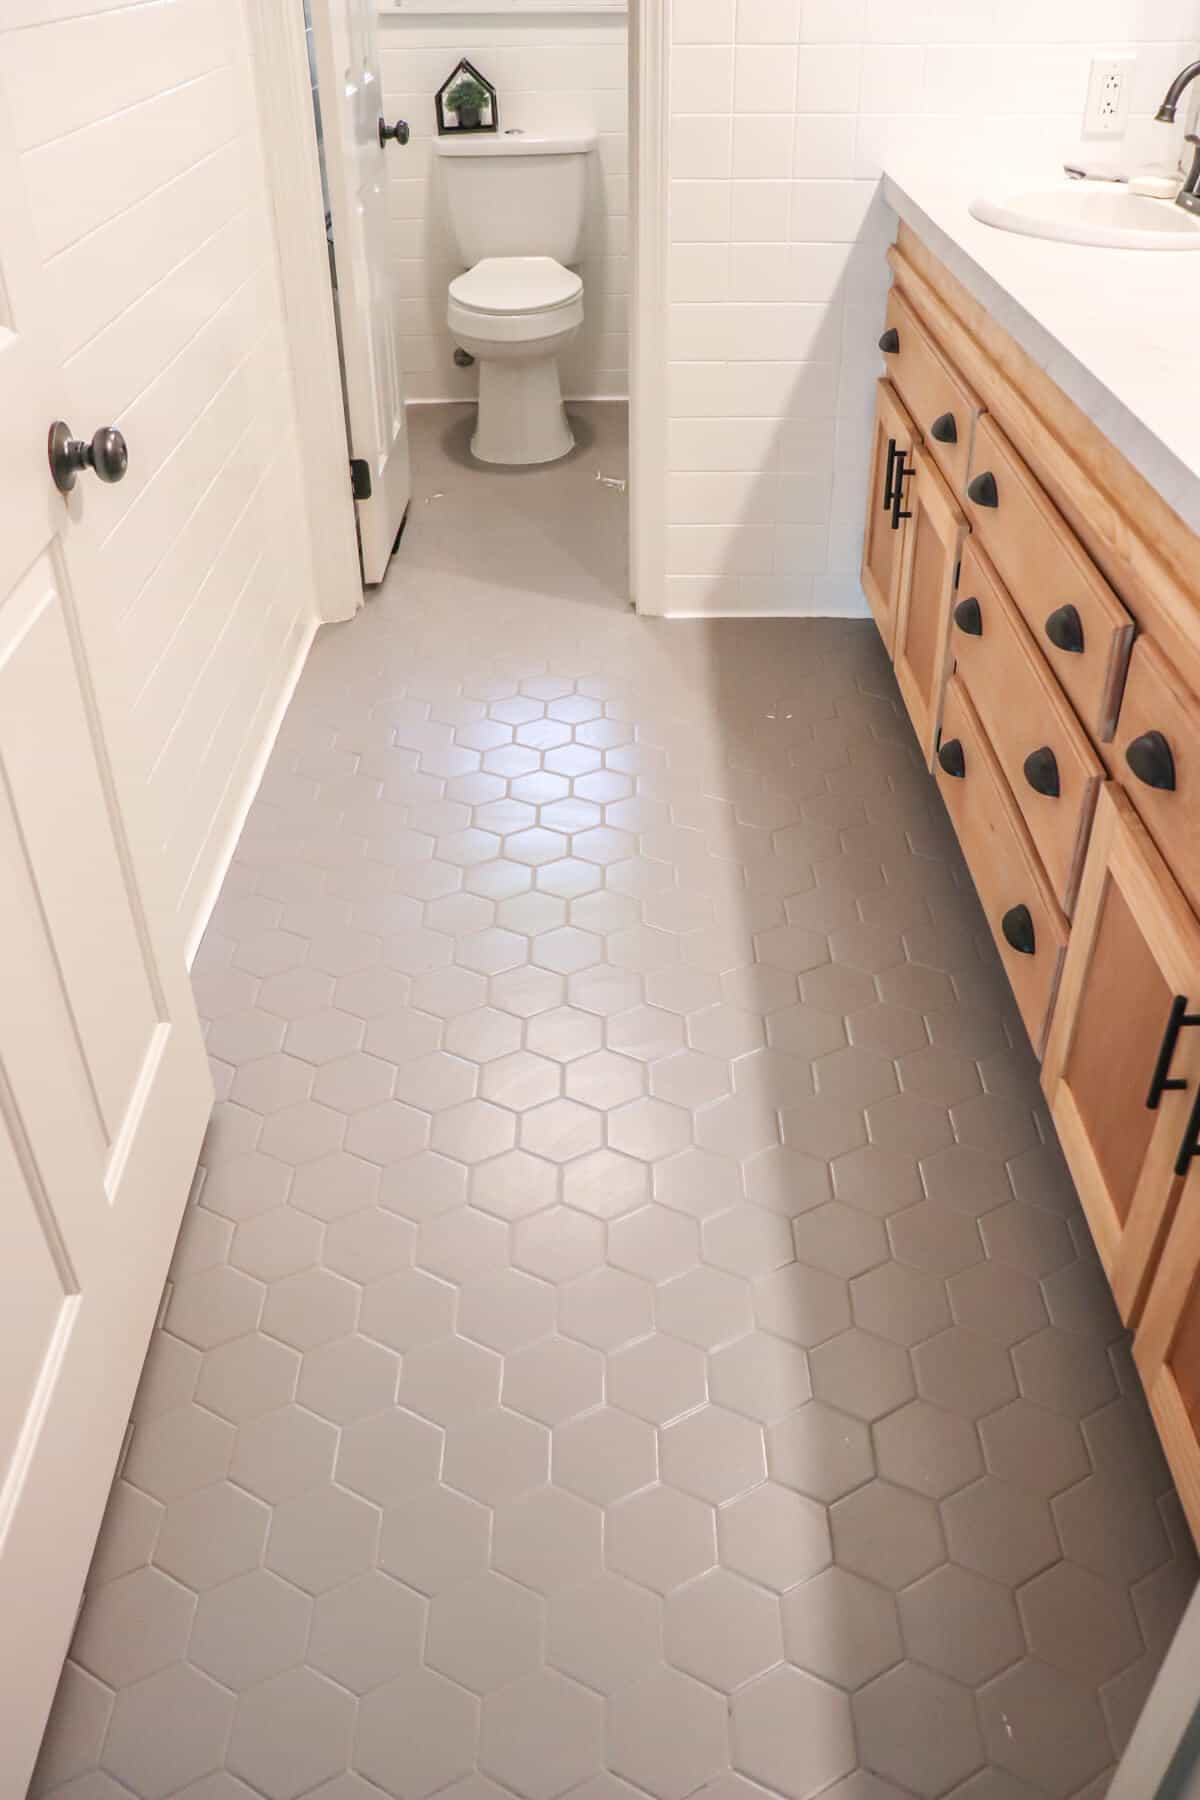
As you can see in this pic, the floor tile paint still looks great.
For the most part.
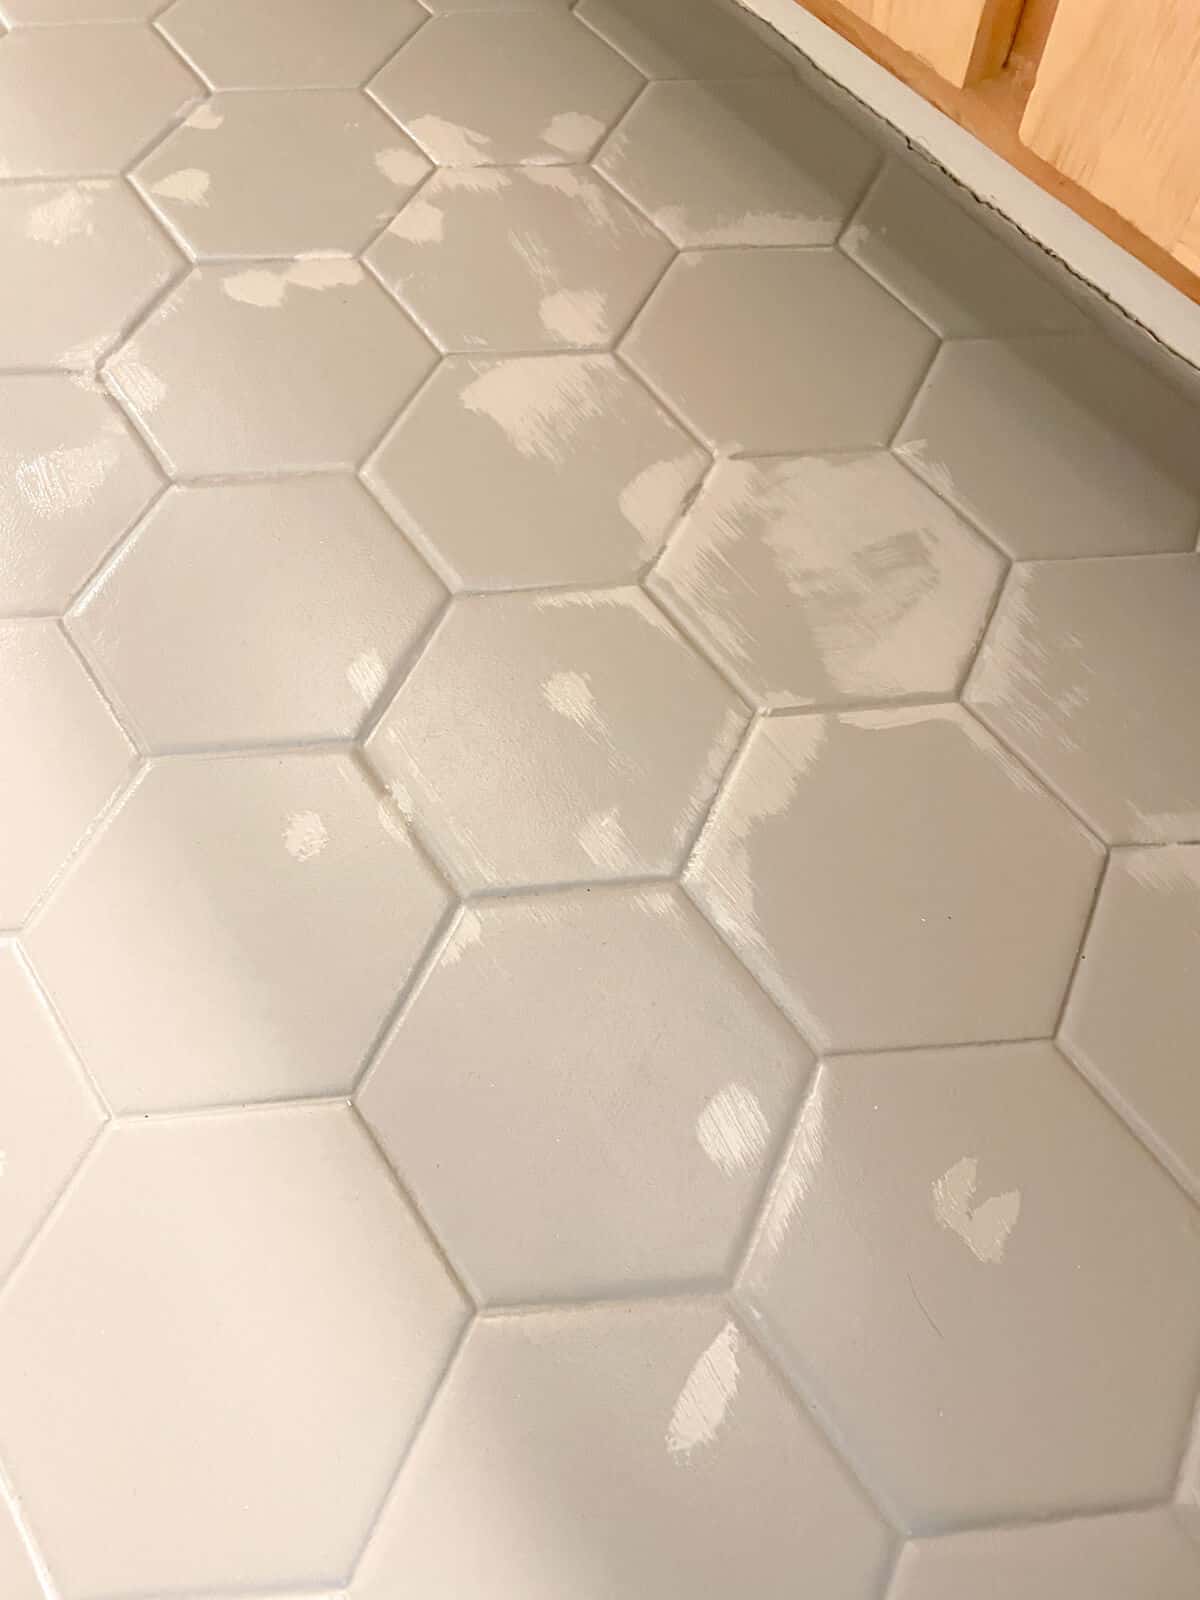
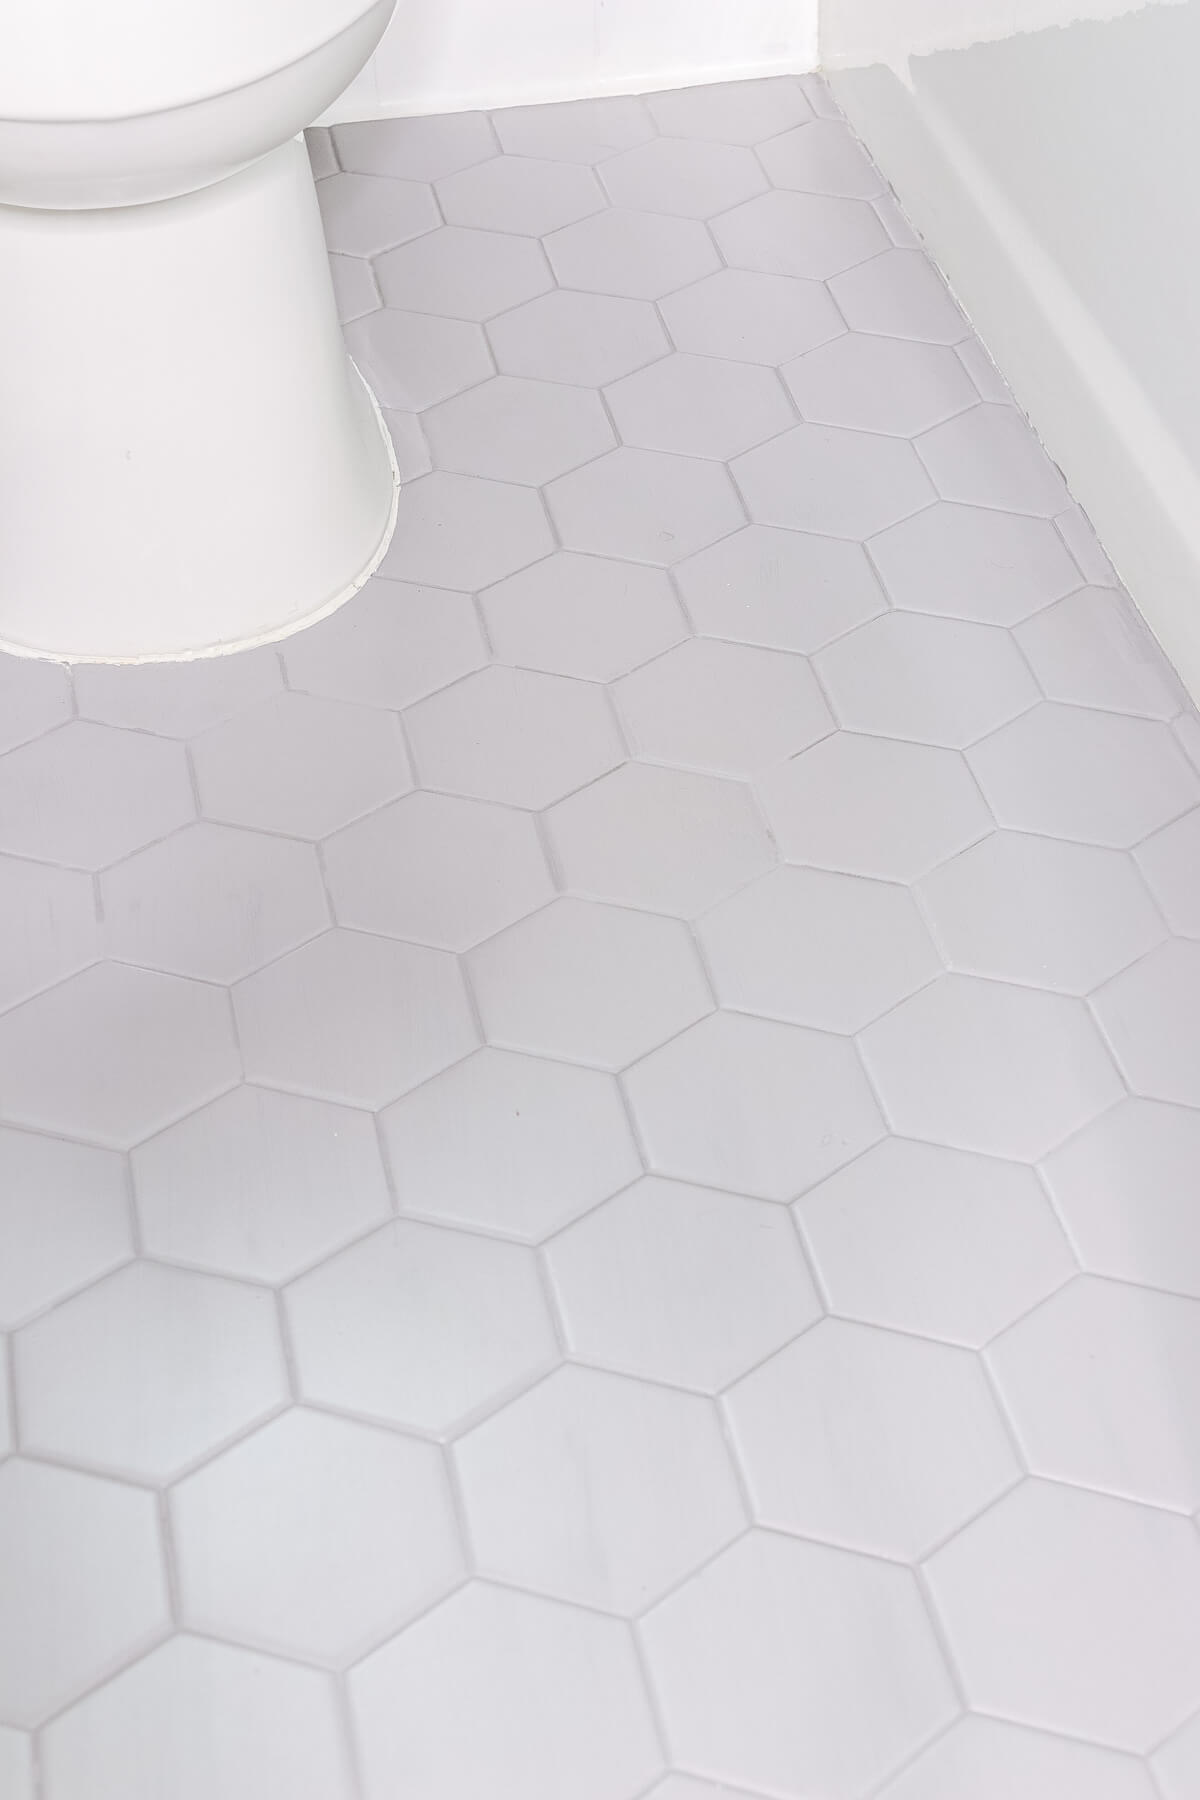
Unfortunately we do have some necessary touch-ups that have to be addressed. Especially around the toilet.
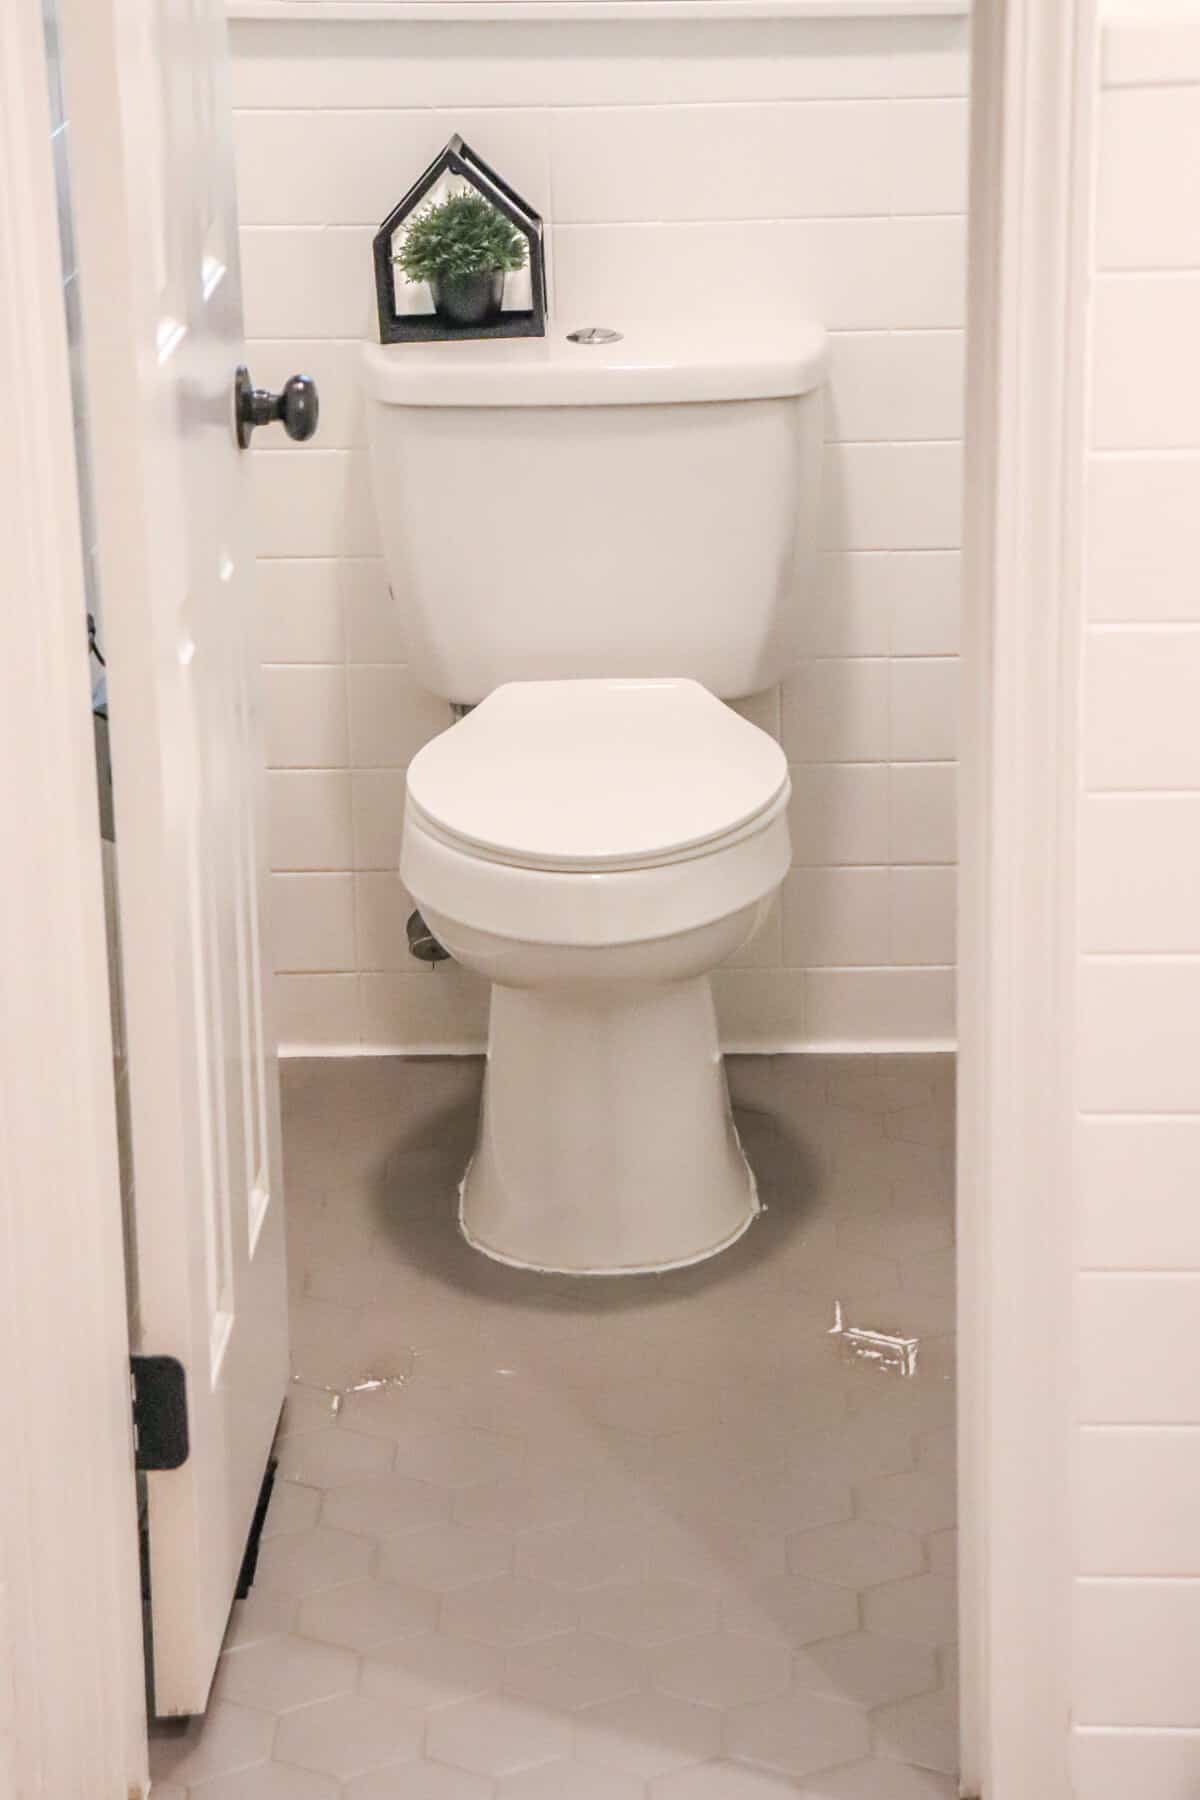
I’m not sure if it was lack of preparation on my part, or shoes rubbing against the floor. Or maybe the moisture from the shower causing the area to wear down.
But it definitely is an eyesore.
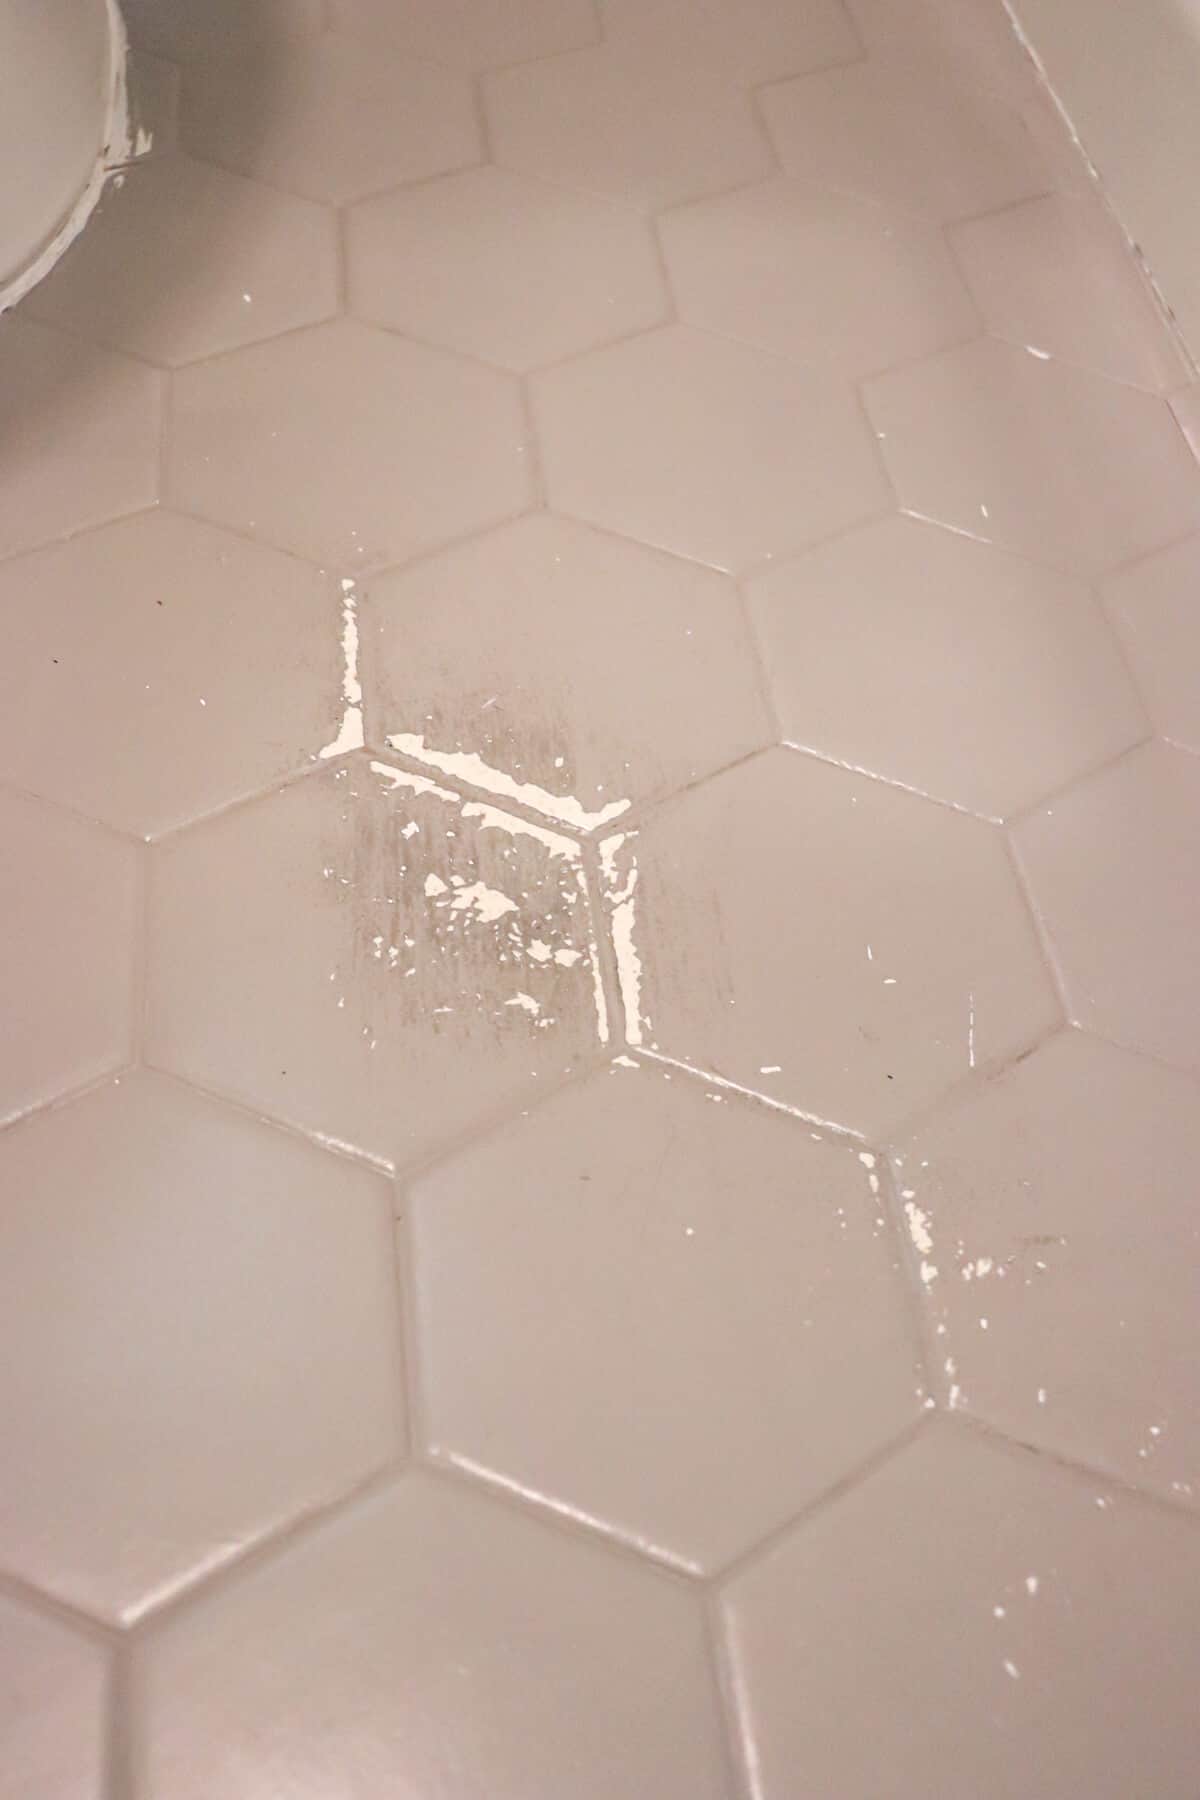

How long does the floor tile paint last?
The length of time may vary for each home, but we just recently started noticing the spots about 2 months ago.
Once they appeared the bare spots grew quickly.
But as I mentioned, this is a bathroom that saw a lot of use – especially during the pandemic when we were all at home.
All in all, it has performed wonderfully and is a great short term solution.
Since this was our DIY blogger project, I saw this as a temporary fix to bring new life to an ugly bathroom until we can afford to install a new floor.
So I’m pleased this finished floor has lasted us more than 2 years.
The wearing away around the toilet makes sense since this room definitely doesn’t get light foot traffic!
There is also a spot near the front of the bathroom that chipped away.
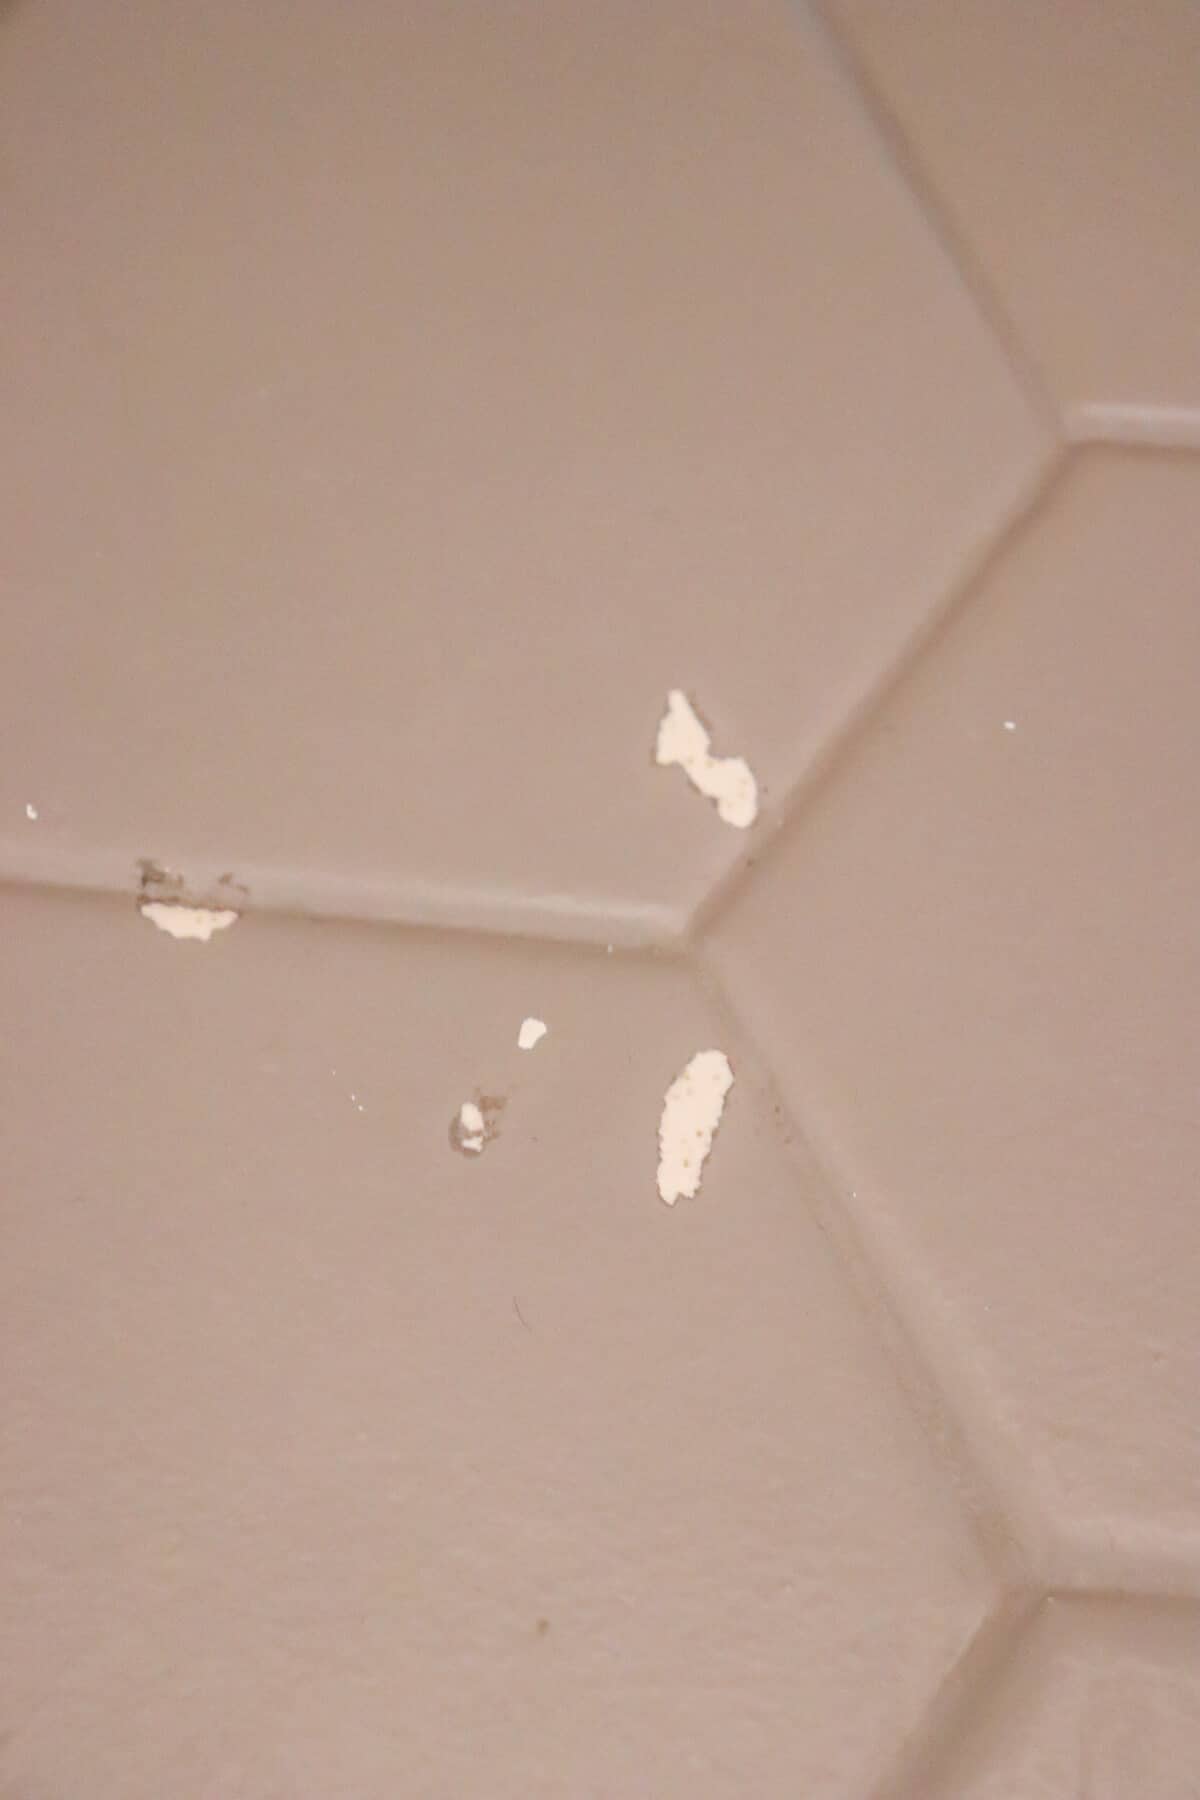
But that was because our boys were goofing off and the door was busted off it’s hinges and landed on the floor.
So that is truly an anomaly that normally wouldn’t have happened.
What would you have done differently?
I still would have painted the tile. In fact, I may be painting the tile in our basement bathroom!
But there are a few things I would have made sure to do now that I’m on this side of things.
Before the initial base coat application, it’s important to prep the ceramic tile.
I used Krud Kutter – which I love as a cleaner! It’s heavy duty for sure.
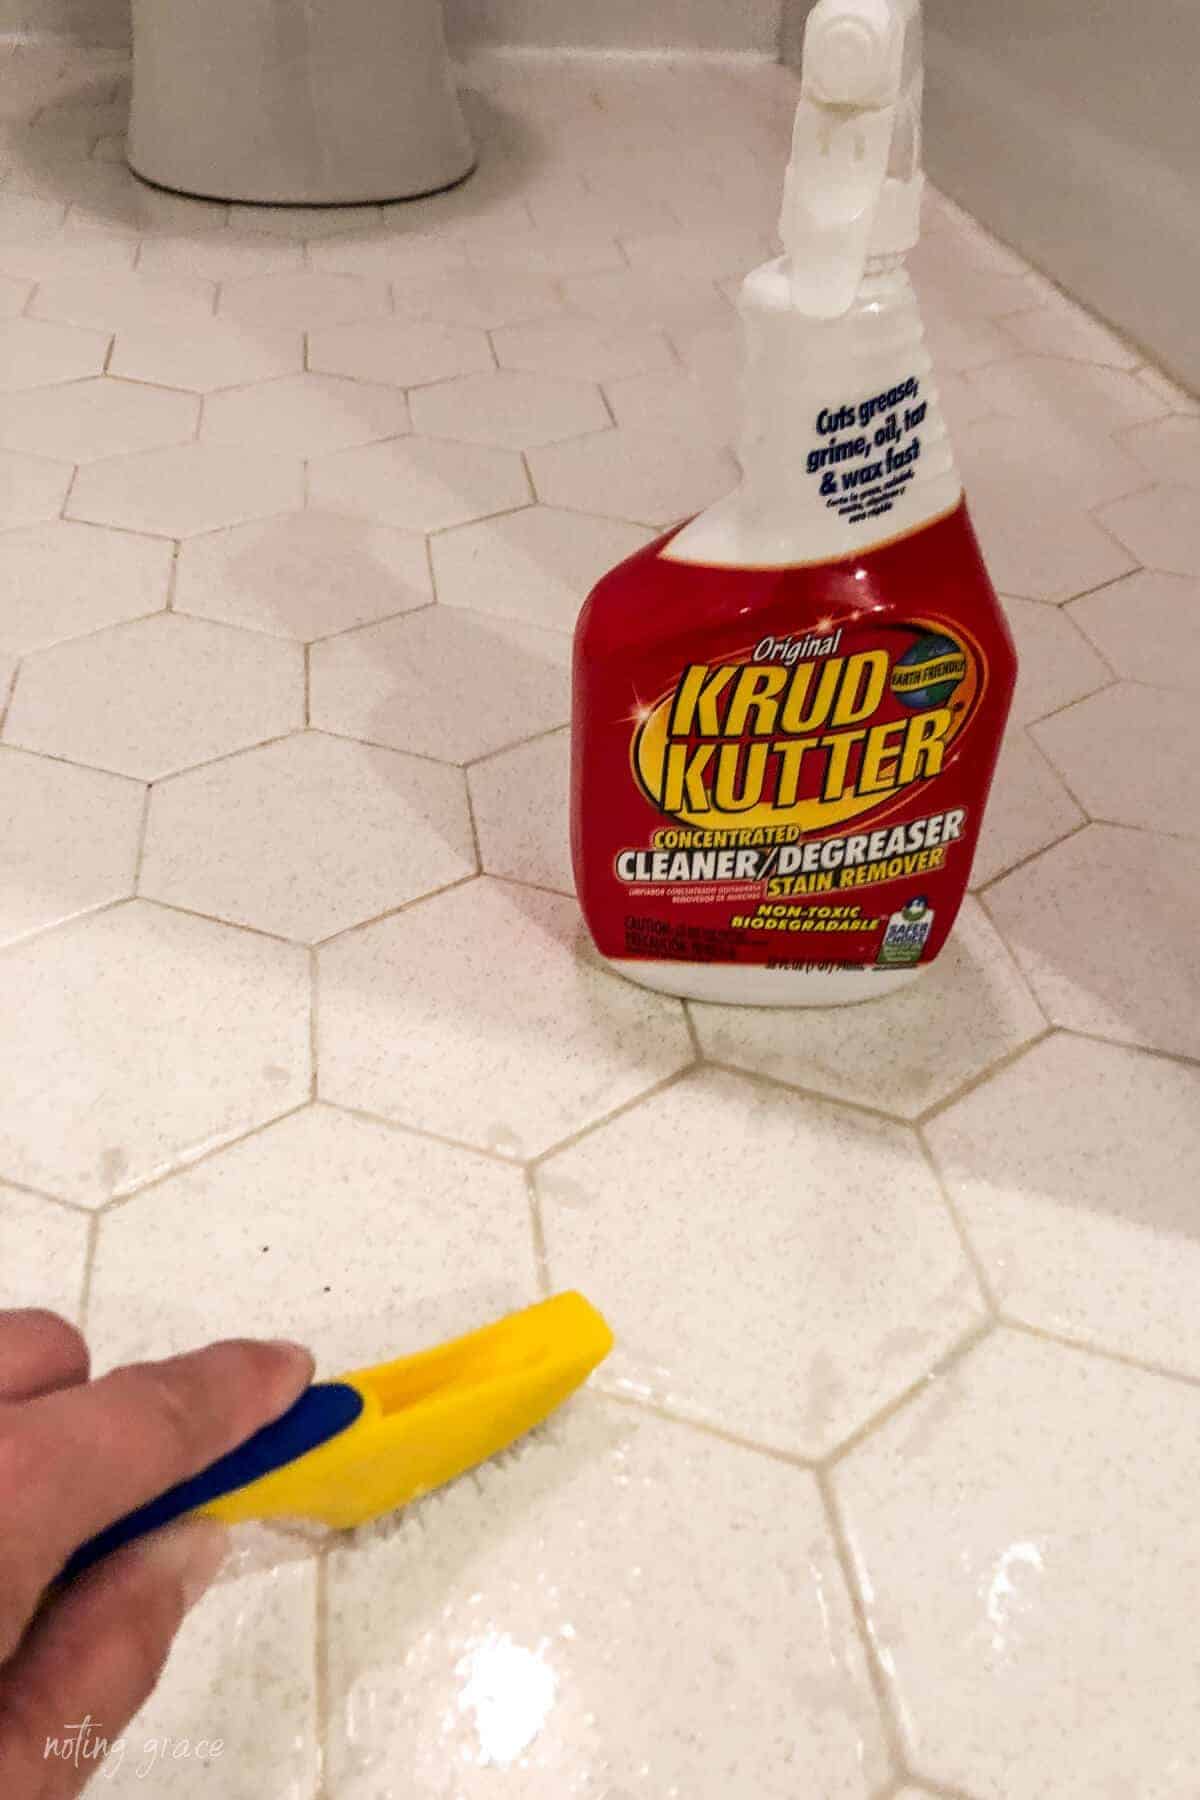
But, maybe I would have started with more of an abrasive cleaner or scuff the bathroom floor tiles first like I did with the wall tiles.
Then follow up with a cleaning using the Krud Kutter before I applied the first coat.
Another thing I would have done differently is to apply a second coat of the Rust-Oleum Home Top Coat.
Can you touch up painted floor tile?
Even with the nicks and marks of our heavily used floor, I wanted to see how it looked if I gave it some touch ups.
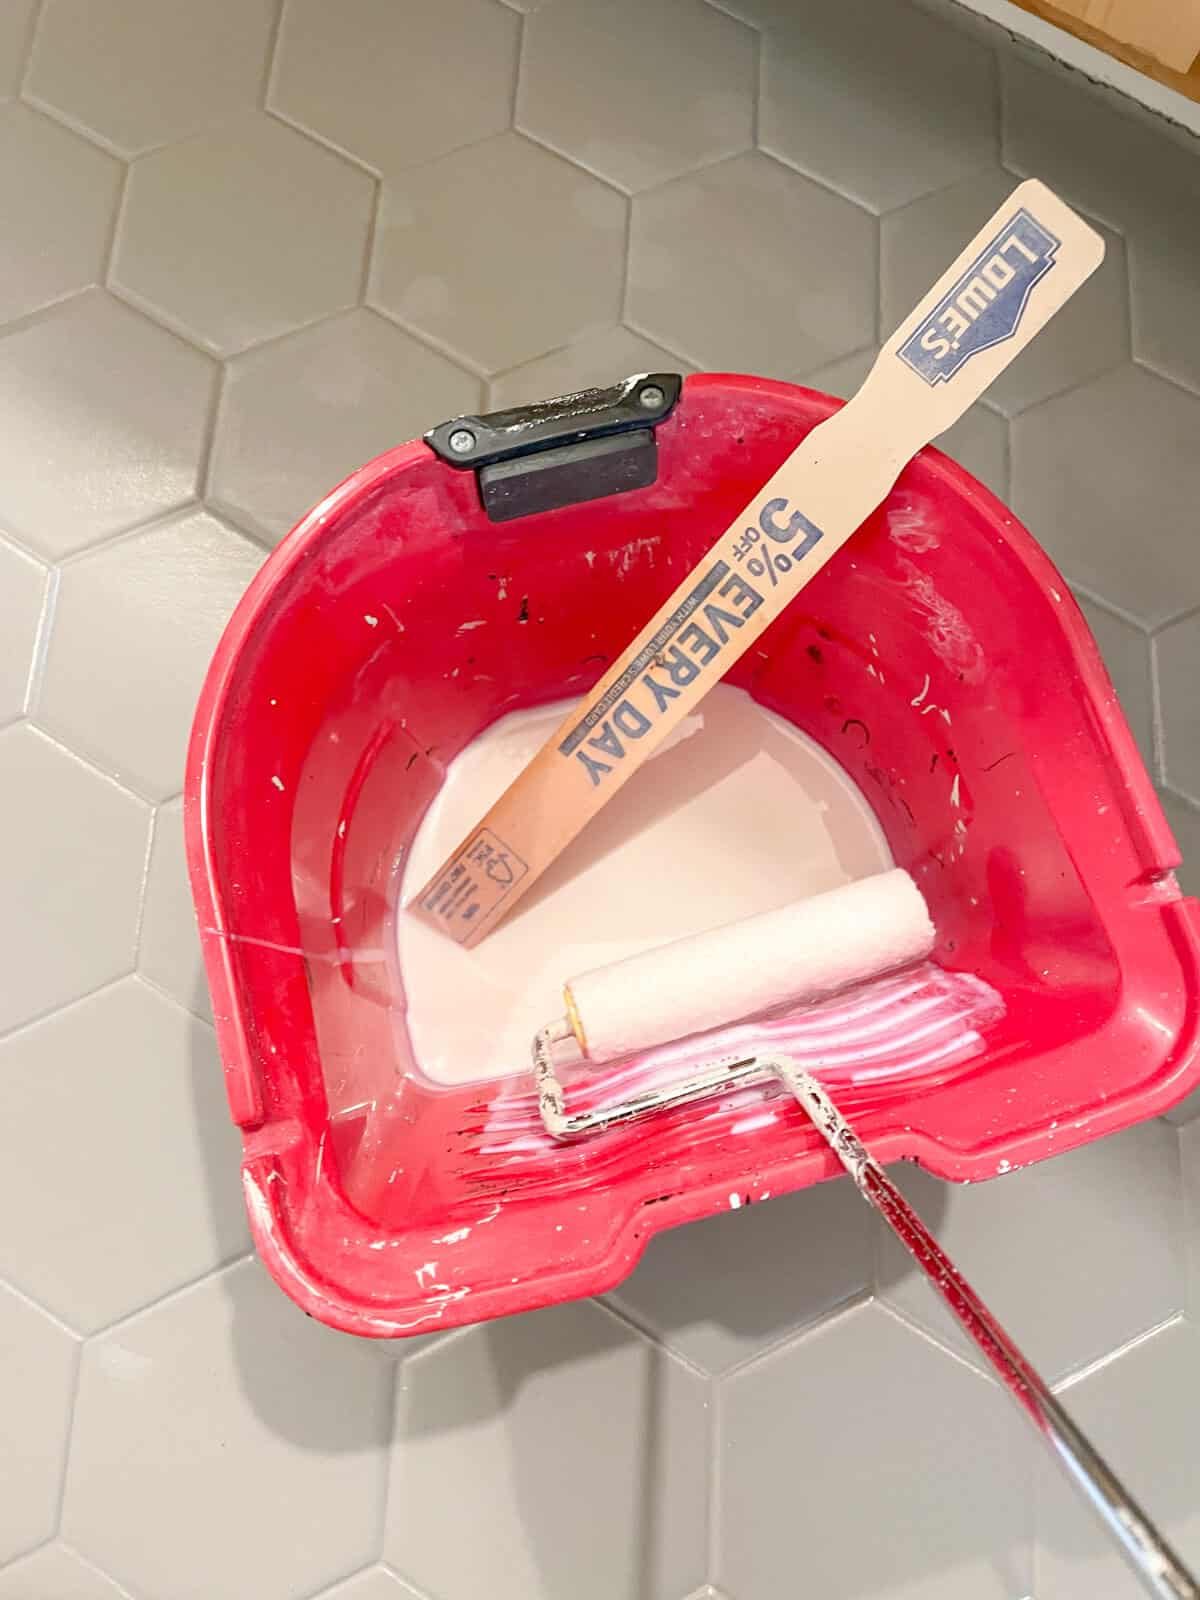
And this paint gave the best coverage. We don’t have much square feet of bathroom tile and we still have an almost full gallon each of the full system after the first application.
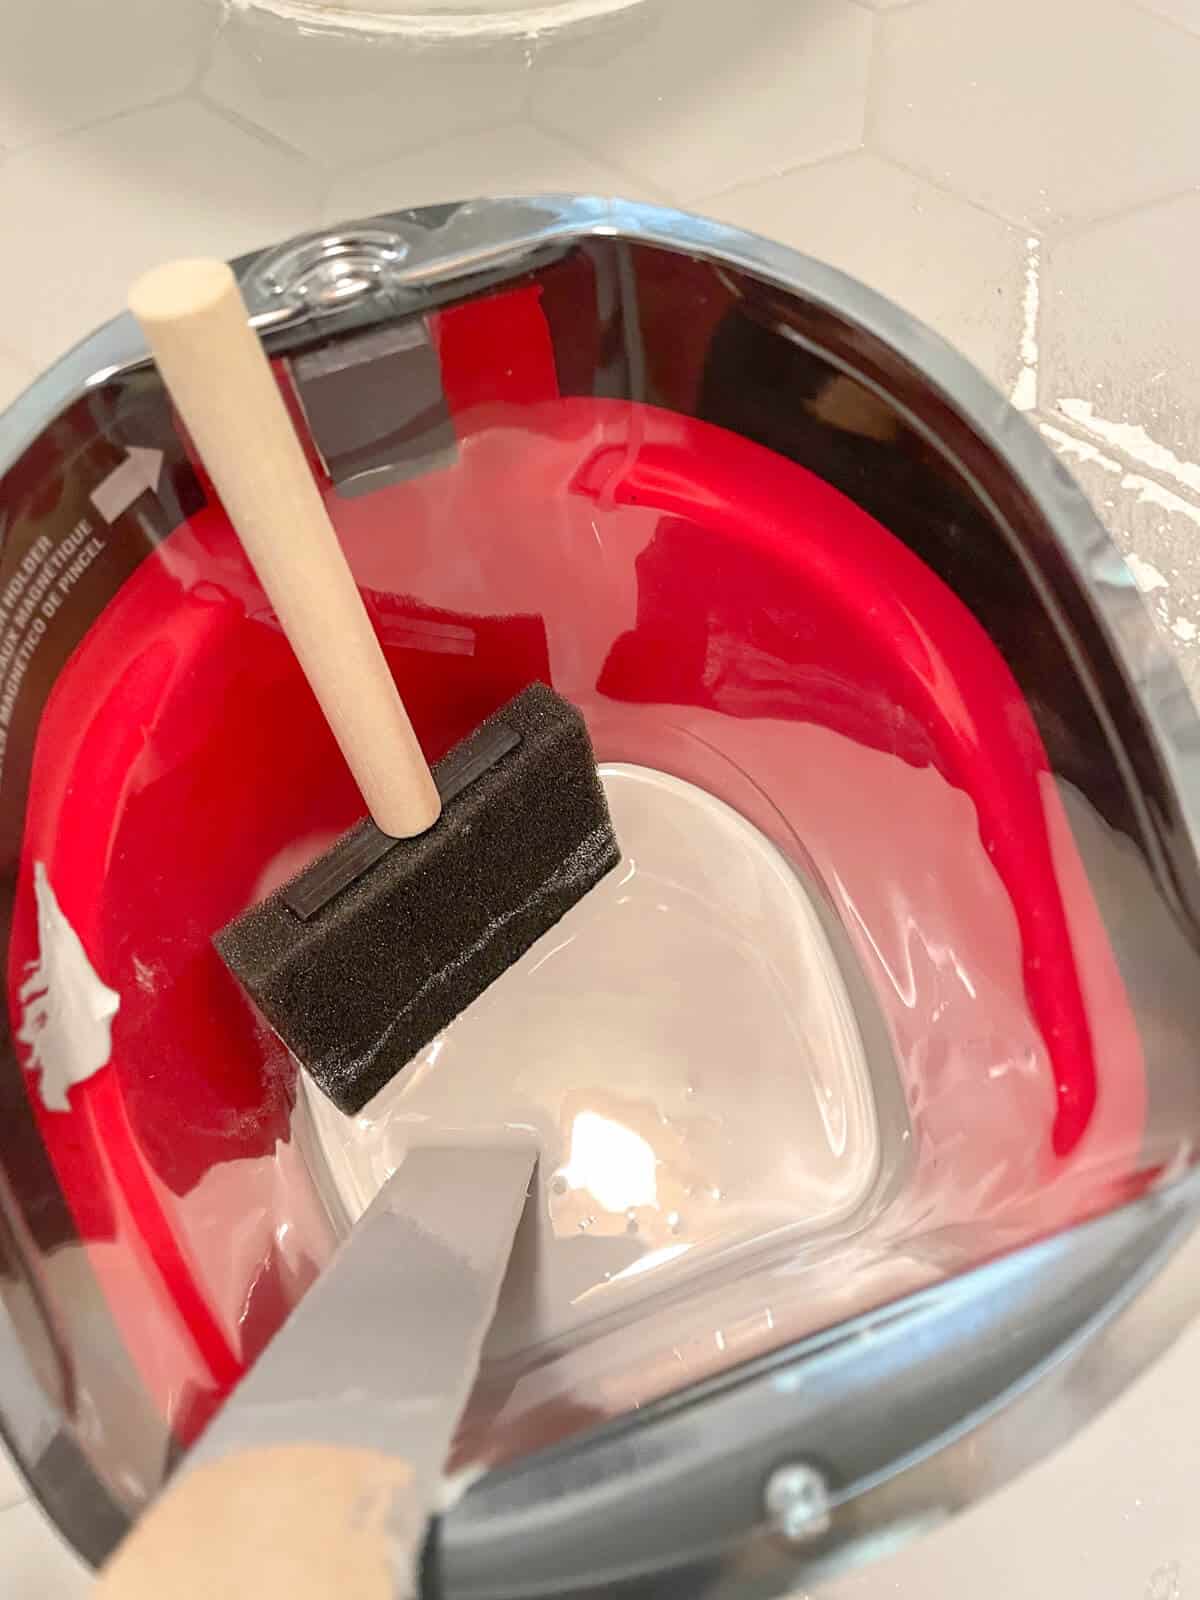
I poured a little of the base coat paint into my Handy Pail and made sure it was fully mixed. I love their little disposable paint trays!
Here’s how I did the touch-ups:
- Clean the floor – the first thing I made sure to do was thoroughly clean the
- Tape off where you aren’t painting – Since our wall tile was painted a different color, I used painter’s tape to make sure that I had clean border edges.
- Have a foam brush and paint roller handy – You want to make sure all the grout lines are fully covered, so having both at the ready makes this project easier.
- Start in the back corner and remove the tape as you go – Since you need to allow the paint to fully cure before walking on it, I would tape and remove the paint as I worked my way out the door.
- Finish with the top coat – the hardest part is waiting for the top coat to fully cure between coats.
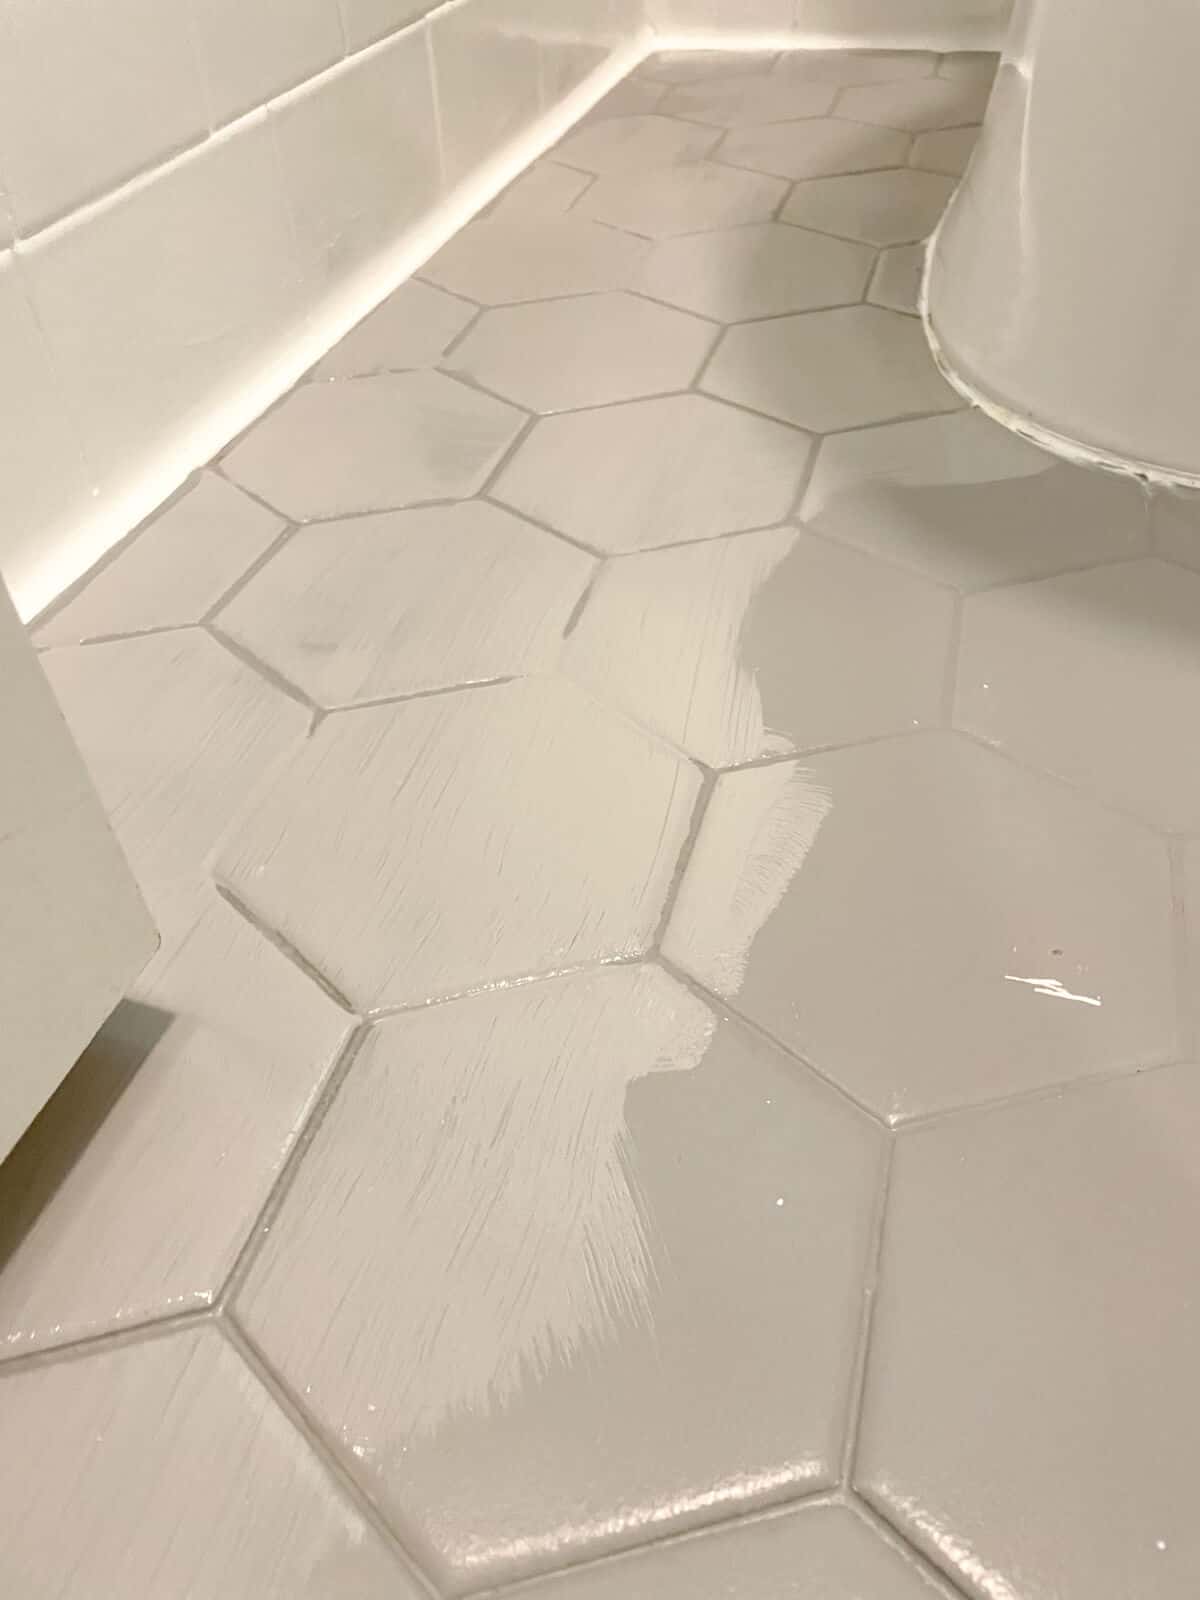
It was incredibly easy to cut in with the foam brush.
I started on the outside edges and worked my way into the center where the worn tile was.
For the toilet area, I stopped at the threshold of the door.
Where the door had knicked the paint, I opted to only touch up this area.
Hint: After the touch-ups dried, I wish I would have repainted the entire floor like I did around the toilet. But the touch ups did fade once the top coat dried.
Once the base coat dried, I applied 2 coats of the top coat.
Make sure to allow time for a full cure between coats.
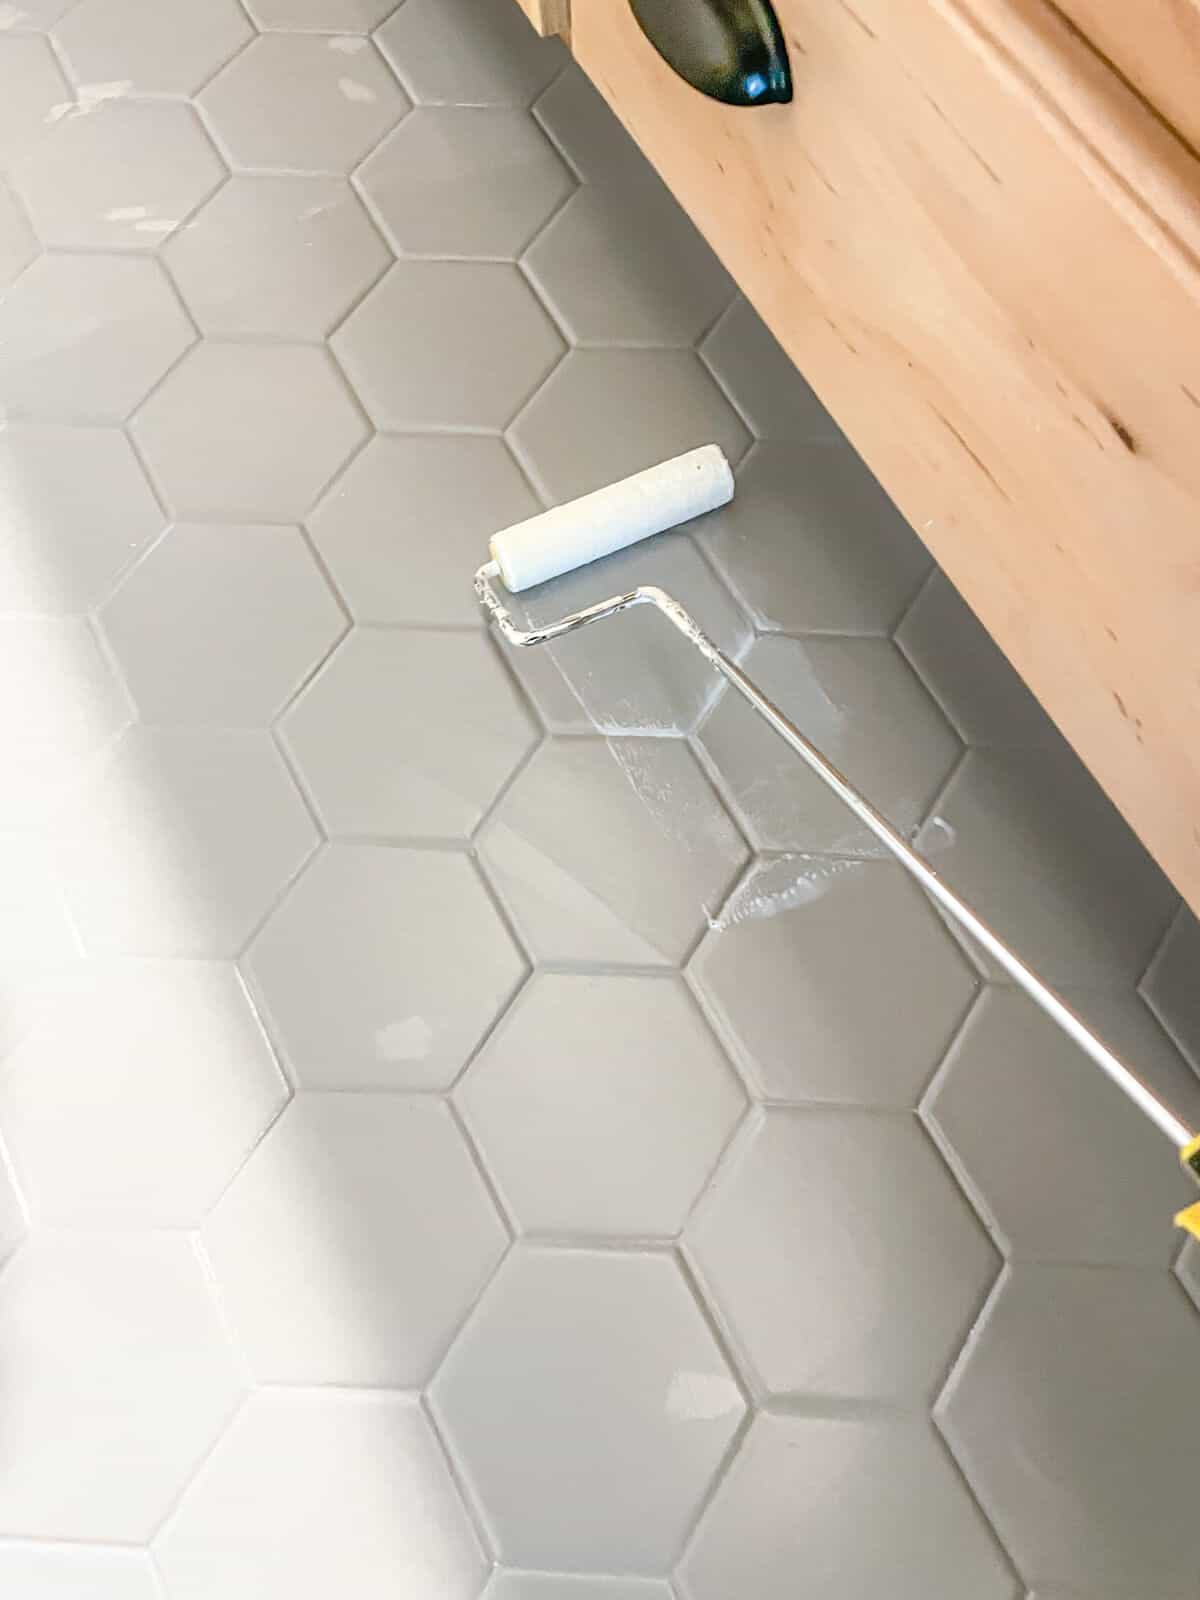
I found the foam rollers to work better than a typical nap roller.
Those might leave residue in the top coat.
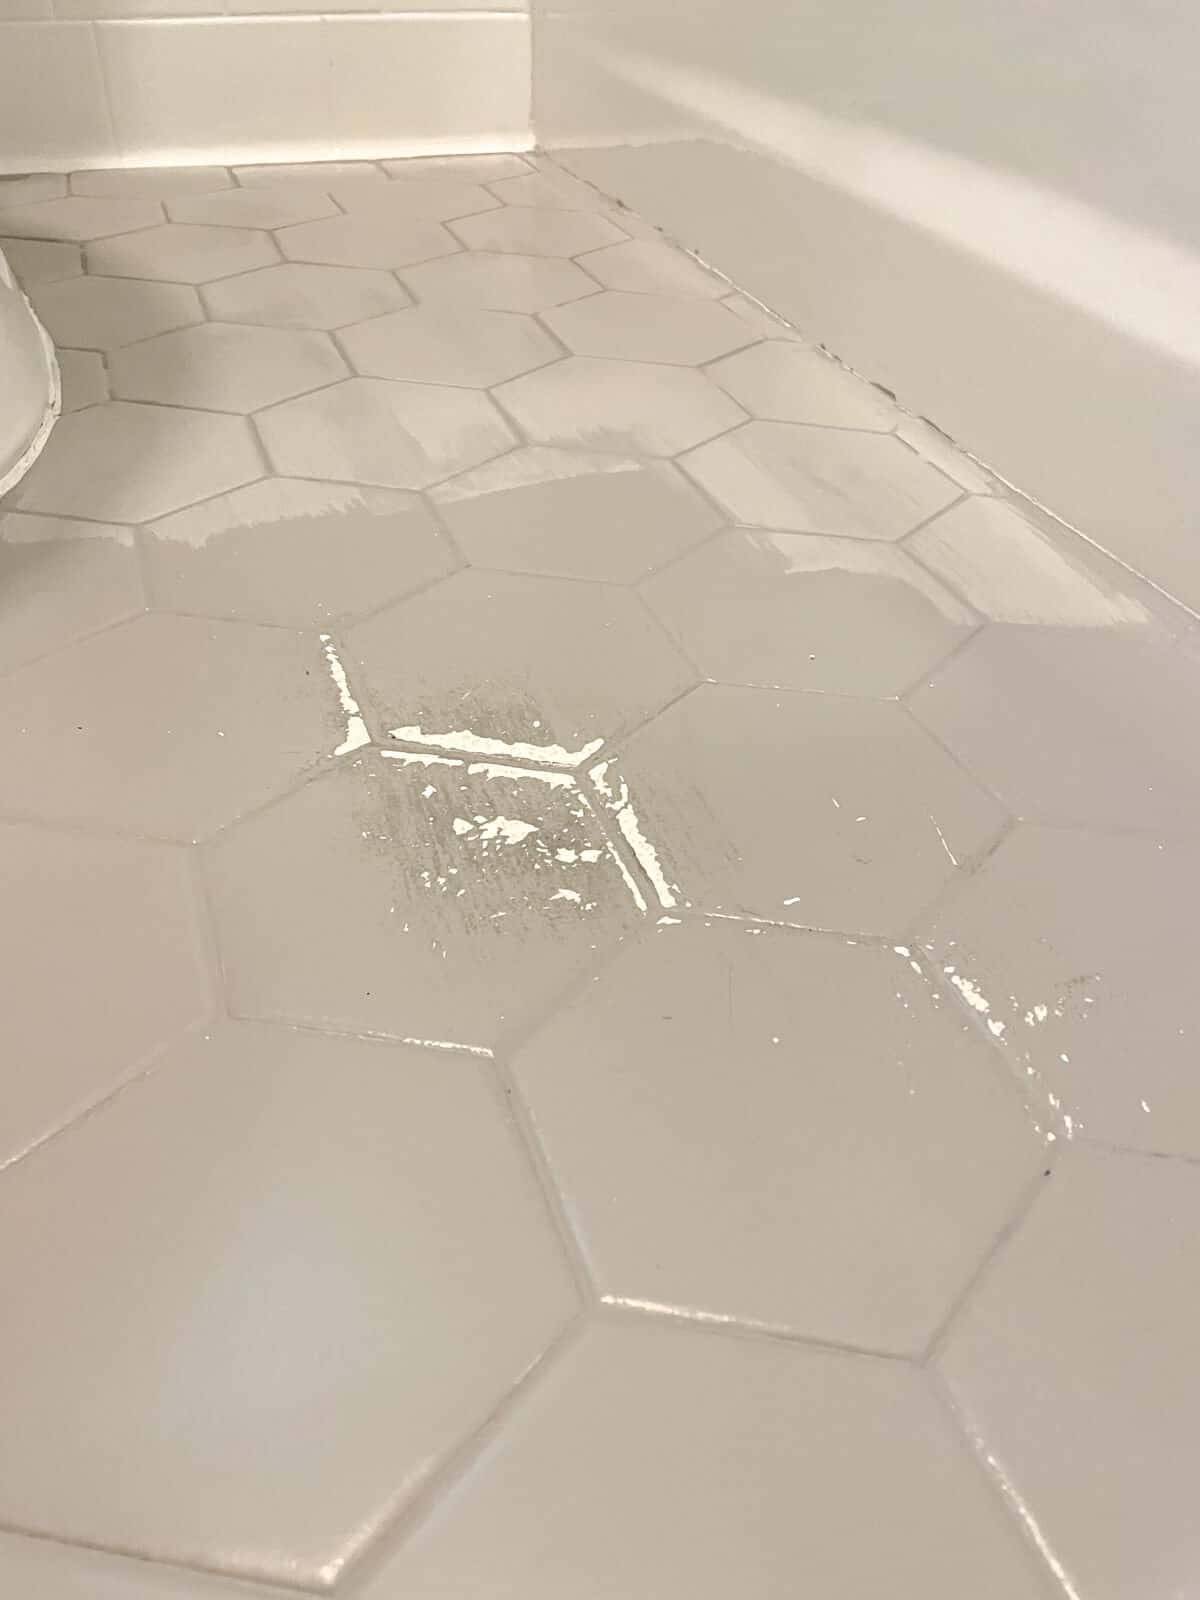
Here is how the topcoat looks on the touch ups before drying.

You can definitely see the touch ups.
But they faded as the top coat cured.

Frequently Asked Questions
Would you do this project again?
On this side of things, yes, I definitely would!
I love the matte finish of the floor. And being able to touch up the floor was an easy process.
Plus, there are so many different colors available! It would be fun to use this system again using a second color with a stencil in addition to the first base coat color.
I would also consider applying this paint to a concrete patio or laundry room floor. But I would definitely add multiple coats of the top coat for additional durability.
The entire process is very easy, doesn’t take too much time to complete, and is a perfect way to temporarily fix an outdated floor.
Where wouldn’t you use this application?
I can’t see painting the interior floors of an entire house with rustoleum floor paint. Especially if you have pets that may scratch the floor easily.
This is also not intended for walls, like shower tile. You should use the epoxy based Tub and Tile paint for that.
I would also avoid using this to paint counter top tile.
Has it been easy to clean and maintain?
Other than the worn spots on our floor, it has been super easy to clean.
Since this is a painted surface, I recommend using a soft cleaning cloth or brush. Any friction from a stiff scrub brush could hurt any painted surface.
But overall, it’s been very easy to keep clean with my 2 messy boys.
When using the foam roller to paint, does it leave a texture?
Not at all! The top coat has a leveling element that dries as a smooth surface.
It feels like regular tile under bare feet.
Top tips
- Whenever painting, I find it easiest to keep a wet edge. That means, working in the same area that you just cut in. This allows for the best results when using acrylic paints.
- Make sure to have good ventilation. Floor coating paints are many times very smelly, especially when working in small spaces, like a bathroom.
- If you have a small bathroom like this, then a quart size would be enough. Even after the touch-ups, we still have lots of product left over.
I hope this helps you if you had been asking do painted floor tiles last.
I would definitely do this again and plan to use the same thing when we redo our basement bathroom!
shop our favorite home items
shop now
More DIY Bathroom Projects and Bathrooms
- $1000 DIY Bathroom Makeover That Doesn’t Look Cheap
- Master Bathroom Makeover for less than $4500
- DIY Wood Bathroom Countertop: An Easy Way to Change your Vanity in 1 Weekend
- How to Easily Regrout Your Bathtub Walls Without Removing Old Grout
- Tips, Trends and Inspiration for a Bathroom Refresh
- Master Bathroom Makeover Video Tour
- How to Easily Make a Bathroom Countertop Taller
- Vintage Farmhouse Powder Room – for less than $500!
Originally Published 5/26/22 | Updated 11/19/23

This article on painted floor tiles presents a useful 2-year review. It offers practical insights on the longevity of painted tiles, aiding in informed decisions for home improvement. The straightforward language ensures easy comprehension, making it a helpful read for those considering this type of flooring transformation.
Question? The wall application is crossed out – what product do you recommend for painting wall tiles?
My parents home was built when avocado green was in style… so it’s everywhere. (Mom loved it! 😊) The bathroom is used for the swimming pool area – so my Dad had the tile floor set in CONCRETE for waterproofing. Lol. There is no hope of removing it! They are somewhat textured, so I think the floor painting will work well.
The walls are 4” square avocado green tile as well going 2/3 up the wall – but are a smooth glossy. I want to make sure I get the right product!
Thanks so much!! I love your work!
Sure thing! Our tile has held up really well in our boys’ shower, which says a lot, since teen guys typically aren’t the most gentle creatures. One thing I would recommend is cleaning lightly. There is one tile that the paint didn’t quite adhere, so I would imagine that any rough scrubbing may mar the surface. That being said, I recommend this for a temporary fix that lasts about 3-5 years. Down the line, I think we’ll eventually give this bathroom a complete overhaul. Hope that helps with your decision making! For us, it was worth the work even knowing we’ll be tackling again in a few more years.
I’m attempting to convince my spouse to let me paint a shower stall (very small) that has the same type and age of the tiles in your project. He is convinced it will not hold up and will look ” cheap”. Coukd you give an opinion or review of how your shower tiles have held up?
So glad this helps! Thanks for taking the time to comment!
Very helpful post with good suggestions. These “how did it hold up?” posts are really important. Given your review here, I would seriously consider this project.
OOH! I haven’t heard of that! I bet it would work much better. I will have to give the gloss off a try. Thanks for suggesting it!
This looks great! Thanks for the tutorial because I have some floor tile that needs painting. I wonder if Krud Cutter Gloss Off would have worked better than plain Krud Cutter? I haven’t used it myself, but another blogger used it before painting her kitchen cabinets with fusion mineral paint, and she said it worked great on them.