Updating an Old Entertainment Center
Our basement family room makeover revolves around one theme – our family home theater. Here’s how I’m updating an old entertainment center and giving it a fresh new look.
We bought this piece of furniture many years ago when we lived in Las Vegas and bought our first home there.
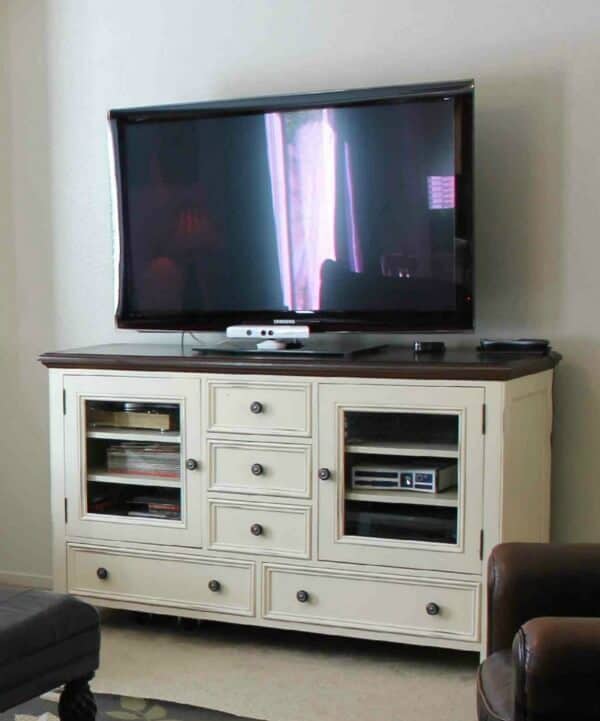
We needed TV stand for our living room and I loved the contemporary look.
But a few years ago, I wanted to give it more of a farmhouse feel. And I didn’t like the glass doors anymore.
So I painted it a similar paint color, but enough to give it a fresh new look.

I removed the glass and added some fun gray burlap that I found on sale at Hobby Lobby.
But when we were making over our basement family room, I wanted to give it a whole new look.
Plus, after years of use, it was in rough shape and needed some new life breathed into this piece.
I’m totally digging the new caning look that is so popular right now but couldn’t afford a new piece.
So what’s a girl to do, but give this tv cabinet a face lift!
Here’s how I did it.
Updating an Old Entertainment Center
(Some affiliate links are provided below. Full disclosure here.)
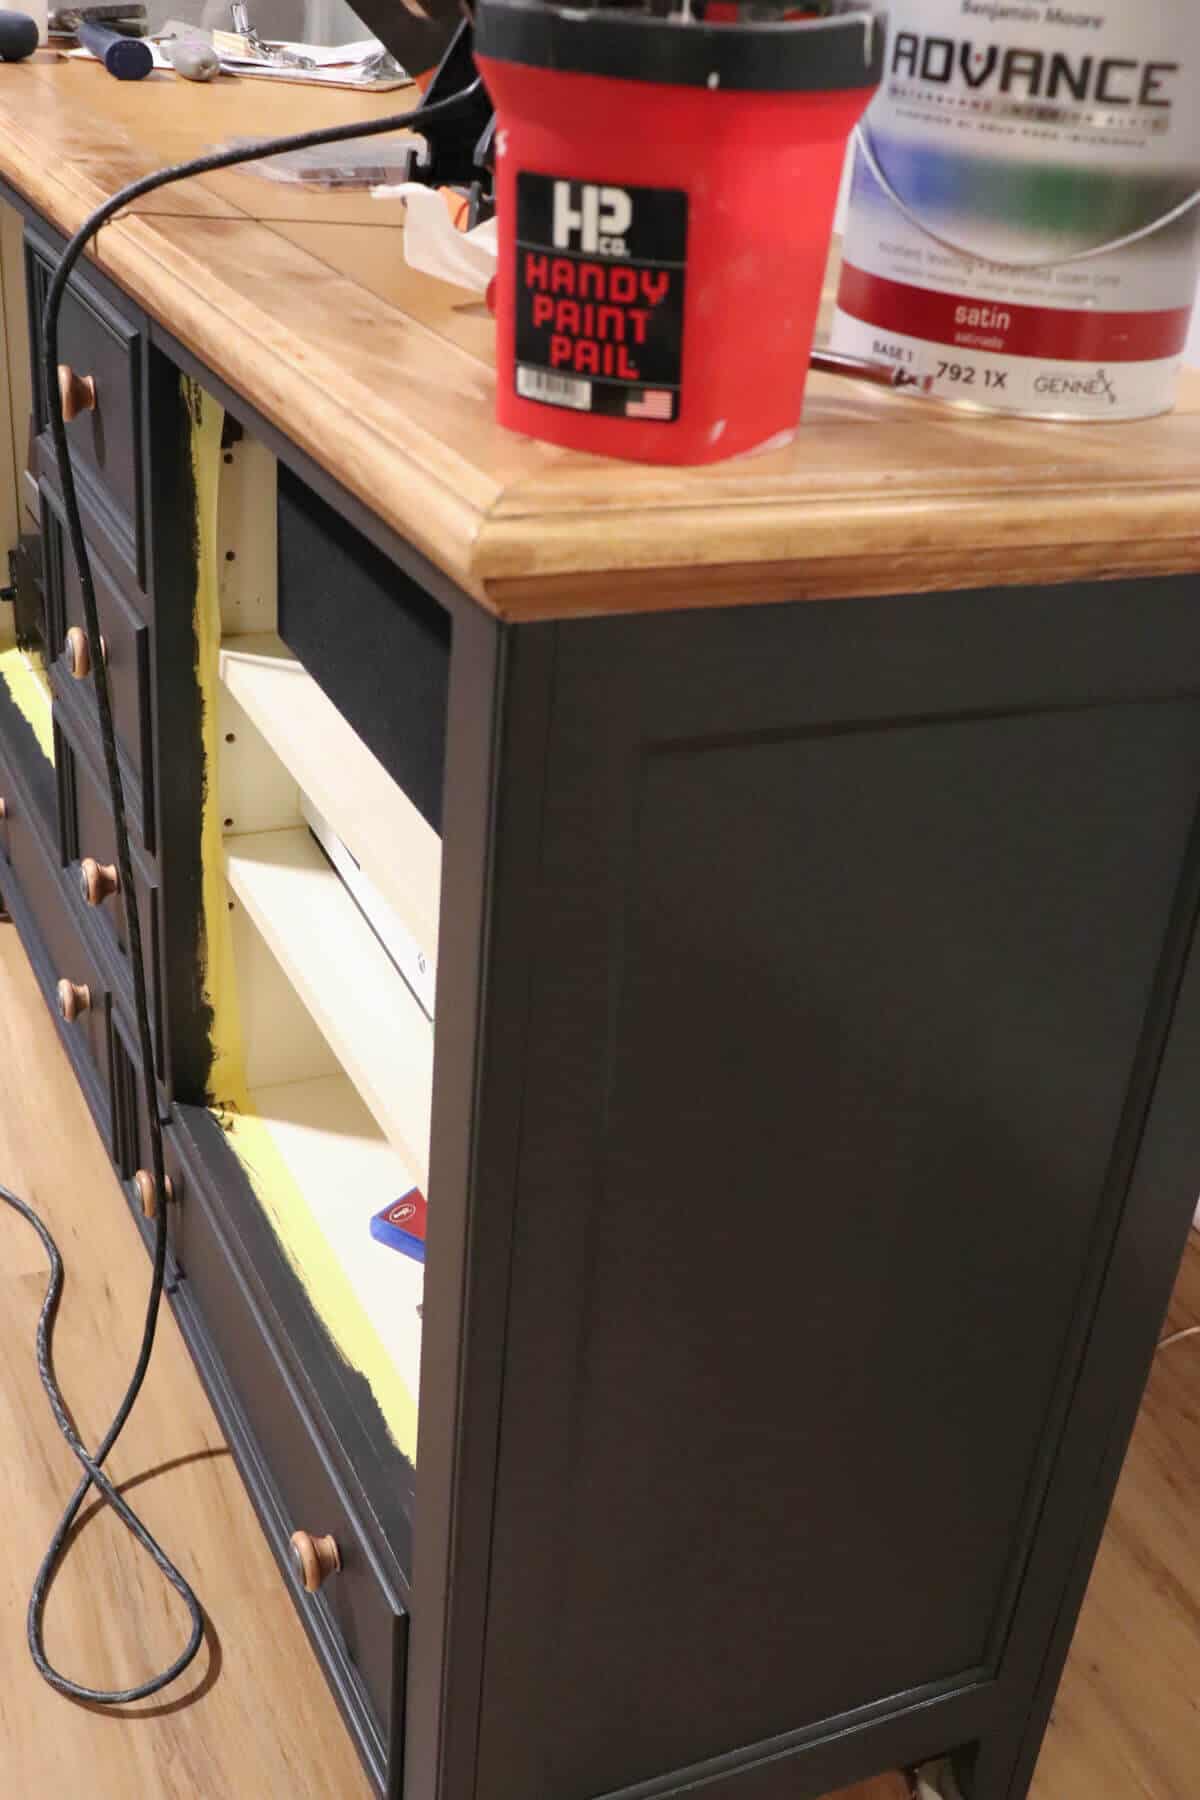
Supplies needed for this makeover:
Fusion Mineral Paint in Ash
Small Paint Brush
Paint Container – my favorite are these from Handy Pail
Caning – I got mine from Online Fabric Store
Staple Gun – I use this pneumatic one with my pancake air compressor
Scissors
When I was deciding on which color to use, I reached out to my friend at The Mended Fence. She’s a vendor at my local antique shop, the Brass Bear, and has so much wonderful knowledge about Fusion Mineral Paints.
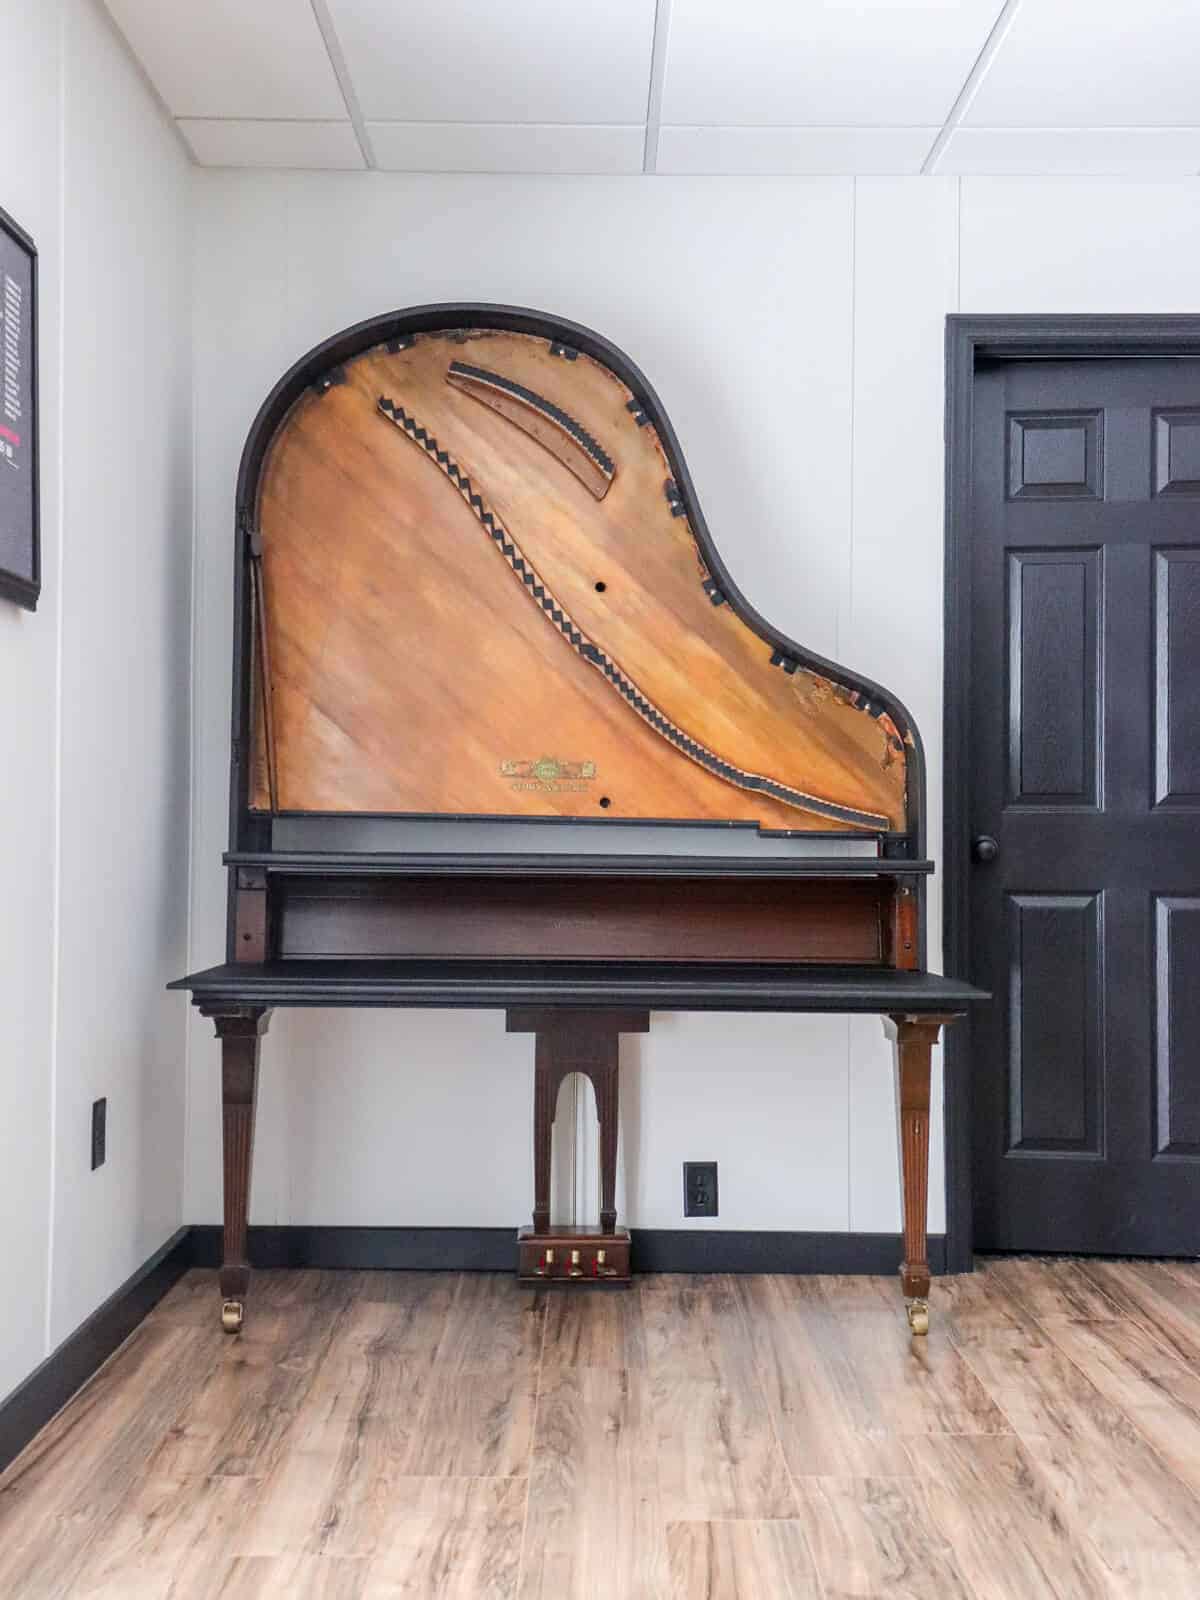
I’ve used them many times before, like on this chest and our basement handrail.
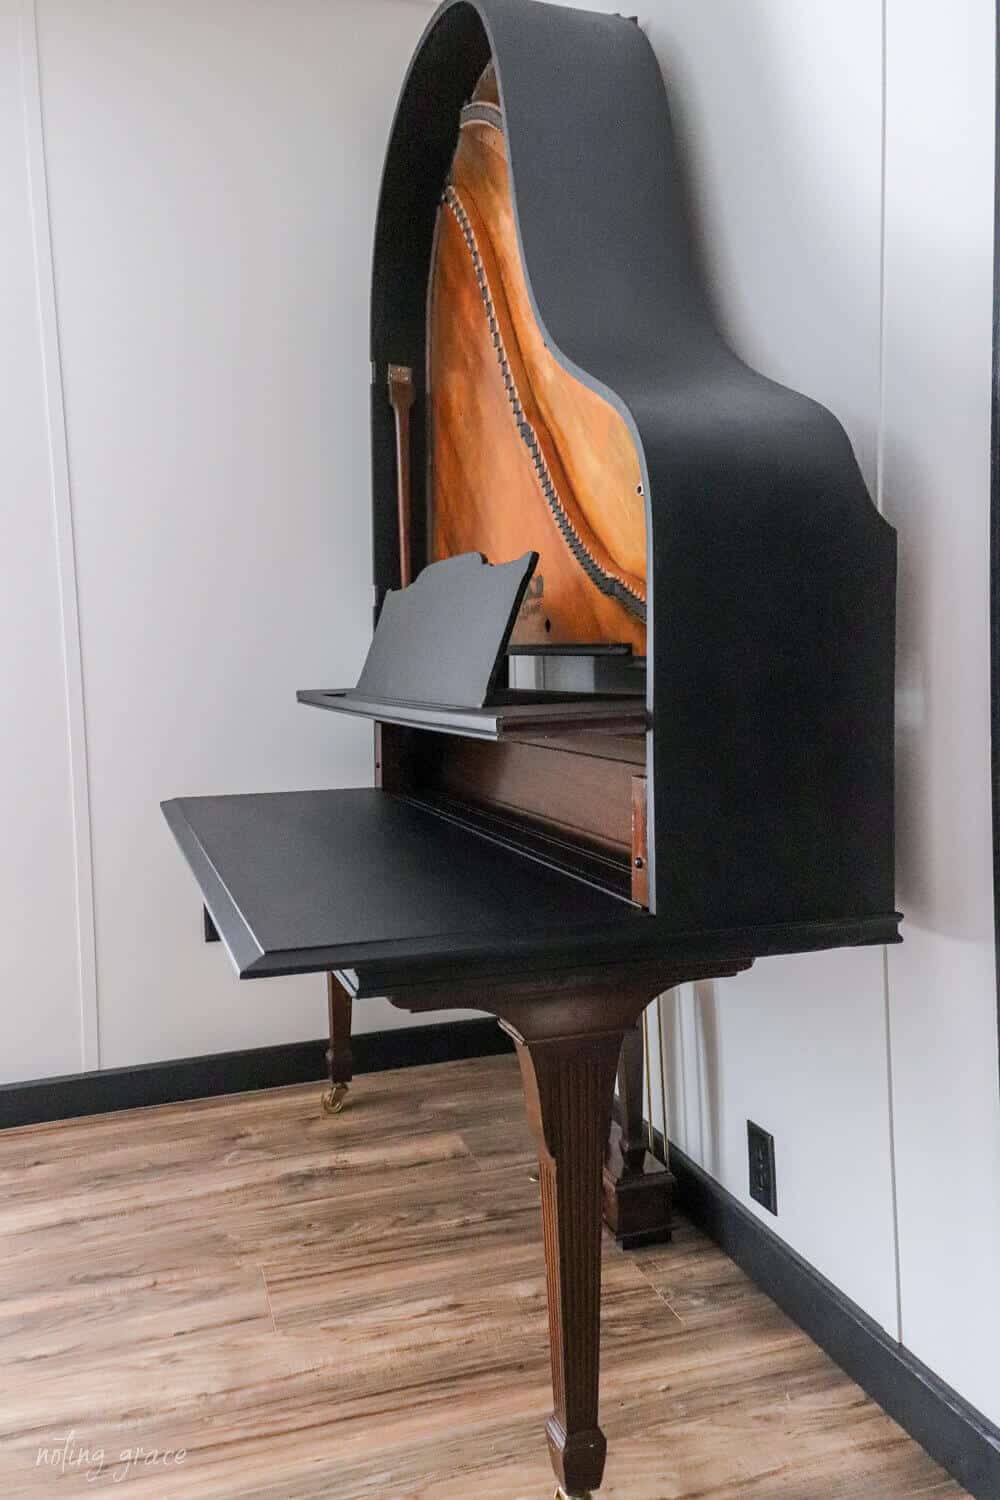
And I can’t forget how awesome it made my old piano makeover look!
After a few color recommendations, I settled on the color Ash. It’s a nice charcoal gray with cool undertones.
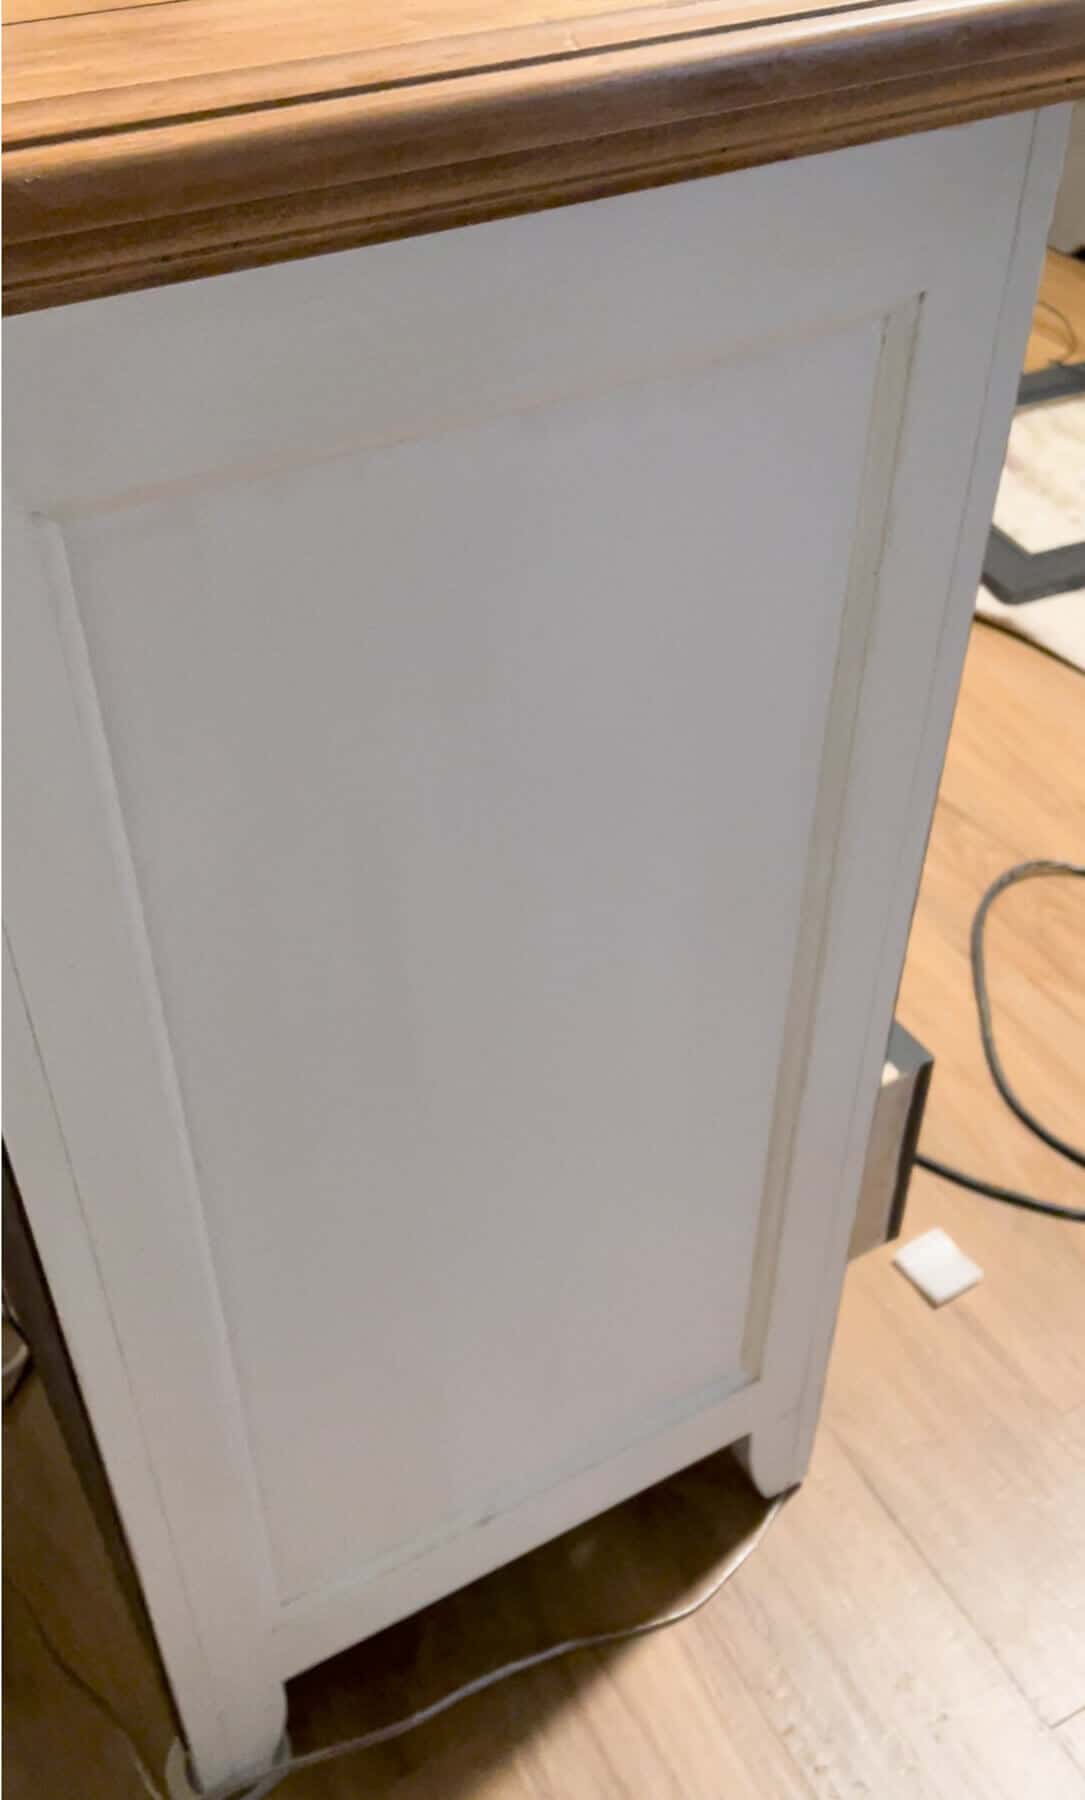
What I love about mineral paint is that there’s hardly any prep work needed unless the surface is sealed. Even then, a light scuff with fine sandpaper does the trick.
I started by painting exterior of the cabinet.
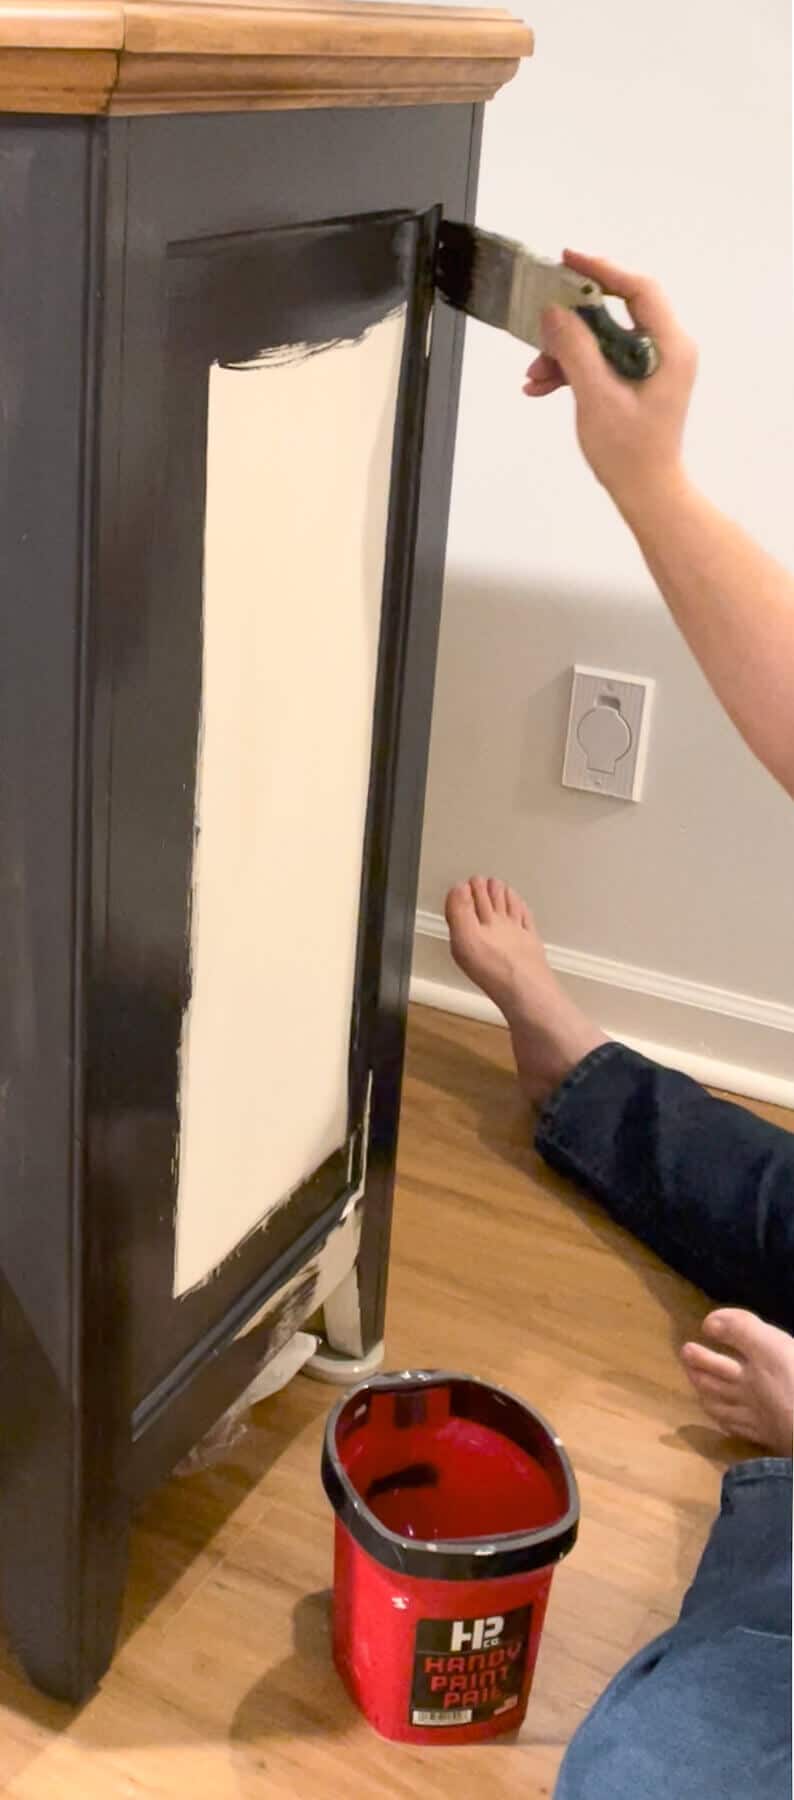
It goes on super smooth and doesn’t take a lot of time to dry.
I didn’t want to paint the whole thing, since you rarely see the inside of the cabinets.
After the first coat, I could immediately see that I would need another coat.
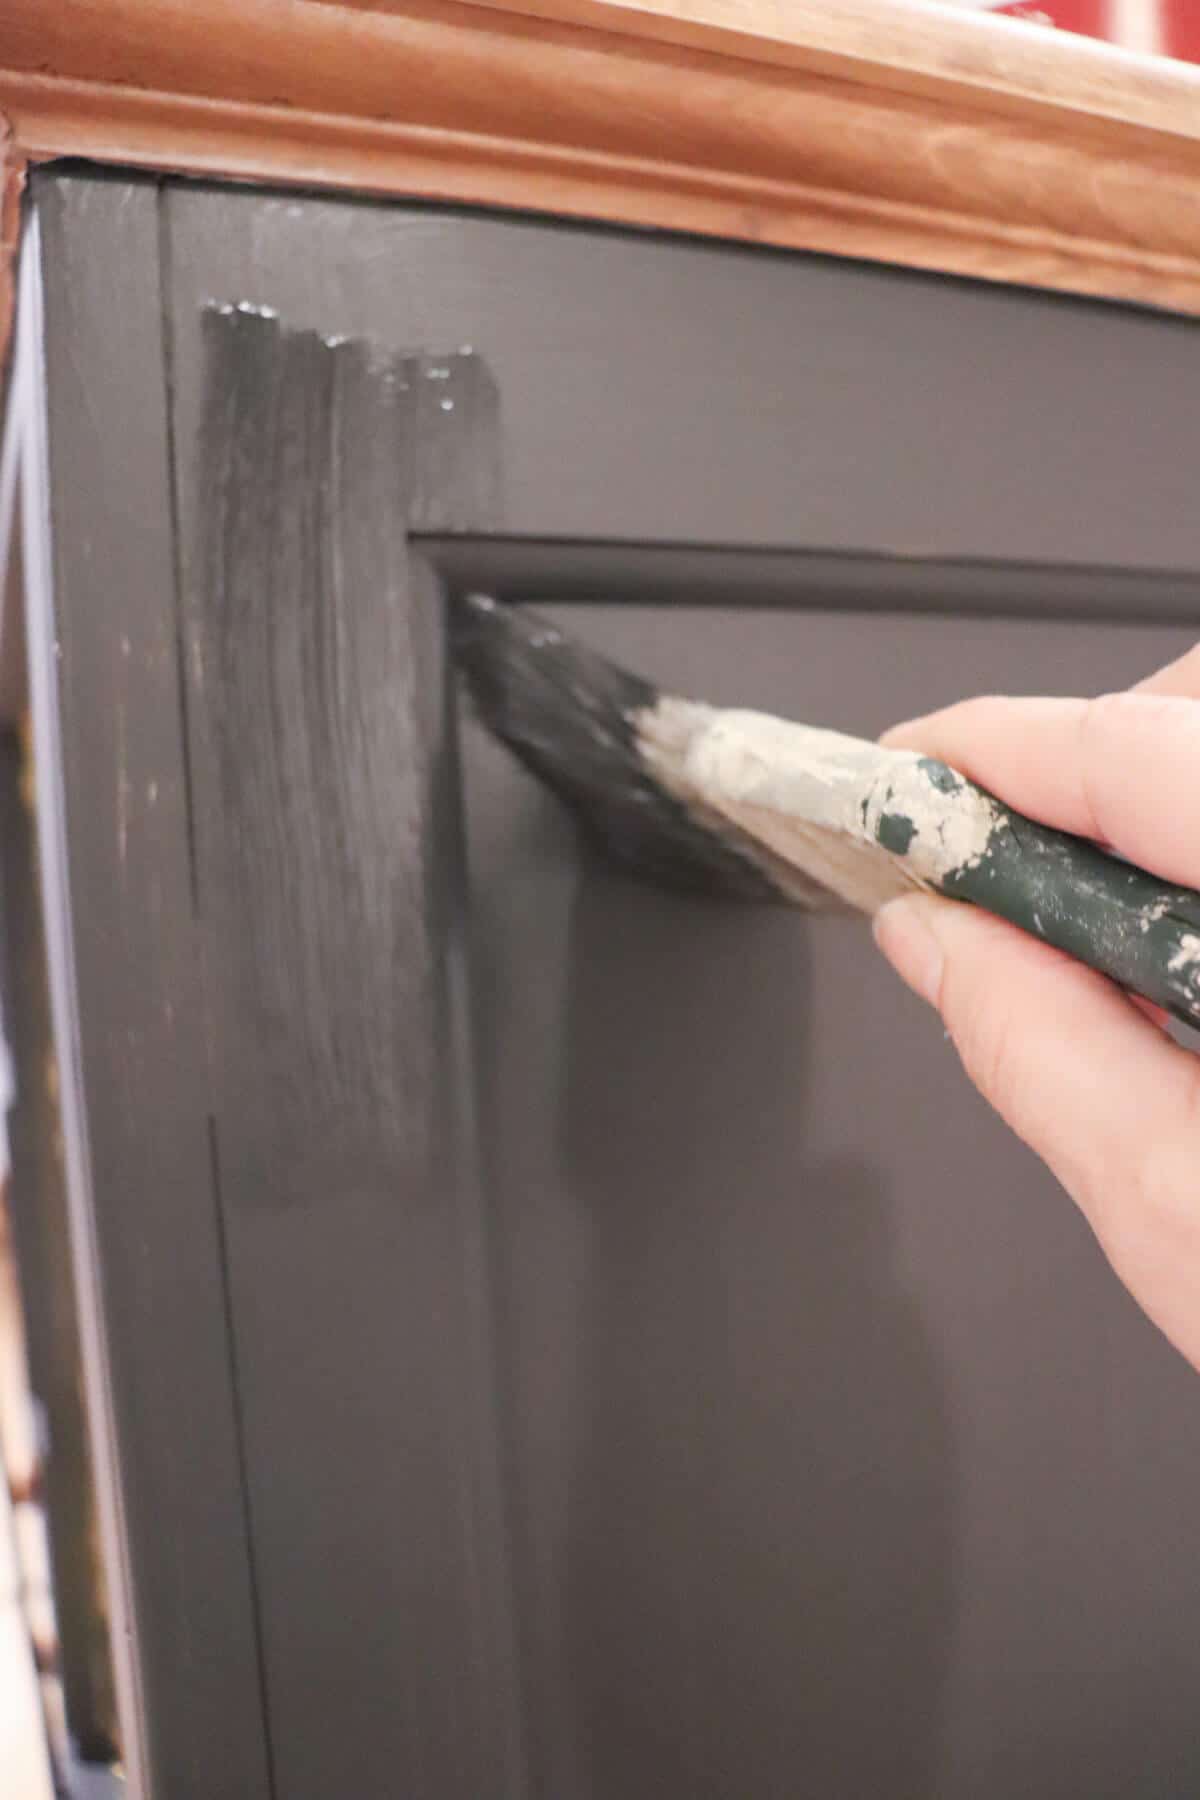
Going from a white painted base to a dark color is a huge difference and you would need 2 coats of paint for full coverage.
I allowed the first coat to dry overnight before applying the next coat.
The following day, I started by soaking my caning.
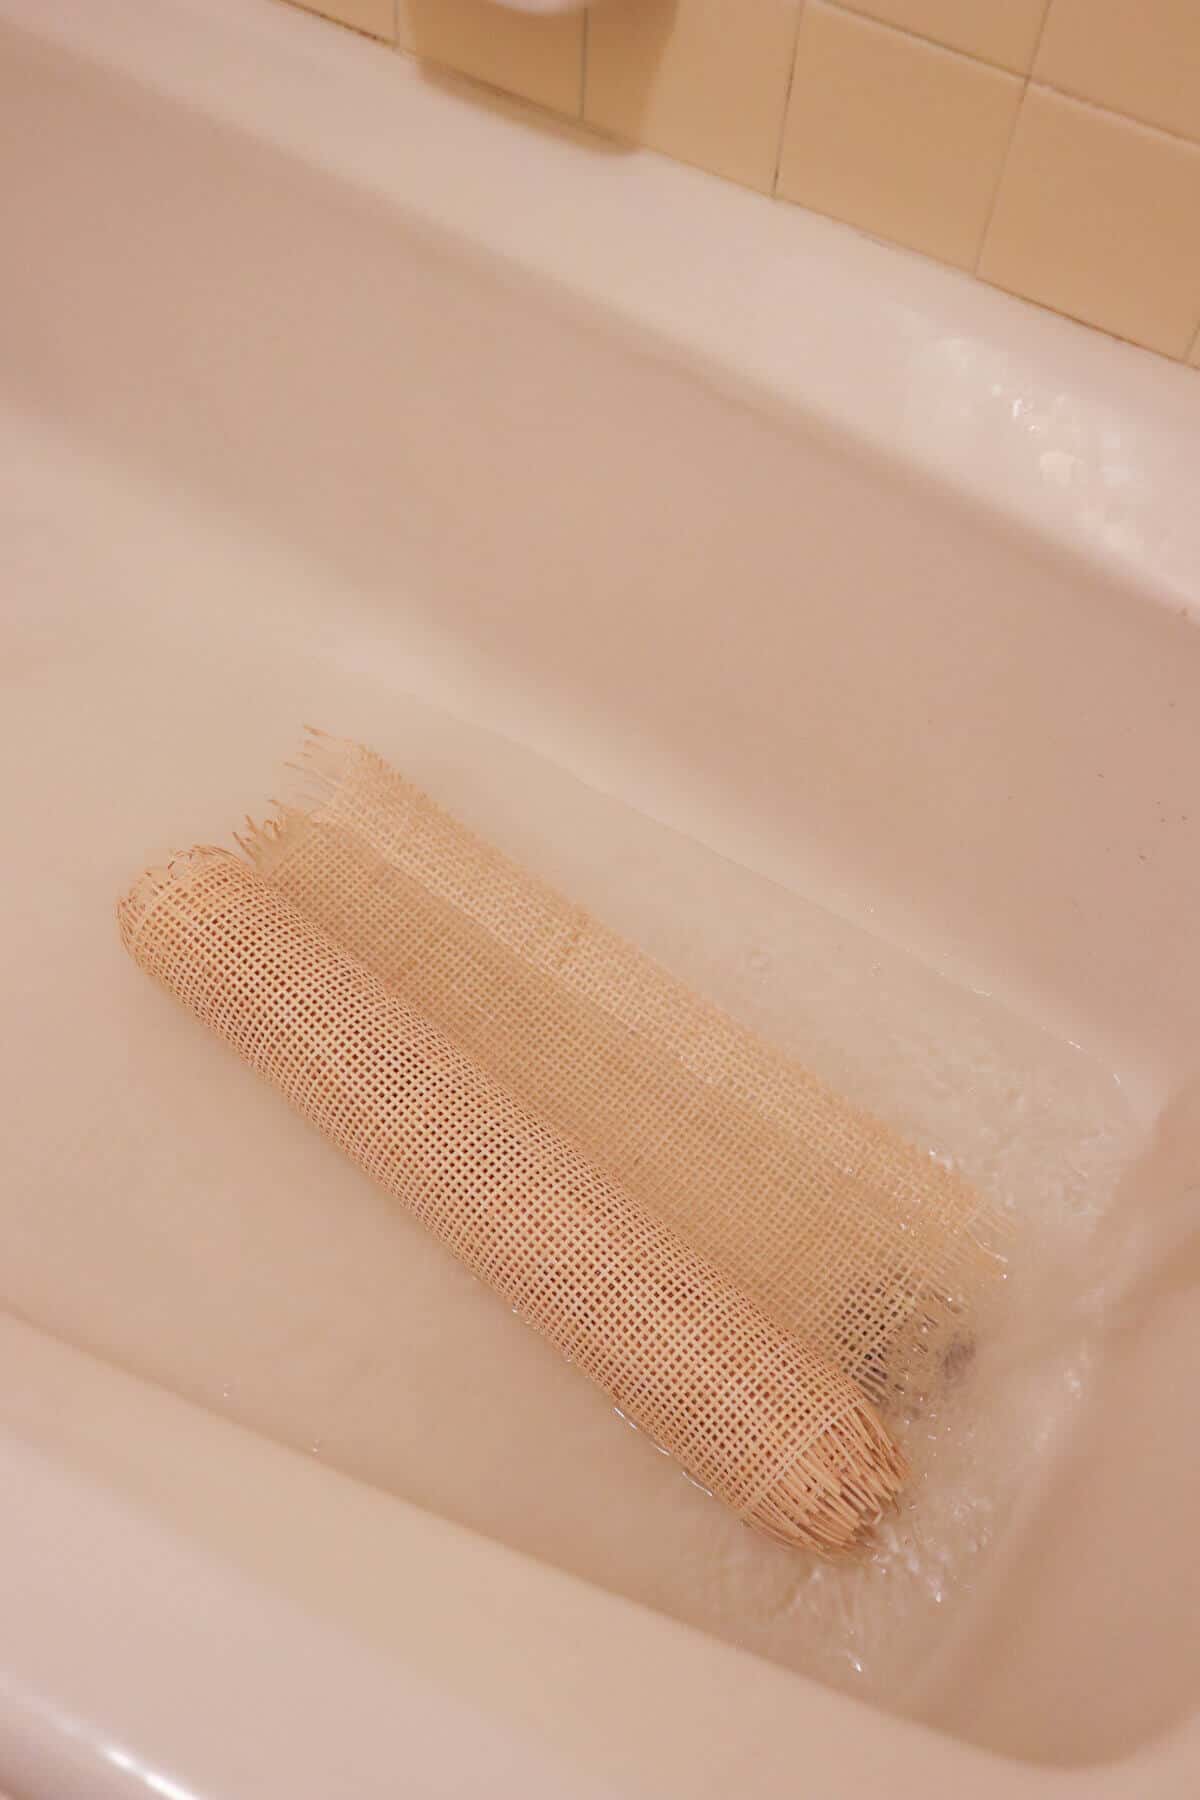
This is called the Open Weave Cane – which looks like simple squares.
You can buy caning from lots of different websites, but I found the Online Fabric Store to have the most reasonable price.
The website suggested soaking the caning for 30 minutes so that it’s easier to work with, which is perfect timing for that second coat.
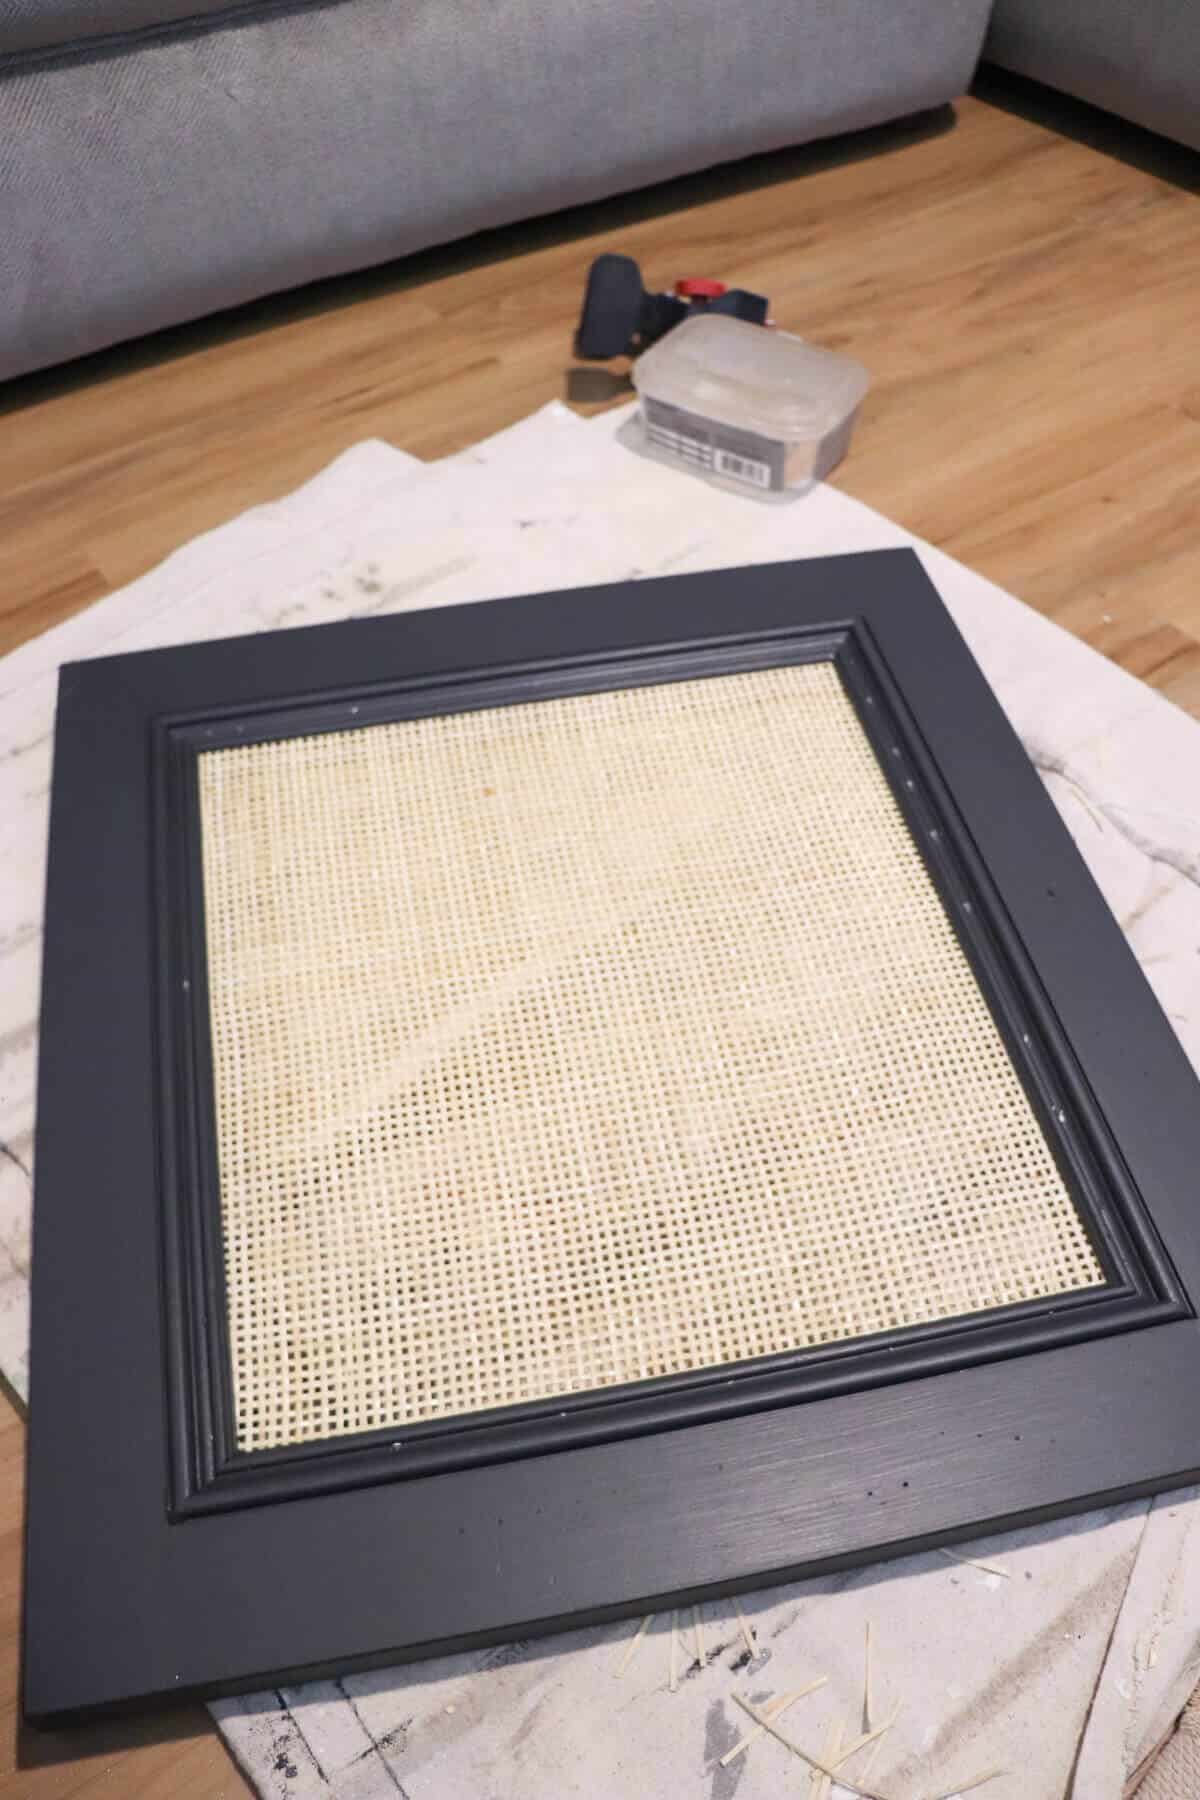
So now it was time to address the caning.
One of the first things to do after you soak the caning is to set it out flat on a towel and make your trims.
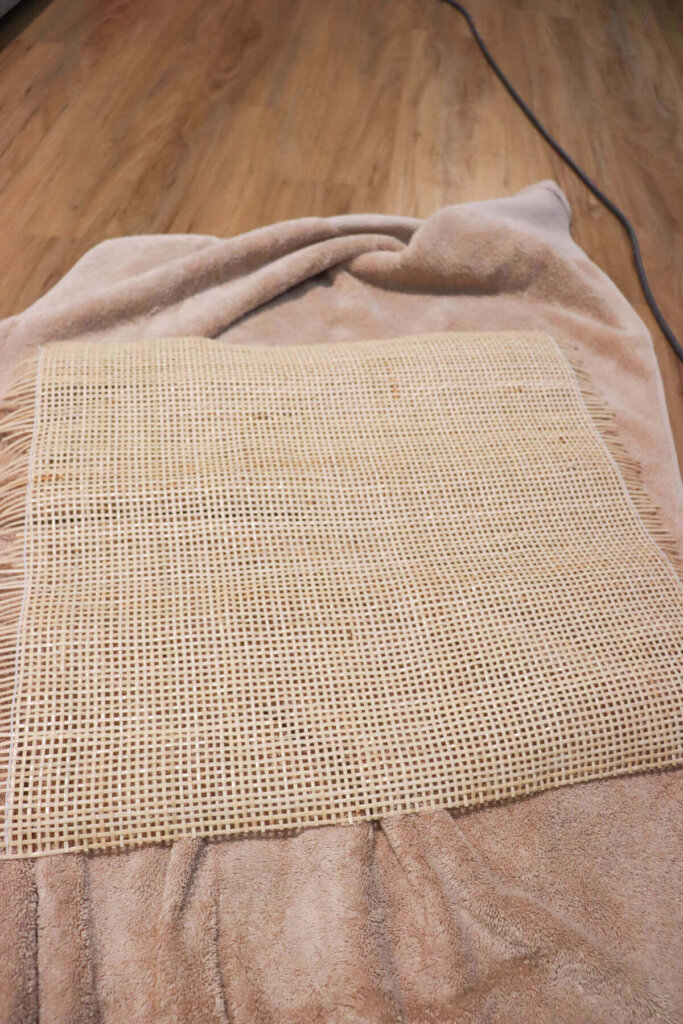
Next I set it on top of the door to make sure it was centered.
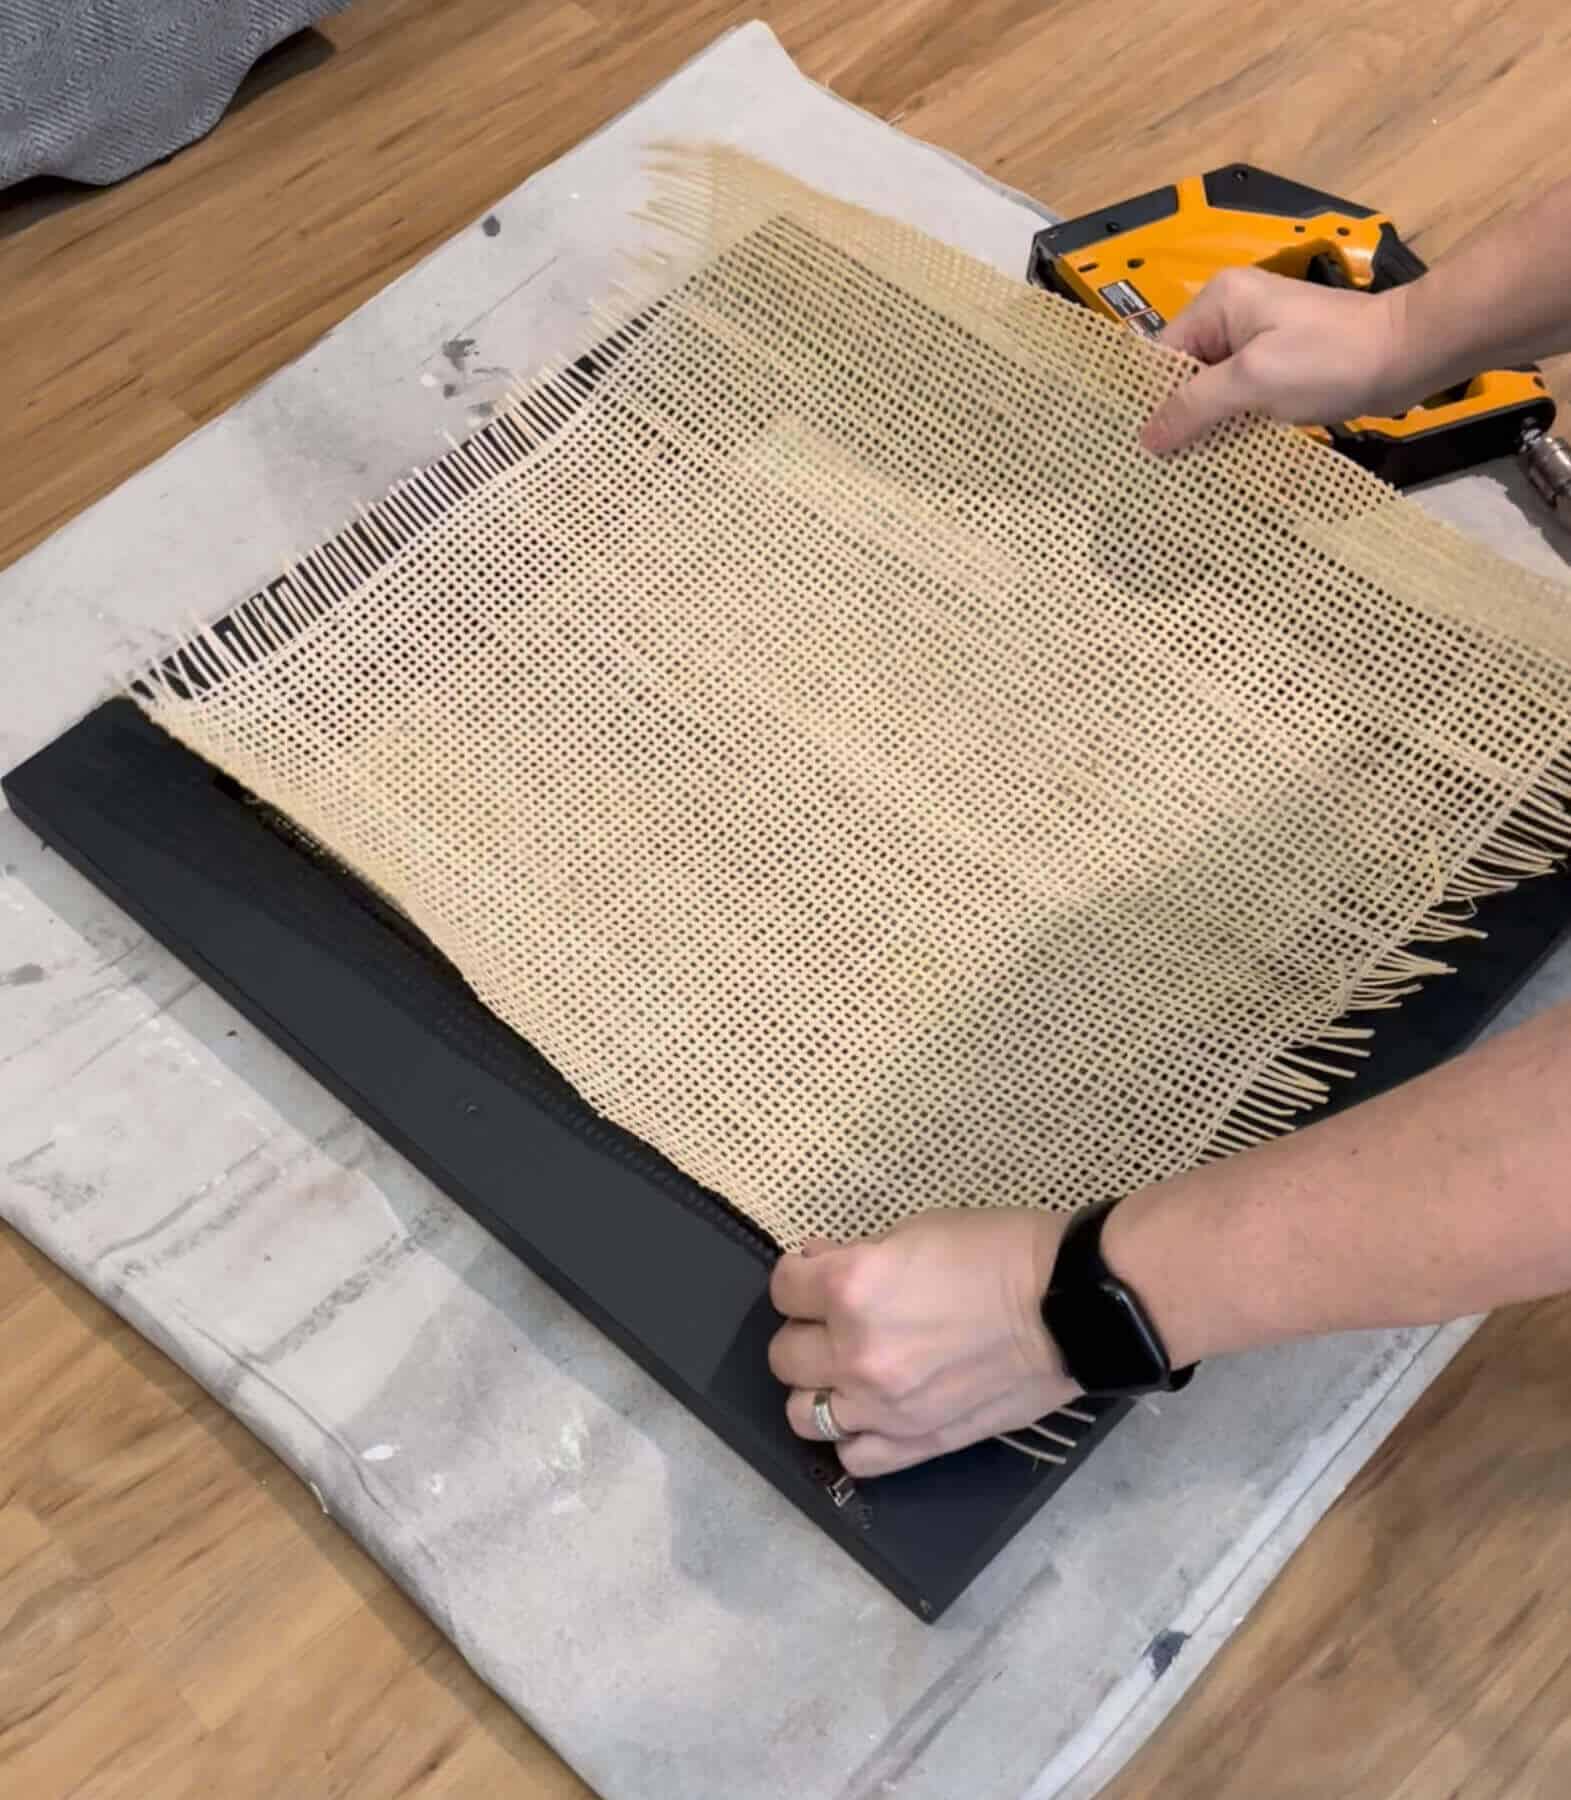
I immediately knew that I would have to trim some excess away after installing them on the cabinet doors.
But I wanted to leave that until after the caning was stapled to the door.
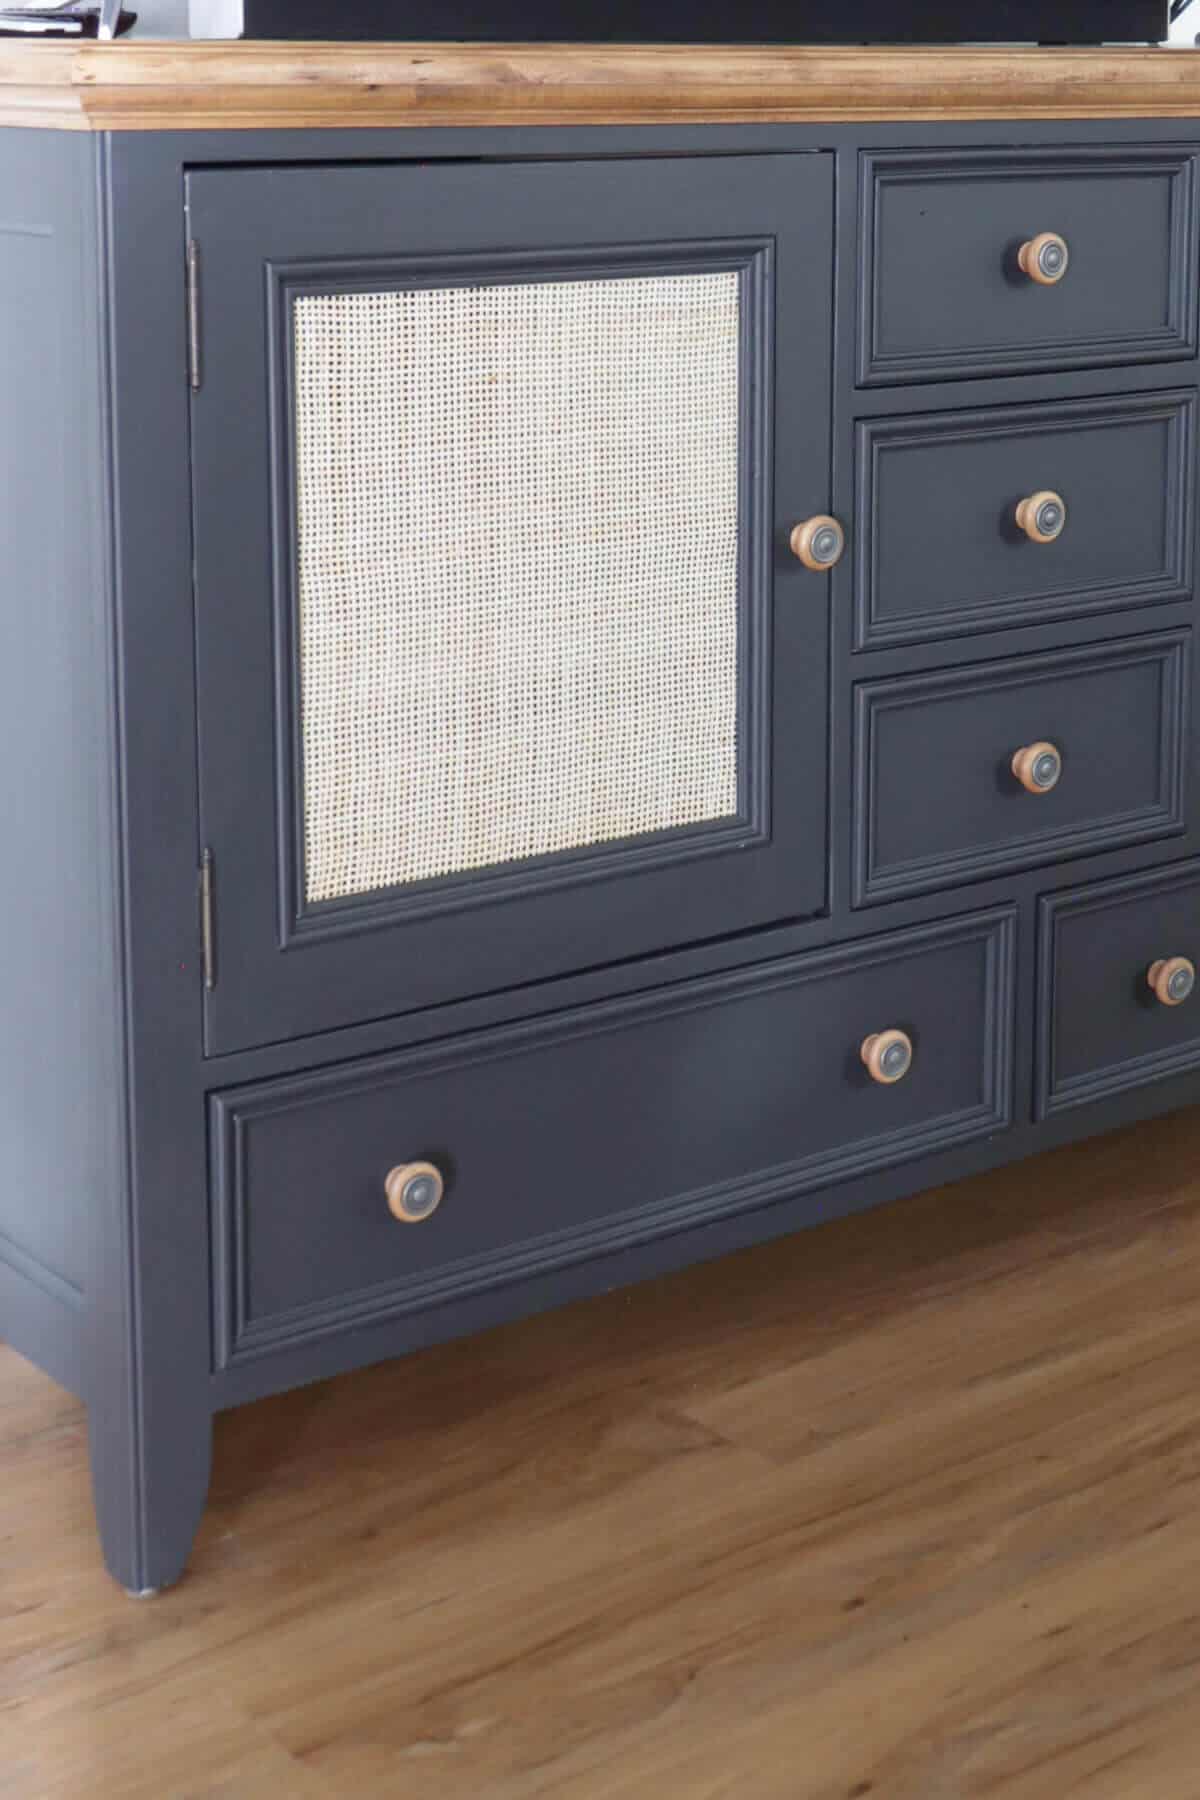
First, I stapled along the inside lip where the glass used to sit.
One thing to note is your size of staples. If you go too large, they could shoot through the other side. I used the smallest size for my staple gun.
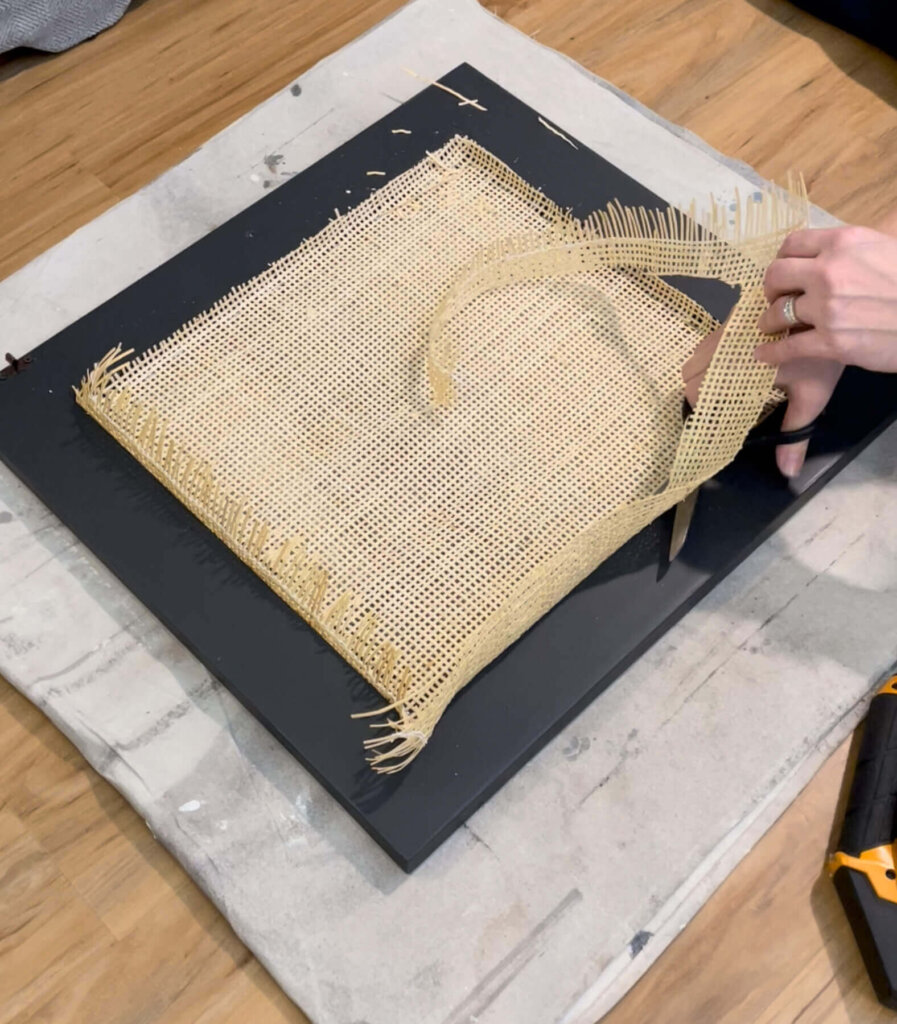
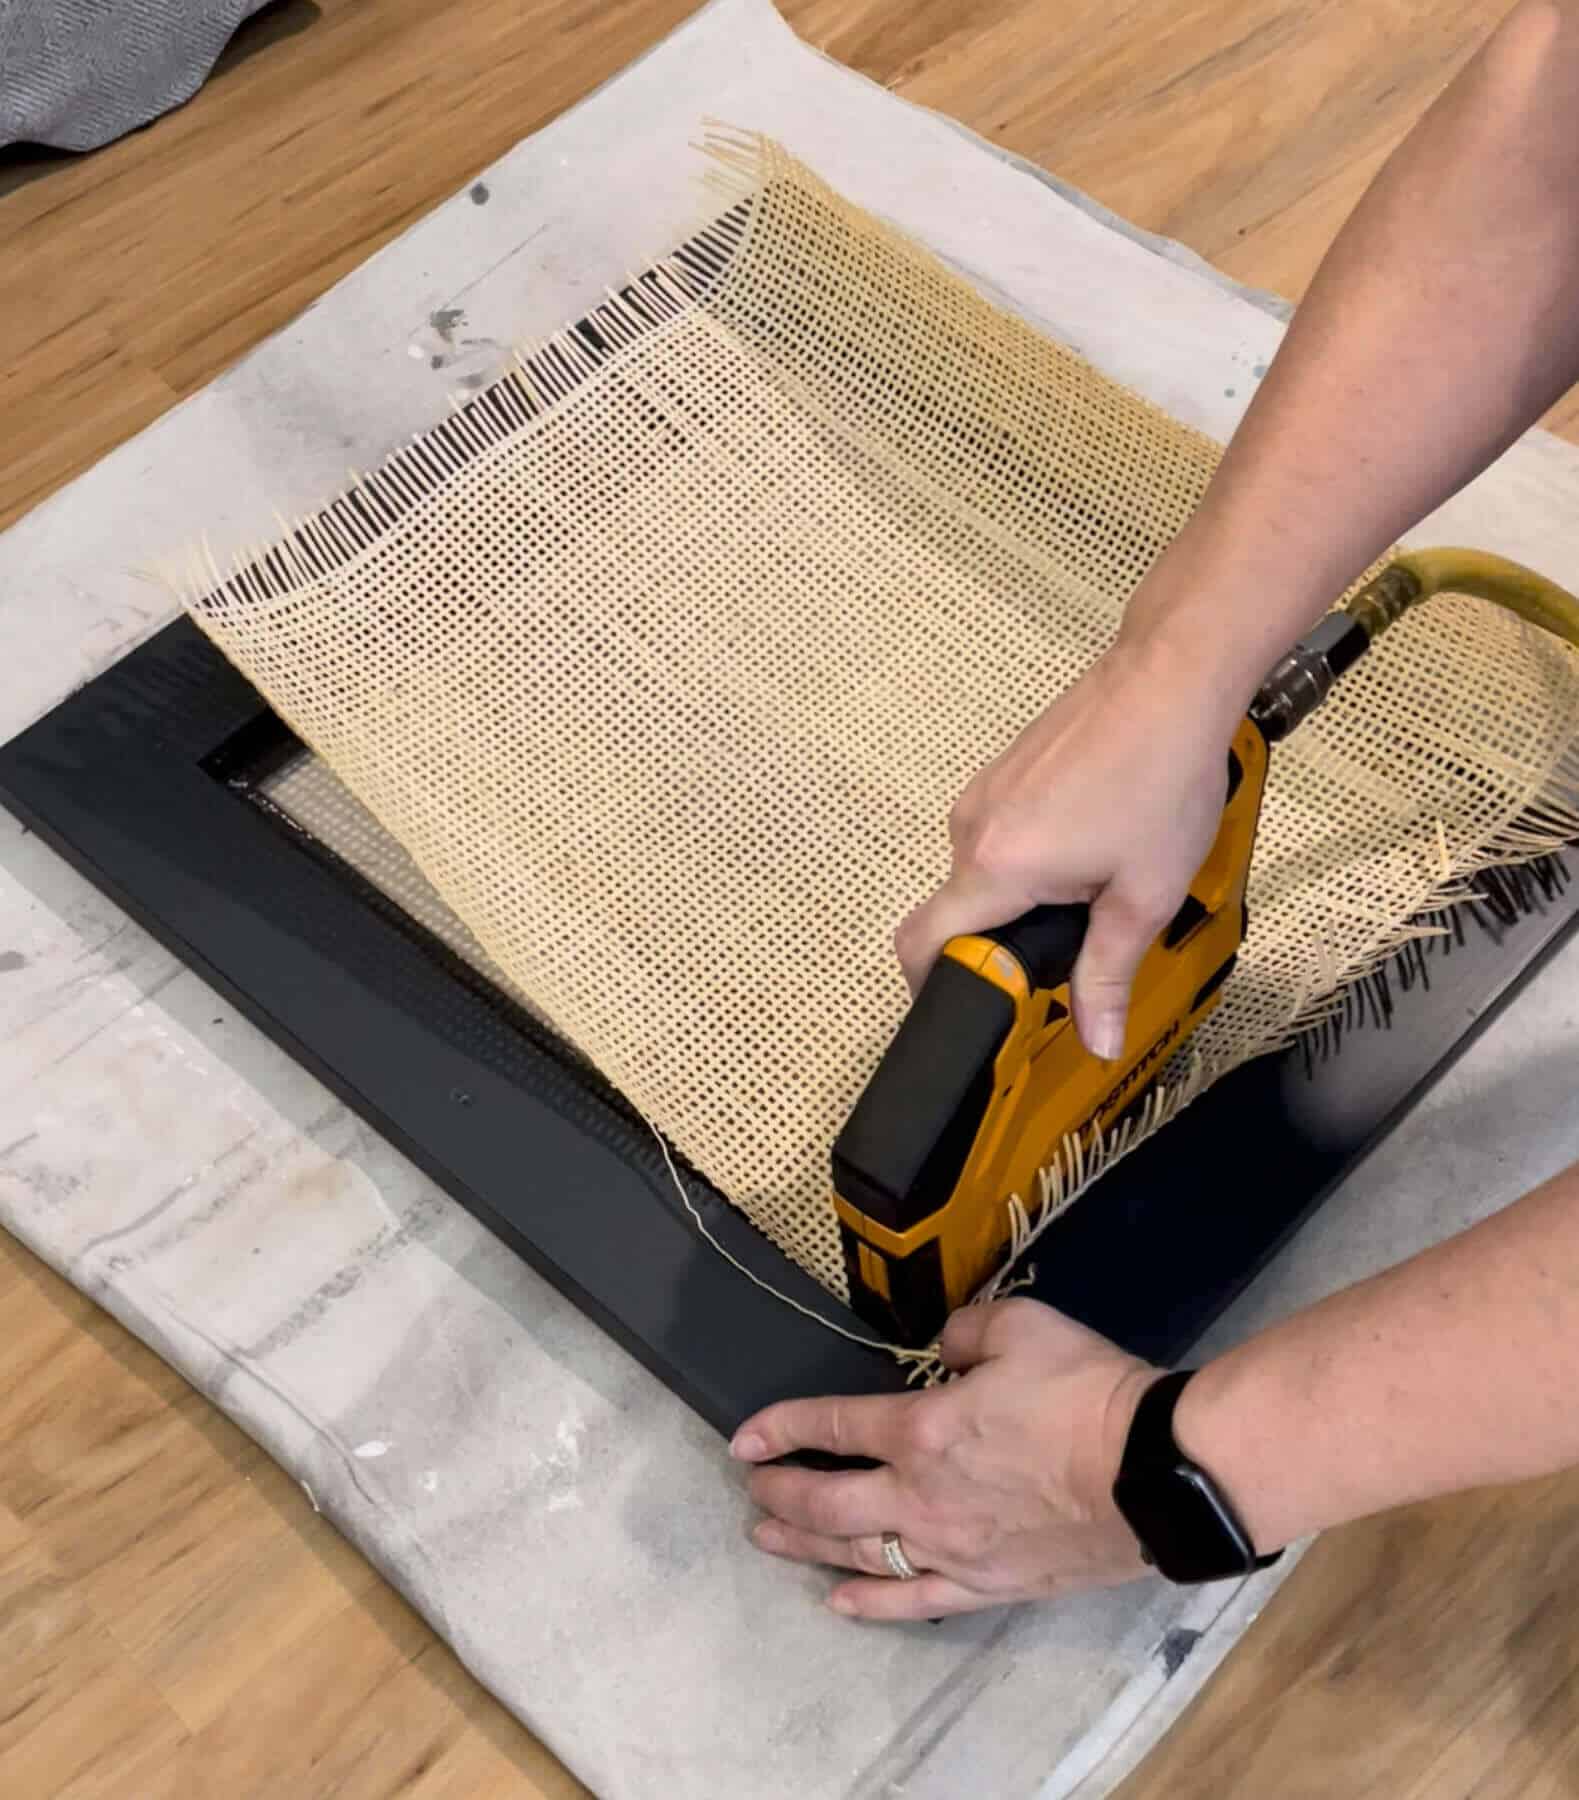
After the initial caning was stapled into place, I started trimming the excess away.
I just used some scissors and it cut away super easy.
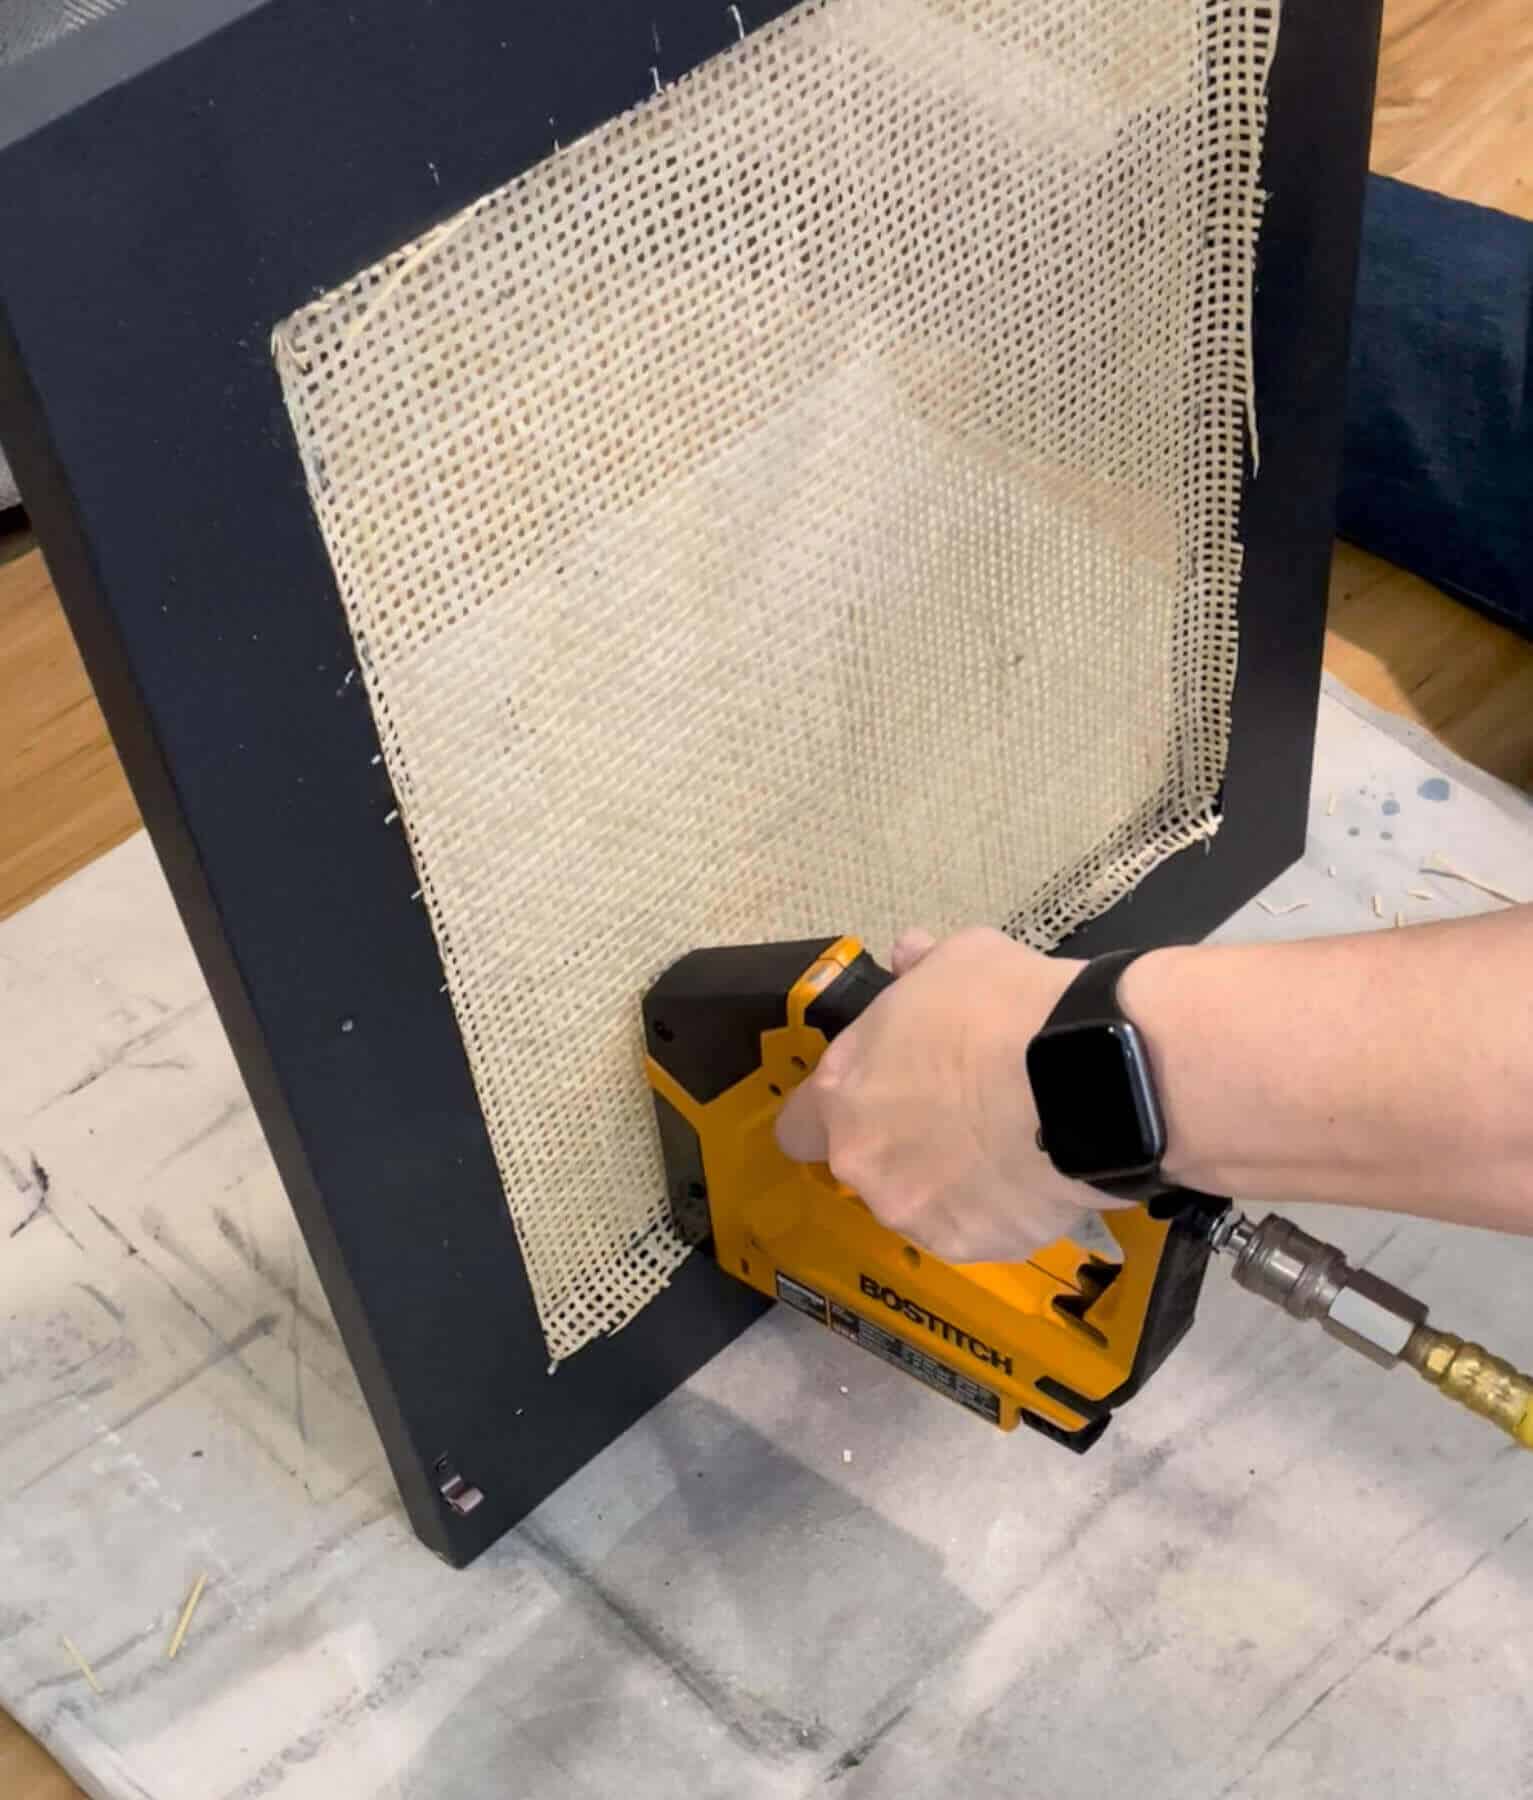
The next step I did to install the caning was to shoot an additional row of staples on the framing of the door.
This helped secure any loose weaving as well as tighten the caning a bit more.
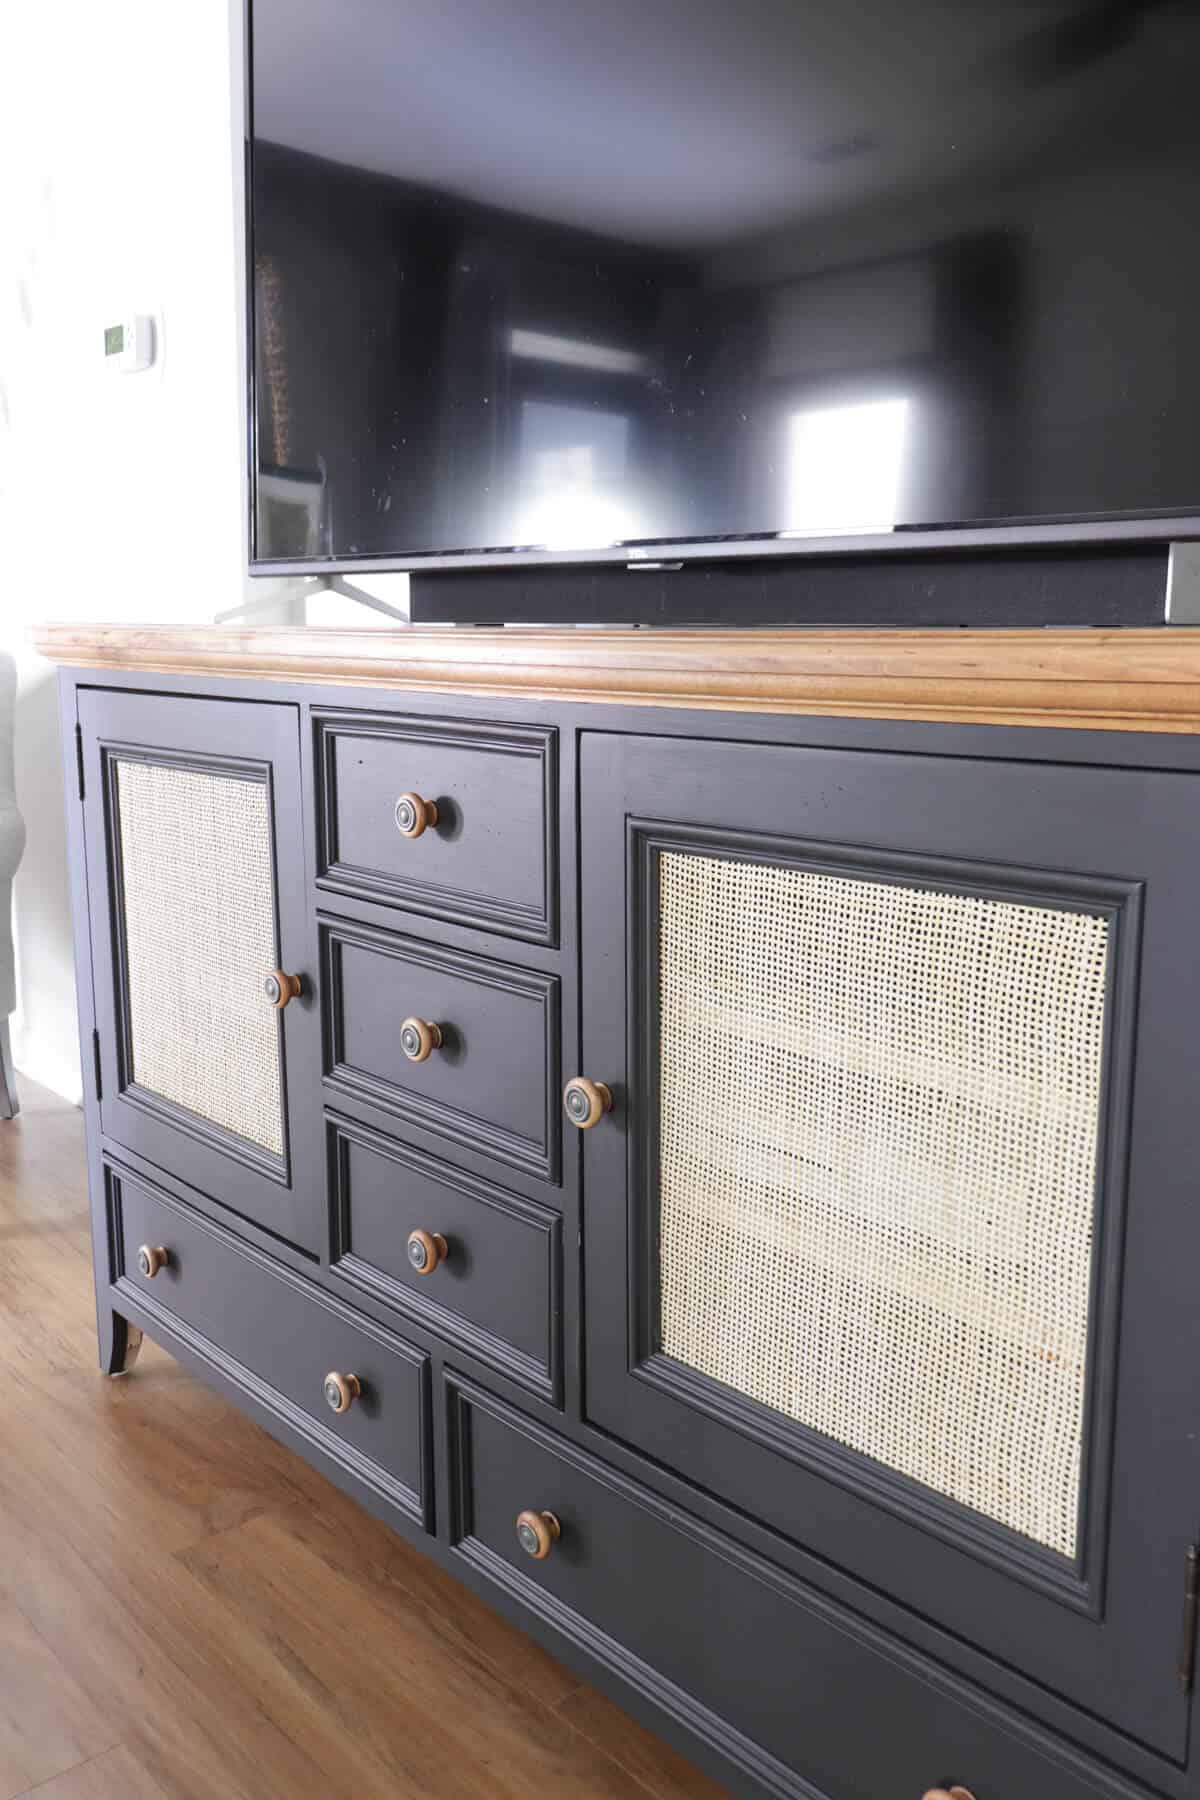
So much better!
I had to do a few touch ups, but the doors were ready to install back onto the cabinet.
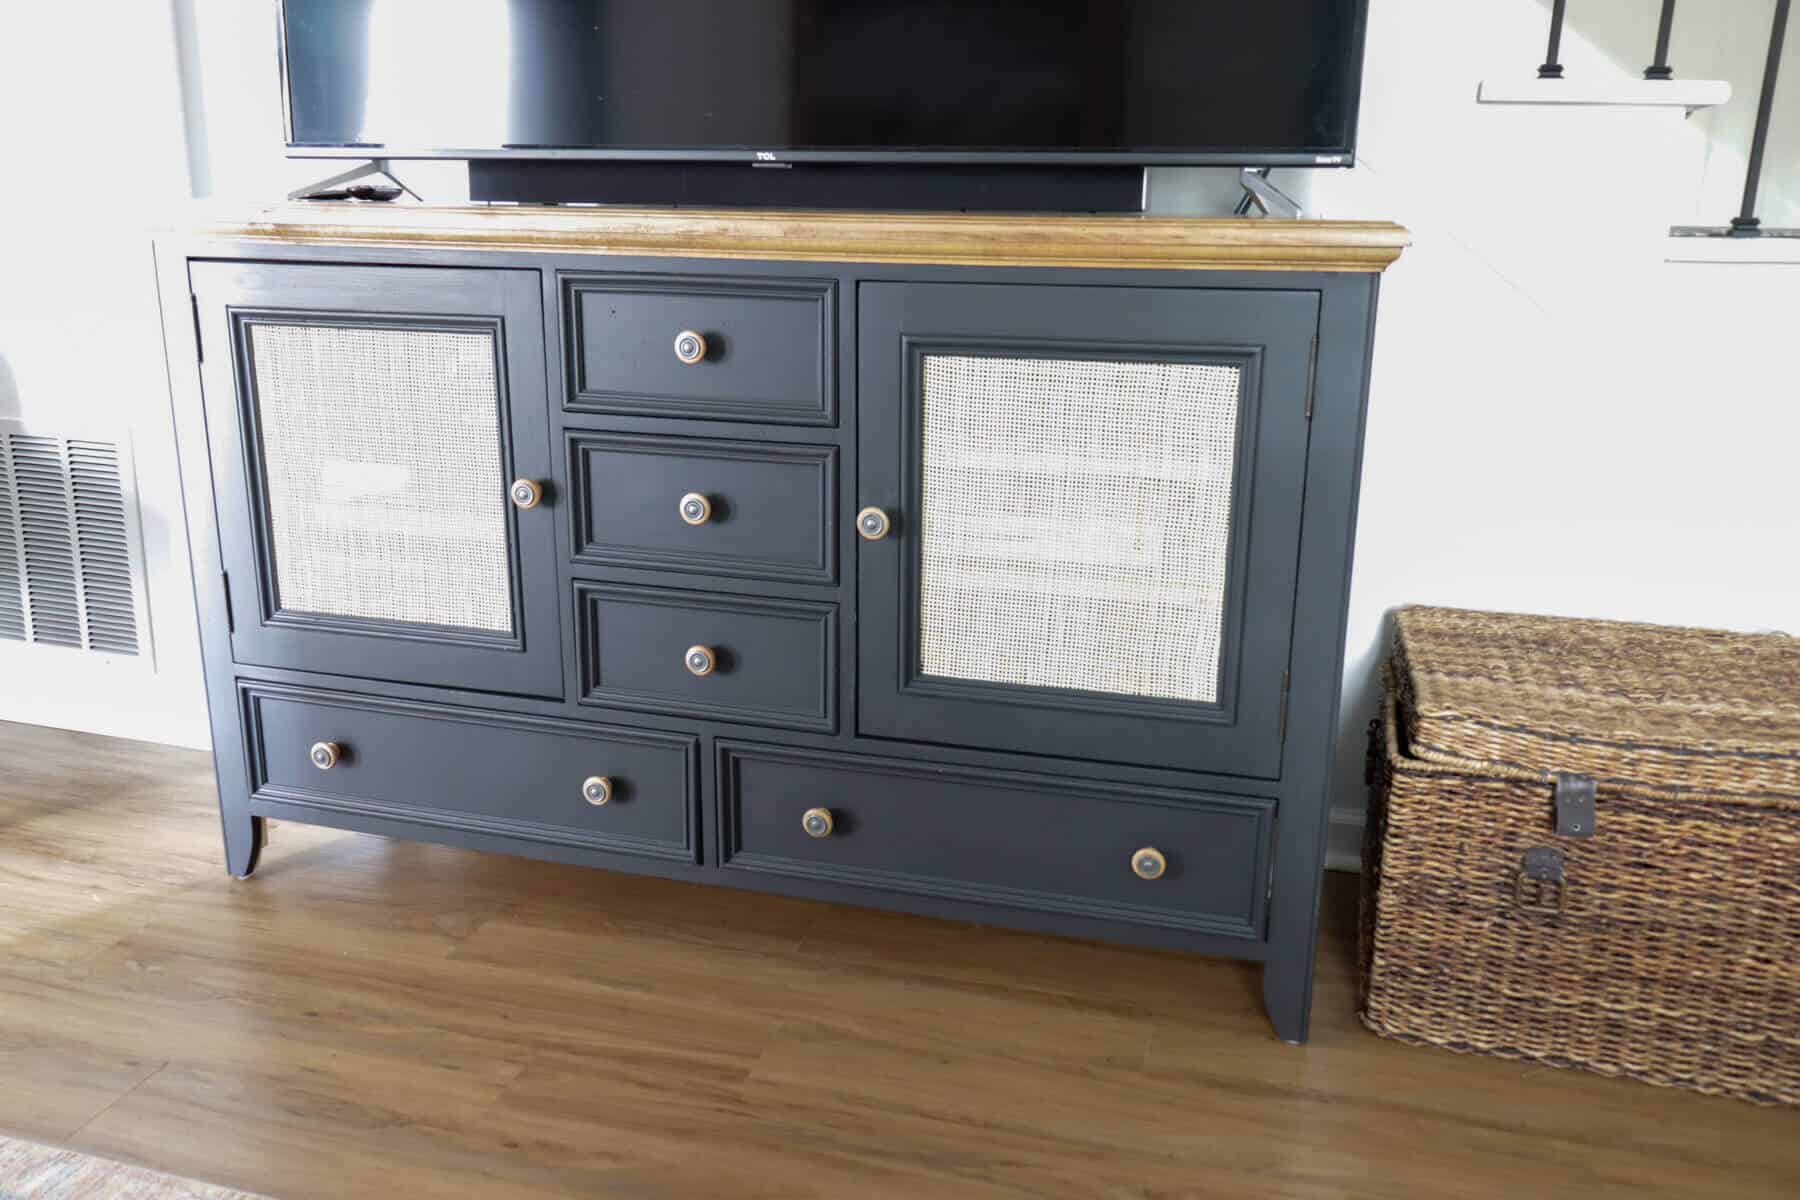
Here’s how the finished product looks.
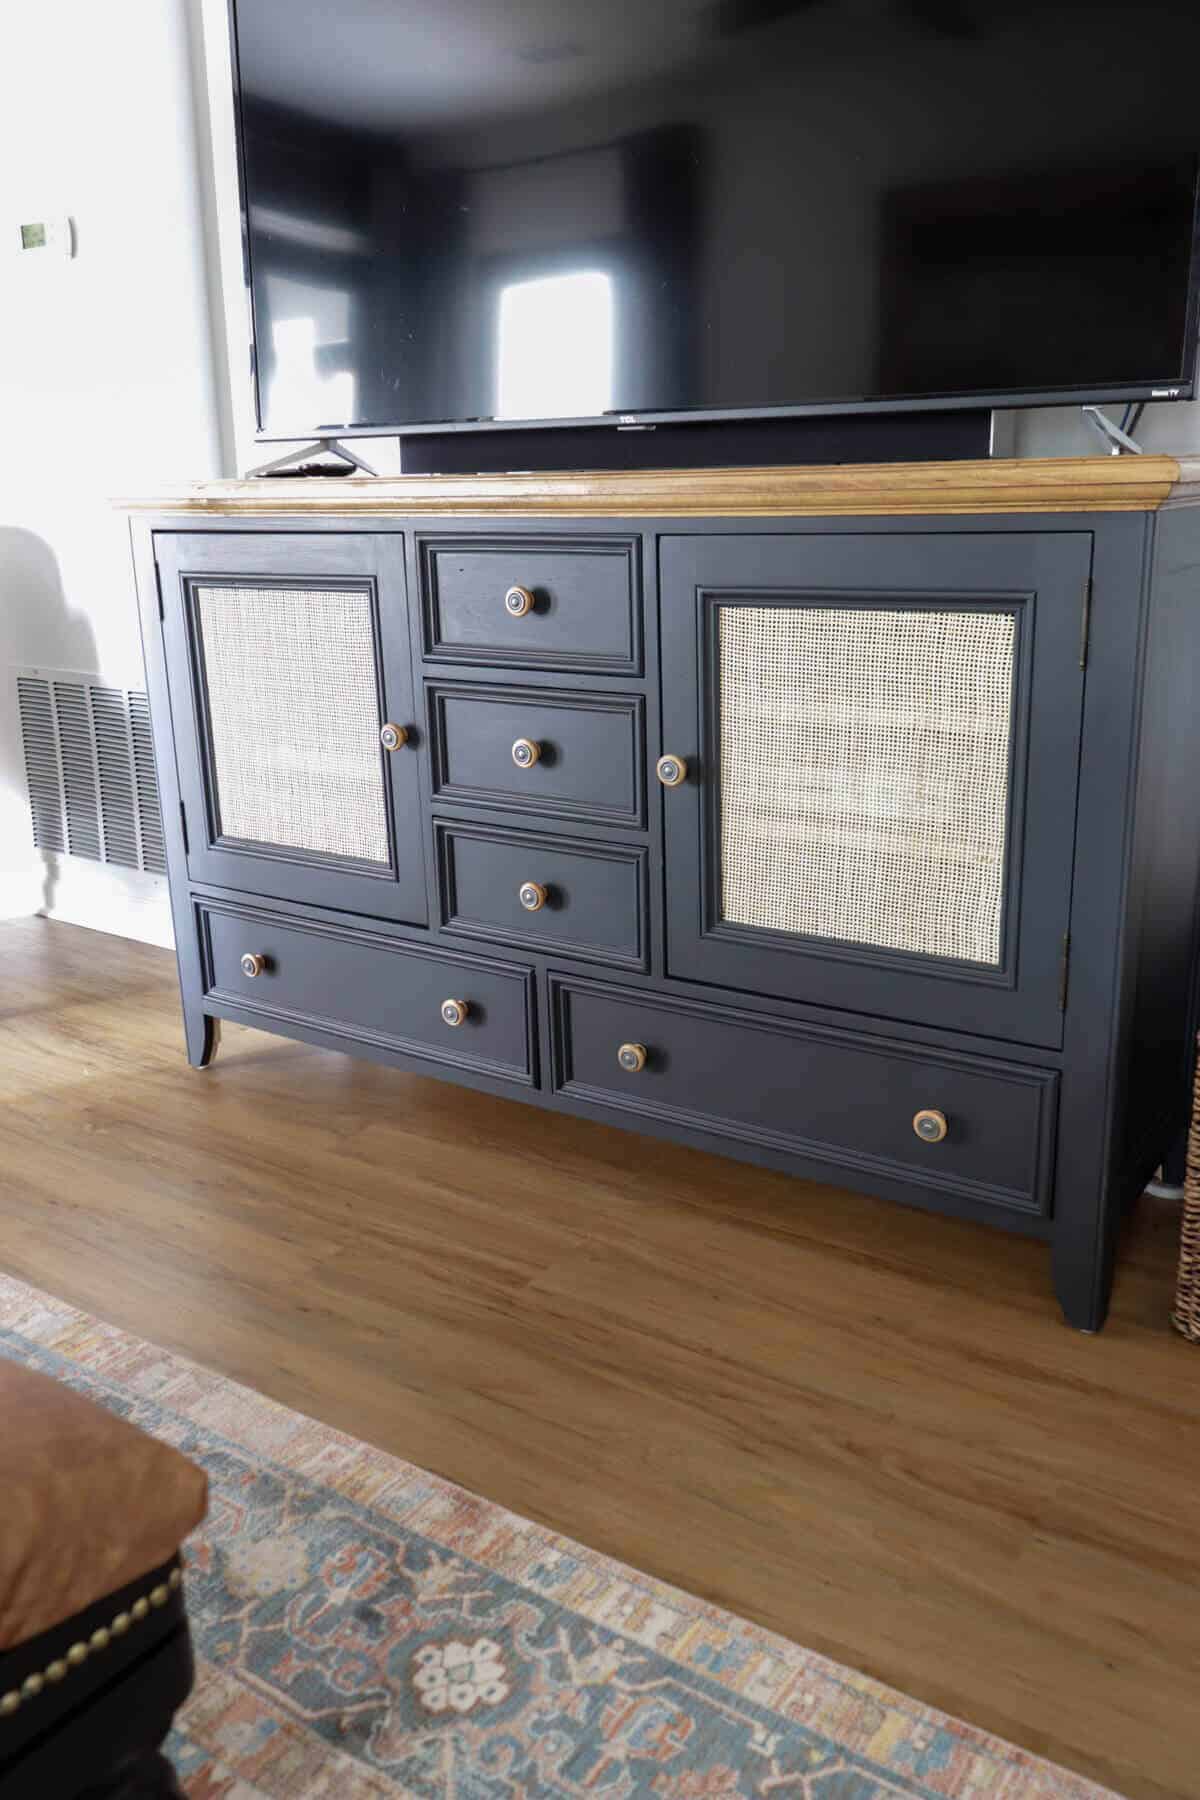
I didn’t change out the drawer pulls since they matched the top of the entertainment stand.
This is a great way to get a fresh look without a lot of work.
The total cost of this DIY was less than $50 for the caning and paint. Not bad for an updated look.
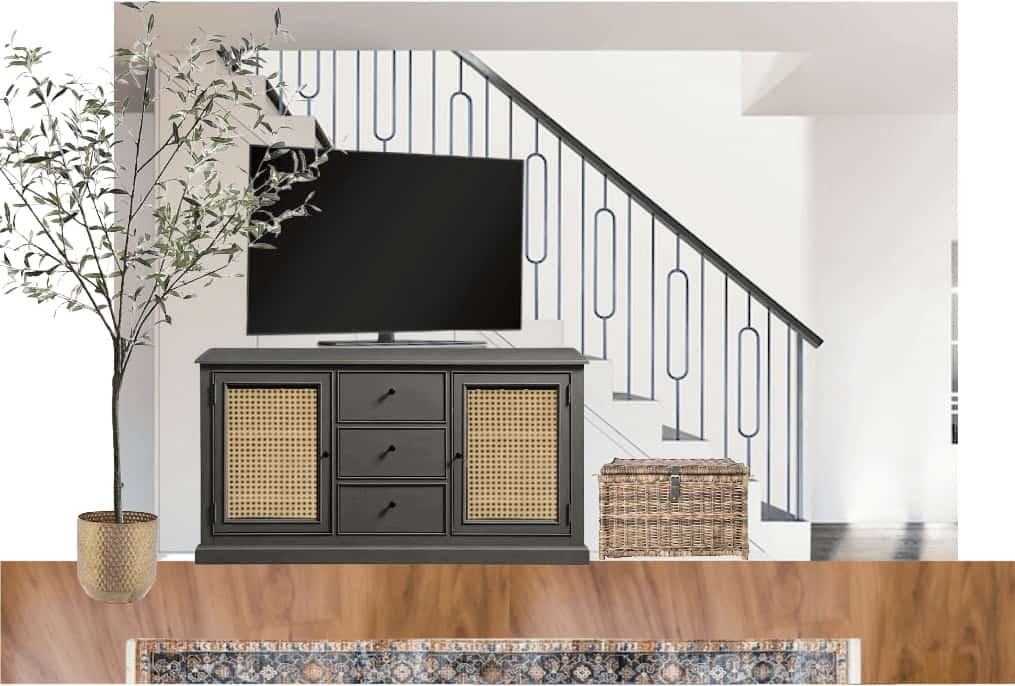
This finished look matches the color scheme of my family room design plan perfectly.
Here was my inspiration piece:
And here’s my cabinet:
Other than the cabinet hardware, that is a close match!
And I didn’t have to buy any new furniture – which is a total win!

I can’t wait for you to see this revealed with the rest of the living space.
So the next time you stumble upon some pieces of furniture at a thrift store or garage sale, one of the best diy projects is a quick makeover that gives a unique look but also doesn’t take a long time to do.
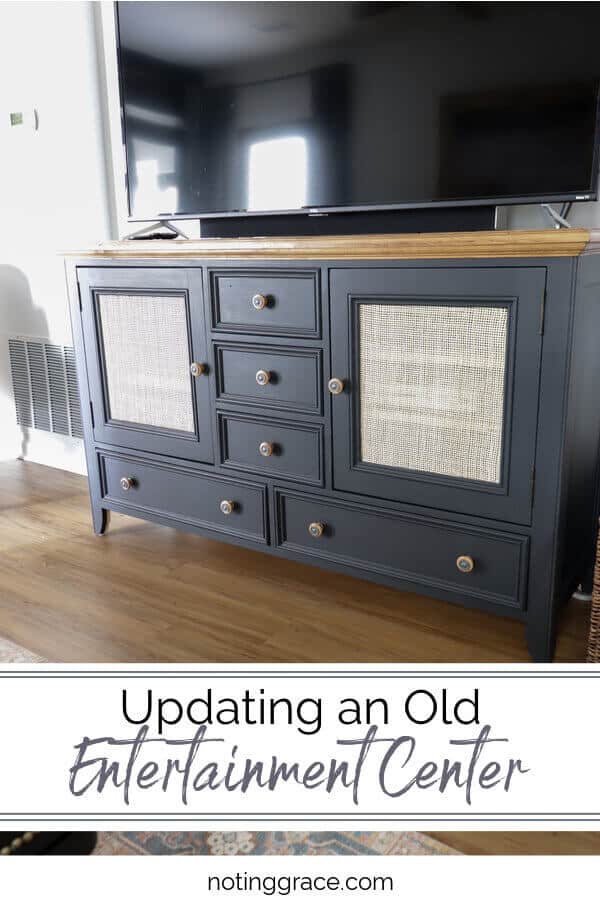
Pin This for Later

I love the ideas you’ve shared for updating an old entertainment center! It’s amazing how a little creativity can breathe new life into something that seems outdated. The paint and hardware changes are particularly inspiring. Can’t wait to try some of these tips in my own living room!
I love this idea of updating an old entertainment center! It’s amazing how a little creativity and some fresh paint can breathe new life into furniture. Can you share more details about the materials you used? Thanks for the inspiration!
I love the ideas you shared for updating an old entertainment center! The tips on painting and repurposing really inspired me. I’ve been looking for ways to give my living room a fresh look, and this post has given me some great direction. Can’t wait to try it out!
I love the ideas you shared for updating an old entertainment center! It’s amazing how a little creativity and some paint can completely transform a piece of furniture. The organization tips you mentioned will also help maximize space. I’m definitely inspired to tackle my own entertainment center now!
I loved reading about your process of updating the old entertainment center! It’s inspiring to see how you transformed a dated piece into something stylish and functional. The tips on choosing the right paint and hardware were particularly helpful. I can’t wait to try some of these ideas in my own home!
I absolutely love the ideas you shared for updating an old entertainment center! The before and after pictures are so inspiring. I can’t wait to try some of these techniques in my own space, especially the chalk paint suggestion. Thanks for the tips!
I love the ideas you shared for updating an old entertainment center! The tips on color and decor changes are super inspiring. Can’t wait to give my old piece a fresh look!
What a fantastic transformation! I love the ideas you’ve shared for updating an old entertainment center. It’s amazing how a little creativity can breathe new life into something that felt outdated. Definitely inspired to tackle my own!