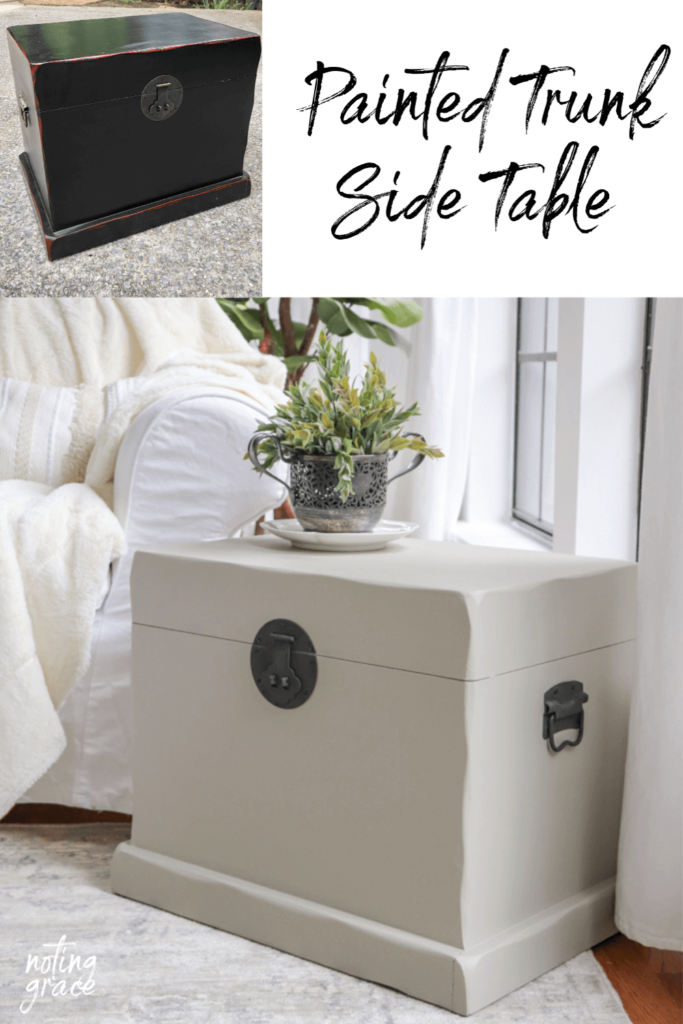
Painted Trunk Side Table
When I was given this trunk from a family member, it wasn’t quite my style. Here’s how I made this painted trunk side table a perfect solution for my sunroom.
Whenever someone asks me if I want something, the hardest thing for me to say is no.
I can’t help but think of the possibilities of what I can turn that piece into.
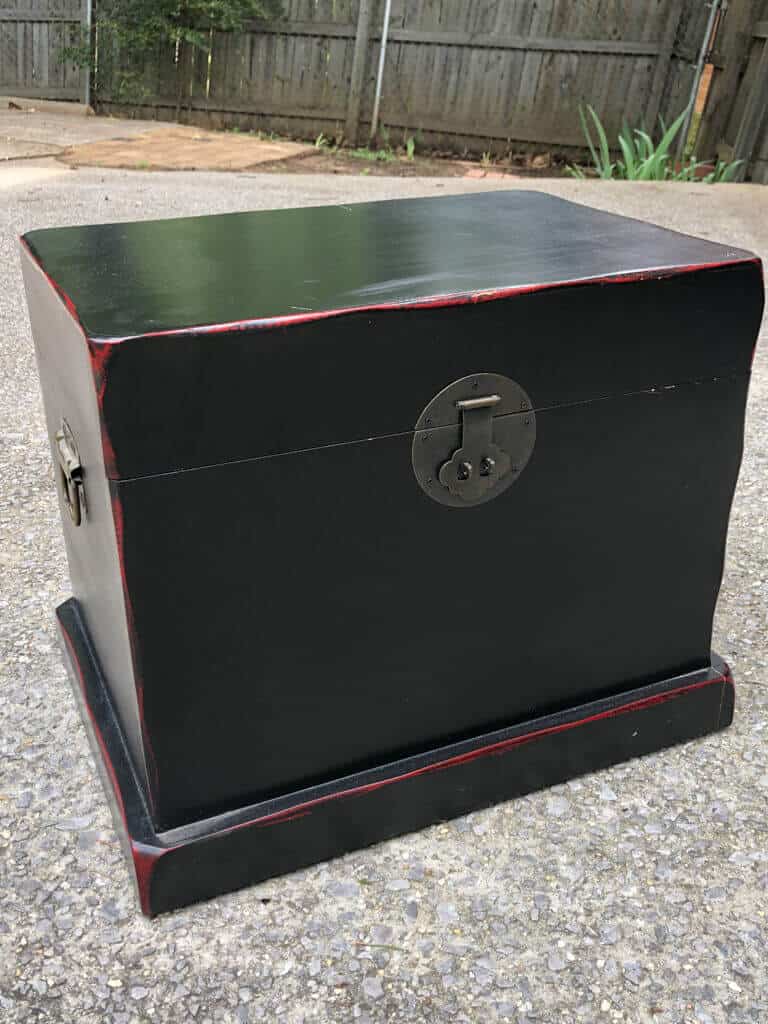
So when I was gifted this small trunk, I knew it would be perfect side table for our sunroom, but it definitely needed changing.
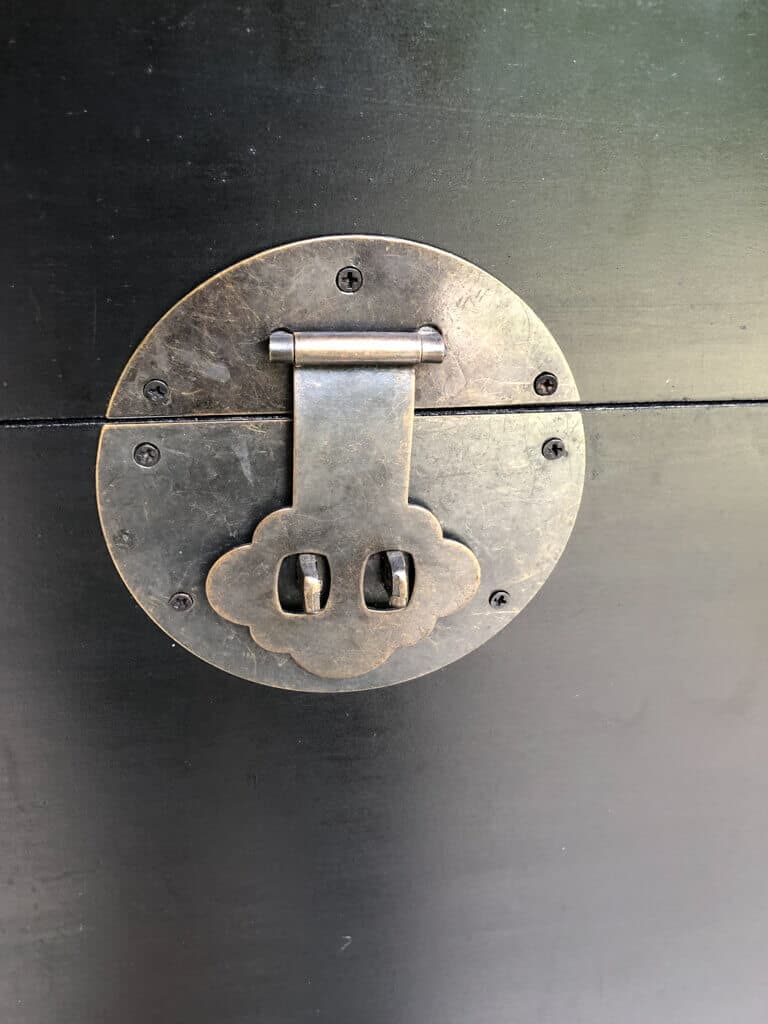
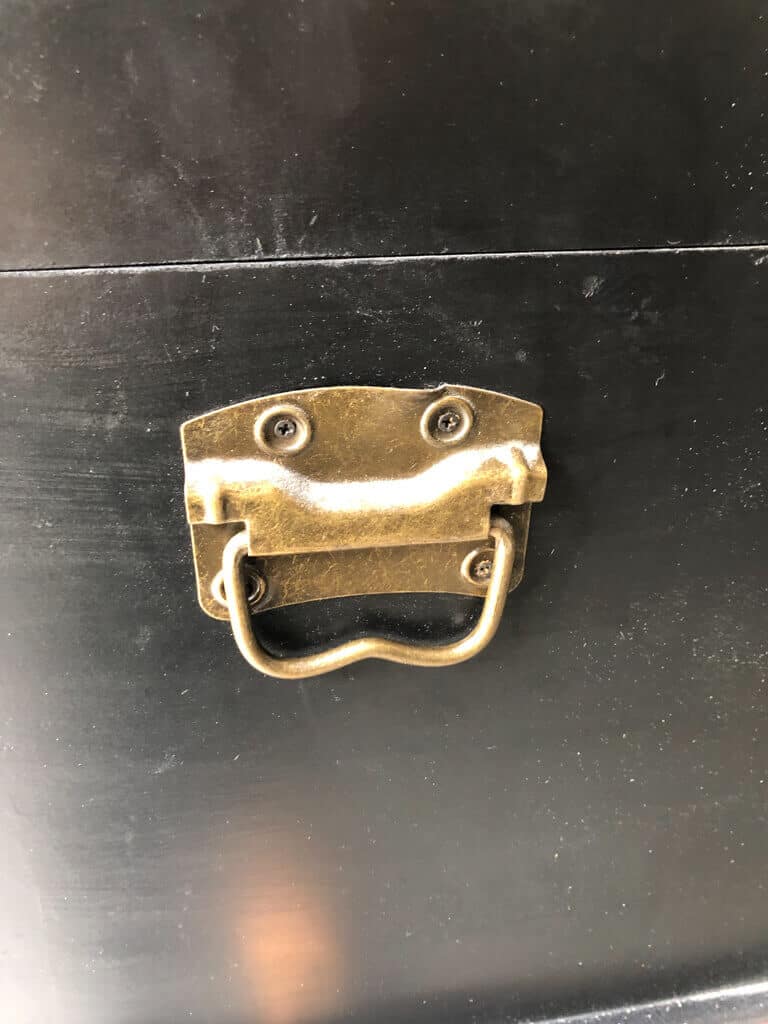
Those hints of red peeking through with those brass latches and handles weren’t my jam.
Here’s how I transformed this piece into a painted trunk side table that I love!
Painted Trunk Side Table
(Some affiliate links are provided below. Full disclosure here.)
Supplies Needed:
Small Trunk
Sand Paper or Sanding Block
Fusion Mineral Paint – I used the color Bedford
Sponge Brushes
Modern Masters Rust Finish Kit
My initial plan was to sand the trunk down and have it be a beautiful natural finish.
Then this happened.
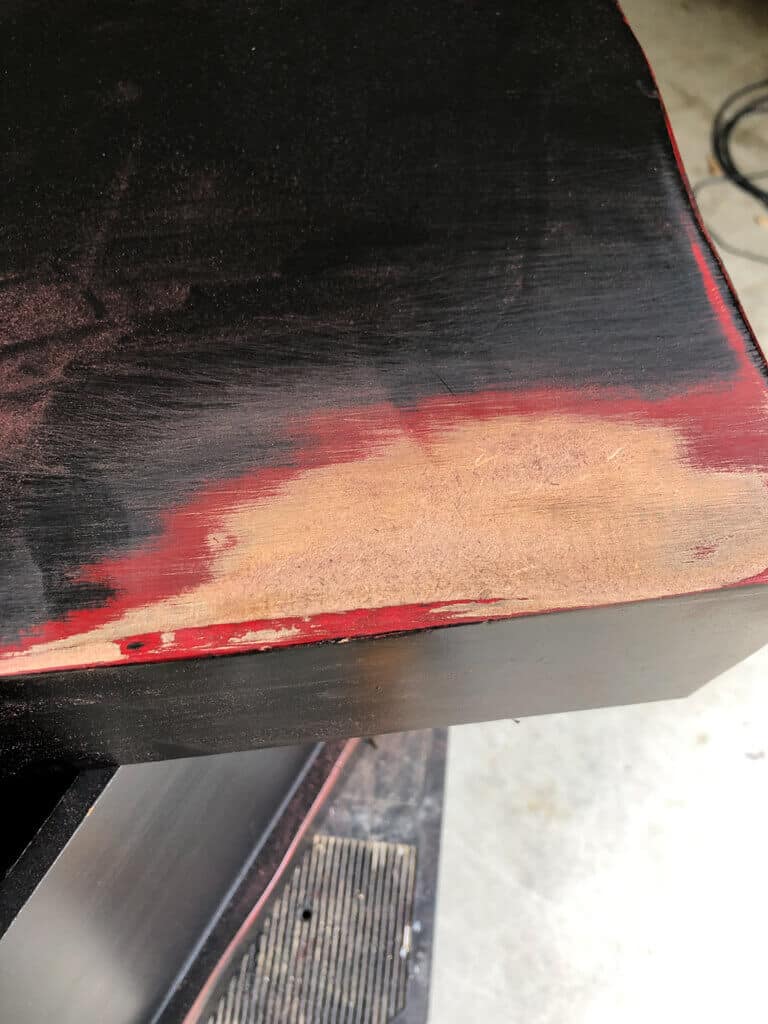
Womp, womp.
After I sanded a corner, I realized I was dealing with MDF – medium density fiberboard.
So my only option was to paint.
Then I remembered a small cabinet in my sunroom that I updated with mineral paint.
The color is called Bedford and I love the soft green in this room. So that’s what I went with.
I knew this same paint would be perfect for this trunk.
After removing the hardware, I started by scuffing the finish on the trunk.

You don’t have to completely sand it down, but you want to rough up that gloss so that the paint adheres.
This took me about 5 minutes for this small trunk.
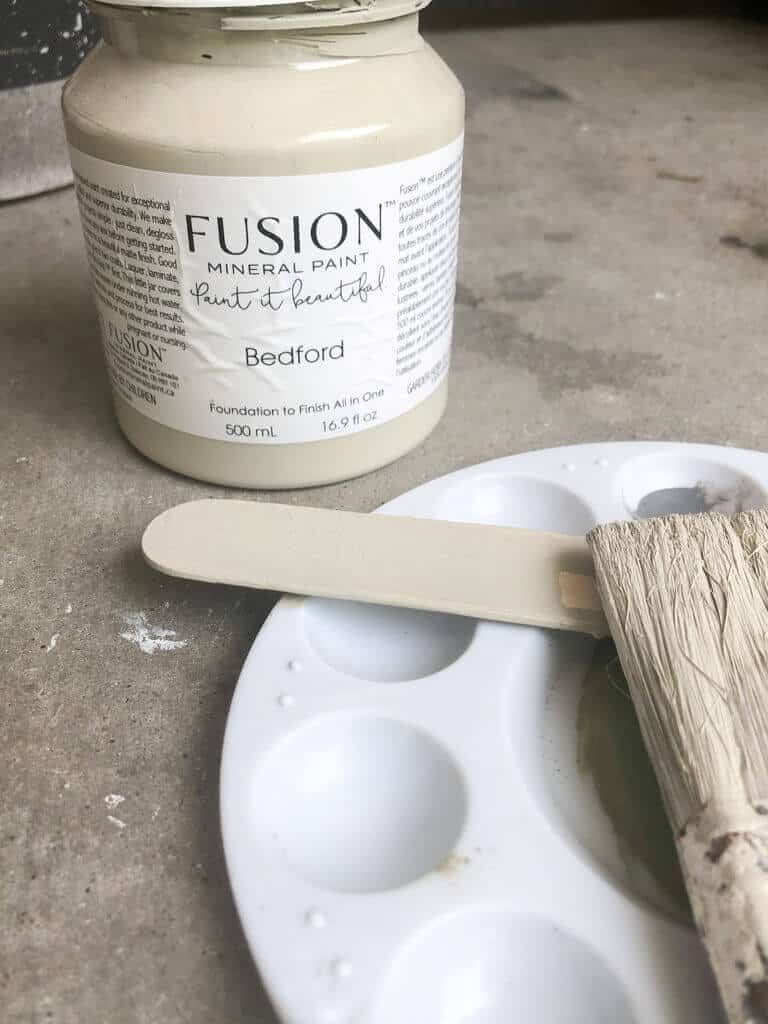
I got out my mineral paint and went to town.
This stuff is super easy to work with!
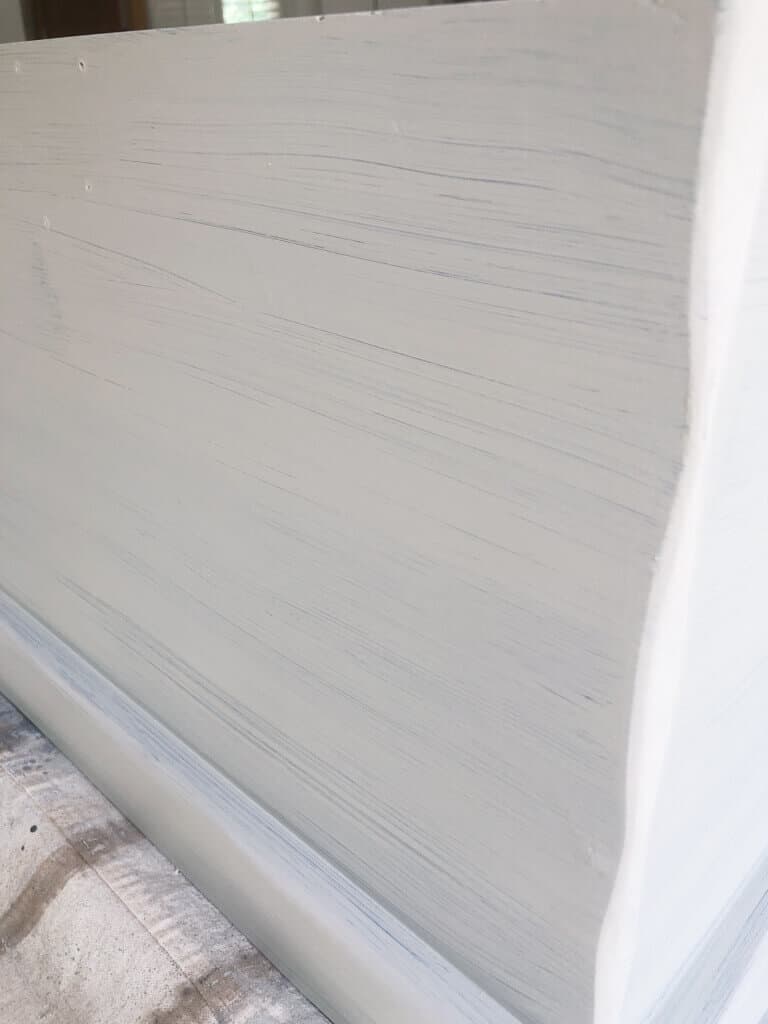
But affter the first coat, I could tell that it was going to need two coats to cover all that black.
So while the first coat was drying, I started to work on the hardware.
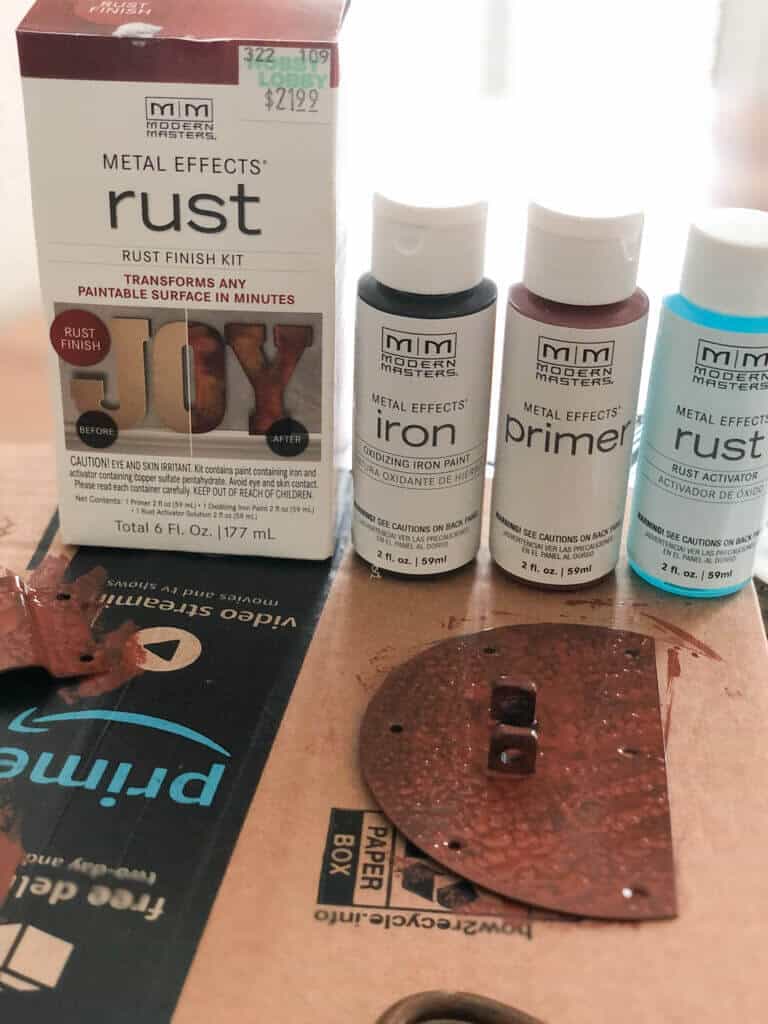
I’ve been wanting to try this stuff ever since I saw Natalie from My Vintage Porch use this on some handles.
You start with the primer and paint it on.
I used a sponge brush and dabbed it on to create a mottled affect.
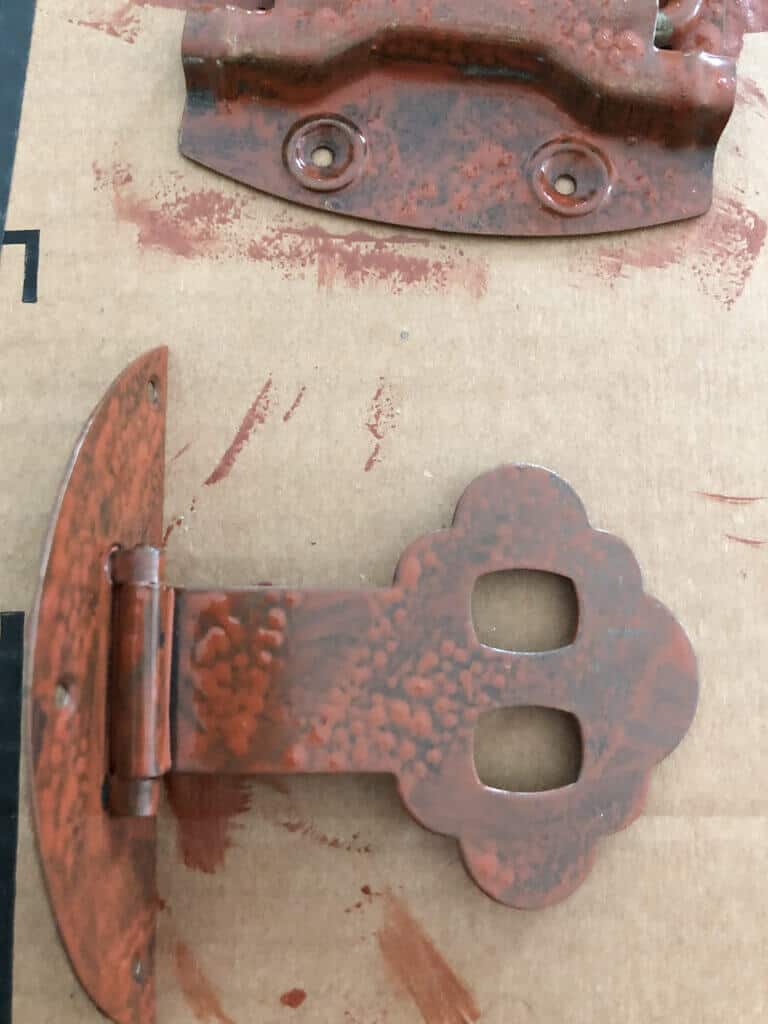
It takes at least 30 mins to dry before you either second coat or apply step two.
So while the primer dried, I went back out and painted the second coat on the trunk.
I didn’t want the rust color to be so predominant, so I moved right on to step two and applied the iron coat using the same sponge technique.
Here’s what it looked like dried!
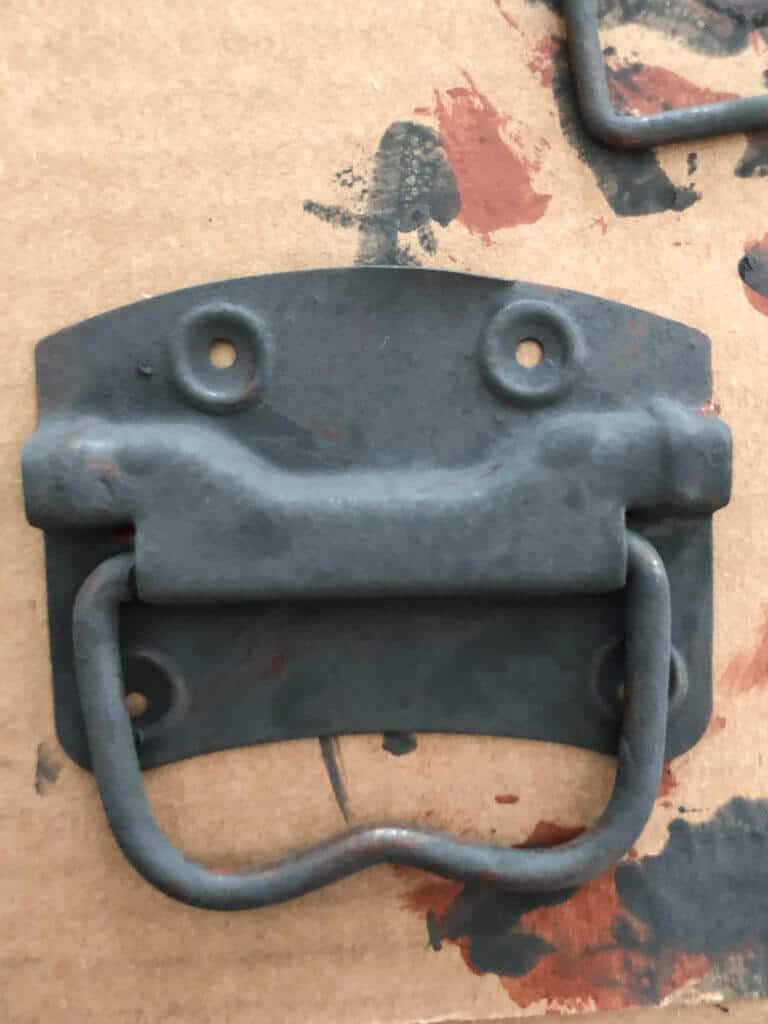
I’m in love!
That flat iron look has me swooning.
I stopped here and decided not to use step three, the activator that creates that rust look.
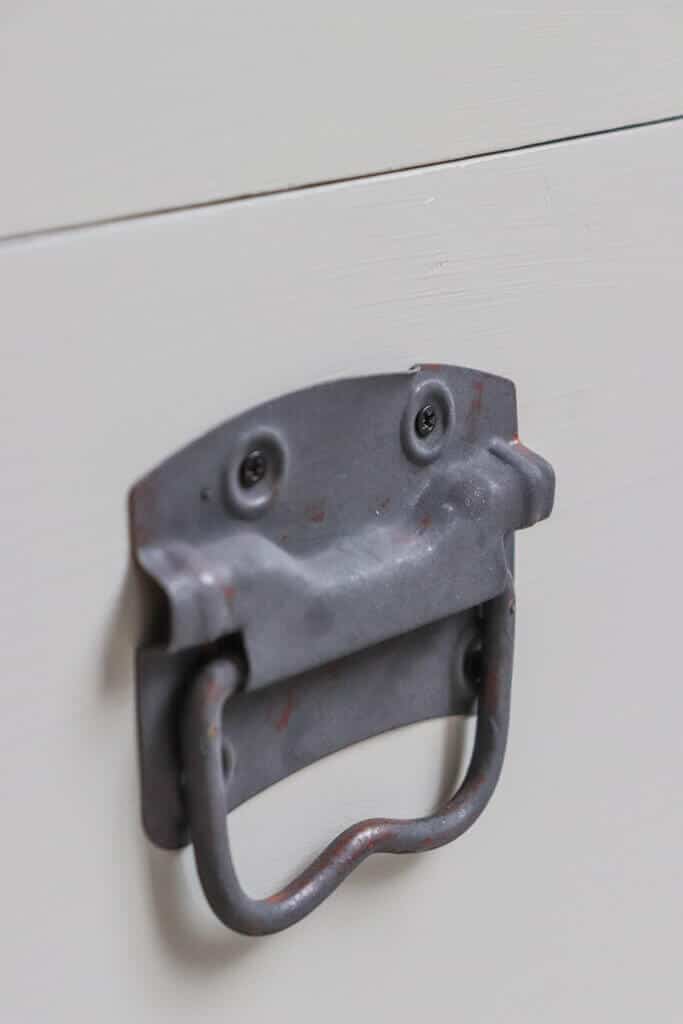
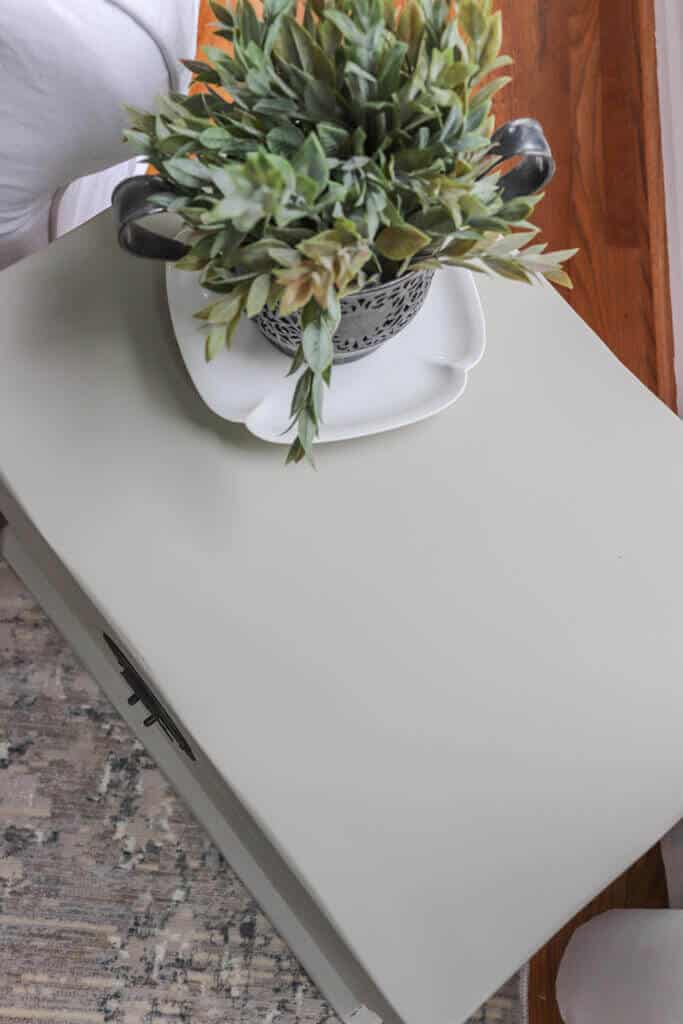
After the chest dried overnight, I reassembled it putting the updated hardware back on.
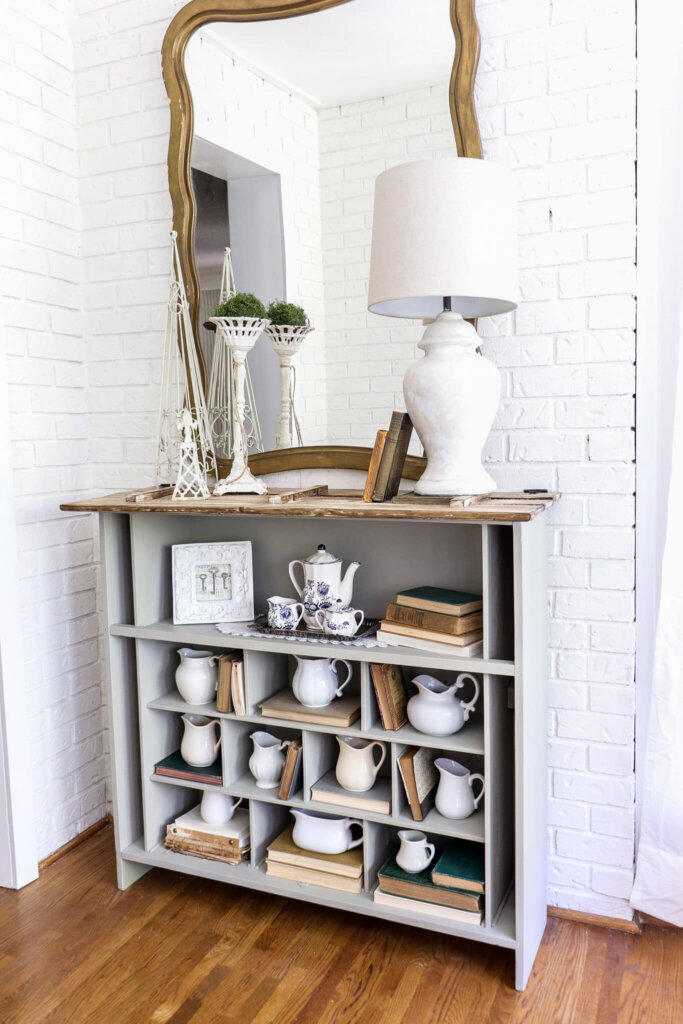
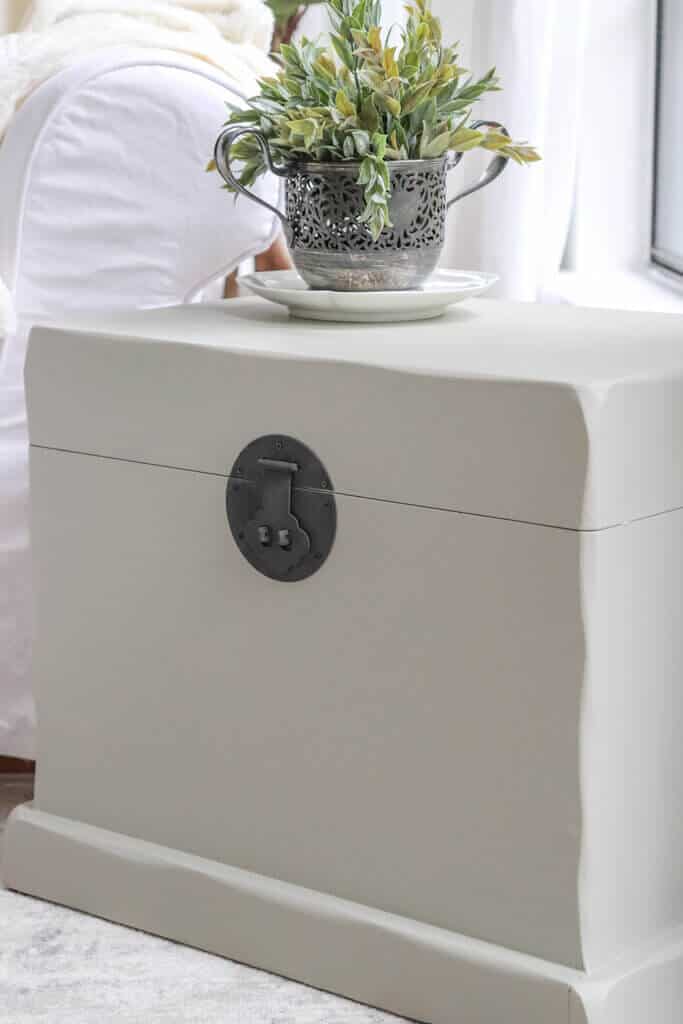
So are you ready for the big reveal?
It looks soooooo good!
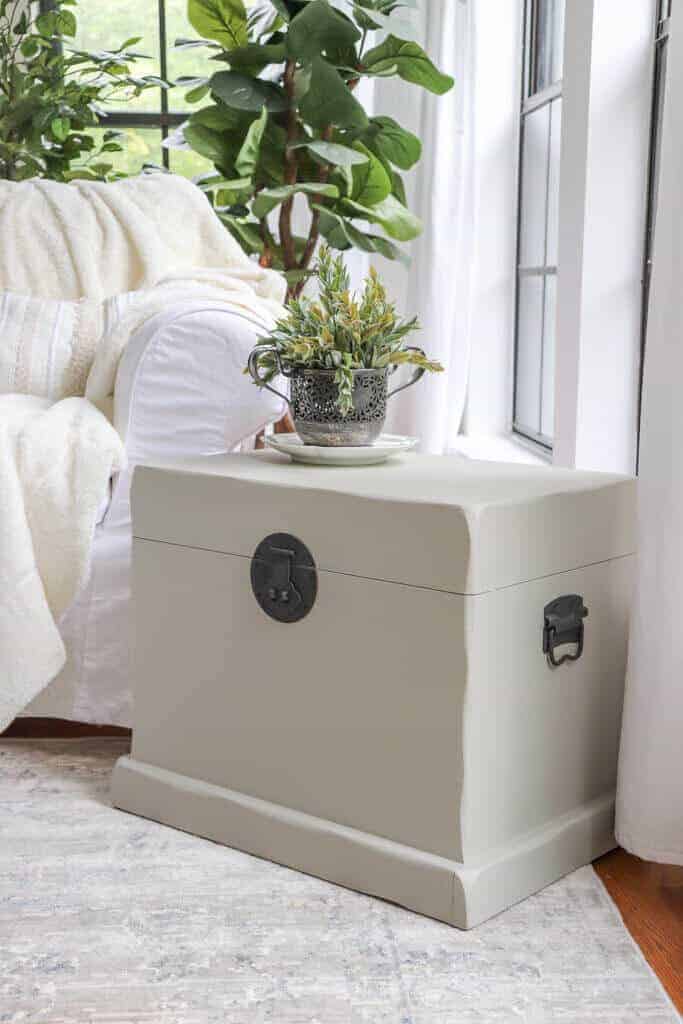
The soft gray/green hue is perfect for this room.
And the hardware just pops!
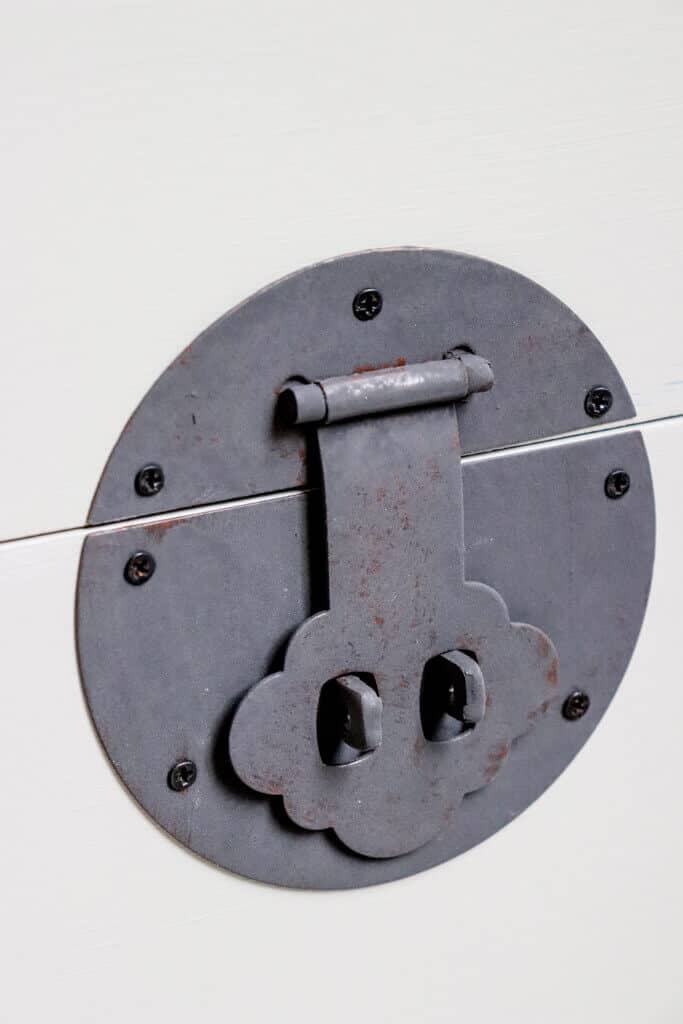
I allowed some of the rust color to peek thru, giving it depth and dimension.
So what do you think?
Of course, you know I love it!
But I want to hear from you!
Do you have a piece sitting around that could use a quick update?
I hope this encourages you to give this painted trunk side table a try!
Pin this for later!


Thank you Kim!
It’s a beautiful update! Even though its a large piece, I love how it looks so fresh and airy, not heavy and clunky. And that hardware update? Perfect!
I love what you did with your trunk Jen! It looks wonderful in that spot!
Beautiful!