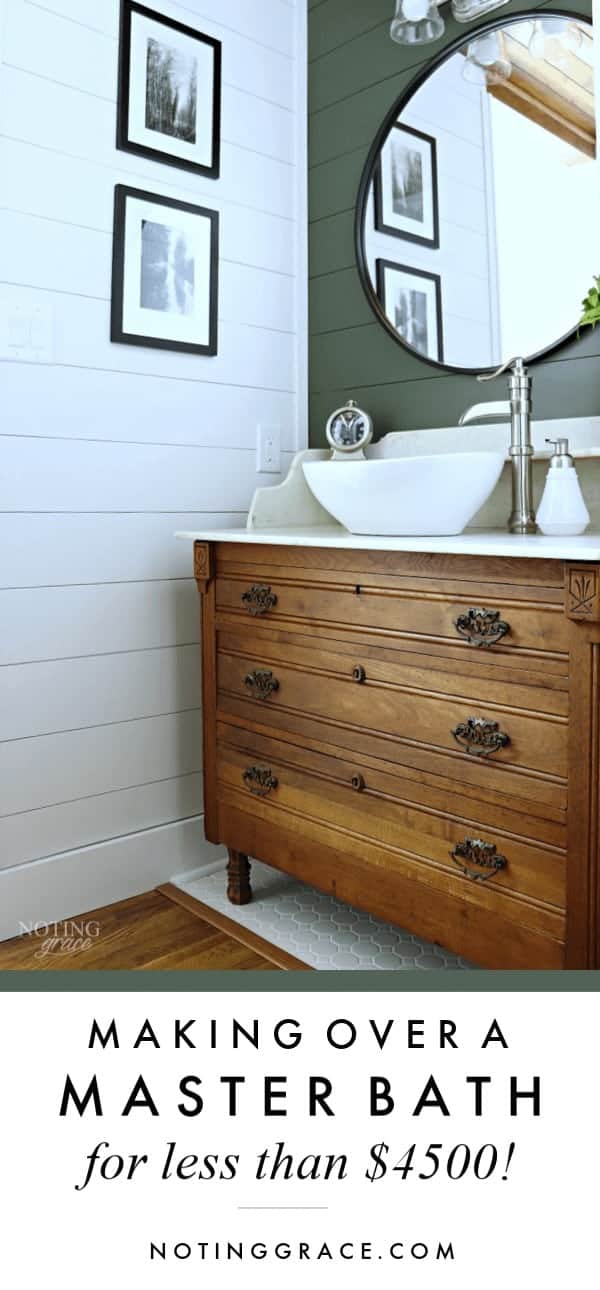
Master Bathroom Makeover for less than $4500
It was daunting to think we could take on a renovation just four weeks after a major life event, but we did it. Here’s how we completed this Master Bathroom Makeover for less than $4500 in record time.
So I have a confession.
I didn’t think I’d be writing this post today.
When we joined the One Room Challenge six weeks ago, we knew it would be a stretch to complete this Master Bathroom Makeover on time. Simply because all the odds were against us.
First off, it was a last minute decision.
That means it would be a design-as-you-go room – which terrified this over-planner.
We had a teeny budget.
And it was right on the tail of a huge move for our family.
Plus, we hadn’t even slept in this house an entire month before we were knocking out walls.
It’s has been a down to the wire renovation for sure.
But I am absolutely elated with how this Bathroom Makeover turned out! So let’s start with how our bathroom looked just six weeks ago.
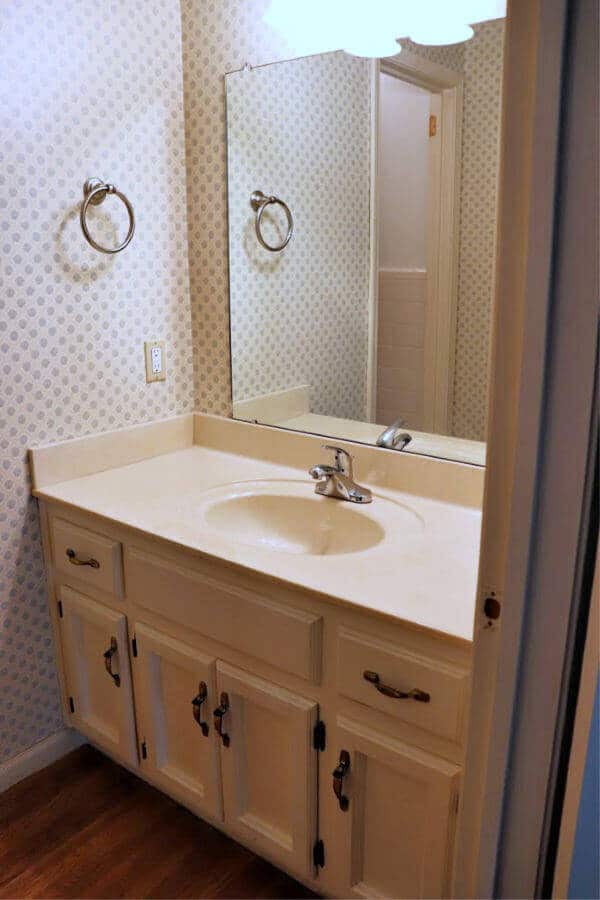
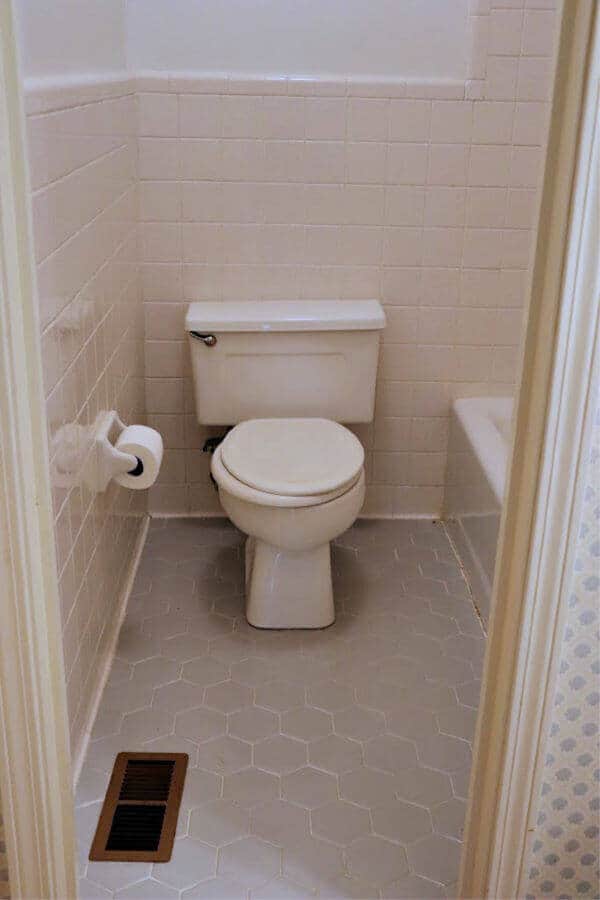
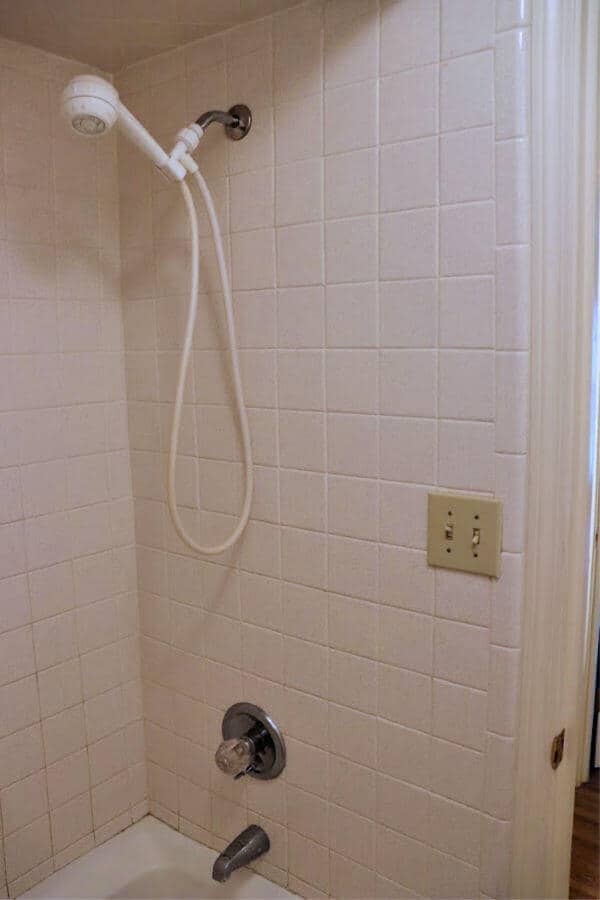
A sad, dated en suite with a poor layout and electrical dangers!
First we busted out the tile, then ran into renovation dilemmas, had to deal with delivery delays, and finally started to gain momentum in week 5.
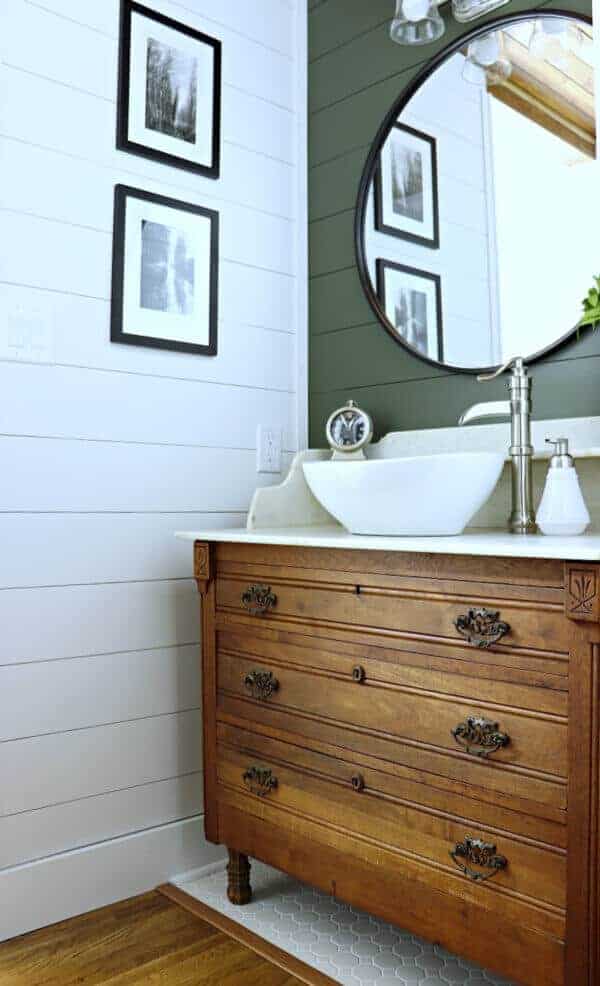
We took this bathroom that we hated to use and turned it into this.
What a transformation right?!
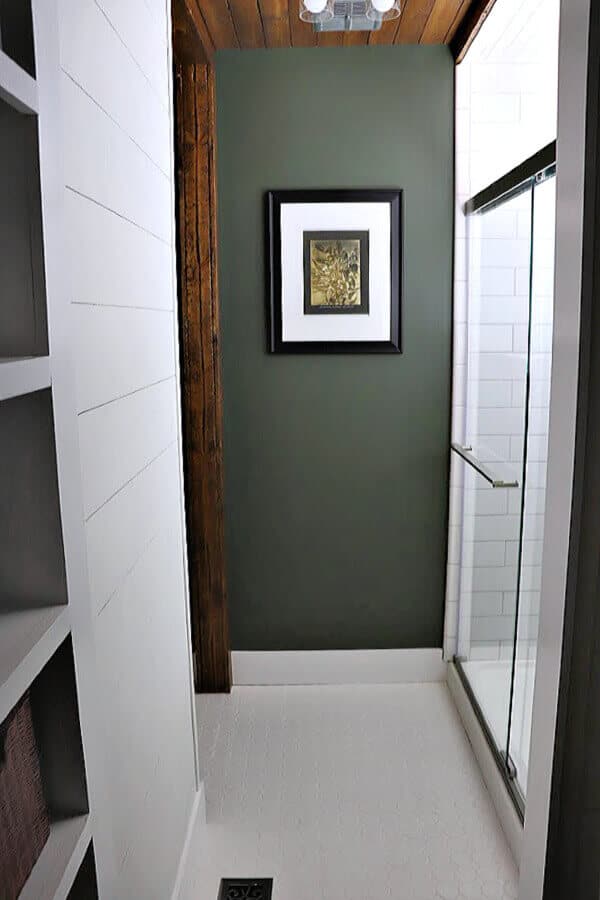
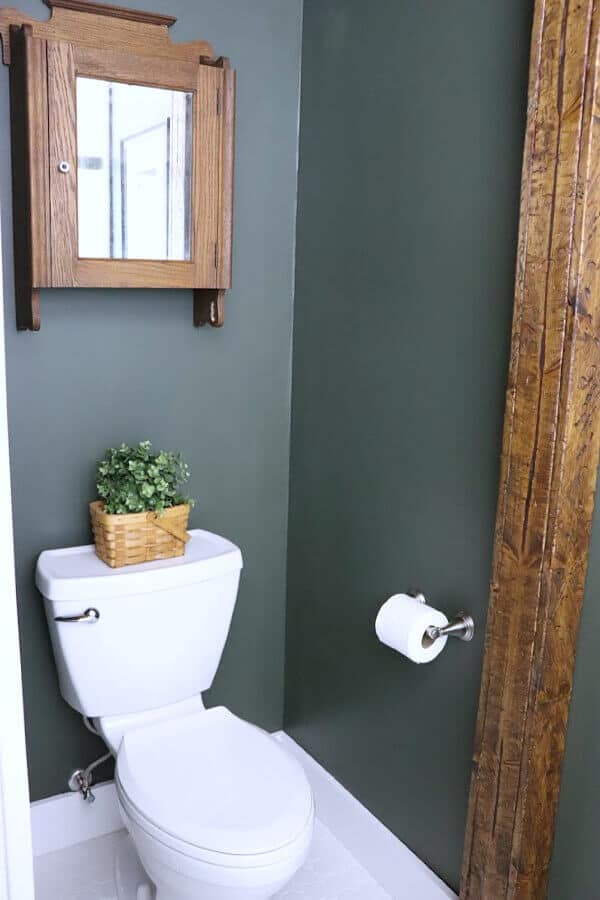
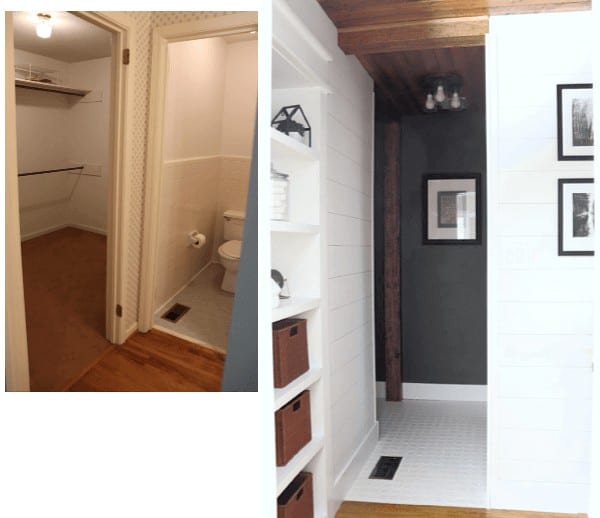
By opening the wall into the adjacent master closet, we were able to take the ugly view of the toilet and tuck it behind the corner.
The old entry into the closet was sealed off and a new door into our master bedroom was created.
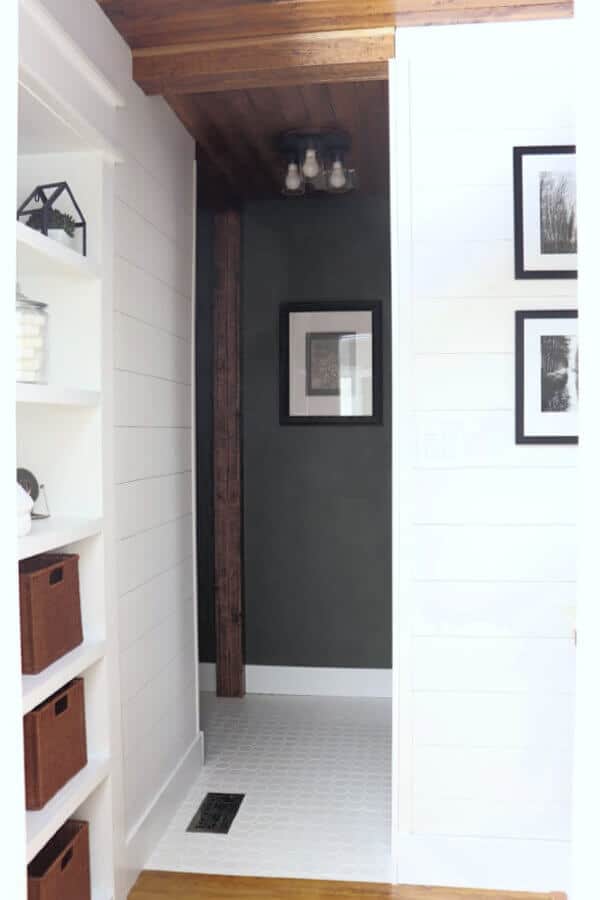
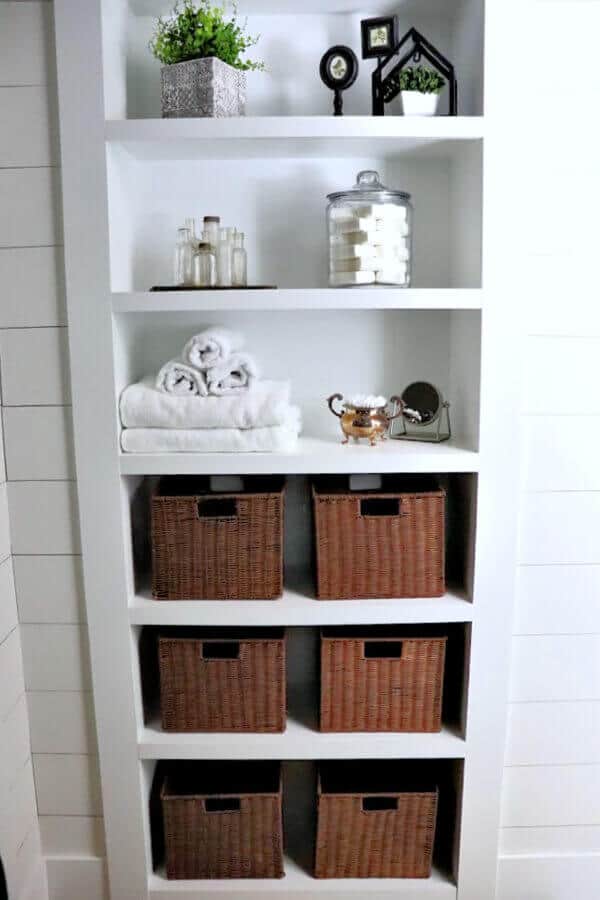
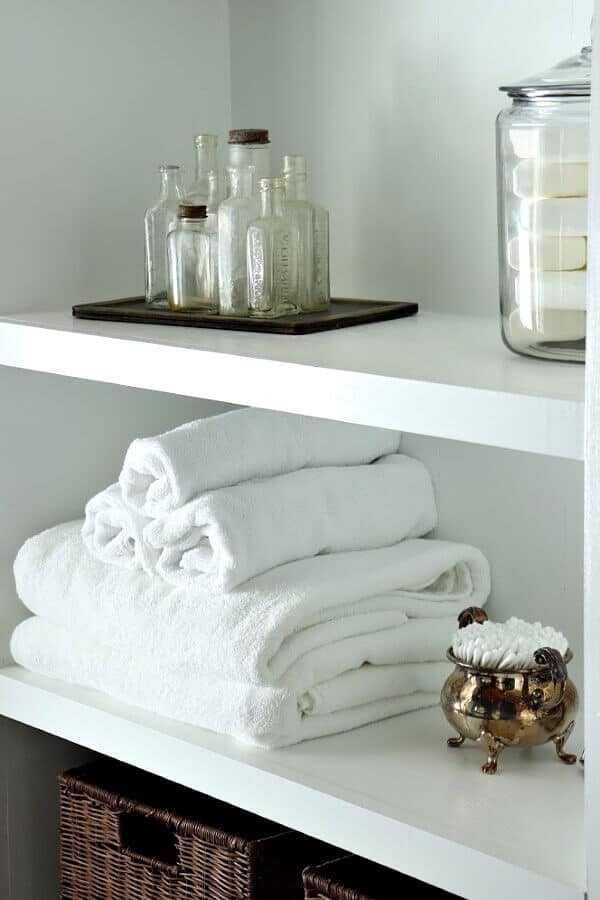
By repurposing a shelving unit from the closet, we were able to create a unique storage space for our bathroom.
The walls were covered with 1/4 inch plywood cut into six inch strips. There is a fabulous, new interior mineral paint made by Romabio giving our walls a creamy texture.
We used a nontoxic interior mineral paint from Romabio. We used 2 colors from my Color Capsule Collection with Romabio Paints. The green is called Magnolia Leaf and the White is called Grace Note.
The green color has me swooning!
I’m typically a blue gal, but we went with Trent’s favorite color and it’s swaying me, I tell ya!
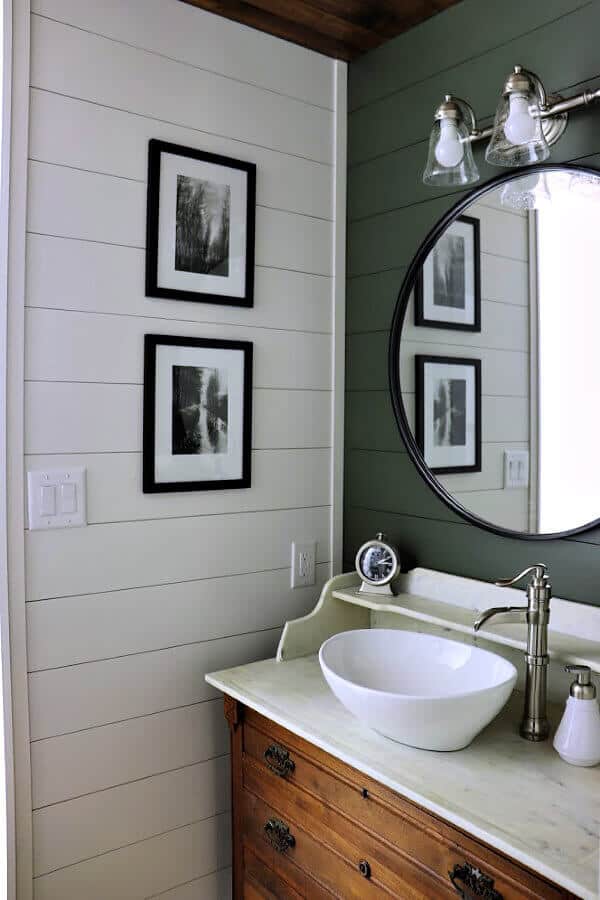
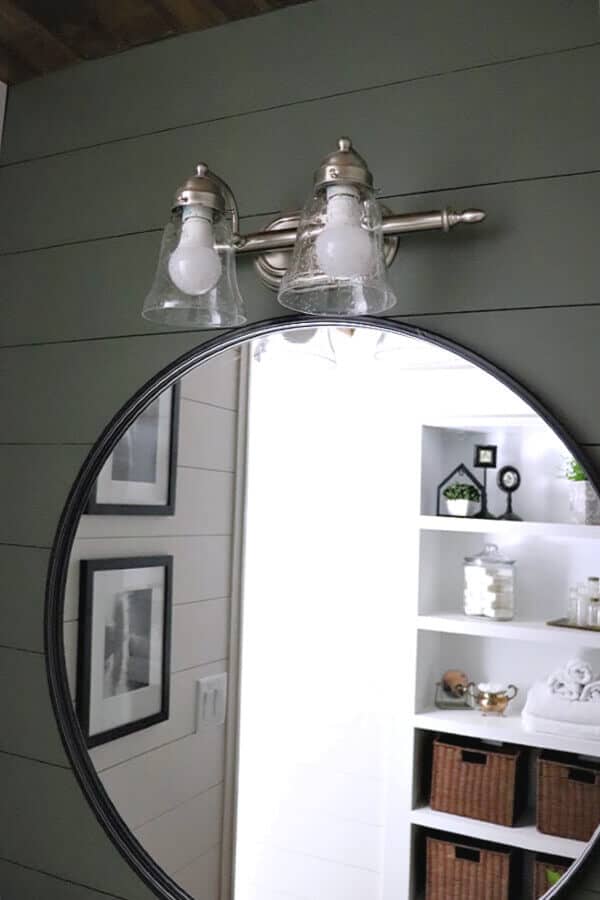
That’s the old light fixture from the previous homeowner, but we replaced the globes with seeded bell shaped globes.
It matches the new light fixture we hung next to the shower.
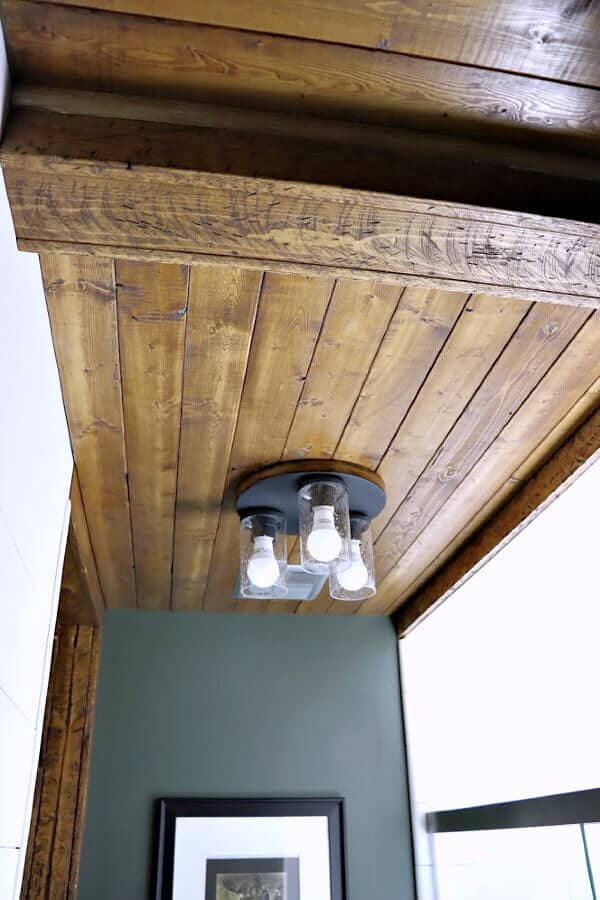
And take a gander at that ceiling. No more popcorn, y’all!
We stained v-groove pine boards with Early American and hung them directly over the popcorn.
And those beams! They add such a fun element as well.
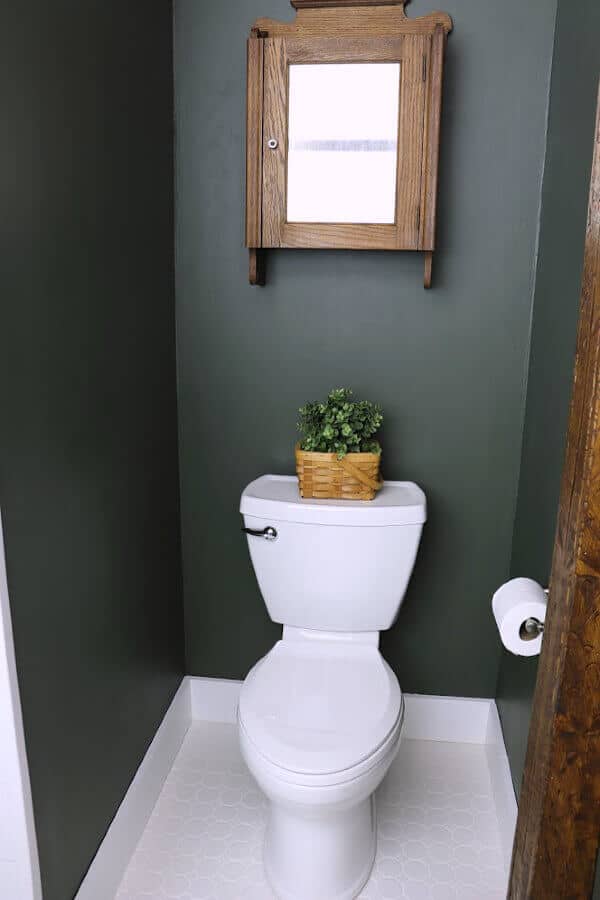
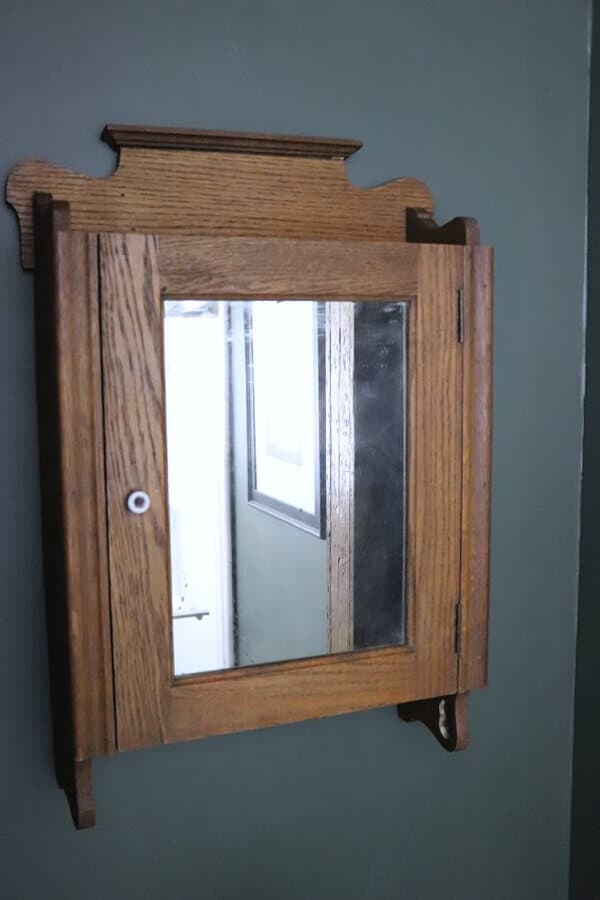
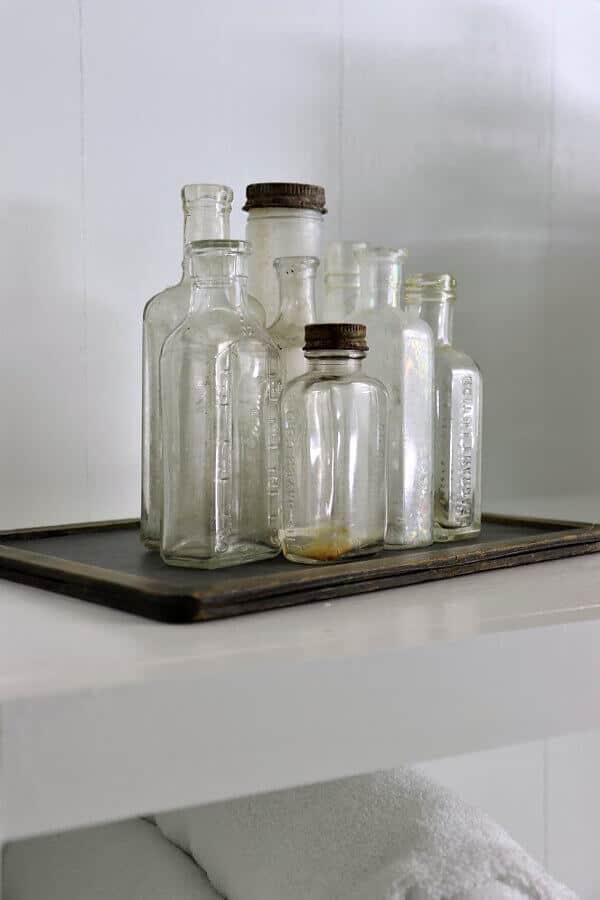
The ceiling continues into the the little water closet nook. The stain happened to be the perfect match to our DIY Vanity and this old medicine chest that used to hang in our Vintage Farmhouse Powder Room from our Tennessee home.
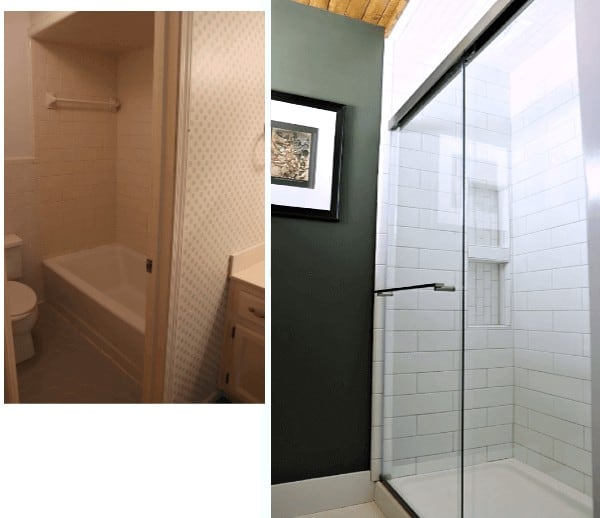
Now let’s talk about the shower.
The silicone is still drying as I type this. These shower doors were being hung at midnight last night.
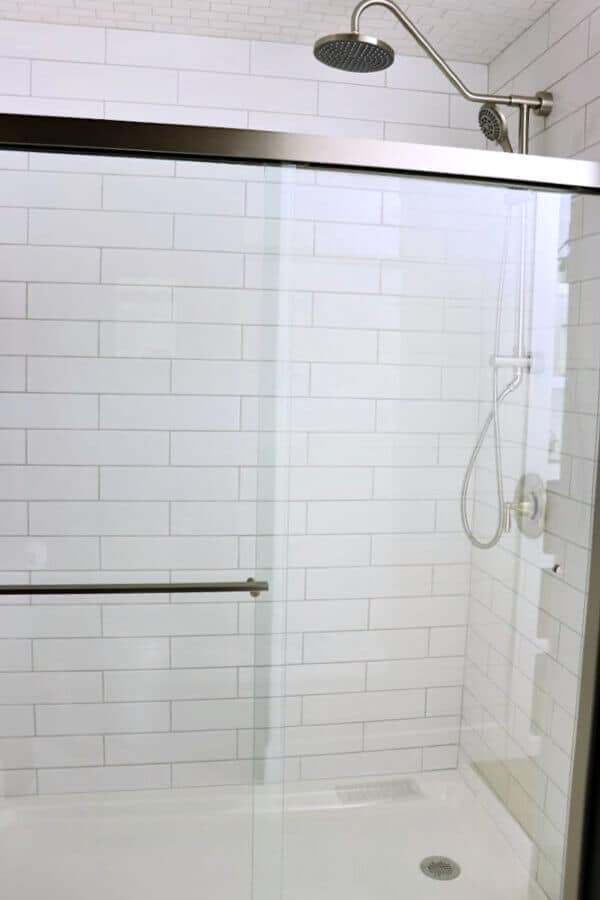
This tile is so beautiful. We went with 4 x 16 inch subway tile with a light gray grout. It’s a nice balance with the paneled walls.
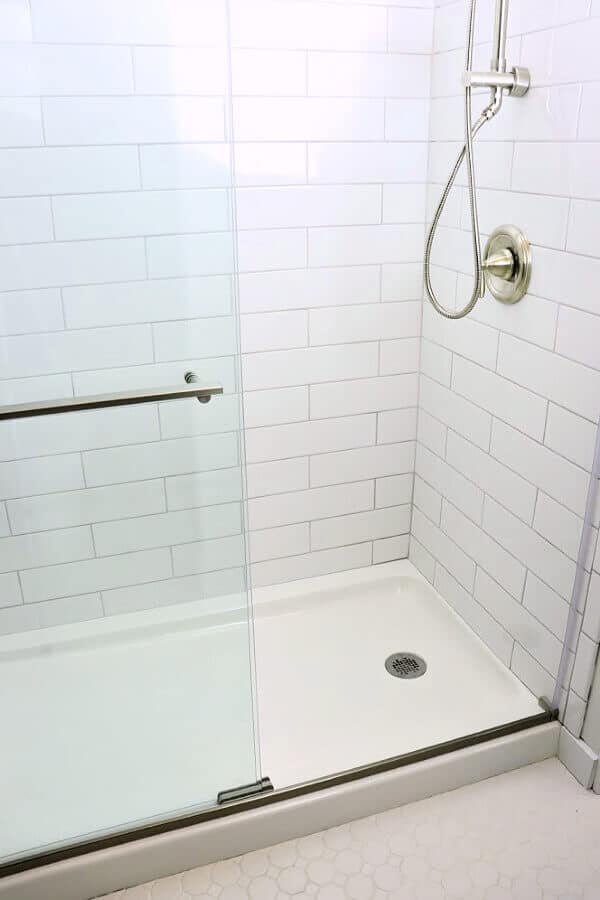
This shower pan is a new find for me. I didn’t know they made porcelain covered steel pans. It’s like a tub squished down into this gorgeous shower base! It’s so easy to install and is right up my alley being budget friendly.
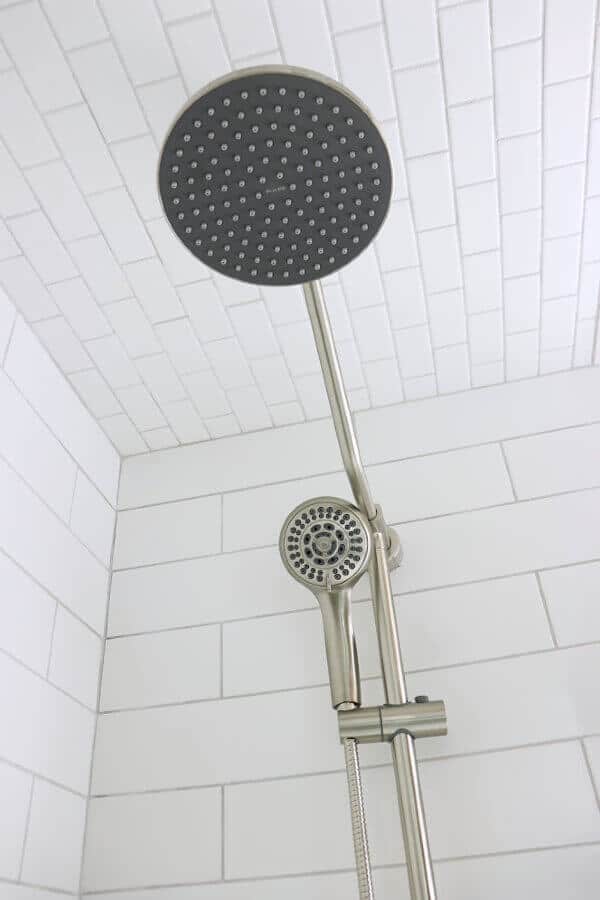
We installed a dual shower head that gives you the option of a rainfall shower head, or massage head, or both simultaneously!
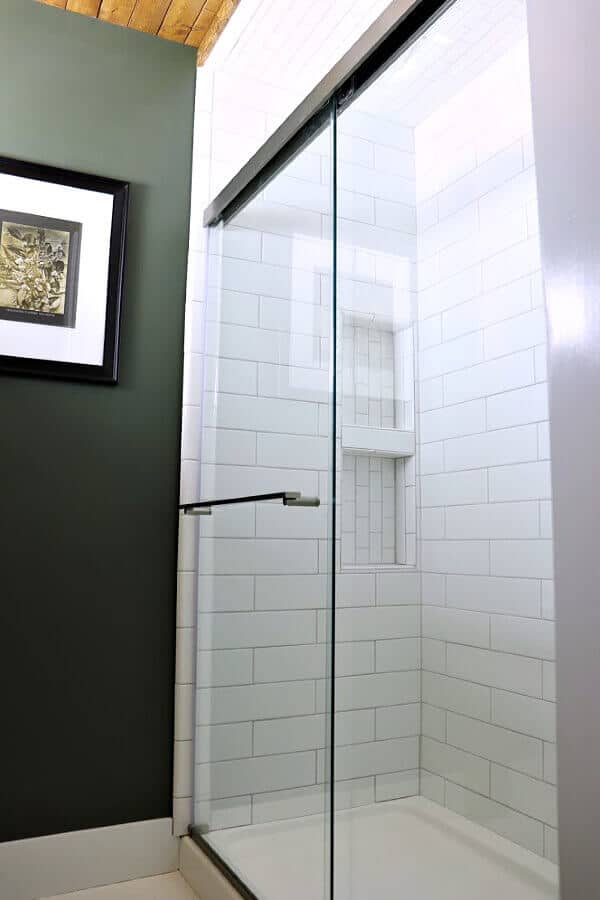
On the back wall, we added some cubbies to house our toiletries. I wanted it off set so that I wasn’t greeted by those bottles when I walked into the room.

Just so you know, we didn’t start tiling until Saturday. I don’t know how we tiled, grouted and hung these doors in 4 days, but I absolutely am thrilled with how it all turned out.
So there’s one bad thing about this shower.
We can’t use it yet! (insert crying emoji) We still have to caulk and silicone around the base and shower doors. Then we need to seal the tile. Looks like we have a few more days before we can try it out.
The show stealer is still this sexy washstand turned vanity. We were able to clean her up, add some legs, in addition to fit the drawers to accommodate the plumbing.
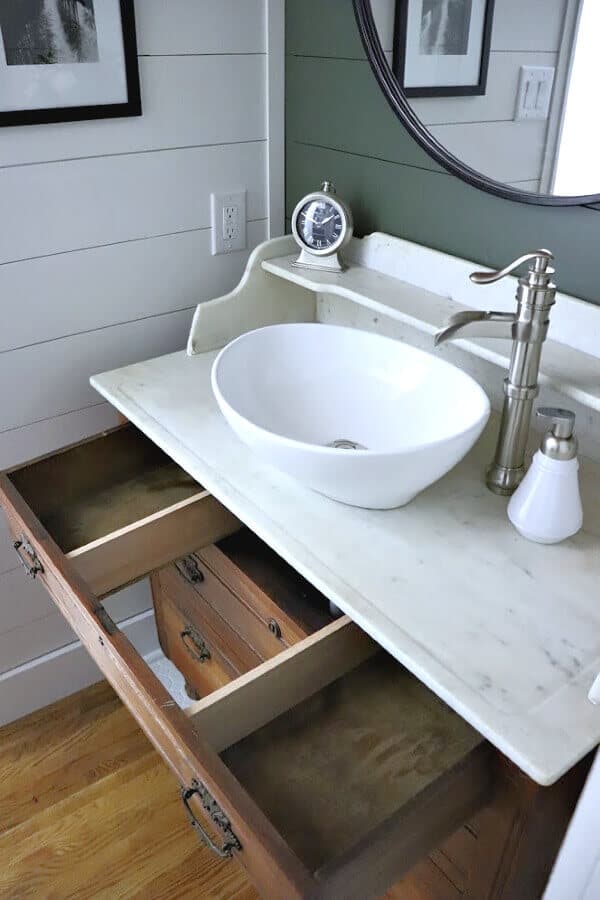

My son is obsessed with this faucet. I have caught him at least a dozen times this past week using it, playing with it, even drinking from it.
A mix of new with old, modern with vintage, pristine with chippy.
Taking the outdated and bringing it up to current times.
Here are a few side by sides for you to enjoy!

It doesn’t even feel like the same room.
So now let’s crunch the numbers to see how we stacked up. I will be sure to include affiliate links to the products used in this room makeover for your convenience.

Master Bathroom Makeover for less than $4500
Vanity (see the full tutorial here)
Vintage Washstand turned vanity – $150 on Facebook Marketplace
Black Round Mirror – $120 at half off from Hobby Lobby
Vessel Sink – $60 from Amazon
Waterfall faucet – $63 from Amazon
Pop up drain stopper – $30 from Home Depot
Glass globes for the existing light fixture – $17 from Home Depot
Materials to complete the washstand transformation – $231.25
(Diamond tip drill bits, wood for drawer inserts, stain, brushes, etc.)
Walls, Flooring and Ceiling
Octagon Tile – $82 at Home Depot
1/4 inch plywood cut to 6 inch strips for shiplap – $75
Romabio Interior Mineral Paint – Magnolia Leaf and Grace Note
Wood Panels for ceiling – $50 from Lowes
Kichler Barrington Ceiling Light – $90 from Lowe’s
Building Supplies – $1407. 26
(Studs for joists, drywall, mudding compound, stain, etc.)
Pictures – FREE from my home
Built-in Shelving Unit
Repurposed old closet shelving unit – FREE
Paint – $40 interior trim in white
Towels – $30 from Tuesday Morning
Baskets – $65 from Amazon
Faux plant with cement planter – $15 from Hobby Lobby
Black metal house with mini plant – $13 from Hobby Lobby
Glass container filled with soap – FREE
Other decor from my home – FREE
Shower and Toilet
Daltile Restore 4 X 16 subway tile – $240 from Home Depot
Bootz Porcelain Covered Steel Shower Pan – $250 from Amazon
Pulse Kauai III Shower Head – $290 from Home Depot
American Standard Toilet – $200 from Lowe’s
Kohler Revel Shower Doors – $500 from Lowe’s
Plumber to relocate pipes and plumb new toilet and shower – $800
TOTAL COST – $ 4461.51
So how did we save money?
By working with what we had. It isn’t our dream bathroom, or the layout we wanted, but by keeping the same footprint, it saved us loads in costs.
Also, working with what you already have cuts down the bottom line. We kept the hardwood flooring, repurposed some shelves from the master closet, and reused one of the old light fixtures.
I especially wanted to take a moment and thank the Romabio team for sending us their new interior mineral paint. Stay tuned for a detailed post about this amazing product! Another thank you for the Bootz company for their assistance with our Shower pan – we absolutely love it!
And a humongous thank you to the One Room Challenge, Home Love Network and Better Homes and Gardens for hosting yet another epic challenge. So I look forward to participating each season, finding new friends, loads of inspiration, and the creativity it takes to transform each room.
And even though we are sore from head to toe, utterly exhausted and looking forward to this weekend to celebrate our anniversary – I’m already drumming up ideas for the next challenge this Spring!


Week 1 | Week 2 | Week 3 | Week 4 | Week 5 | REVEAL


58 Comments