Progress on Our Storage Room Update
We’ve been tackling our Storage Room in our basement for the past week. Here’s an update on our progress.
I am on a mission to minimize the clutter in my life and create extra storage space for our seasonal items. And it all starts with our basement.
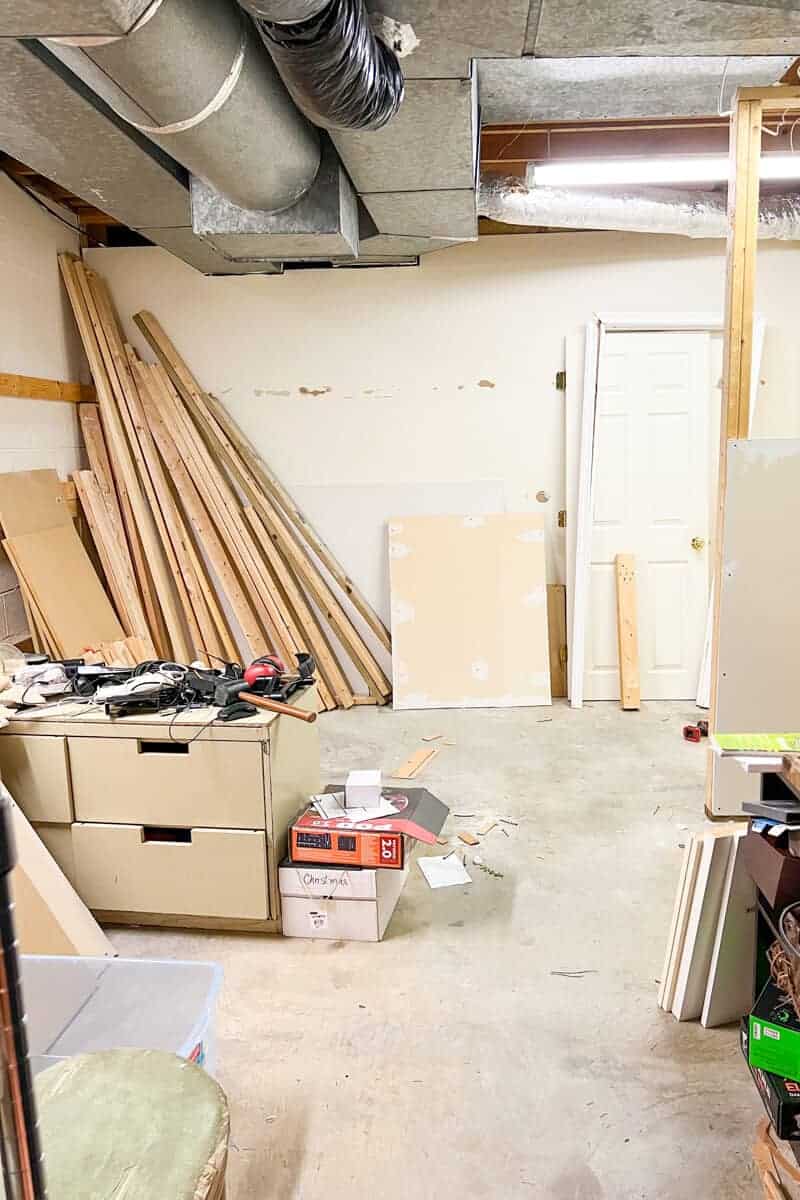
Meet our Storage Room.
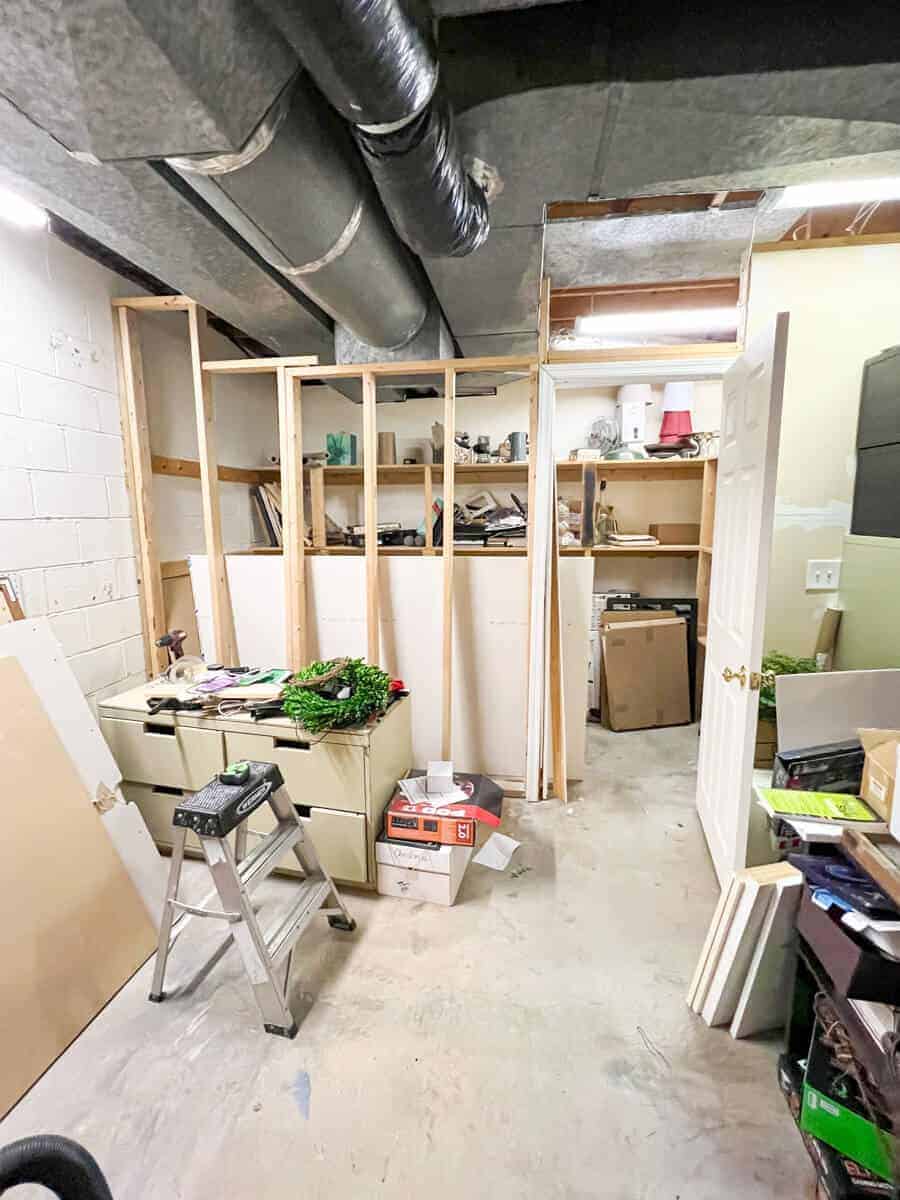
This is also our furnace room.
When we moved into this house, this room was one of the main reasons I why I wanted this home.
This huge furnace room had built in shelving that would be perfect for my home decor!
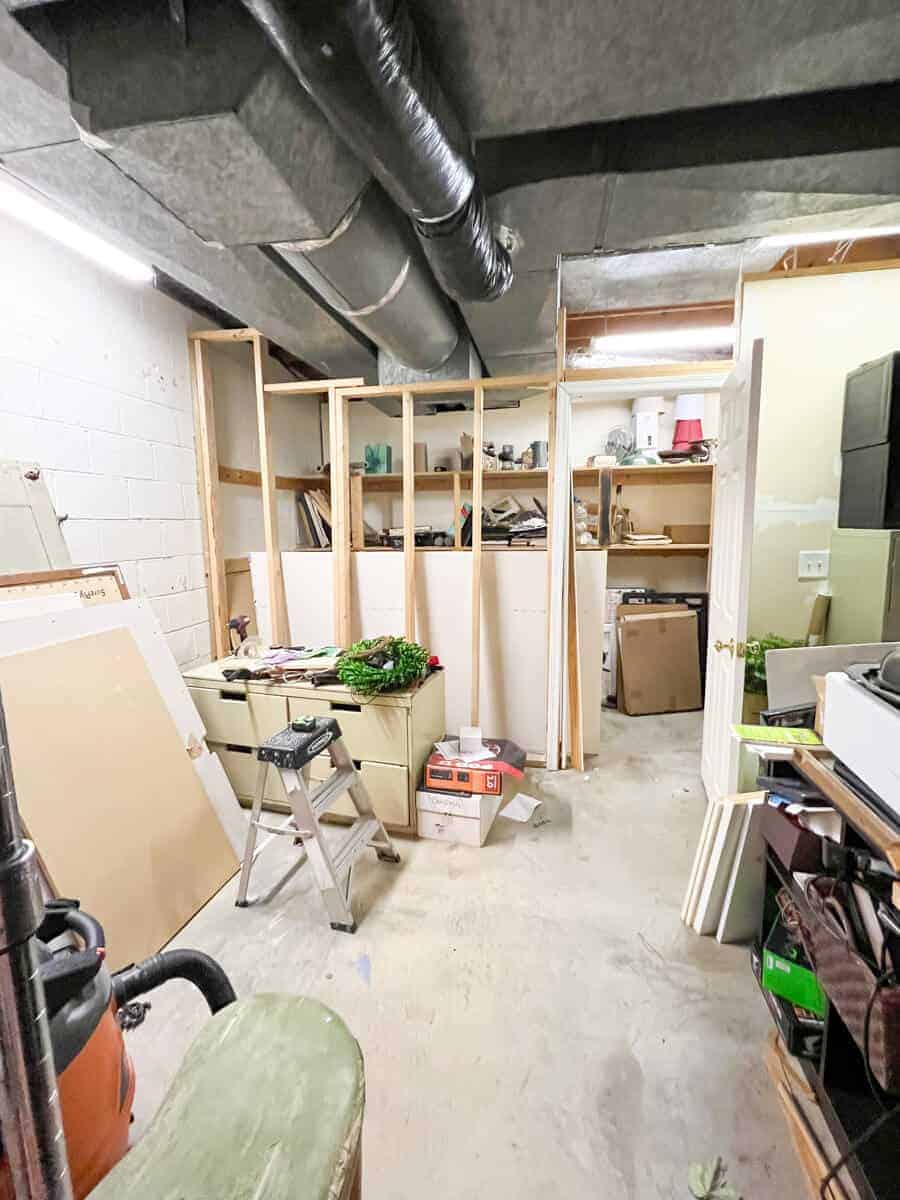
The photo above is after we already started tackling this room, so let me show you how it looked when me moved in.
There was a false wall built. It’s not structural and it wasn’t clear why it was there.
Our guess is that the previous owners built it to hide the storage shelves.
But it’s actually cumbersome when you are trying to get cardboard boxes or plastic bins through the door.
So we knew this wall needed to come down and it was time to turn this storage area into a functional space for our family.
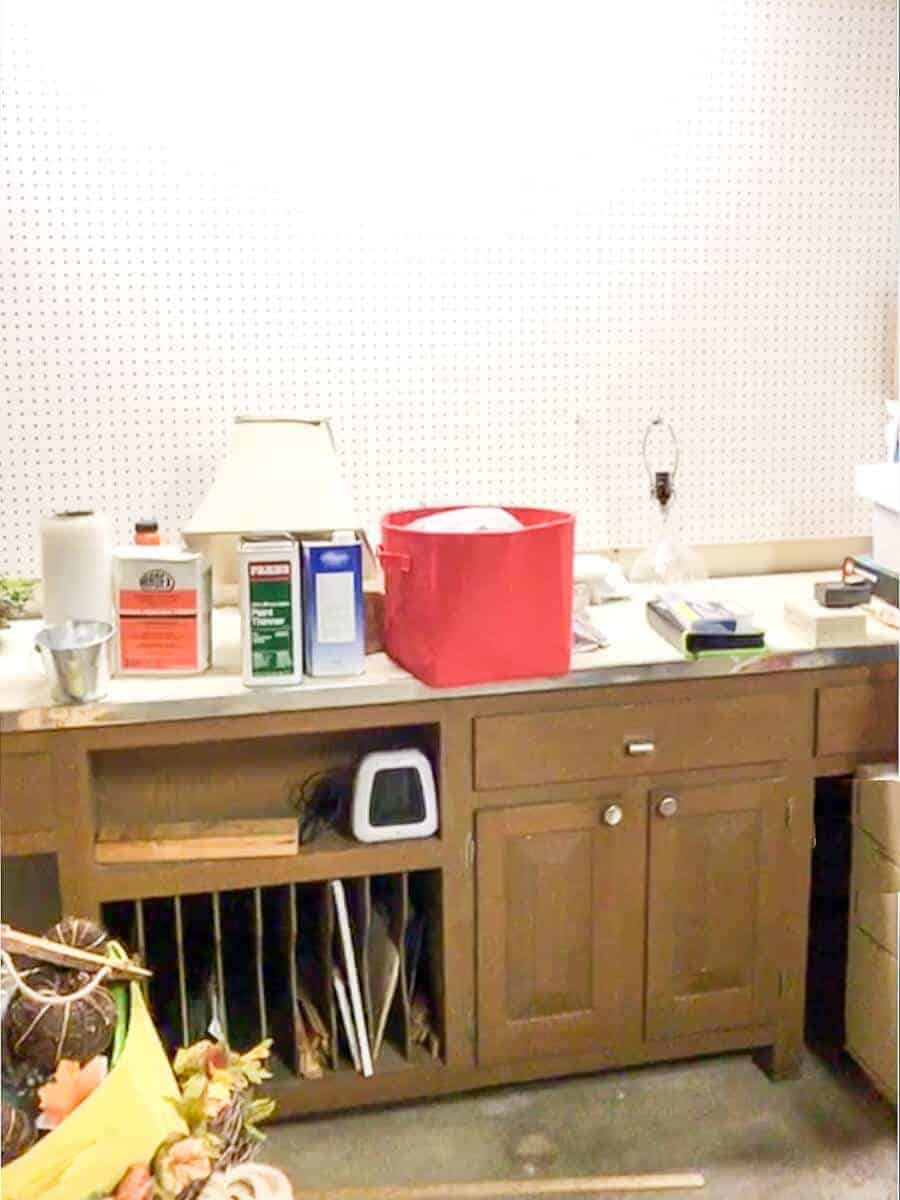
Next to this wall was a work desk with a peg board installed.
Maybe it was the previous owner’s workshop, but after a few years of living here, we quickly realized that we never used this space.
And with home storage solutions being the main goal of this update, we thought it was a good idea to sell the work desk.
We kept his small green wooden cabinet for extra storage but as you’ll soon see, we moved it to a new location.
Progress on our Storage Room Update
(Some affiliate links are provided below. Full disclosure here.)
Step One: Move Everything Out
Before we could tackle this update, we needed to move everything out of this room.
And it serves a double purpose. While everything is out, I can sort through and get rid of the items I no longer want and keep what I absolutely love.
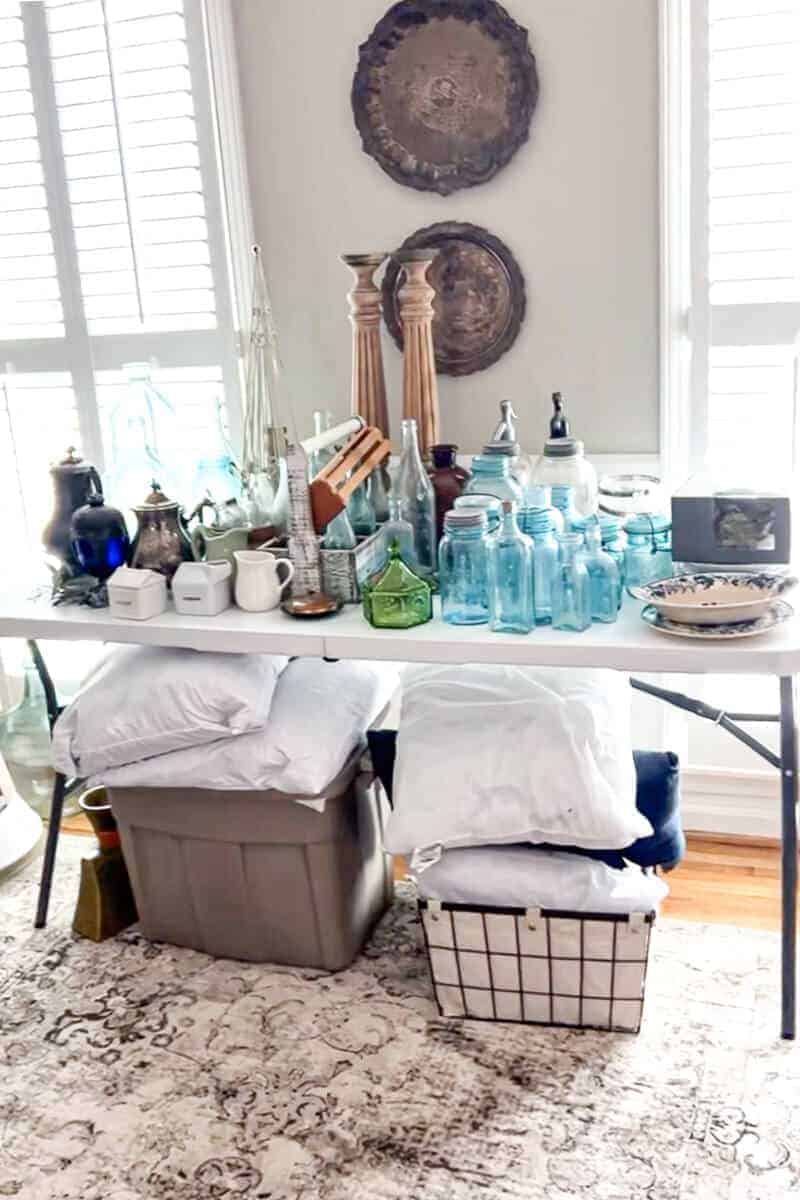
But that also means the rest of my house is a complete mess. Decor in my garage and dining room and a stack of bins fill up our guest bedroom. We have so much stuff!
I shared my journey of decluttering in this post if you are also in the process of purging items from your home.
But it’s worth the bit of chaos in pursuit of the calm! Amiright?
Step Two: Take Down the Old Shelves and Interior Wall
The first step was disassembly.
We got to work on separate tasks. I slowly moved everything off the shelves. And Trent took down the drywall from the wall to help us get a vision for this space.
He also removed the peg board from the wall and set it aside to be reused later.
We did the same for the shelves.
I love to repurpose and save costs as much as possible. So we kept all the wood and boards to rebuild the shelves in a better location for this room.
We also repurposed the door that was installed in this false wall. I’ll share more of that later.
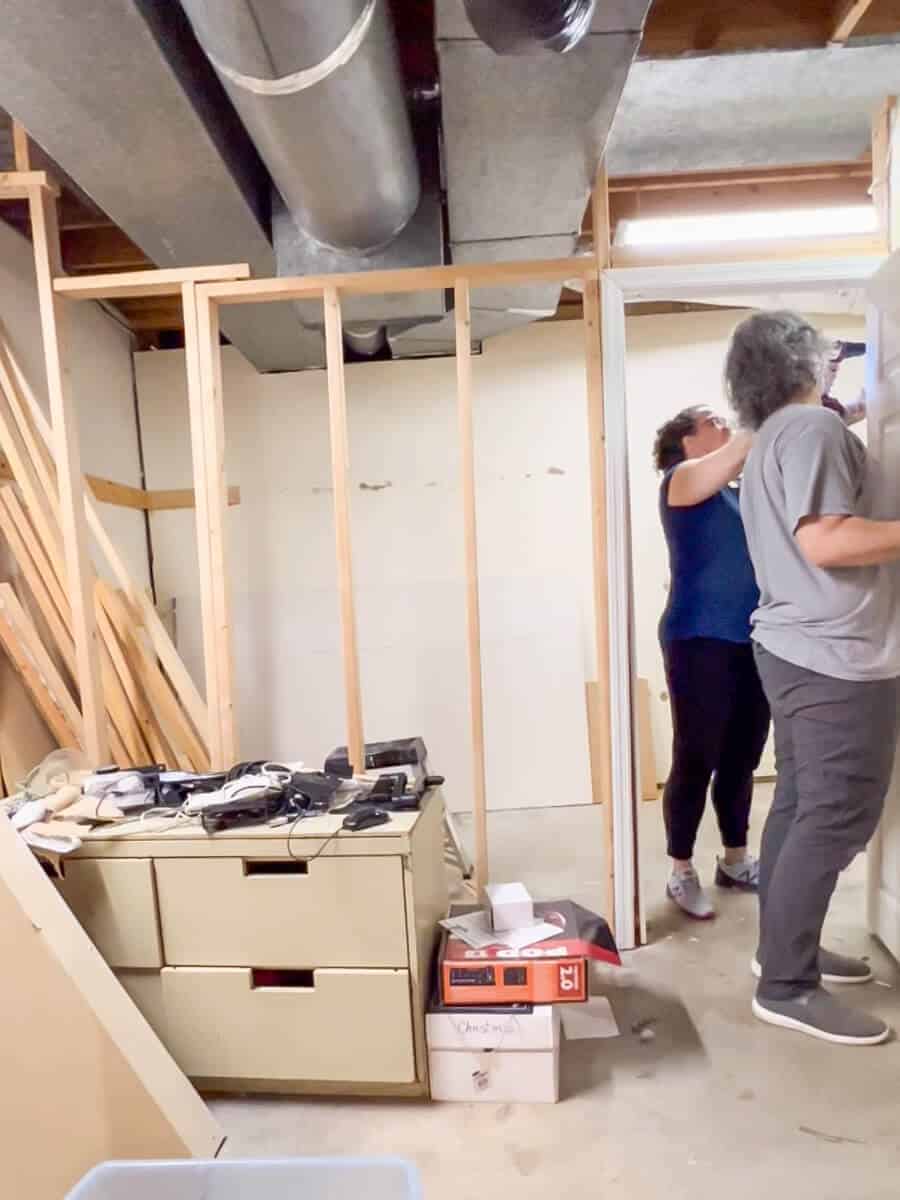
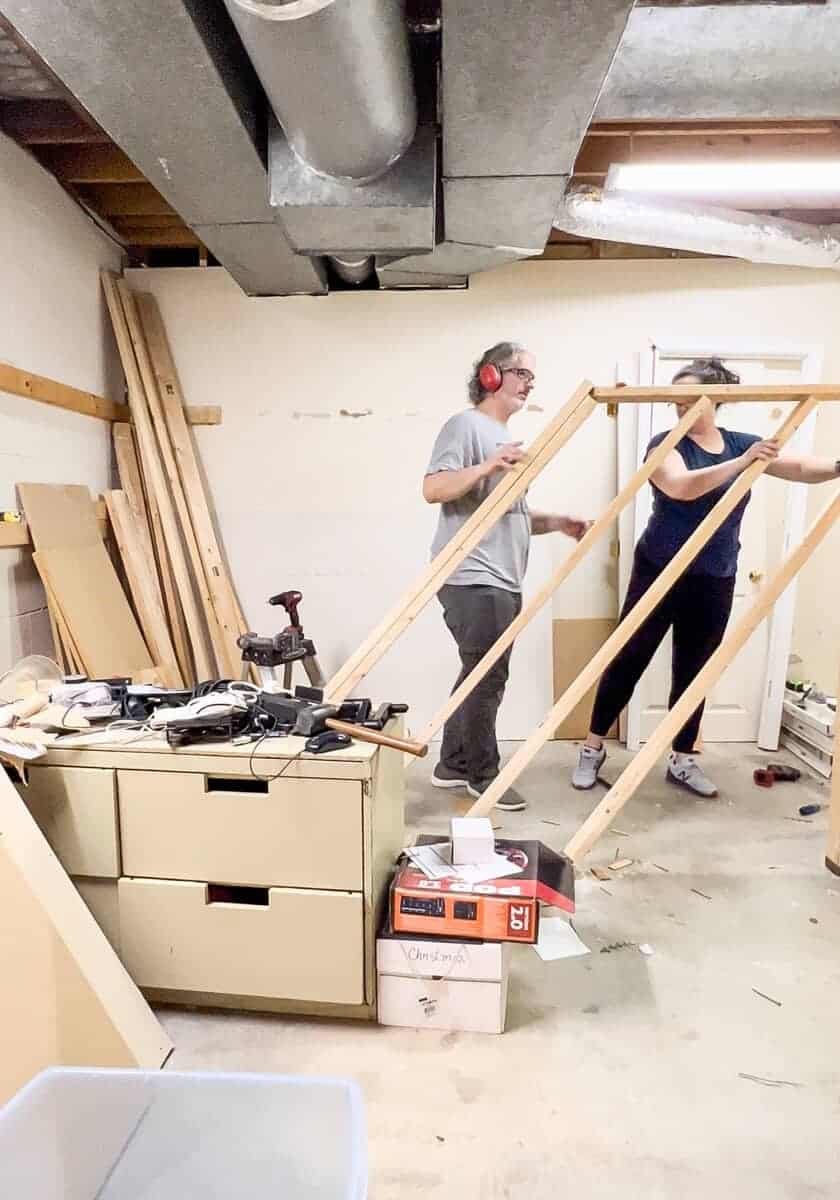
After the door was removed, we were able to take down the framing for the false wall.
Please note – this was not a load bearing nor a structural wall. This is one of the biggest mistakes people can make when altering the layout of their home. So be sure to check how any wall is constructed before disassembling.
The best way to check if your wall is structural it to see if it bears any weight from the joists above. If you aren’t sure, hire a professional to give you input first.
If you look at the photo above, you can see that the wall was not attached to the joists. In fact, it was built pretty haphazardly. Which gave us easy access to tear it down!
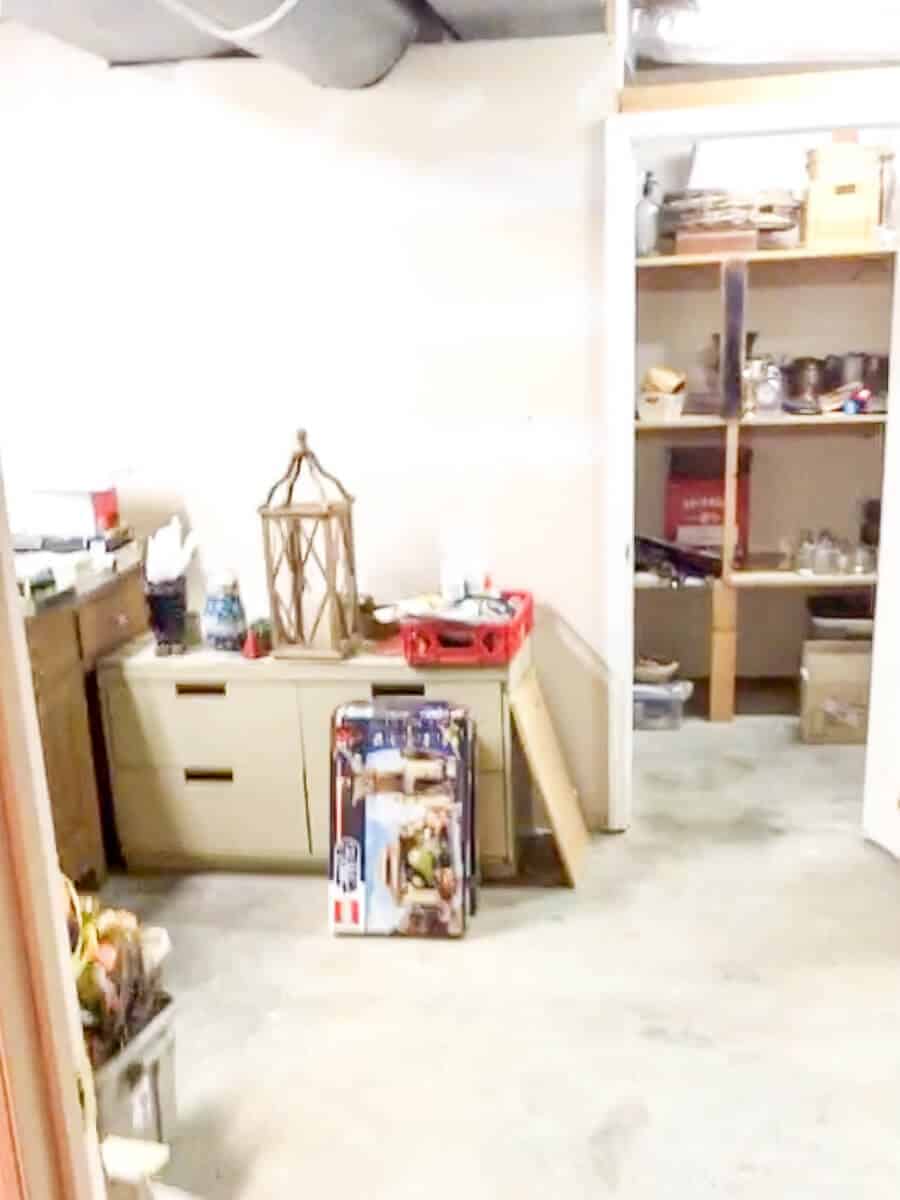
Once the wall was down, one of the first things we noticed was how much space we had.
And now we could move the electricity that was poorly laid out in this room.
Step Three: Move the Electricity and Install New Lights
For this storage room update, the main progress that needed to be done was moving the electrical to a better location.
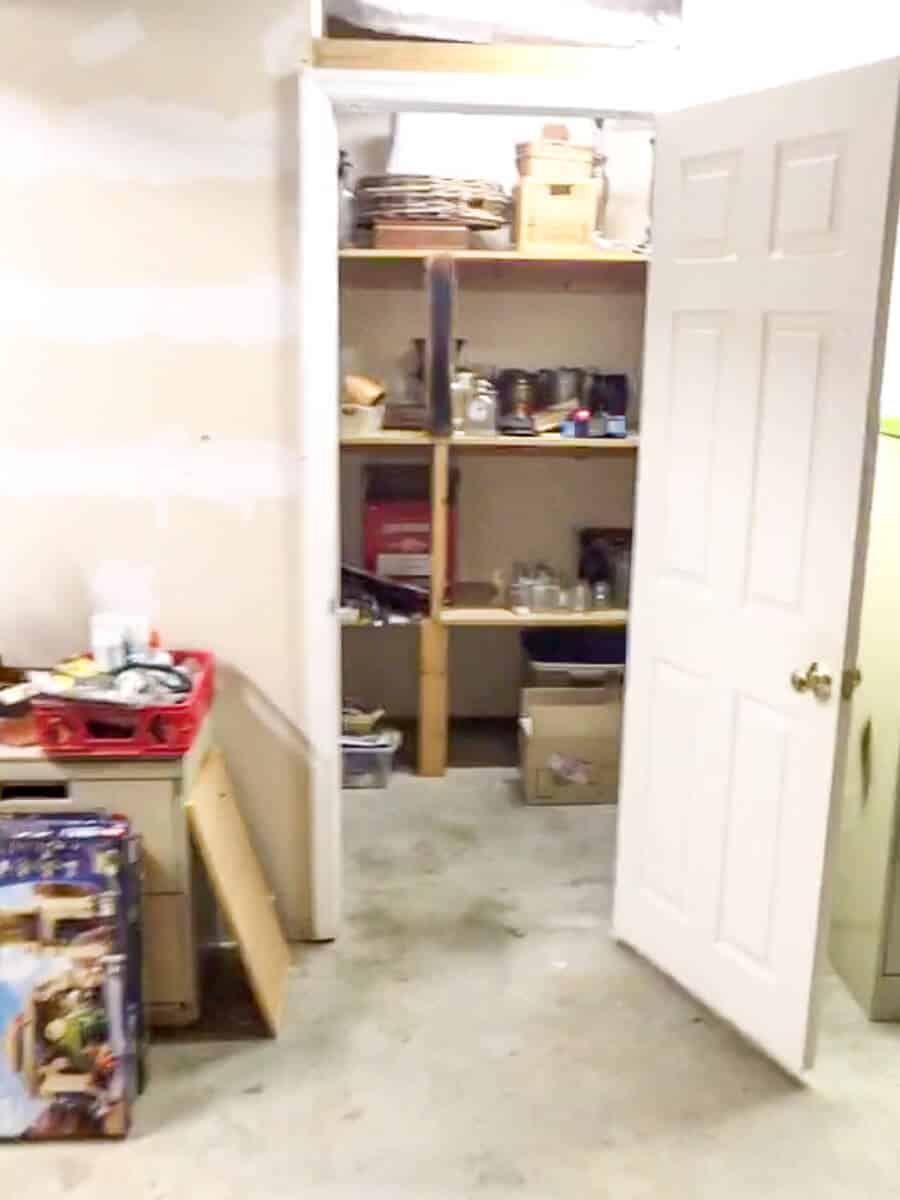
Do you see the double light switch in the false wall in the photo below?
Those operated all the lights in this room.
So that meant stumbling into a dark storage room to turn on the lights.
For this clumsy lady, that was a bad option.
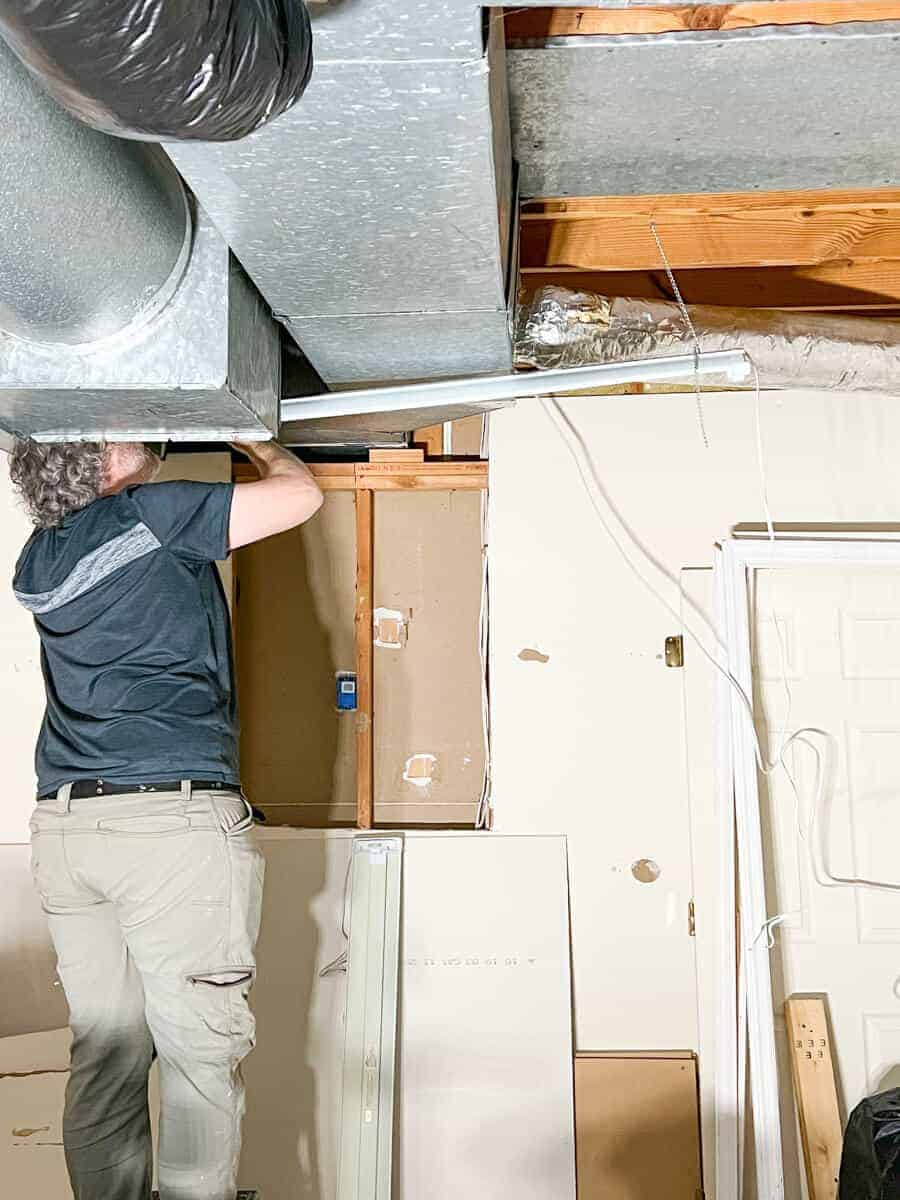
So Trent took the wires from the false wall and added lights to both sides of the room next to the door.
We also replaced the old fluorescent lights that flickered nonstop and replaced them with some super bright LED work lights that should last us decades!
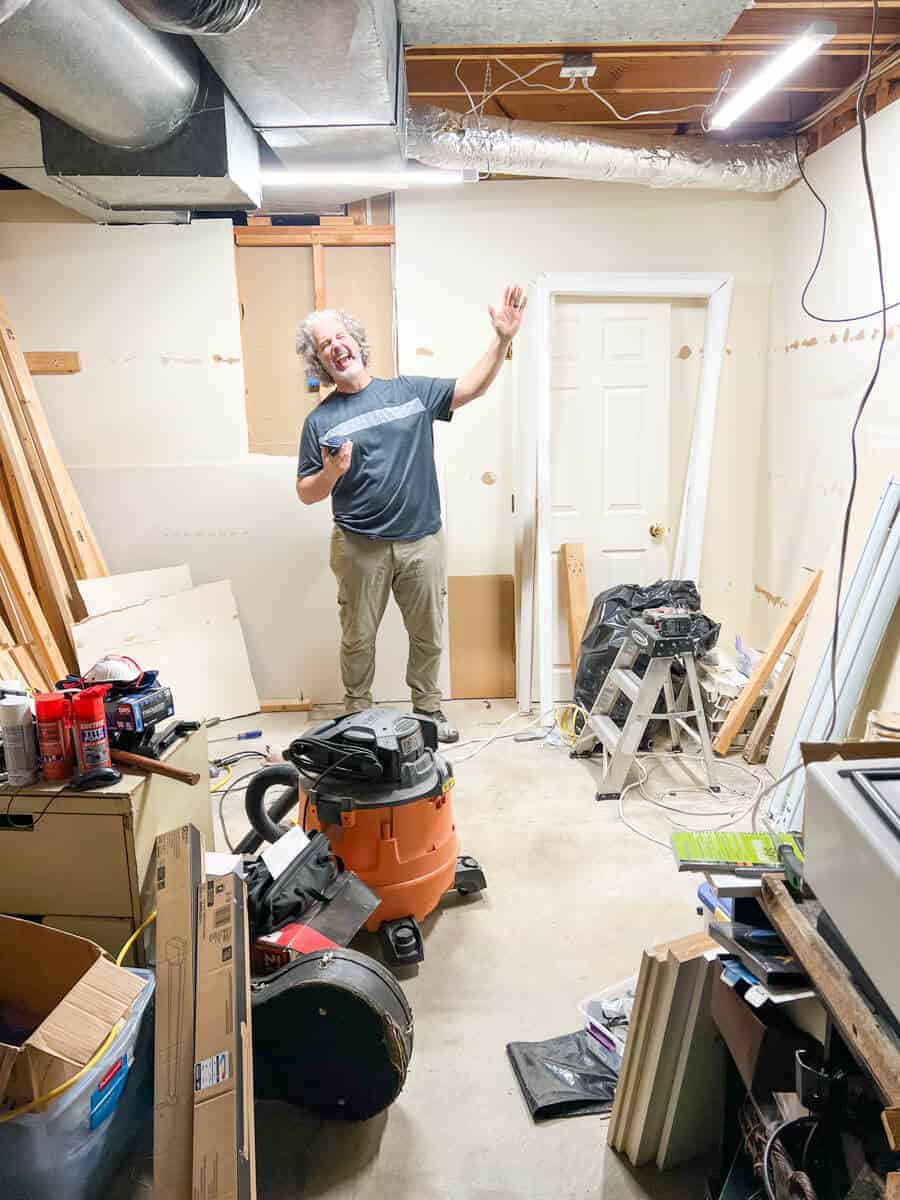
He’s such a goof ball!
Once the lighting was moved, we could get to the main part of this renovation!
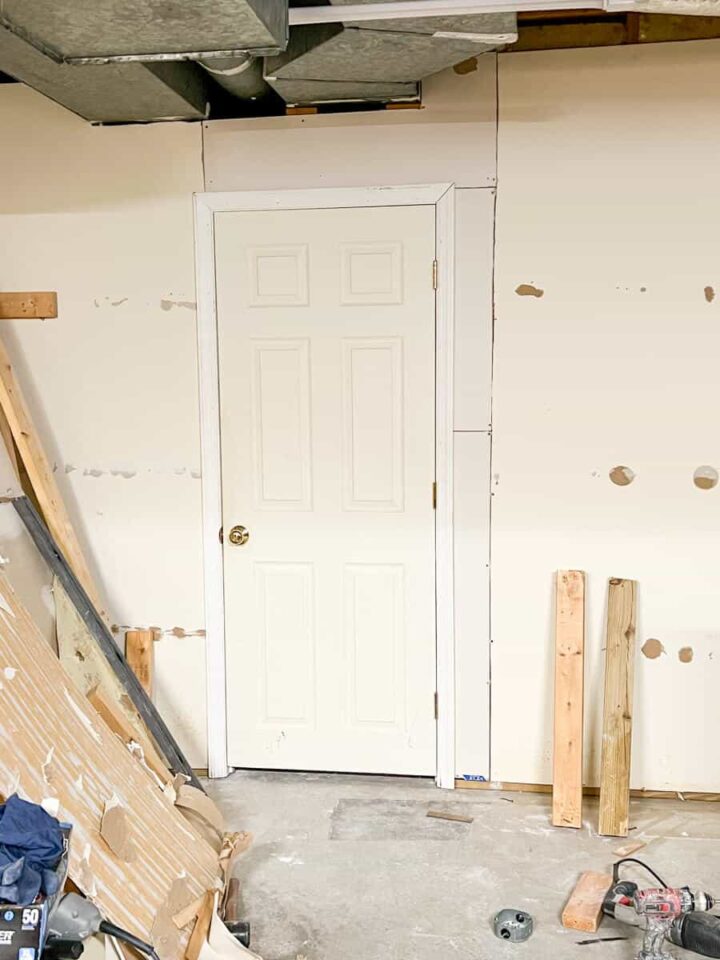
Step Four: Install the Interior Door to the Kitchenette
The main purpose for this update was so we could finally make over our kitchenette in our basement.
And one part of that makeover is to create an easy way to get to this storage area than meandering through four rooms to get there.

Once we opened that door, we could immediately feel an improvement with the air circulation. And that is really important for your HVAC system.
I’ll be sharing the full tutorial on how we did this soon, so be sure to check that out.
Now here is where I really struggled.
I love a neat, clean look for my home, and I really wanted to fix the walls and repaint.
You know, make it look pretty.
But let’s be honest.
There really isn’t anything you can do to make a water heater and furnace look pretty.
While it was a cute idea, it really isn’t practical for a utility room.
That’s the great thing about working with Trent. He helps me focus on task at hand.
Step Five: Reinstall the Shelves
While I dreamed of stylish storage solutions with a designer system from the container store, I knew that wasn’t realistic.
And we don’t have a lot of time to tackle this project. Trent’s busy season starts soon and I needed his help while I have him!
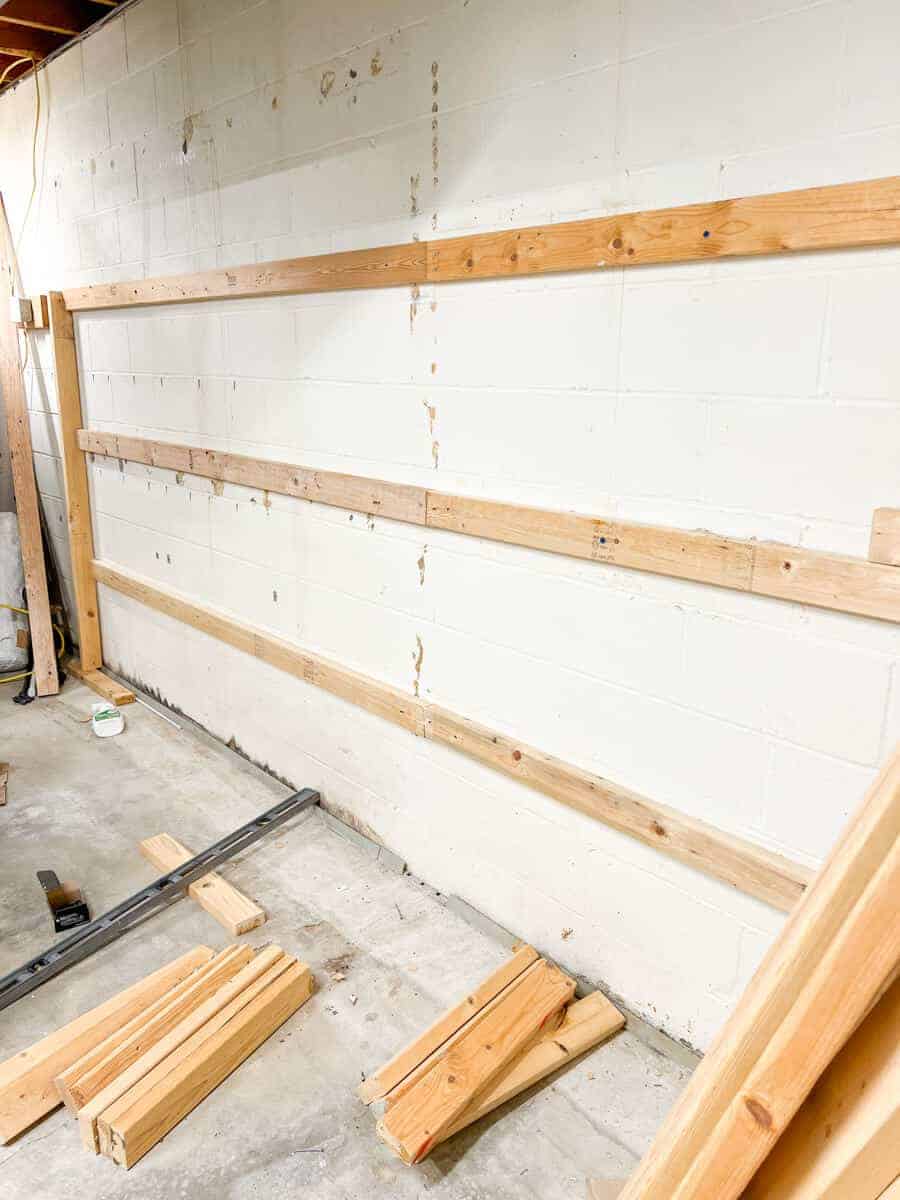
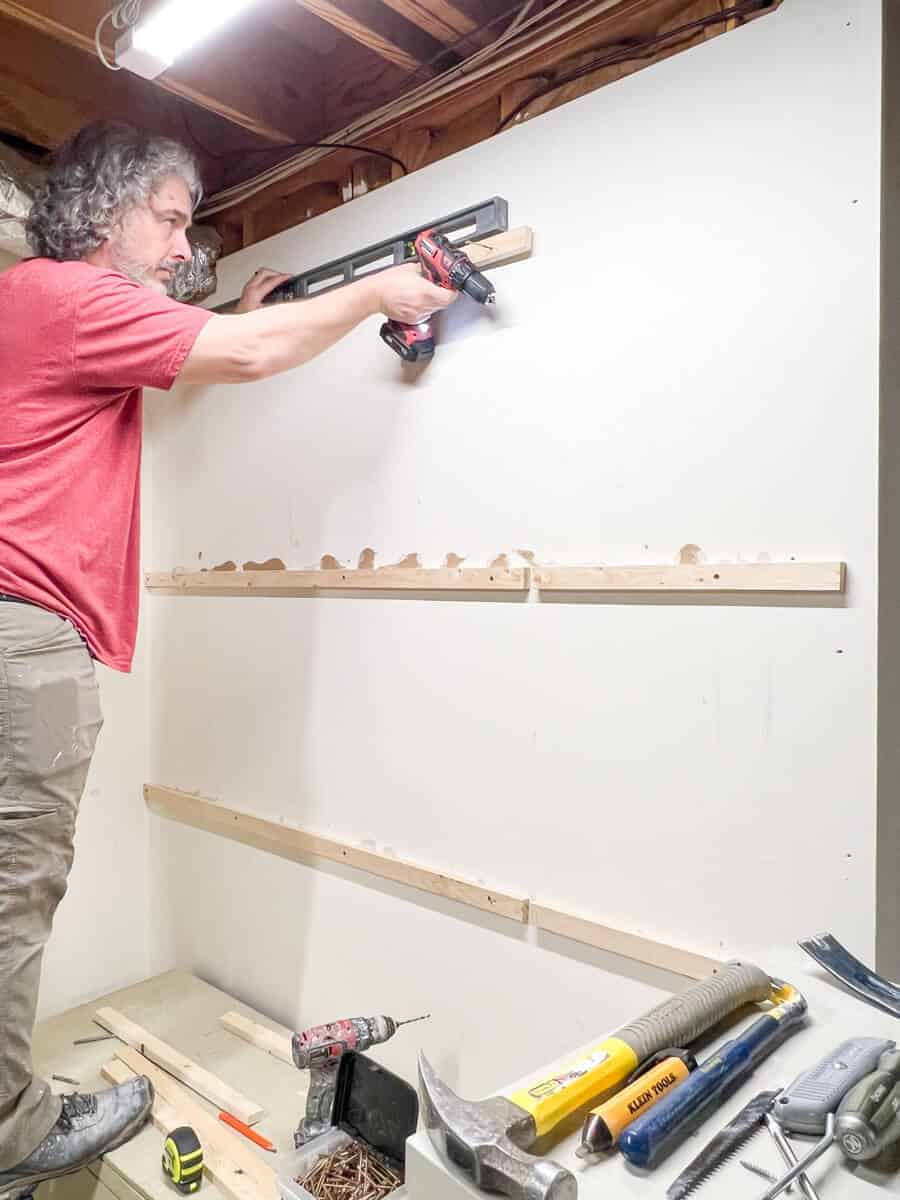
We repurposed the wood from before and followed the same shelving system that the previous owner used.
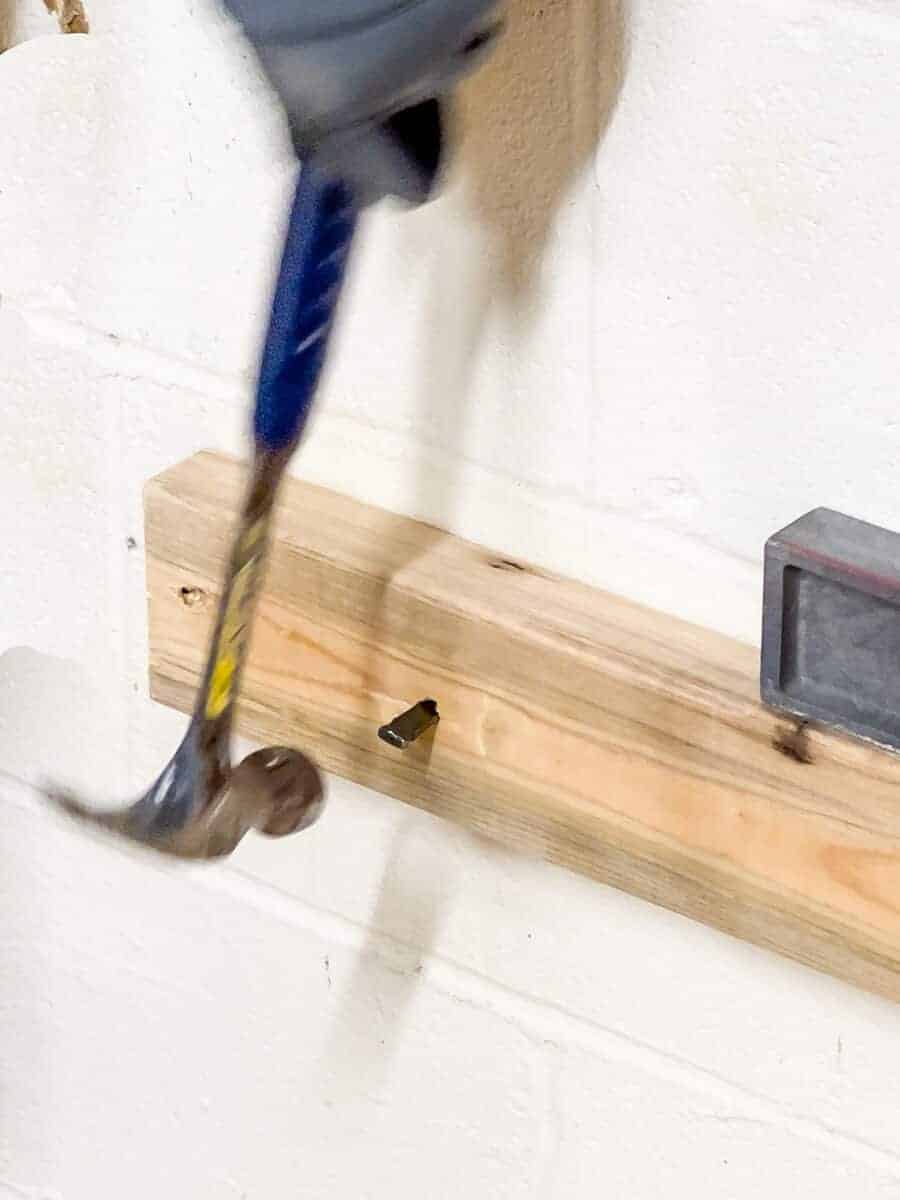
We hung the boards on the cinder block wall using masonry nails.
Next we started placing the shelves on the boards.
We made sure to add support where needed with two by fours.
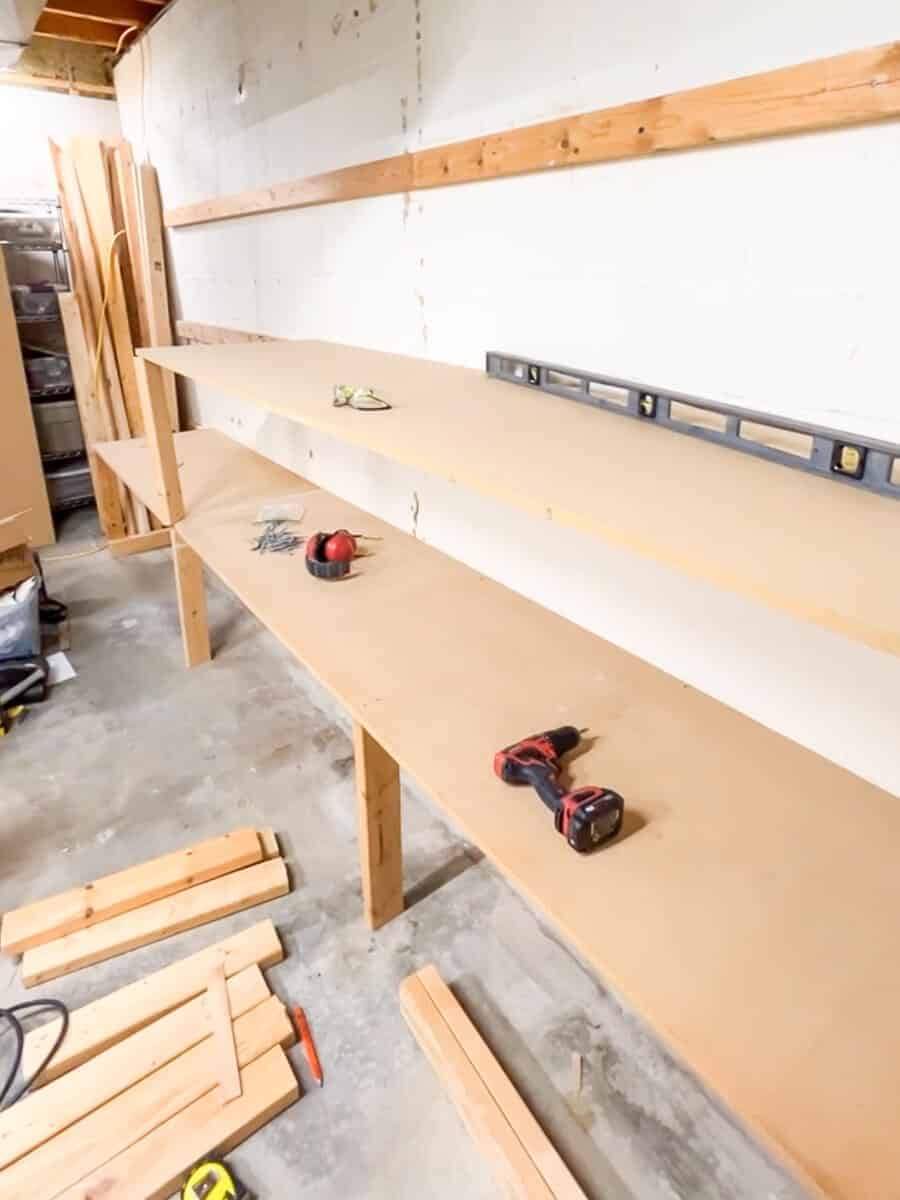
The shelves are made from MDF and are super sturdy.
We screwed those into the 2 x 4s on the wall as well as any braces we placed under the boards.
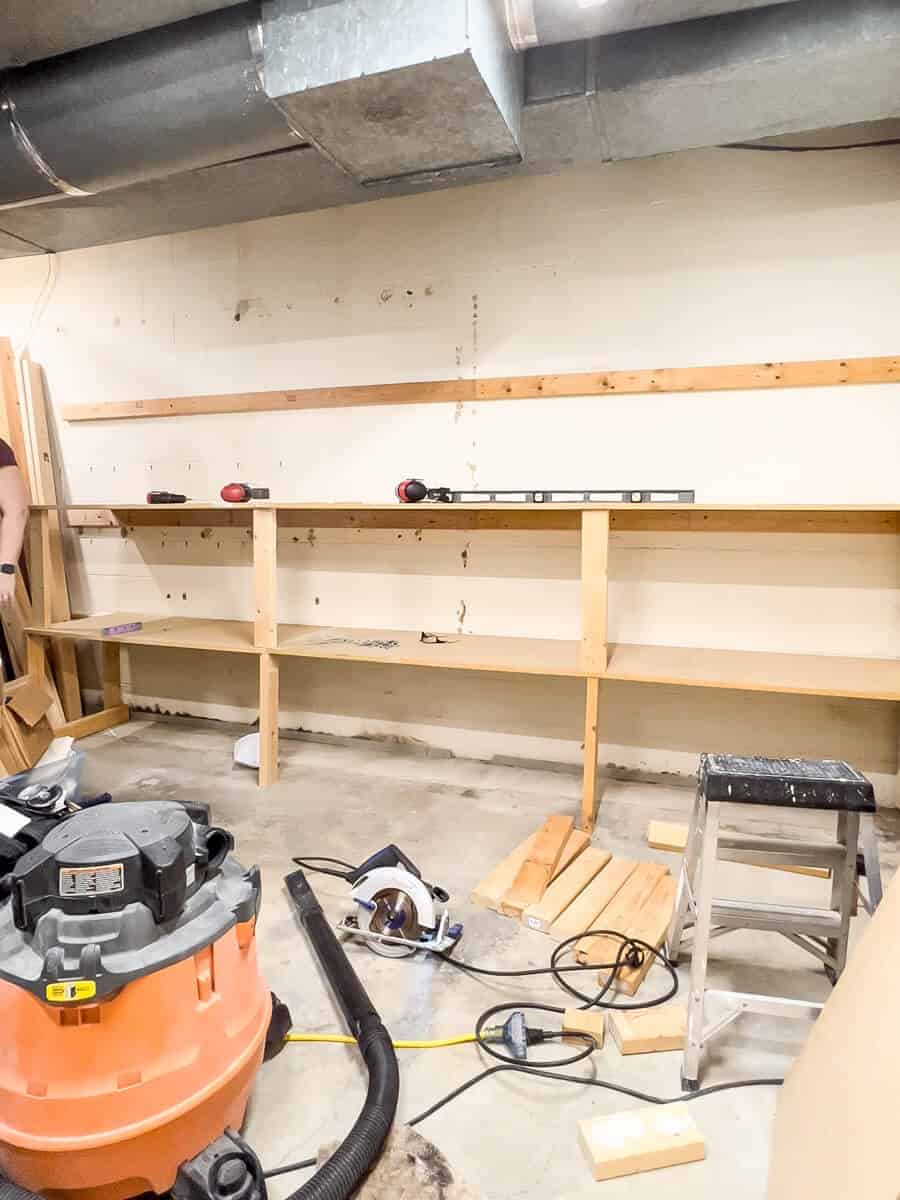
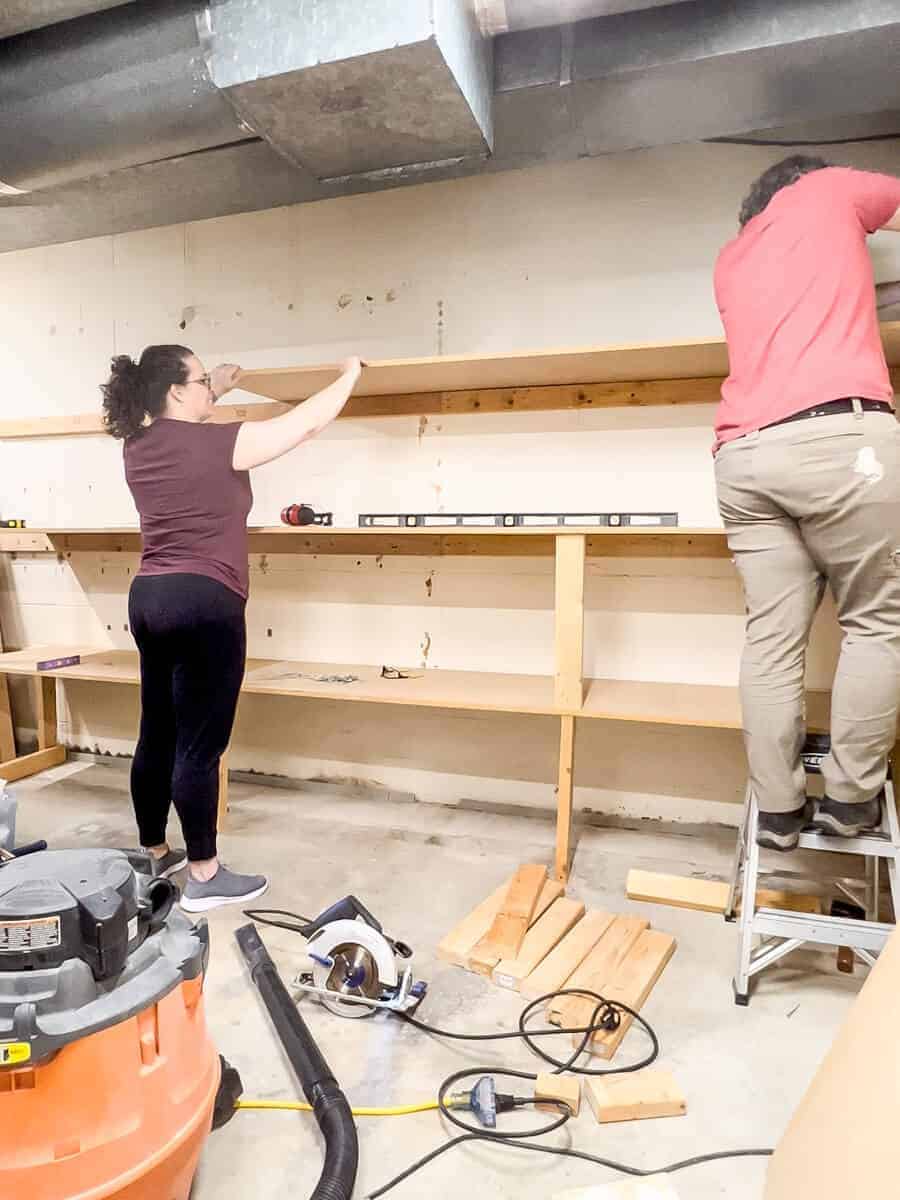
And just like that, we had the shelves up in one afternoon!
We wanted to take advance of as much vertical space as we could, so we installed three tiers of shelves.
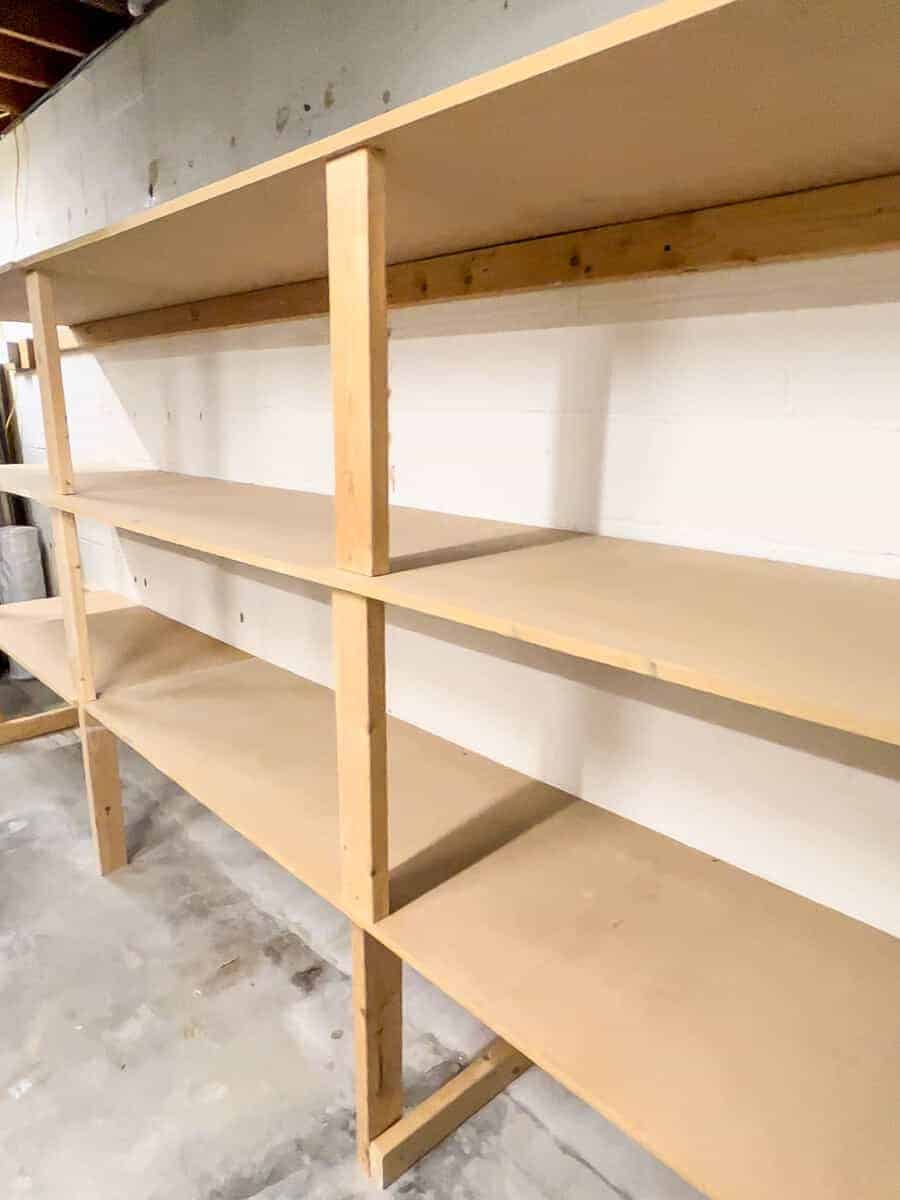
Look at all that storage real estate!
The MDF boards can hold a lot more weight than those wire racks that could rip out of the wall.
And while it isn’t ‘pretty’ like I wanted, it will serve it purpose once it gets filled with storage containers and holiday decorations.
There was one last thing we built before I can start bringing items back in here.
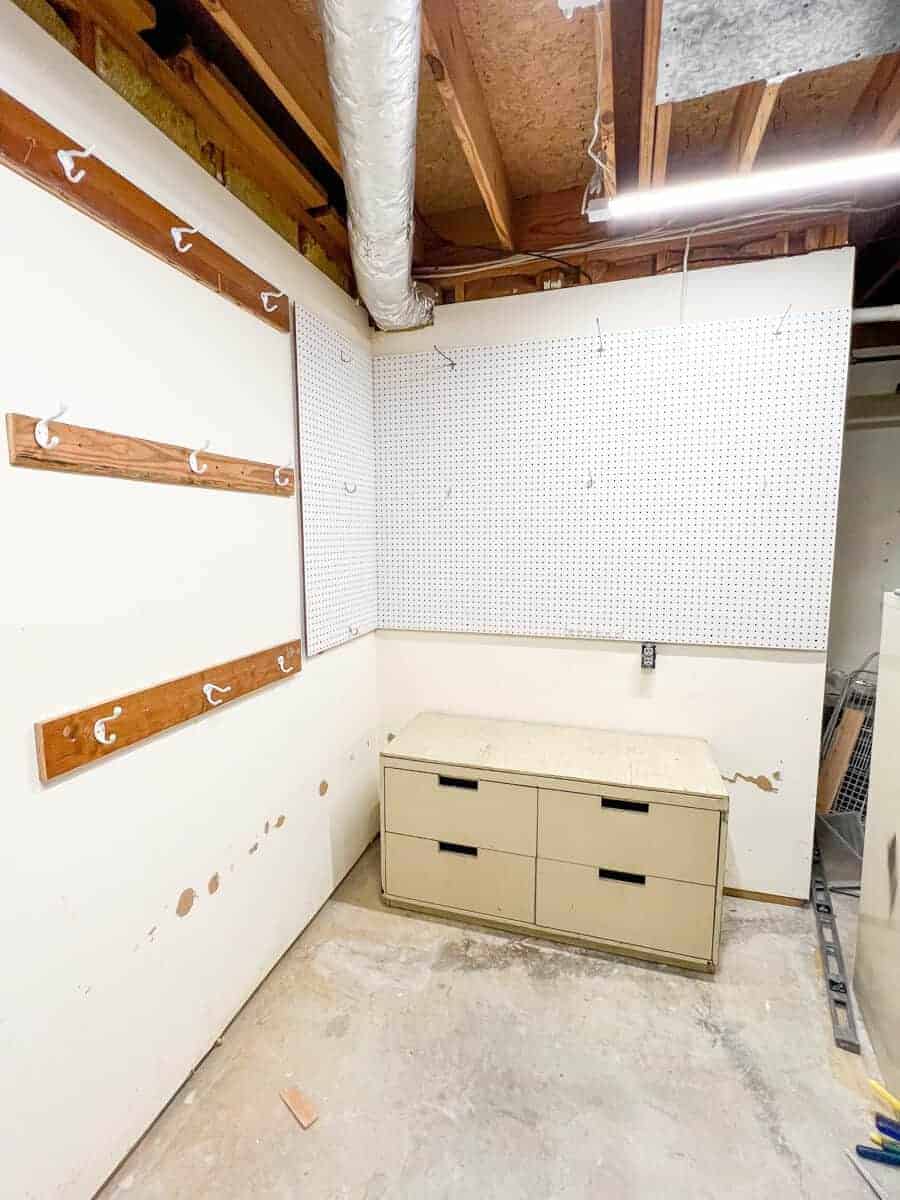
Step Six: Reinstall the Pegboard
Remember that peg board that we saved?
I thought it would be a great way to create a wall organizer to store my wreaths and garland.
Trent installed some 1 x 2 ribs and cut the pegboard to fit this corner.
Then you simply screw the pegboard onto the boards.
So that’s where we stand on the progress for this storage room update.
Now I have the difficult task of weeding through my decor and deciding what stays and what gets sold or donated. We have a lot of items and this is going to be a good solution for what we’ll keep.
The good news is that now we have a convenient place to store items like our Christmas decorations, personal items, and my home decor.
This was one of our simpler diy projects we’ve tackled and it didn’t take much time. My hope is that this helps our family stay organized.
If you’ve got the urge to purge like me and don’t know how to create a storage opportunity for your home, I hope this gives you some great ideas.