The Final Stretch of our Bathroom Remodel
We are in the final stretch of our Bathroom Remodel and it’s so fun to see things come together!

I didn’t think we were going to make it.
This past week has been such a crazy one and I honestly thought I wouldn’t be able to finalize this room.
But I can say now that I think it’s going to come together nicely.
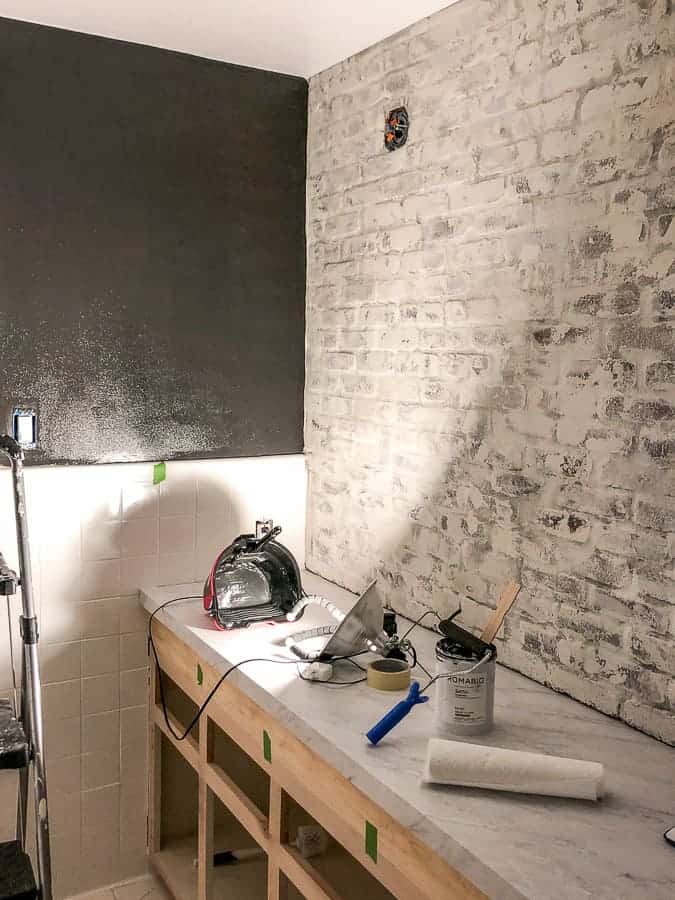
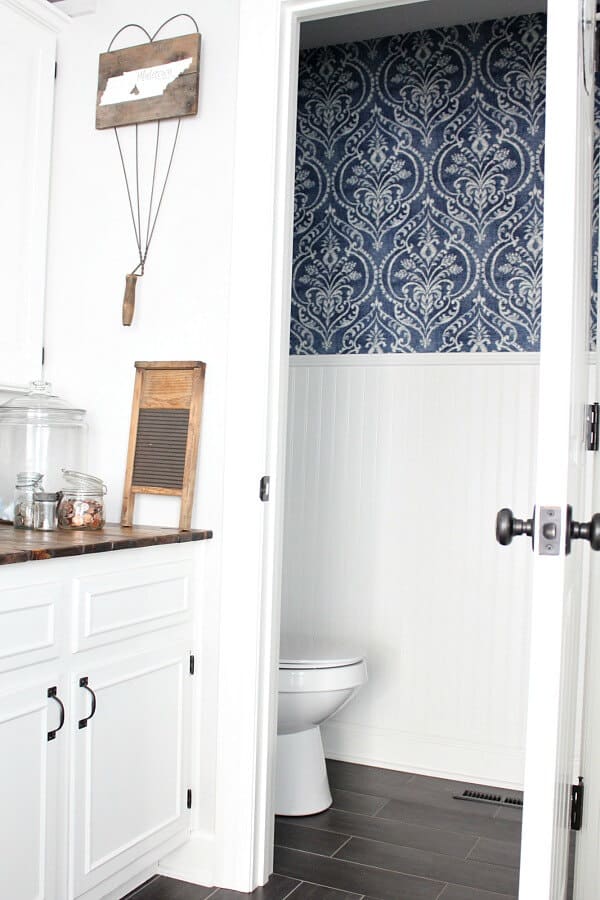
We finally were able to paint the tile and oh-my-goodness! It looks amazing!

So much brighter! And it was so easy to do! I’ll be sharing all the details of this next week.
Being able to save time and money by painting the tile instead of replacing it has been the best decision ever!


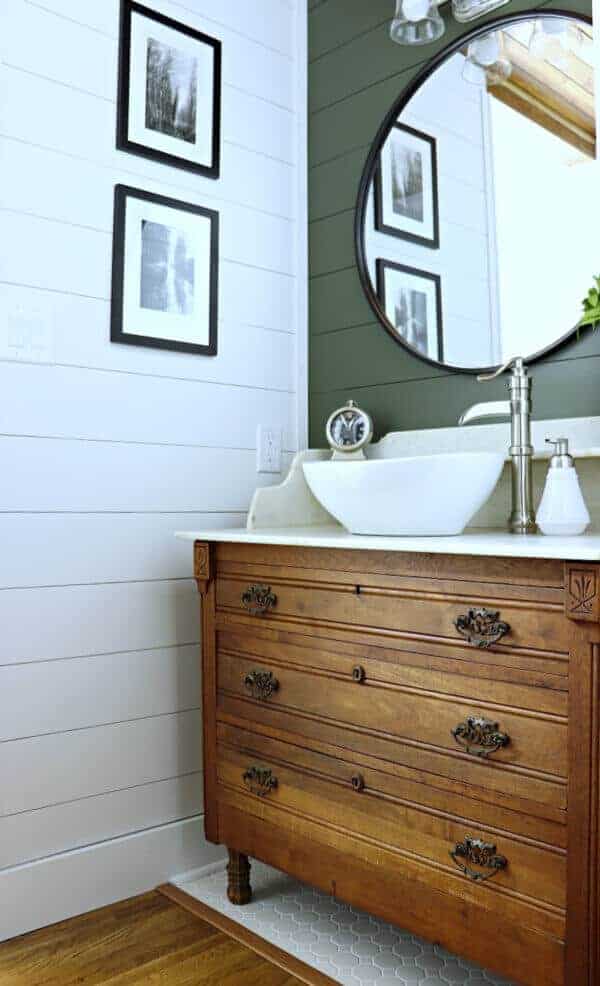
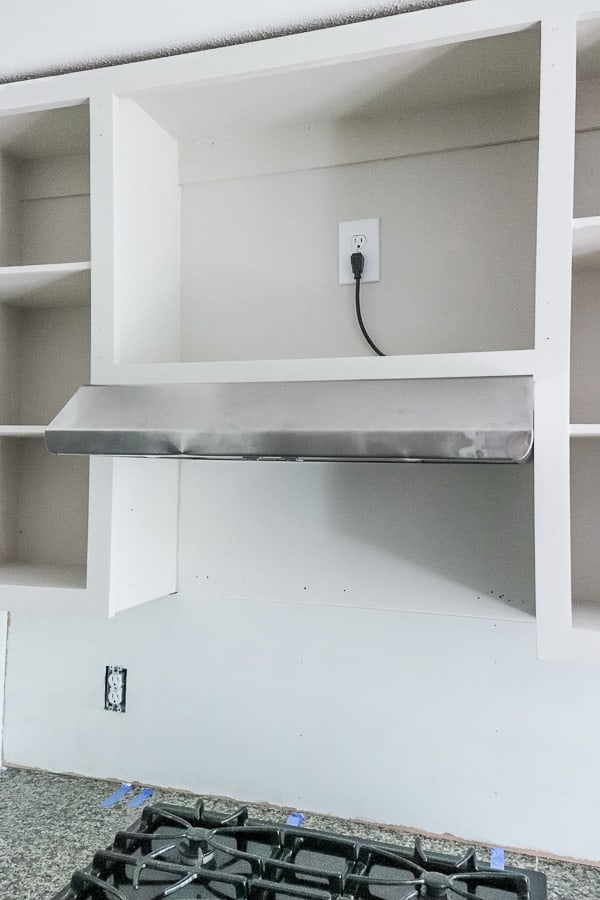
Another huge task off the list was our feature wall above the vanity.
We opted for a thin brick wall, limewashed and antiqued to mimic an old wall, unearthed and exposed.
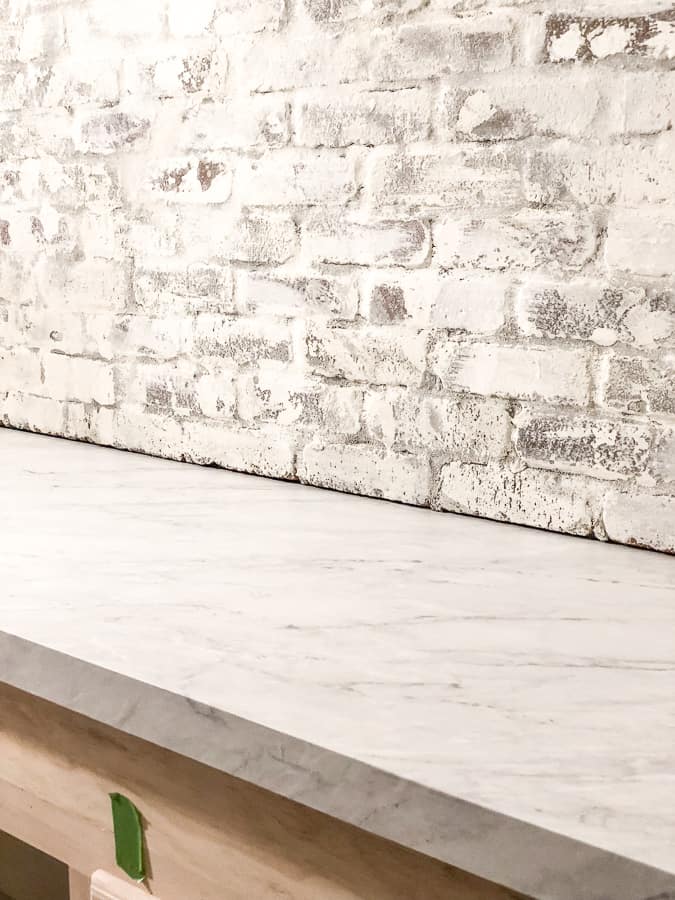
I love how it looks against our countertop!
I was able to start painting the walls in a color from my capsule collection with Romabio Paints as well. This color is called Iron City and look how the brick looks against our deep wall color.
So here’s what left to do. It’s a lot of fine details, but I think we can do it! What do you think?
ORC Budget Bathroom
Remodel To Do List
Remove CountertopRemove Vanity MirrorFix Tub Grout problemsRemove Ceiling over TubRemove Ceramic FixturesDrywall CeilingMove ElectricitySand Vanity Base and Add 6 inchesBuild DIY countertopRe-grout the Tub SurroundScrape Popcorn CeilingsPaint all Tileand FloorPaint WallsInstall Brick Accent WallFind Used Shower Doors- Cut and Frame mirror to 2 DIY mirrors
Build Cabinet Doors- Replace Light Fixture
- Replace Faucets
- Paint or replace door hardware and hinges
- Replace cabinet hardware
- Replace Shower Head
Update Light switches- DECORATE!

Only one week to go and it’s going to be a busy week ahead! I wonder how the other bloggers are doing on this final week.
Head over to the link up to see the other spaces my blogger friends are renovating. Over at the One Room Challenge, you can follow along with the 20 featured bloggers or the other 300 guest bloggers like me.
You will definitely lots of creative ideas for any room you are tackling.
Of course, a huge thanks to Linda from the One Room Challenge and the sponsors listed below for giving me the inspiration I need to create a room for those I love!
UPDATE: Click Here to see the Full Reveal!


We used General Shale’s Thin Brick in Smokestack and got it from a local brick provider. However, you can visit General Shale’s website and they should have a store locator to find out who carries it near you. It’s an amazing product!
Oh Judith! You are so kind! Thank you for your kind words! Looking forward to your final reveal.
Thank you so much Deb!! We are so glad to be finished! What about you?
Thanks Momma! They already love it and I’m so glad we took on this challenge.
The tile looks awesome. What a great idea and very economical. The lime washed brick wall is beautiful and is really offset by the deep wall color you have chosen. The vanity top looks great too. Can’t wait to see the finished project.
Wonderful job as always. I’m sure you boys will love their new space.
Looking GREAT!!!! May I ask where you got your thin brick wall material and how you put it up? I would like to do this in my kitchen but want it to be removable later.
Oh my gosh…this is fabulous! We can’t wait for the reveal next week! Hopefully our bathroom will look half as good as yours. We love that brick wall…so creative!
Jen,
Your brick wall looks amazing with the dark painted wall and the countertop! Yes, I think you are going to complete everything on time. Looking forward to seeing your final reveal next week.
Judith
It looks awesome! Can’t wait for next week,