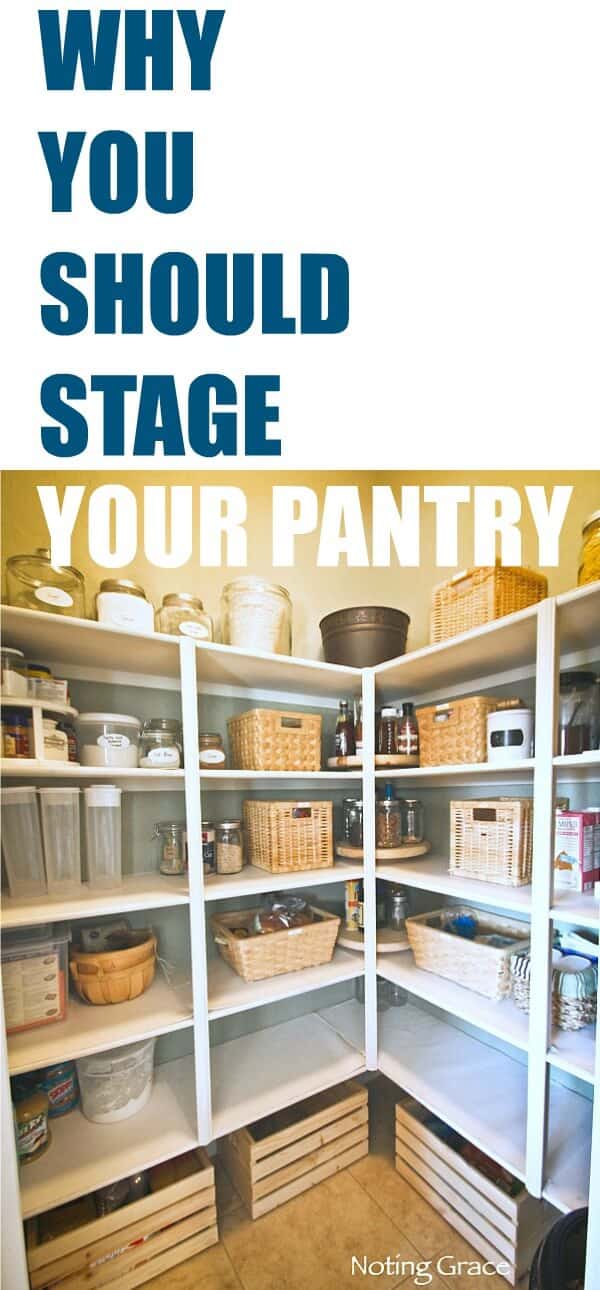
Staging a Pantry – Before and After
When selling, to get the most for your home means making it appealing to the buyer. That’s where staging plays it’s important role. But Staging a Pantry sounds pretty silly, doesn’t it?
If you want to get the most bang for your buck, then try these tricks you can accomplish in one afternoon. It’s so worth it!
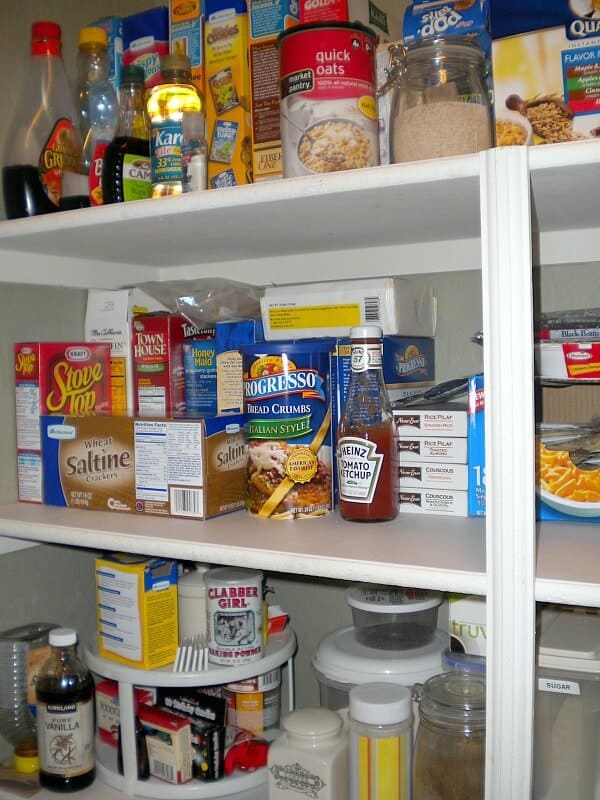
Let’s start with the before. There was rhyme and reason to my pantry, but it looked junky and cluttered.
What if the potential buyer may be a cook or coupon-er?
Then you definitely need to make sure it looks organized and spacious. Here are some tips to help you.
Staging a Pantry
When you with my referral links, we get a portion of the fee, at no cost to you.
You can read my full disclosure here.
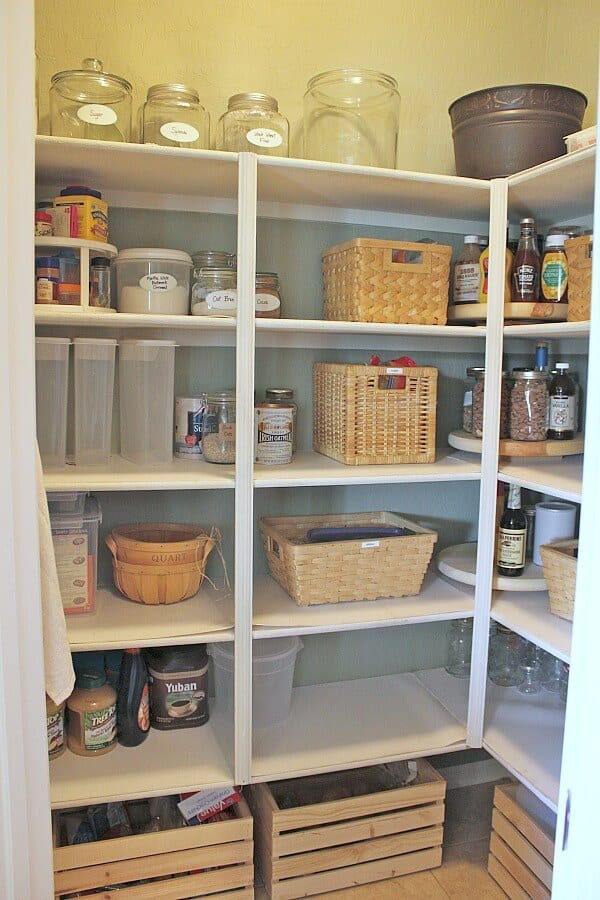
You want to be able to show a potential buyer that all of their food will fit in the pantry, regardless of size. So I did a bit of organizing.
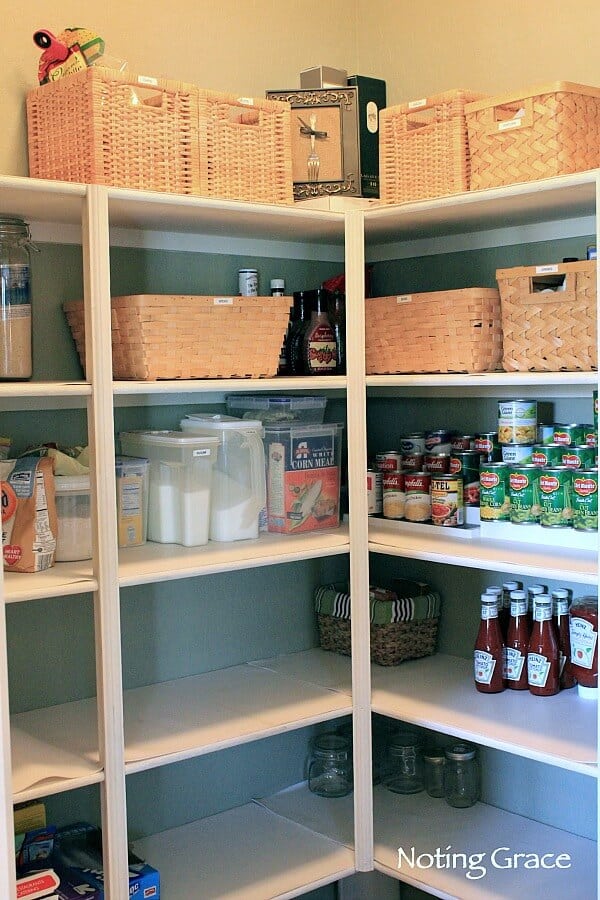
A better result, but it was still lacking something. Where’s the appeal? As you can see, there was a lot of unused space and disorganization.
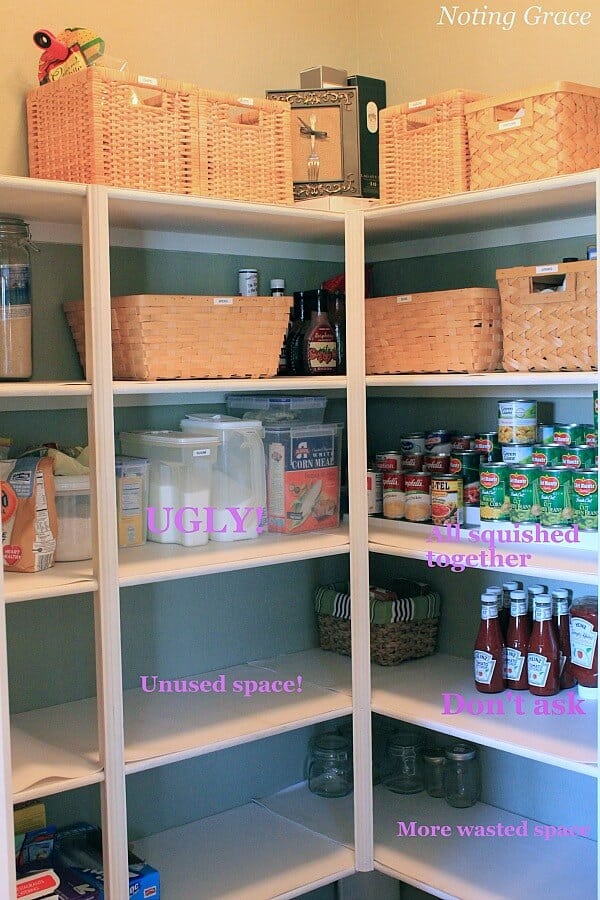
How can you make this improvement better? Think outside the box and think monochromatic.
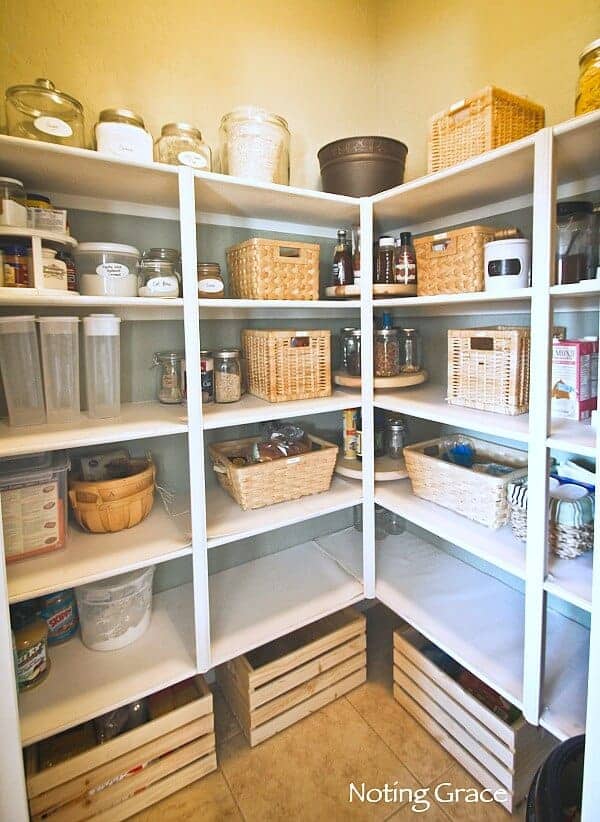
Wow, right?! I wanted my potential buyer to be wowed when they opened the pantry.
Purposefully place items and arrange it in a much simpler way, so it appears more spacious, like these lazy susans.

Use them to group like items together, such as jars or sauces. You can read how I made these wooden lazy susans for super cheap!
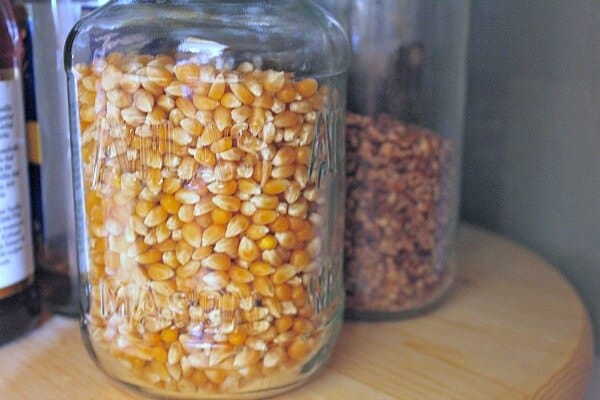
Another tip to make you pantry appear bigger and more organized is using Glass Food Storage Jars.
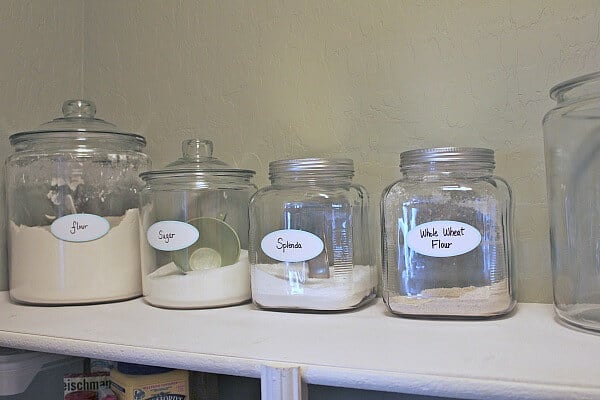
You can find affordable canisters to put your baking supplies in.
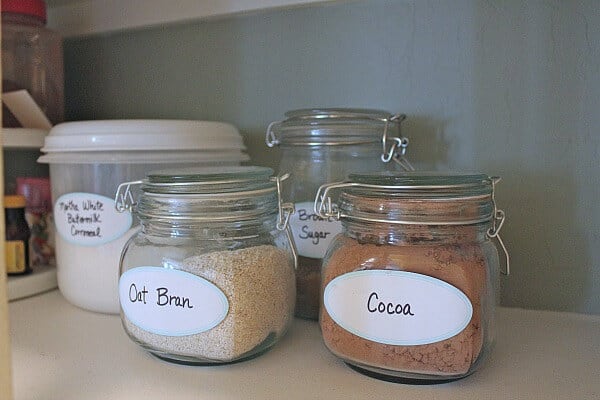
Adding fun labels creates a cohesive, monochromatic look.

Displaying your pastas in jars instead of colorful boxes is another easy way to look organized.
No room in the budget for new jars?
Save old spaghetti jars! I filled them with staples.
It looks neat and organized.
If you have more time, take a moment to spray paint the lids! I did not, but they still look fine next to each other.
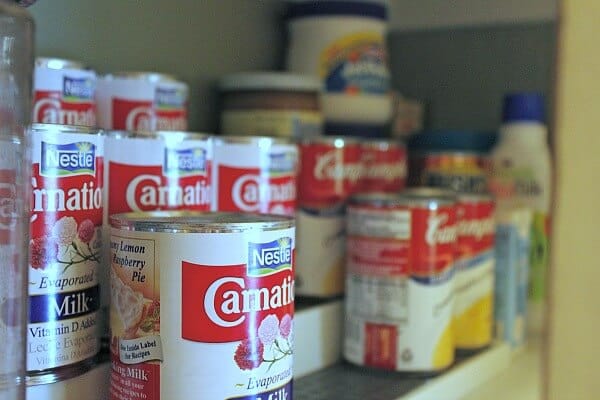
Take 15 minutes to organize your cans and turn the labels facing out.
I know you may be thinking this is overkill, but if someone opens the pantry and sees it nice and neat like a grocery store – that’s a plus!
But what about those items that need to say in their boxes?

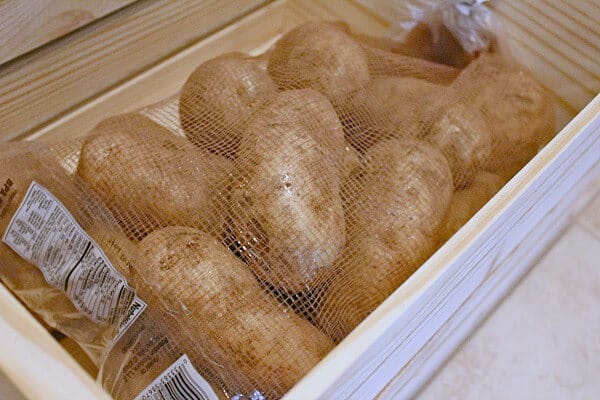
Use baskets or crates to hide the larger items that look bulky, like extra sauces or potatoes.
So in just a few hours, staging your pantry can make a big difference.
But remember that you want to pay attention to the details. It shows in the little things, which gives the potential buyer the impression that you have cared for this home – which I’m sure you have!
Tomorrow, I will give you the tutorial on the Lazy Susans I’ve made for this pantry as well as using the wooden crates for storage.
So I hope this helps you find that energy to get to organizing! But don’t miss out on my other Staging tips!
More From Our
Selling Your Home Series
To read about my Selling Your Home Series, click the links below:

Getting the Numbers
The Cost of Selling
Curb Appeal
Neutral Decor
Depersonalizing your Space
Showing Instructions
How I Sold My Home in 10 days with a Full Price offer!
Check out these other Staging Tips
Staging a Loft
Organizing a Pantry
Laundry, Half Bath, and Home Office: Staging Awkward Spaces
Staging a Family Room
Kitchen Staging
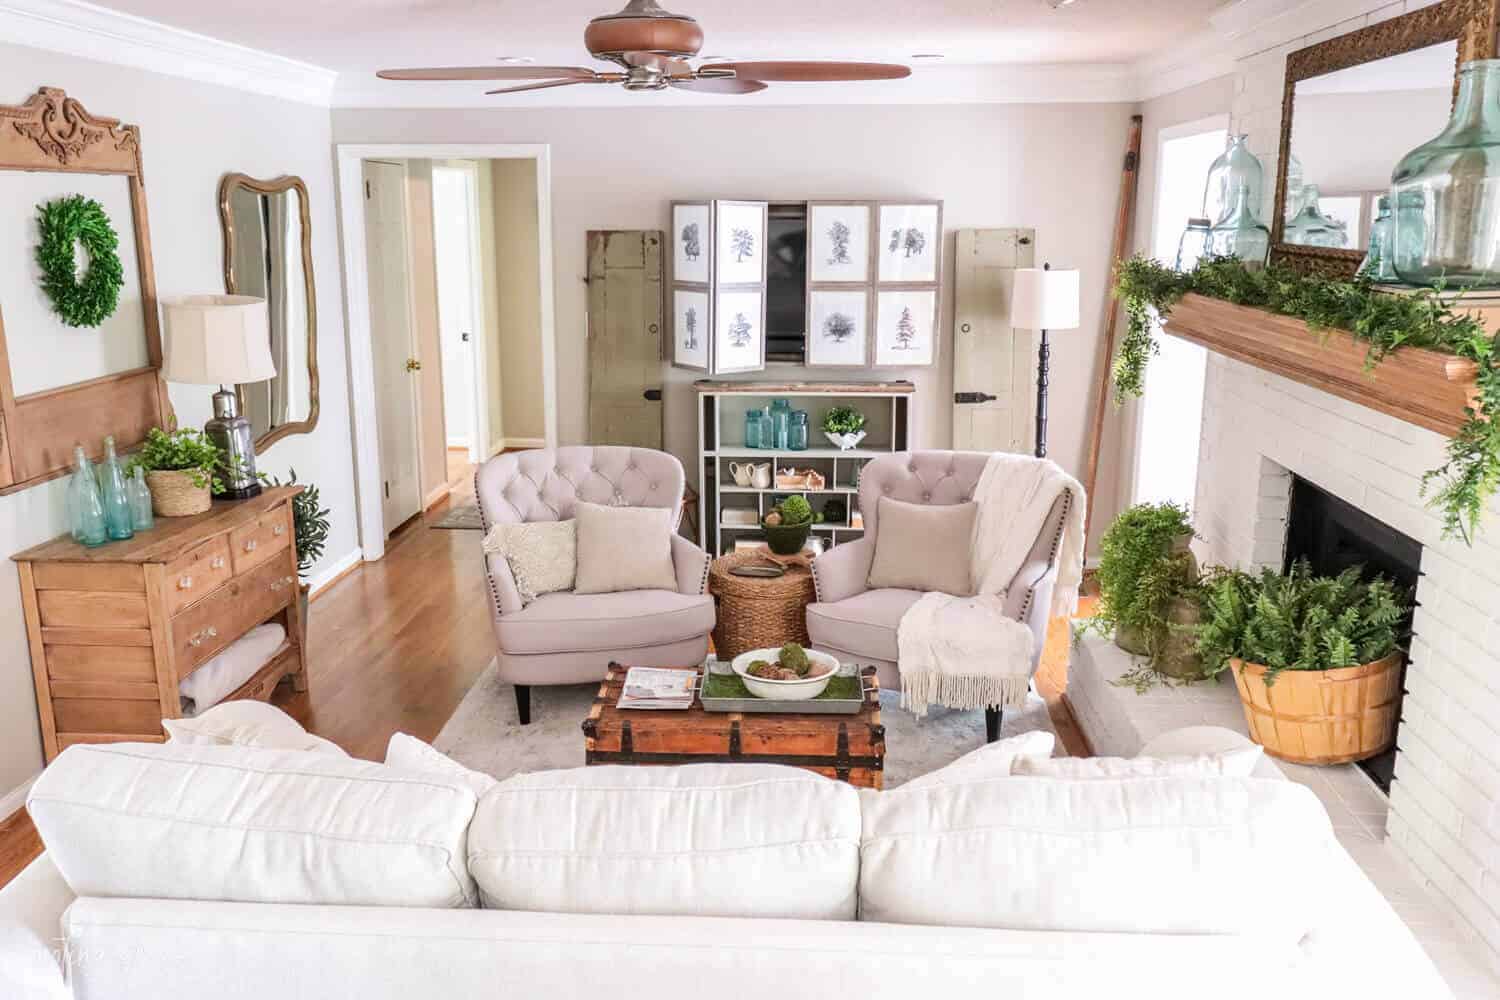
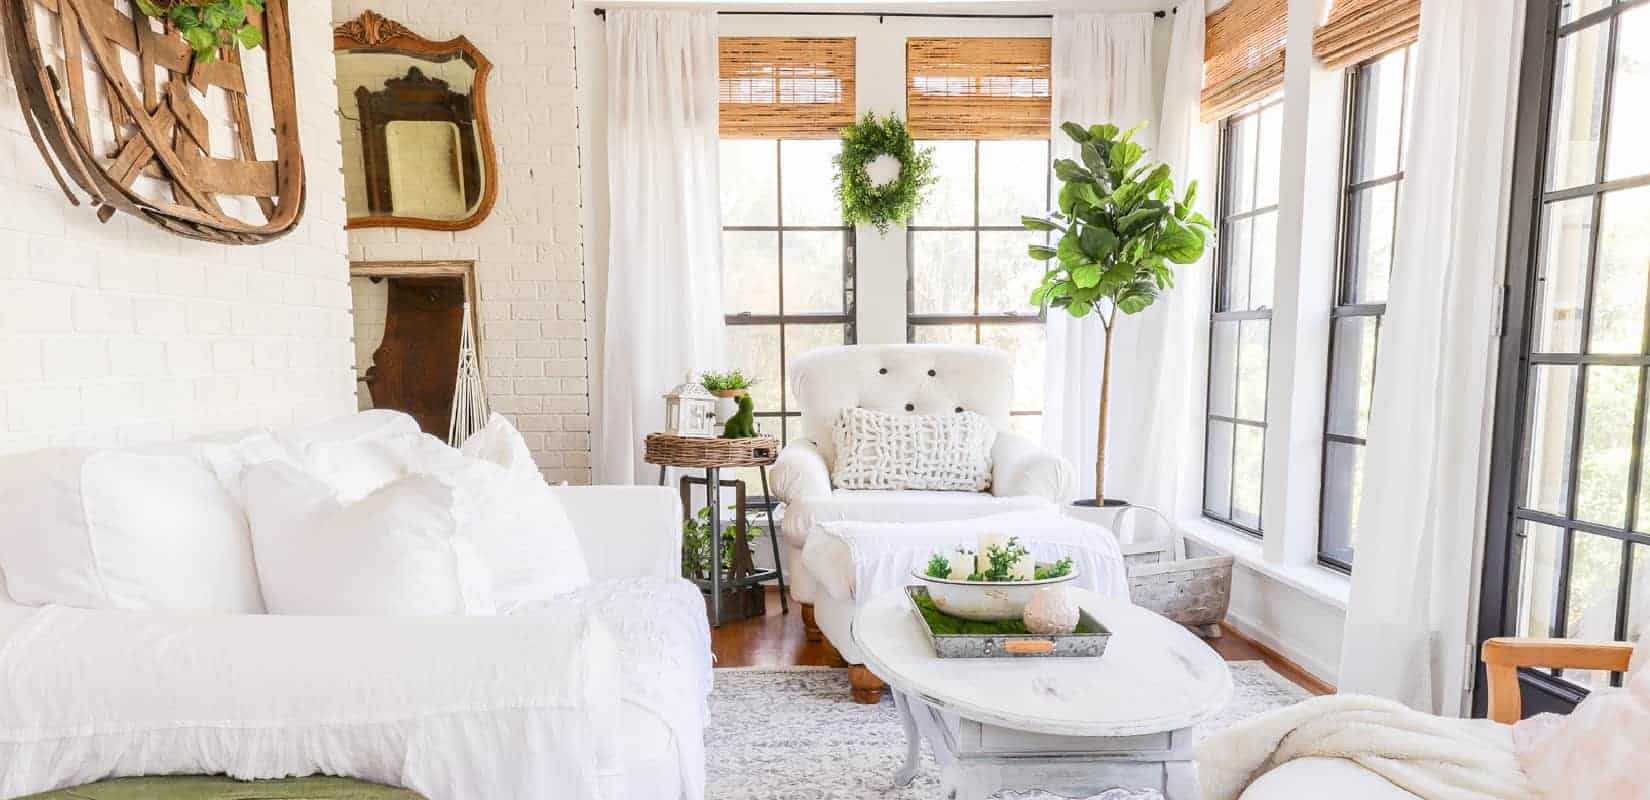
Staging an Entry and Living Room
Staging a Front Porch
Decorating a Rental
Pin this for later!
You did an awesome job, I need to do this with my pantry! My wonderful friend Heather & I started a linky party & I would love to have you come link up! -Kayla 🙂
Love, love this pantry organization! Now if I only had a pantry….
Thanks for following Restoration Beauty on Bloglovin! I just followed you too! Have a great weekend!
Thank you so much for these lovely tips!
home-hearted.blogspot.com