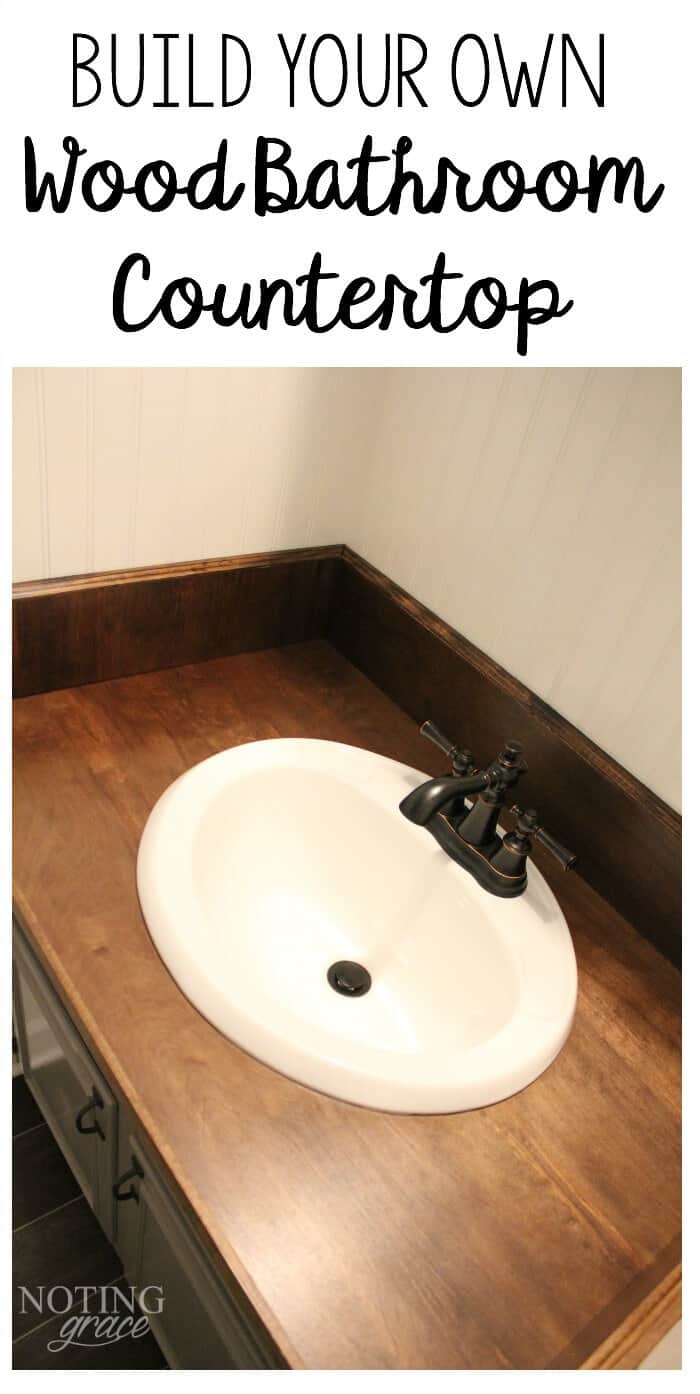
DIY Wood Bathroom Countertop: An Easy Way to Change your Vanity in 1 Weekend
Since we only had $50 to replace our countertop in our half bath, I had to find a creative solution. This is how we replaced our ugly formica countertops in one weekend with a DIY wood bathroom countertop.
Here we are at week 6 of the One Room Challenge, hosted by Linda from the blog Calling it Home and by House Beautiful magazine. The hosts extended the challenge by one week and I’m so glad they did! This week wasn’t without a few hiccups.
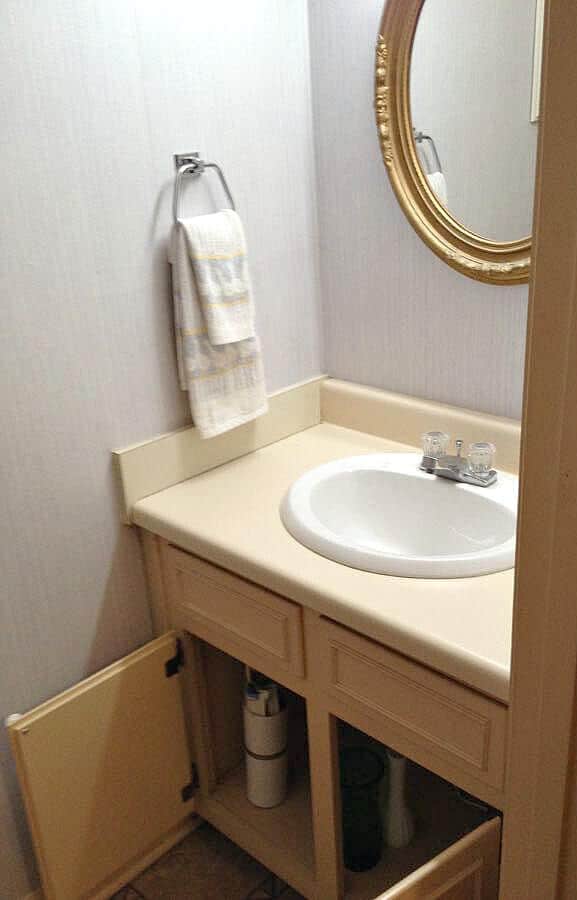
We needed to tackle this countertop and do it in record time and within budget. I certainly have to admit, I’m surprised at how easy this was and how stunning the result is! This half bath is being remodeled into a Farmhouse inspired Powder Room. Originally, we hoped to replace the countertop with a vintage washstand, but finding one in our budget and retrofitting it for this space was more difficult than originally planned. So here’s how we created the same look with this DIY wood bathroom countertop. Affiliate links are provided for your convenience – at no cost to you. You can read my full disclosure here.

DIY Wood Bathroom Countertop Materials
(Some affiliate links are provided below. Full disclosure here.)
Birch Veneer Plywood – 2 ft x 4 ft
Birch Veneer Plywood – 2 ft x 2 ft
Minwax Stain in Provincial
Trim pieces
Reciprocating Saw
Construction adhesive
Minwax Water based Polycrylic clear
Silicone Caulk
We started by removing the sink basin. Our plan was to reuse it to save on cost, so we needed to be careful in the removal process. First we disconnected the old plumbing.

Next, we scraped away the grout holding the sink basin in place and gently lifted it from the countertop.
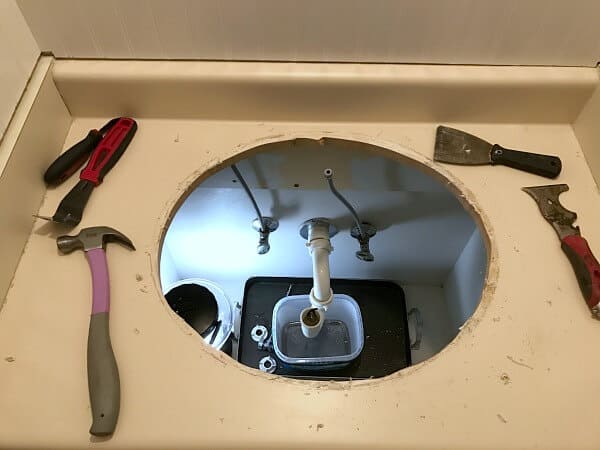
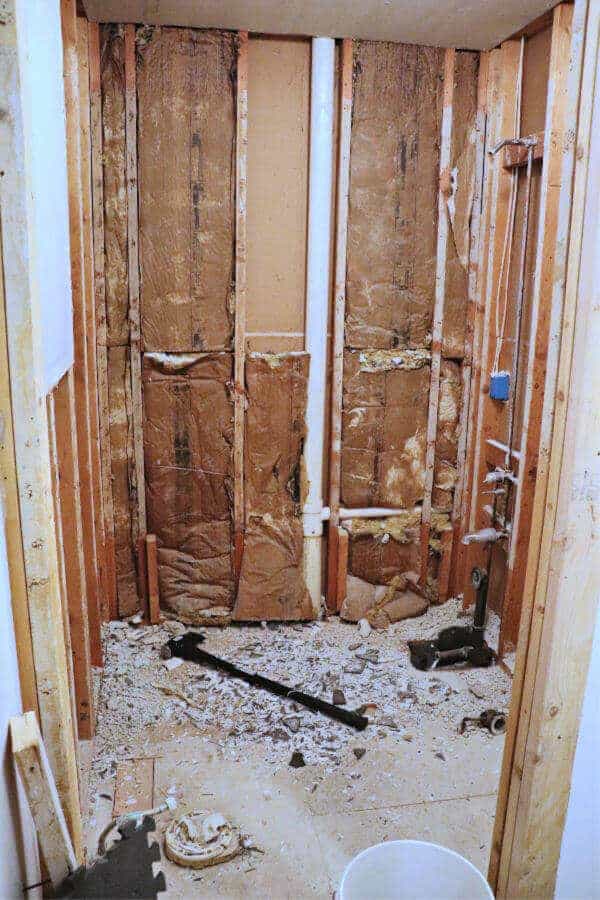
Now to remove the old formica countertop. Wedged in really tight, and not wanting to damage our walls, our only option was to cut it out.
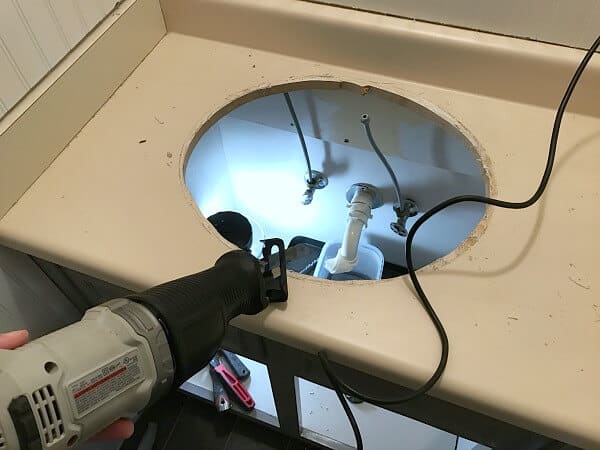
Using a reciprocating saw, we cut through the front and back of the old countertop. But be careful not to cut too deep if you are wanting to salvage the old base.
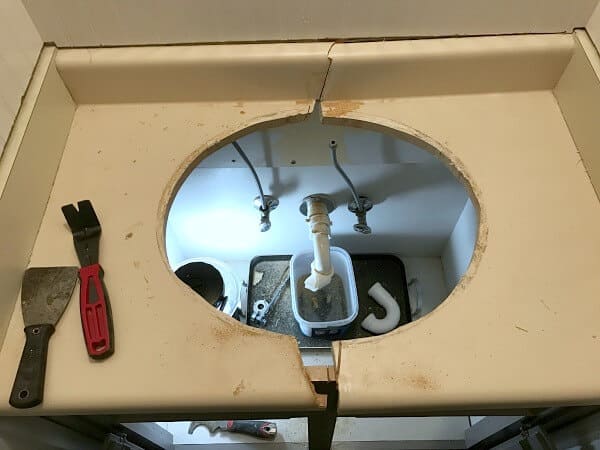
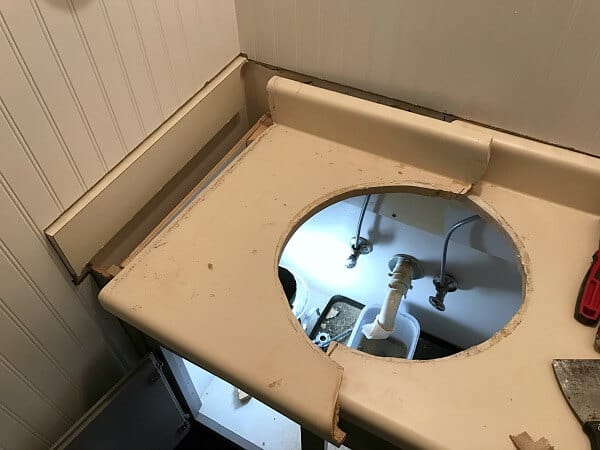
We easily pulled the pieces out.
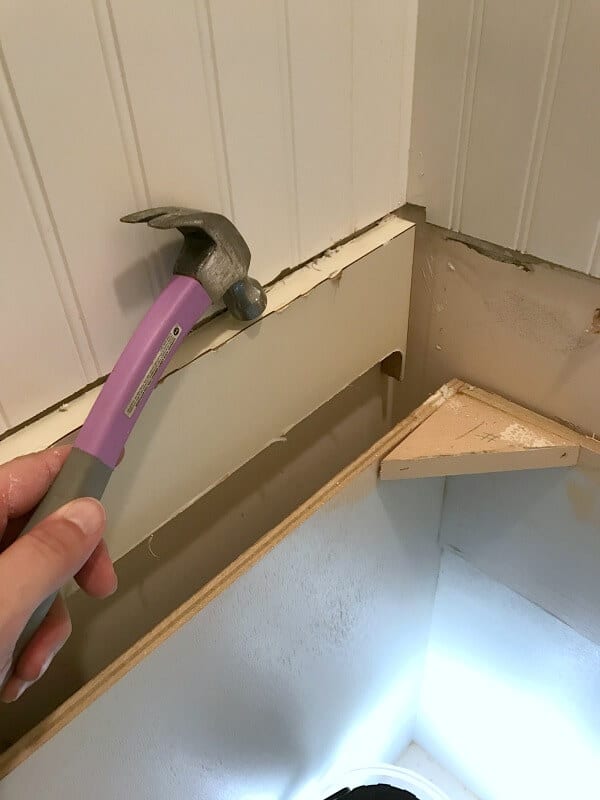
They glued the old backsplash on, but with a few taps of the hammer, it came unlodged in a few minutes.
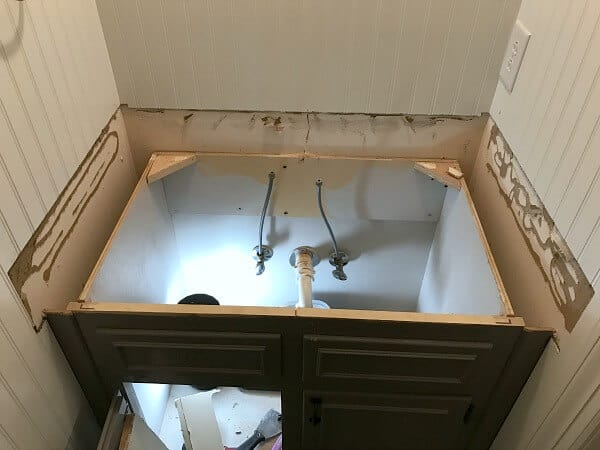
Now we had the space to work! We measured for the new counters and started cutting. Our sink was 3 foot wide by 22 inches deep.
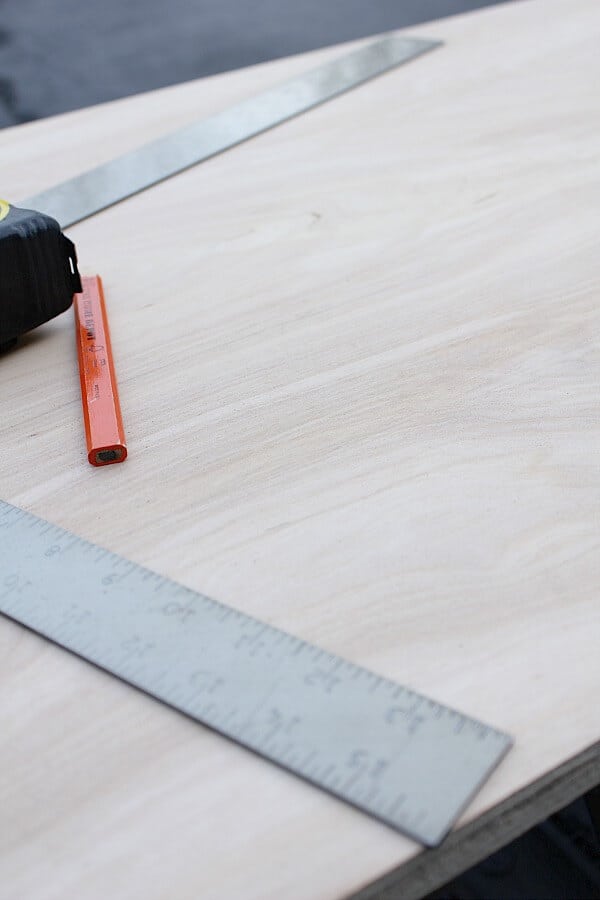
Using a circular saw, we trimmed our pieces to the right size.
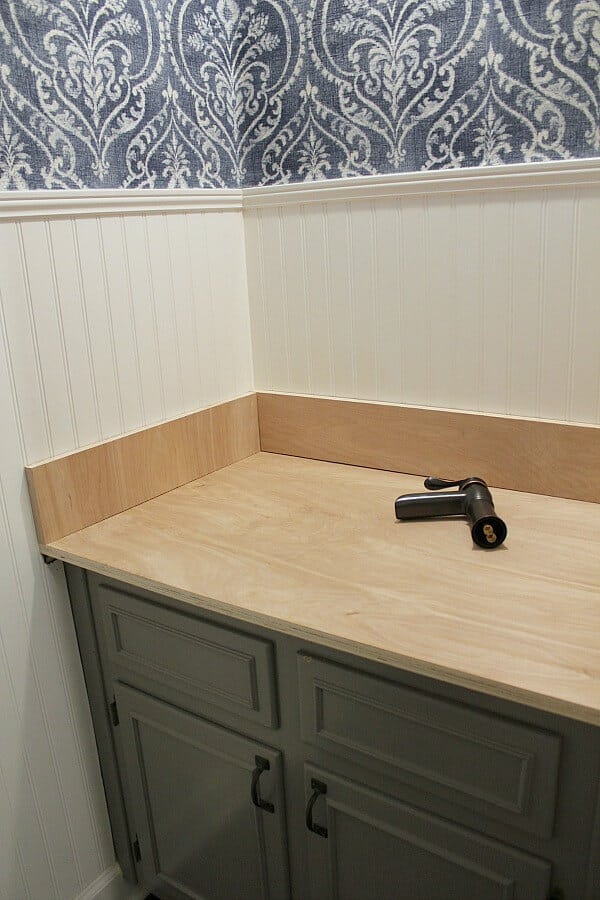
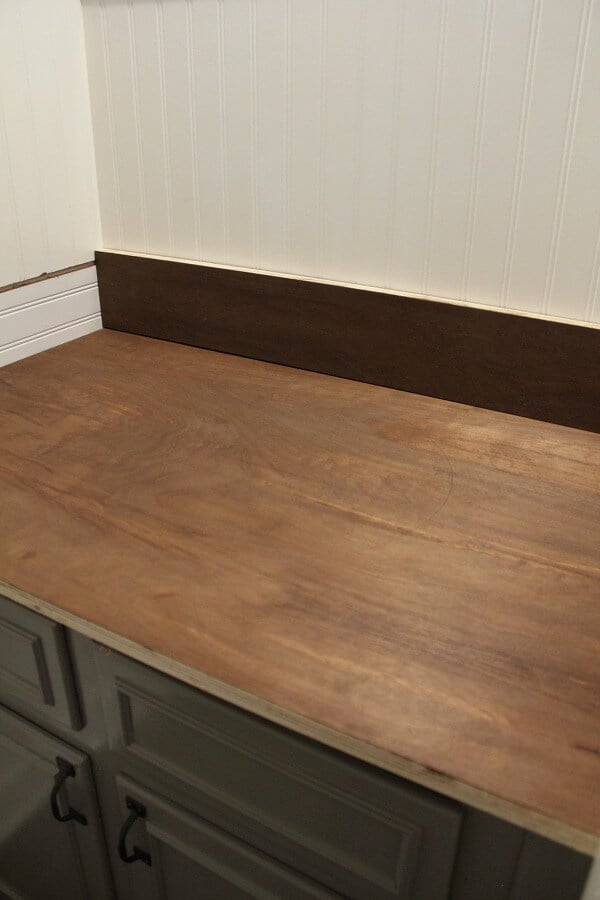
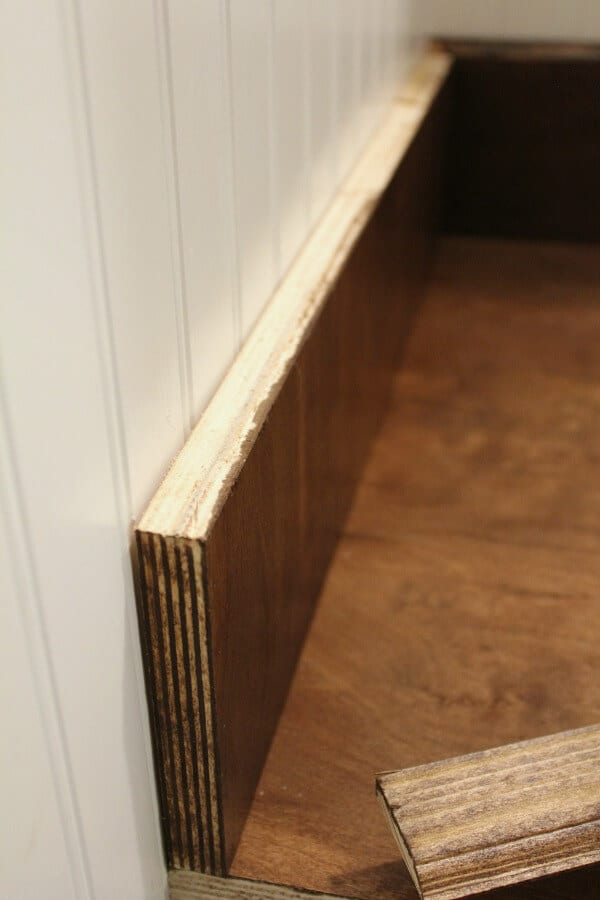
From the leftover scraps, we cut the sides and backsplash. Next, we stained the pieces with the Provincial stain from Minwax.
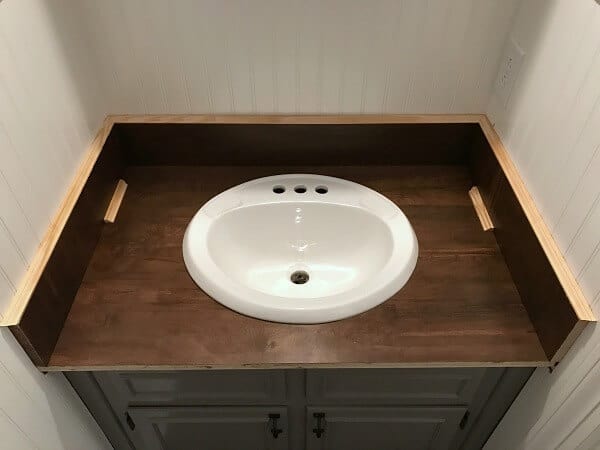
Then it was time to cut out the hole for the the sink basin.
We marked the center on the wood and set the sink upside down and traced the outline of the sink. Using the reciprocating saw, we trimmed on the inside edge of the circle. If we had a jig saw, that would have been easier – but it’s on my wish list along with a table saw!
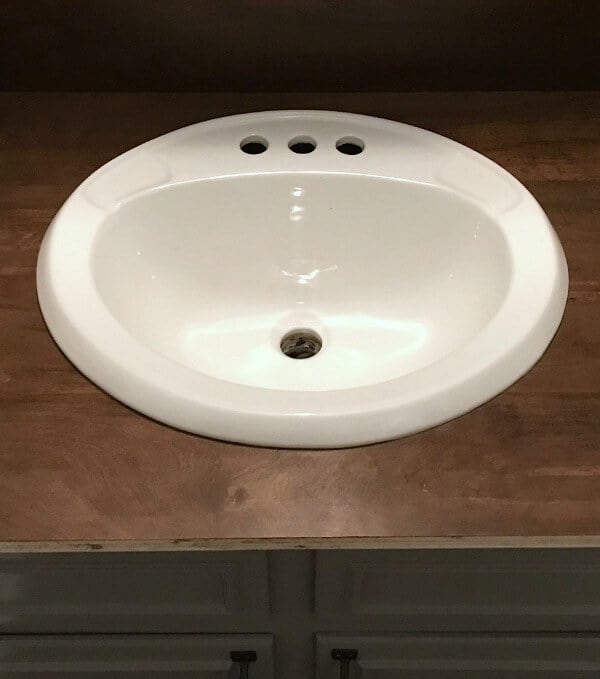
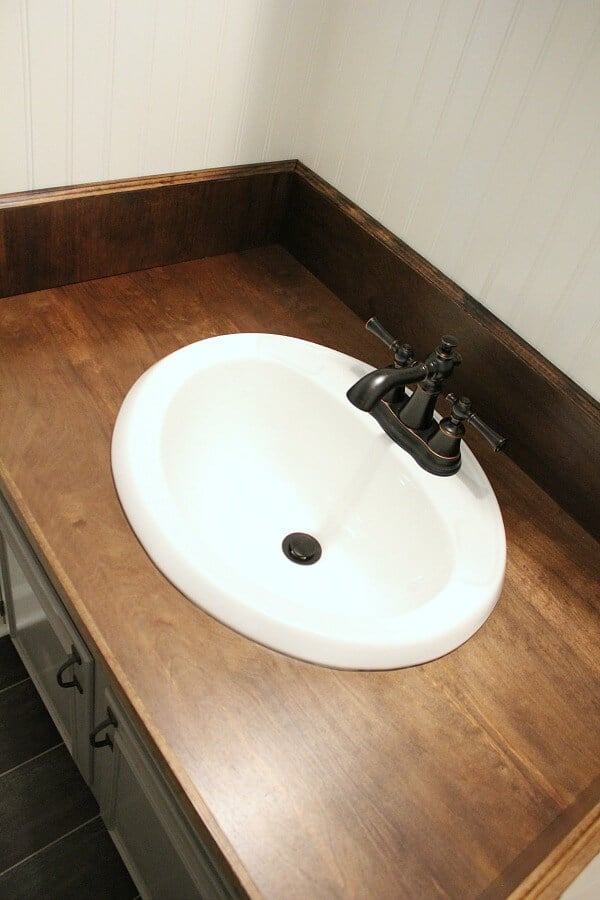
A perfect fit! In fact, that was one thing I did not want to mess up!
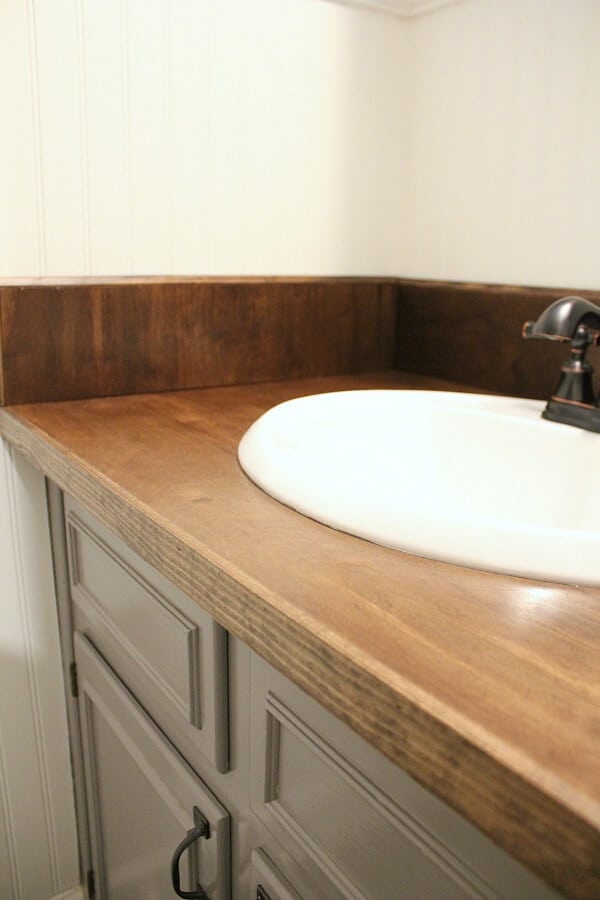
Using construction glue, we attached the countertop and backsplash to the sink base and walls. Then we set the sink in place with silicone caulk.
While the caulk was drying, we cut the pieces of trim for the sides and front.
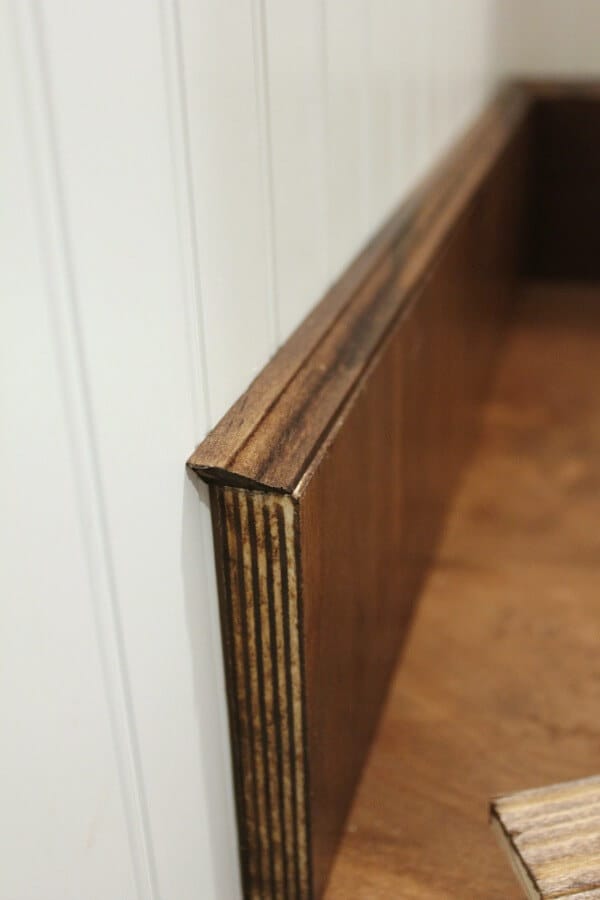
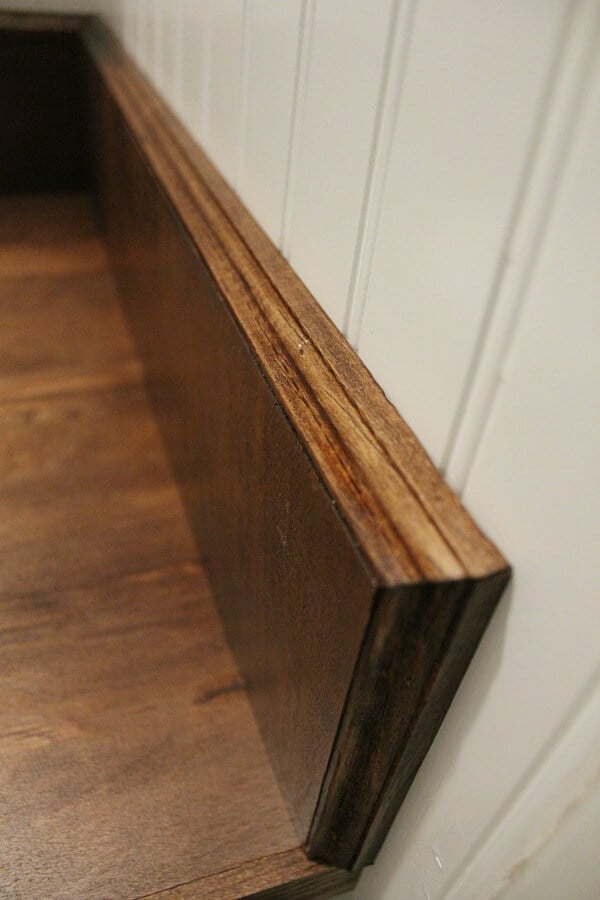
This DIY wood bathroom countertop needs to look like an old piece of furniture, so the more details, the better the result. For that reason, we opted for mitered corners for our trim.
We nailed the back trim and side trim in place with a pneumatic nail gun – the smartest investment we have made so far! So many projects were that much faster with this tool! You can find one like ours here.
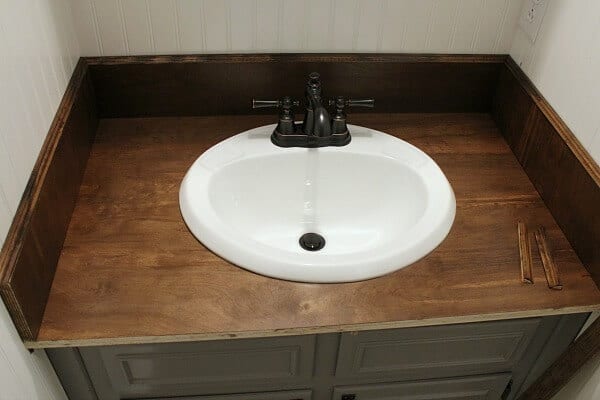
Next, it was time to add the plumbing back in place. Then we finished it off with the trim in the front.
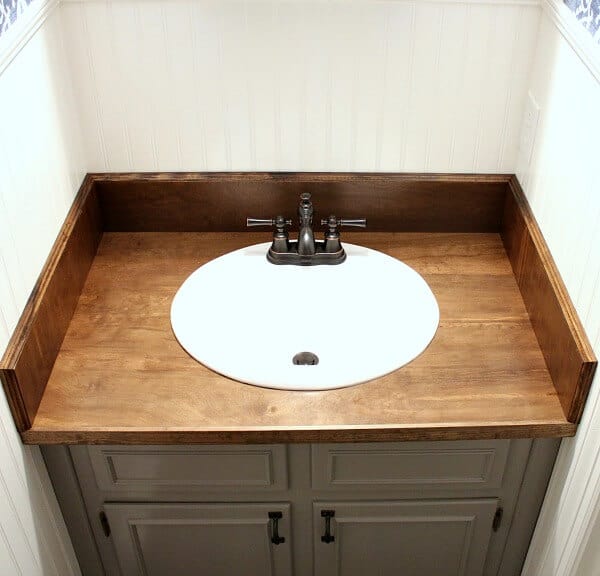
What a difference, right?! And the total cost for all of this was altogether just under $50!
As can be seen, it was such an easy makeover and didn’t take that much time!
So, let’s check in on our budget to see where we are lining up at this point.
Vintage Farmhouse Powder Room Makeover
Materials we had on hand:
- ✓Replace Flooring using leftover from Kitchen and Laundry Room
- ✓Paint existing cabinet using paint on hand
- ✓Paint beadboard with white oil on hand
- ✓Replace light fixture with previously used one from another room
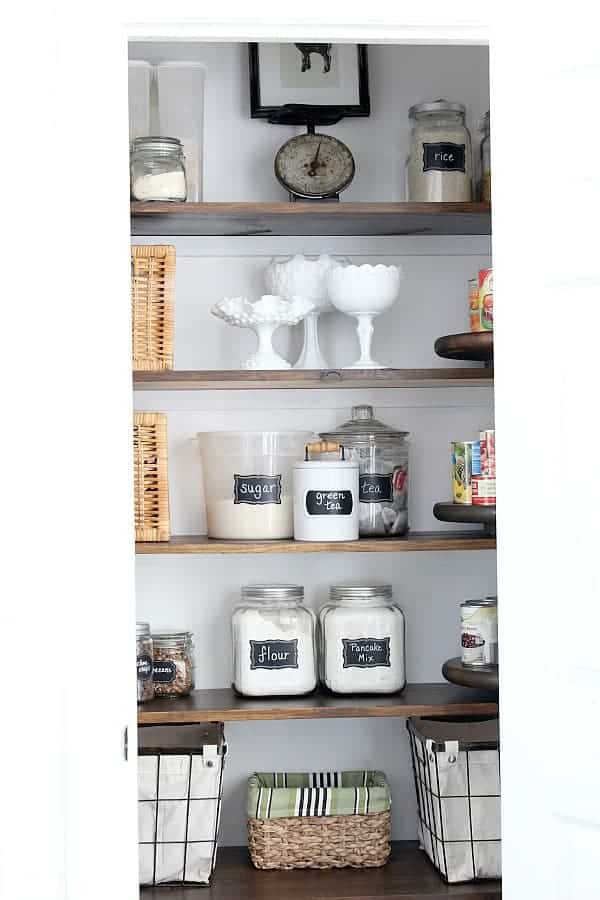
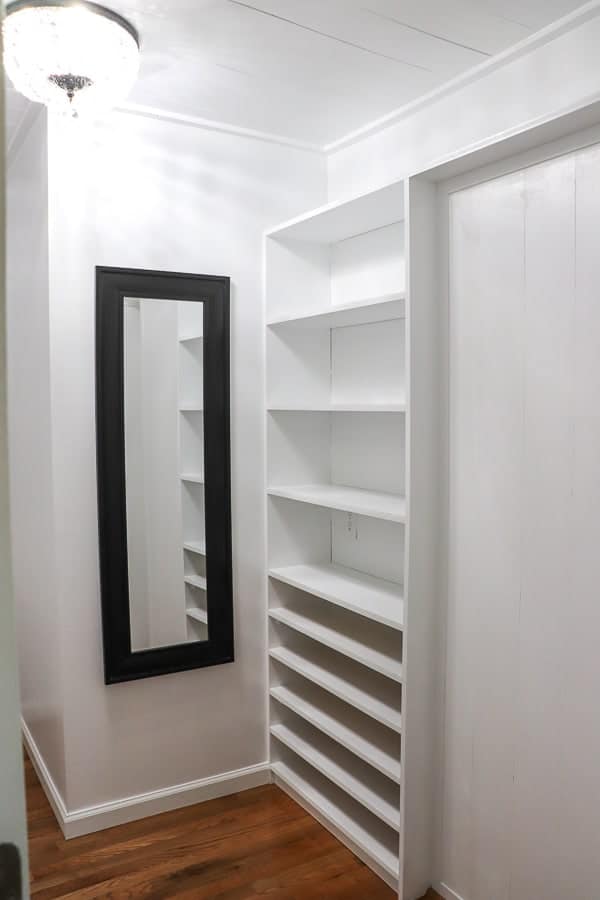
- ✓Make shelves from leftover countertop scraps
- ✓Reuse Sink basin
- ✓Hang Vintage Medicine Cabinet
Purchases to Make:
- ✓Replace Toilet – $100
- ✓Install BeadBoard and Trim – $50
- ✓Build Wood Countertop – $48
- ✓DIY Fabric Wallpaper with starch – $82
- ✓Replace Faucet – $98
- Decor Purchases – $14
- Painted Metal Shelf brackets – $14
TOTAL SPENT SO FAR: $392
With $108 left in our $500 budget for decor, I think we’ll make it under budget. We had to make a faucet change at the last minute, so we were out a few more dollars. Now to tie it all together with some decor! I can’t believe we are this close to the reveal!
So stay tuned for next week to see the final reveal of our Vintage Farmhouse Powder Room. I can’t wait to finally see where everyone’s progress is this week. By all means, head over to Linda’s blog to see what the other bloggers are doing for their makeovers.

week 1, week 2, week 3, week 4, week 5, week 6, REVEAL

It turned out beautifully! I love wood countertops. I need to do something in my bathroom and maybe, since you make it look so easy, this is my solution!
🙂 gwingal
Wow! What a difference that makes…and super economical! Way to go!
Oh thank you Debra! We are so pleased with the results ourselves!
What a nice job. I love the look and I know you said it cost under $50 it looks so expensive.
Thank you Alma! Can’t wait to see all the reveals next week!
We applied 3 coats of the poly to ensure protection from water. Hope that helps!
I ever so quietly stepped out of the room when all that cutting went down. It was scary indeed!
Wow!!! Cutting out that old counter top would be a bit scary. I would be so afraid to mess up the counter below! 🙂 Your new counter top looks fabulous! I can’t wait to see your final reveal!
Looks great! Wondering how many coats of sealer did you use on the sink? I’ve considered doing something similar but I know I’ll need a good matte sealer so the water doesn’t penetrate the wood and ruin it.
Jen it looks so so good! and woohoo for that budget! I also love the cabinet color! Cant wait to see it all!