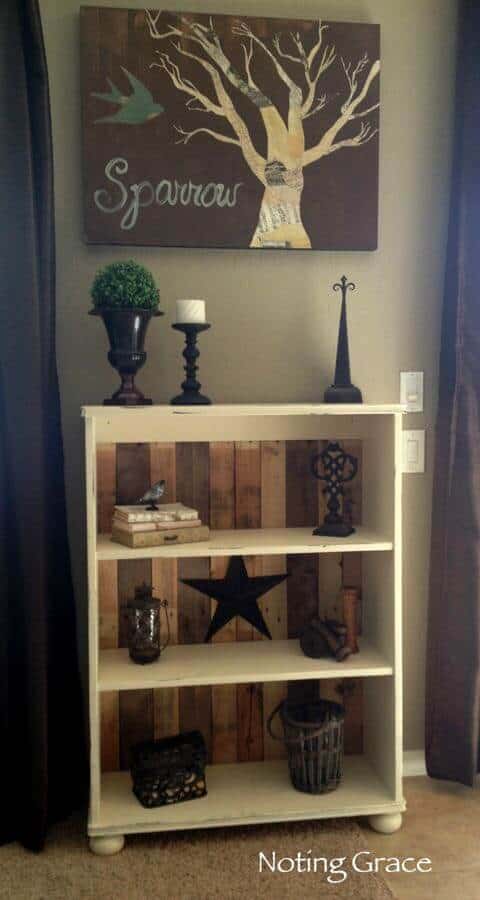
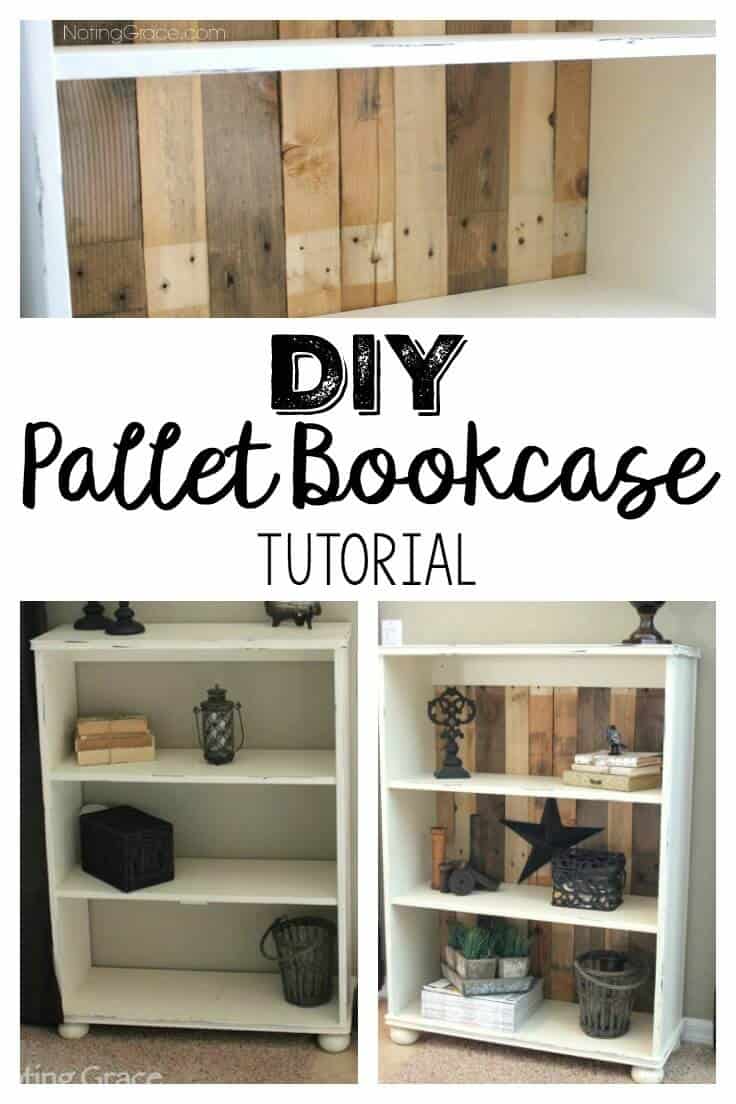
DIY Pallet Bookcase Tutorial
After living with a dated piece of furniture that moved with us from home to home, this is how we made it into a DIY Pallet Bookcase that we love!

Do you love pallets?
I love the rough texture of the wood, the variations in color and the knicks and nail holes make me swoon.
I’ve been known to pull off the side of the road and load up the car when I find a nice, weathered pallet just abandoned, crying out to come home with me!
Since decorating with pallets has become one of the hottest fads in the past few years, this is how we used pallets to update our 10 year old piece into a DIY Pallet Bookcase.
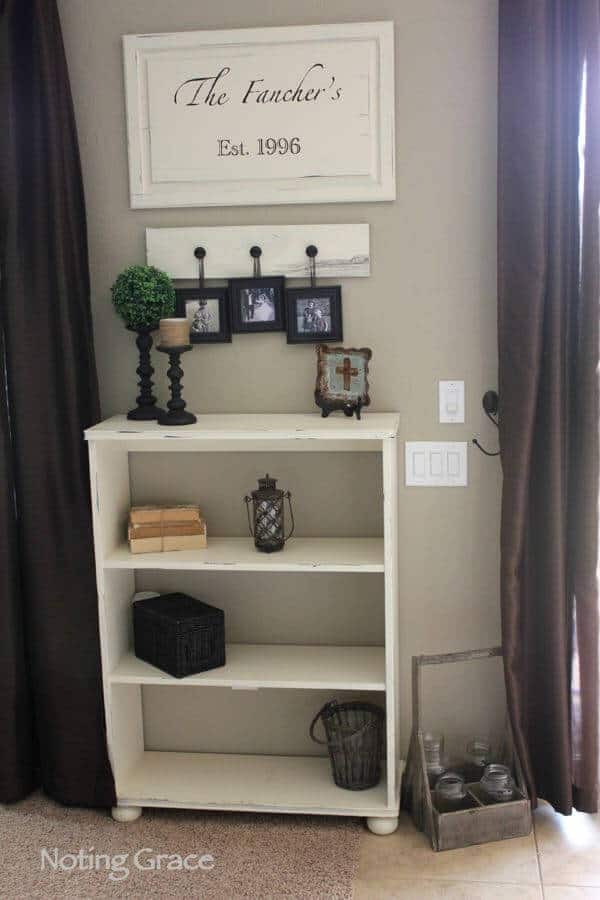
We purchased this bookcase from Ikea.
It was so long ago, that I can’t remember the name of it.
It’s a wonderfully sturdy wooden bookcase that has survived our gypsy blood days. It has moved with us from Los Angeles to Tennessee, Tennessee to Vegas, and from Vegas now back to Tennessee in our Almost Farmhouse.
This bookcase has seen it’s wear and tear, but we thought if it survived that many moves, then it deserves some TLC.
It used to be finished in natural pine, but we painted it off white a few years ago.
This is how we updated it with pallets.
DIY Pallet Bookcase Supplies
(Some affiliate links are provided below. Full disclosure here.)
- Pallets
- Crowbar or reciprocating saw to cut remove the nails
- Circular saw to trim the pallet pieces
- Drill
- Screws
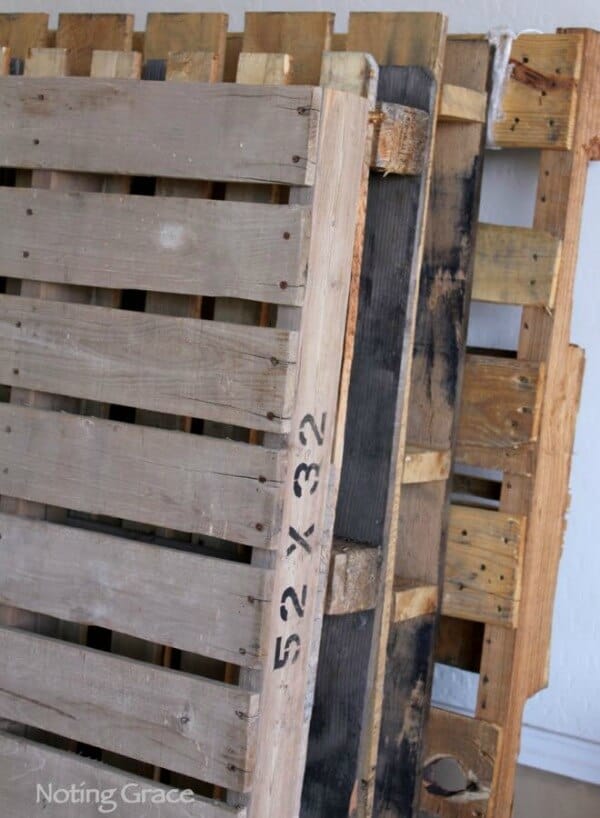
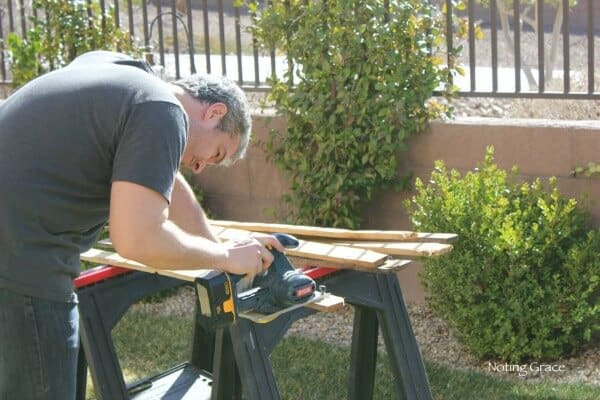
I took all those pallets I had been collecting and broke them down.
well…not me exactly.
There are tons of tips and tutorials online on how to break down pallets if you search for them.
I just sweet talked my strong man, ooh’d and aah’d over his muscles, and stood by ready to wipe his brow while he went to work disassembling. That’s a chore, lemme tell ya! And some of the pieces crumbled apart.
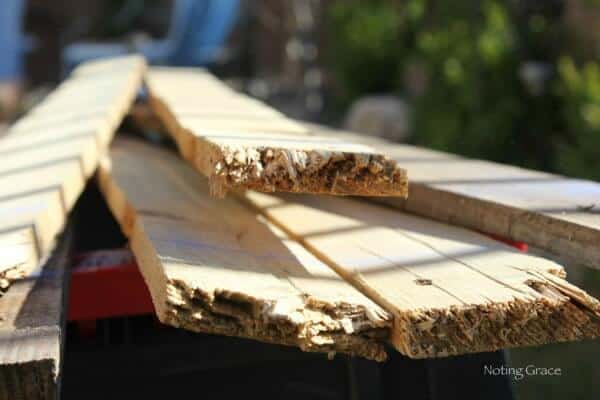
We measured them to fit the back of the bookcase and then had Trent cut them to size.
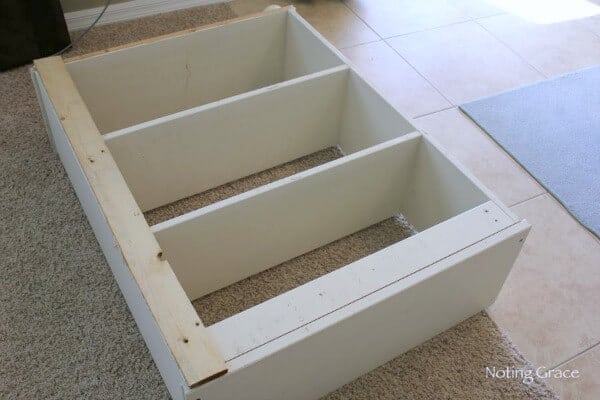
Next came the assembly.
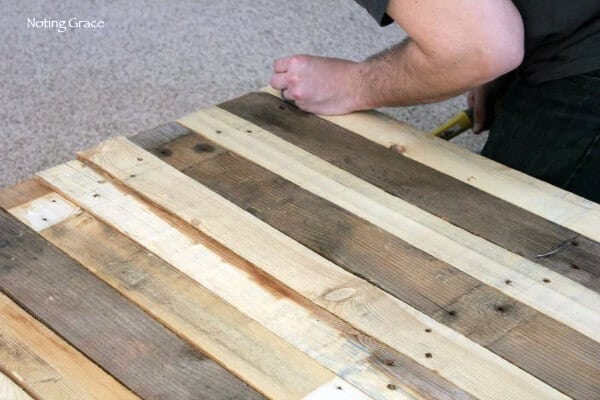
We simply turned the bookcase over and screwed the cut pallet pieces onto the frame.
But, not without a bit of tom foolery!
Those boys are peas in a pod!

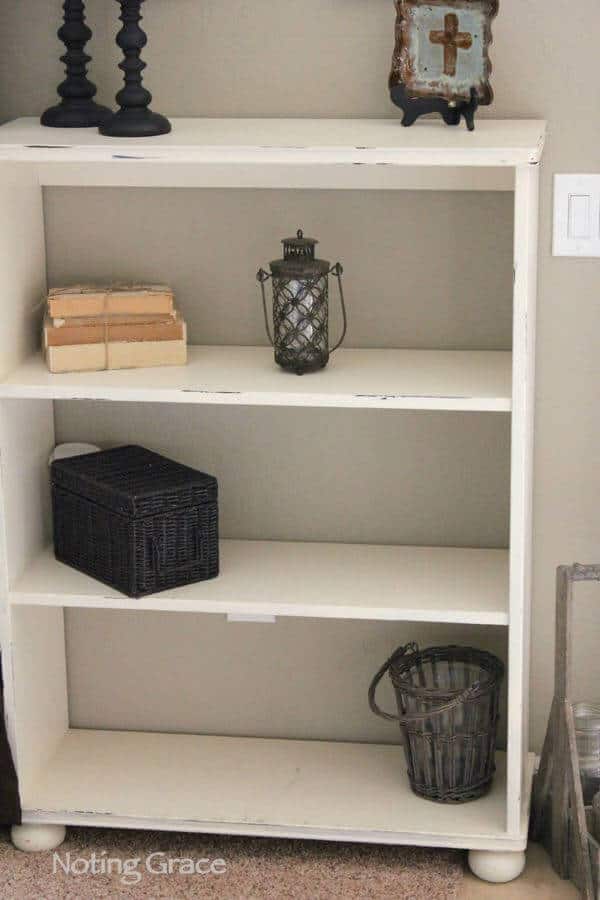
We staggered the pattern to give the DIY Pallet Bookcase a variegated effect.
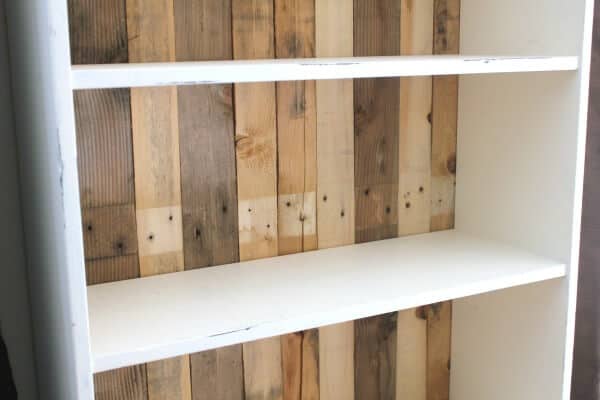
Here’s the finished product!
OH, I love it!!
*swoon*
We noticed that we had a band going across the middle where the boards laid against the pallet frame.

This only took us a few hours to cut and assemble and now we have a new piece to feature in our home. Sometimes unplanned projects end up being my favorite ones, especially when they are happenstance like this DIY Pallet Bookcase.
There are so many fun things you can do with pallets. If you liked this project, check out how we created a Kitchen Island with pallet wood, or a unique Pallet Light Box {here} and {here} and here’s a whole post filled with lots of pallet yumminess!
For More Pallet Projects, check these out!
DIY PALLET KITCHEN ISLAND FOR LESS THAN $50
FAUX FIREPLACE WITH PALLET HEARTH
A UNIQUE PALLET LIGHT BOX

that is SO cool looking! great DIY!
So so adorable!! I love the idea of adding a pallet backing to this bookcase!! Pinning this for sure. Thanks for linking up at Romance on a dime!!
Just dropping by to let you know I have featured you this week! Come on over and grab a featured button and join us for our third party 🙂
xoxo
I love the pallet backing to your bookcase! What a great idea. Congrats on the Dear Creatives feature! Do you care if people pin your project as long as it links back to your blog properly? I think people are gonna love this!! ~ Jamie
yay – featuring you tonight! 🙂
Your project turned out great! I will be featuring it tomorrow @ DearCreatives.com Drop by to see your feature & thank you for sharing & linking up. Hope to see you often!
Awesome addition to the bookshelf! Love it! Thanks for sharing this at my Pin Me Party!
Love this! Stopping by to let you know I am featuring your Bookshelf on Made in a Day tomorrow! Congrats and thanks for linking up!
Kim
Hi! You were the link before me at the Circle of Faith link party! This bookcase revamp turned out so well! Great job! Thank you so much for sharing!
Cheers,
Julia
Ficou lindo, parabéns!