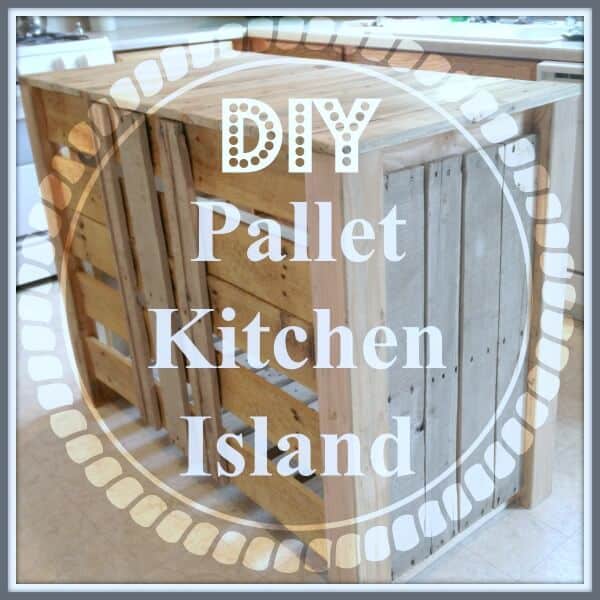
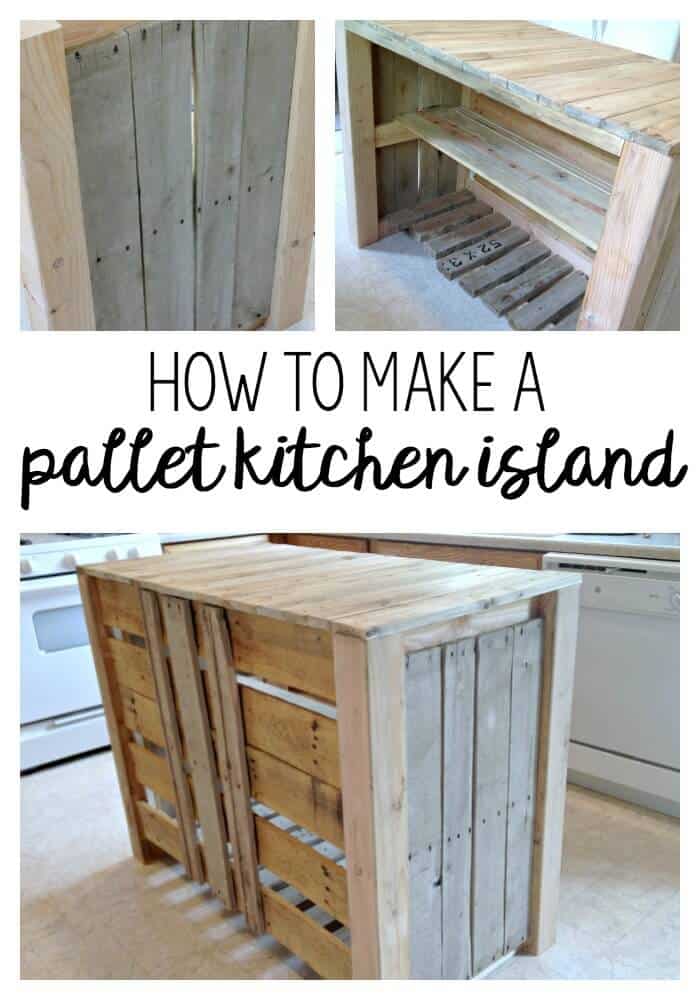
DIY Pallet Kitchen Island for less than $50!
When we were living in a rental, our home was lacking a counter space, and it didn’t have a Kitchen Island. So we built a DIY Pallet Kitchen Island for less than $50!
I adore pallets and when we needed a budget friendly option, I turned to what I knew would be most economical!
Loving how our Pallet Bookcase turned out, I wanted to do something similar.
Here’s how you can build a DIY Pallet Kitchen Island yourself for less than $50.
DIY Pallet Kitchen Island Materials
Affiliate Links provided for your convenience. (disclosure)
- 4 – 4 X 4 posts – cut to your height
- 2 – 2 X 4s – the length of board should fit your space. We used scrap wood.
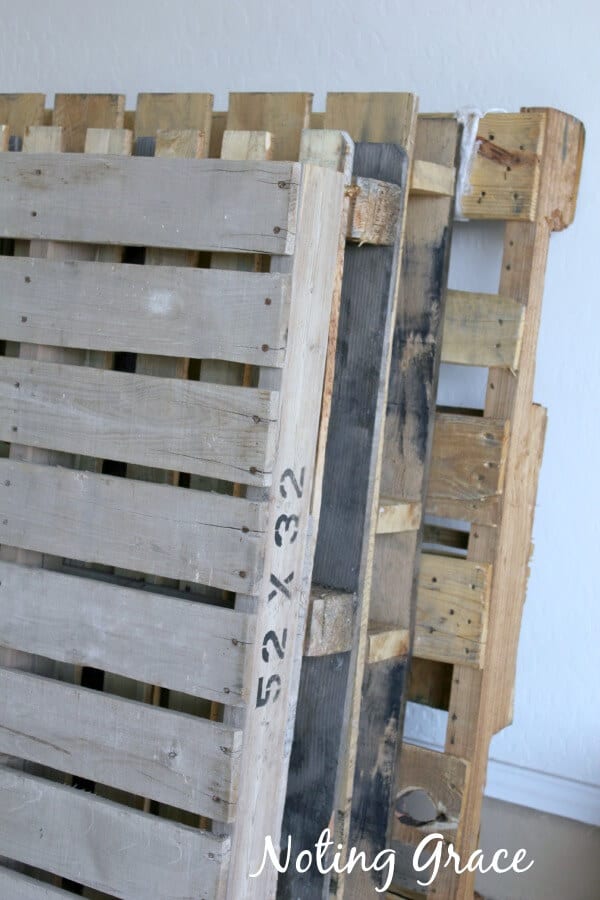
- Pallet Wood
- Tape measure
- Screws
- Drill and Table Saw
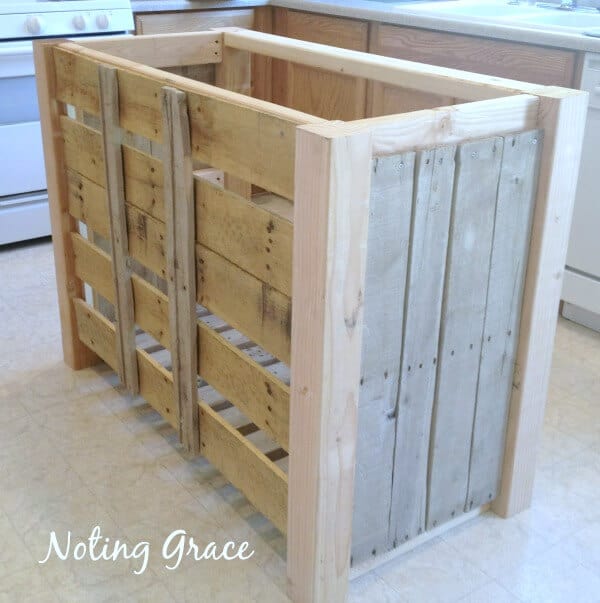
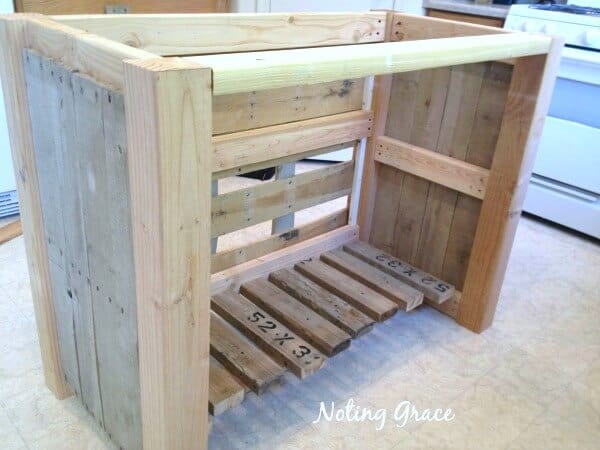
We didn’t have an existing frame as we did with our Pallet Bookcase, so we had to build a frame.
This wood purchase was all that we needed for this project, but you can buy all the wood for the framing inexpensively.

The corner posts are 4 x 4s cut to our counter height which is typically about 36 inches.
The framing is from 2 x 4s. Make sure there is enough clearance for any appliance doors before you make your cuts.
We measured for the exact fit of this kitchen as well as our height, so I am not including exact measurements since your space will vary. They should fit to your space and needs.
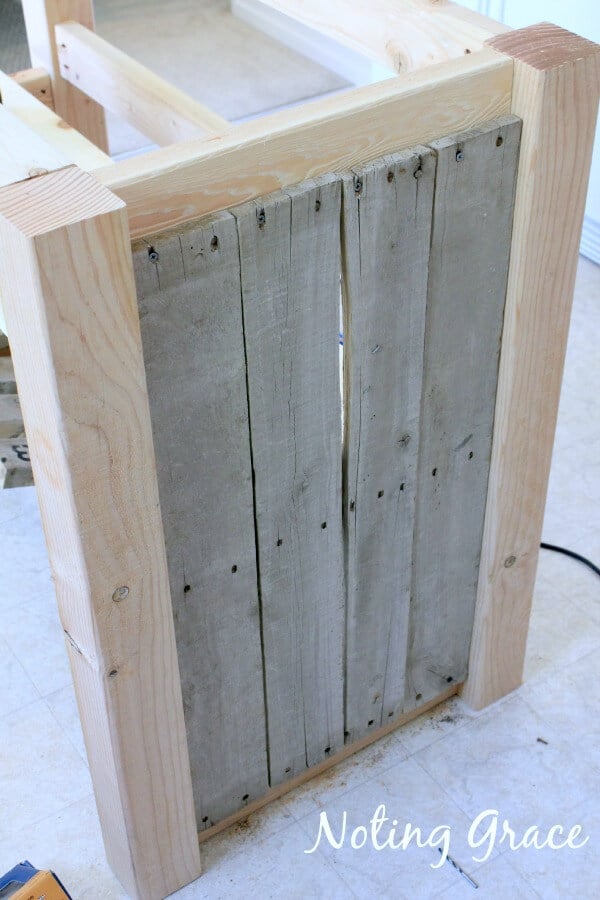
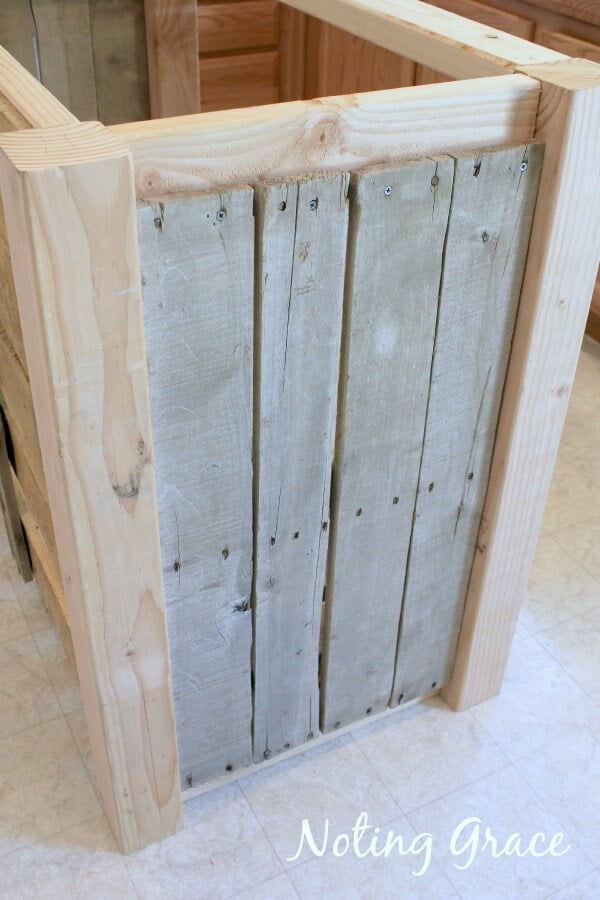
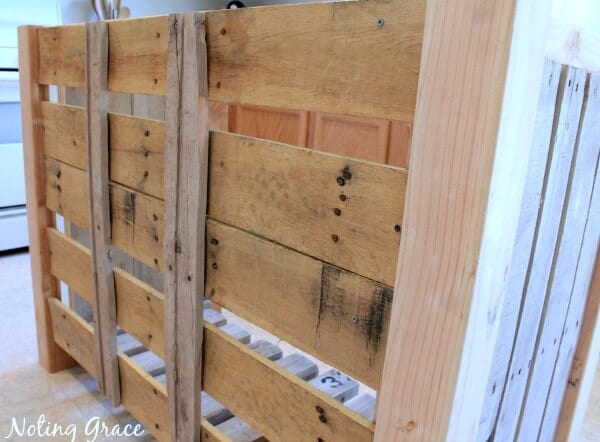
I wanted the weathered pieces to be the most prominent, so we cut and fit them to the sides and attached by using the existing holes.
Look at that beautiful, natural gray, washed out by wind, sun and rain!
I’m seriously swooning!
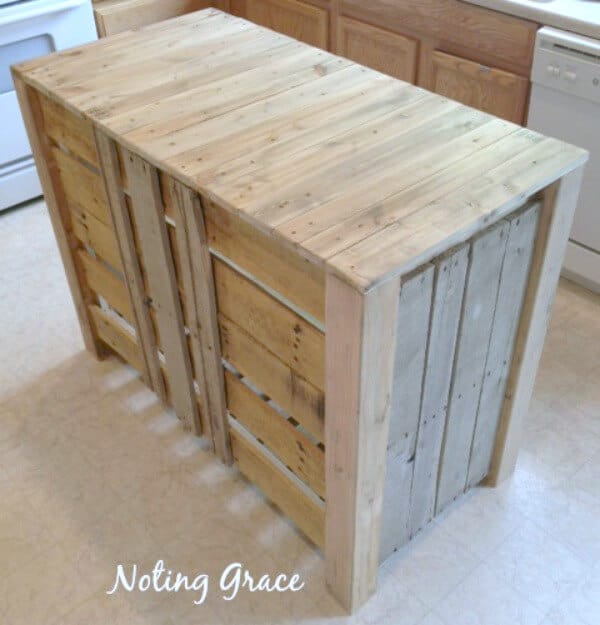
We built this DIY Pallet Kitchen Island’s to create additional storage space, but hidden from plain view. We created shelves and a front to hide the storage.
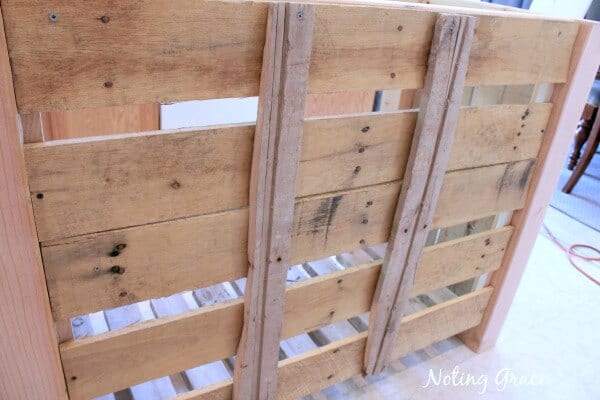
For the front, I wanted a rustic, pieced together feel, so I varied my wood textures and hues.
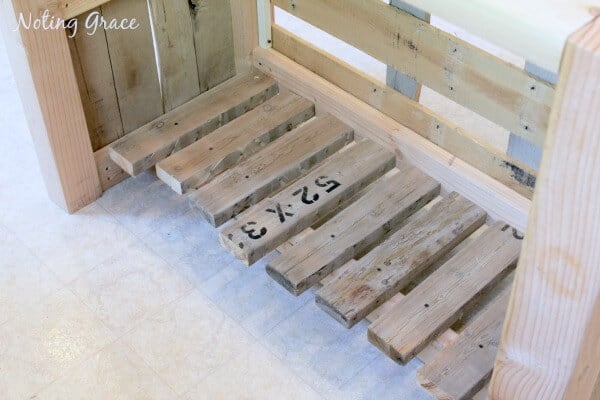
The very bottom shelf was most visible. Continuing with that weathered, rustic feel, we cut pallet sides to varying lengths and used distressing glaze to hide the cuts.
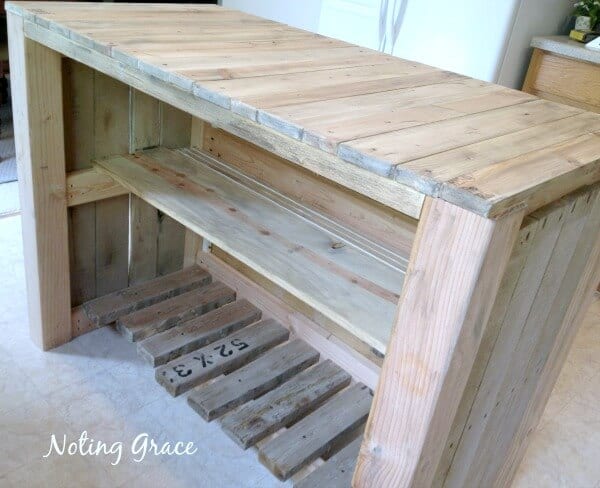
So now for the next shelf and top!
Using the braces on the sides, we cut scrap wood to fit the length between the two braces. For the top, we used other wood from a previous project in order to cut our wood costs.
Recycling and upcycling is key to saving money!
It’s important to note: I don’t recommend using pallet wood for the top of a kitchen island.
Since pallet wood is treated with chemicals, it isn’t safe for a food prepping surface. But if you don’t have scrap wood on hand, this will add to your bottom line if you need to purchase it.
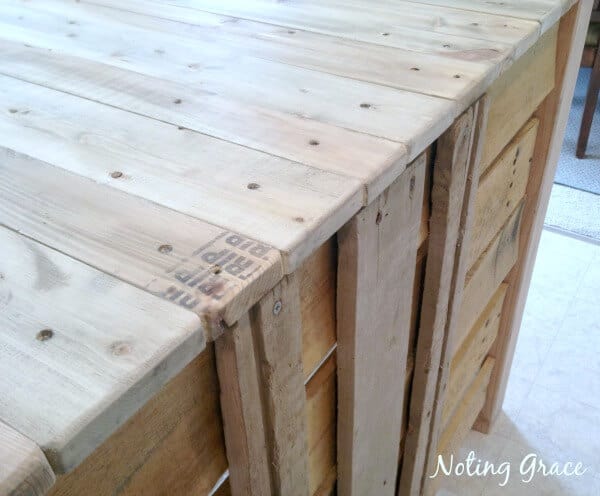
Since the wood top was new, I distressed the top and frame to create a weathered look. This also added a semi-seal to help with food stains.

So there you have it!
An easy weekend project that didn’t take rocket science to create, but a perfect temporary solution to a kitchen problem!
All for less than $50.

It was a helpful addition to storage and was cute to boot!
So If this post inspires you to build your own DIY Pallet Kitchen Island, be sure to share your creations with me!
I’d love to see what you come up with. For more tips on how to decorate a rental, you can read how we adding our touch here.
UPDATE:
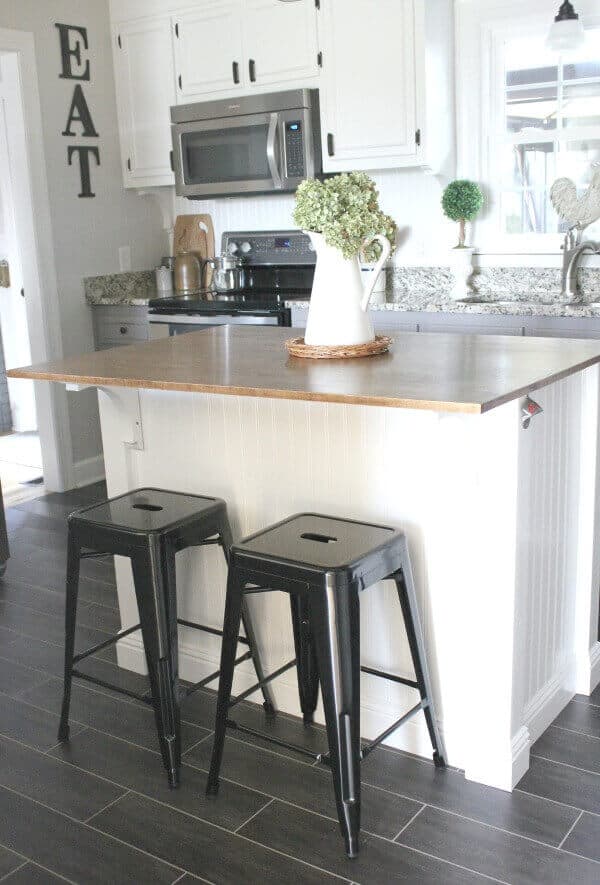
You should see this kitchen island now! We converted it to fit our Farmhouse kitchen.
Pin this for later!


18 Comments