DIY Wood Wall Art: Creating a Custom Accent Wall Piece
A Huge Thank You to Wagner for supplying us with the tool in creating a custom accent wall piece that is truly one of a kind! We love our DIY wood wall art!
Looking for an easy project that will stand out?
Here is a unique way to create a beautiful diy wood wall art piece made from scrap wood pieces.
Sometimes the perfect tool comes along to help in creating a custom accent wall piece.
Enter the Wagner Furno Heat Gun.
When we attended the Haven Conference, Trent and I had the opportunity to try some of Wagner Spraytech’s tools.
That’s when the inspiration struck!
After getting the chance to apply high-temperature heat to a few wood samples, we knew this was the exact look we wanted!
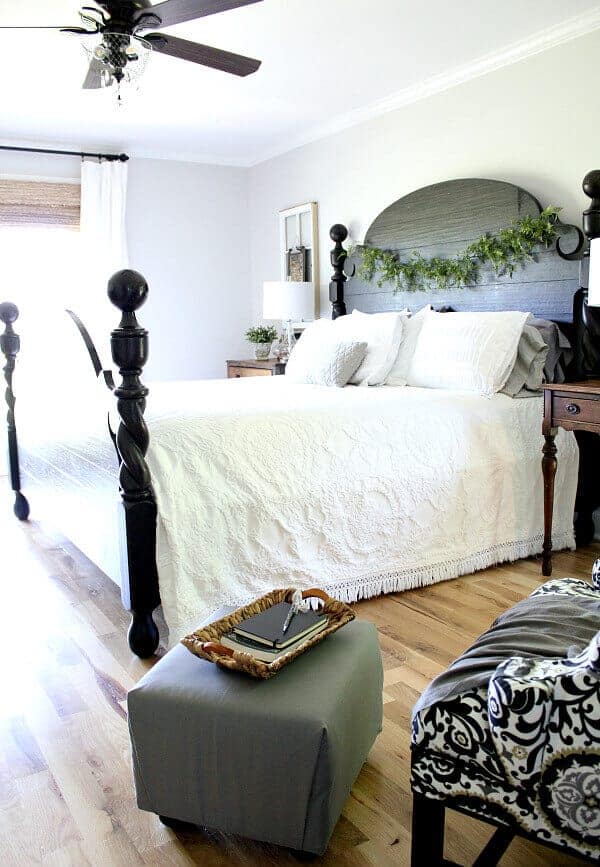
When we were renovating our Recording Studio, we were looking for ways to diffuse the sound.
For those of you who don’t know, Trent and I are professional musicians who met and fell in love at music school in college.
And in every single home we’ve ever owned, there has been a designated room for us to practice and record our music.
Any music room, movie room, or home theater needs to have proper acoustics for the best sound.
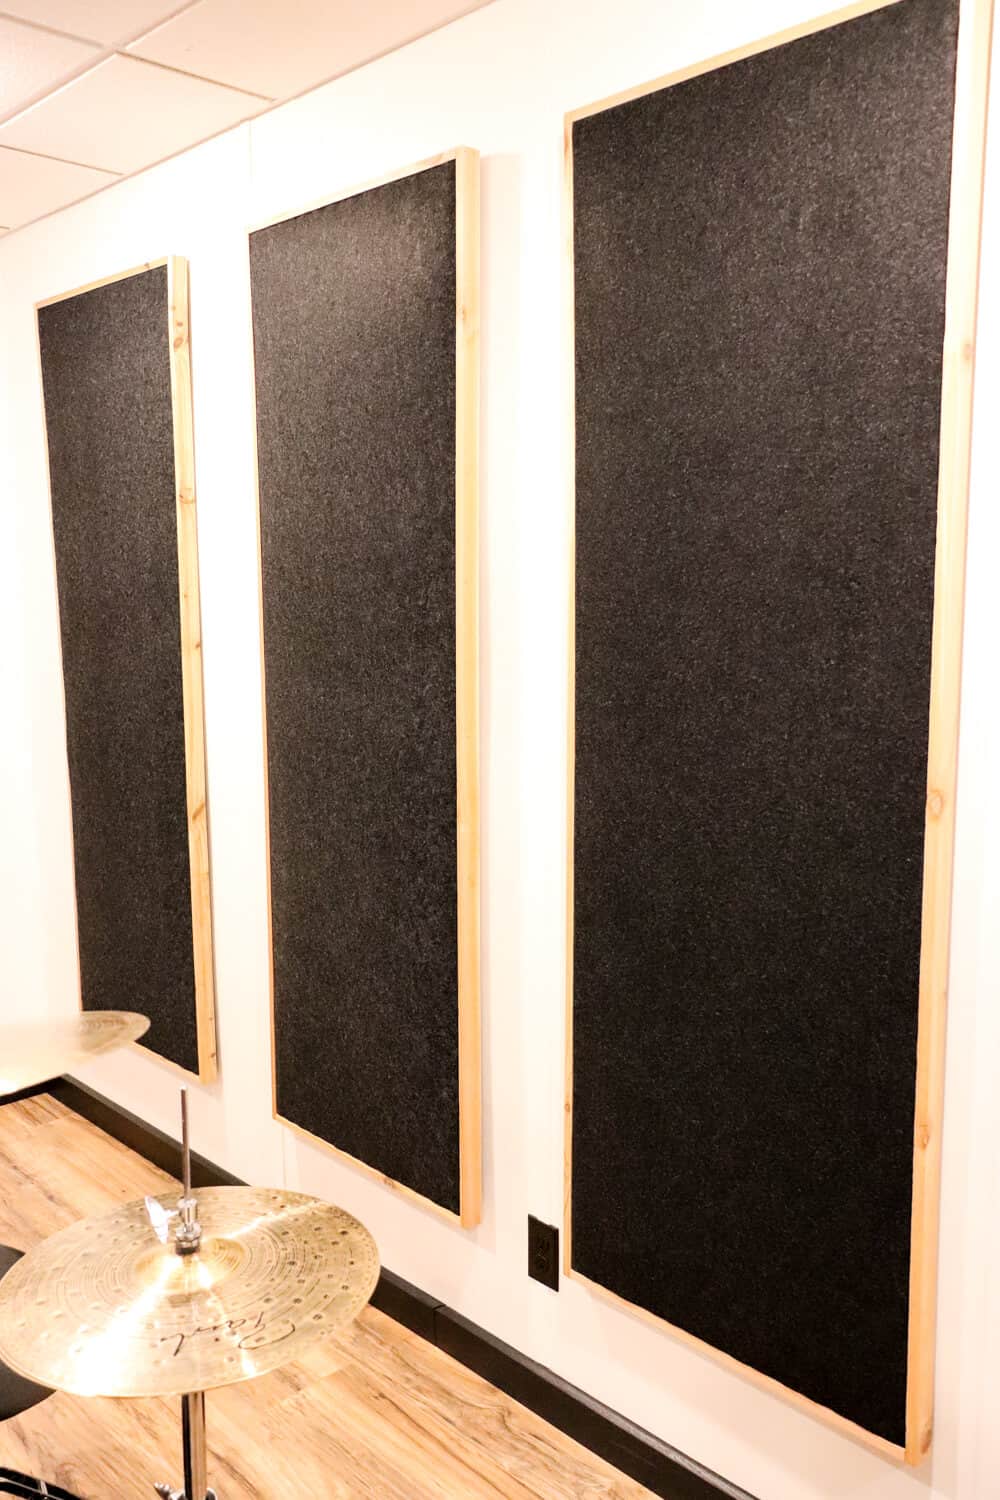
In the past, we’ve made sound panels out of black fabric and though that helped control the sound, they certainly lacked pizazz.
We wanted to make a piece that not only helped with the acoustics of our room but one that would also add beauty.
We decided to use wood and create a panel that would help diffuse the sound and knew it could look killer!
So here are the steps to creating a custom accent wall piece with wood-burned accents for your home.
Creating a Custom Accent Wall Piece
(Some affiliate links are provided below. Full disclosure here.)
Here are the supplies you’ll need for this project:
- Sheet of Plywood cut to the size desired
- Black Paint and paint brush
- 4×4 Wood Posts – Make sure the wood is untreated!
- Wagner Furno Heat Gun
- Miter Saw to cut the angles
- Table saw
- Nail Gun and Compressor – this is my favorite!
- Wood Glue
- 1×2 Poplar Piece for the frame pieces
- Wood Stain
- Polyurethane
- Construction adhesive
Cutting the different pieces
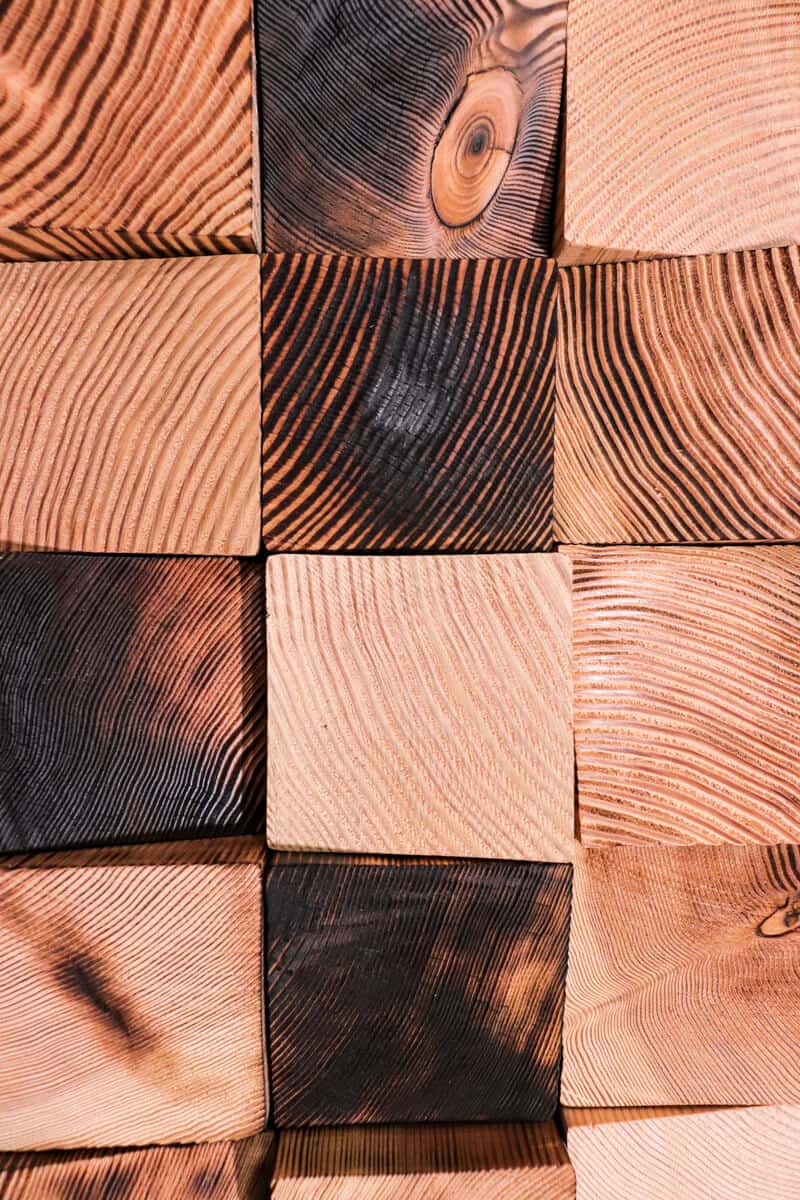
First, we started by cutting 4″ x 4″ x 8′ fir wood posts into 1 – 2 inch thickness.
We mainly cut each piece on 15 degree angles with our miter saw.
Only one side is cut at that angle, leaving one side flat to attach to your frame.
We also integrated several pieces cut without an angle into the design.
After each cut is made, you may have to lightly sand the edges of the pieces of wood.
This may take some time making all these cuts and sanding the edges, but turn on some music and have fun!
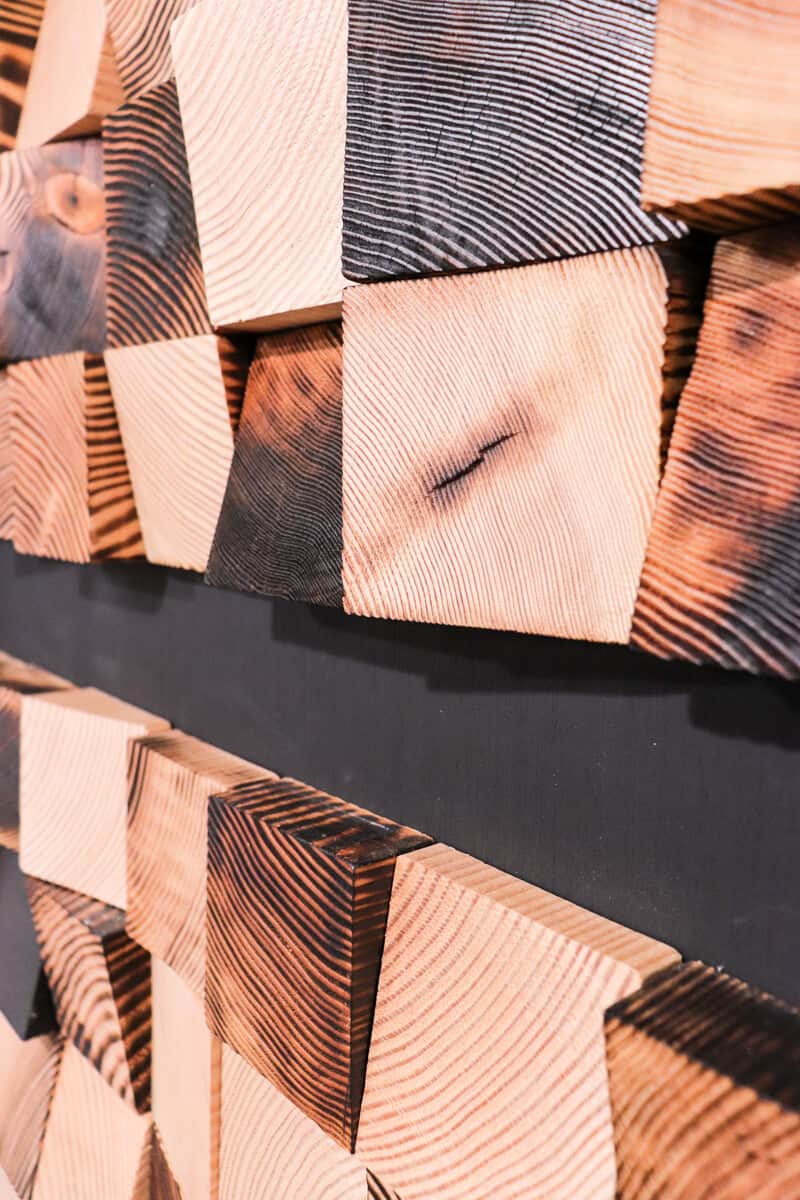
Next, we started playing around with charring techniques.
Charring the wood pieces
We wanted variety in the wood pieces and this is where the fun really began!

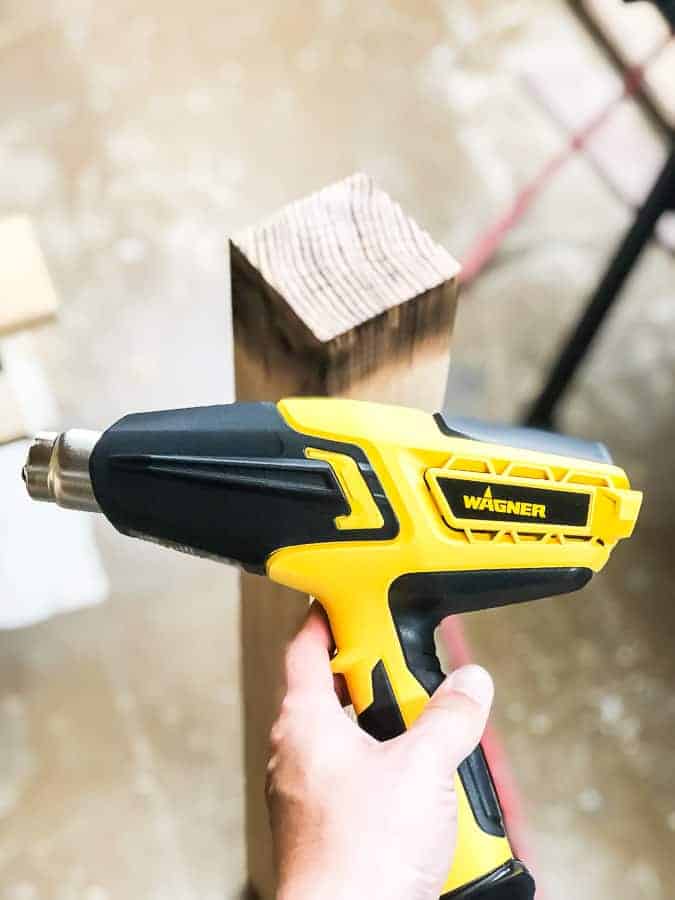
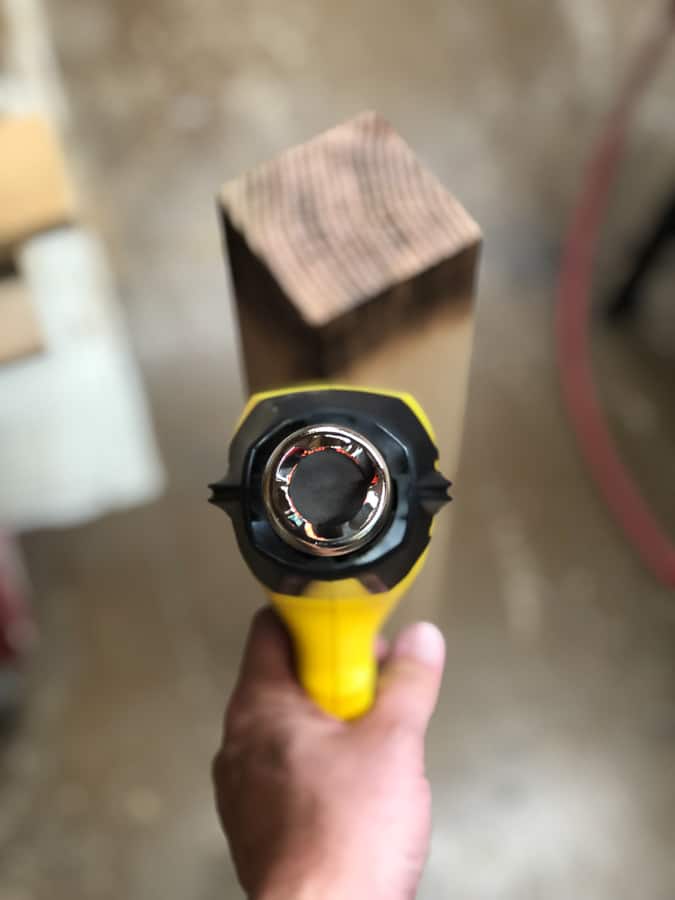
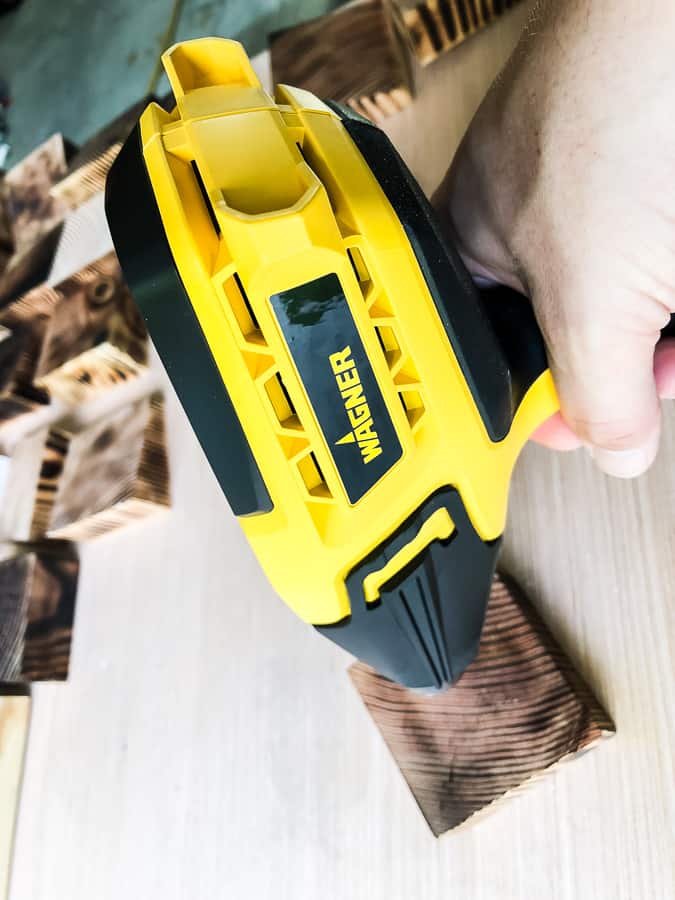
The Wagner FURNO Digital Heat Gun has variable temperature settings ranging from 125°F – 1300°F plus multiple fan speeds. The large LCD screen lets you view the temperature adjustments in increments of 10°F. These features allow you to have precise control for any project.
Right from the start we noticed that Wagner has made it very easy to create a consistent look with even heat while remaining cool in your hands.
We wanted our own diy wood wall art to be large, so we did a lot of charring!
The soft-grip handle is also very comfortable and never felt heavy in our hands even after using it for long periods of time.
Here are some of our first sample pieces ranging from light to heavily charred.
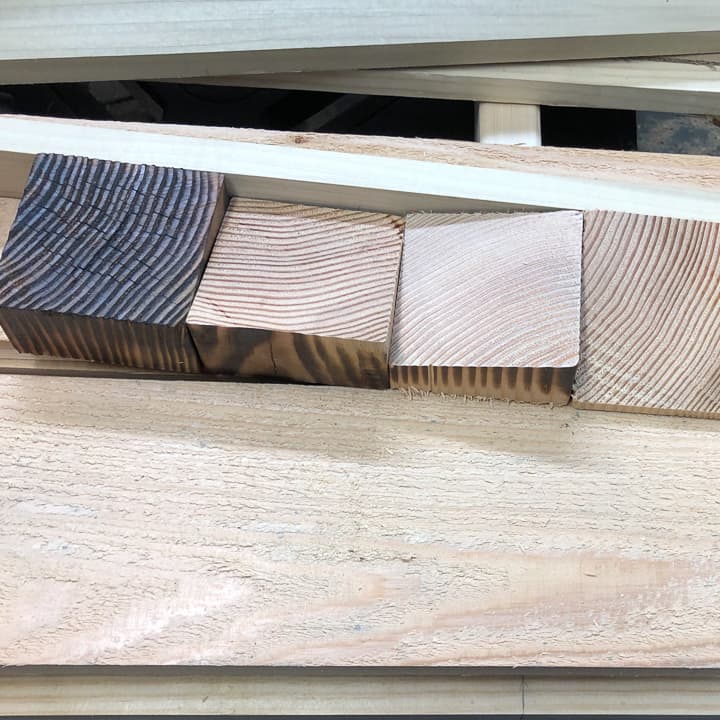
Now – the heavily charred look did take a longer time to execute.
But it was so fun to watch the wood transform.
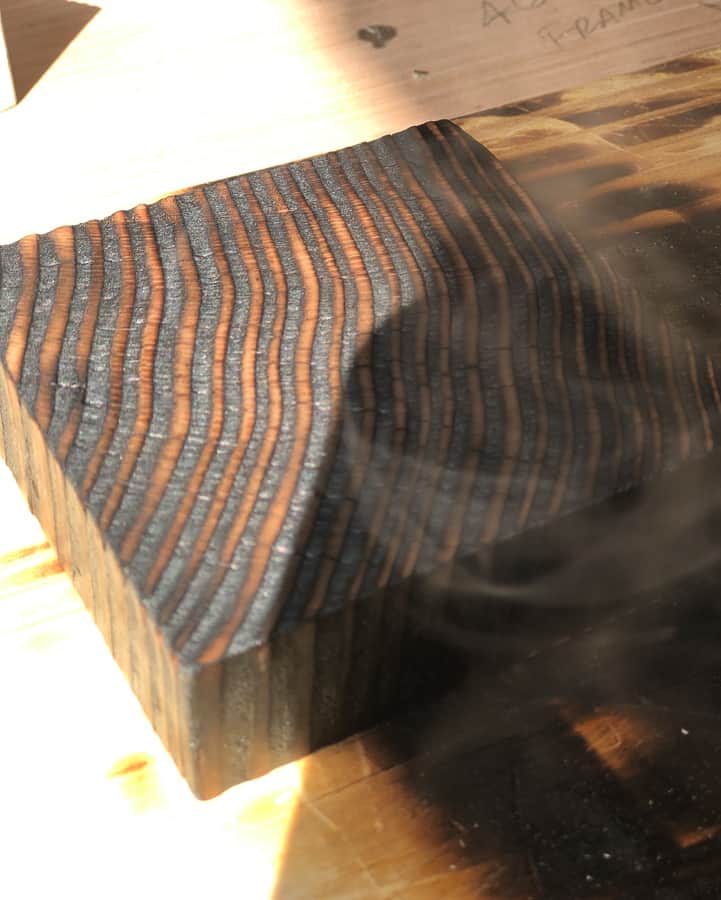
Look at that smoke! How fun!
If you are wanting to achieve a heavily charred look like this, we recommend working in a well-ventilated area, preferably outdoors.
We also wore a mask to help with smoke inhalation.
It took about a day charring all the wood pieces.
We also opted to paint a few wood pieces black to add some depth as well as leave some pieces natural to create a true variegated effect.
Next, we built the frame.
Building the Frame
The height and width can vary to whatever size you want. Just remember, the larger the piece, the heavier it will be to hang.
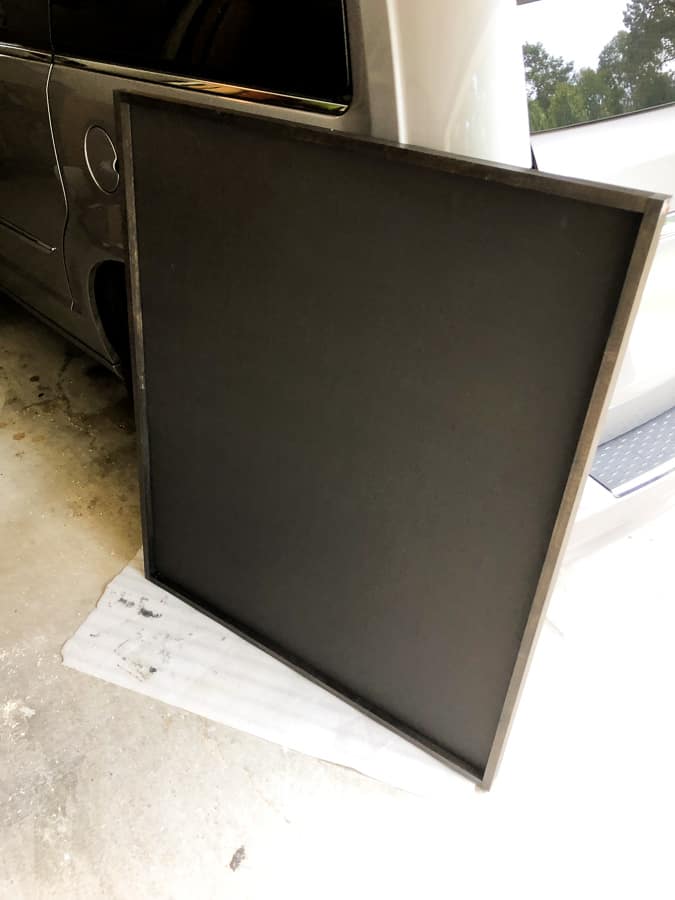
We cut our plywood base to 40 inches by 45 inches.
The back is made of 1/4 inch plywood that we spray painted flat black.
This is a great way to use that leftover plywood that has been sitting in the garage! 😉

The frame sides are made from 1.5″ x .75″ poplar pieces.
Using a table saw, we cut an off-center channel in each piece to slide the plywood backing into.
By adding a channel to the wood, it ensures a tight fit for the backing and helps with stability.
We went for an off center channel because we needed to allow for the framing to cover the wood pieces better.
We then stained each frame piece using black wood stain and finished with a coat of satin poly.
Next we built three sides of the frame using brad nails, a nail gun and a little wood glue.
By the way, I love this little nail gun and compact compressor kit from the Home Depot. I have used it on most of my projects!
Then we slid the plywood backing into the slotted frame and nailed the final side of the frame into place.
Finally, we ran a bead of wood glue around the edges for extra strength.
Now it wouldn’t be abstract wooden wall art without a little creativity!
I love these embellishments Trent added to the sides!
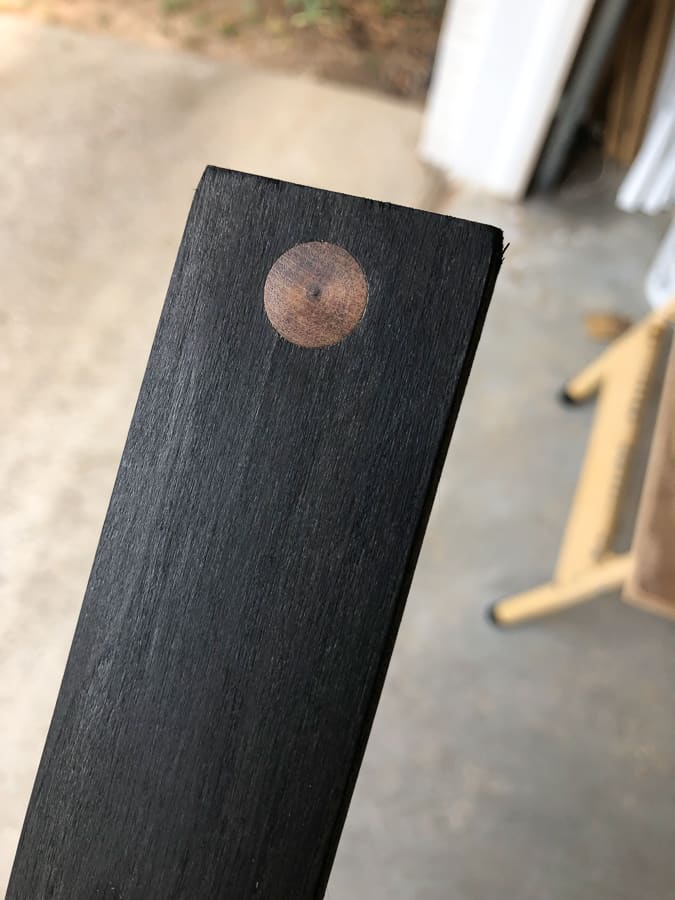
He used four 1/4″ button plugs stained brown using early American stain.
You could also make these using wood dowels.
Now it was time for the fun part! Assembling the wood pieces.
Assembling the DIY Wood Wall Art
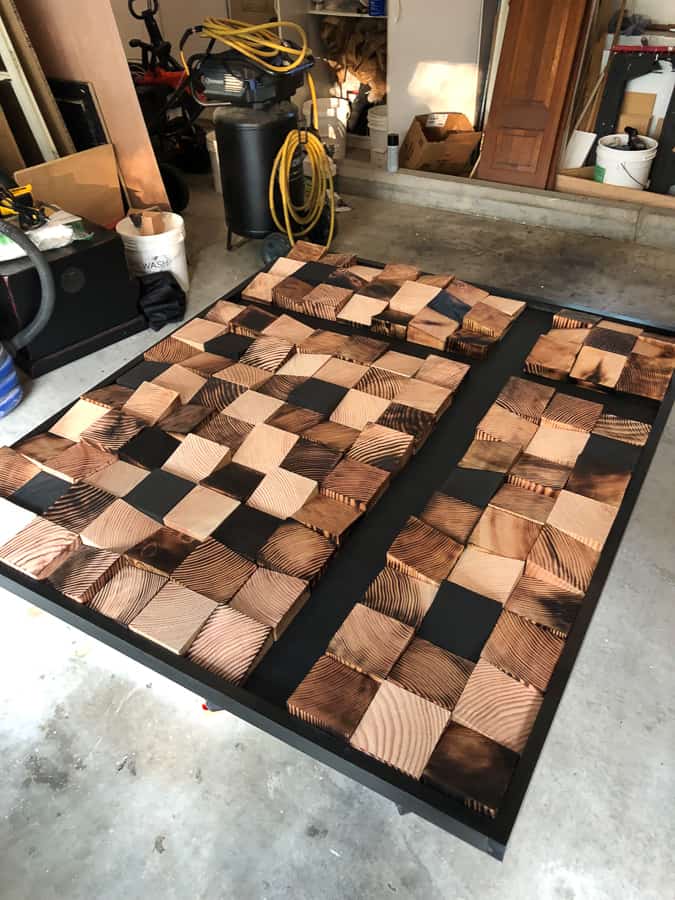
When it came time to assemble, we quickly realized that we made a slight miscalculation and ended up with a happy little mistake.
Our original plan was for creating a custom accent wall piece with wood pieces that filled the entire frame.
But when we started arranging them in our desired pattern, they didn’t quite fit exactly due to slight variations in thickness of the fir timbers.
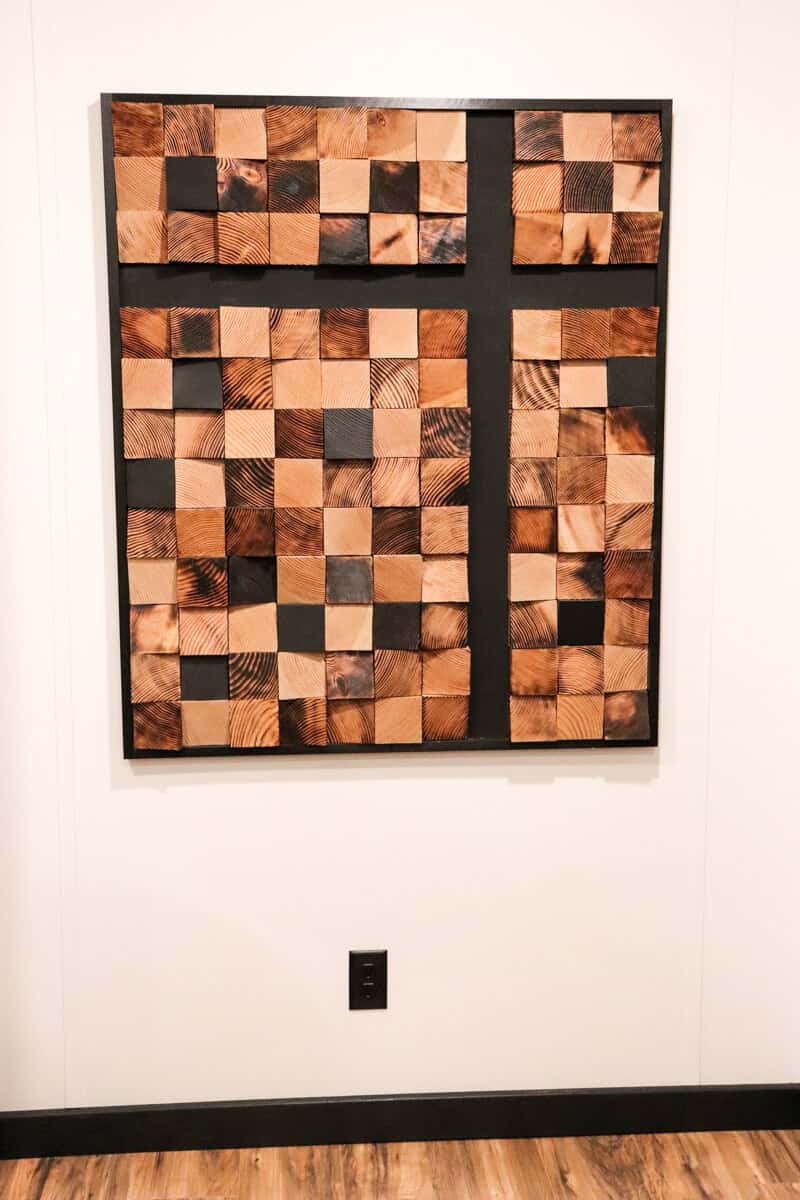
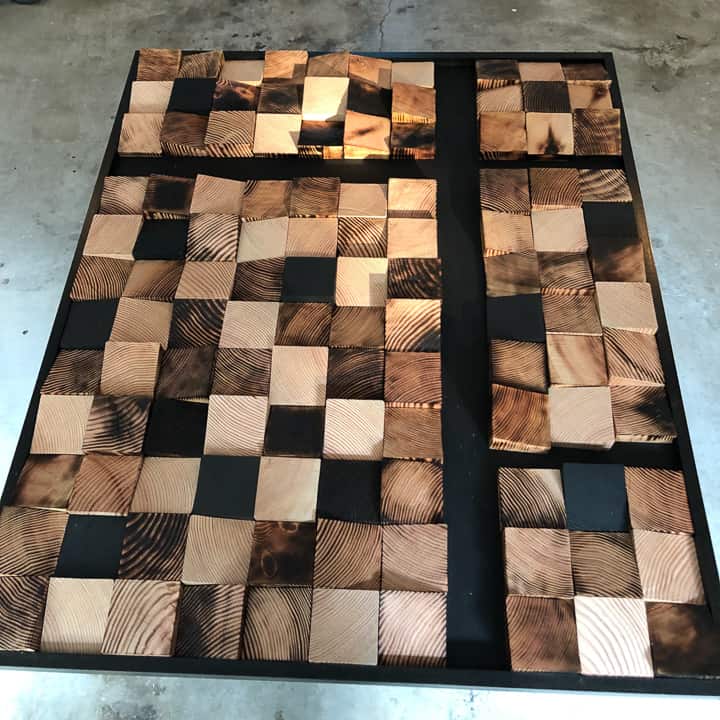
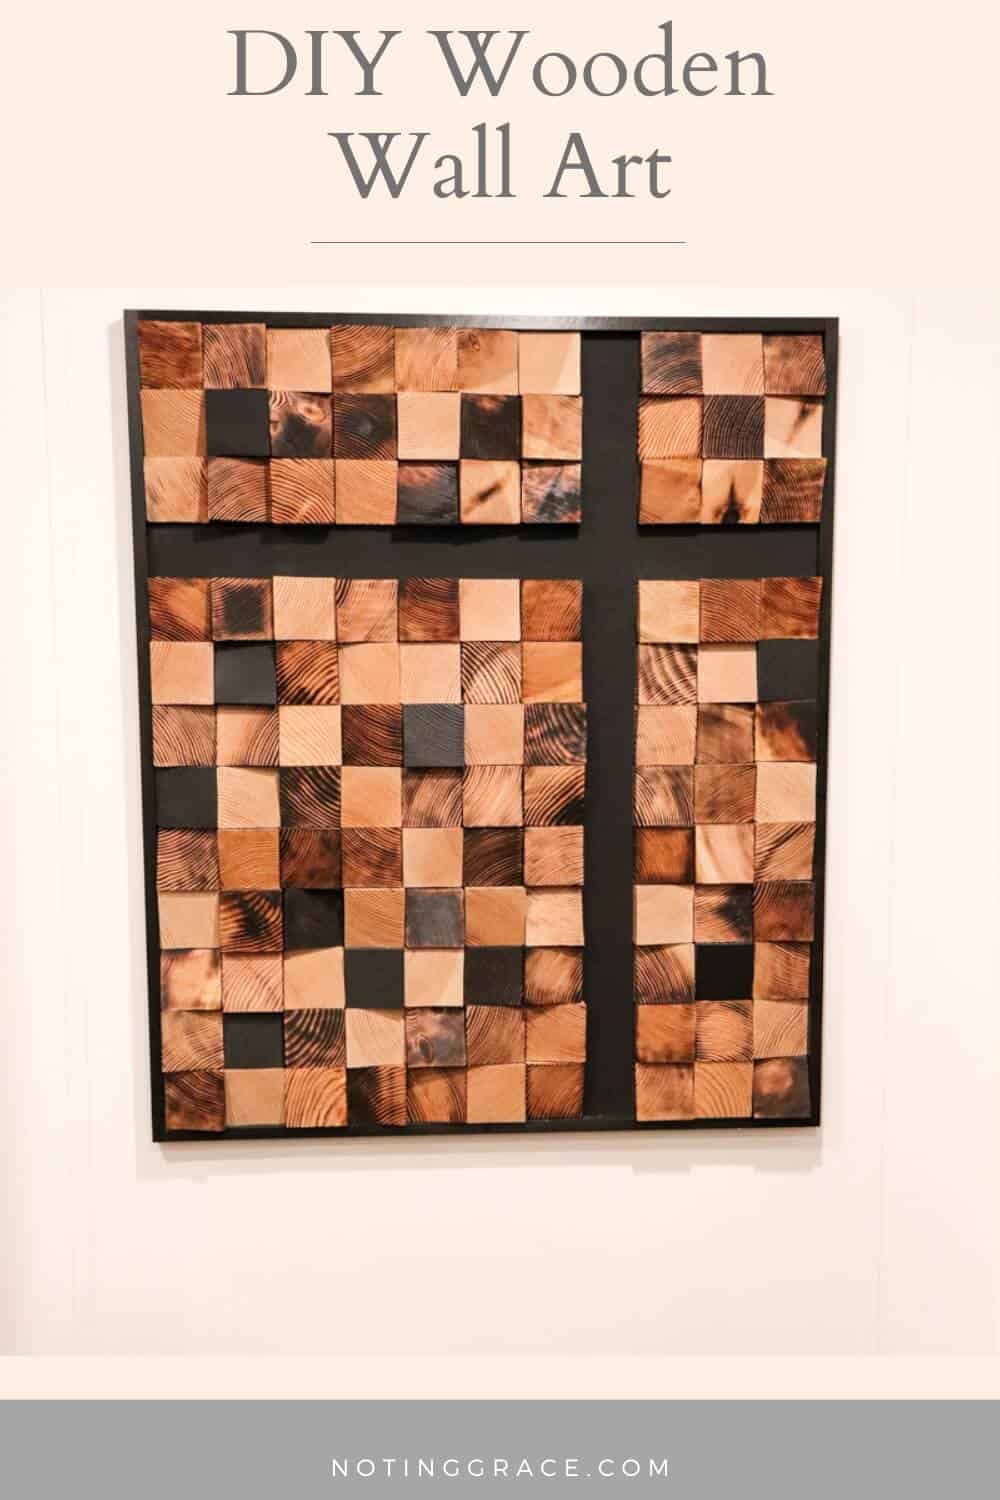
So, I played around with the pieces and settled on a modified cross design.
We love it!
Once we finalized where each wood block would go, we used construction adhesive to secure each piece in place.
Let it dry overnight and you’ve got a custom piece of art for your home.
Because of the size and materials used, we hung it across two studs and it’s gorgeous!
Just look at the finished product!
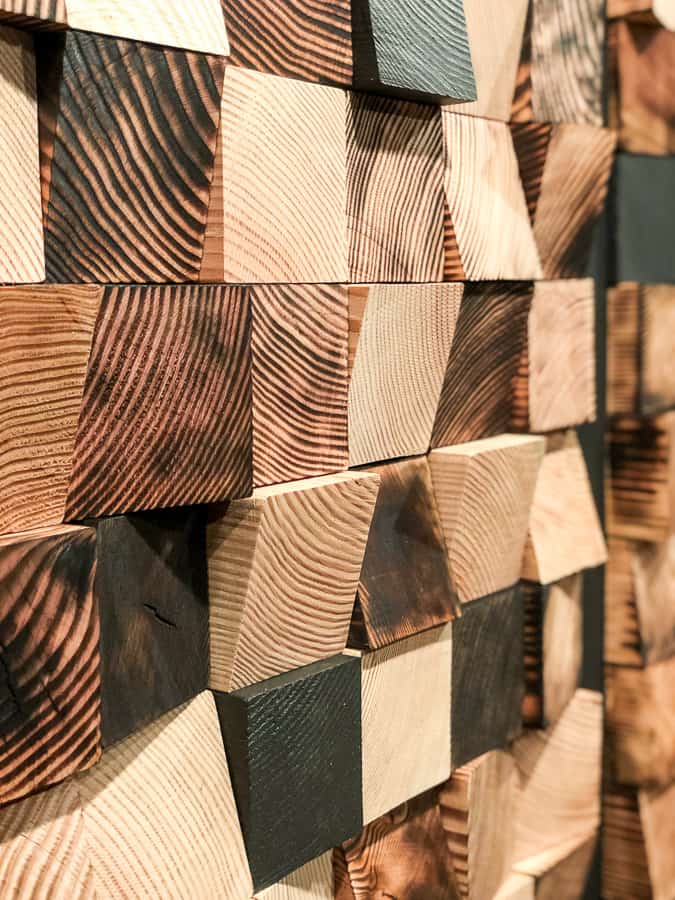
Since we combined the natural wood and black pieces along with the charred wood, it creates a beautiful variegated effect.
And, of course, it works perfectly to fill a blank wall.
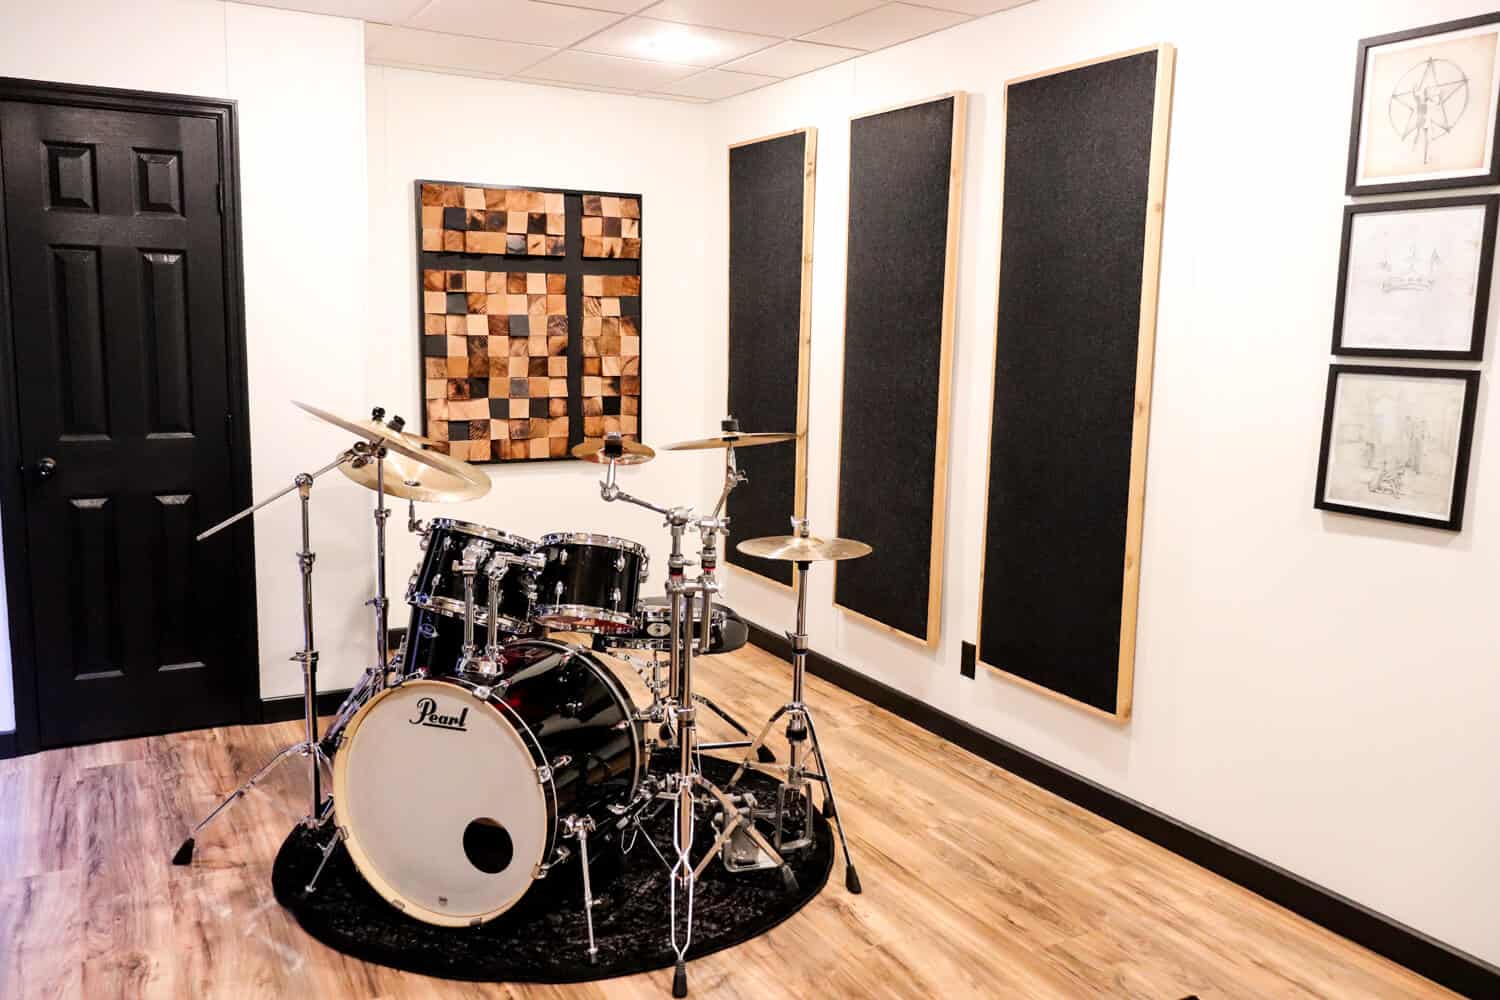
We have a beautiful accent piece that also diffuses sound and is super cool!
This DIY project was so much fun and spawned a few more wood wall art pieces.
Like this smaller one.
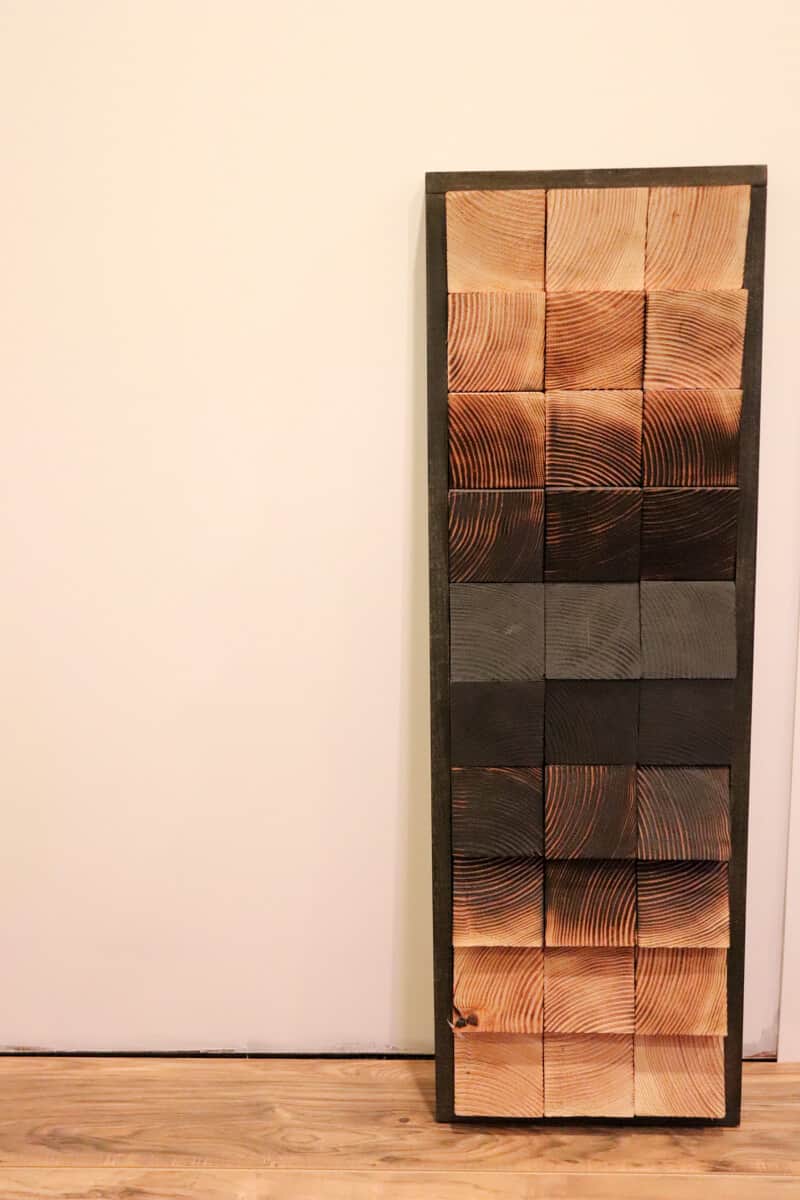
Using the same concept, we opted for different patterns and made the same wood frame to create this geometric wall art.
The best part is that it’s completely customizable!
We also made one for our son using acrylic paint in his college colors. It’s a great gift to give to someone that doesn’t take a lot of diy skills!
I hope this fun project inspires you to think outside the box and listen to your creative side.
Create your own simple design and finally fill that empty wall that has been bothering you all these years!
So use up that scrap lumber and have fun making your own diy geometric wood wall art!
Frequently Asked Questions
Can I use pallet wood?
I’m all about using old wood to make this diy scrap wood wall art.
But if you are wanting to get the charred wood look, then I don’t recommend using pallet wood.
Pallet wood can be treated with all kinds of chemicals, and charring those could either put off dangerous gases, or maybe even ignite.
So it’s best to go with a different type of wood.
How do you hang it? Isn’t it heavy?
Yes! This is a heavy piece. But with a little bit of planning, you can hang your diy wood wall art safely.
With any wood art, you are going to want to make sure to use long screws secured into studs to hang it safely.
It’s been a few years and the piece is still holding strong!
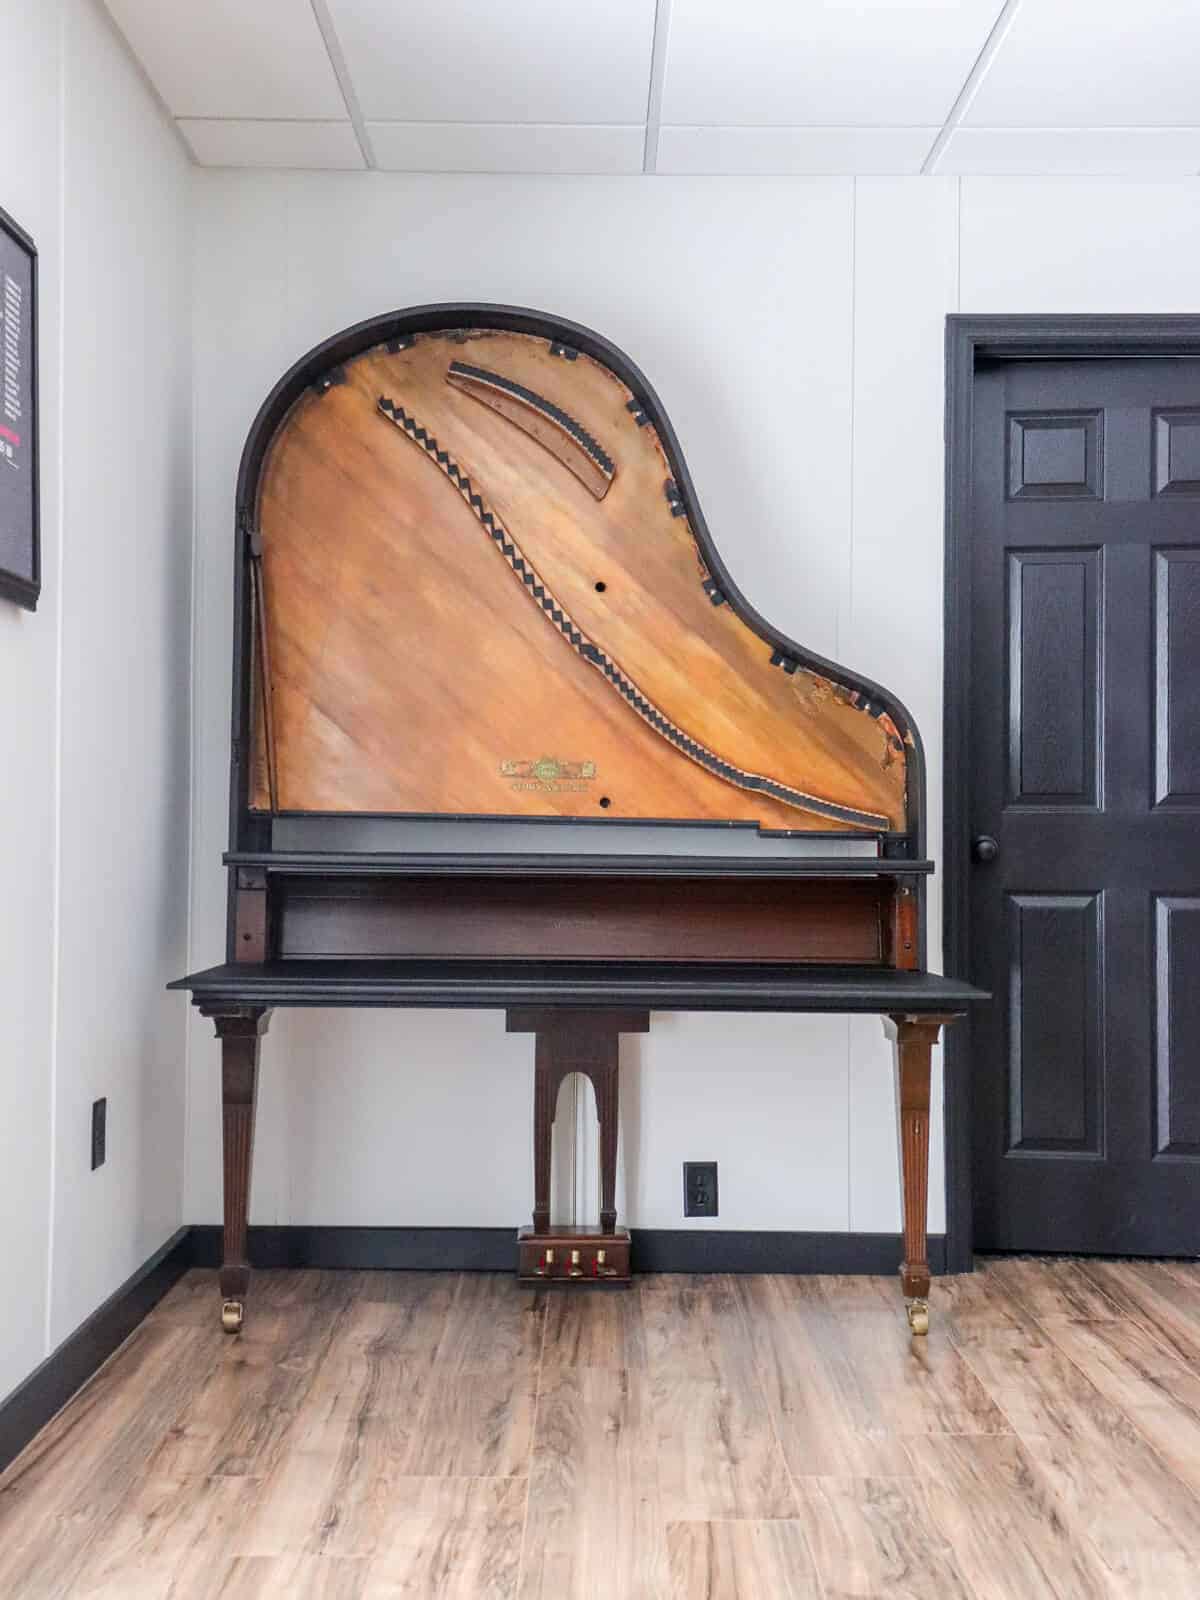
We also hung this wood organ foot board using two 4 inch screws attached to studs.
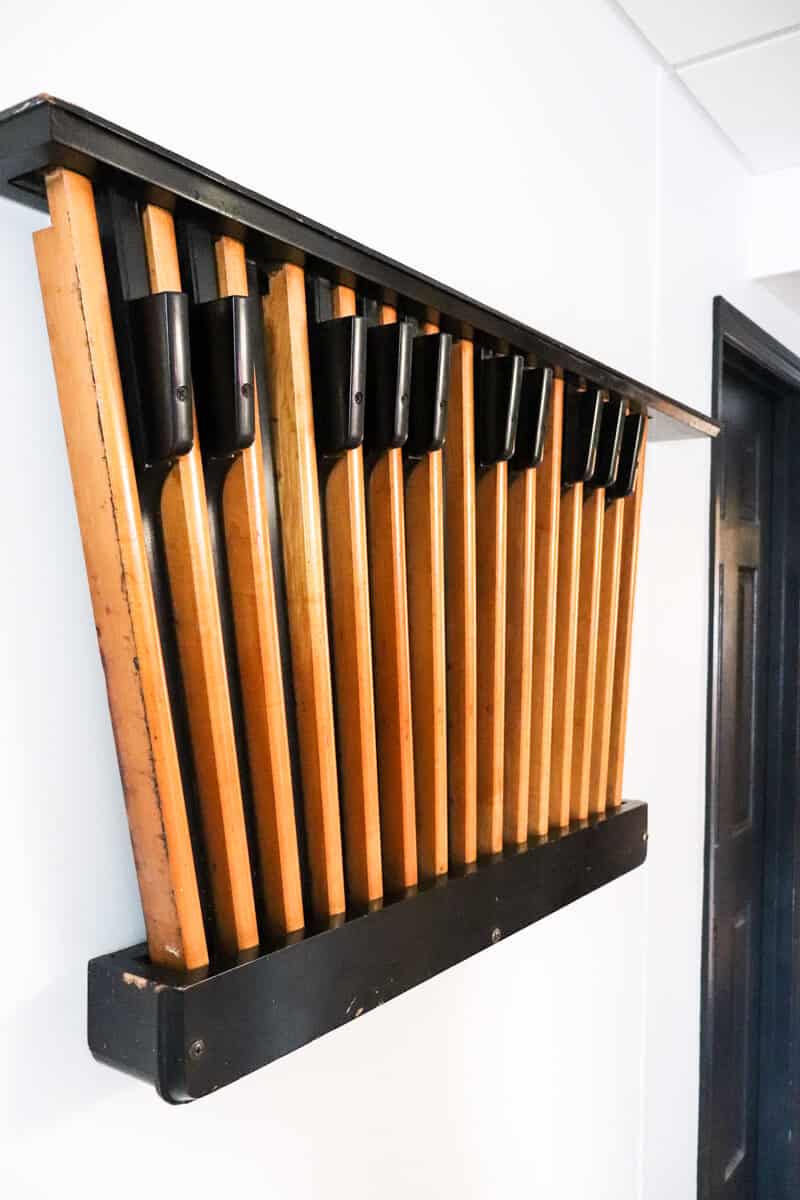
So small pieces shouldn’t be as heavy.
But it’s always better to err on the safe side and hang it on the wall with a nail in a stud.
Join Our Community
Don’t miss the next DIY! Receive exclusive content, including behind the scenes photos, our favorite home decor DIYs and more!

Thanks Julie! It was fun doing a different DIY than our norm!
Thanks Momma! We love using our creativity!
Thank you, sweet friend! Hope all is well!
I love this piece! It’s really amazing. What a cool work of art!
Michelle
What an amazing project. Looks like you had fun creating this artwork. Great job as always! There is no end to your talents. You and Trent ROCK!!
That is way cool! And so elegant, too!