Moving an Interior Door
Do you have a door in your home that doesn’t make sense? Or a room you need easier access to? Here’s how moving an interior door to a new location may help!
By moving an interior door, we changed the floorplan of our home for the better!
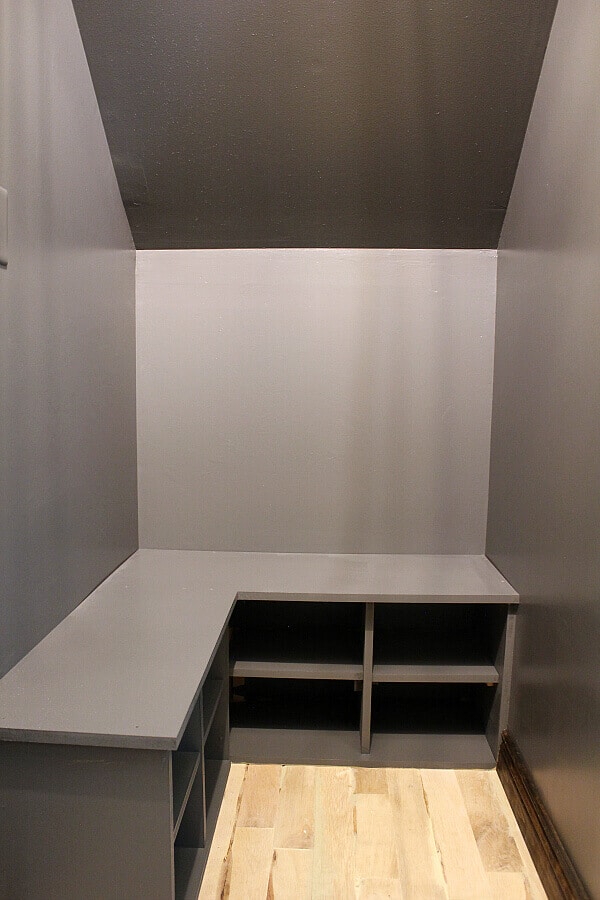
We are about to makeover our kitchenette in our basement which is adjacent to our storage/furnace room.
Though there was already an entry door to this space from the opposite side, we wanted to add another entrance from the kitchenette for easier access.
Lucky for us, the previous owner had added a false wall with a door in the storage area that we were willing to tear down and use the parts to better suit our needs.
This isn’t our first time moving an interior door. We moved one in our Tennessee home from our living room to a bedroom to convert an unused bathroom into a closet.
We also added a bedroom door when we made over our bathroom.
Since we’ve done this a few times, I wanted to share the DIY details of this process with you. But before I do, let’s discuss the difference between a load bearing wall and a non-load-bearing wall.
How to tell if a door frame is load bearing?
A load bearing wall is a wall that acts as a structural element to a home by holding up the weight of what’s above.
One of the easiest ways to tell if it is load bearing is if the wall runs opposite of the joists above it. Head down to the basement or up to the attic to see which way the joists run.
If the wall you want to remove is parallel to the joists, it’s probably not load-bearing. But if it is running opposite of the joists, then it may be holding up what’s above.
TIP: If you aren’t sure whether it’s a load bearing wall, stop here and ask for help from a general contractor or structural engineer.
When we took off the drywall while making over our storage room, we could immediately tell this wasn’t load-bearing.
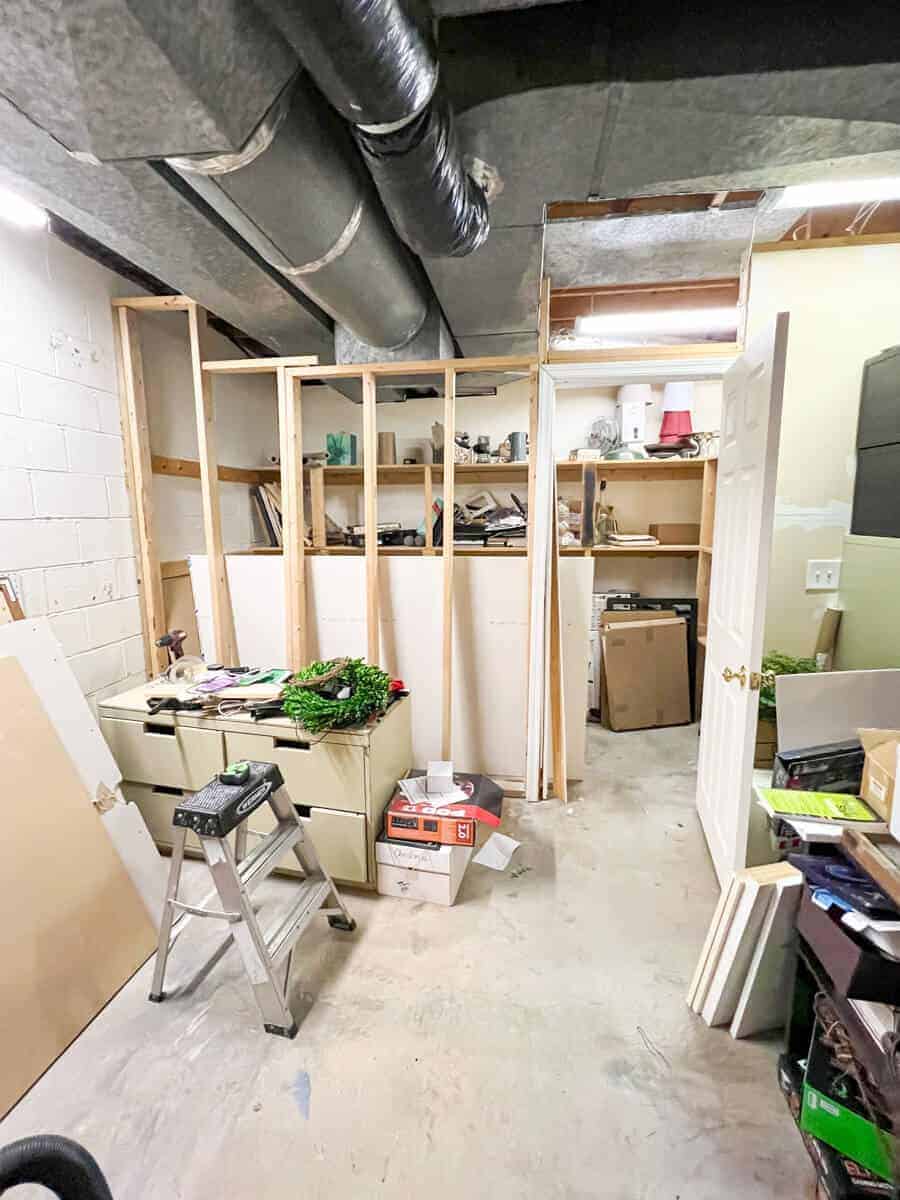
In fact, it truly was a false wall. The interior wall framing studs were screwed into the HVAC duct work and were piecemealed together. The previous owners didn’t even attach the wall to the floor joists above.
It’s a good idea to check the entire wall for the best area to place the new door before cutting in. We opted to place it under the ductwork knowing that that area was not holding up the weight of the floor above.

We had to open the wall a little to see what was inside. After a quick inspection, we were good to go ahead!
Steps to Moving an Interior Door
(Some affiliate links are provided below. Full disclosure here.)
Here are the supplies you’ll need
- Old pre-hung door and door frame
- Utility Knife
- Dremel Multi Max
- Reciprocating Saw
- Right Angle
- Wood Shims
- Level
- Pry Bar
- Drill and Screwdriver
- Shop Vac
- Mask and Goggles
- Trash Bags
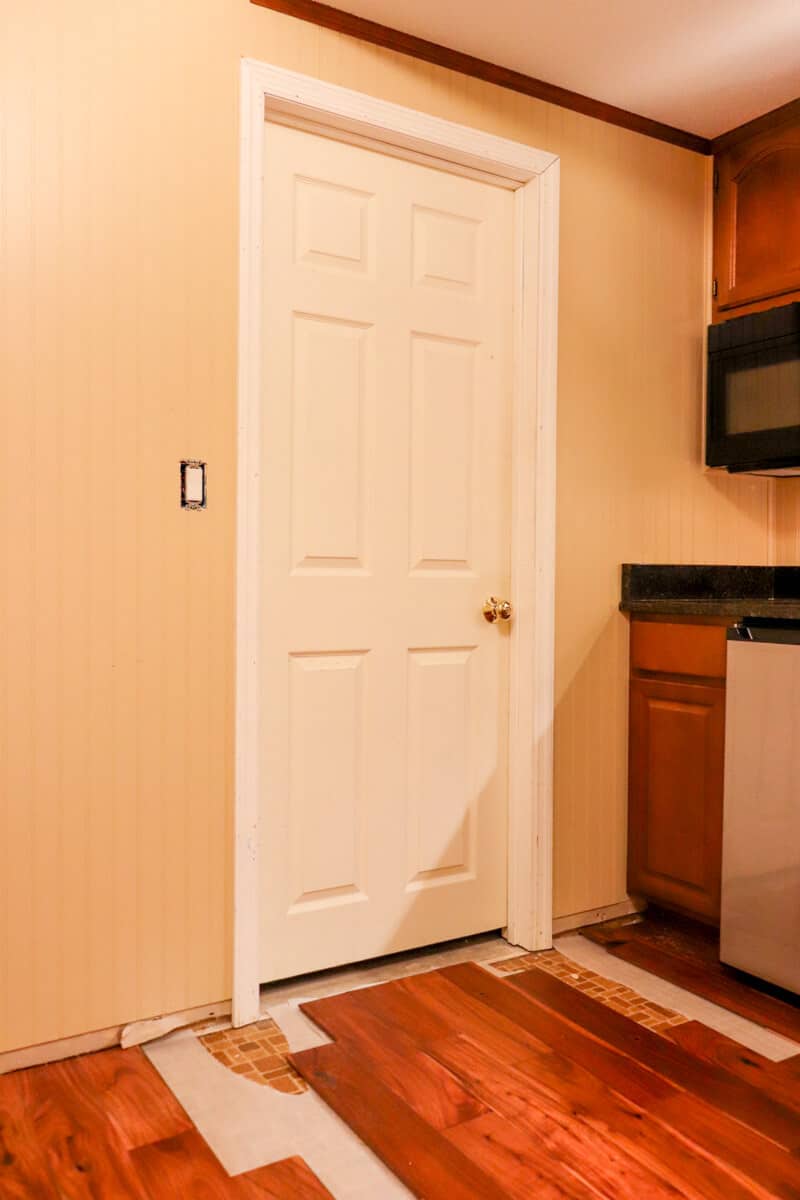
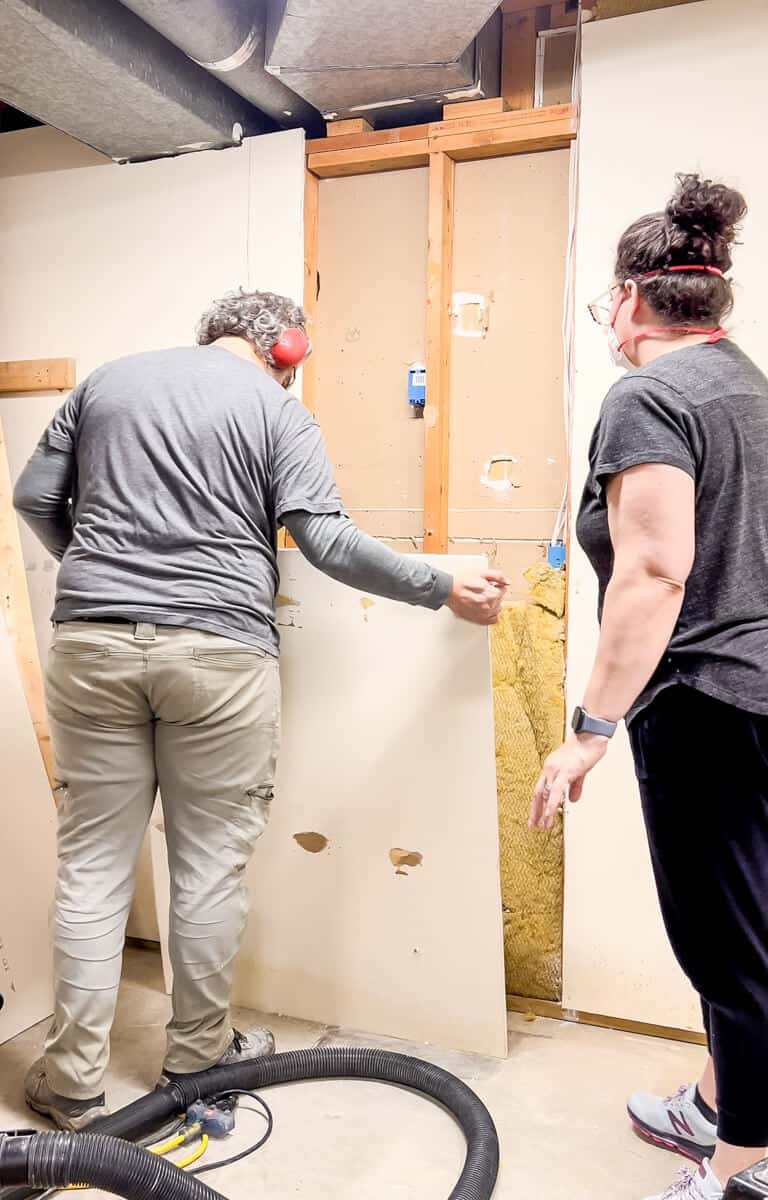
Step One: Remove the old door from the frame
We started by removing the door hinges from the frame and setting the door to the side.
From this point, you will mainly be working with the door frame until you’re almost finished.
Use a power drill to remove those hinge screws quickly.
TIP: Place the hinge screws in a plastic bag and label it so they don’t get mixed up with other construction mess. We also removed the strike plate and put it in the same bag.
Step Two: Remove the Door Casing
Next you want to take off the door casing using a pry bar to see how the existing door is attached.
If your trim has been painted, there’s a good chance they used caulk to hide the seam. Just use a utility knife to score the paint and caulk lines.
It makes removal super simple.
Ours is a pre-hung big box door and the door casing fit together like a puzzle. We took note of how it attached and disassembled the door.
Luckily ours was screwed into place, but if yours is nailed, then you may need to pull out that pry bar again and work with it a bit.
A reciprocating saw can also cut through those nails like buttah!
Many door frames in older homes used long nails, so it may take a bit of muscle!
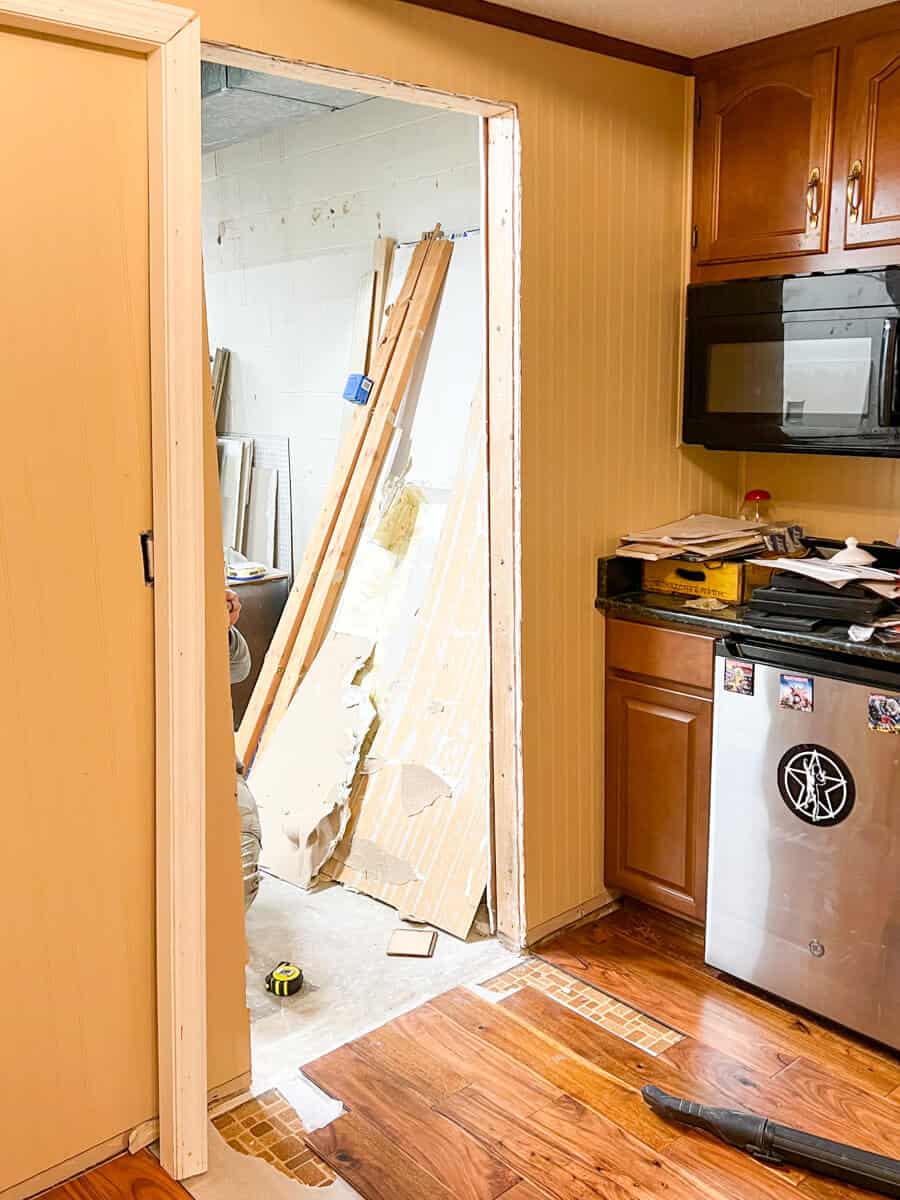
Step Three: Cut a rough opening in the new wall
Take detailed measurements of your door frame and start marking off where to cut.
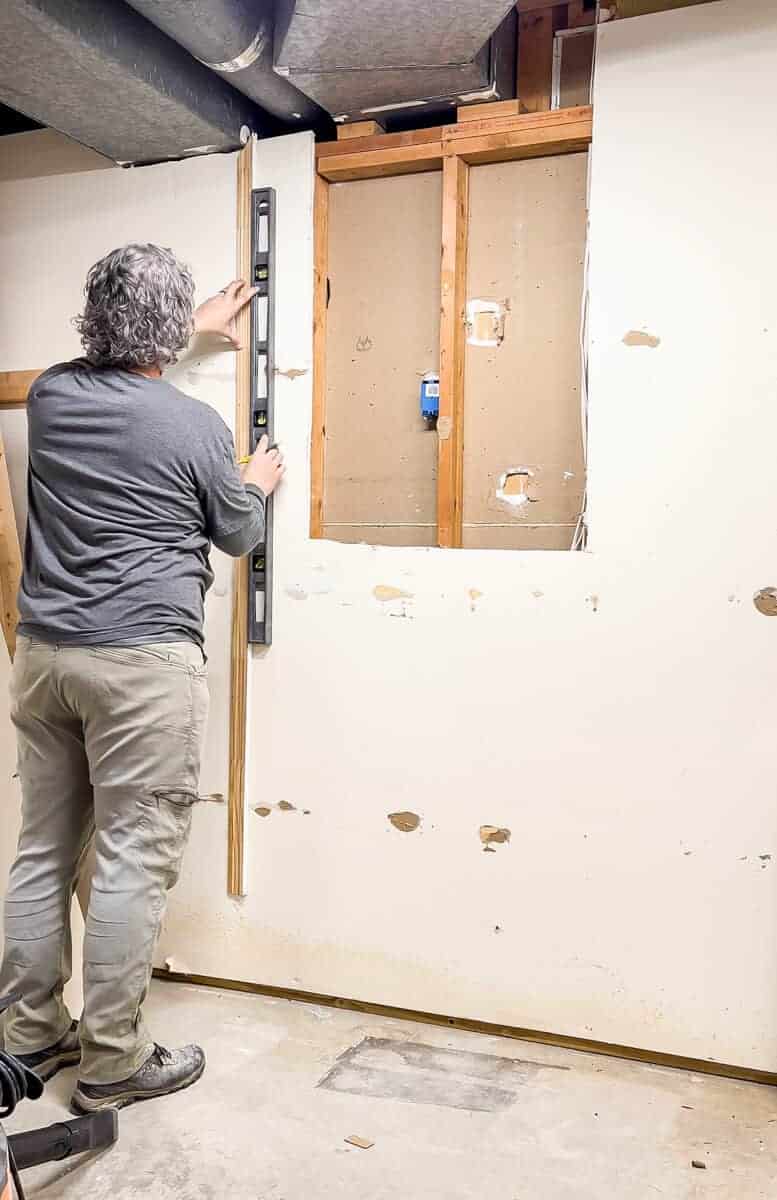
Using a level and a straight edge, we marked a straight line where the door was going to go.
But we took the wrong measurements and ended up having to remove even more drywall.
That old adage measure twice cut once is true!
TIP: Before making any cuts, make sure that there aren’t any electrical wires or a water line that may get cut.
Now here’s my tip for mess free construction.
Use a shop vac while cutting the dry wall. It will grab about 90% of the drywall dust and help control the construction mess.
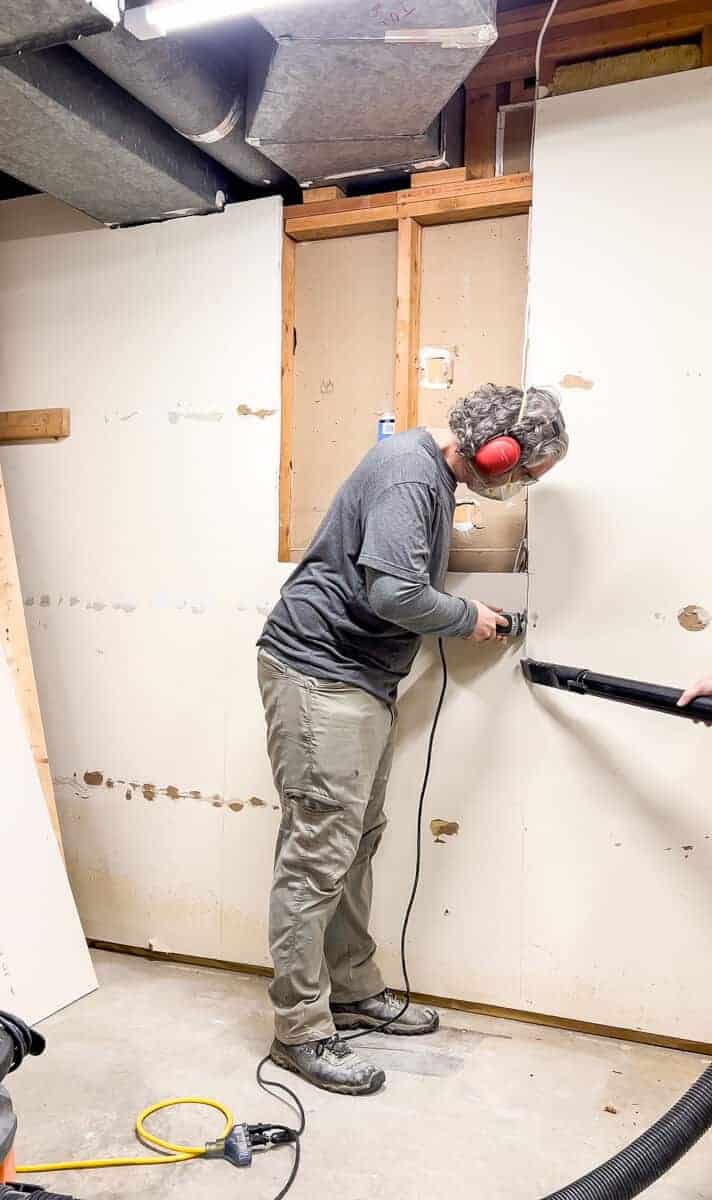
Using our Dremel Multi Max, we cut through the wall fairly quickly. You can also use a drywall saw but it may take a bit longer.
We started pulling the old drywall away and I was getting super duper excited!
This new doorway was beginning to take shape!
We had to remove the old insulation.
This stuff is really itchy, so be sure to handle it properly.
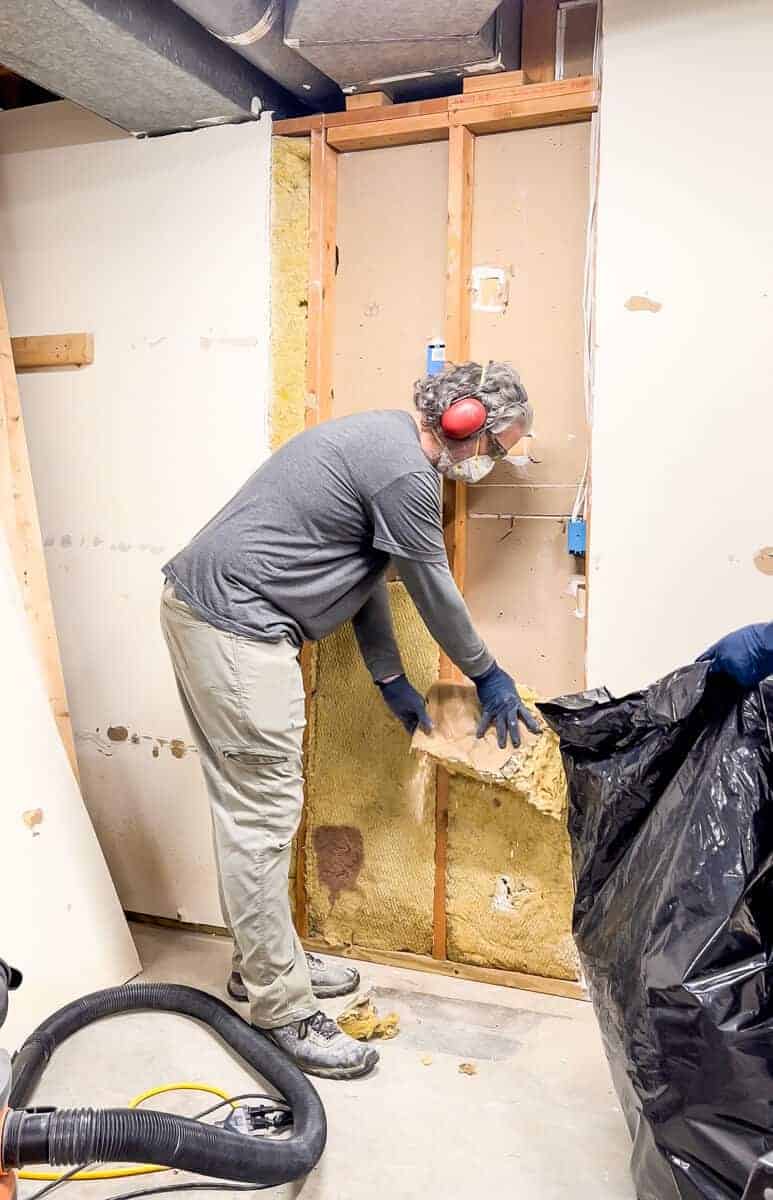
We bagged it up and immediately took it outside.
I even vacuumed any fibers off our clothing just to be safe!
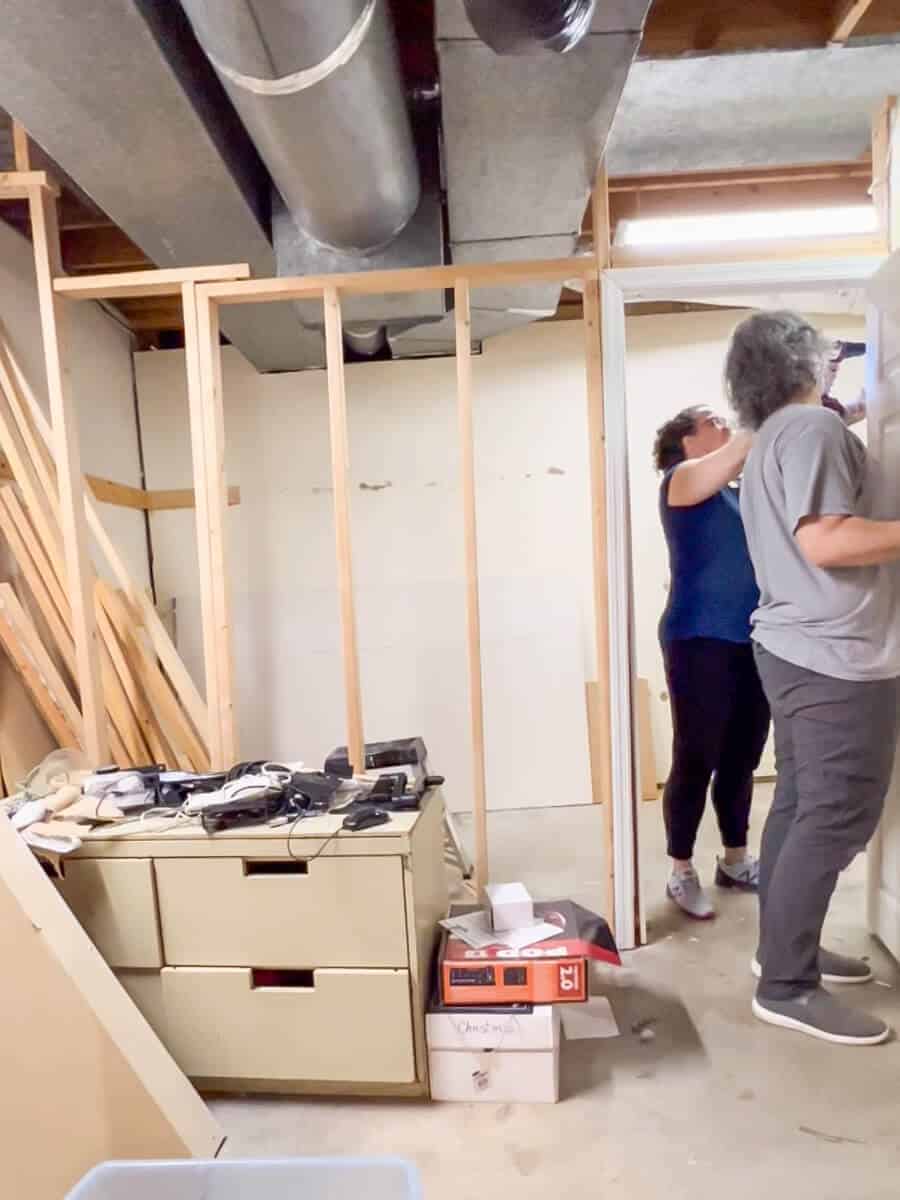
Step Four: Framing the door in the new wall
You will want to remove the existing wall studs to make room for the door framing as well as the bottom plate.
Now this is a big deal and involves a bit of education on terms like king stud and jack stud.
I shared this diagram when we opened an interior wall last year.
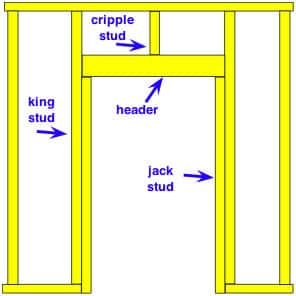
You can visit that post for details, or you can also reference this tutorial post from the Home Depot. Make sure you educate yourself on how much gap you should leave between the door frame and the jack studs and header. The opening for your door must be a little wider than your door and frame for proper leveling!
We installed the king studs first, followed by the jack studs that the header sits on.
Here’s how the framing looks.
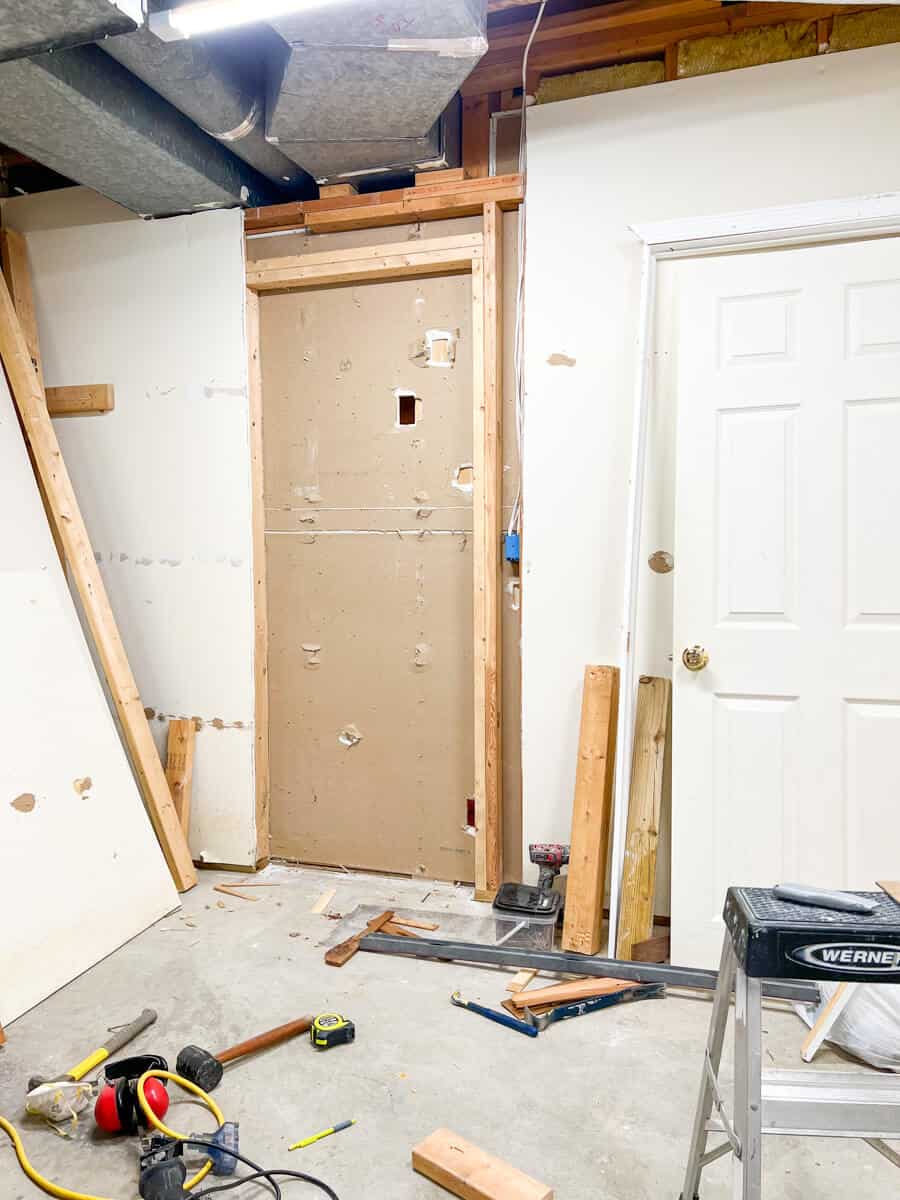
Notice that we did not remove the drywall from the other side just yet. It’s much easier to cut away drywall when you have some studs guiding the knife along!
In our case, the other side of the drywall was also covered in bead board and we wanted to cut from the wooded side to avoid unnecessary repairs.
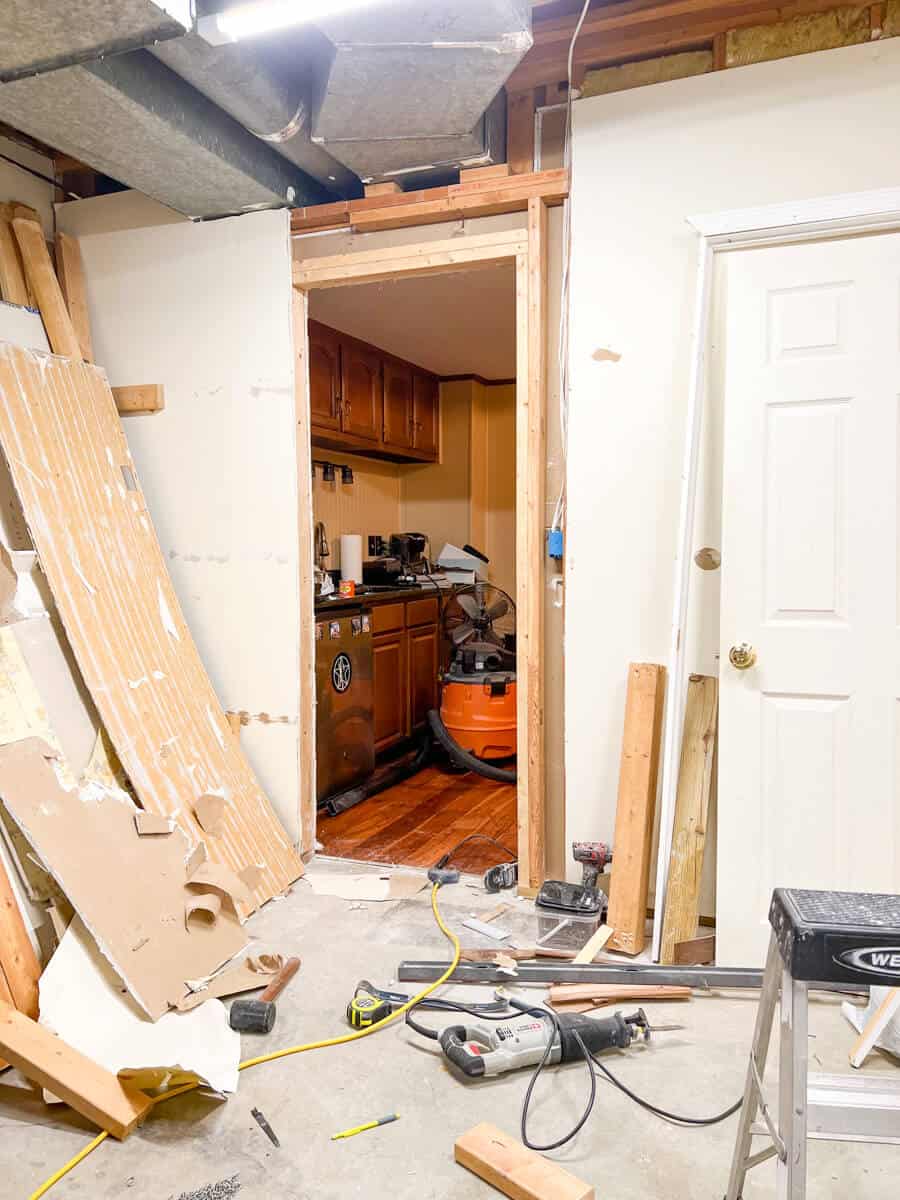
Ta da! We have a large hole ready for the door framing to be reinstalled.
Step Five: Re-install the door frame
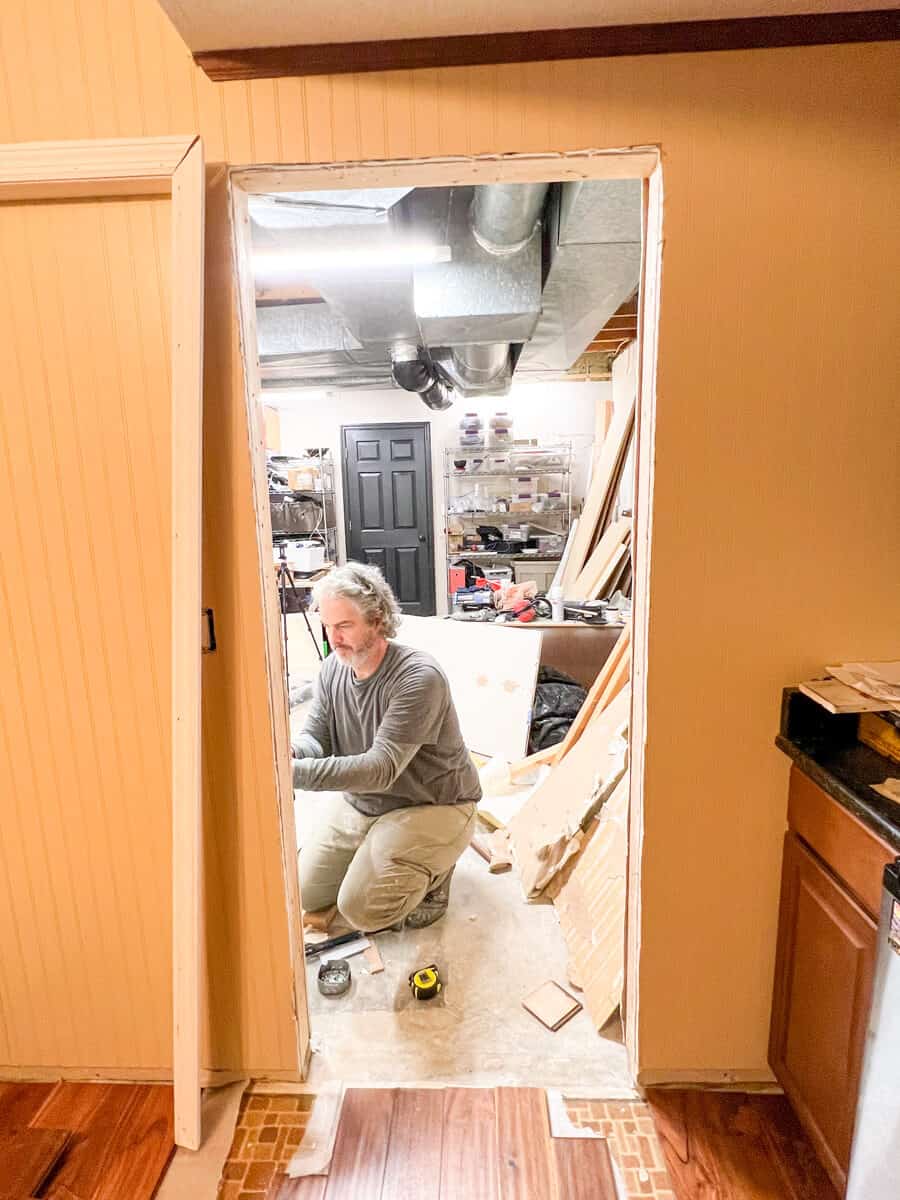
Now we were ready to put the frame in place.
With a pre-hung door, the majority of the work is done for you.

This next step is where leaving the gap mentioned above is crucial. Use a level and add wood shims in the gap to make sure the frame is square.
You can also place a carpenters square in each corner to double check.
Since our frame was previously screwed in, we used the old screw holes to attach to the wall studs making sure to go through the inserted shims.
You could also use a finish nailer and nail gun if the door will be highly visible. You don’t want large screw heads to be seen!
Before moving on to the next step, score your shims with a knife and break them off cleanly to the edge of the jack studs.
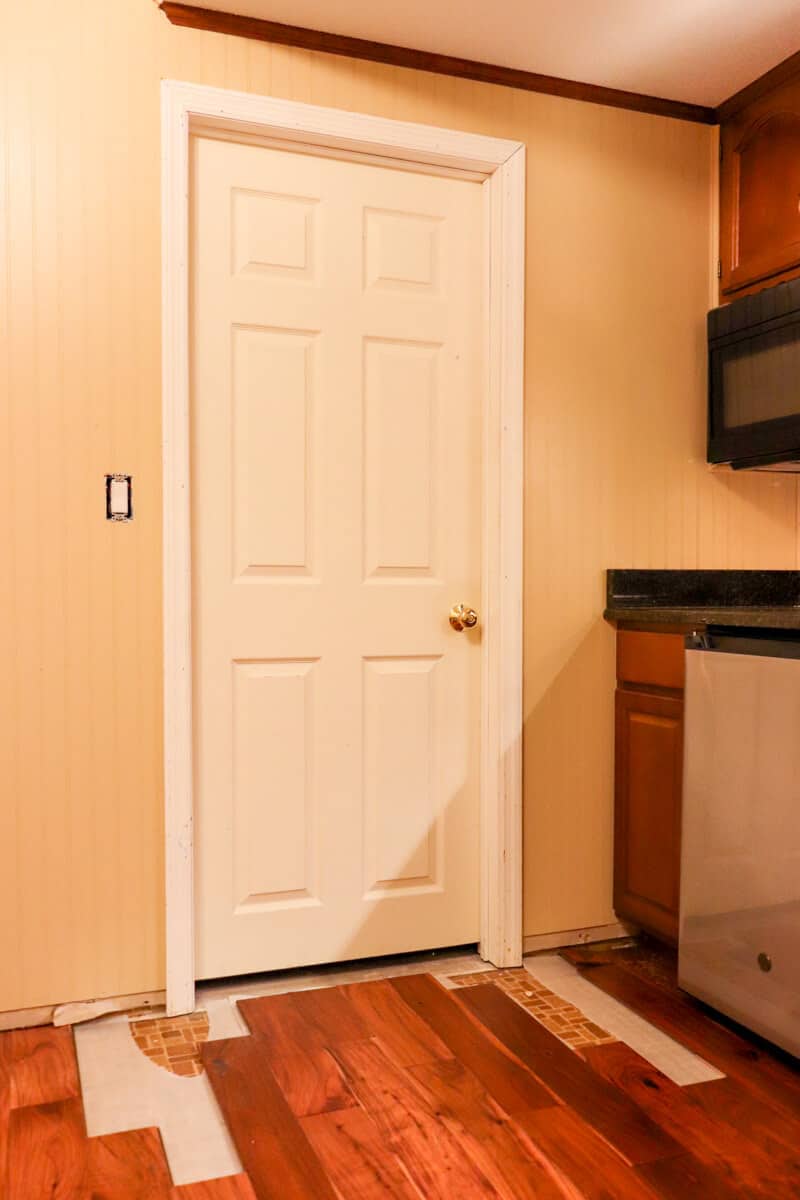
Step Six: Rehang the door
Now that the frame is in place, it’s time to put the door back on it’s hinges.
Start with the top hinge and add one screw into each hinge. Then you can move onto the rest of the hinges.
Place the door in the closed position and check for square. There should be an even gap around the entire door.
Our gap was about an eighth of an inch.
If you find the door rubs against the frame or there is too much light coming in from behind in one area, you can adjust the screws in the hinges to lift or lower the door into a better position.
Step Seven: Reattach the door trim
Once the frame is attached to the stud wall, and the door opens and closes without any more adjustments needed, you can replace the door trim with small brad nails.
Things to Consider:
Here are some additional thoughts you should think about before cutting a large hole in your wall
- Consider the way the door swings. We opted to hang our door the opposite way so that it opens into our storage room.
- If you live in a housing unit, be sure to check with any building code that may be in place.
- You may also need building permits depending on your housing situation and area you live in. Most single family homeowners can tackle this DIY without having to pull permits.
- An exterior door or double doors will need a different tutorial than this one because exterior walls can be thicker than the standard interior wall and may need different framing.
- Make sure there is an allowance for the bottom of the door to swing into the room you are installing it in. If it rubs against the floor, the door will need to be cut down to size.
- Pocket doors require a special framing kit and this tutorial won’t work for that type of installation.
While moving an interior door isn’t a difficult task, it is one that you need to be precise about. Take your time to make sure you don’t run into any issues.
And reach out if you have any questions! We are always happy to help out when we can.
Just remember, the easiest way to learn how to DIY is to take the first step!
Don’t be afraid to give this DIY a try! If we can do it, so can you!