Making a Ceramic Lamp New Again
Before you pass up that dated lamp at the thrift store, you may want to read this. Today, I’m making a ceramic lamp new again with this easy tutorial.

Did a you ever see an item that took you back in time?
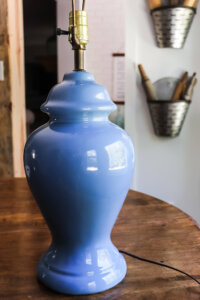
I’m sure in it’s 1980s heyday, this cornflower blue ceramic lamp was wicked cool.
My mom texted me a pic of this lamp one day saying she wasn’t going to use it anymore, and asked if I would like it.
Instantly, I was in our 1980s basement, complete with an aztec patterned couch of peaches and soft blues.
Jelly shoes, biker shorts, and Olivia Newton-John flooded my mind, but I quickly snapped to.
It was sad and dated and needed some grace given to it, so I said yes.
I immediately knew what I could do with it.
Here’s how I turned this 80s lamp into a vintage aged beauty.
Making a Ceramic Lamp New Again
Using acrylic paint specially formulated for ceramic is key.
This is the ceramic paint I used in warm white.
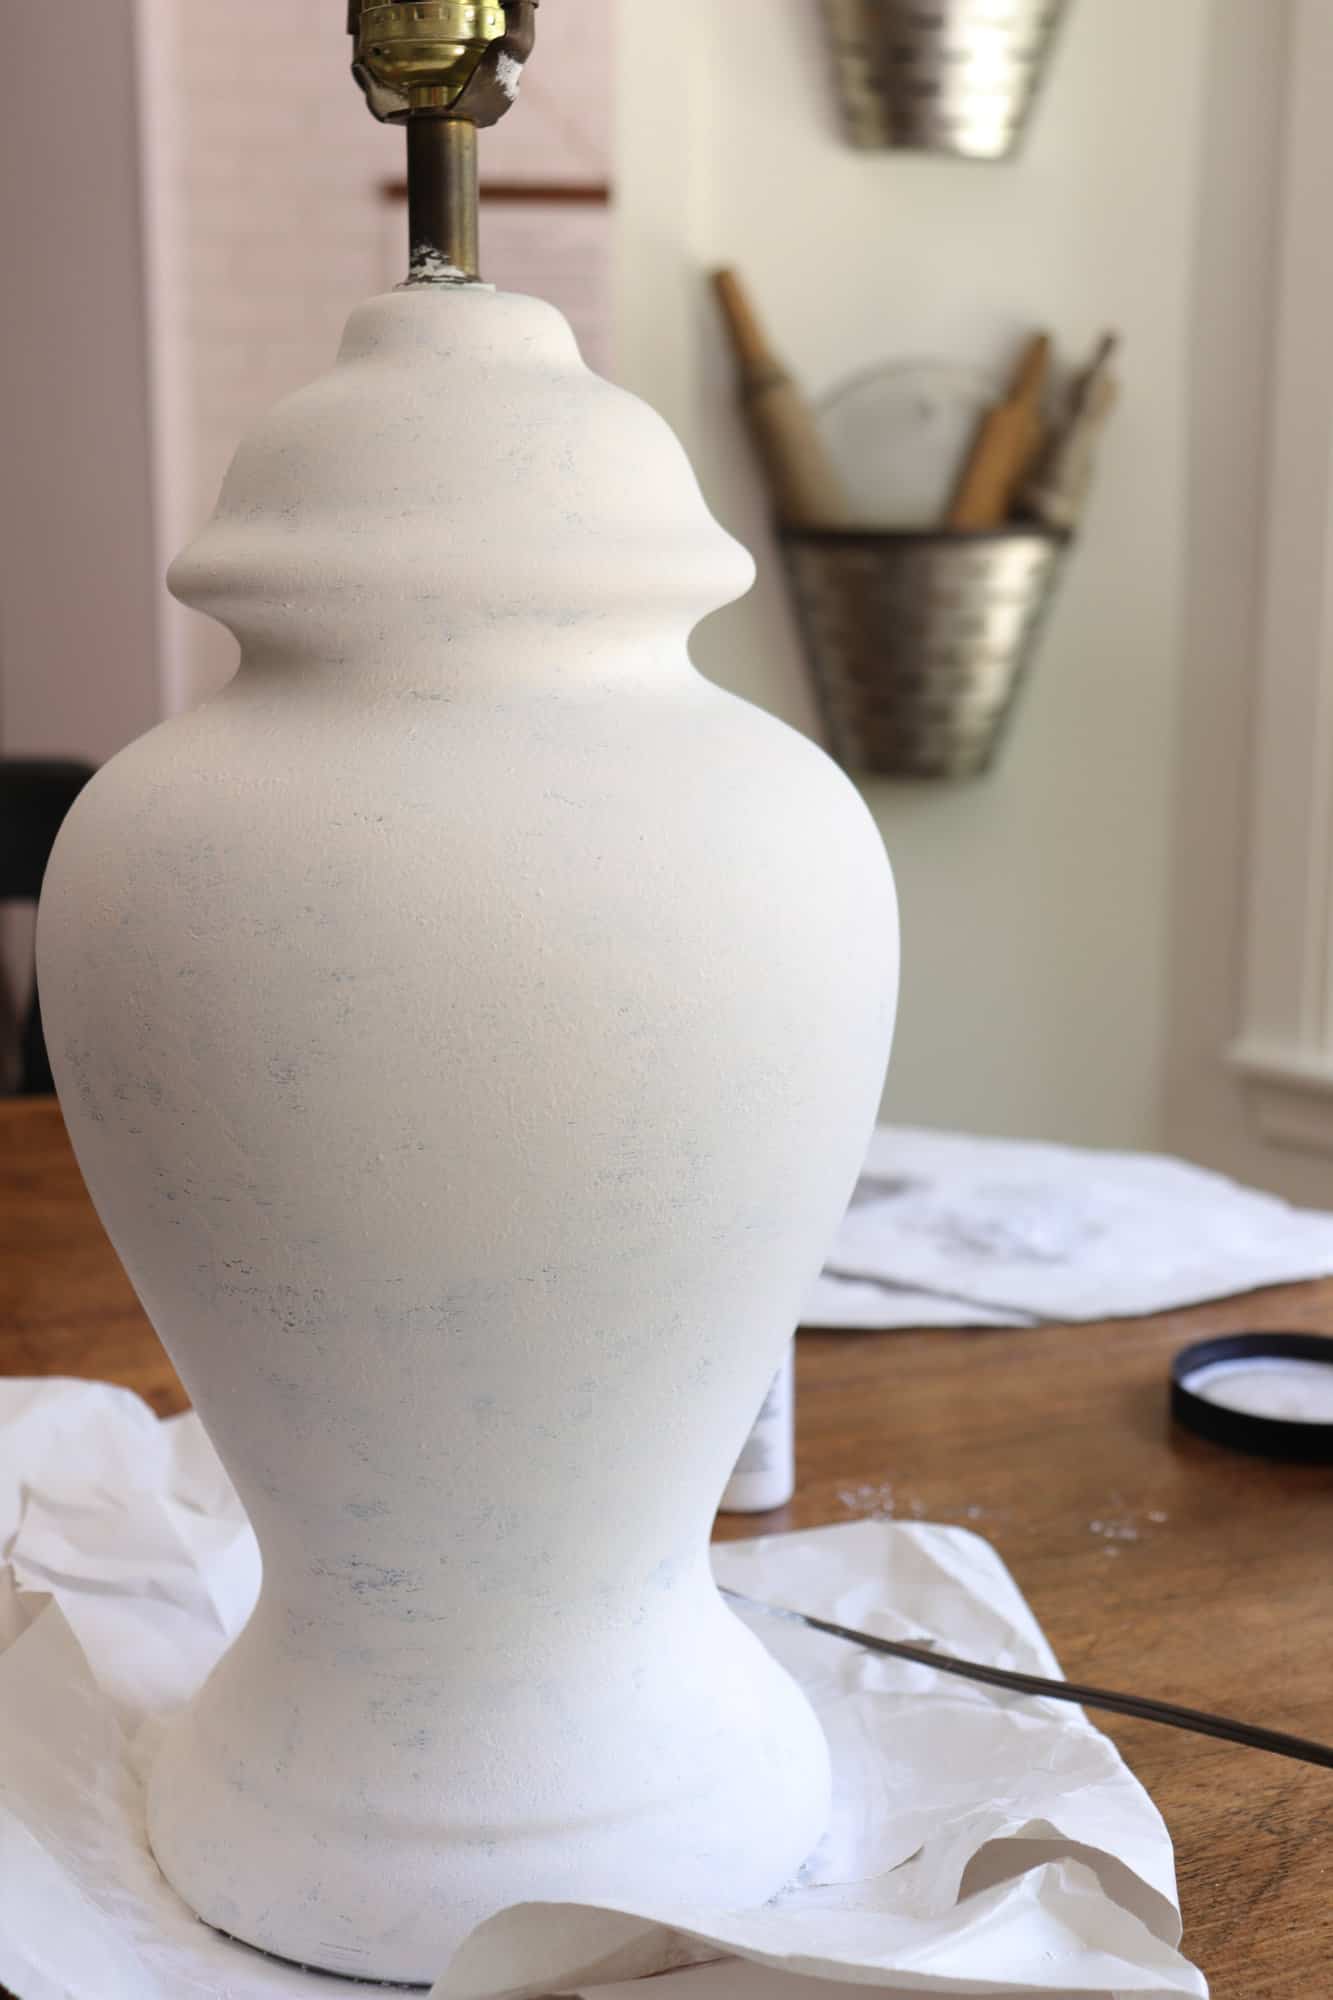
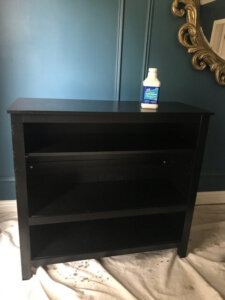
First, you prep the piece properly, which in my case meant a light sanding.
After cleaning up the sanding mess, I was ready to transform this piece.
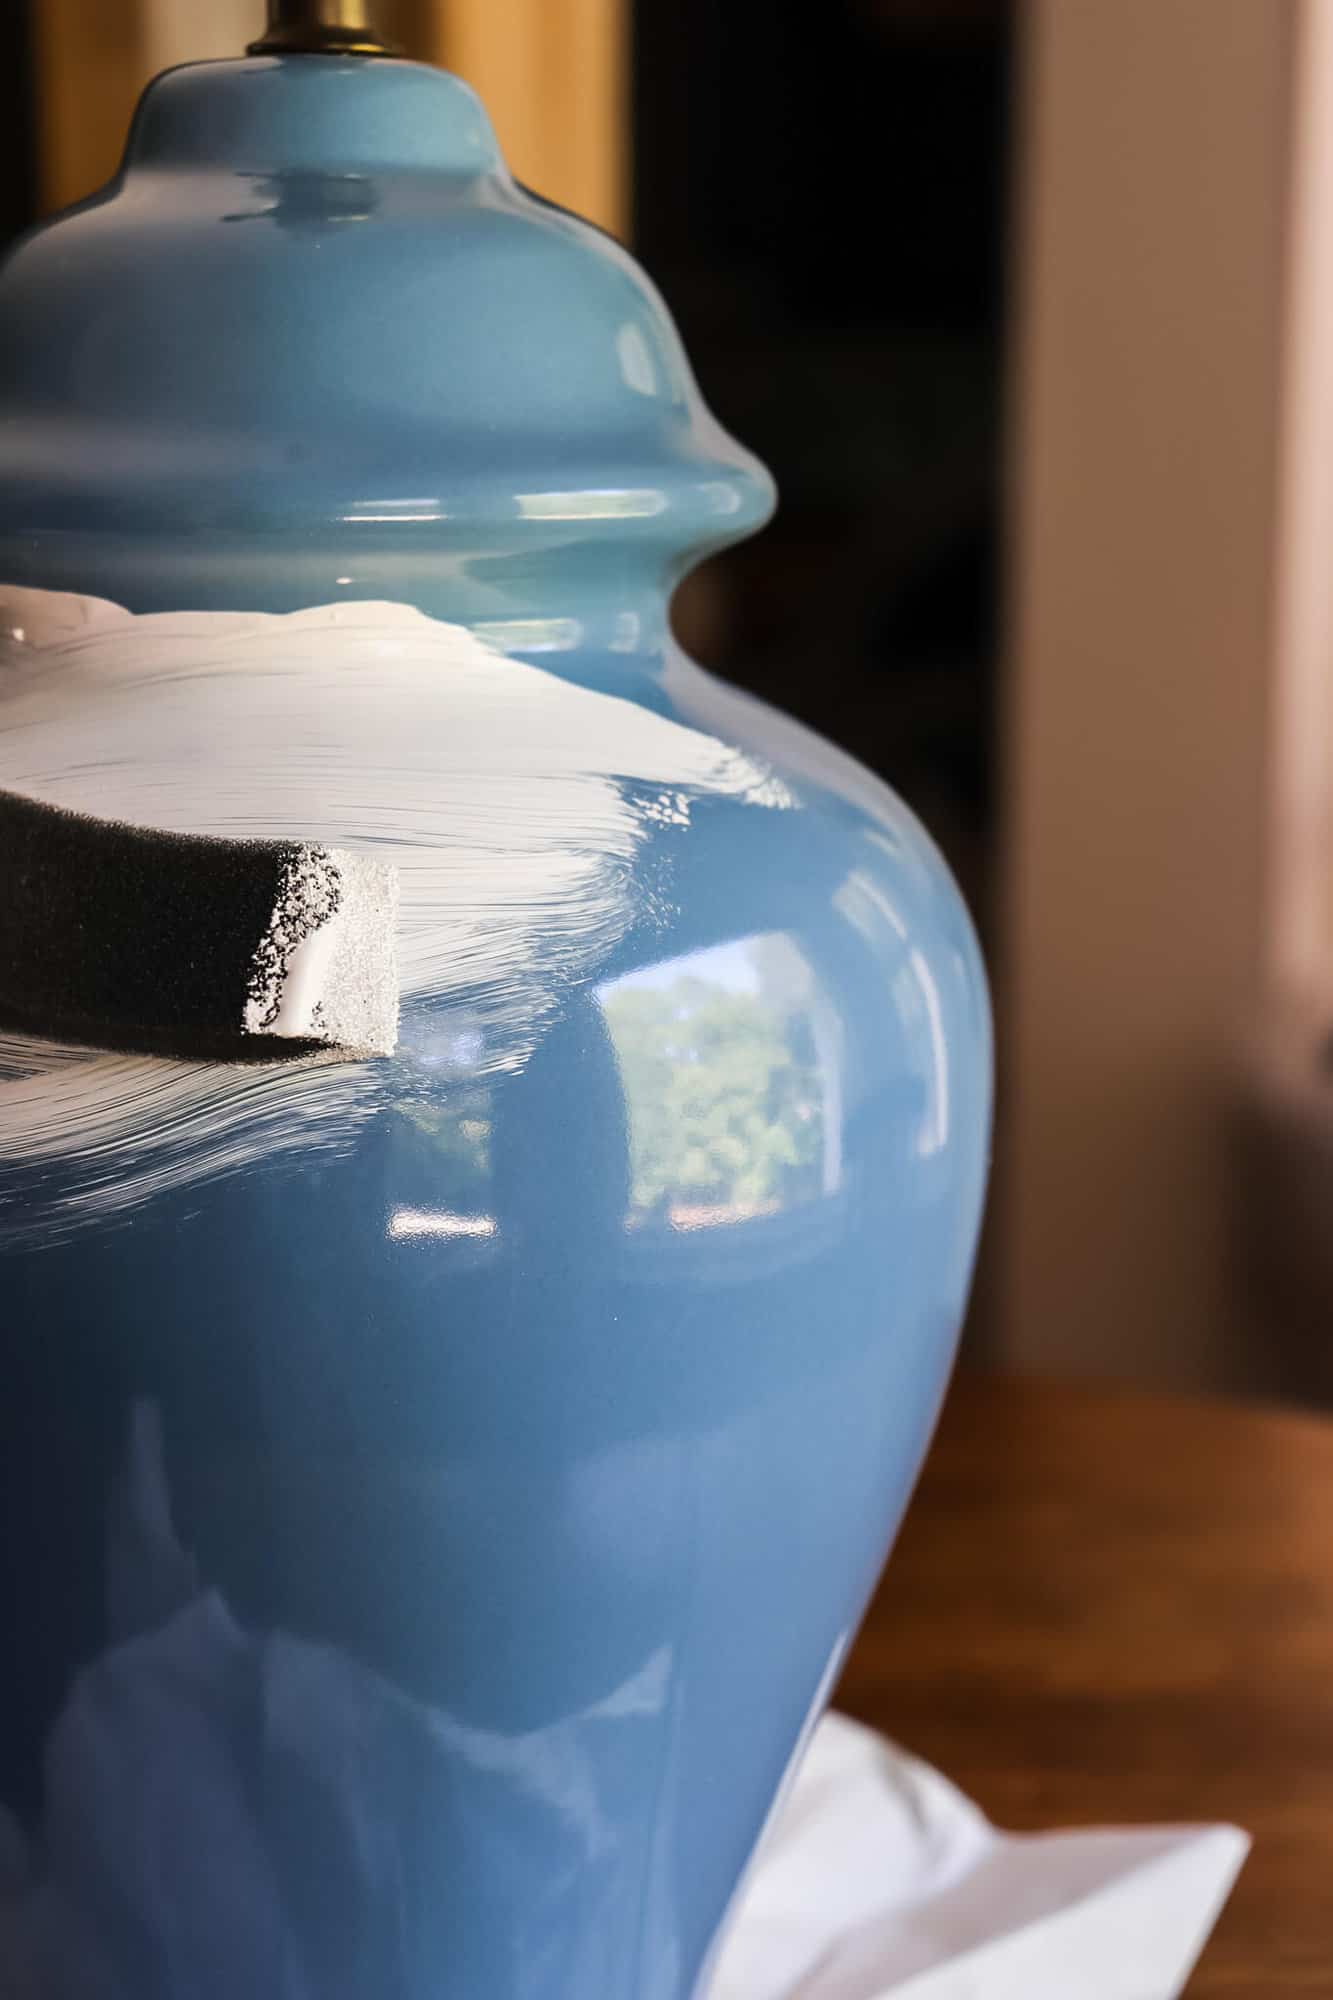
Using a foam brush, I applied the paint.
Round and round I went until all that cornflower blue disappeared.
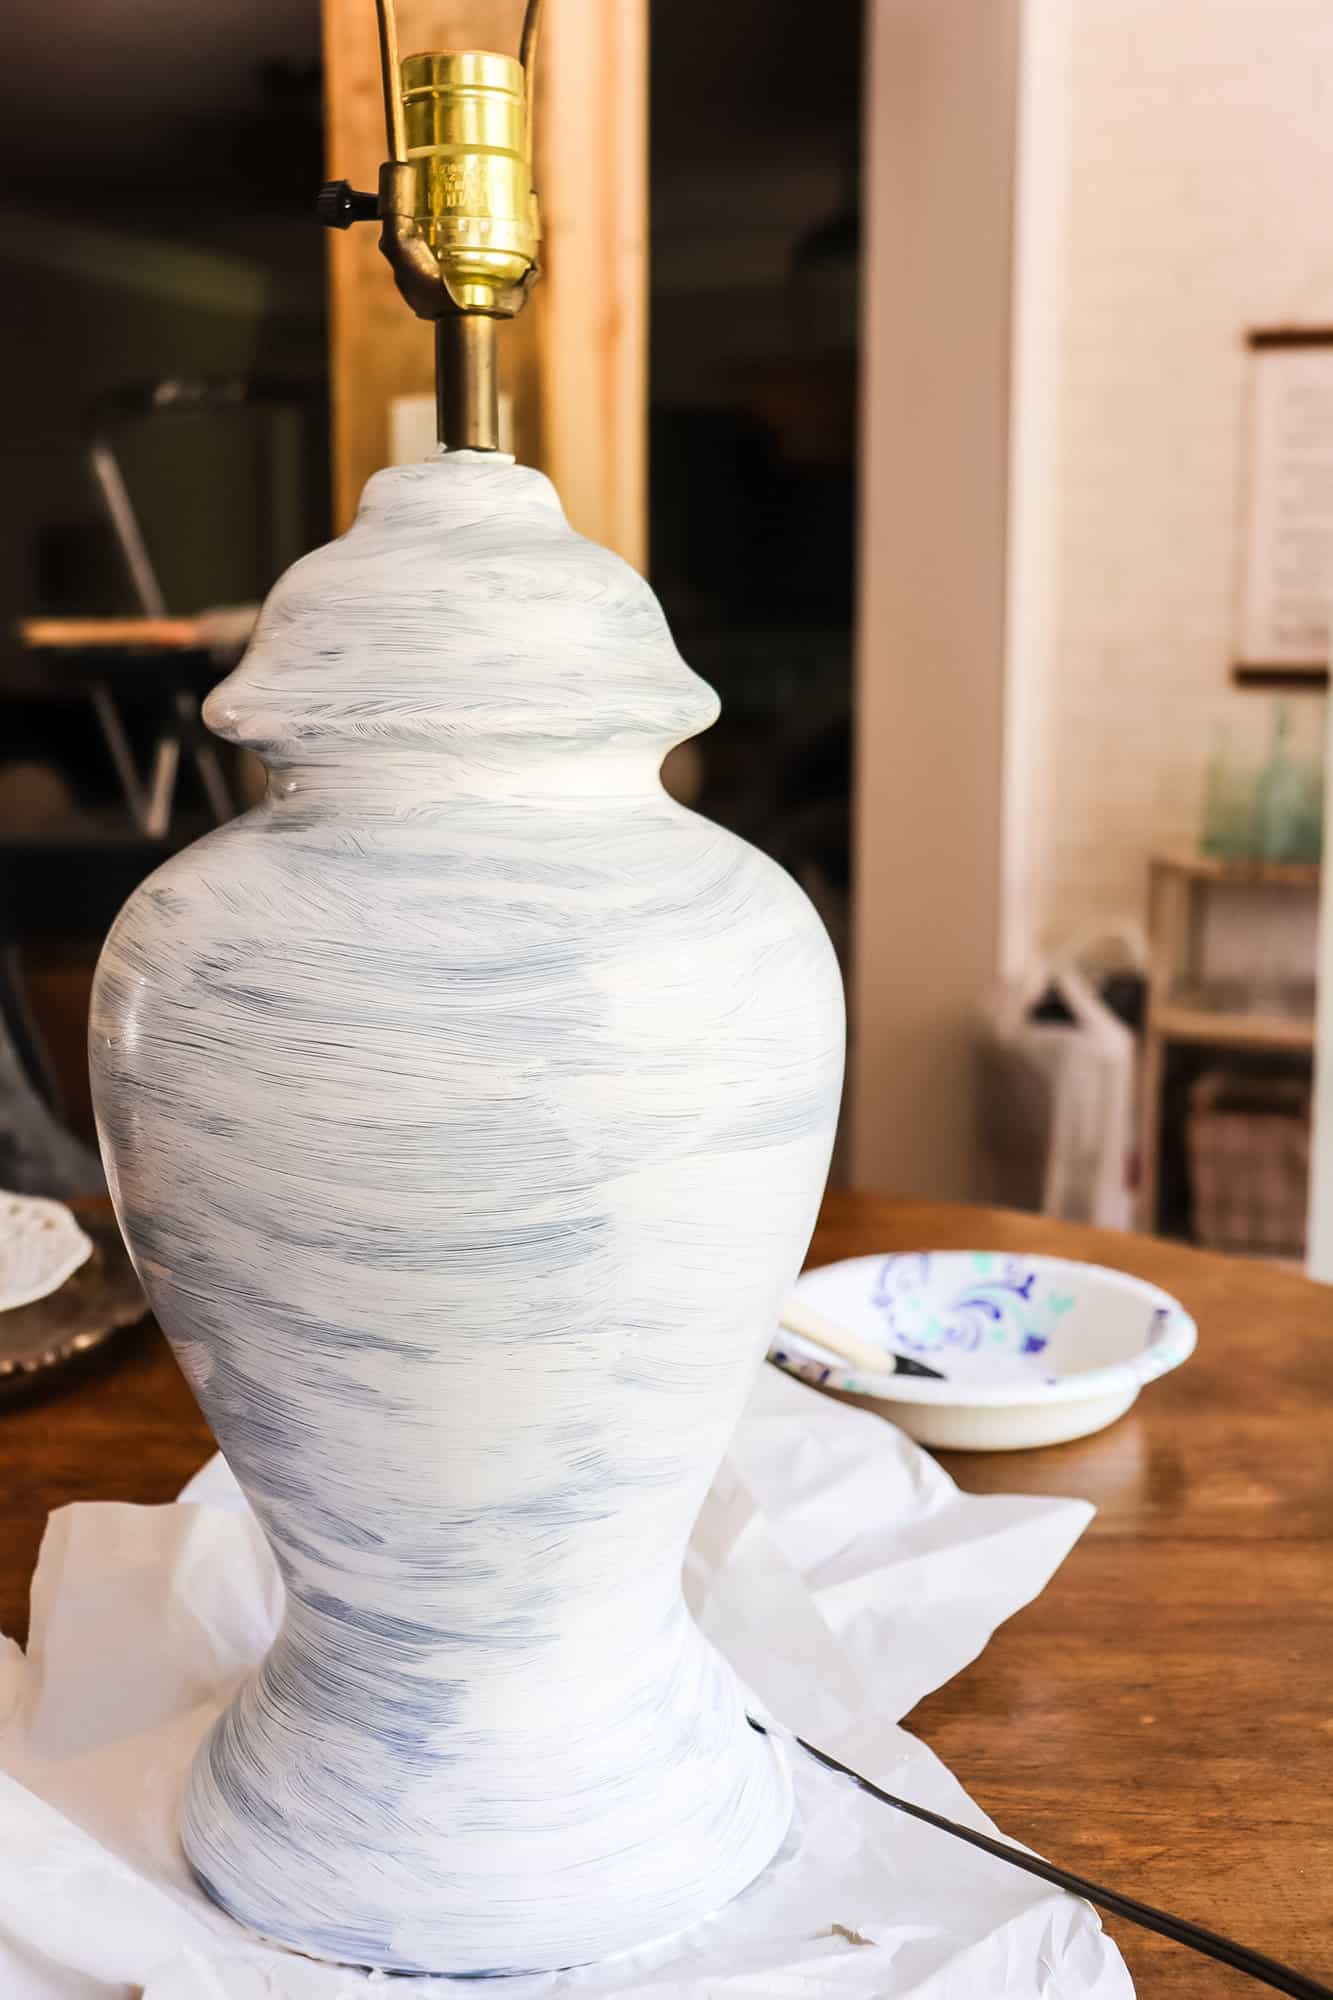
After allowing the paint to fully dry, I worried about my first coat application.
I didn’t want those brush strokes to show.
Show I opted for a different technique.
So, using the foam brush, I bounced that foam brush off the lamp over and over again, until it fully covered with a stippling effect.
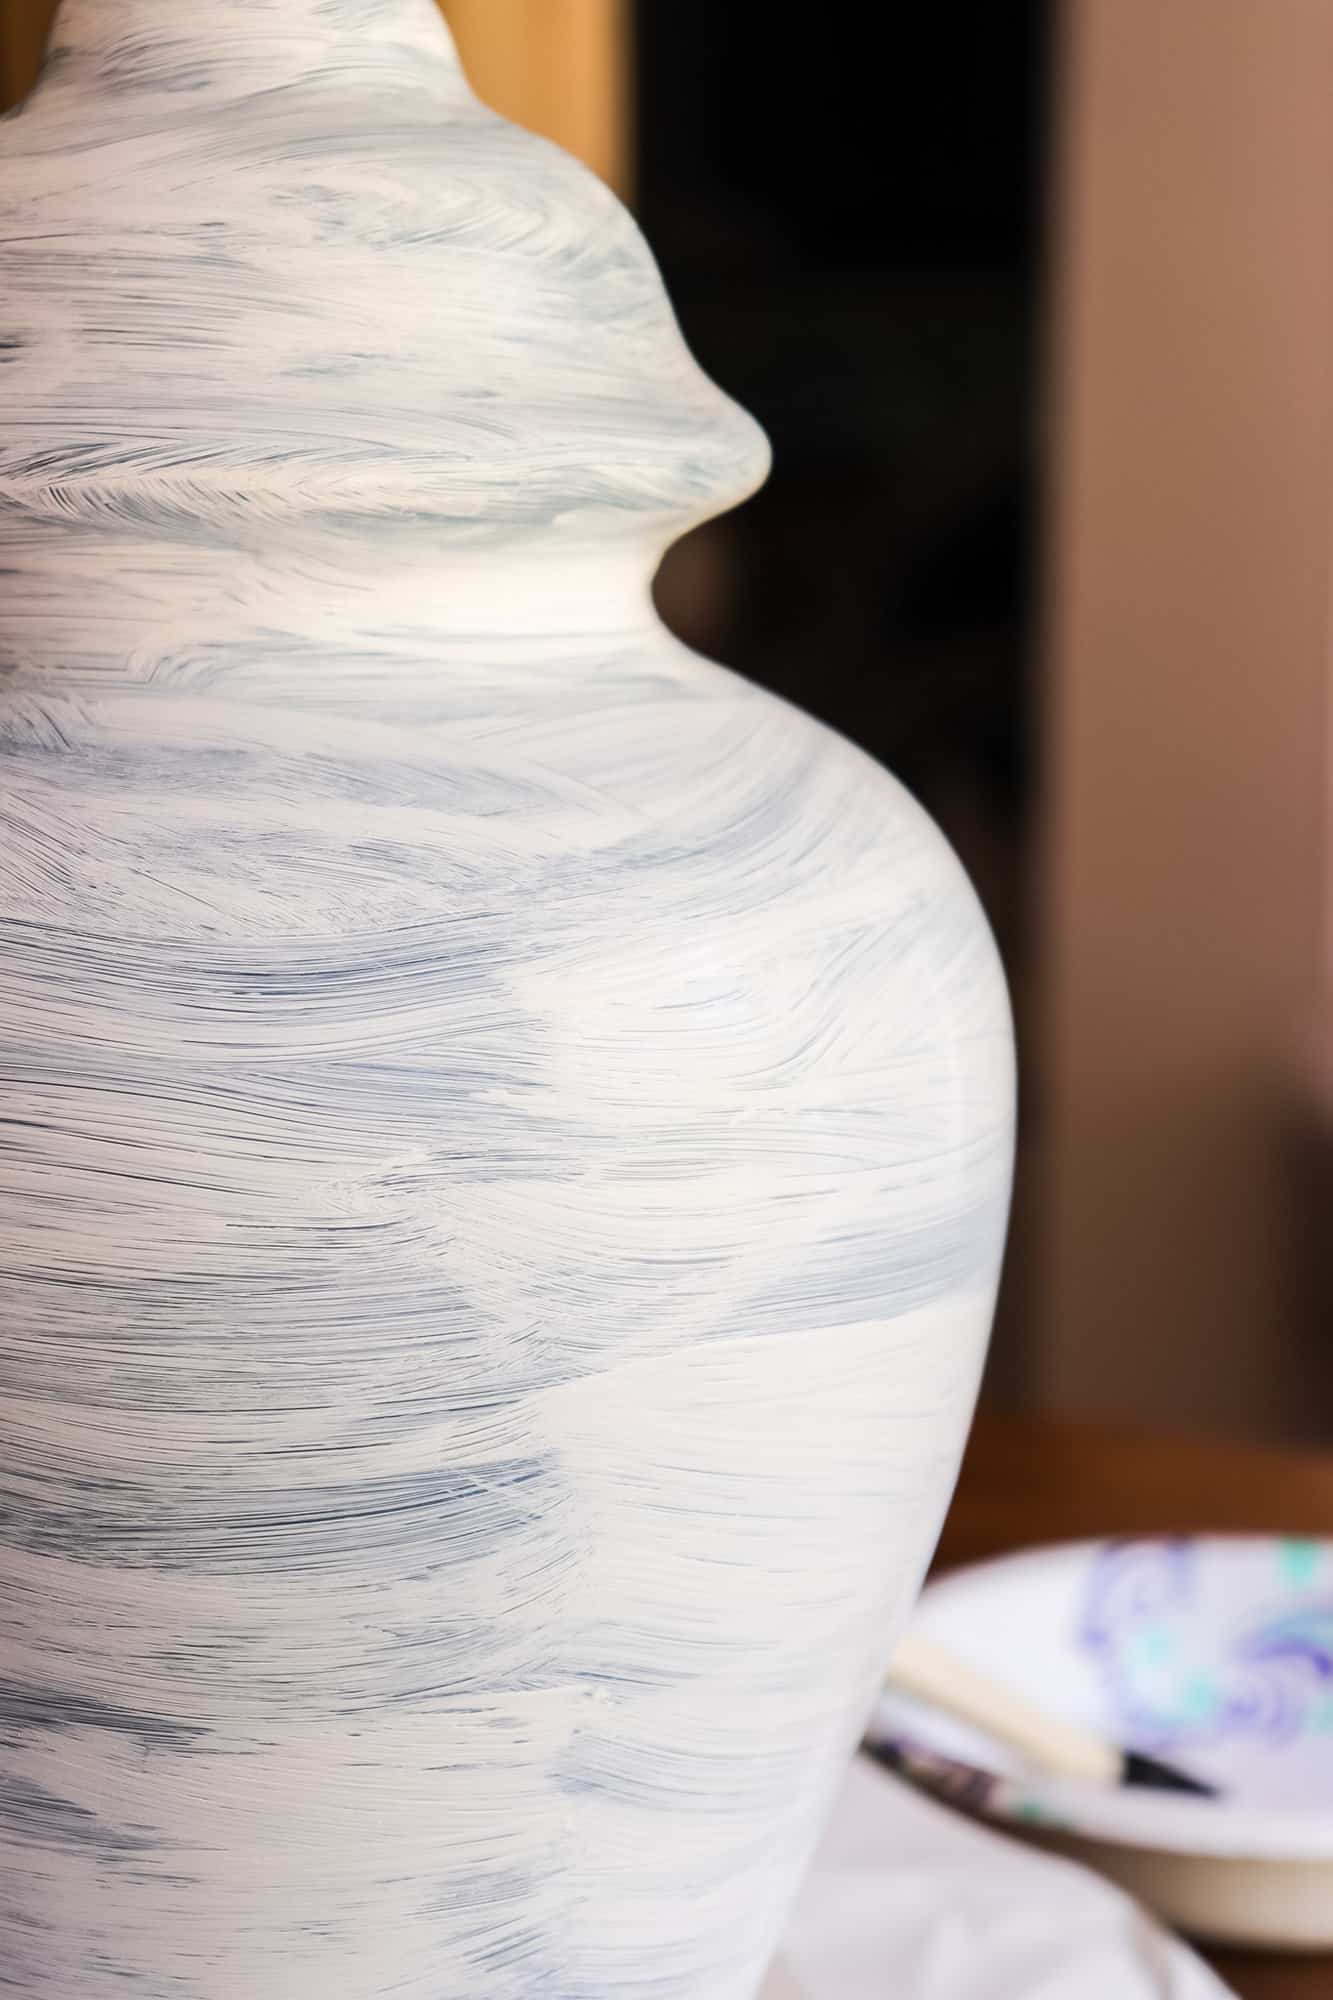
It was the smart choice, too!
All those brush strokes disappeared and the end result was the stone finish I wanted!
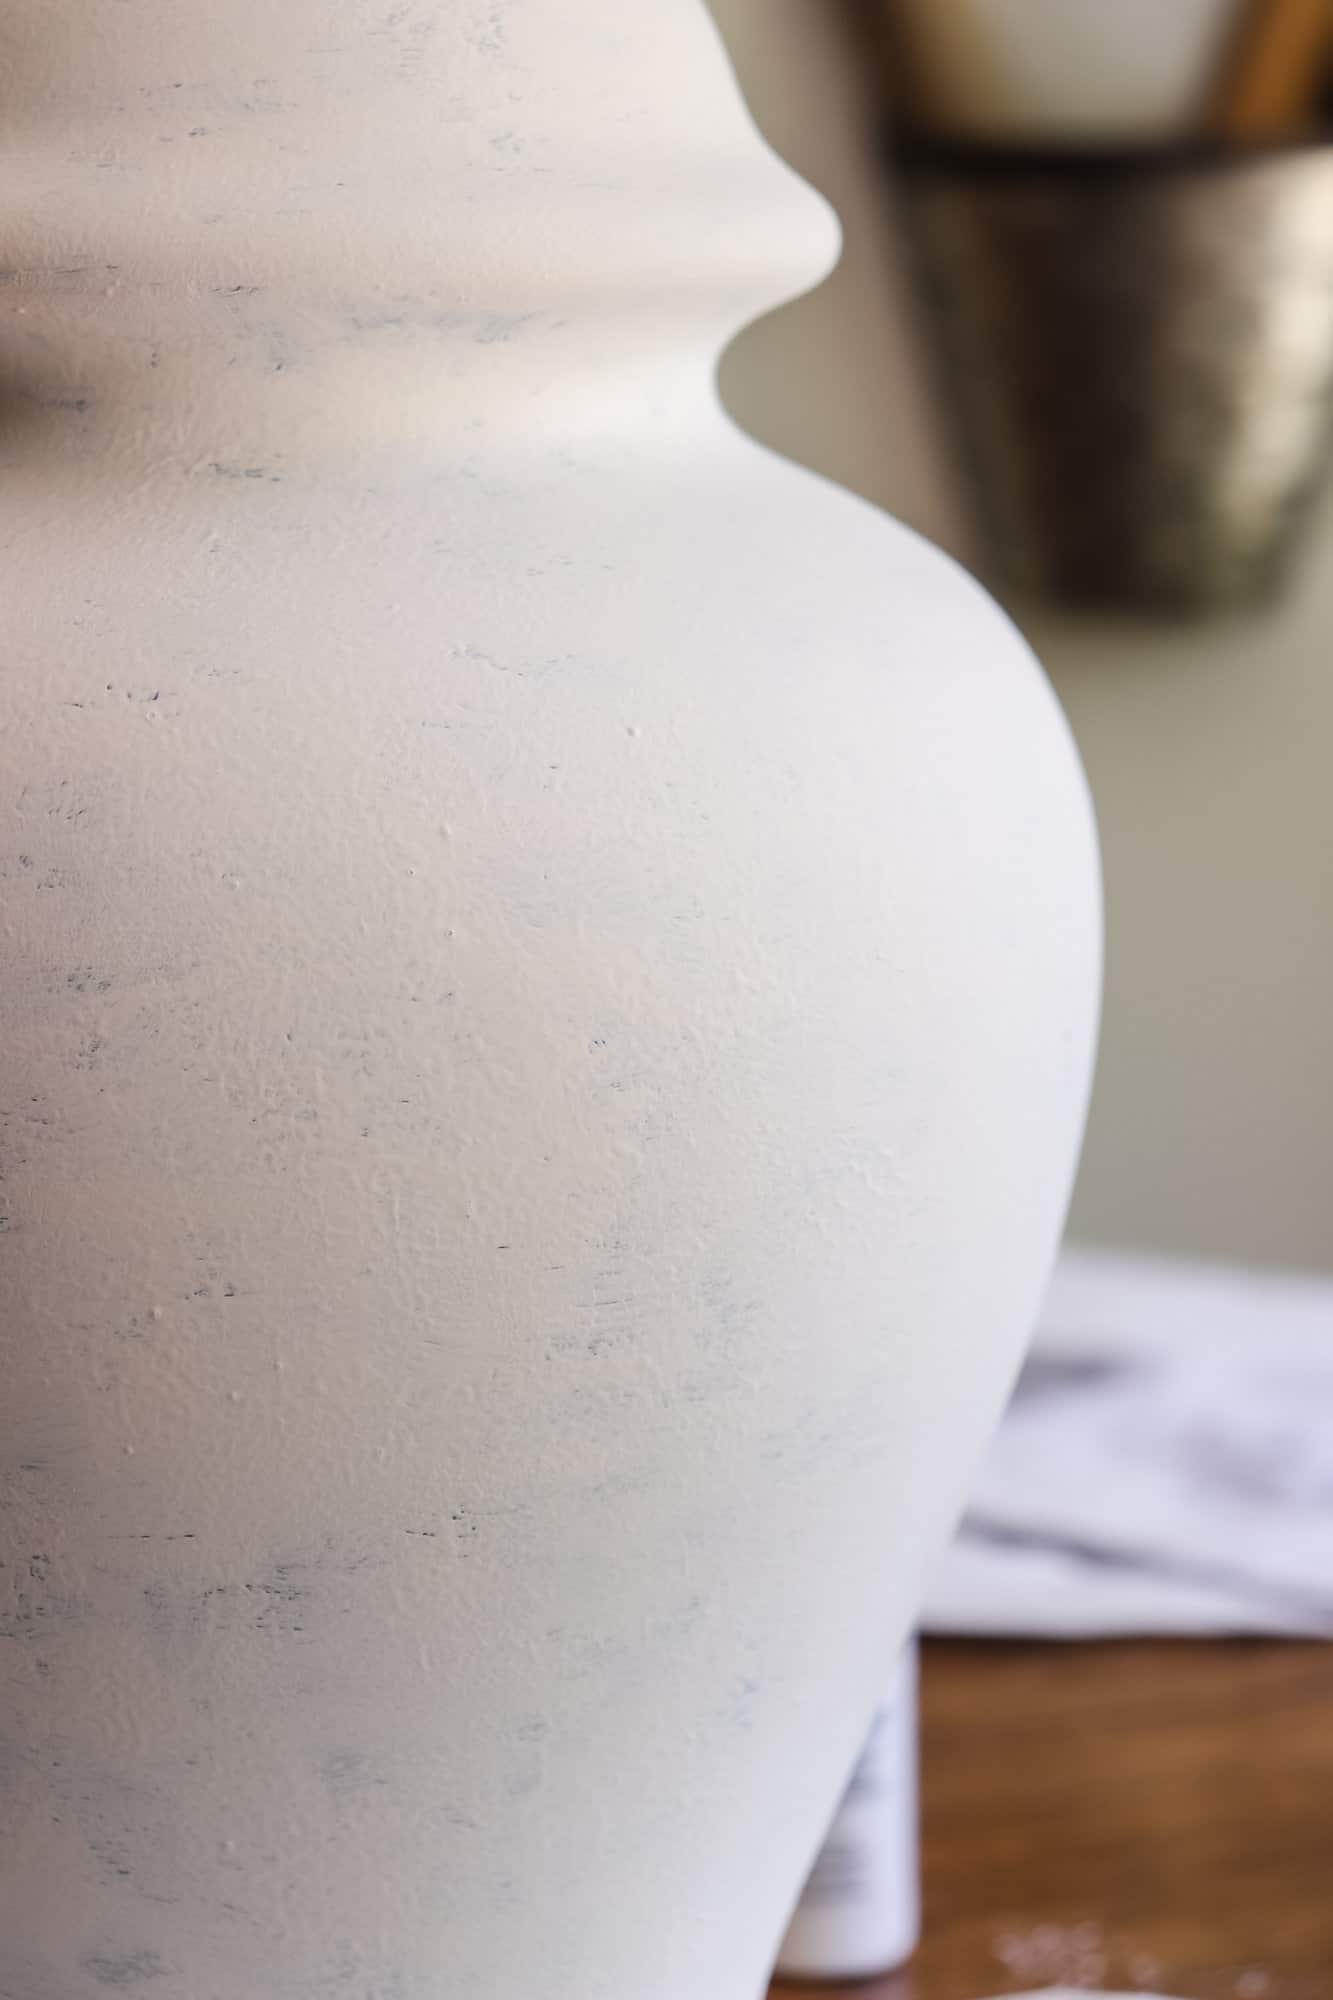
But, notice how some of the blue still shows?
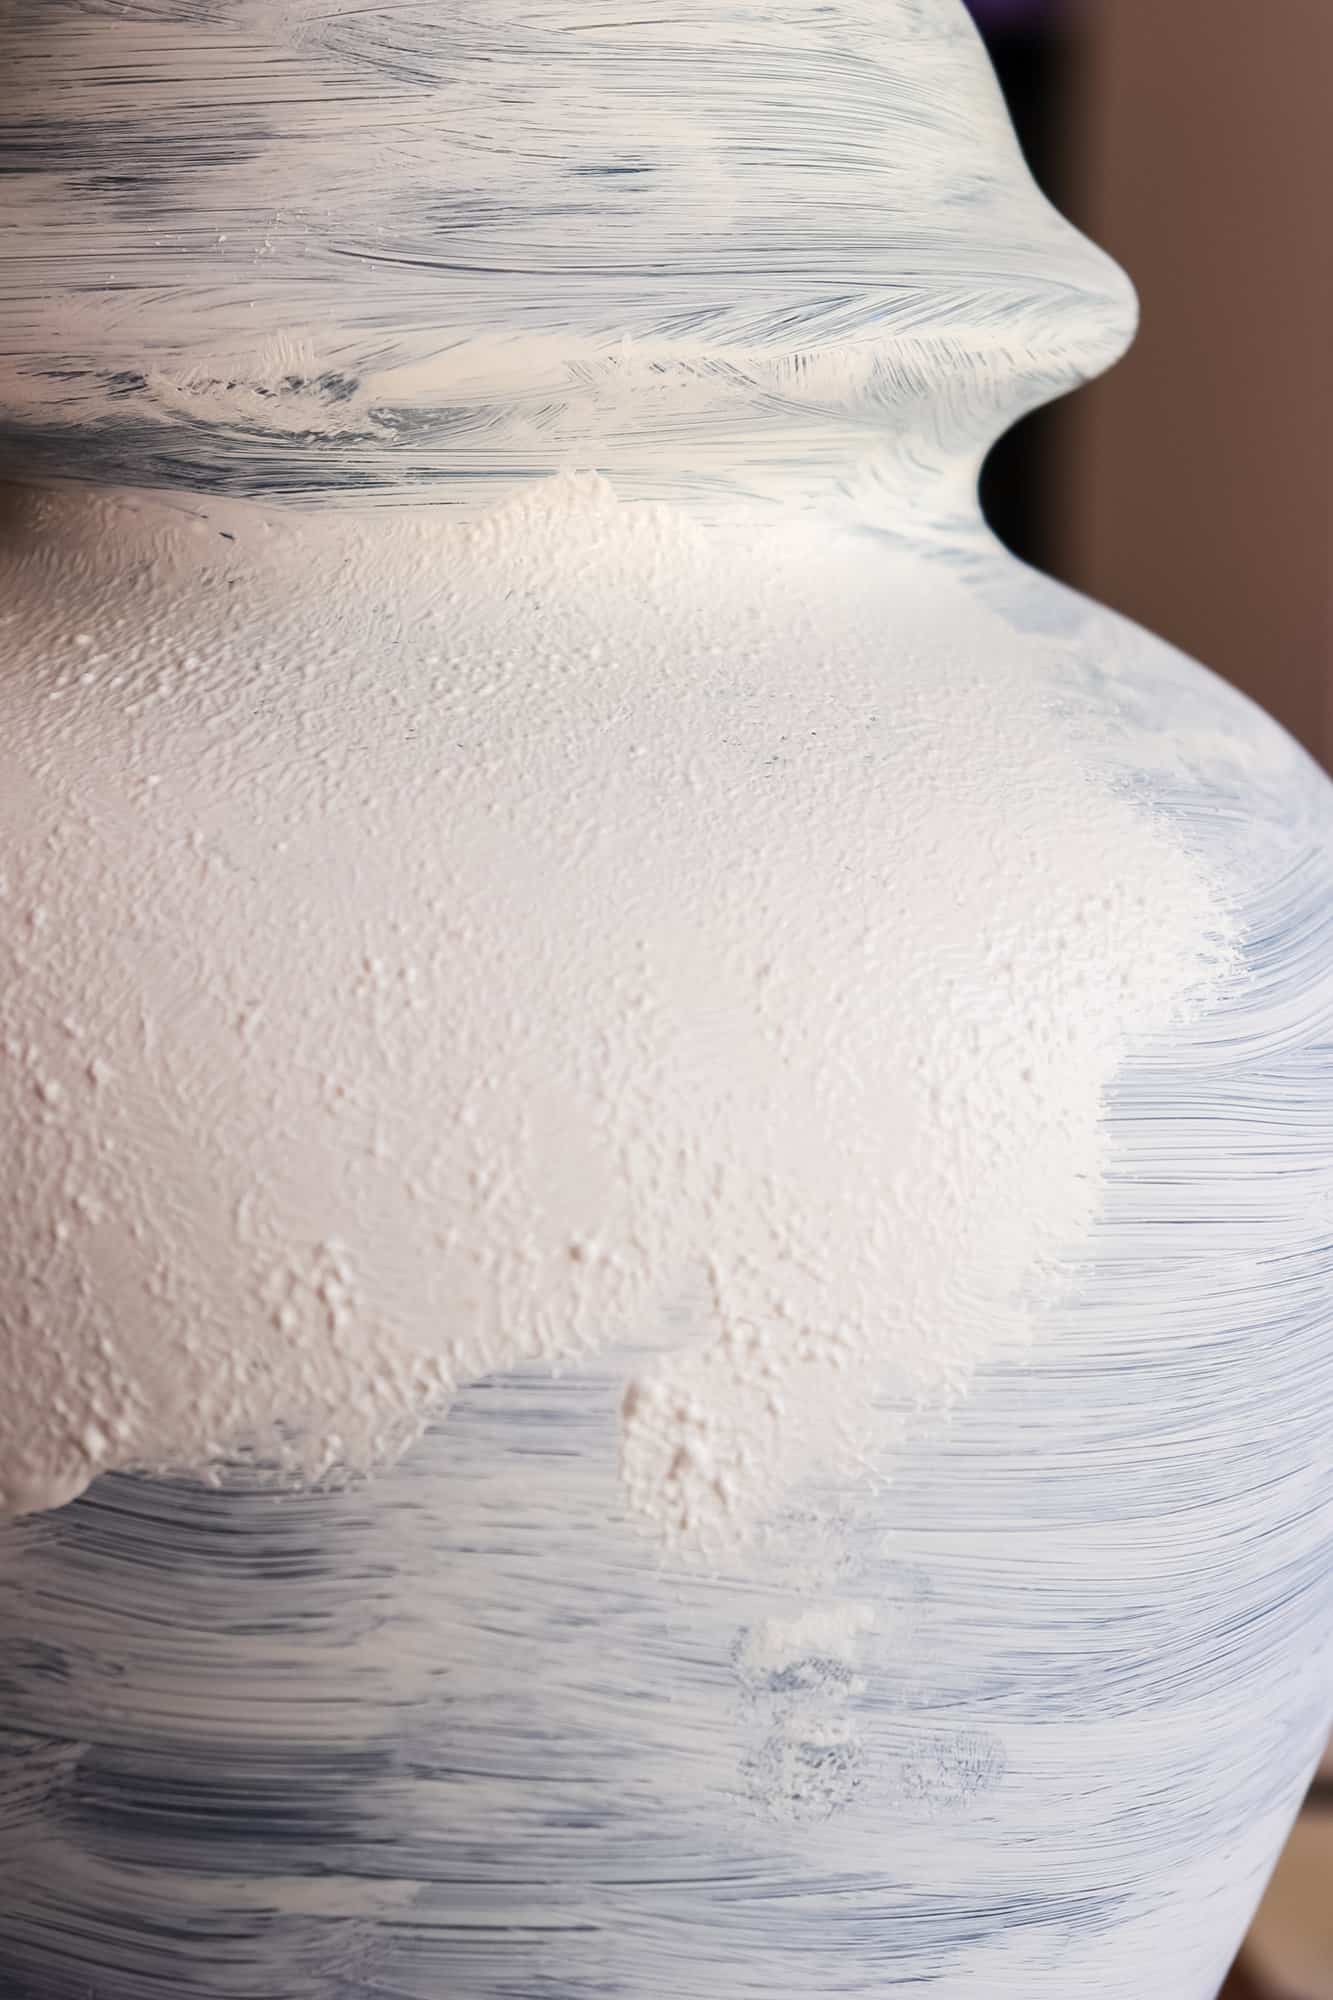
I applied a third coat here and there.
I let that dry and then it was ready to age.
This is my favorite antiquing wax. I use it all the time!
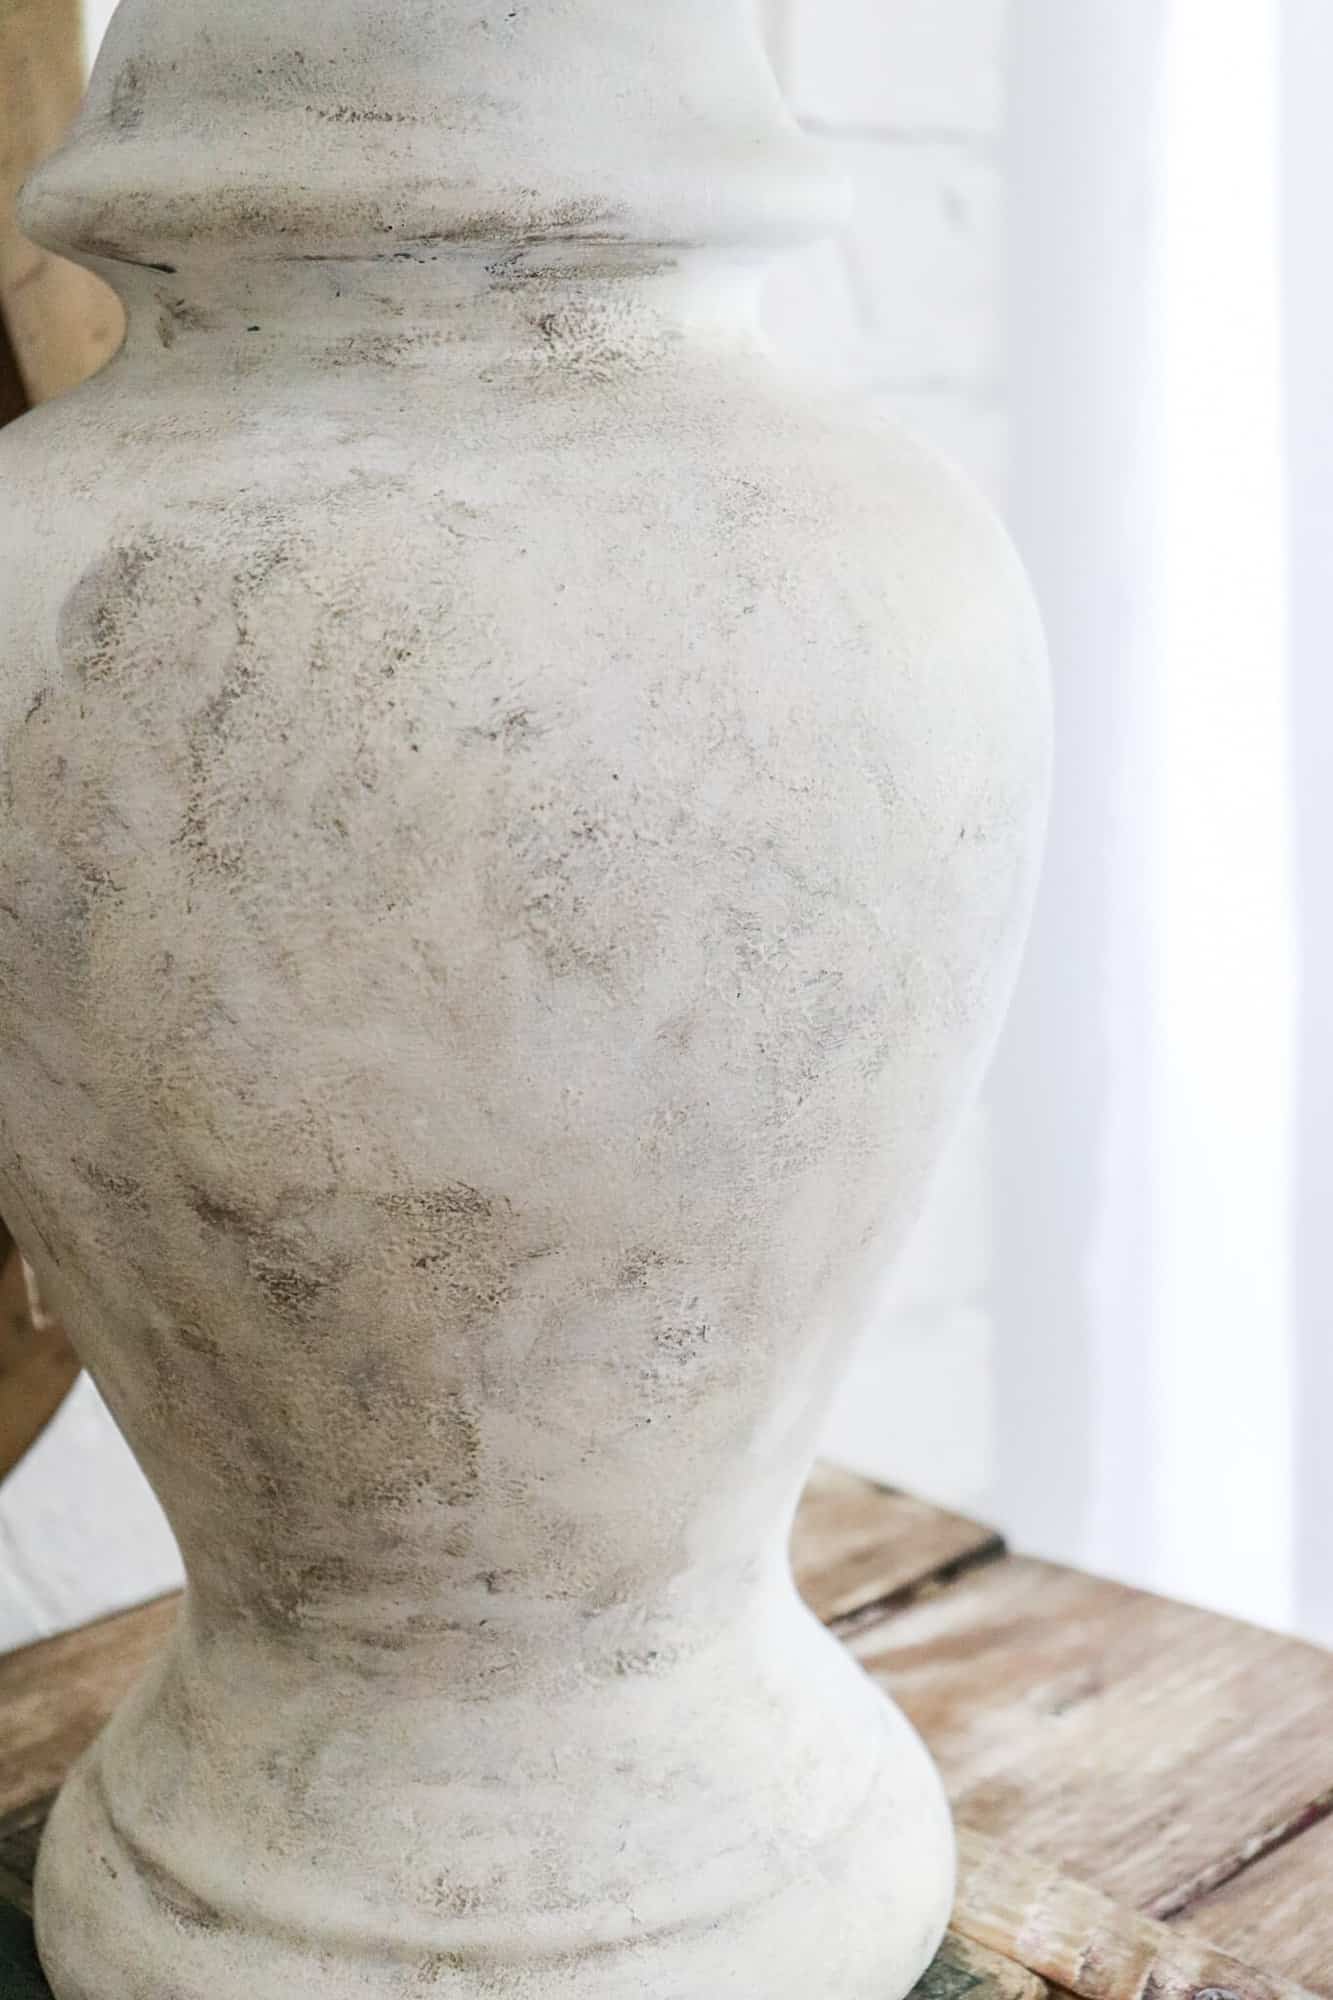
Using a paper towel, I gently wiped on the wax, making it look instantly aged.
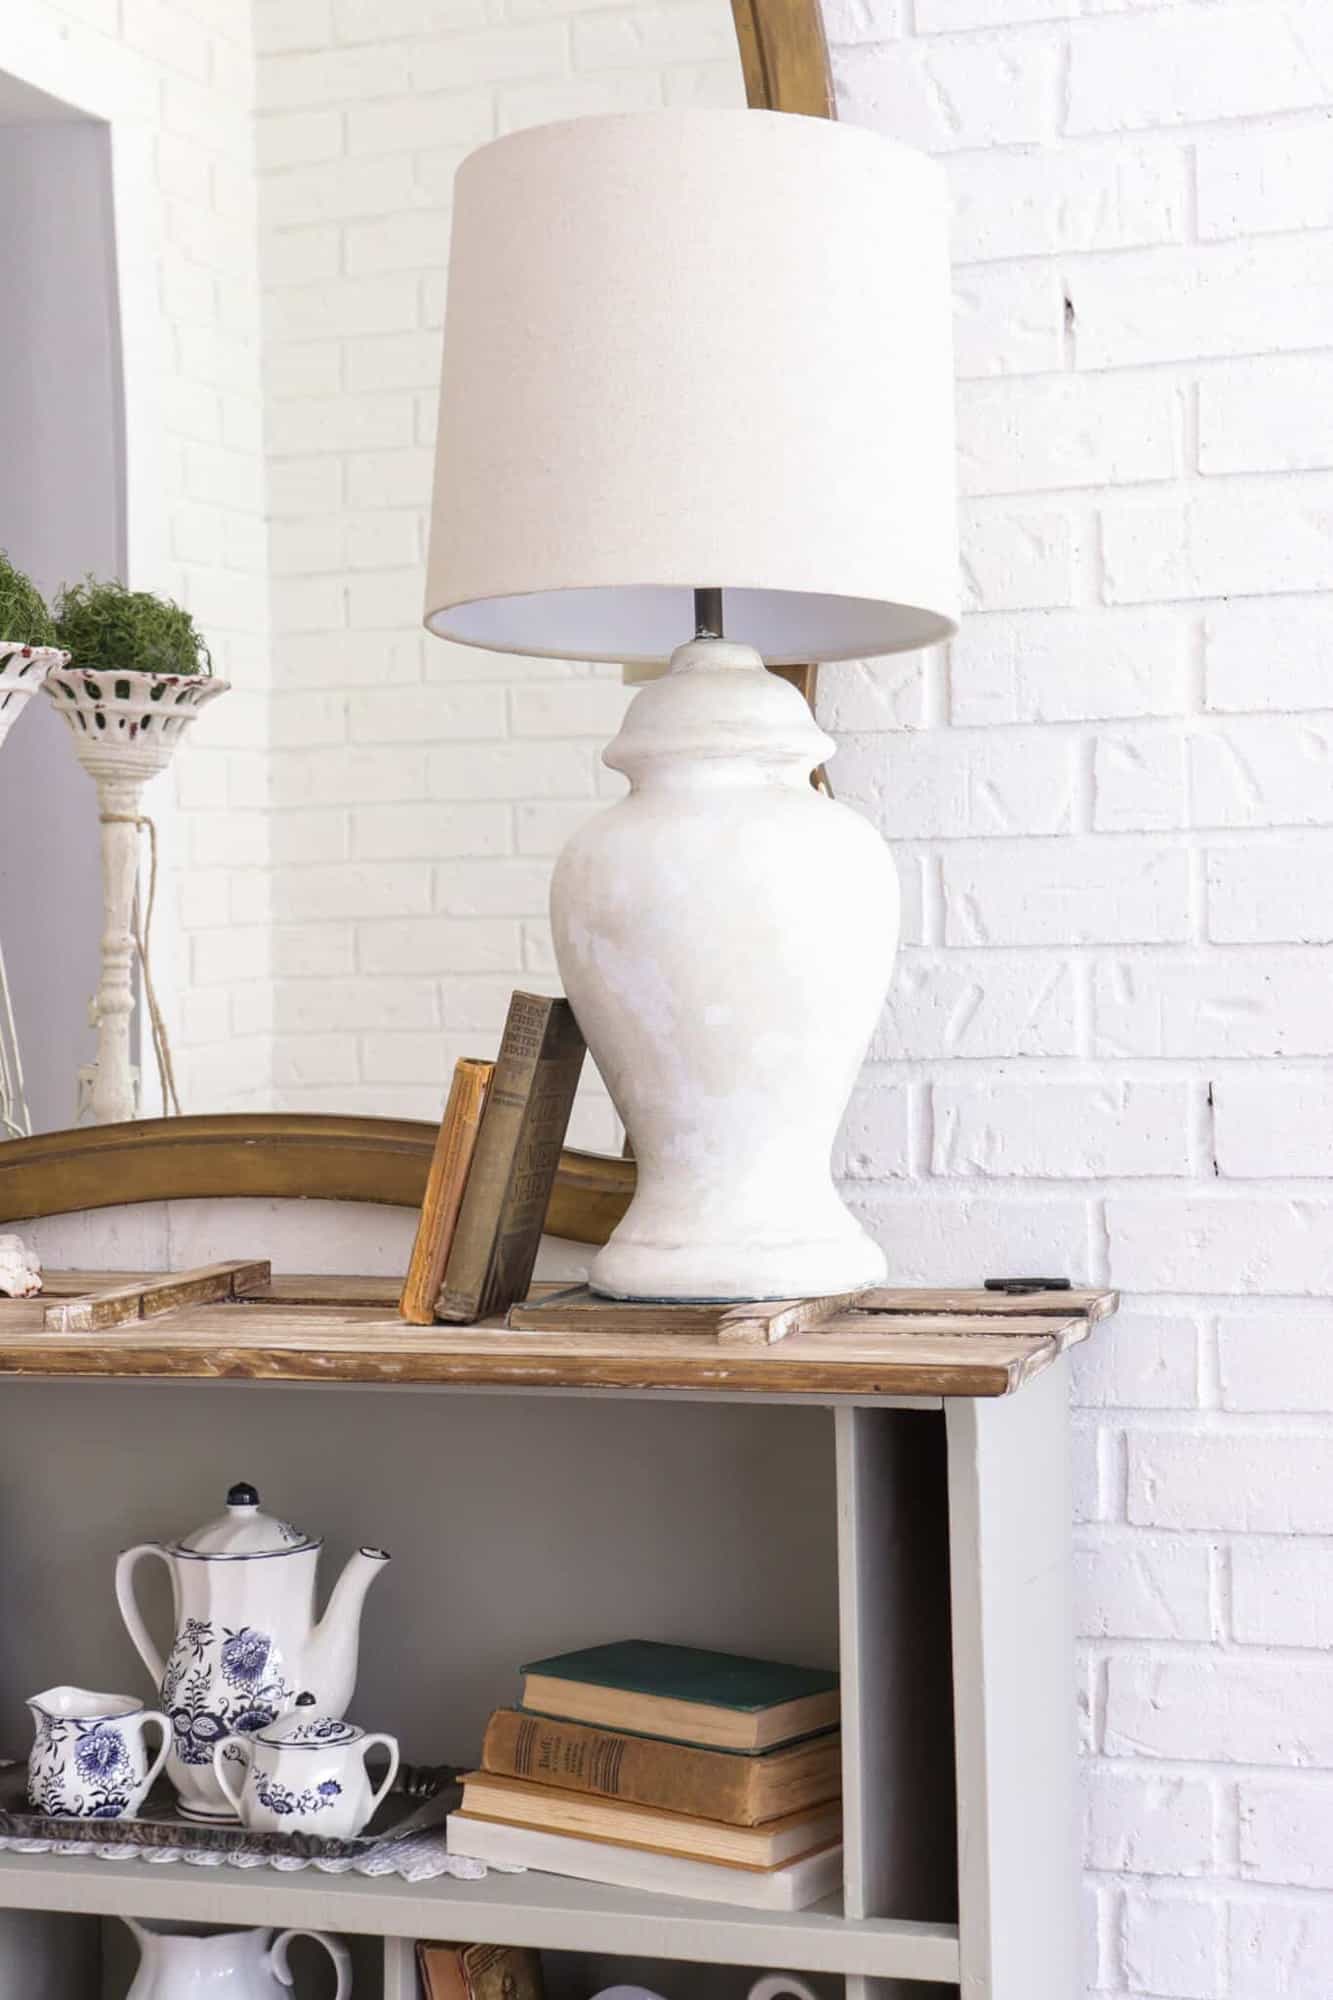
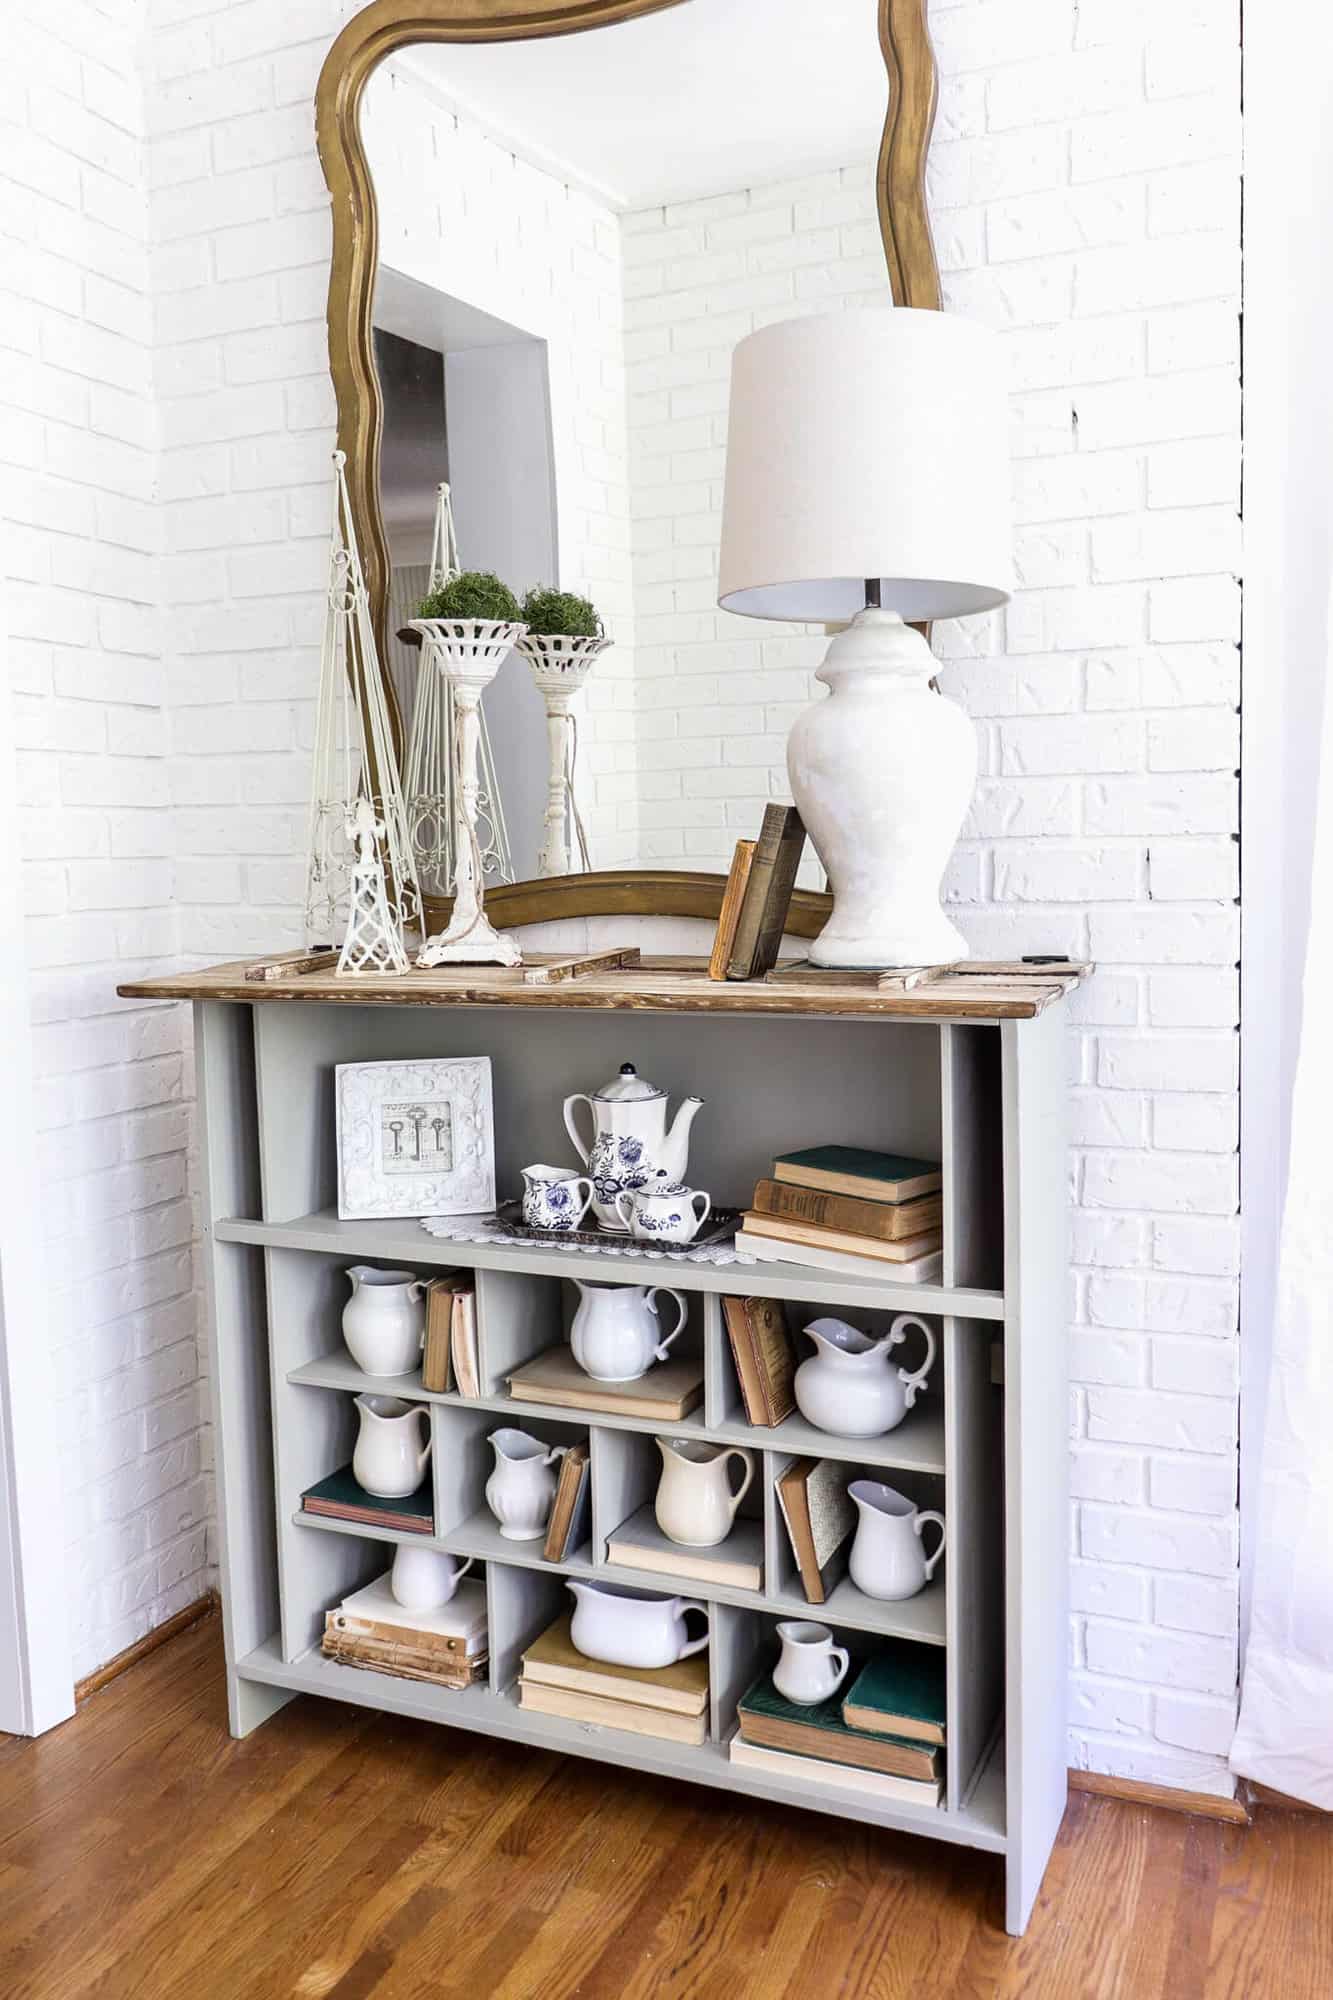
Using a linen shade, I finished off the piece.
And I LOVE how it looks!
I have it sitting in my sunroom on this old cabinet left behind by the previous homeowners.
Taking this dated lamp from 80s drab to 21st century fab has been a fun little walk down memory lane. And now I’m off to listen to some of my favorite 80s songs!
Before you head off, be sure to check out my other friends posts below!
Once a month, the five of us get together for a fun thrifty flip transformation. I hope you’ll love them as much as I do!

A Blue Nest / DIY Faux Concrete Planter

Clark and Aldine / 3 Quick Weekend Organization Projects
Deeply Southern Home / New Again DIY Cane Cabinet
Laura Stewart Blog / DIY Chandelier Makeover with Spray Paint
Noting Grace / Making a Ceramic
Lamp New Again
Repurpose and Upcycle / Repurposed Plate Rack 3 Different Ways
White Arrows Home / DIY Dog Leash Holder


I would definitely use some sort of sealant to help it from scratching or peeling. I did initially see brush strokes with the first coat, but the subsequent coats helped cover those along with using a stippling type of application to break it up.
After painting the lamp base should you seal with a clear varnish to stop any scratches or pealing and do you see any brush strokes after is how do you get arround that
Thank you Meeghan! We were so glad you joined us!
What a gorgeous and creative transformation, Jen! I love it!
You are so kind, Jordan! Thank you!
I can still see that pastel Aztec couch in our basement! What a crazy design period!
Thank you friend! Let’s go hunt for some lamps together!