DIY Tufted Ottoman: How to Reupholster an Ottoman
Today, I’m sharing an easy way on how to reupholster an ottoman with faux leather. It cost me less than $50 to get this upscale, tufted look.
Do you have that essential piece of furniture that has gone with you from home to home?
For me, that would be our padded ottoman.
We’ve had the same ottoman for years that we just can’t get rid of.
We purchased it back in 2005 and it’s still going strong.
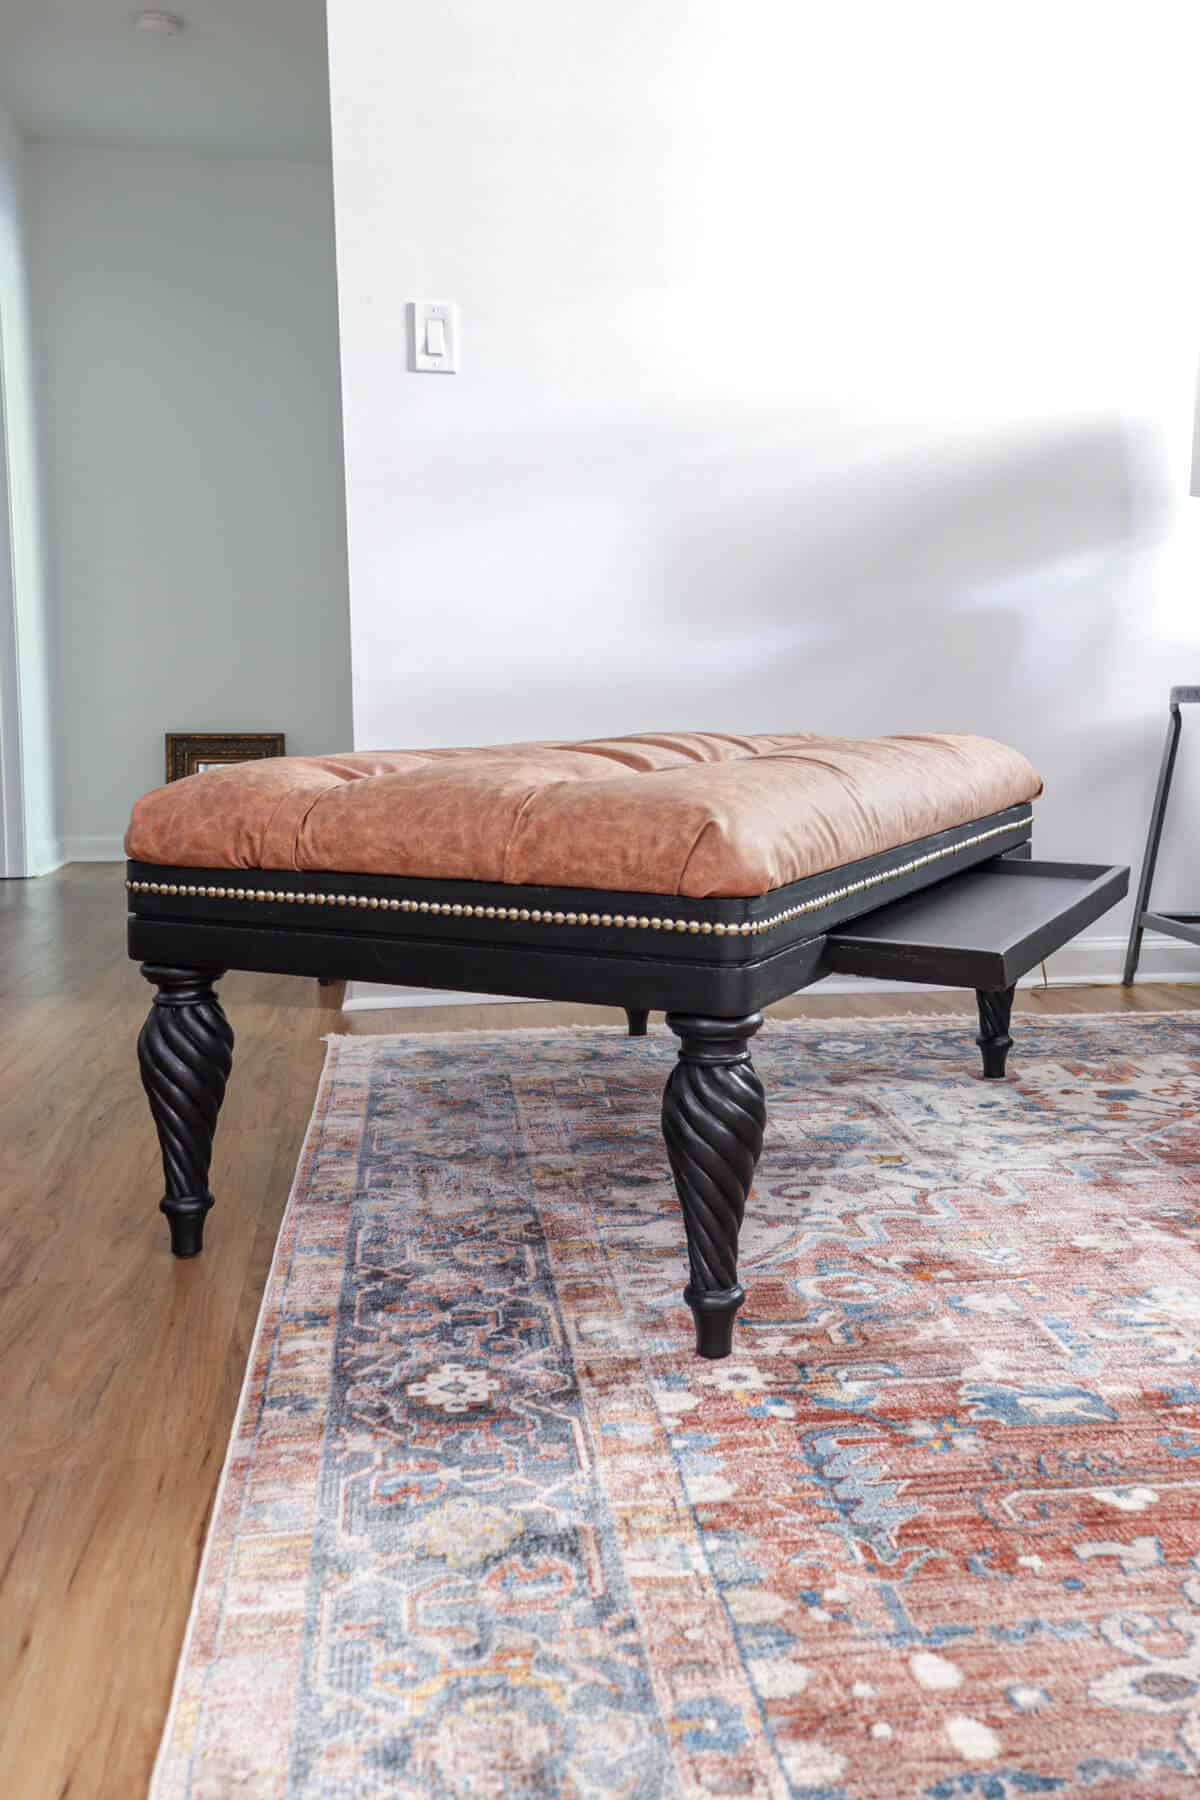
It’s the perfect size and has an awesome hidden tray that acts as a coffee table for drinks or snacks.
And I have recovered this ottoman before along with giving it a fresh coat of paint.
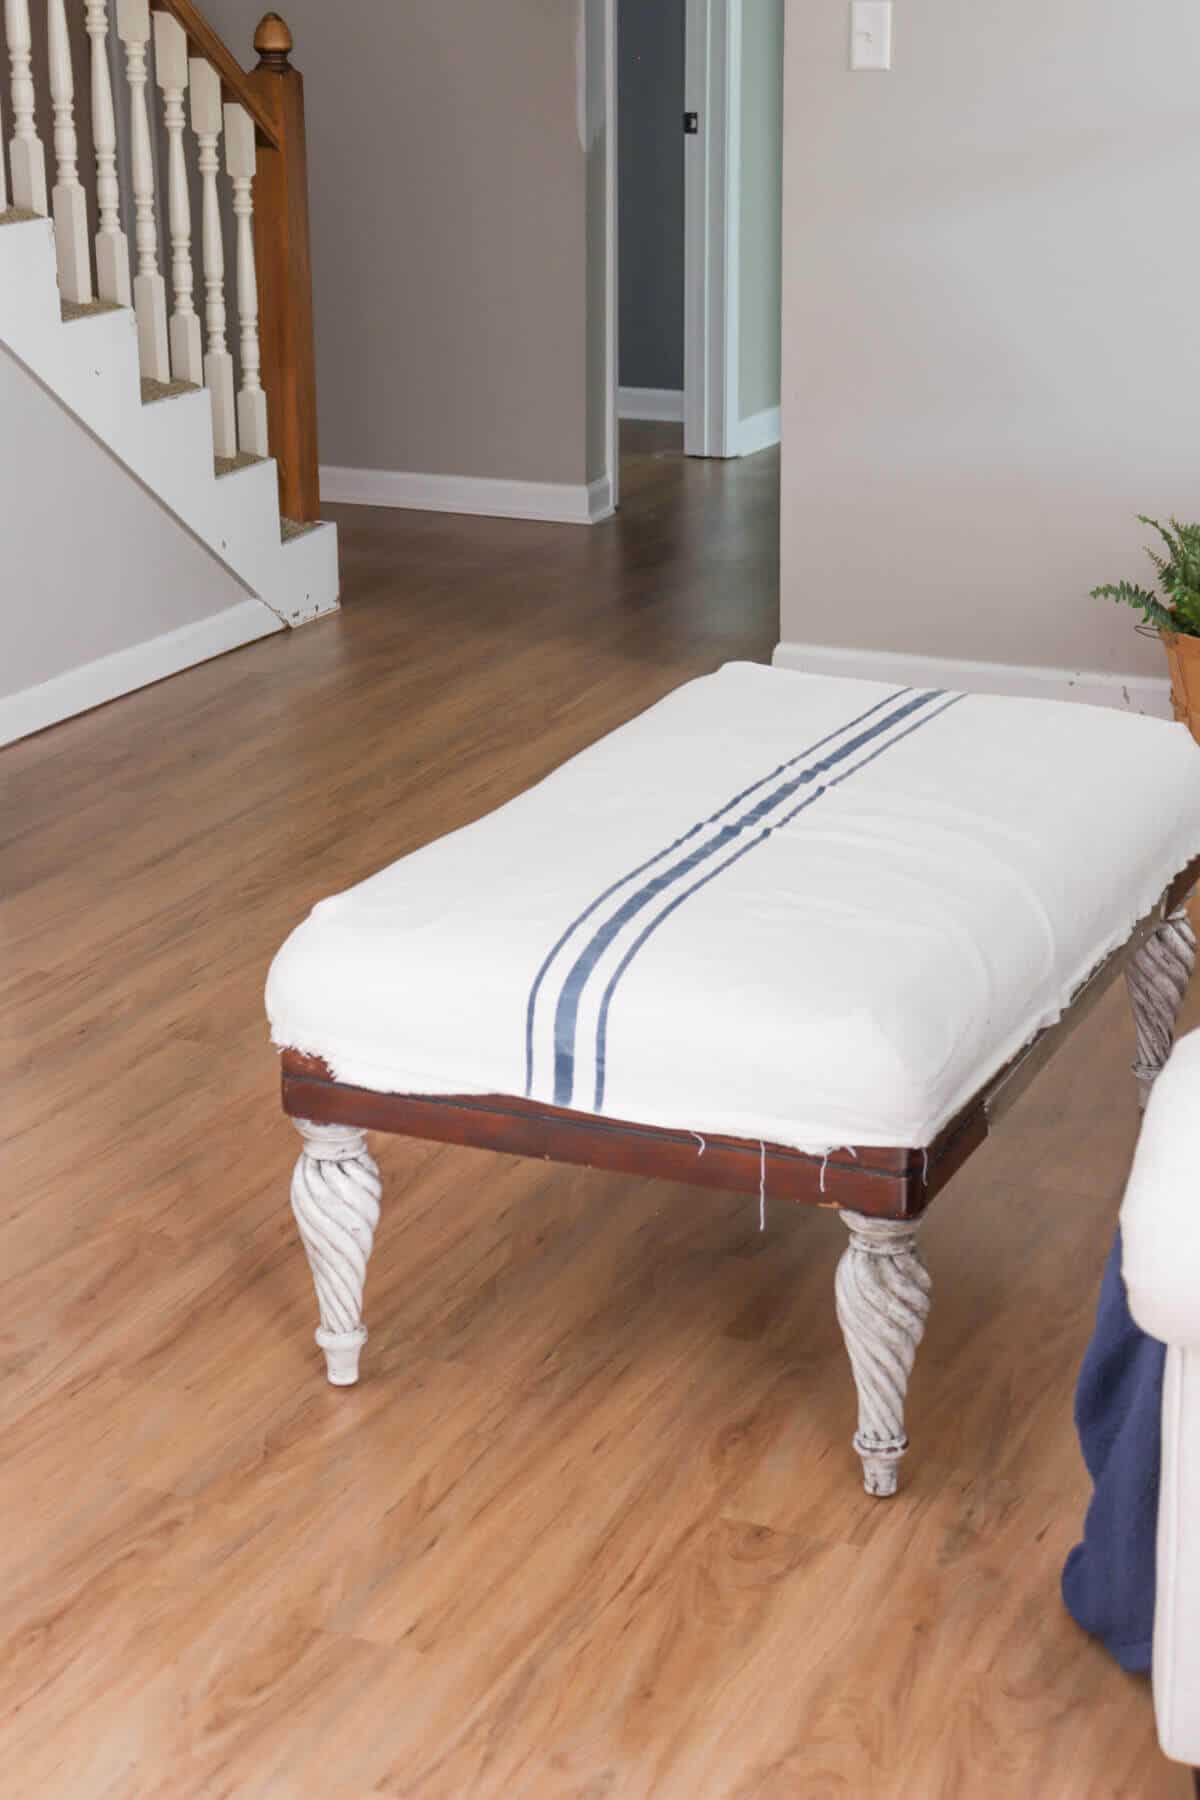
I’ve even painted the fabric and created a drop cloth cover for it.
We have put this to use for many years of movies nights. I can still see the boys sitting on the ground using this tray for a makeshift table.
It sort of has sentimental value now that our boys no longer fit underneath it.
So when we were making plans for our basement remodel, I knew that there would be yet another inception of this ottoman.
It all started with this inspiration piece from HomePop.
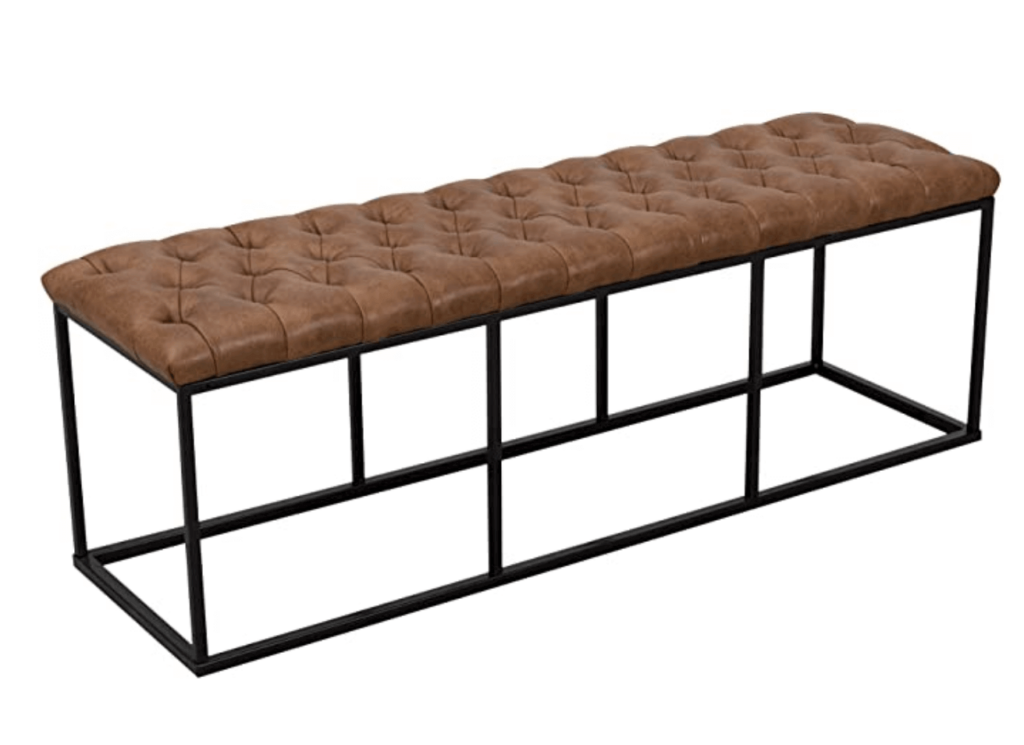
I loved the tufting and the camel color of the leather.
So I found some affordable faux leather on Amazon and started with this reupholster ottoman diy.
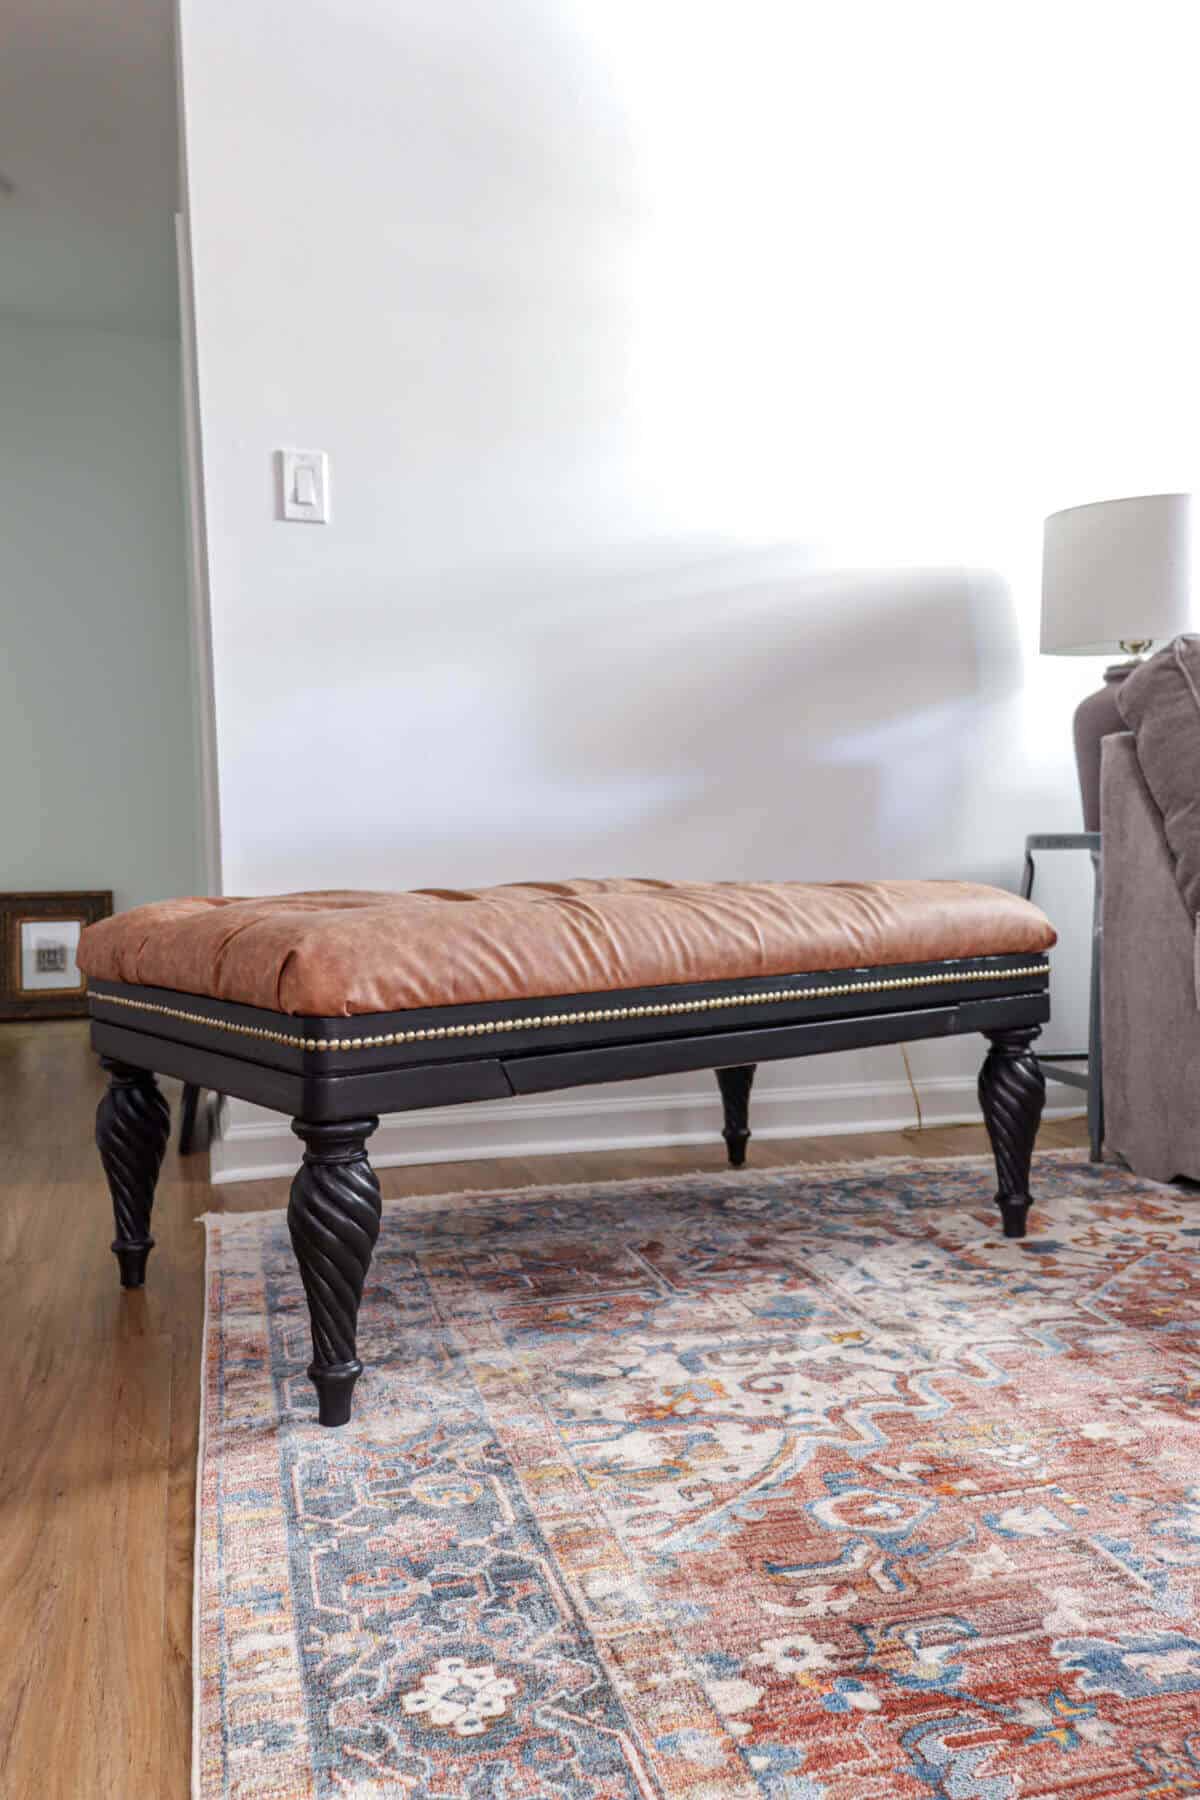
Here’s how we created this new ottoman for our living room.
How to Reupholster an Ottoman
(Some affiliate links are provided below. Full disclosure here.)
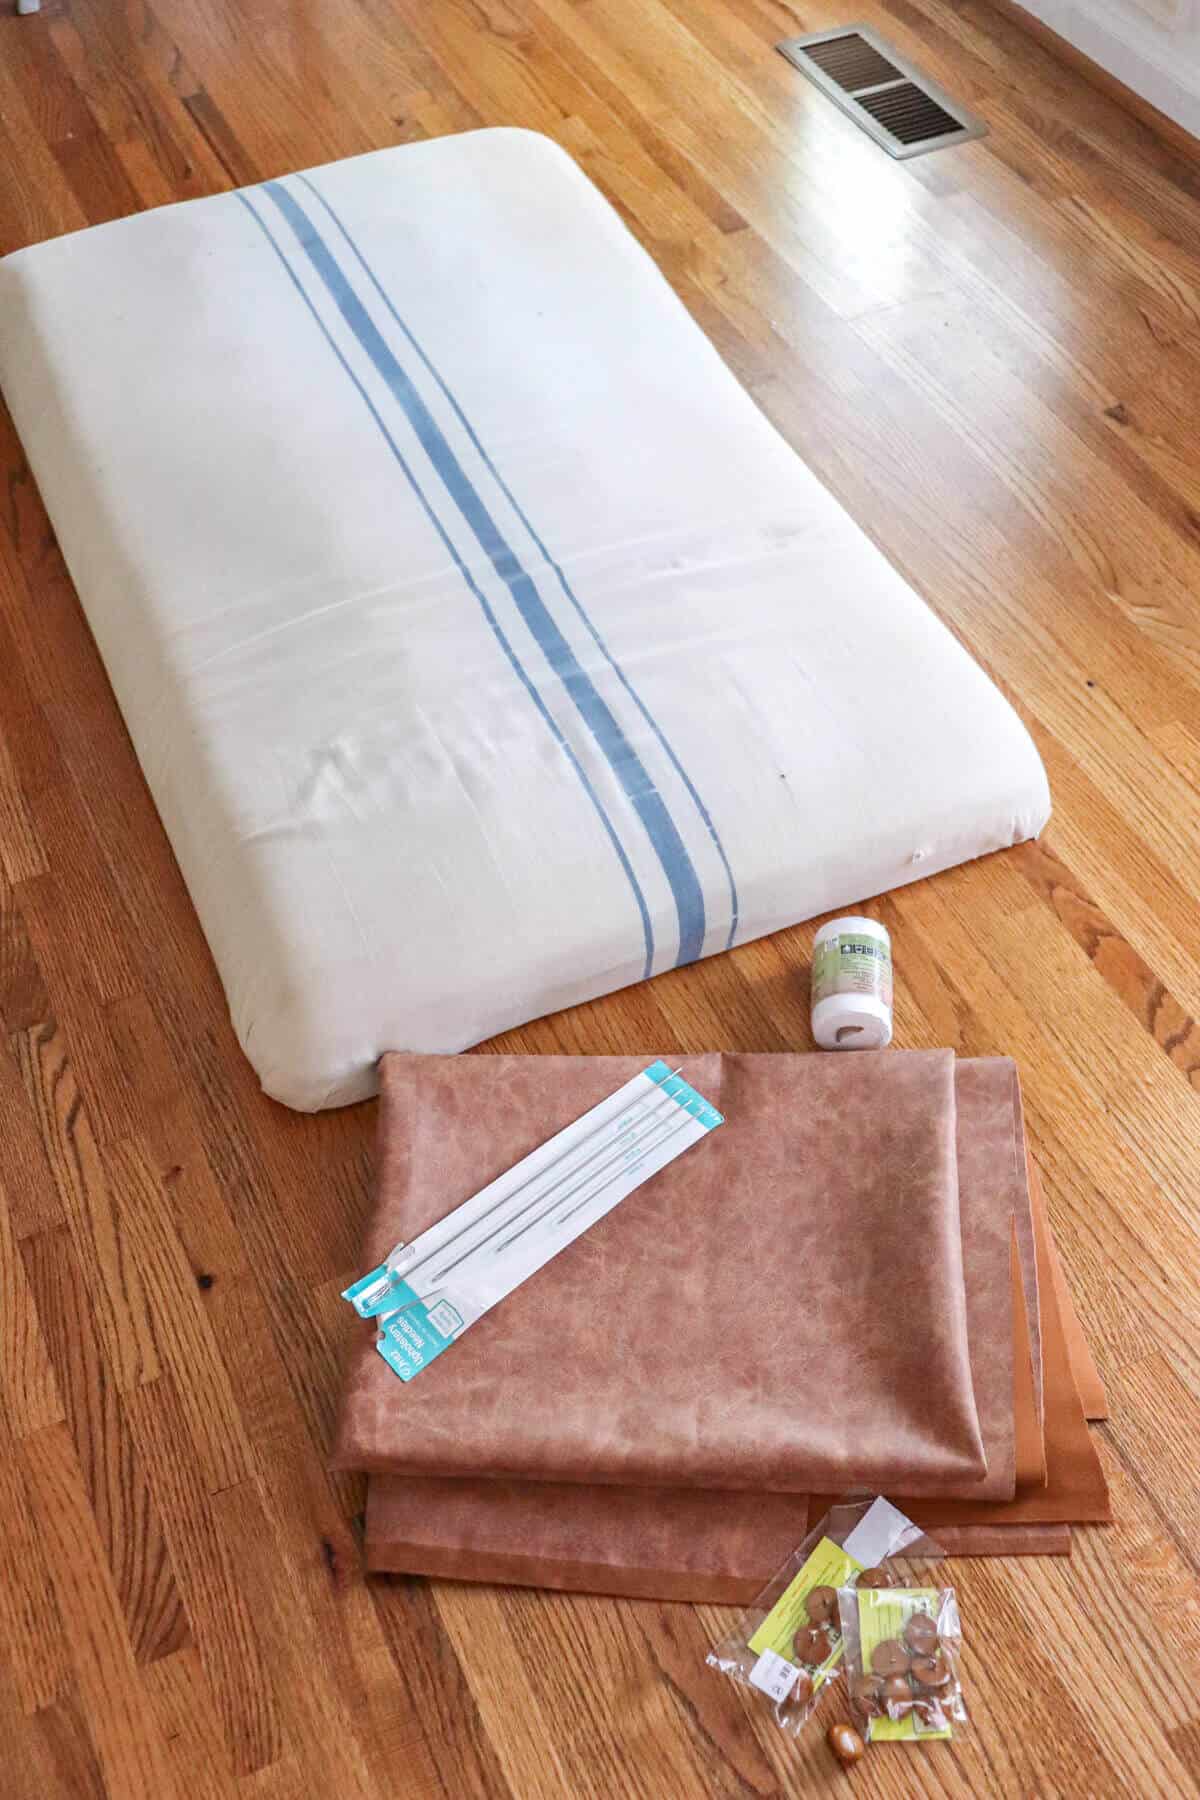
Materials Needed to Recover an Ottoman:
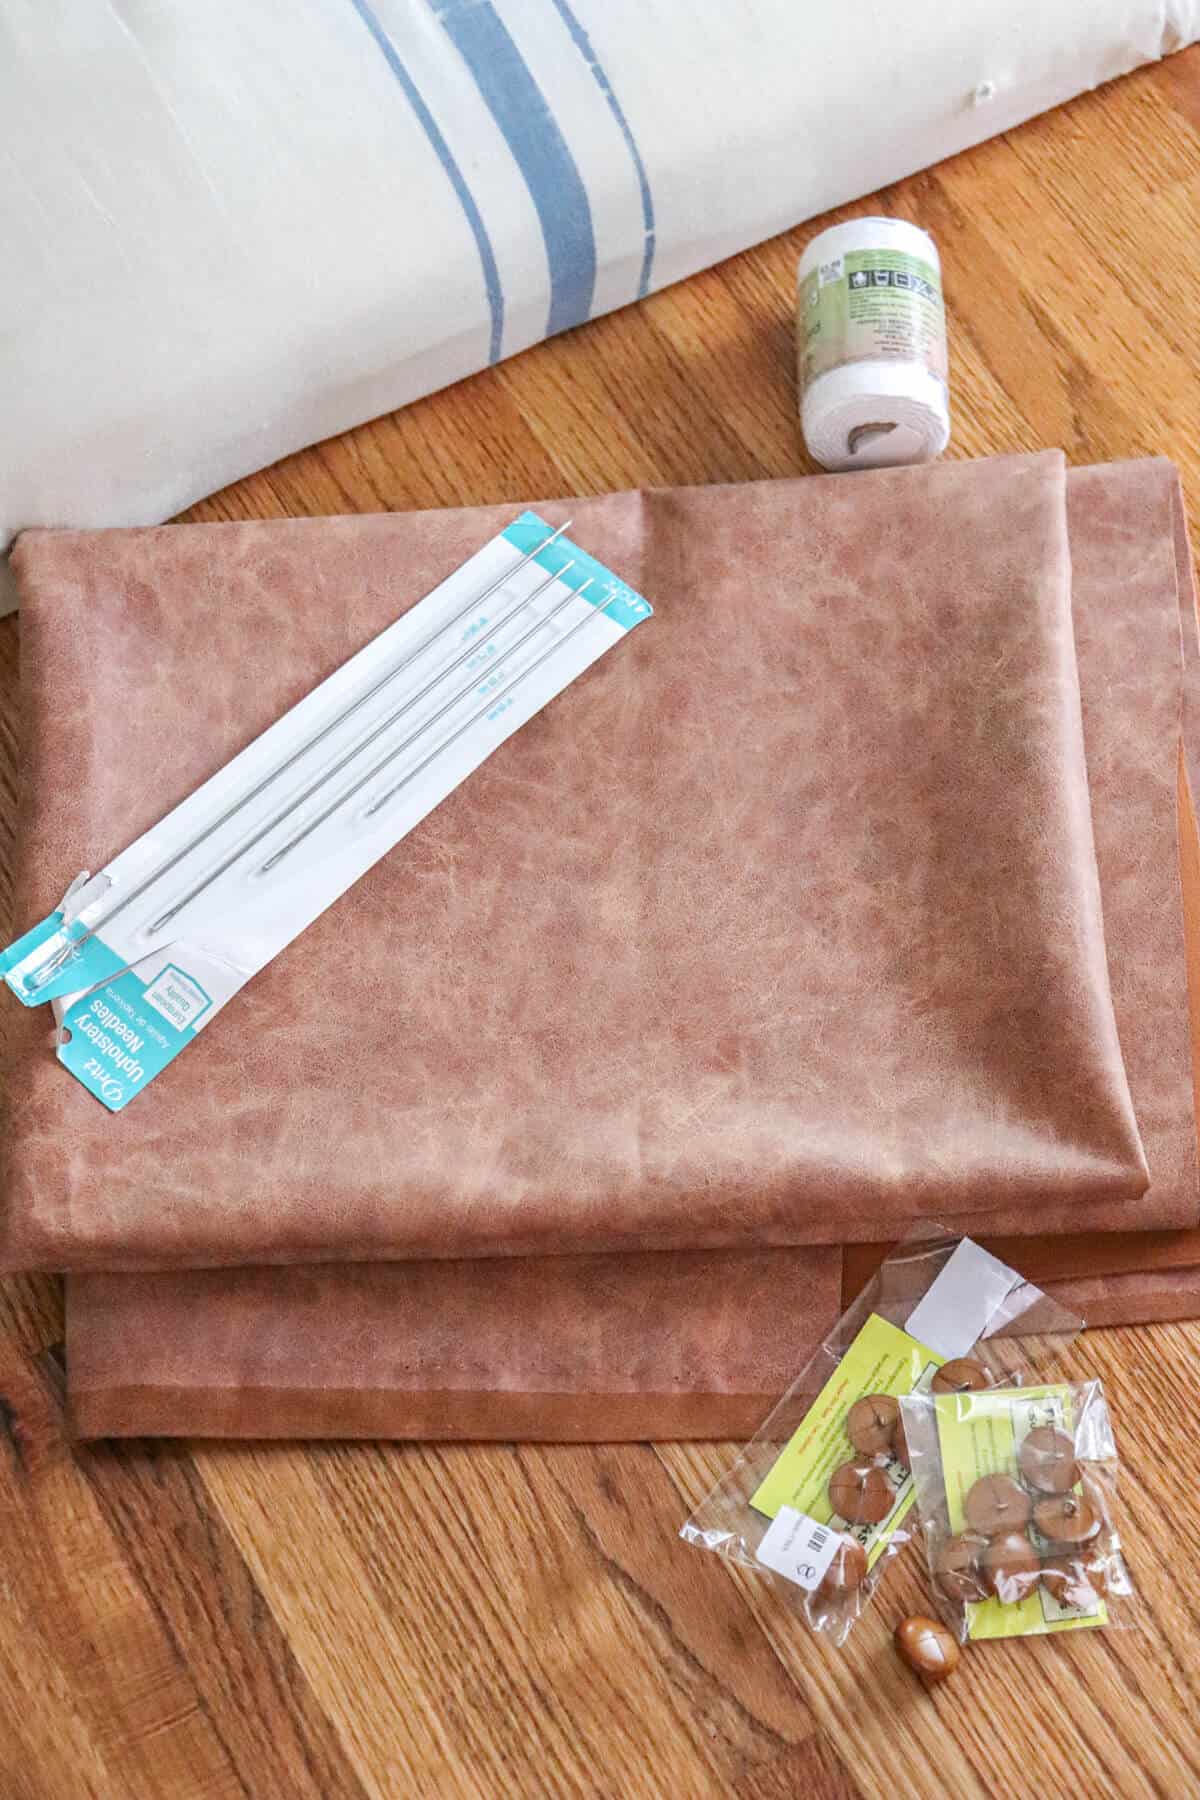
- 2 yards of new Fabric – I used this Faux Leather
- Staple Gun – this is the pneumatic one I use
Since my ottoman was going to be tufted, here are the materials I used:
Paint and Trim Used:
How much fabric is needed to reupholster an ottoman?
How much fabric varies on the size of your ottoman.
You will want to take measurements of your old ottoman to see how much you will need. Don’t forget the sides of the ottoman if that is covered with fabric.
So ours measured at 2 feet wide by 4 feet long. For this diy project, I ordered 2 yards of fabric, which was just enough fabric to work with.
If this is your first rodeo with reupholstering, I recommend having a lot of extra fabric in case you make a mistake.
How to reupholster an ottoman with legs?
If you have an ottoman with legs, see if they can be removed. This makes the upholstery project much easier.
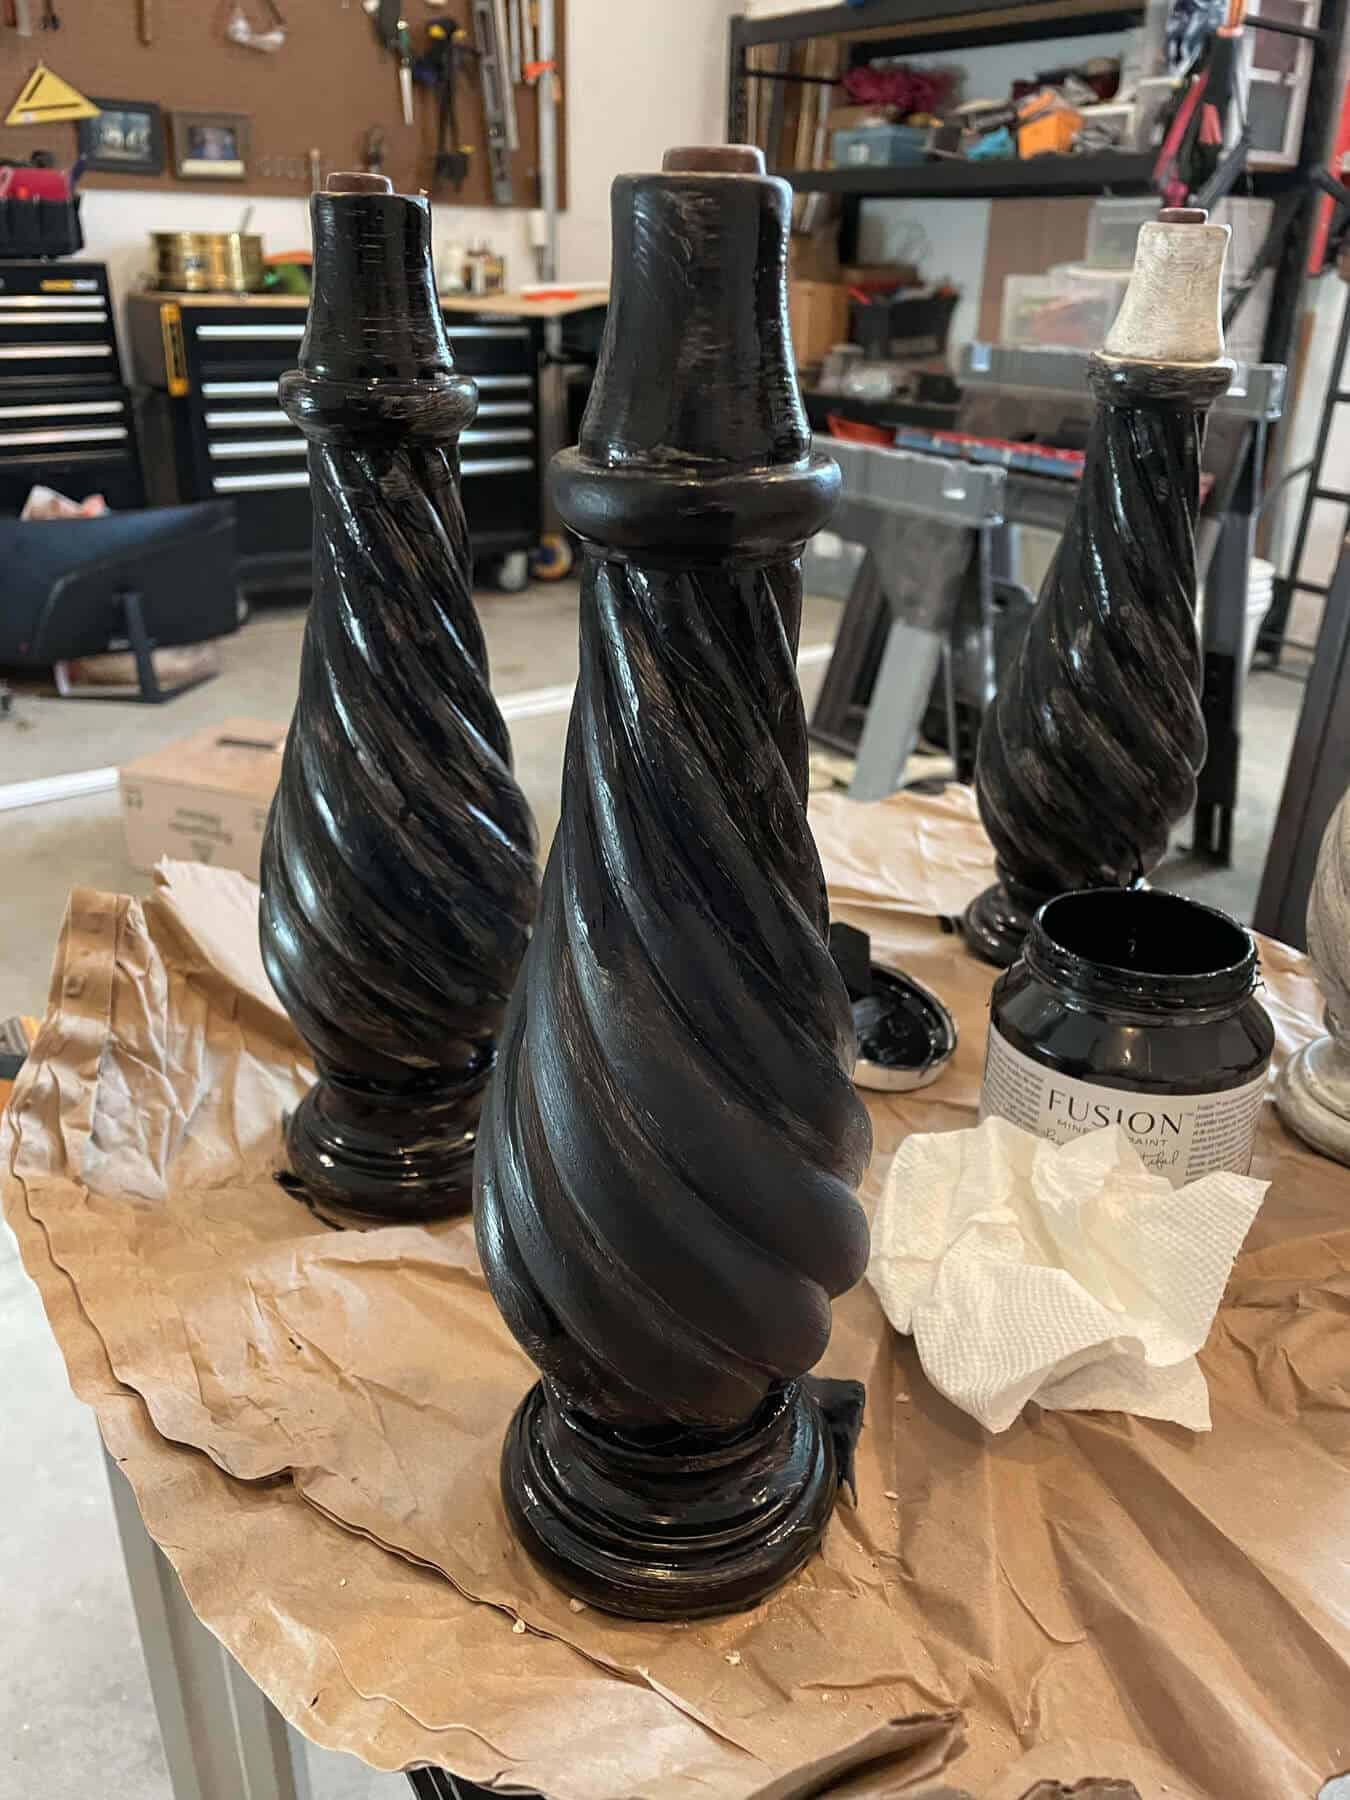
Since our ottoman had long legs and a tray, the top of the ottoman came off allowing us to paint the legs separately.
So we took the base, legs and tray out to the garage and gave it a few coats of paint using Fusion Mineral paint in Coal Black.
How do you reupholster an ottoman without sewing?
I am by no means a seamstress. The best I can do is a straight line on my sewing machine.
So I am all about finding creative ways to avoid sewing at all cost. In fact, I recovered a wingback chair without sewing and it wasn’t difficult at all.
The secret is to have the right tools.
For me, investing in a pancake compressor and a pneumatic staple gun were some of the best investments I’ve made! It definitely made this job much easier. And I use it for lots of other DIY projects!
Reupholstering an ottoman without sewing is a great way to give a new look to your old furniture.
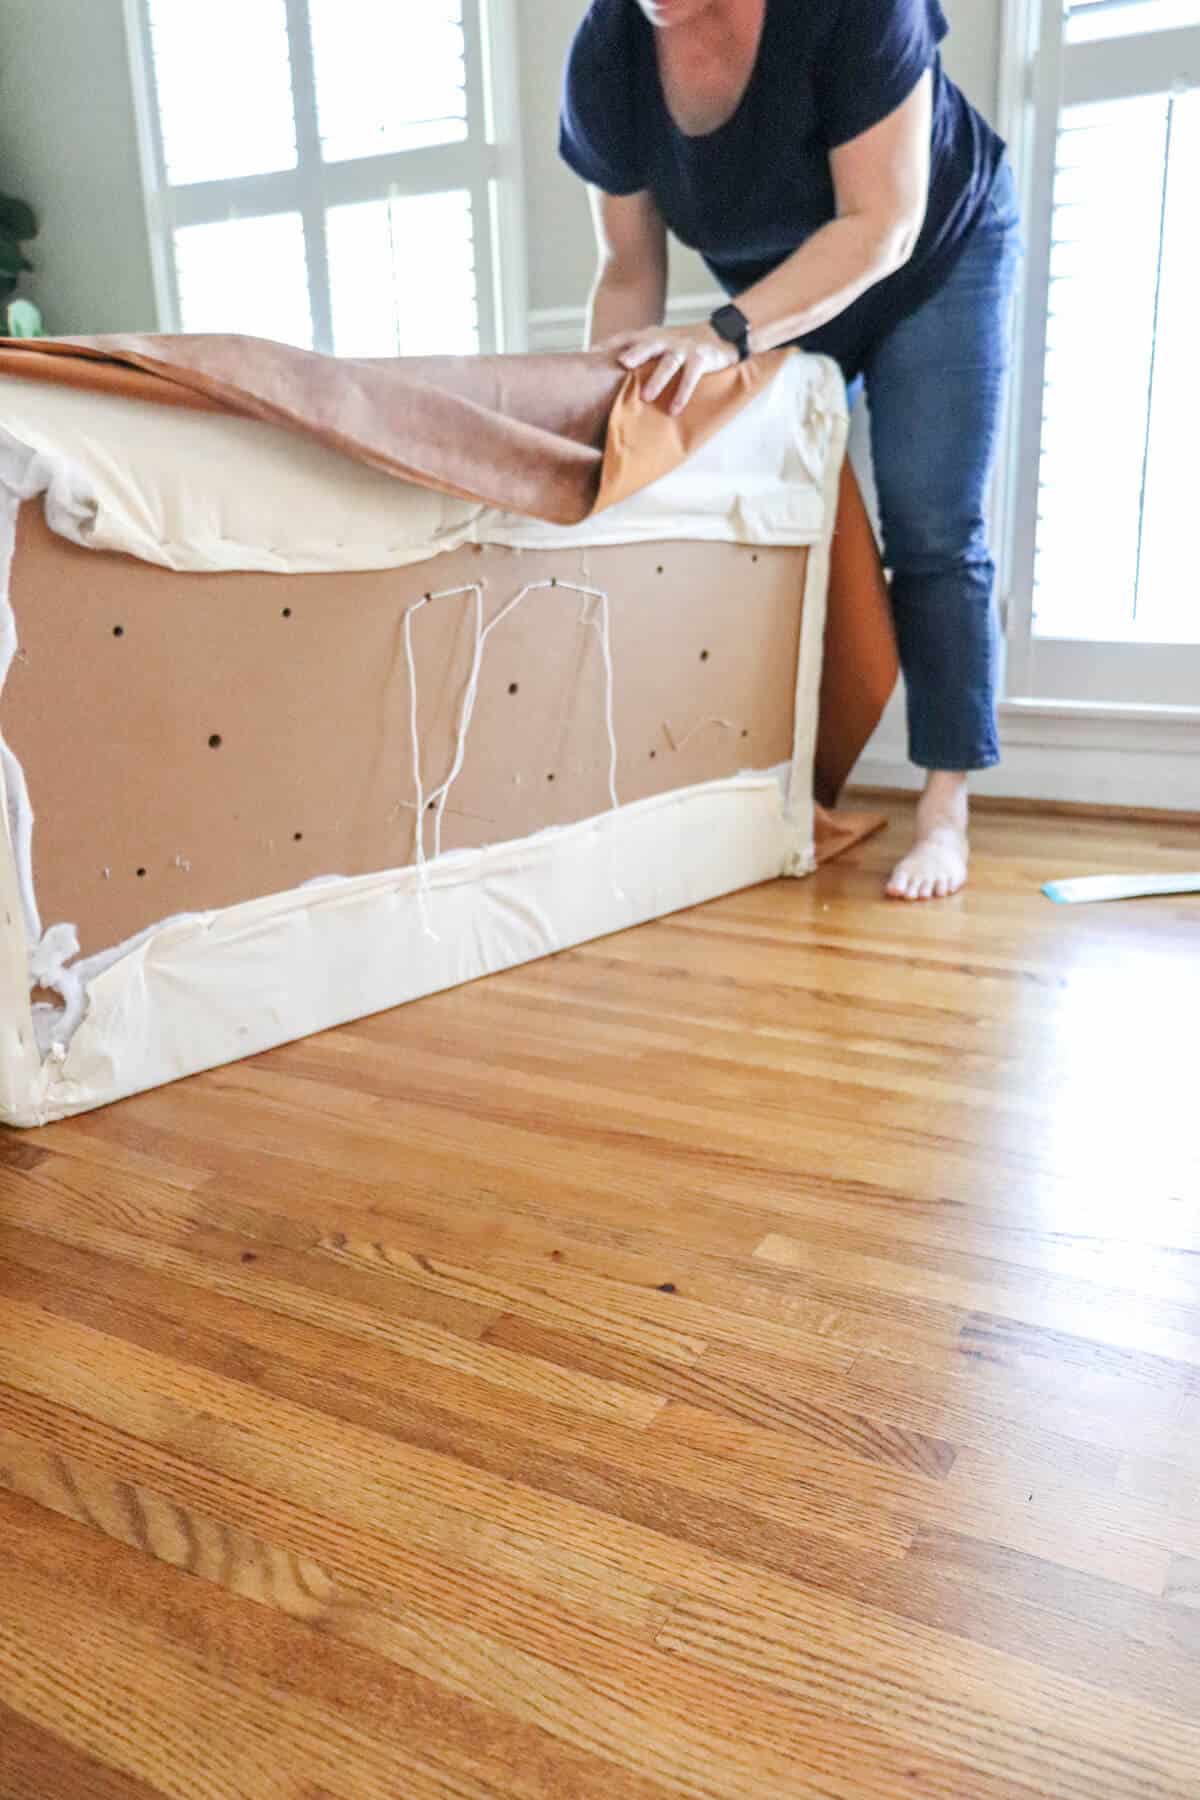
- Remove the original fabric. You want to use a heavy duty staple remover to make the job easy for you. The first time I recovered this ottoman, I took the old leather off using a tack puller. This bad boy has come in use many times with other upholstery projects! Once you have the fabric removed, the first thing you want to do is examine the padding underneath.
- Add padding if needed. After 15 years of use, the old padding on this ottoman definitely needed some oomph added to it. So the last time we updated it, I added some new padding and batting and covered it with muslin that I ended up painting. Since it was in great shape, I could skip this step. I was ready to move on to tufting! You can skip Step 3 if you aren’t tufting your ottoman.
How to make a tufted ottoman?
If you are making a ottoman from scratch, then you need to make sure there are holes in the padding as well as the base that you are recovering. Drill a hole and carve out the foam to create a space for the thread to go through.
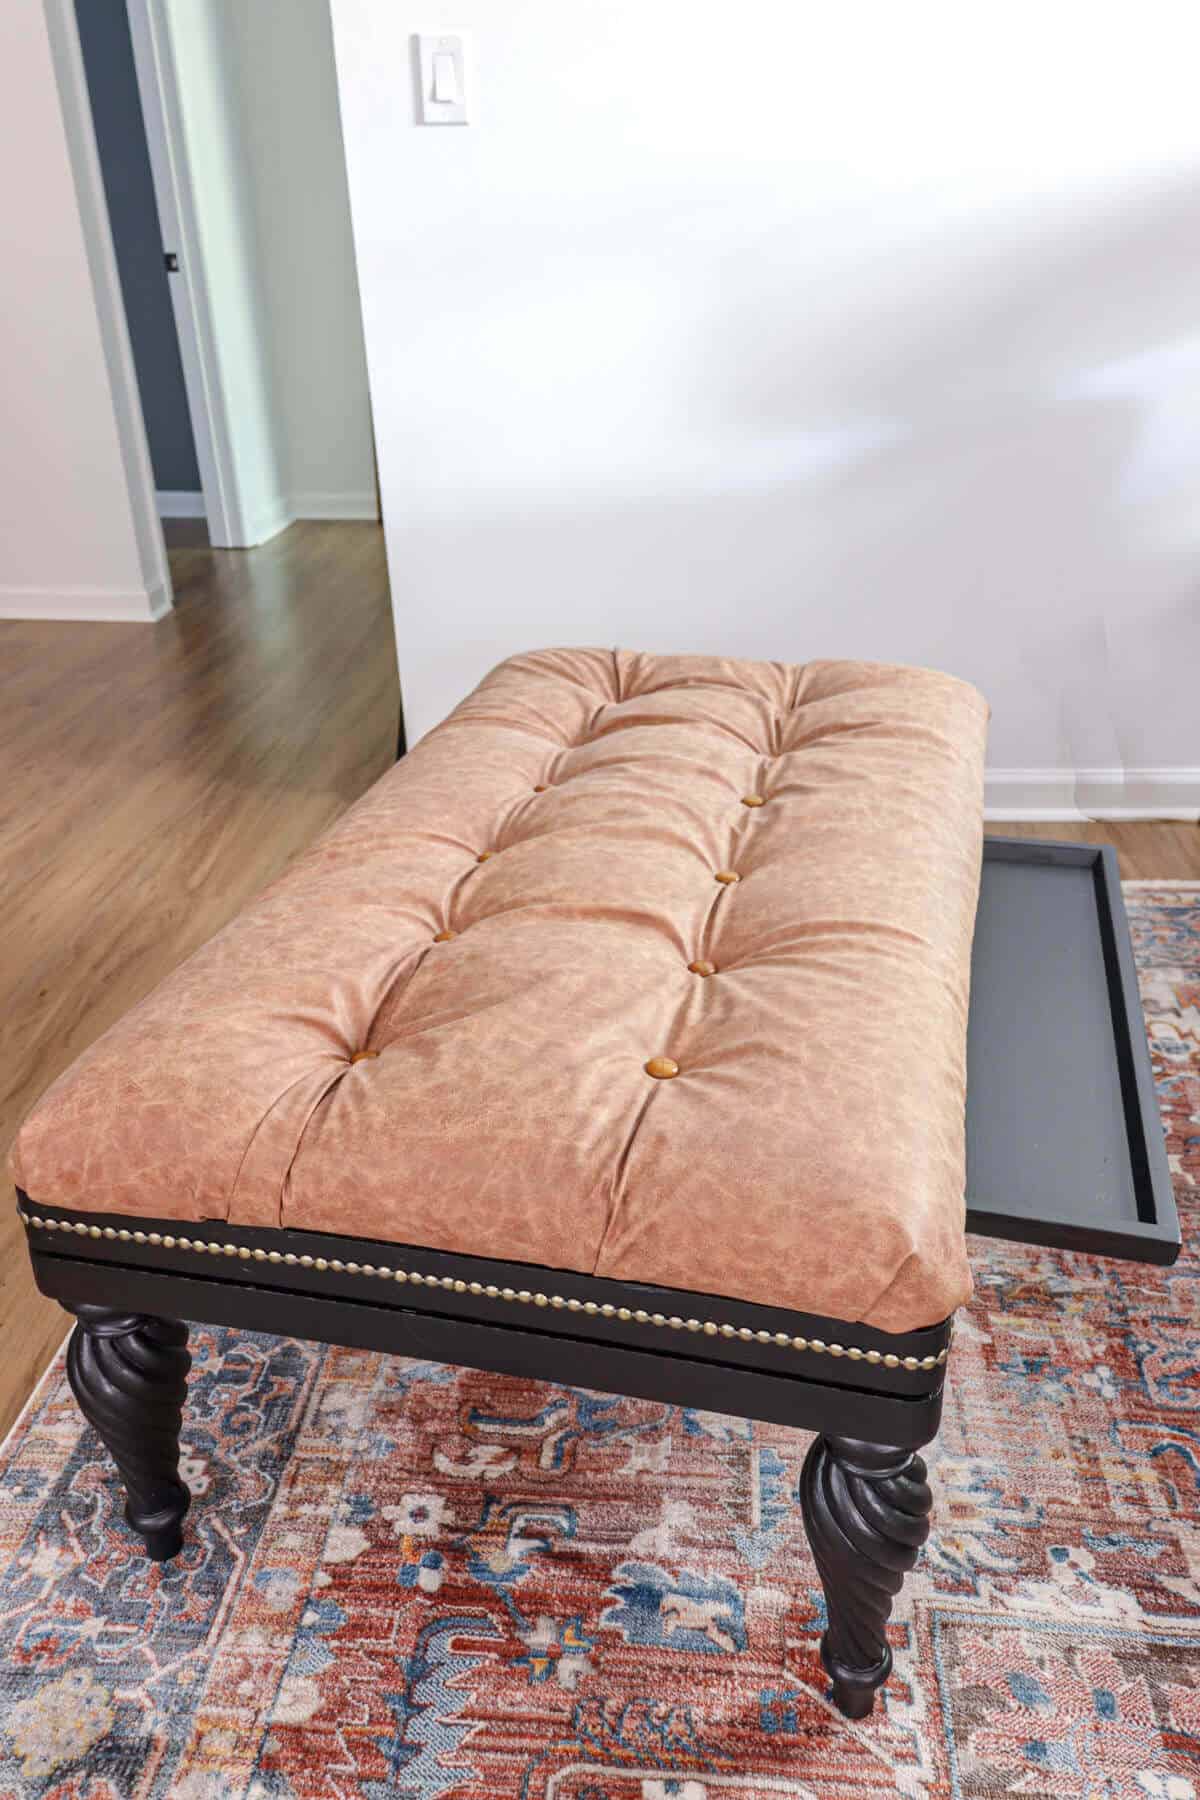
My ottoman was previously tufted, so I had 12 holes that I worked with to create the tufted ottoman.
Before I began, I took a moment to thread all the fabric buttons at once so that first step would be finished.
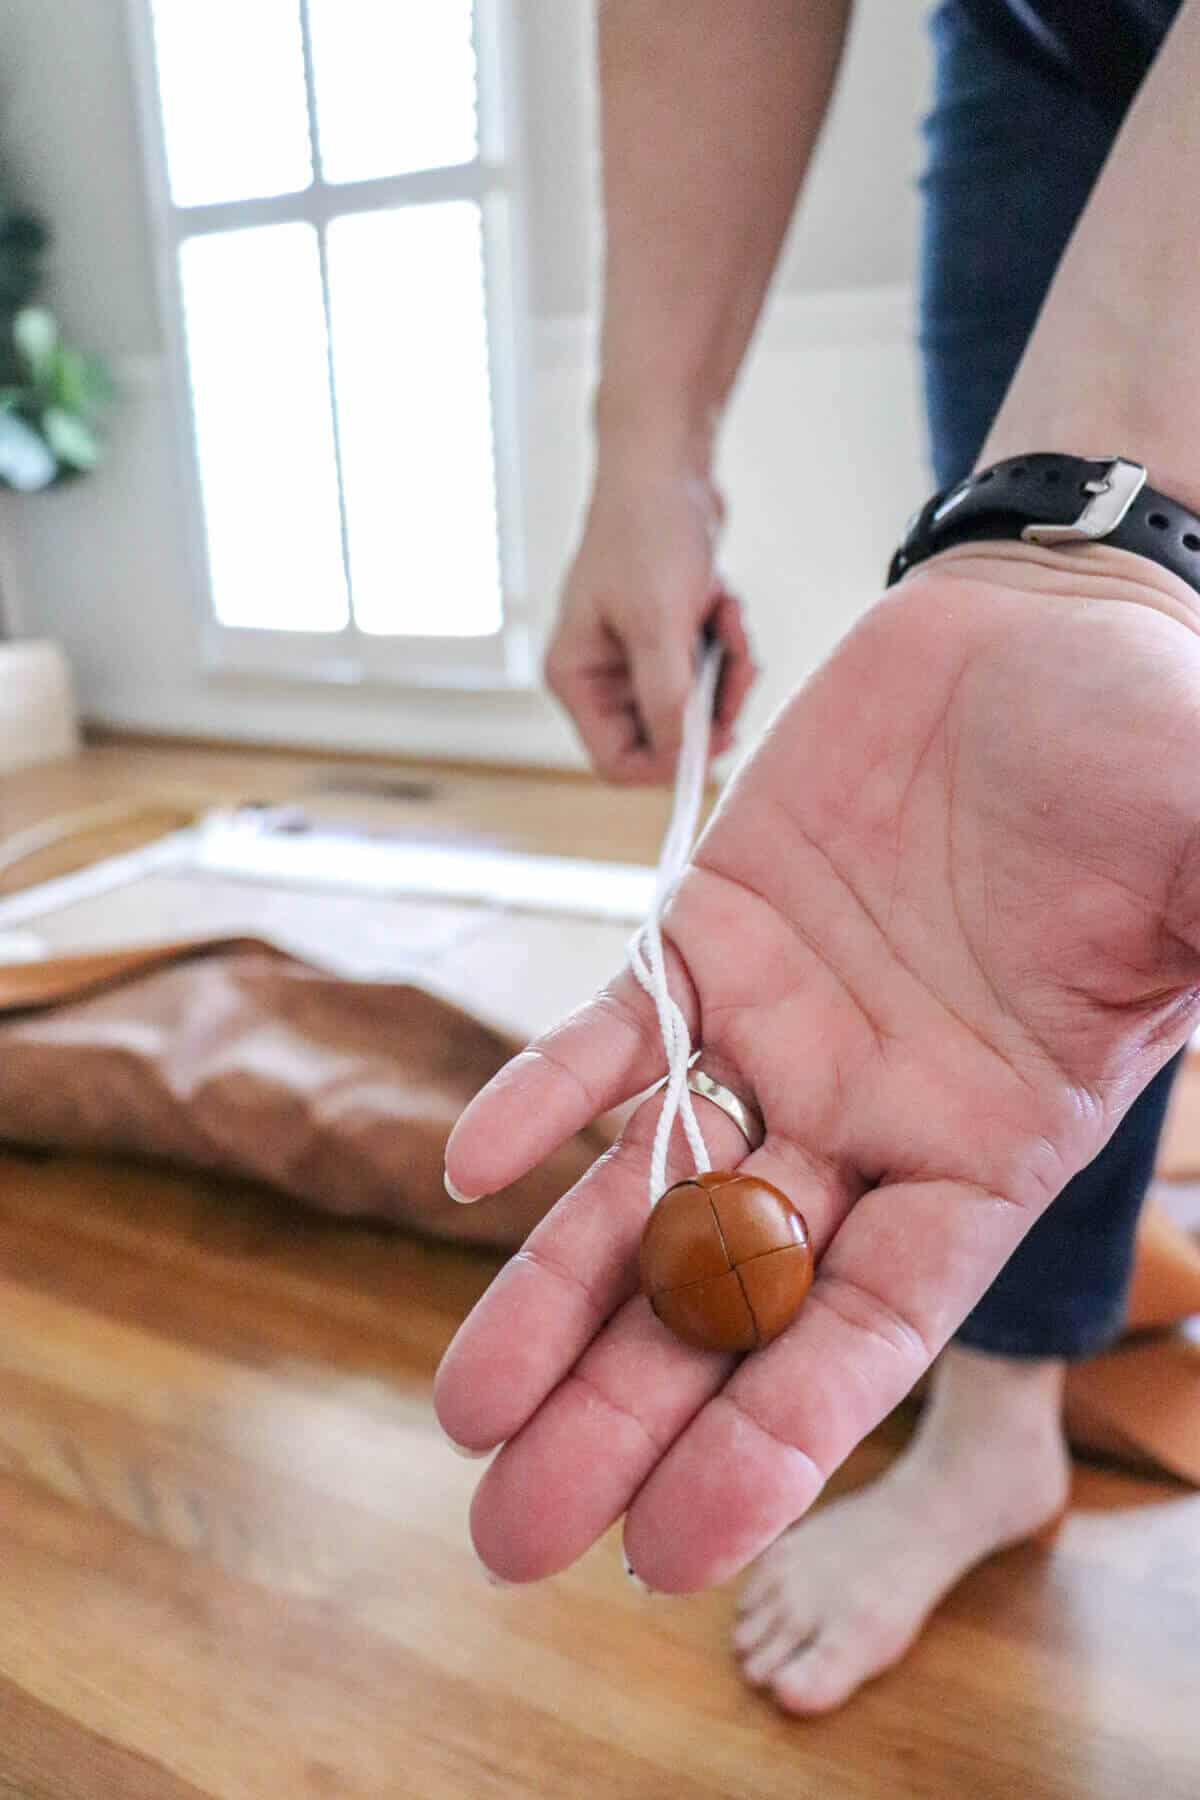
I started with threading my tufted buttons with upholstery thread. Crafting thread works great too. You want the thread to be strong enough to pull to create the tufts.
Here are step by step photos of this reupholstery project.
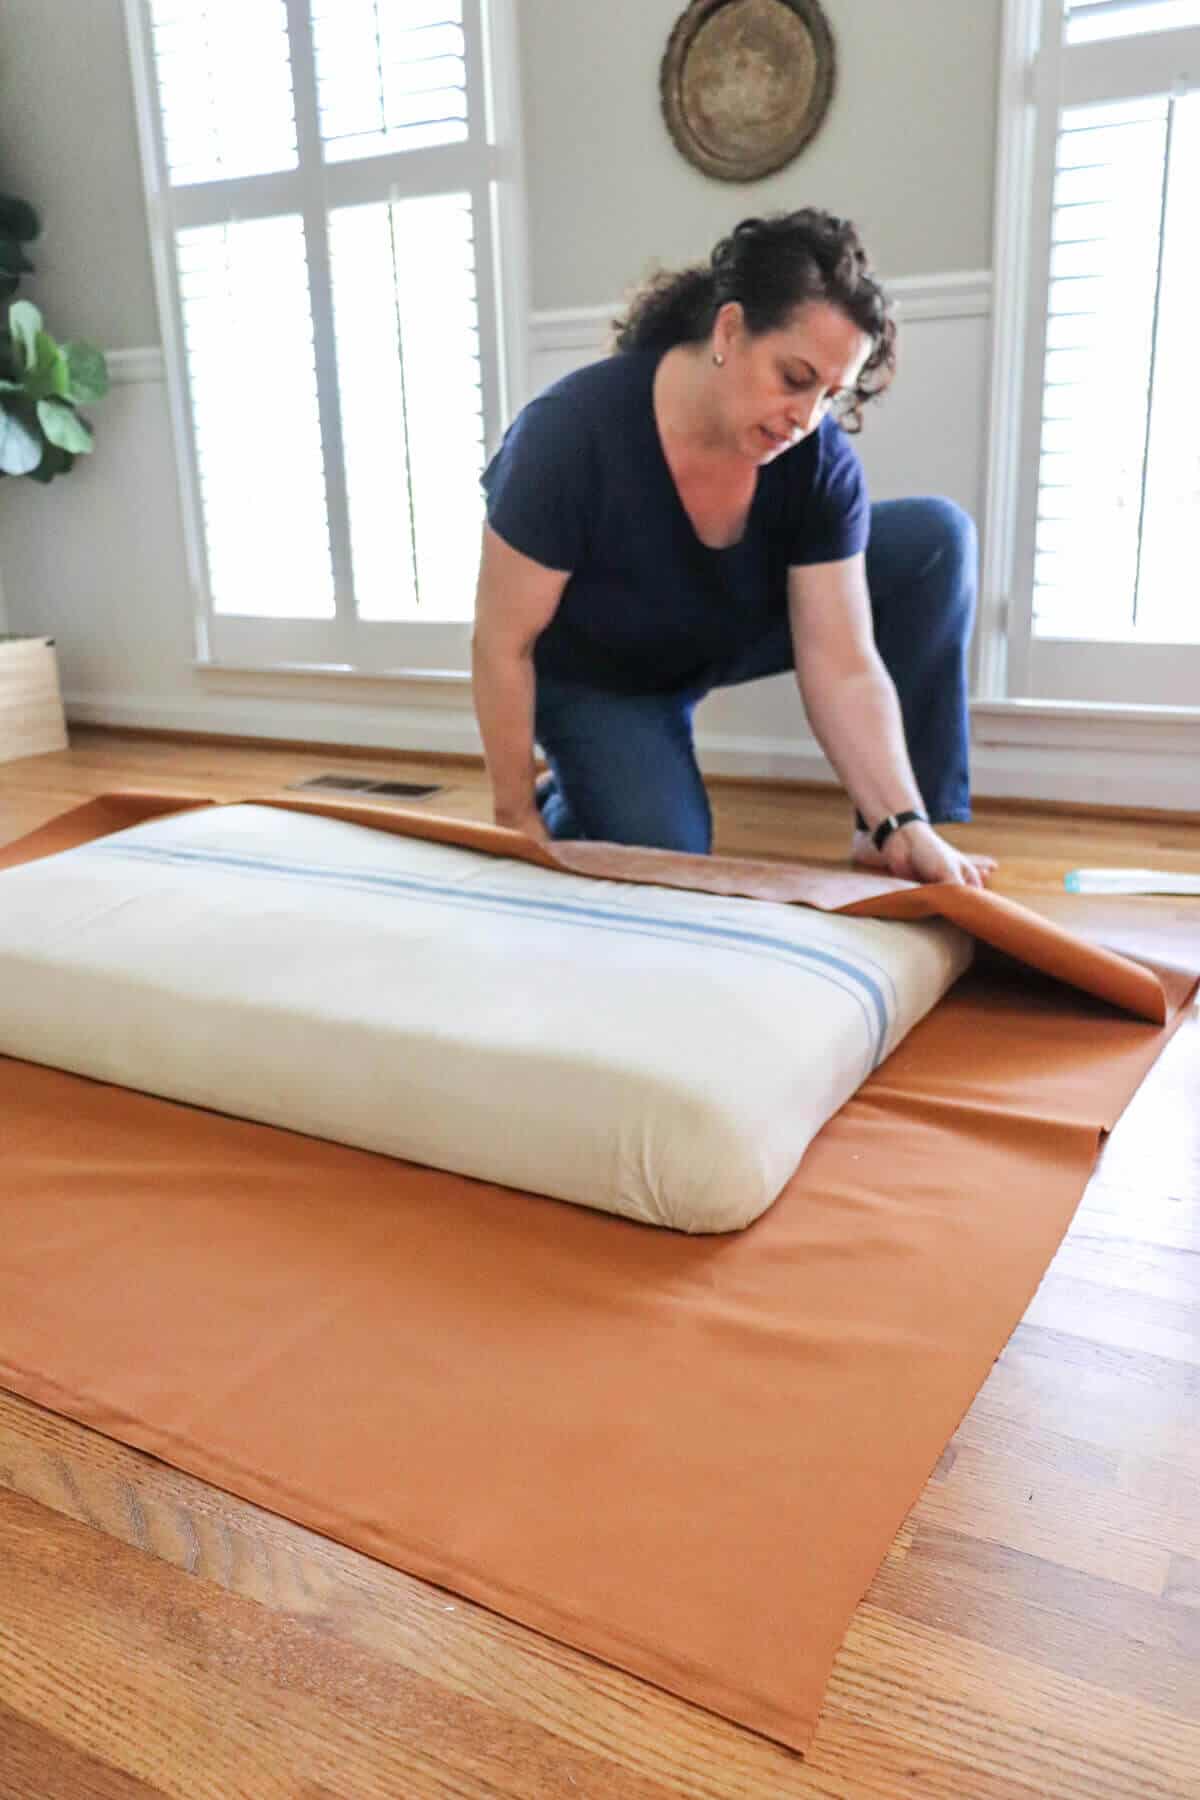
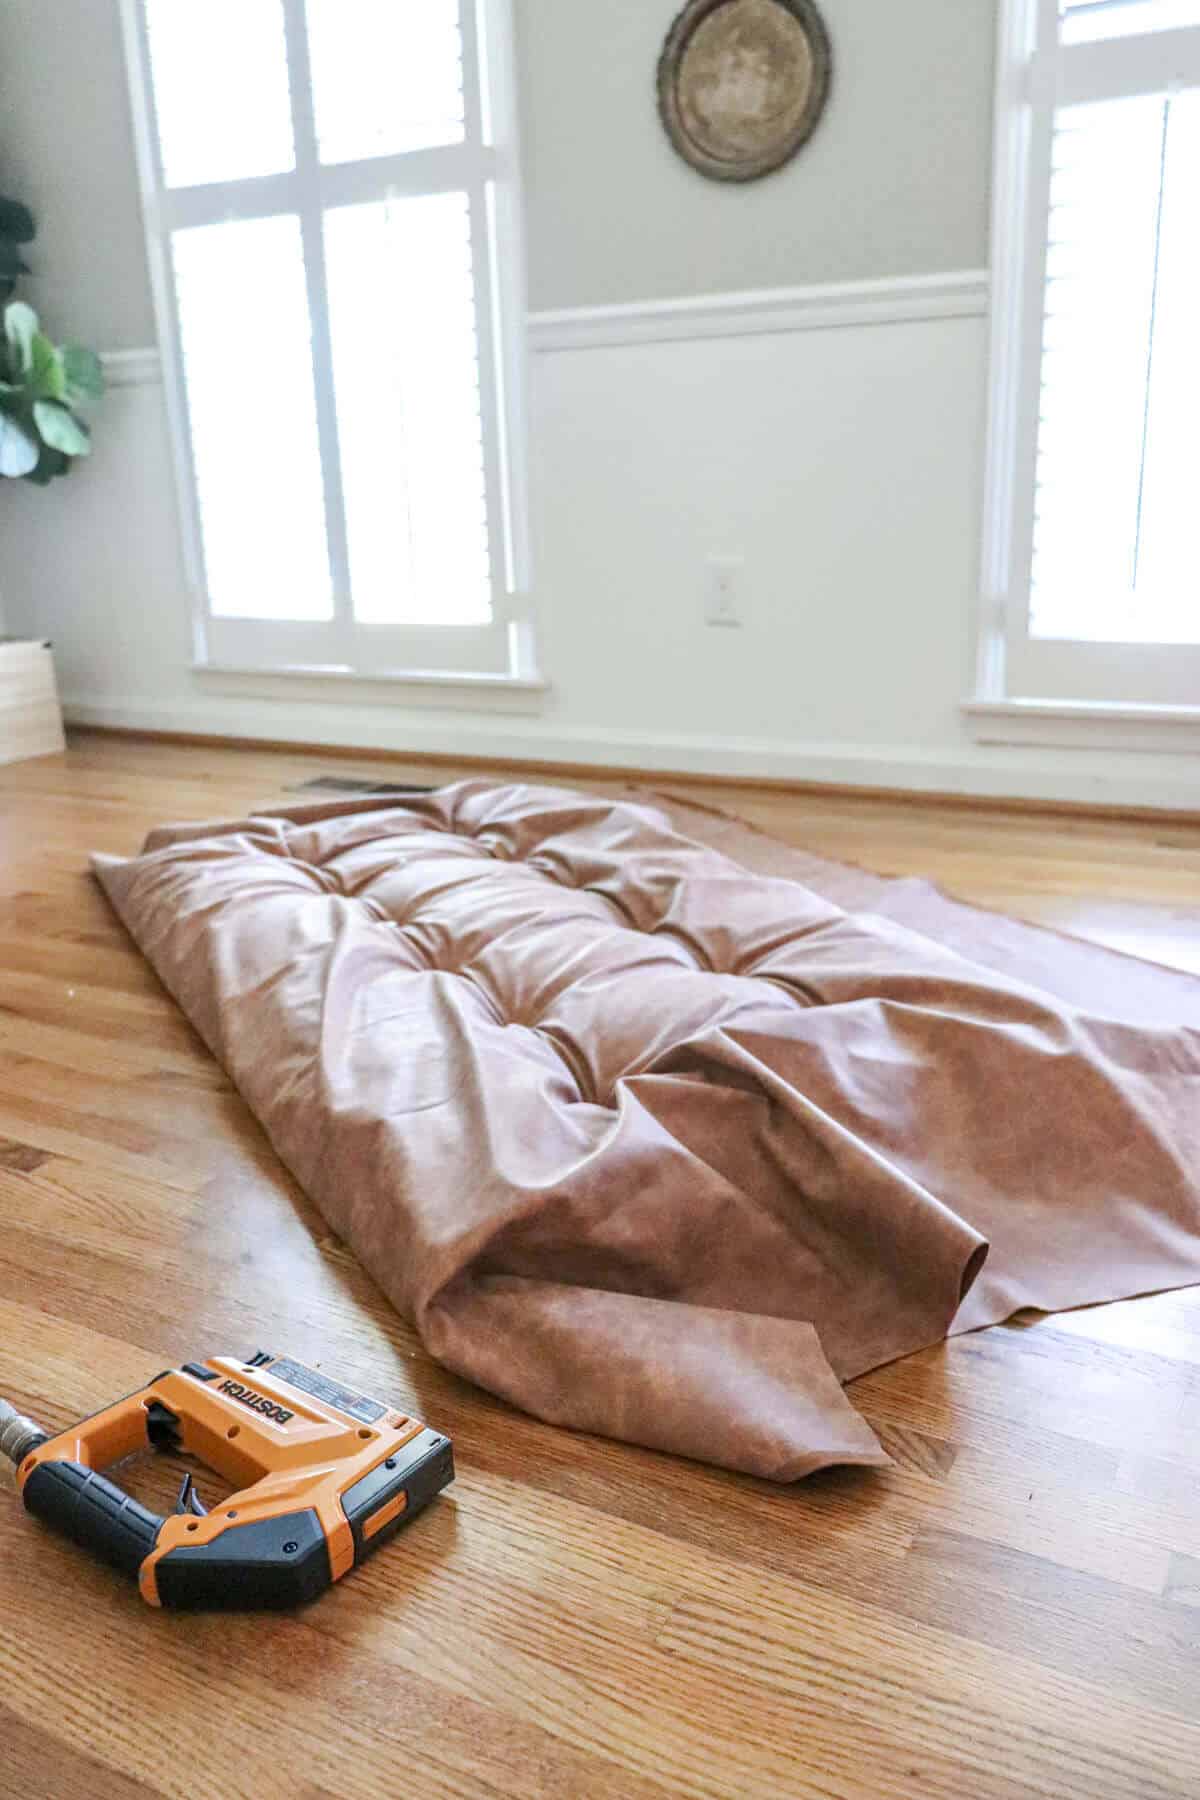
3. Tufting the ottoman. I placed the upholstery fabric wrong side up and placed the top of the ottoman over it. Make sure you have a flat surface to work on. I found working on the floor was easiest.
Take a moment to make sure your fabric is centered.
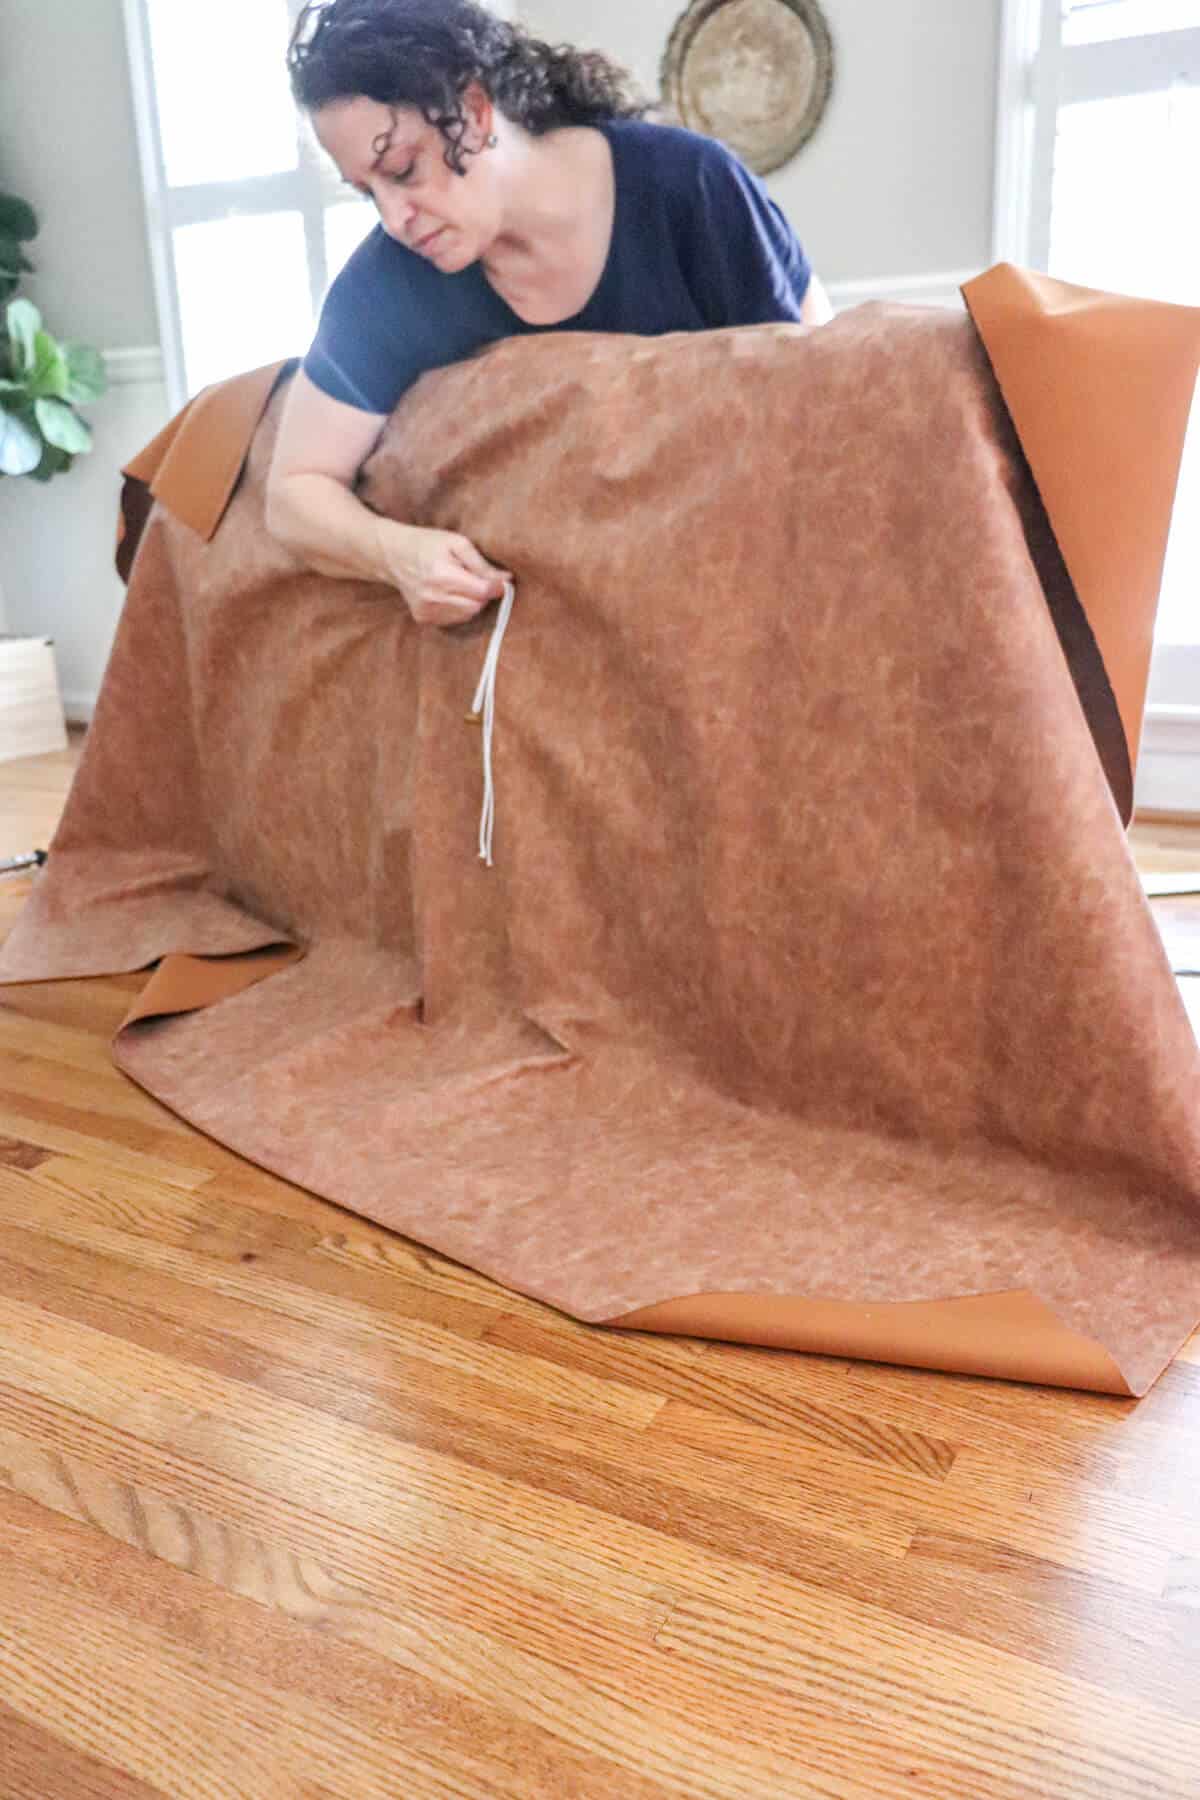
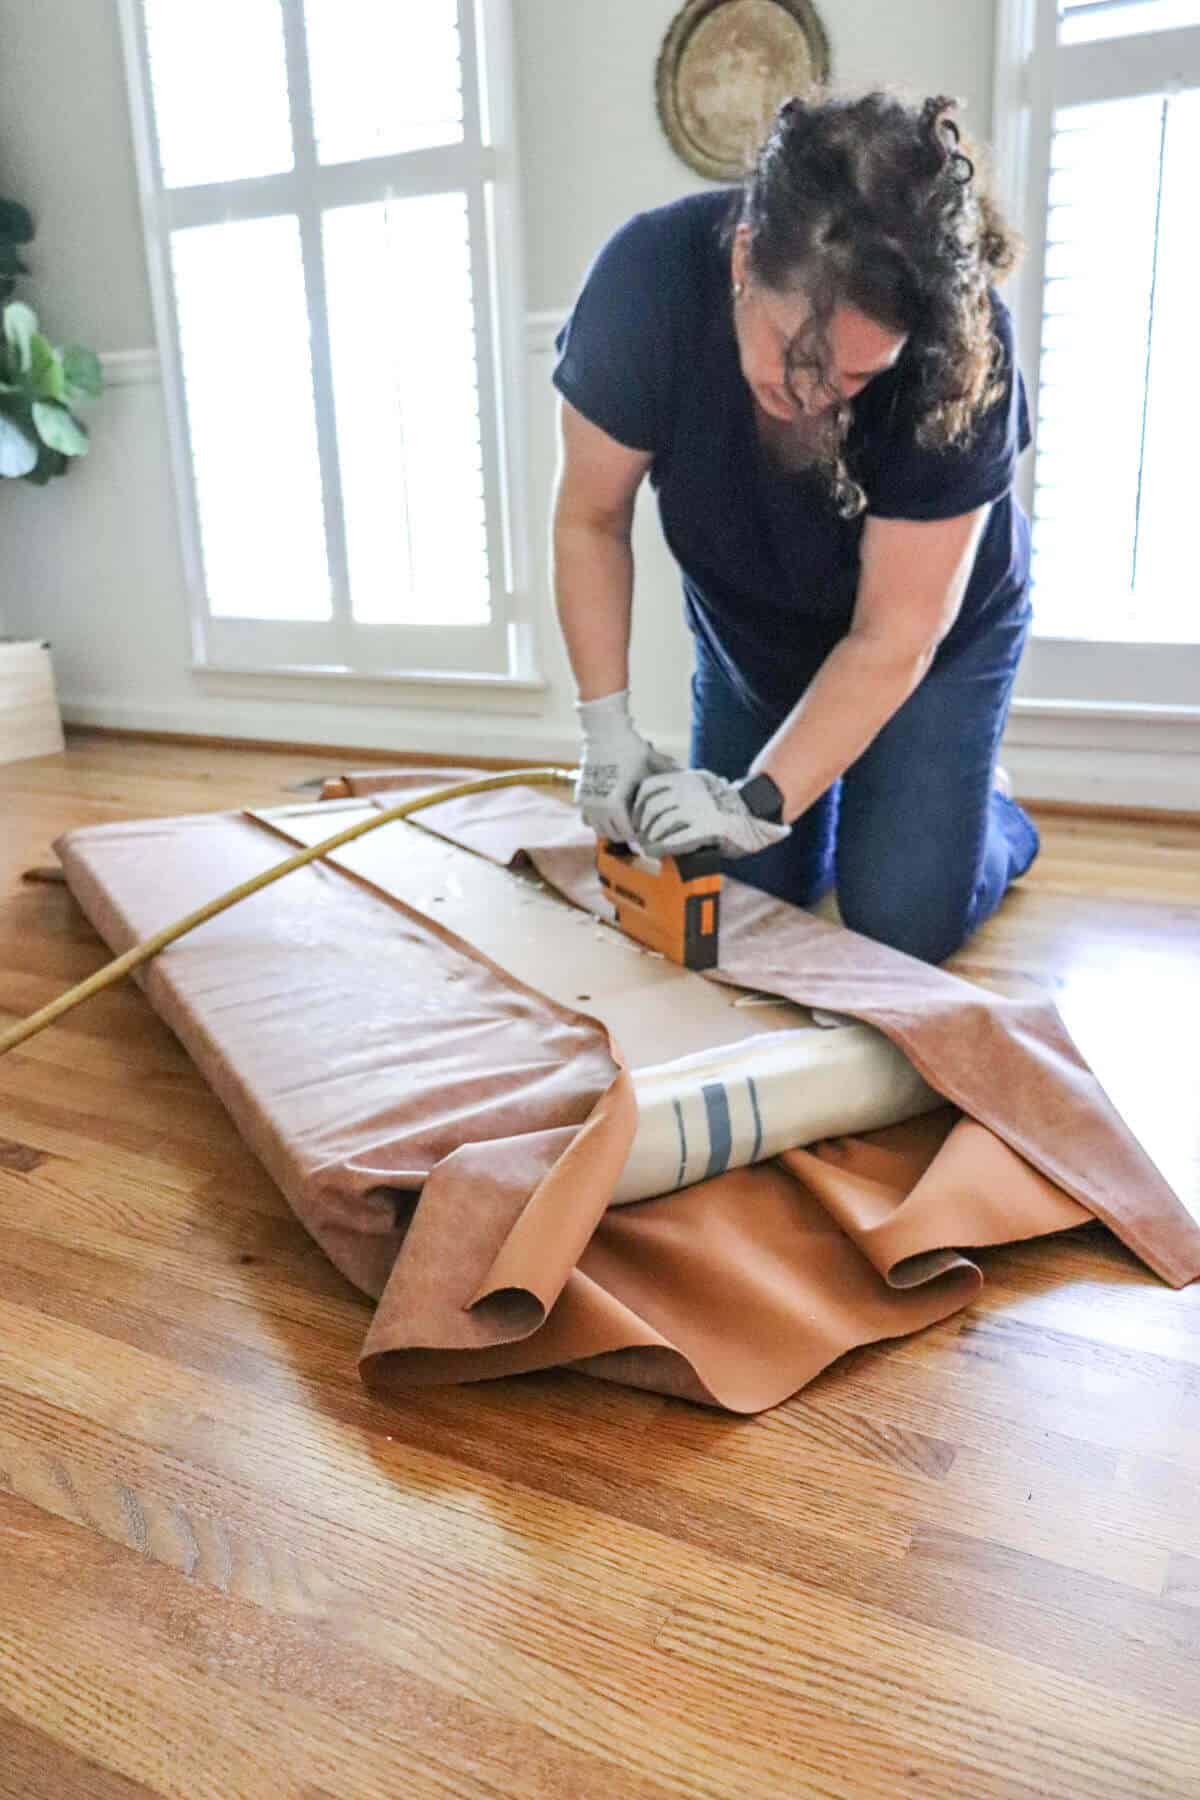
Next you want to flip the ottoman over on it’s side.
Then thread your needle with a long tail for your button.
After trying and failing to line up the upholstery needle with the holes, I found a better way to find the tufting holes.
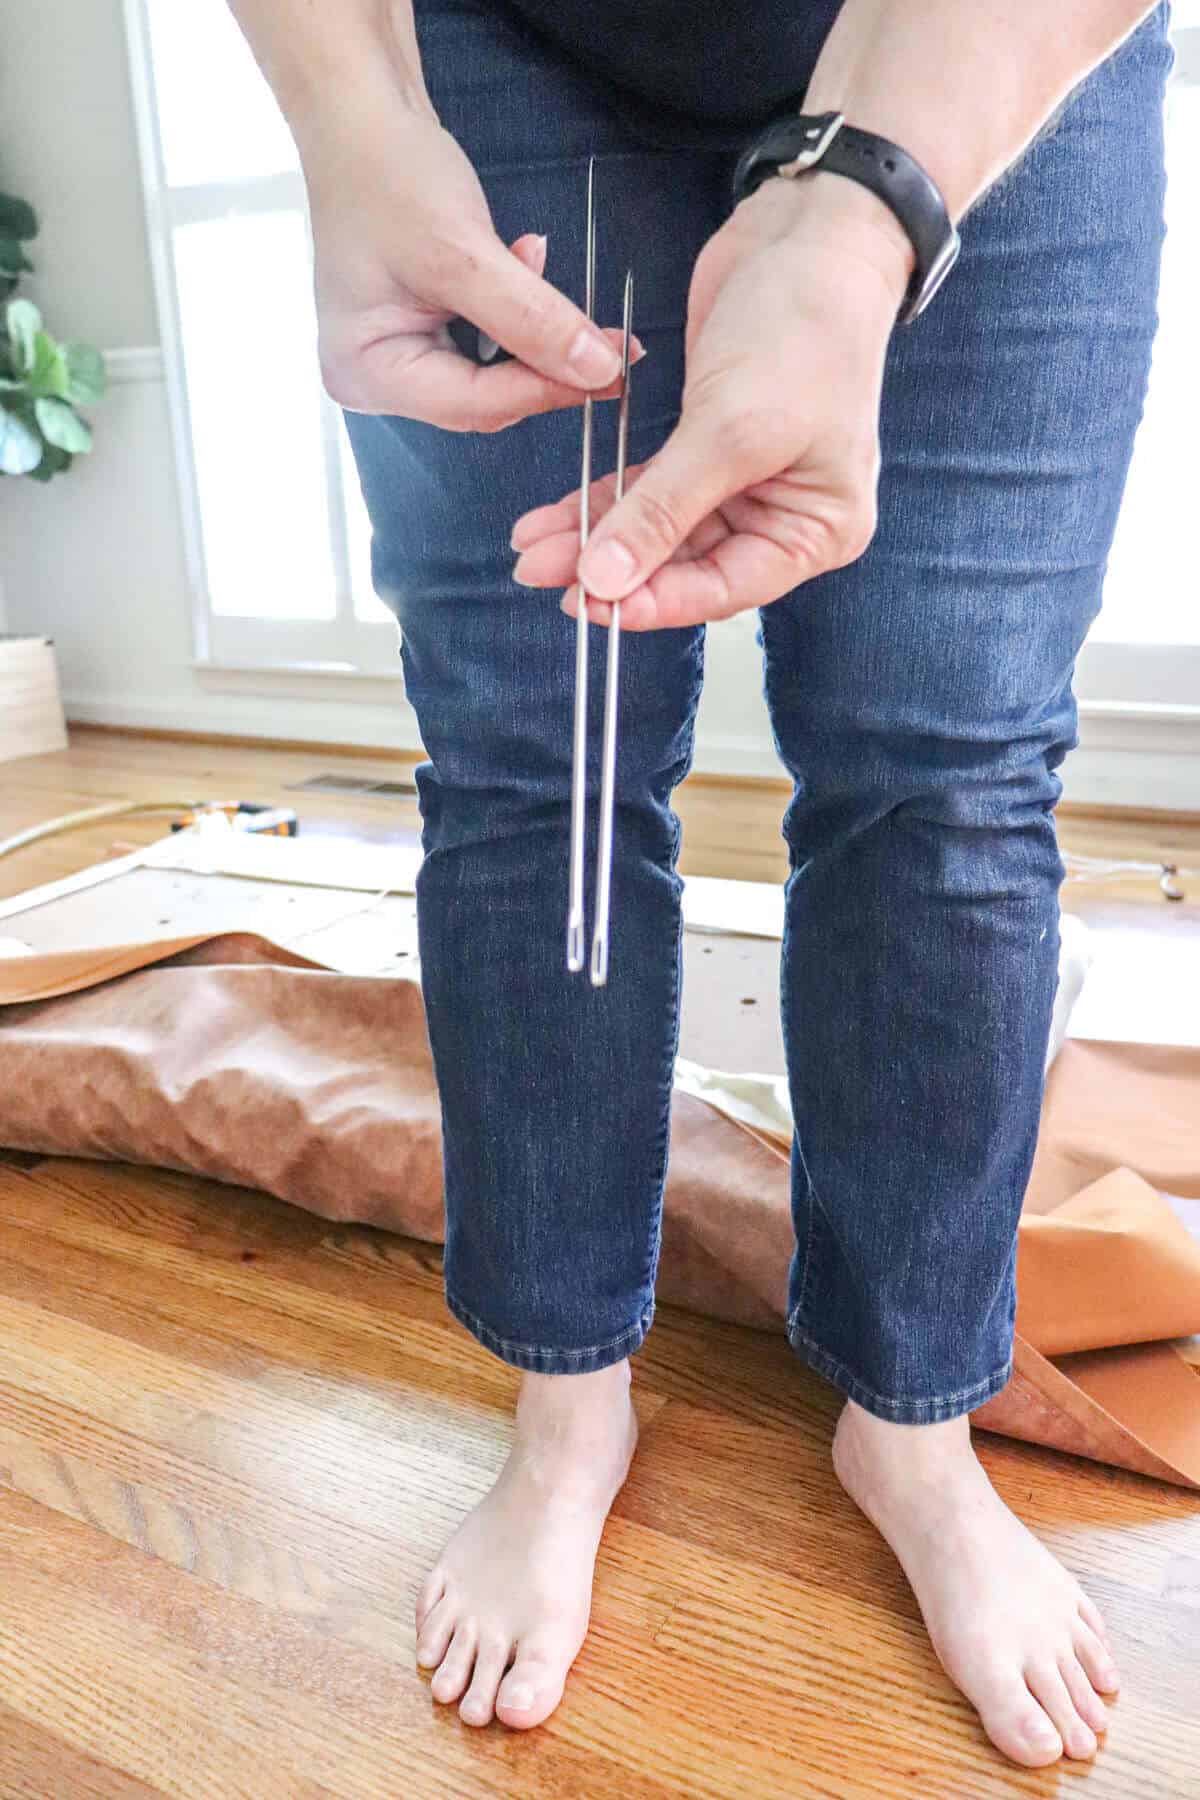
I used 2 needles and started from the back side.
I would stick one long needle from the underside of the ottoman through to the top and then use that as a guide to find the hole.
Then with the threaded needle, I would follow that through to the other side.
It wasn’t perfect science, but it definitely made the process easier. Plus having a little wiggle room in that heavy fabric was a plus!
Be careful with the long needles – they are sharp! I poked myself a few times and eventually started wearing gloves to protect my fingers.
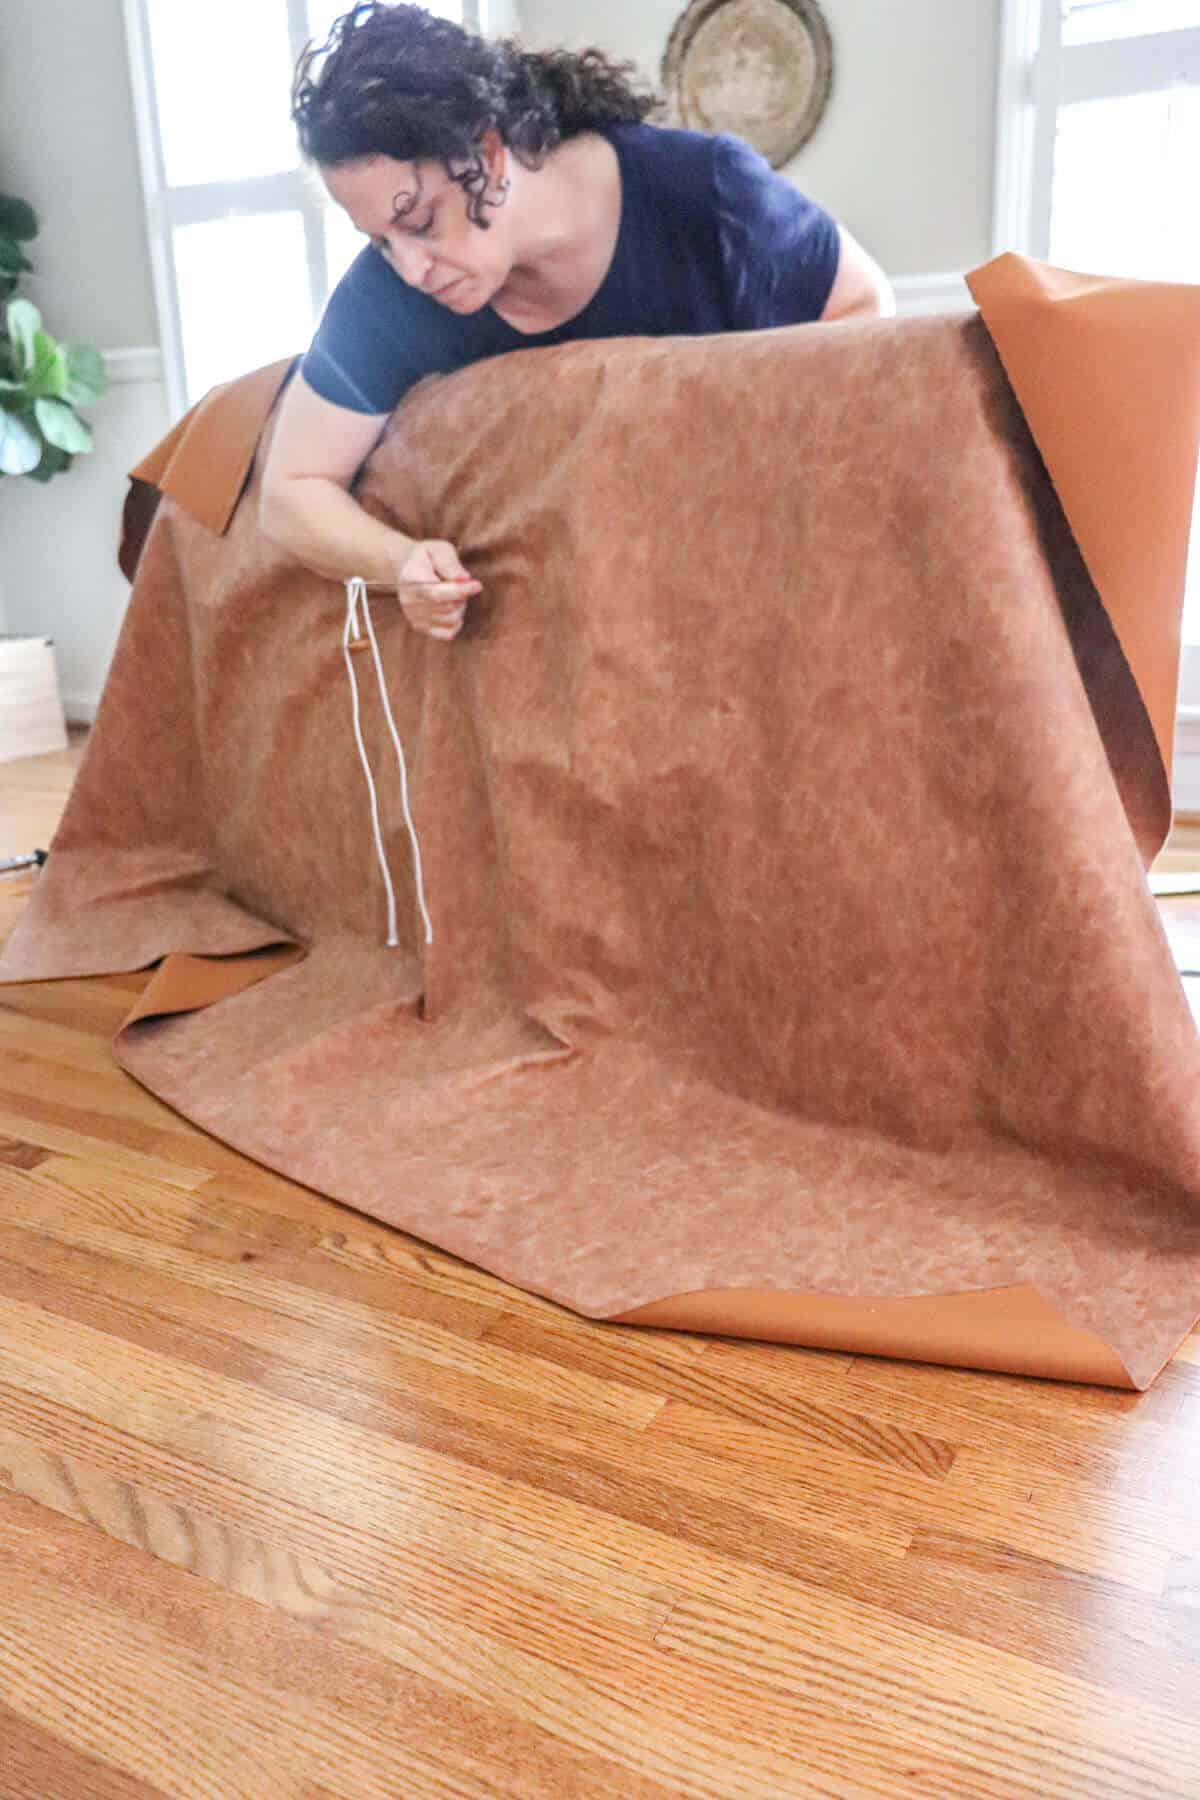
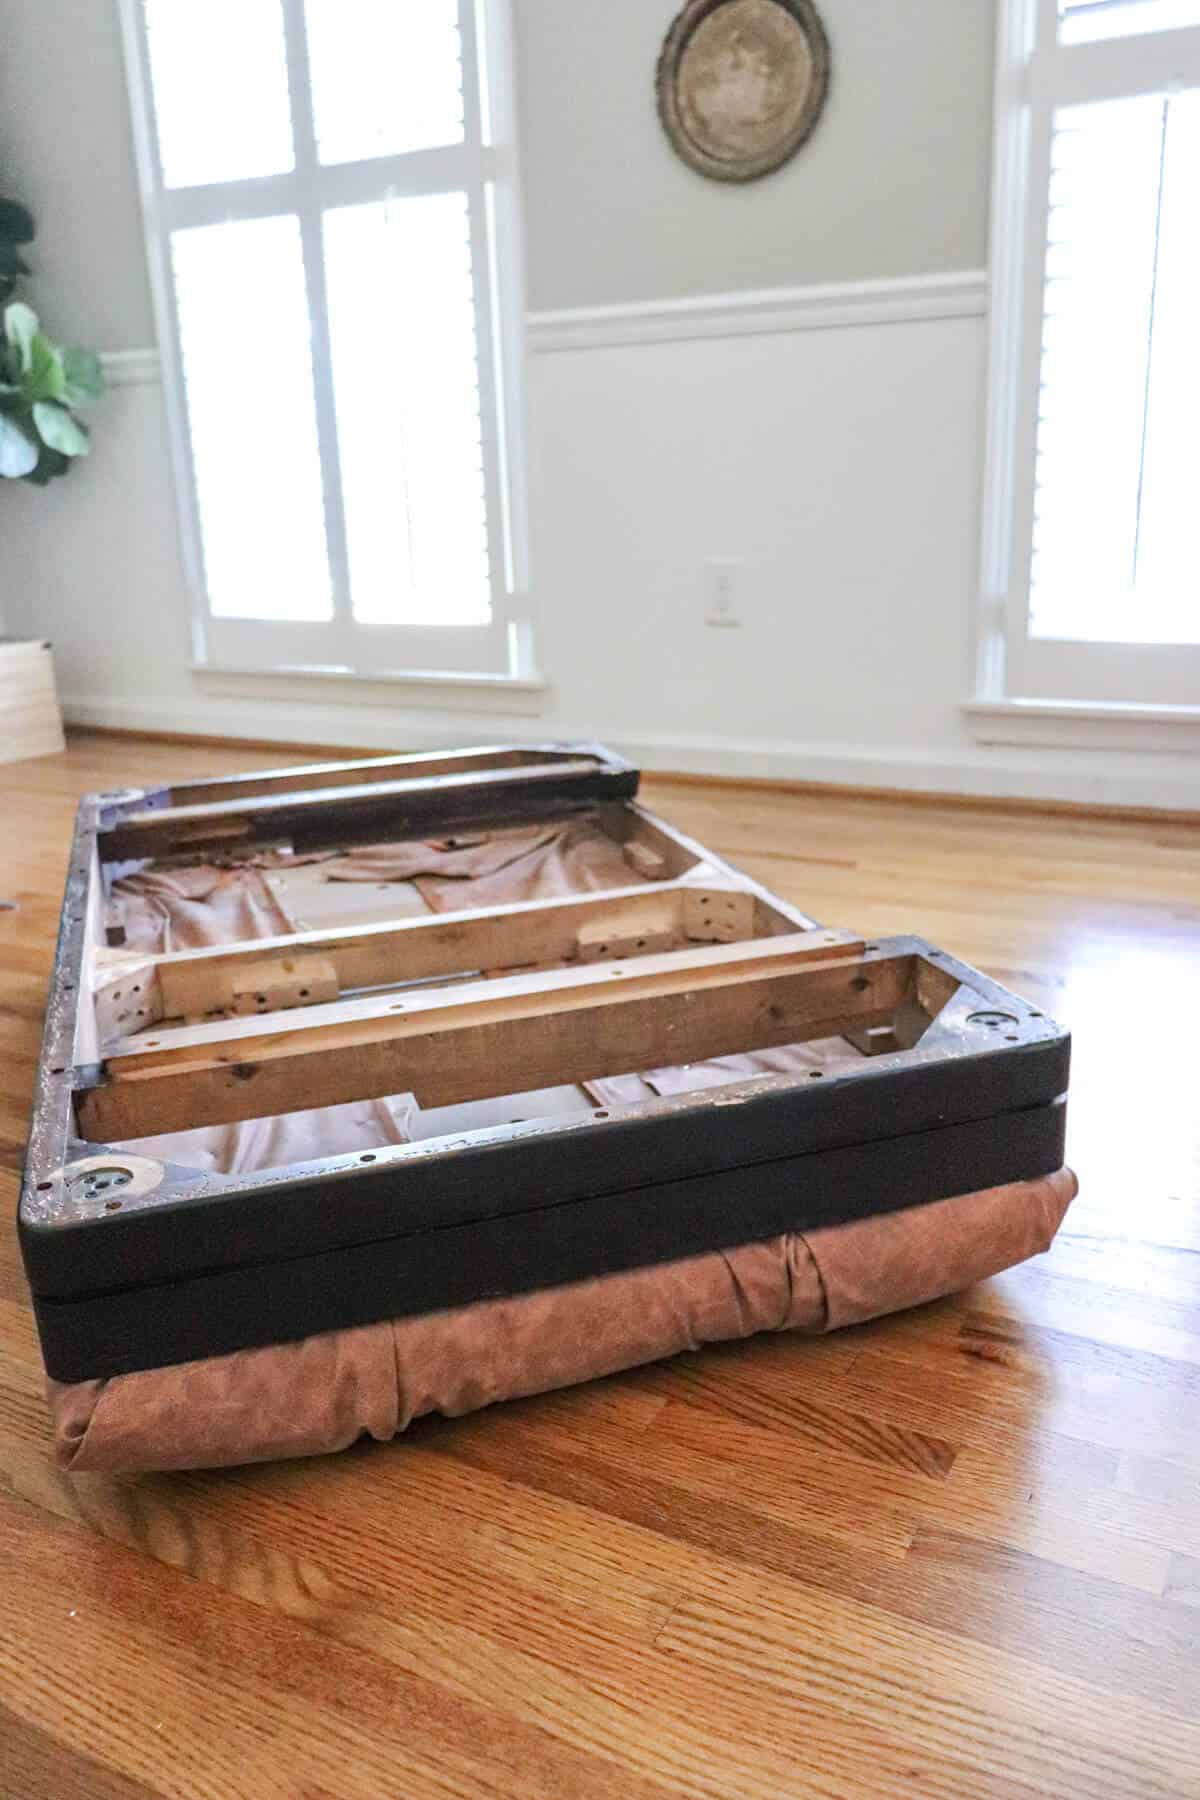
Once you have the thread through the inside of the ottoman, then you will want to attach the string to the base.
Pull the string tight and staple each end to the wooden frame.
Just repeat these steps until all your tufting is complete.
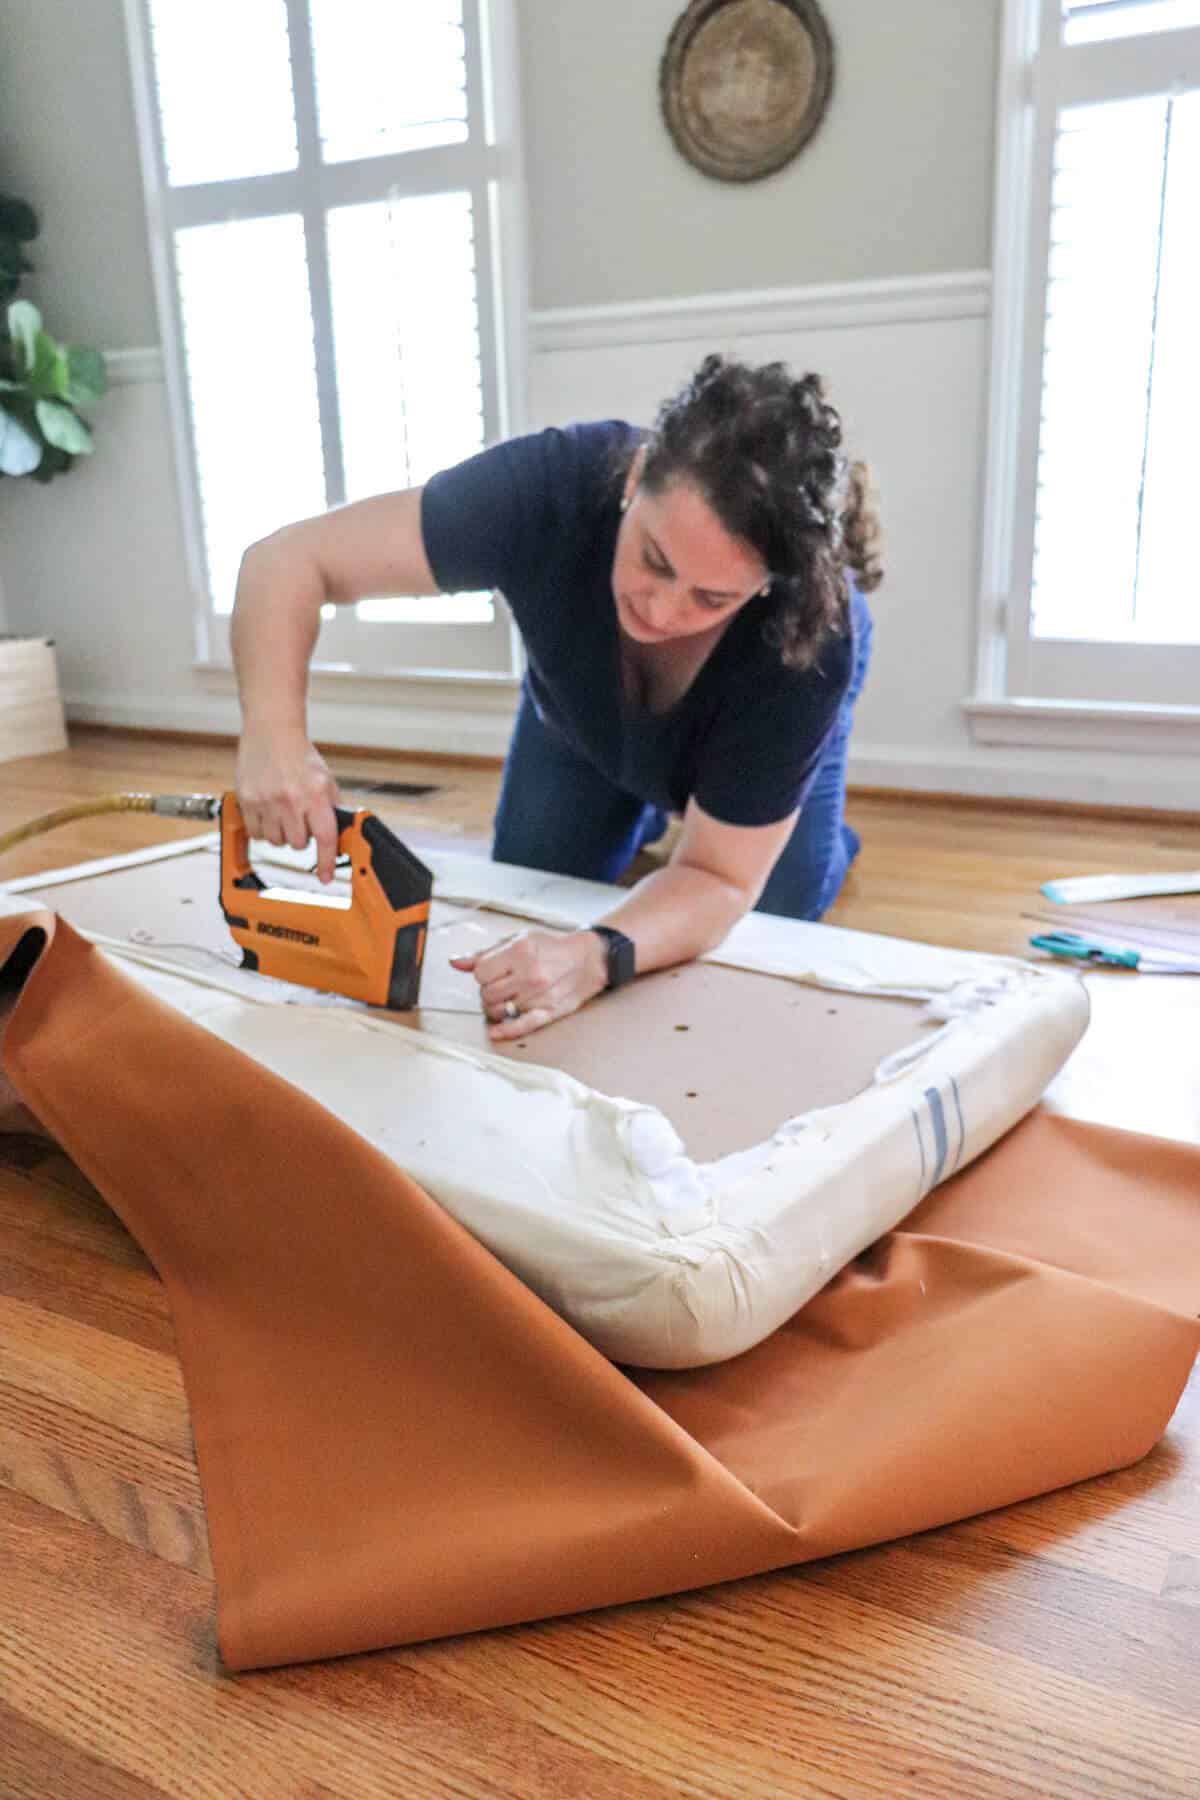
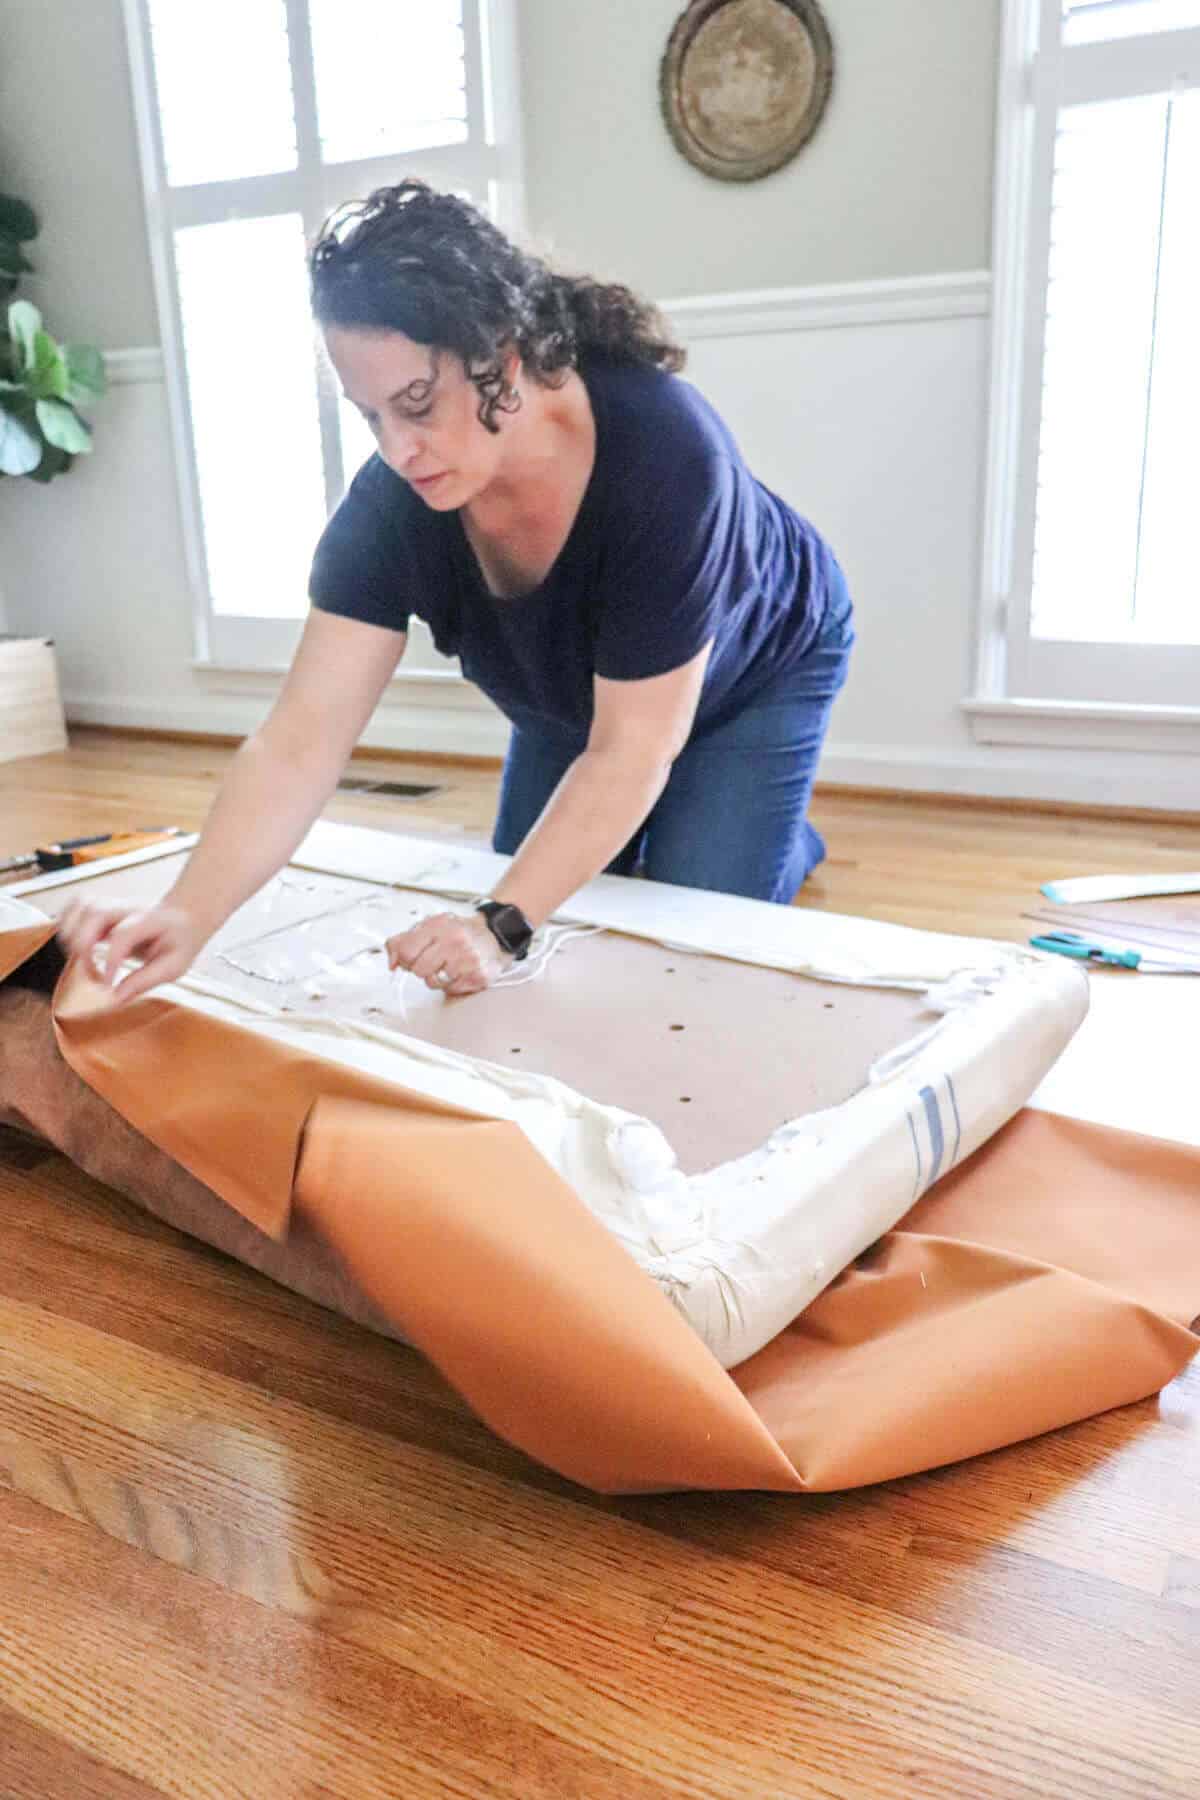
Once your tufting is complete, now you can staple the fabric to the base.
4. Staple the fabric to the underside of the lid. This may work best with 2 people if your ottoman is large like mine. Trent came in and offered a helping hand for this. You want to make sure the fabric is taut and not bunched.
For our tufted ottoman, I was fine with unkempt edges, so we were pleased with the finished product.
So the last step was to place the top piece back onto the wooden frame.
I placed the top of the ottoman upside down and screwed the base back on.
Then we screwed the legs back in place.
It looked lovely, but still was missing something.

So I thought it would be a good idea to add some brass nailhead trim to the base for an extra bit of pizazz!
It comes in a long roll that you nail in place every 5th head.
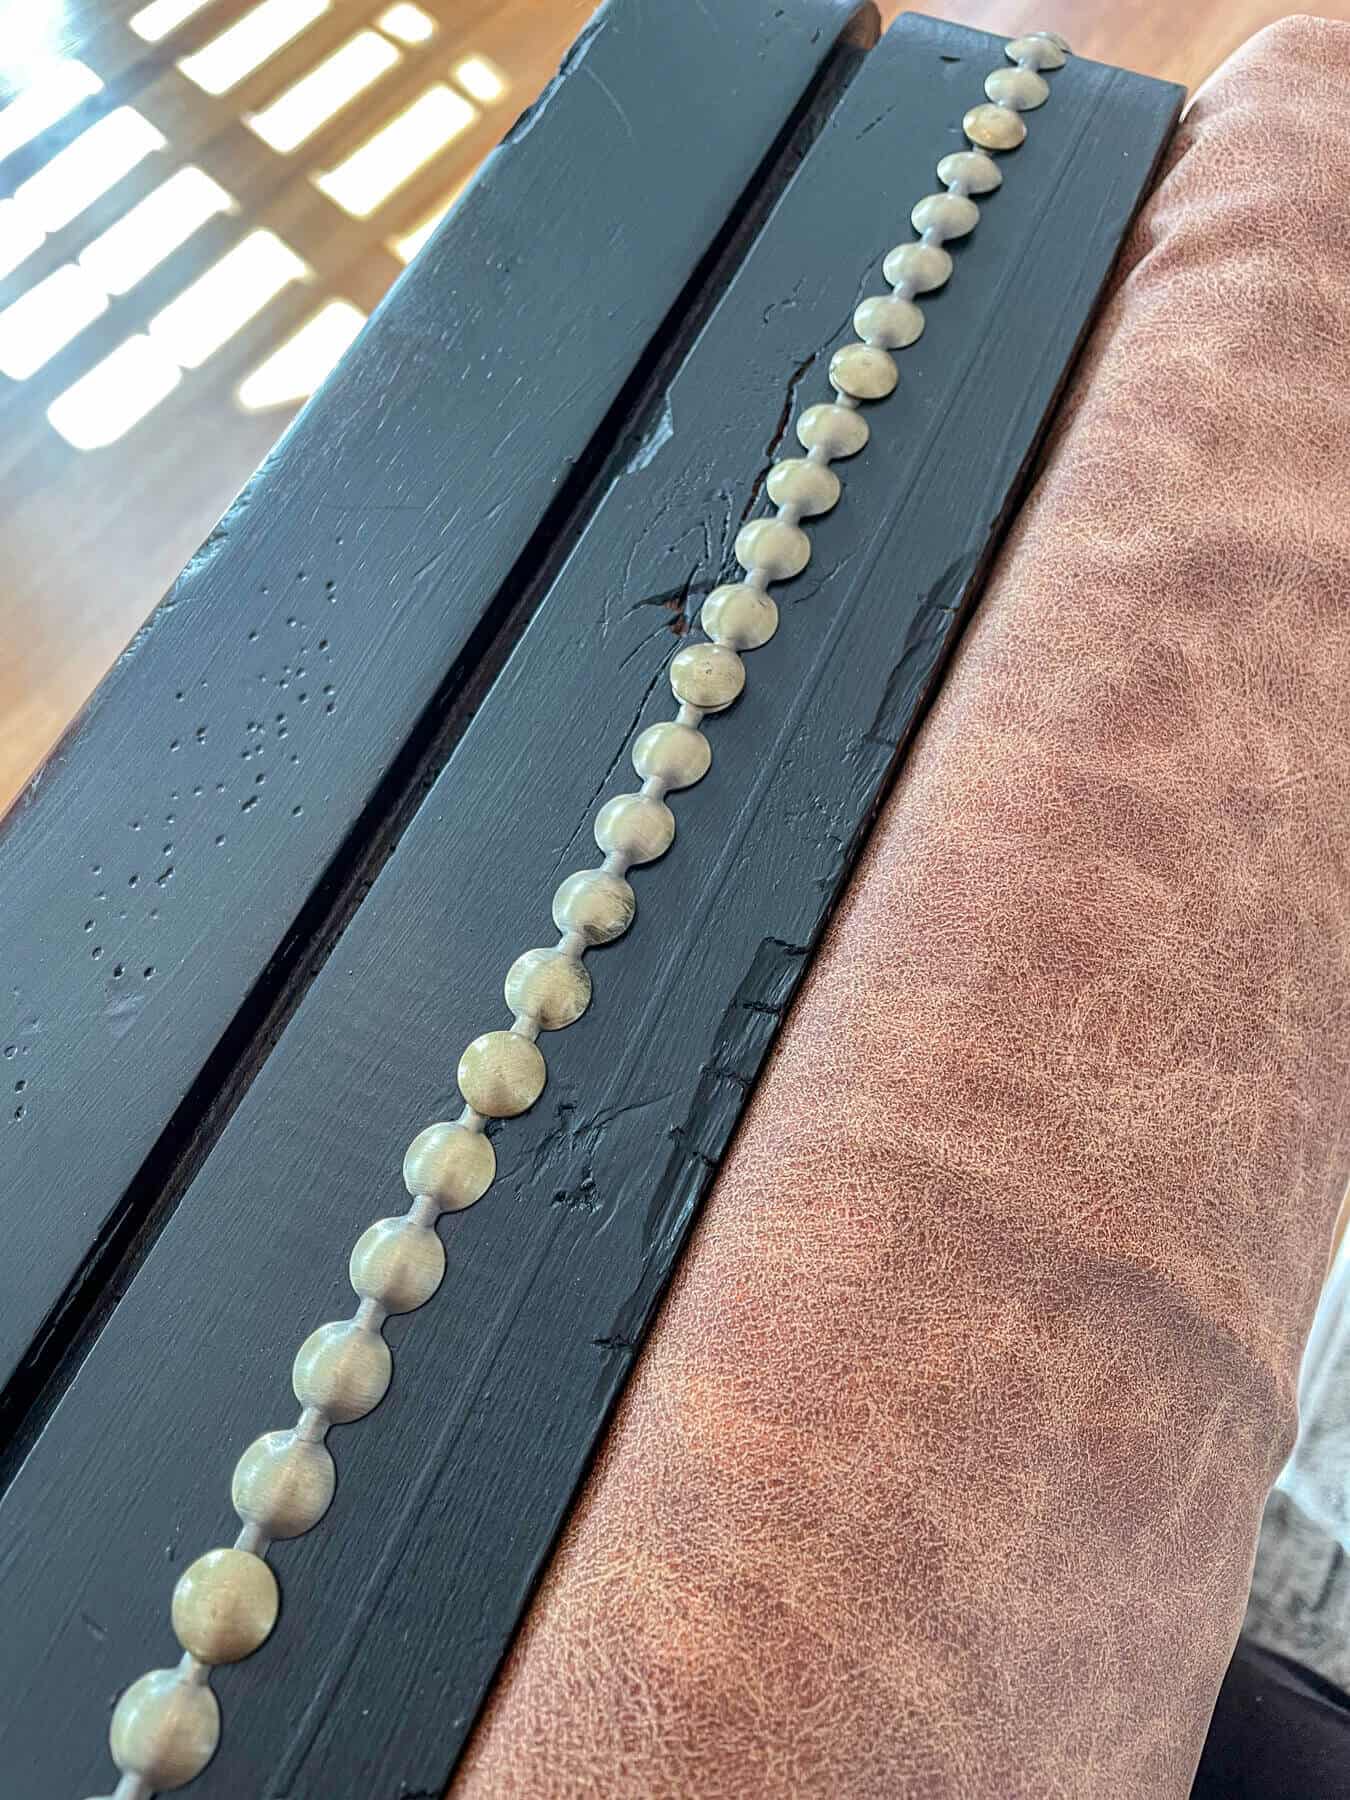
A super easy way to give your furniture a fancy element.
It added just enough to finish the piece perfectly.

So if you are tired of your old fabric on ottoman, or found one at a thrift store that you want to update, then I hope this tutorial helped you out!
And check out my other ottoman reupholstery posts if you are looking for more ideas.
I have a huge treat for you all! I am joining a few of my friends as we are each sharing something that we are updating, making over, or refreshing in our homes. We’re calling it New Again, where we are giving new life to something.
So be sure to check out all the awesome posts below!
New Again

Roots of Home
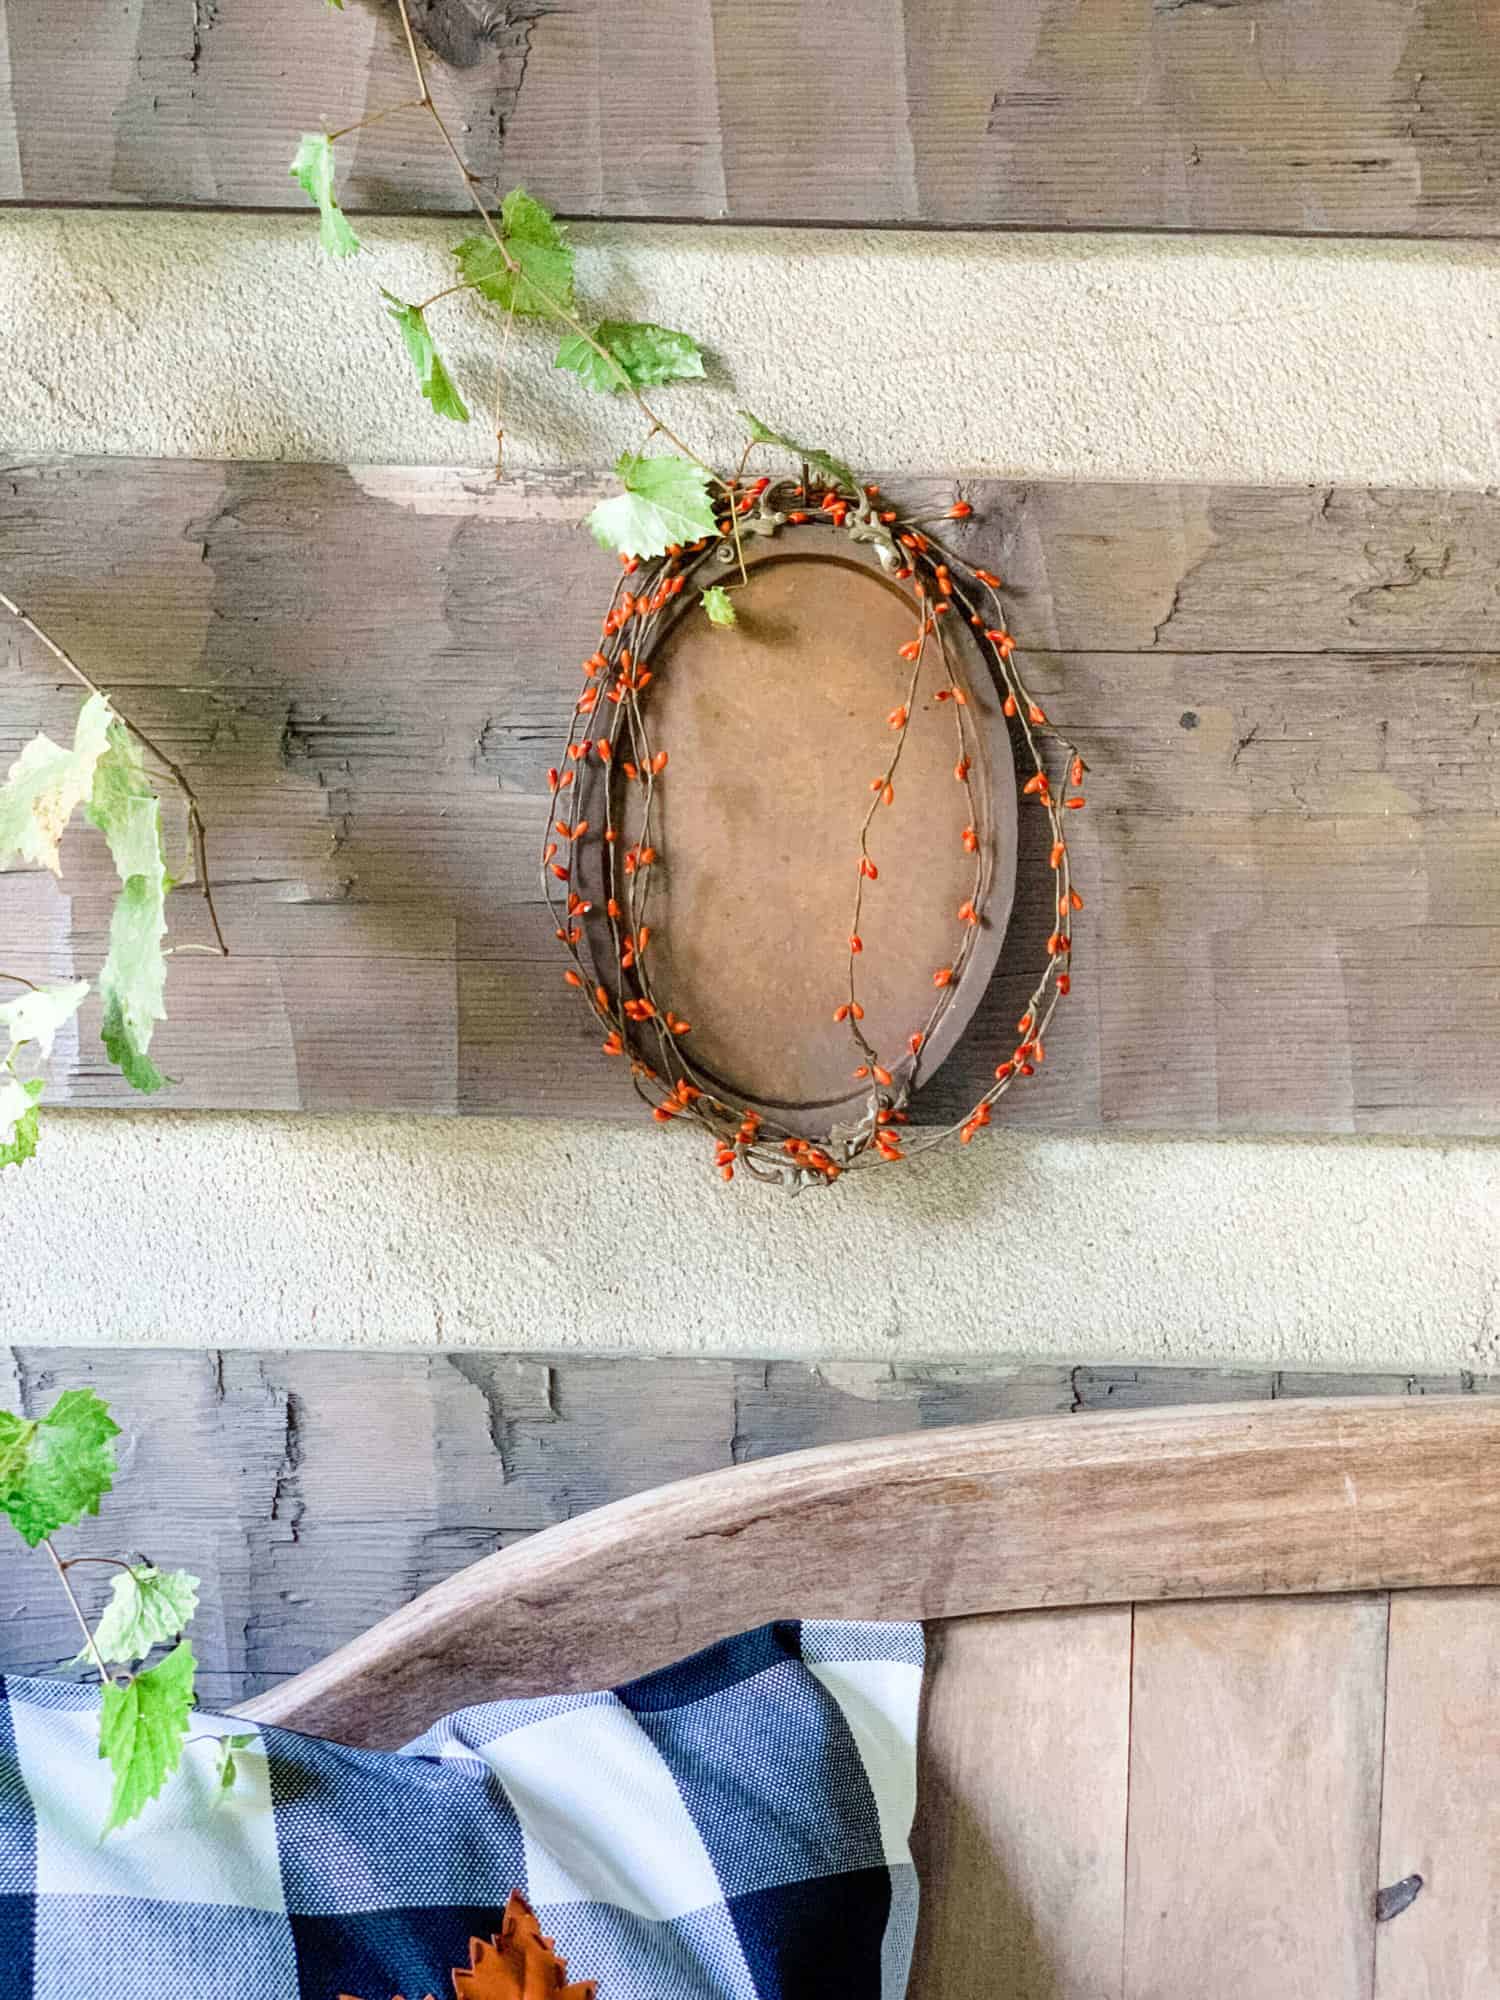
Metal Serving Tray Wreath for Fall
A Life Unfolding
Painting Plastic Furniture Counter Stools Remade

Noting Grace
How to Reupholster an Ottoman
shop our favorite home items
shop now
Join Our Community
Don’t miss the next DIY! Receive exclusive content, including behind the scenes photos, our favorite home decor DIYs and more!


Thanks Libbie! It was daunting to think about at first, but I love how it turned out!
Jen,
This bench turned out so good! I love the way the fabric is a bit relaxed. Added a cool factor to it!
Jen,
This looks so good! I love what you did to refresh your ottoman.
xoxo,
Brendt
Thank you, Leen! I’m all about repurposing what I have to save a buck!
Your ottoman looks great, Jen!
I love that it’s a sentimental piece and you’ve been able to keep making it work in your decor.