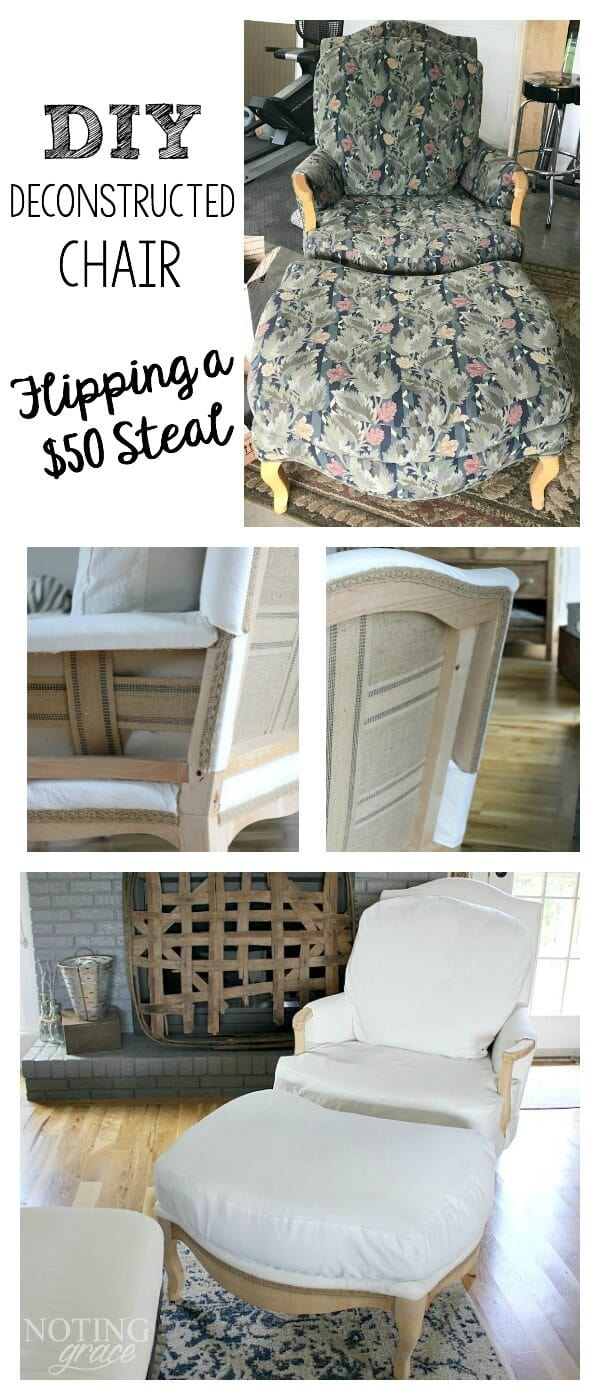
Dropcloth Recovered Deconstructed Chair and Ottoman
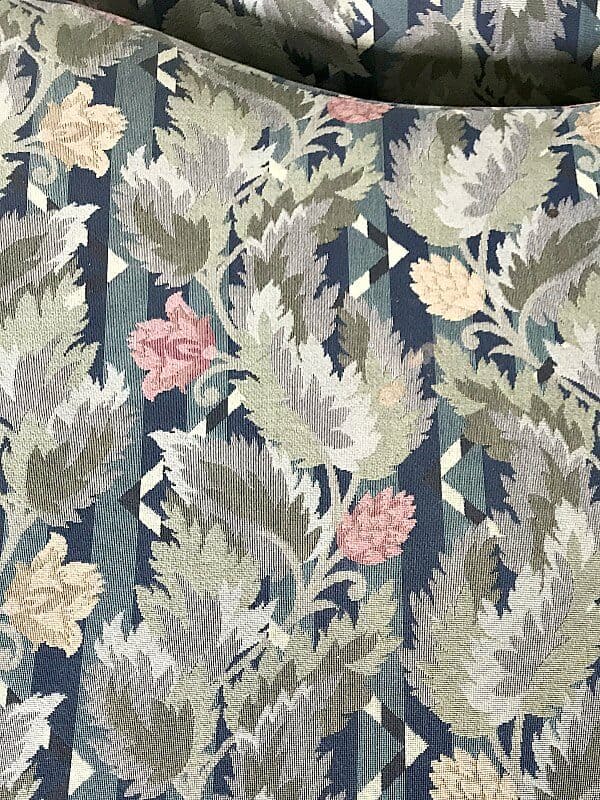
Who knew that a find from a buy/sale/trade group would turn into a chair I’ve always dreamed of, and I almost passed it by! I took this steal and flipped it to create a Deconstructed Chair and Ottoman that will take your breath away!
Do you see it?
The possibilities?
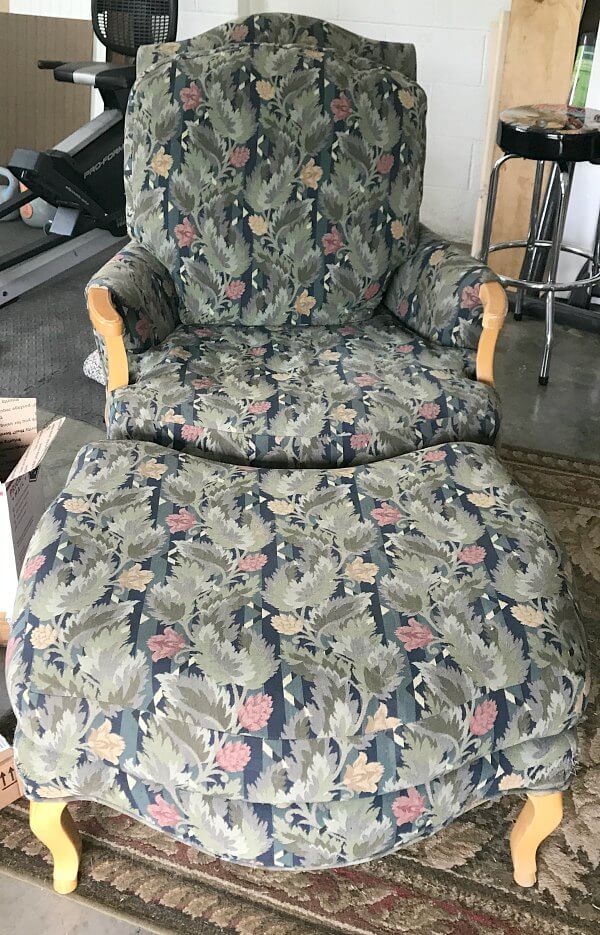
Would you buy this chair or walk on by?
I almost scrolled past this piece on Facebook when I first saw it, not loving the fabric. Plus, another reupholstery project sort of intimidated me. But when I saw it posted in another group, and noticed the price – I couldn’t pass it up.
I drove up to the town next to me and loaded this beauty into the back of my van in exchange for $50.
My mind was racing with the possibilities of how I was going to flip this piece the whole ride back home.
Trent helped me unload it from the van and that’s when I noticed the cushion.
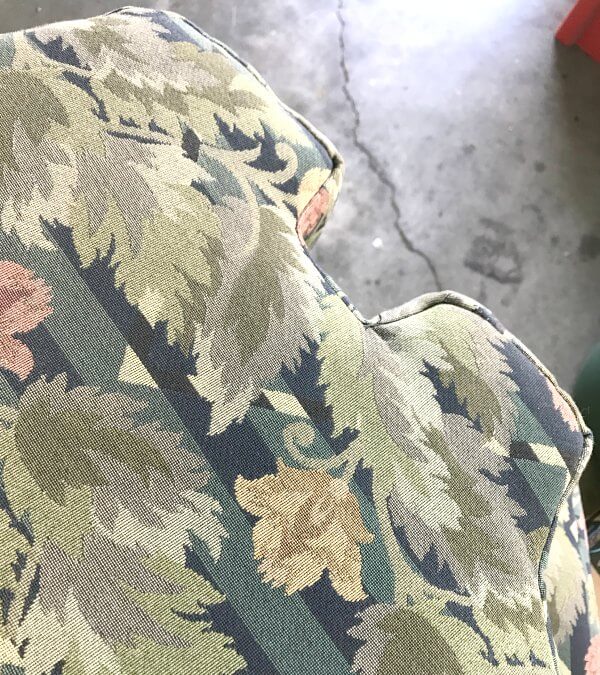
How was I going to fix this? I’m not a seamstress. I mean, I can sew a straight line, but this was a whole new ballgame. So what did I do?
I educated myself thanks to Miss Mustard Seed. She has the most in-depth video tutorial series on her youtube channel.
Guys – this is the real deal. Not only did I know what steps to take, but I left feeling confident I could do it….that is, until that persnickety seat cushion, but more on that later in the post.
So, the initial plan was to reupholster the base of the chair like I did my Wingback Chair and slipcover the cushions and ottoman. Little did I know what treasure was underneath that busy fabric!
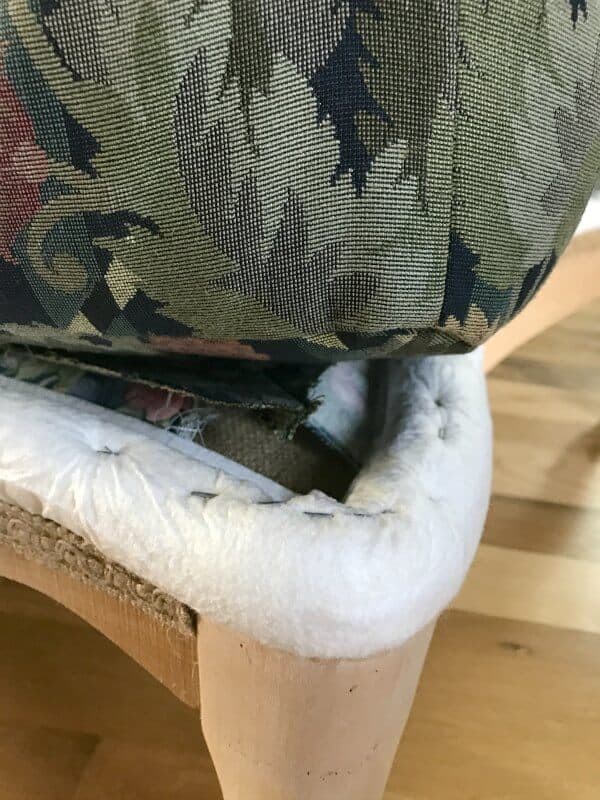
I got out my trusty tack puller – like this one from (aff. link) Amazon and started taking the chair apart and this is what I found!
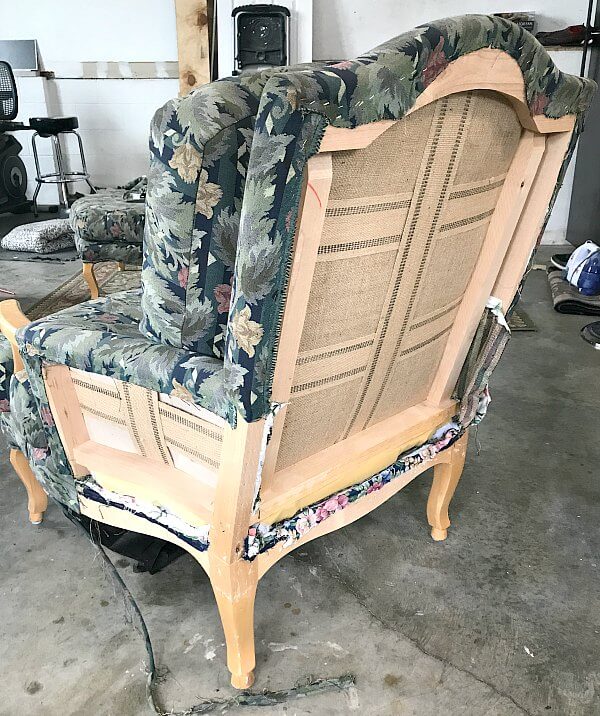
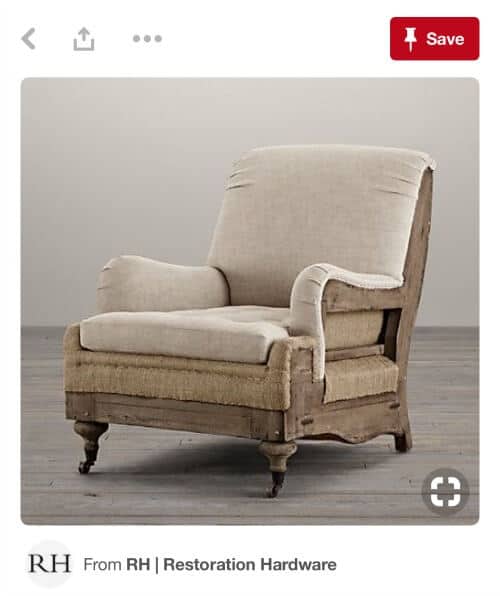
I couldn’t believe my eyes. Suddenly, my whole plans changed. I dreamed of owning a deconstructed chair for years. In fact, I’ve had crushes on and have stalked a few. It all started with this piece from Restoration Hardware.
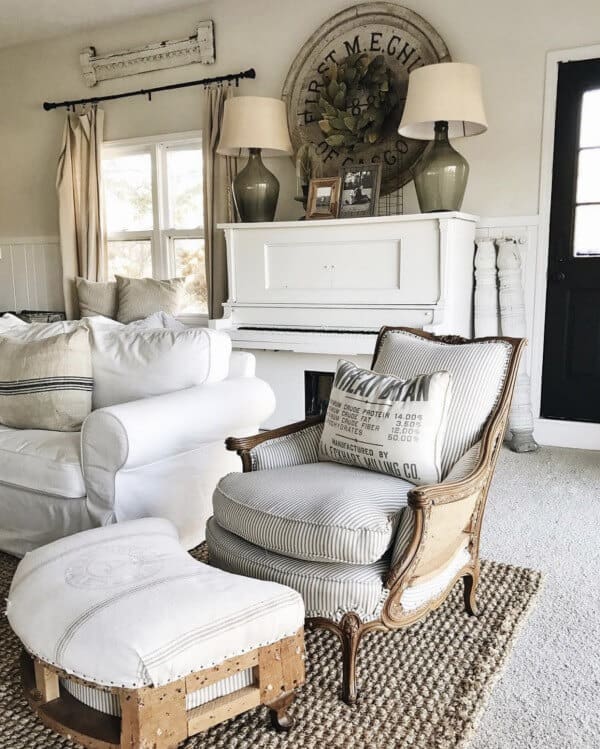
And then Liz Marie had a friend make this deconstructed chair for her.
I even put this chair in my cart at Amazon a few times!

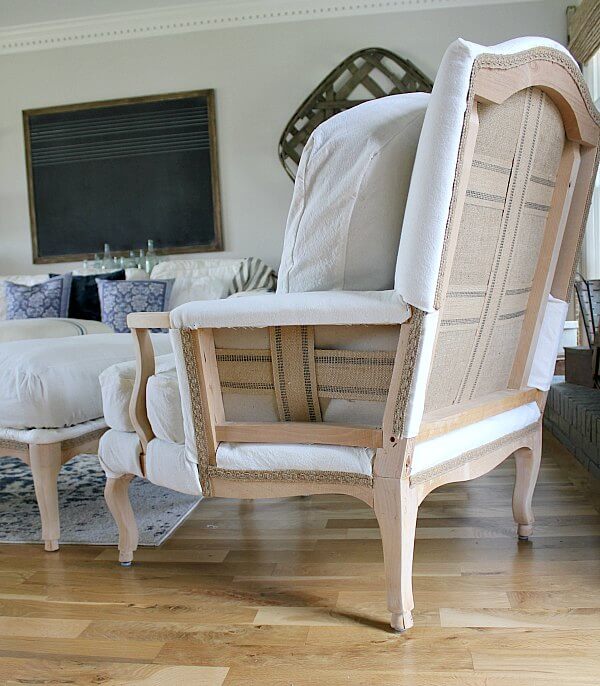
I never thought I’d find one with all the burlap and upholstery strap in place. Immediately, all plans changed and I was going to create my own Deconstructed Chair.
Dropcloth Recovered Deconstructed Chair and Ottoman
(Some affiliate links are provided below. Full disclosure here.)
After I removed the fabric, and sanded the arms and legs down to the natural wood, I started bleaching some drop cloths.
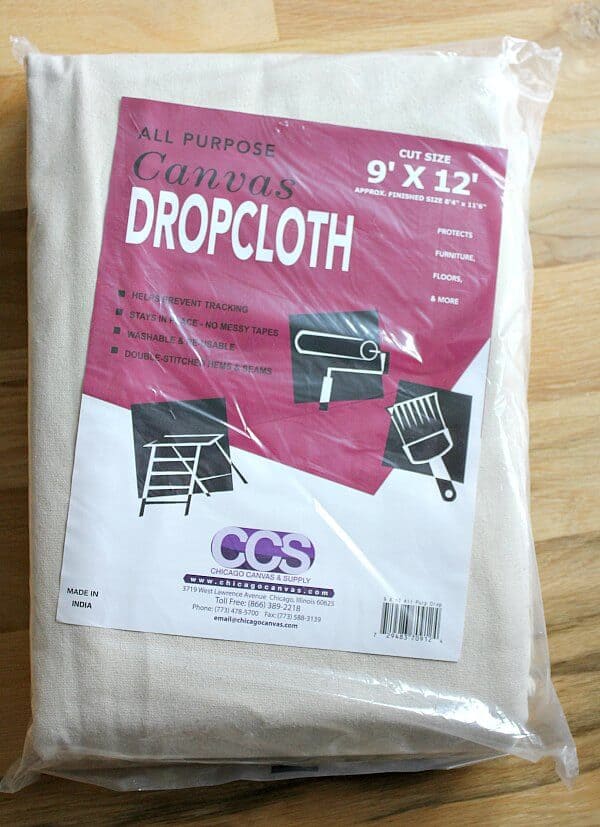
Following Lisa from Farmhouse on Boone’s bleaching tutorial, I ordered these drop cloths from Amazon.
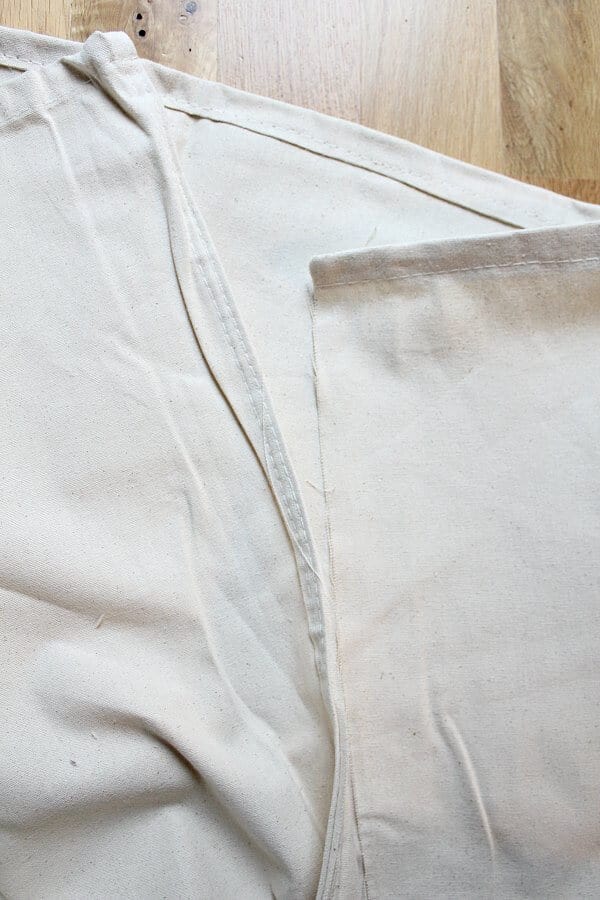
They are easily separated by ripping along the seam in the middle, creating two large pieces of fabric from one drop cloth.
Now, my bleaching took a lot longer than Lisa’s did, but my washer has a water sensor on it that limits the amount of water and it automatically drains without warning. I learned my lesson the hard way and had to unplug my machine and fill it with my kettle by hand. A bit tedious and a long process, but so worth it!
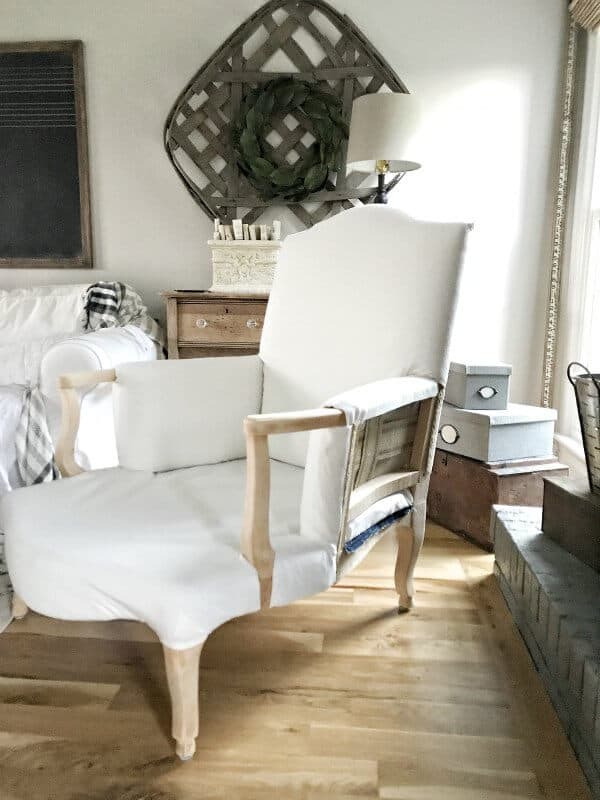
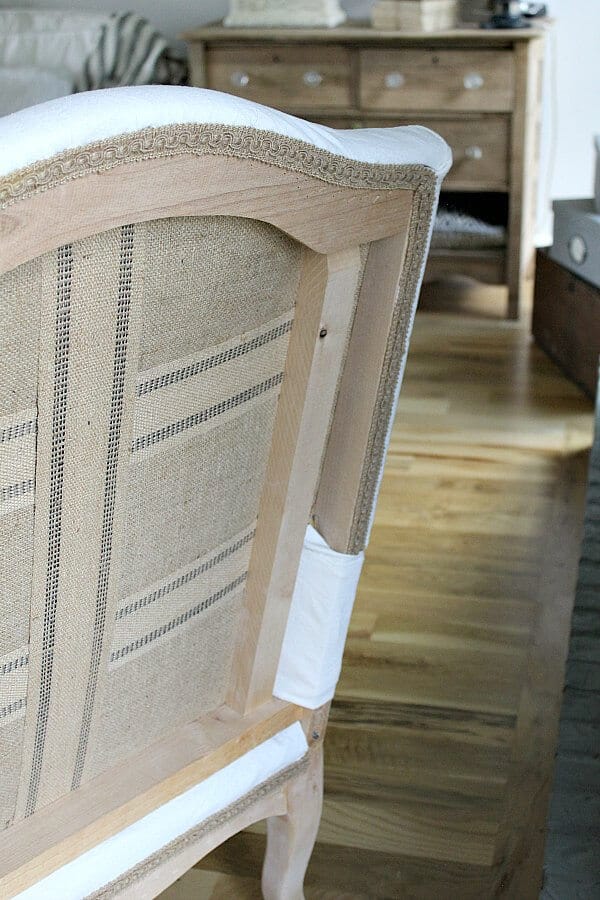
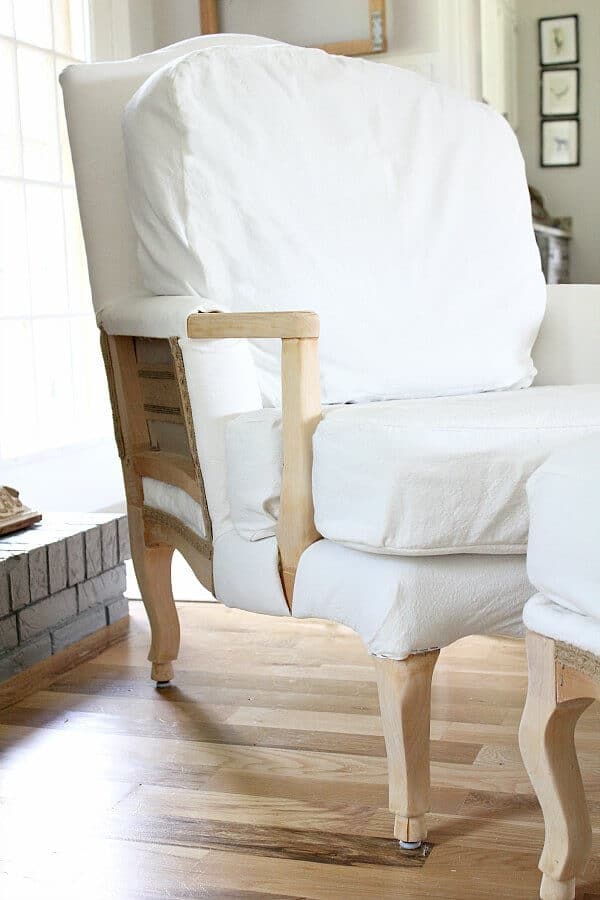
Following the same methods I used for my no-sew Wingback Chair, I used my pneumatic staple gun and stapled the fabric to the base keeping that gorgeous back exposed.
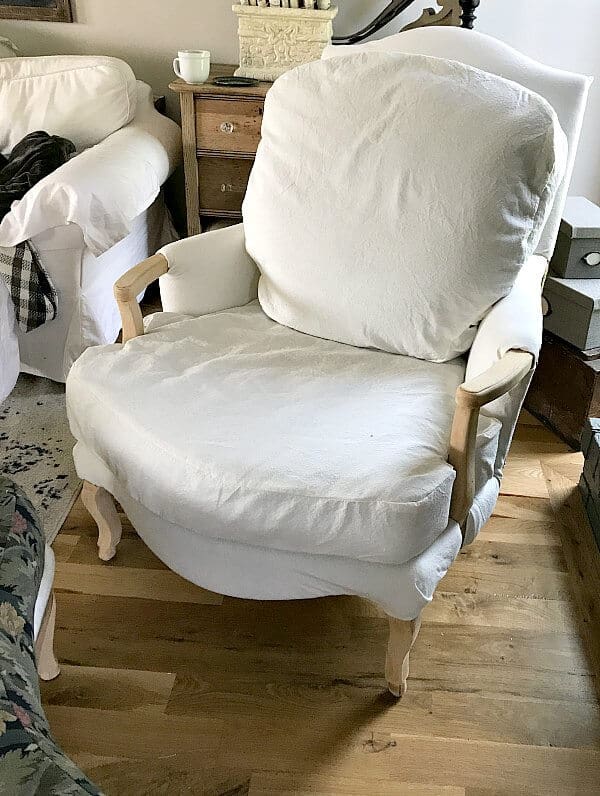
Next it was time for the cushions and I won’t lie. I was scared! So, I made sure to have the right needles for my sewing machine as well as strong thread. I started with the back cushion, following Miss Mustard Seed’s tutes and I rocked the first cushion!
But that bottom one….. It was those ding dang cuts in the cushion. It fit, but to get the wider portion of the cushion in first, through the smaller back, the seam kept ripping down the side. That was when I remembered Marianne saying that she has safety pinned her covers before and that’s what I had to resort to, but not without a good bit of frustration trying to get it right.
To clear my mind, I moved on to the ottoman.

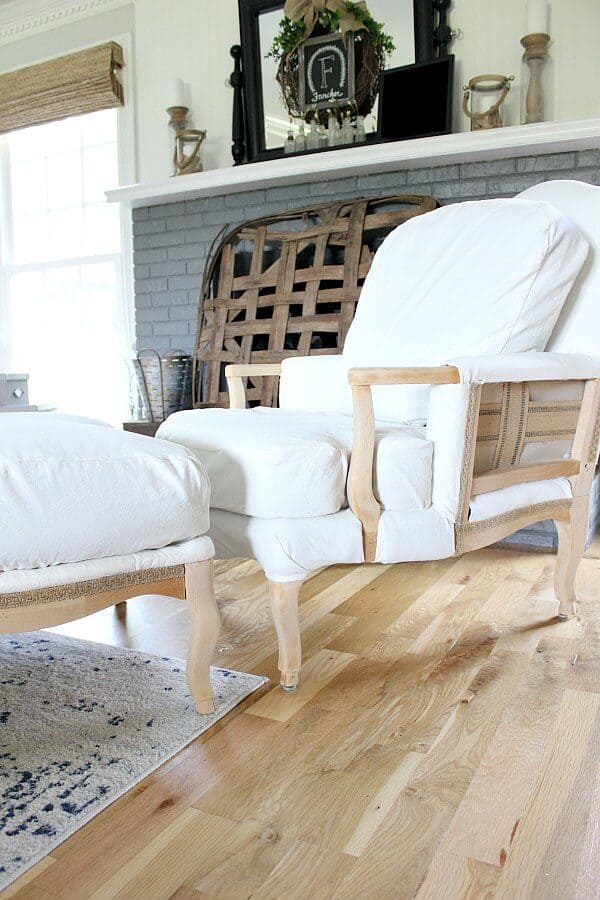
I found out that it had such beautiful curves with bare wood to match the chair, so instead of my original skirted slipcover, I opted for an elastic fitted one.

I cut the top to fit the shape of the ottoman and added the sides with an elastic bottom since there was a good allowance between the attached cushion and frame.
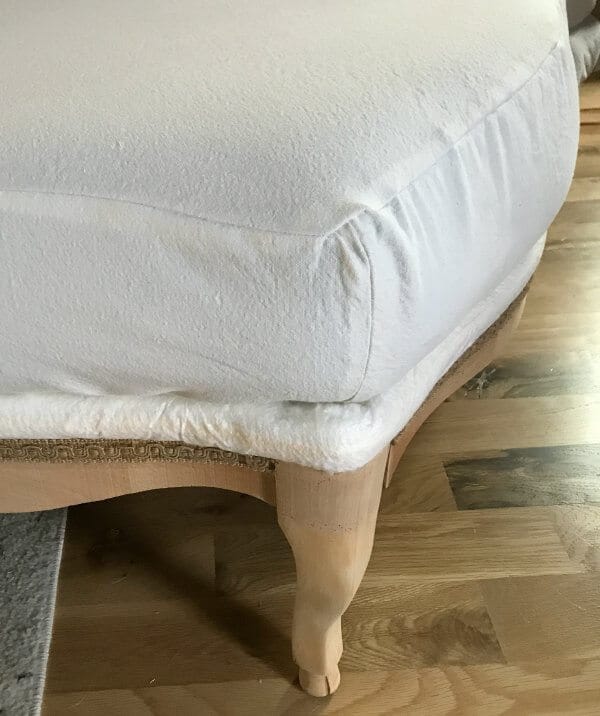
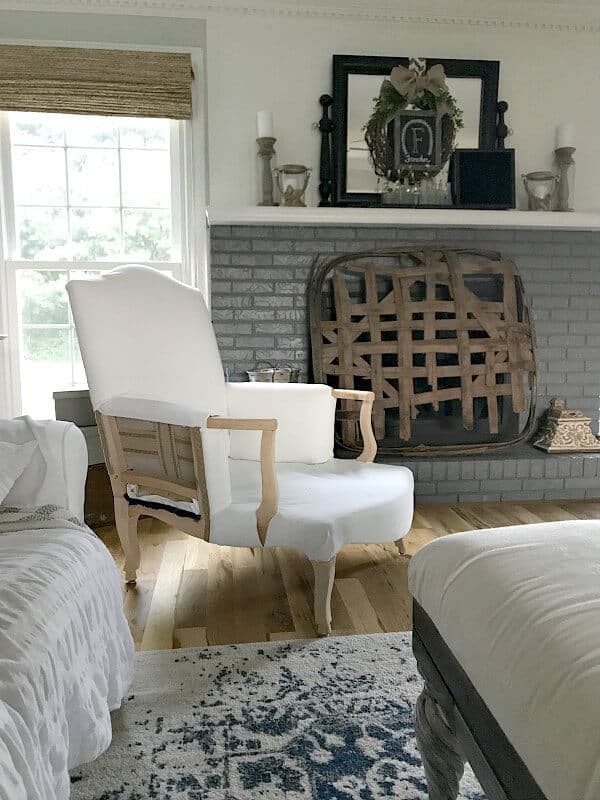
It fit nicely around the cushion and easily removes for washing if needed. Ready to see the big reveal?
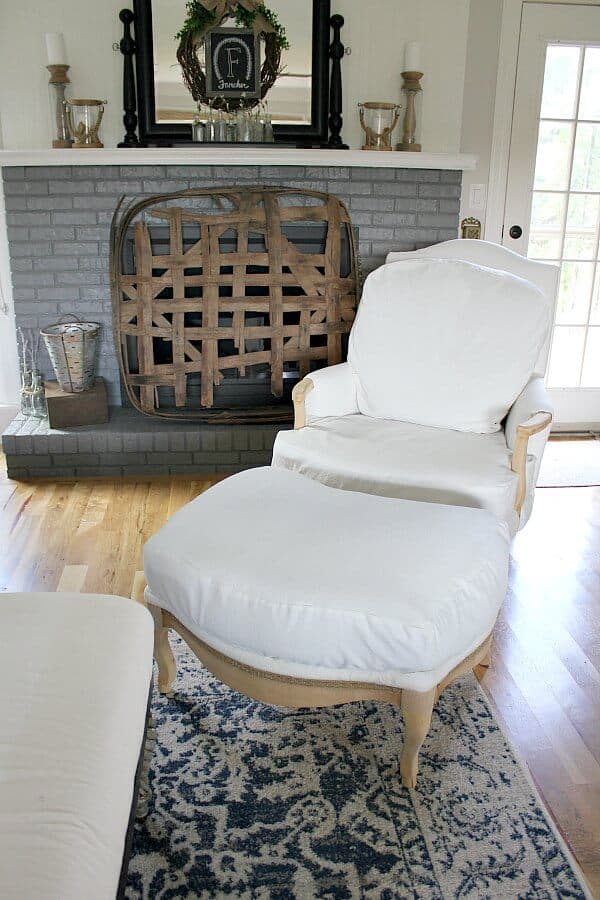
Finally, it’s in place. It’s not perfect, but neither am I. I love that I was actually able to tackle this beast!
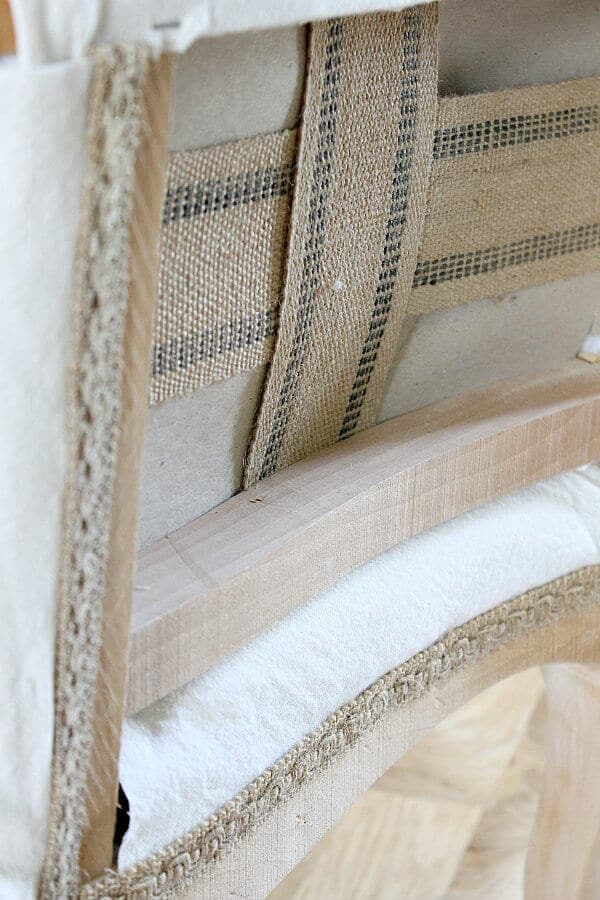
I hid the staples using upholstery glue and braided jute cord. It matched nicely with the burlap and strapping.
Dare I say that this piece is sexy? Like a backless dress that takes your breath away.
And that pesky seat cushion has it errors, but it’s not noticeable.
So would you tackle this project? I hope this encourages you to give that intimidating piece you pass by a second look. You just might find a treasure like me!
Pin this to reference later!


Thank you so much!
Great job!!! It looks fantastic!
Deb – best compliment ever! Just don’t come over and look at my sewing up close! LOL
This is so amazing Jenn! I am so jealous of your sewing and upholstery skills.
Thank you so much! Those cushions were super intimidating!
I love it!!!! You rocked it!!!
Thanks so much Lindsay! It was a beast to tackle, but I’m pleased with how it turned out.
Jen!! This is amazing!!! You did a fabulous job!! I love it!
Thank you so much, Lori! I am so glad you stopped by and took the time to comment – it means so much to me!
This is gorgeous, you did an amazing job!