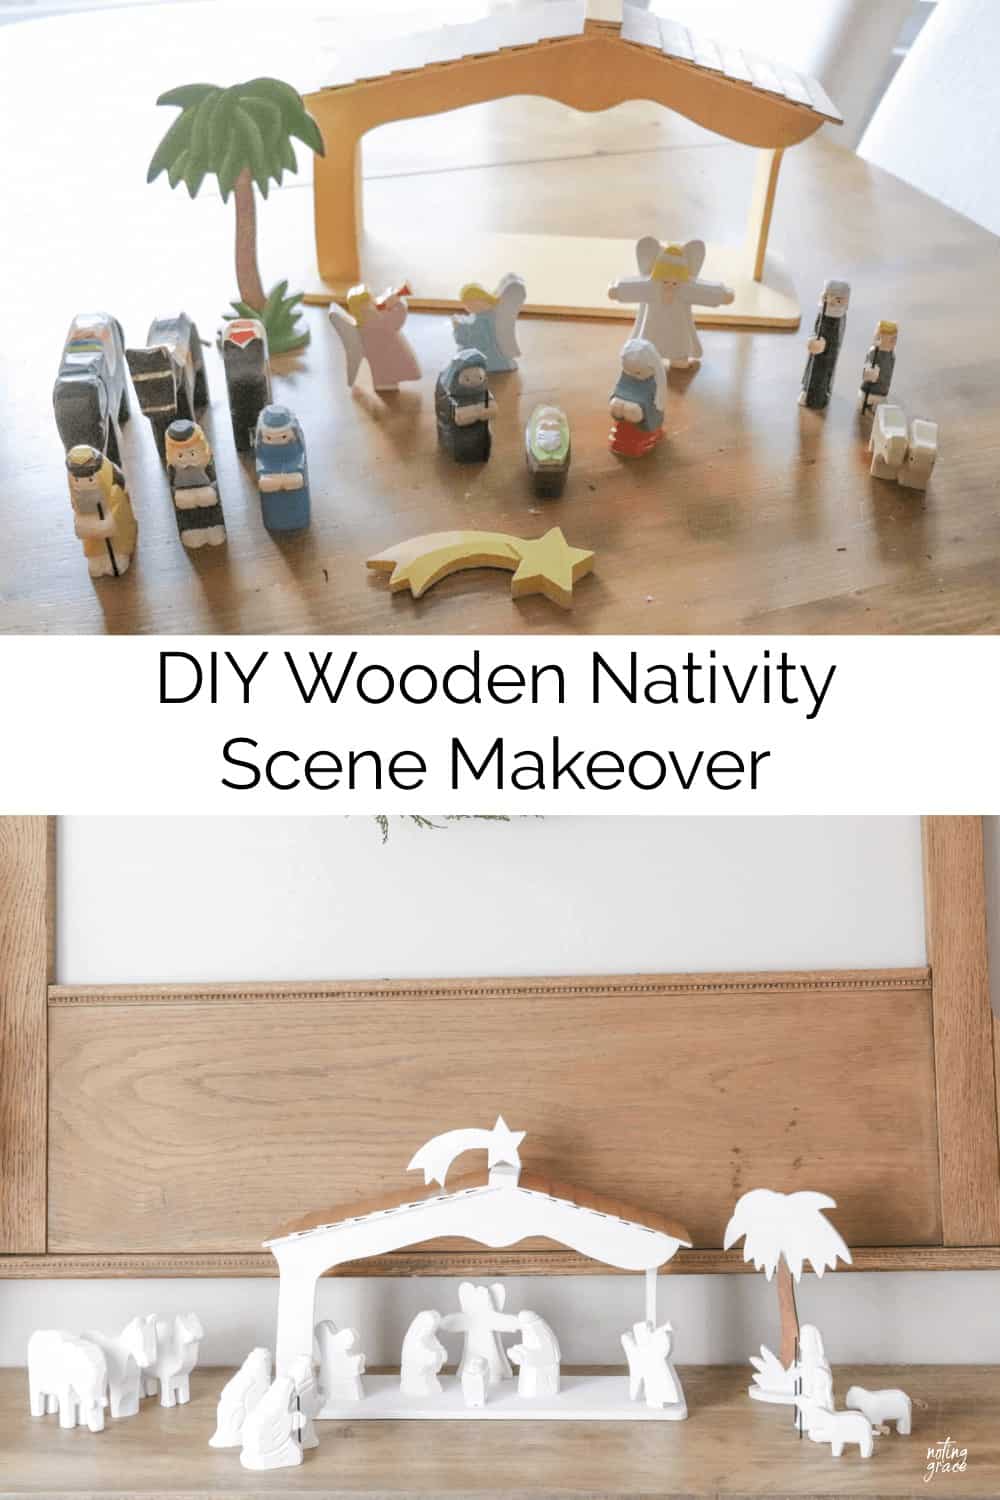
DIY Wooden Nativity Scene Makeover
Have an outdated Nativity Scene that you don’t use anymore? We gave our wooden Nativity scene a DIY makeover that I’m so excited to display!
We all have that unused piece of Christmas decor that gets shuffled around year after year.
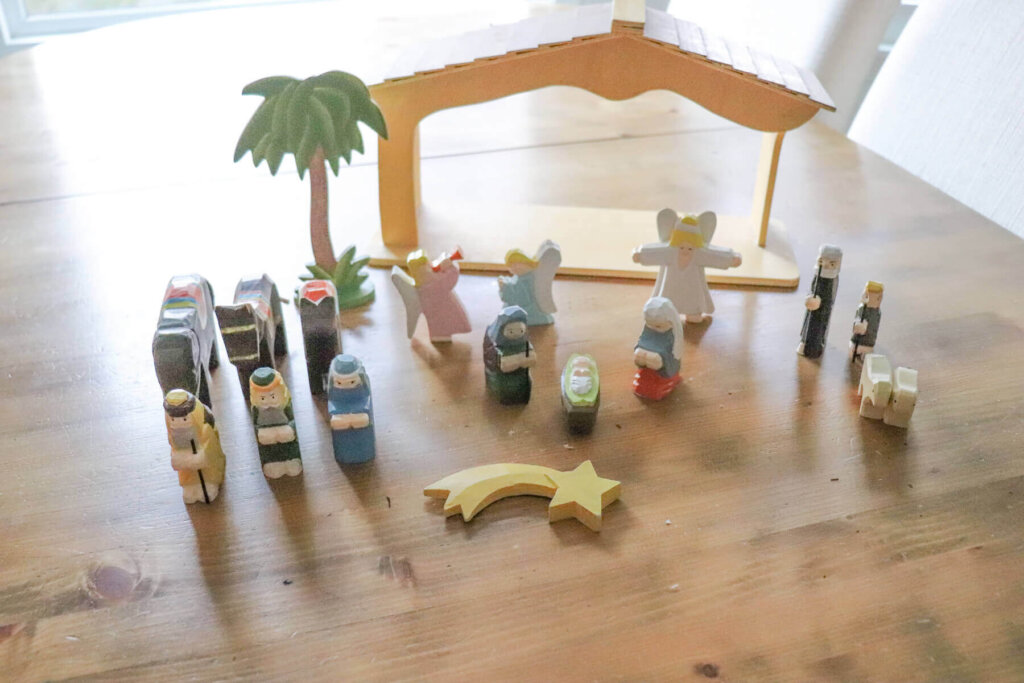
For us, that was this child’s Nativity scene that our boys loved to play with when they were younger.
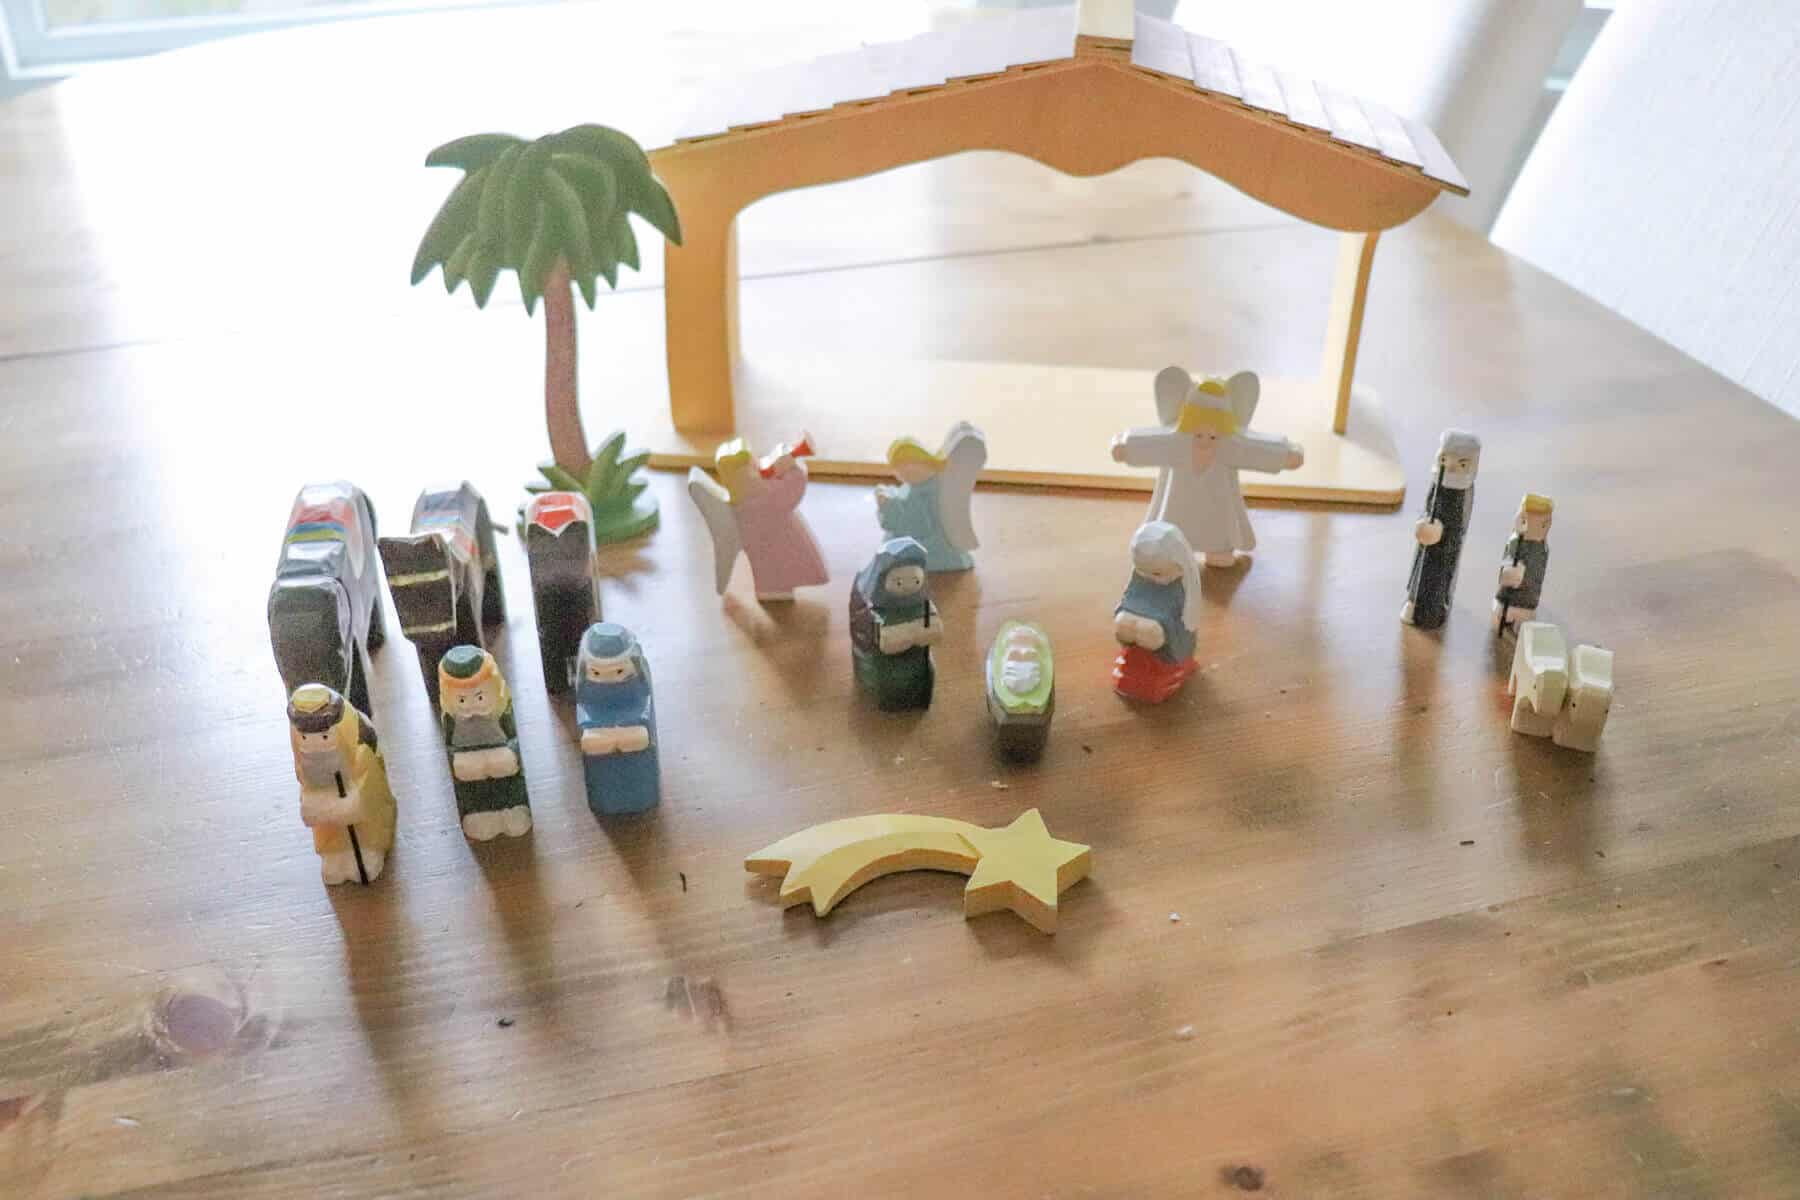
But now that the boys are older, we haven’t set it out in years.
I thought about donating it a few times, but the sweet memories of when they were little kept me from doing so.
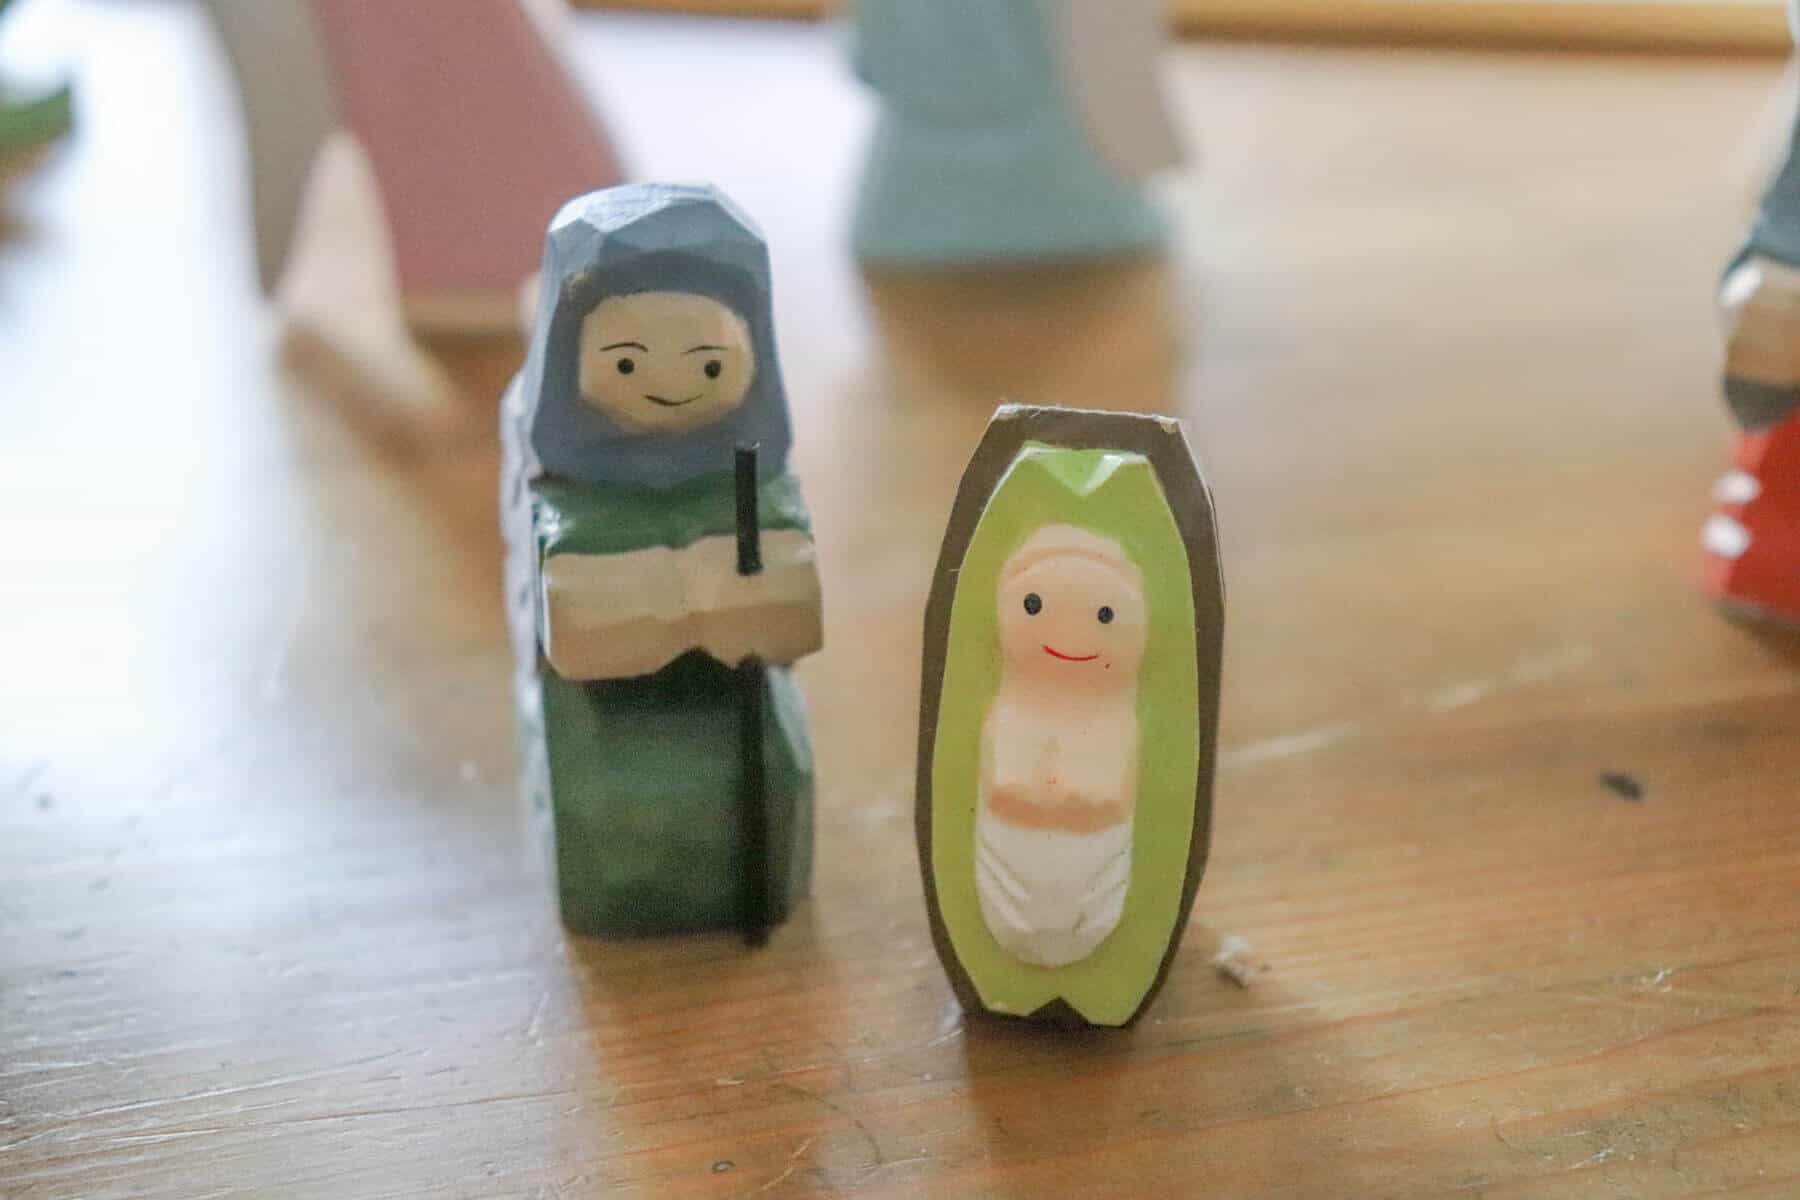
The But the set was too colorful and kiddie-fied for me to display anymore, so why not give it a new look?
I love to work on DIY Christmas projects and knew this would be something my whole family would enjoy seeing displayed again this holiday season
Except it has a whole new look!
So whether you have an old Nativity set that is a family heirloom or you stumbled upon a deal at a thrift store, you can give your wooden Nativity set an easy update with this one-step tutorial.
Scroll down to the bottom of this post to see it displayed!
DIY Wooden Nativity Scene Makeover
(Some affiliate links are provided below. Full disclosure here.)
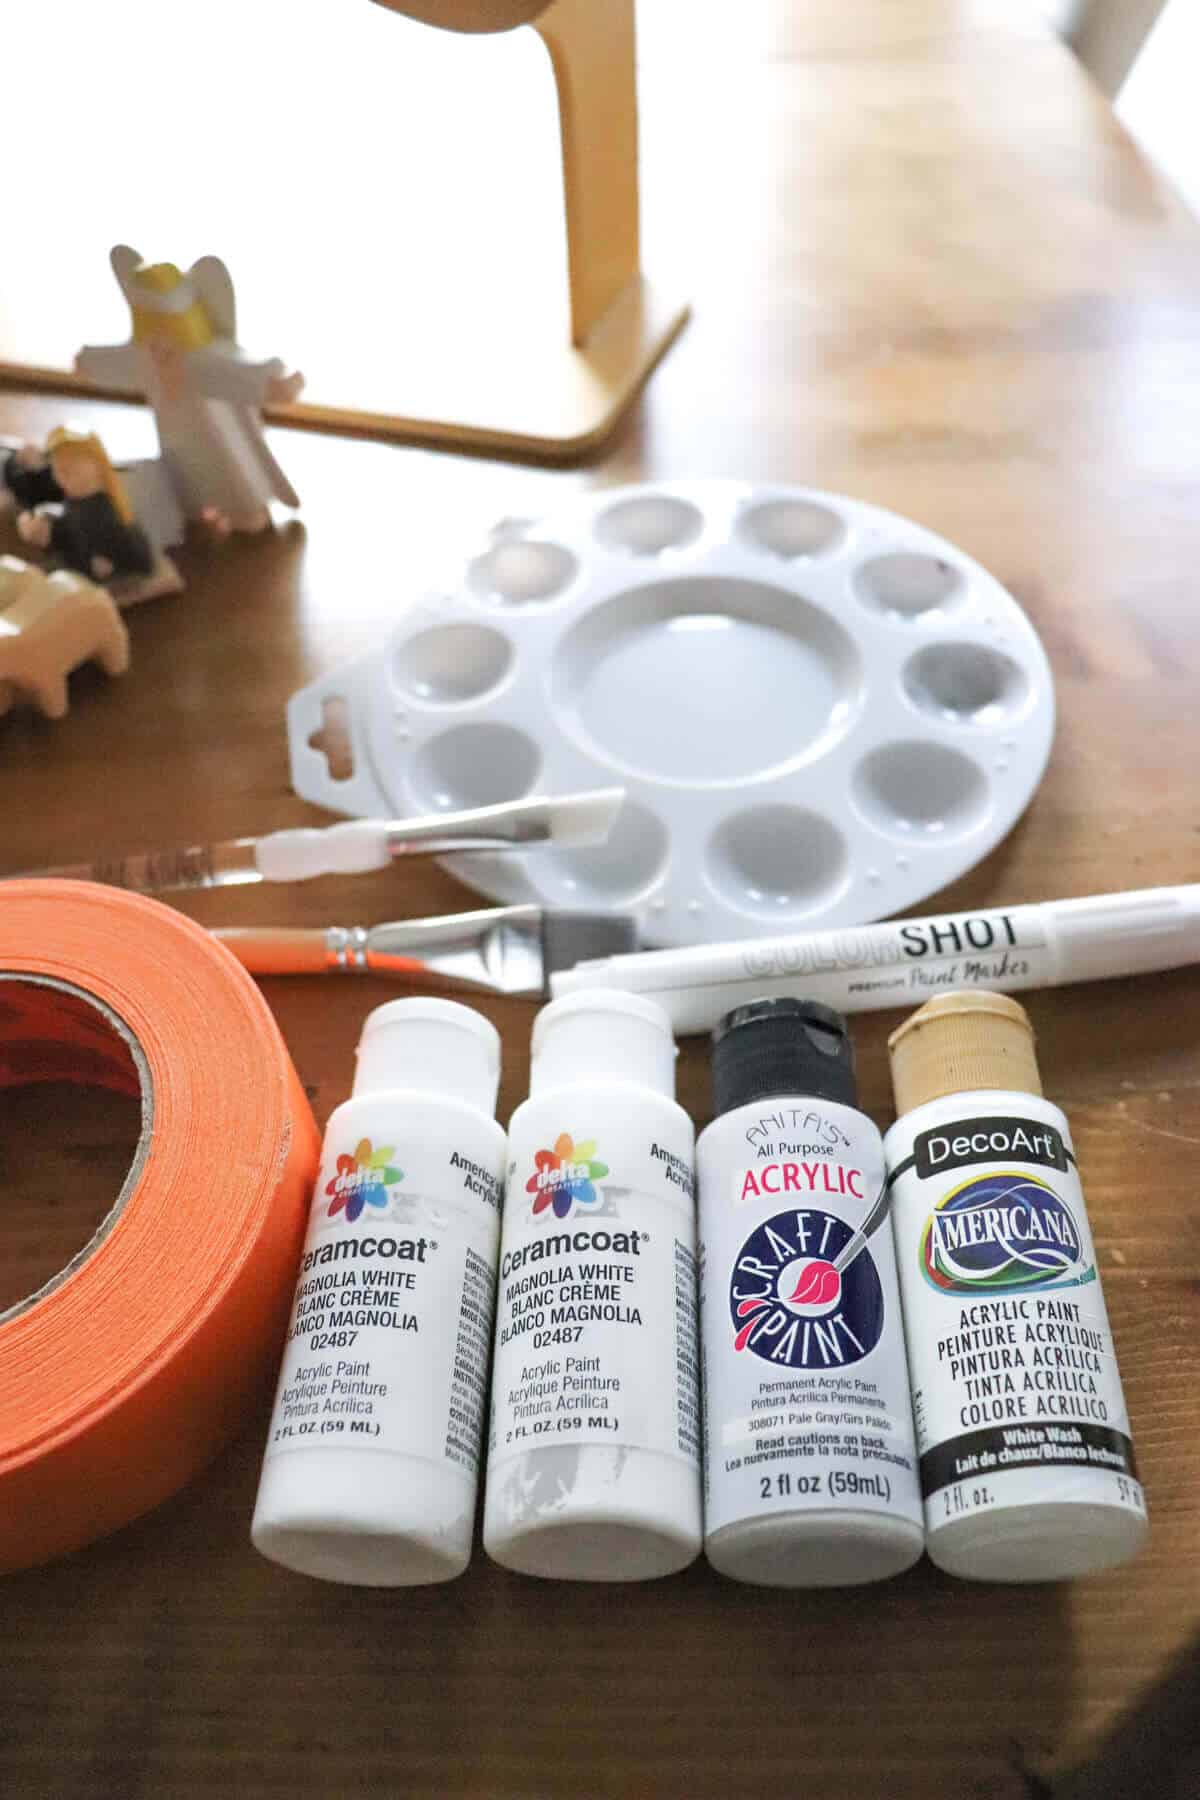
Here are the Supplies you’ll need:
- Acrylic Craft Paint
- Paint Brush – I love this brush set
- Painters Tape
- Paint Tray or Bowl
- Masking Paper or Cardboard for drying
This is a super simple DIY!
You are just applying a little paint to the wooden set in the color of your choice.
I wanted a fresh new look, so I chose white. I didn’t have enough of one color, so I mixed the leftovers from multiple craft paints to create enough paint to cover the entire set.
There was only one piece of prep work that I did for my set.
Our wooden animals all have rope tails, and I didn’t want those to get painted.
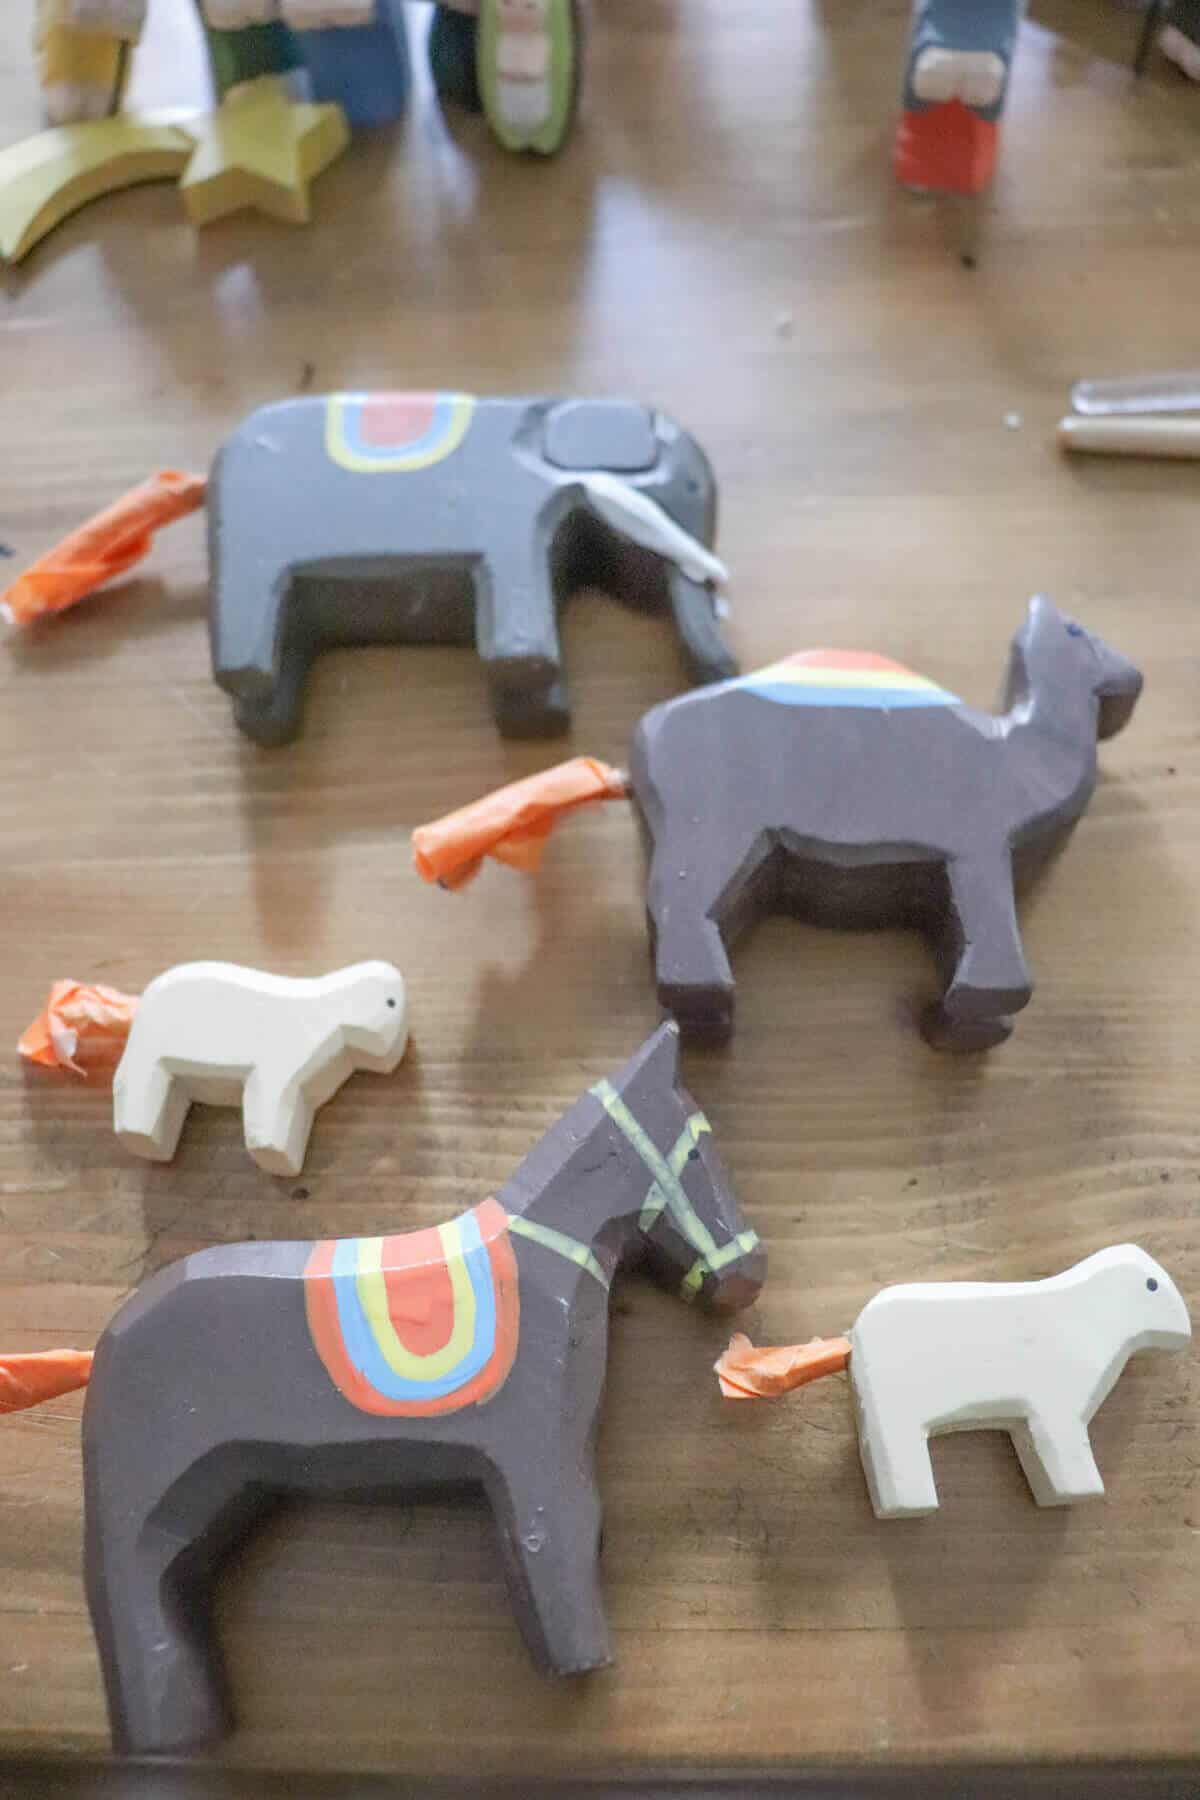
So I simply wrapped them in some of our favorite painters tape.
Next was the simple task of painting each figure.
I didn’t take pics of this step for a couple of reasons. First, it’s messy and secondly, there’s no trick to it. Dip your brush in paint and apply it to the wood nativity set.
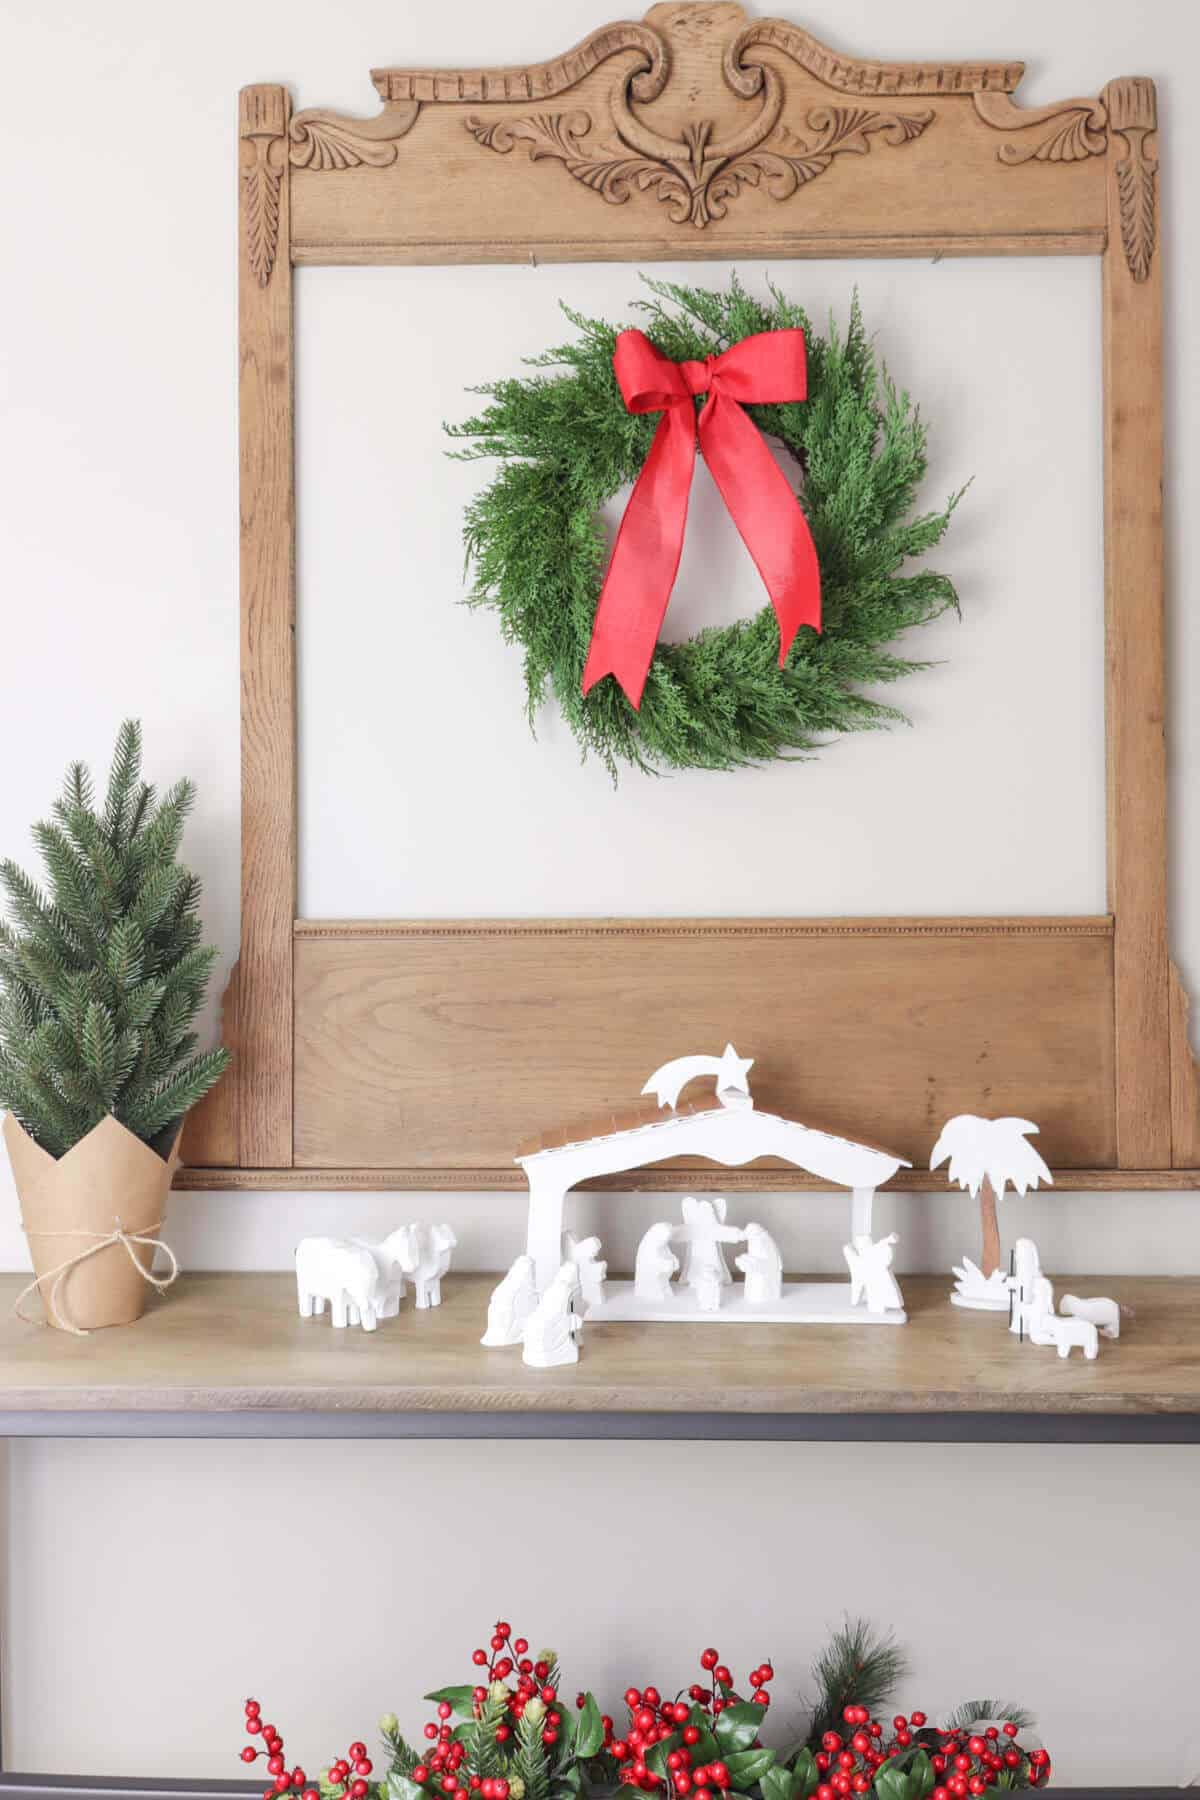
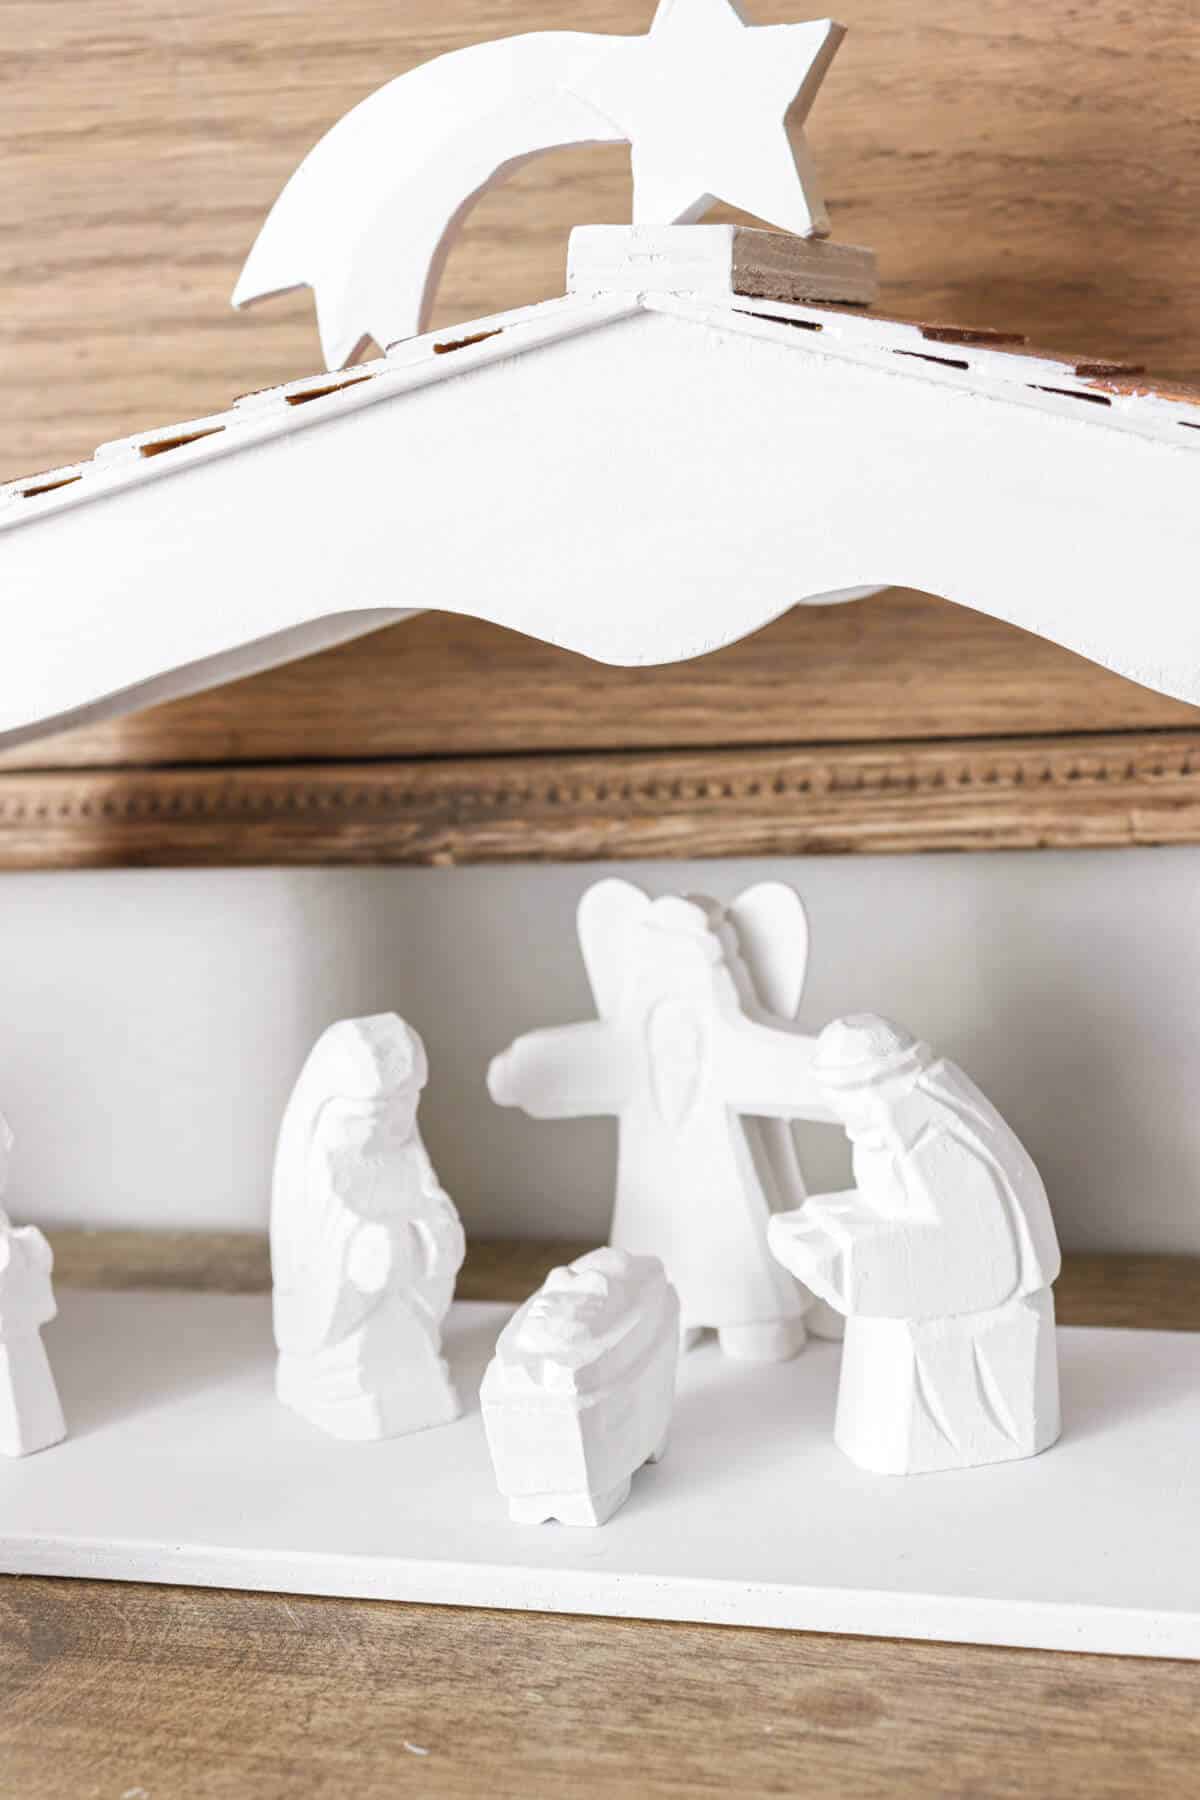
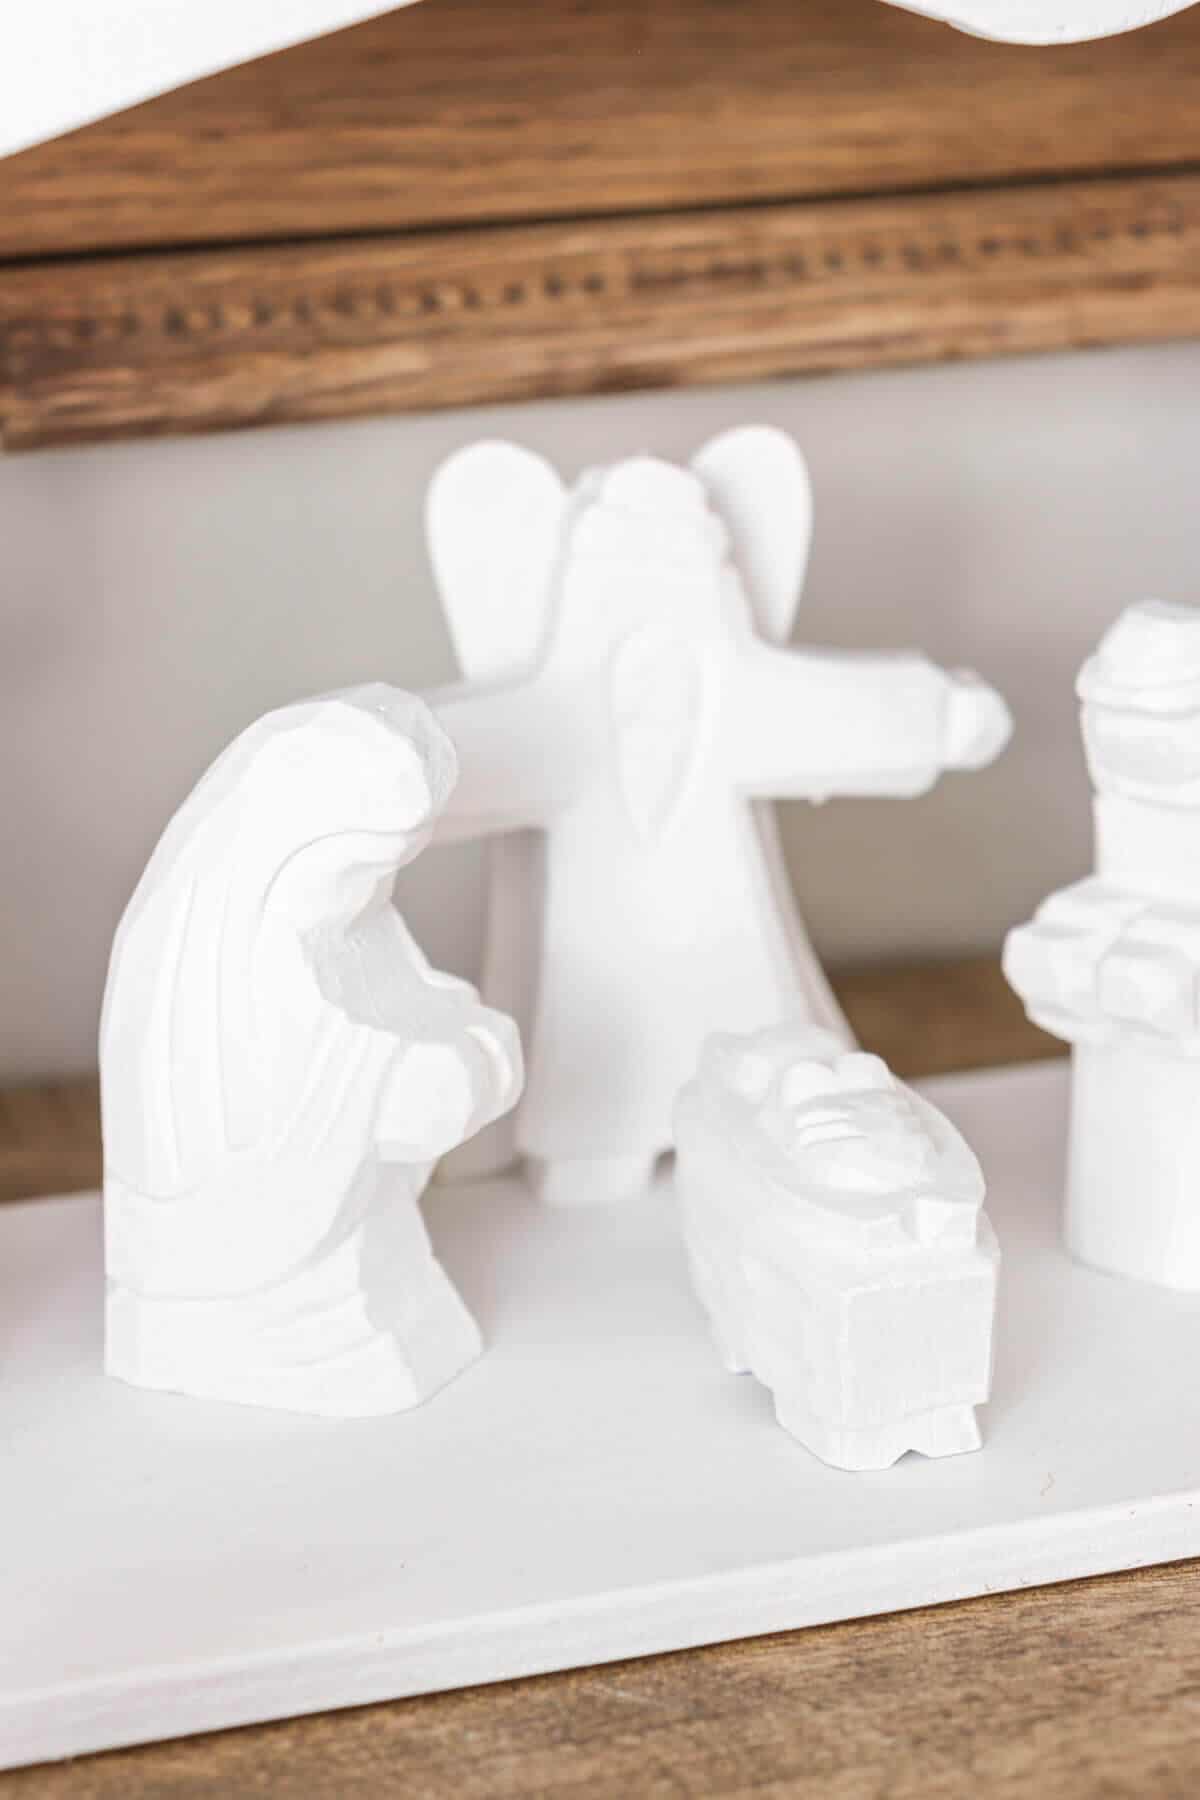
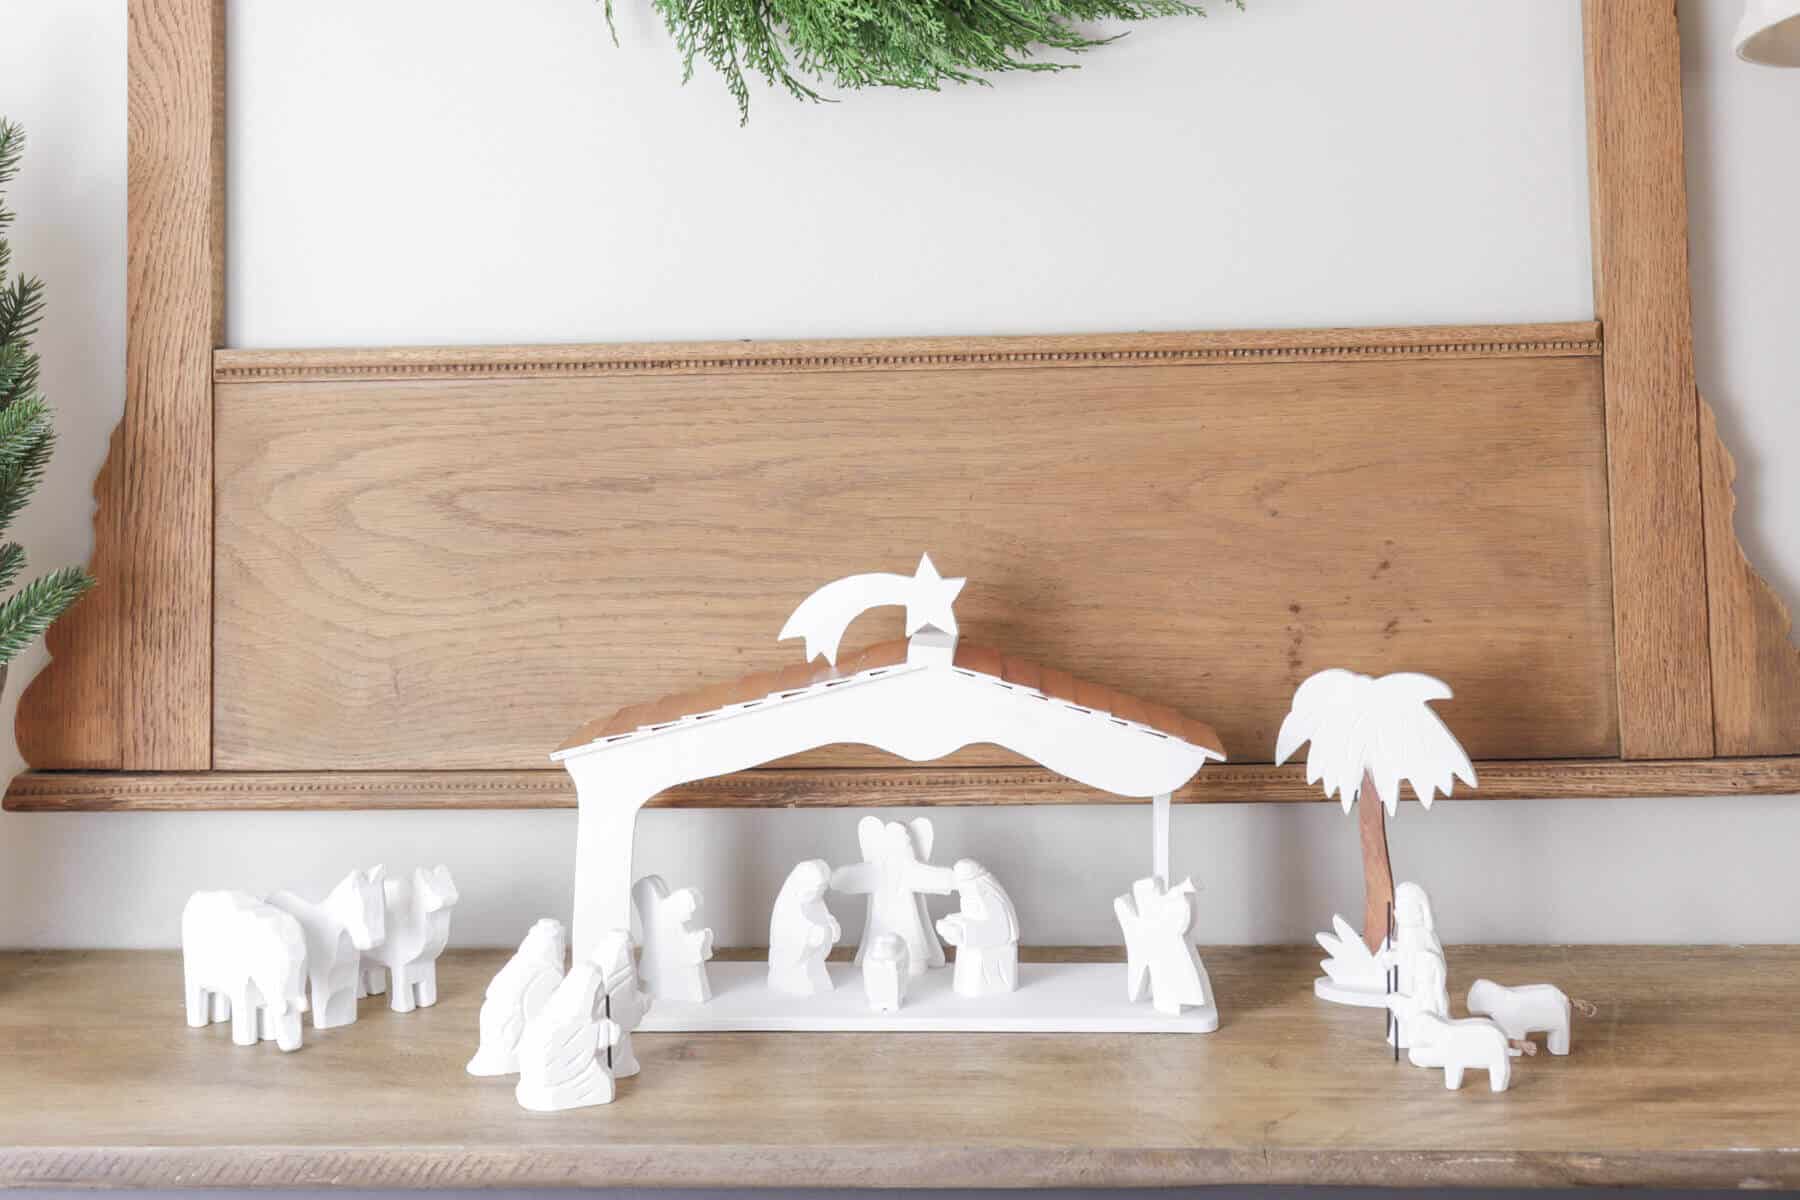
But check out how it looks now!
Now one issue I had was with the faces. The previously painted dark colors needed 3 coats.
After each coat had dried, I finally removed the tape from the animal’s tails and it worked perfectly!
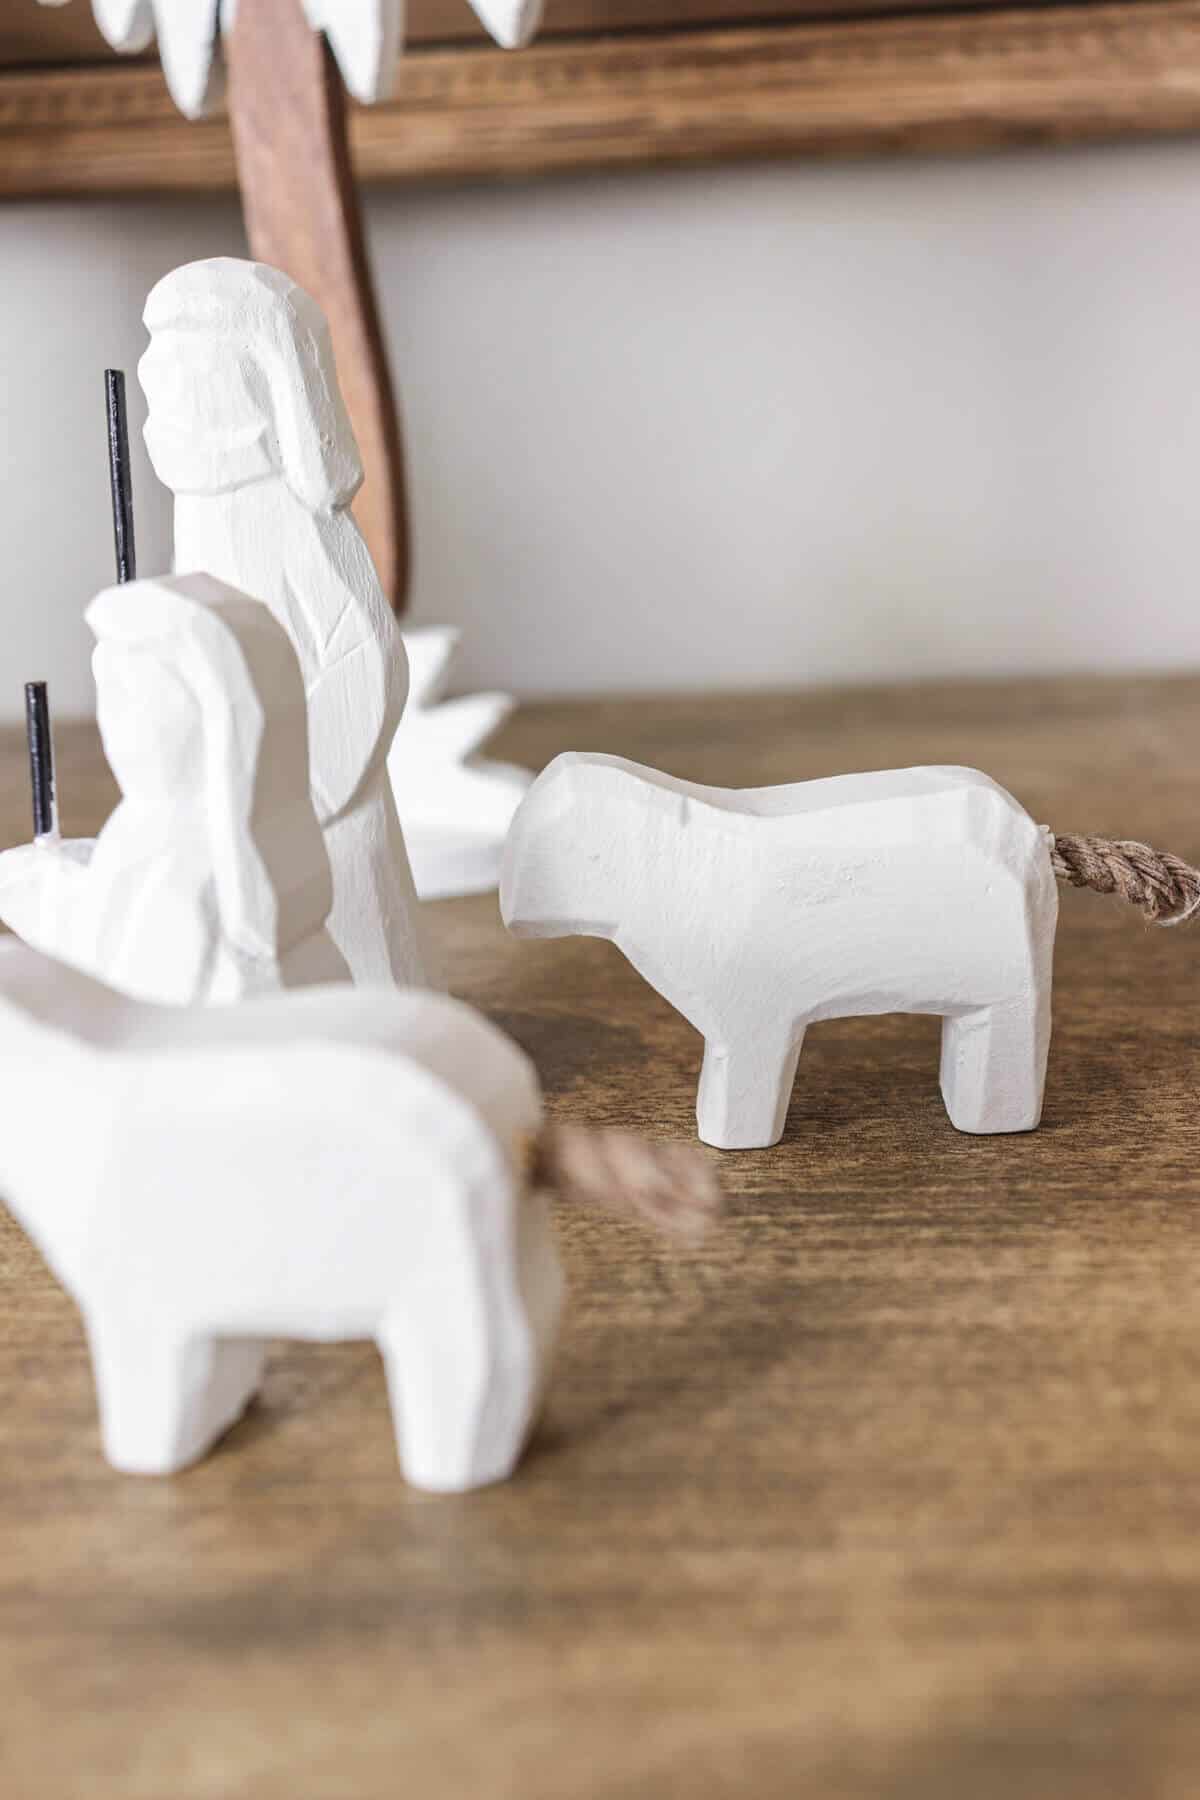
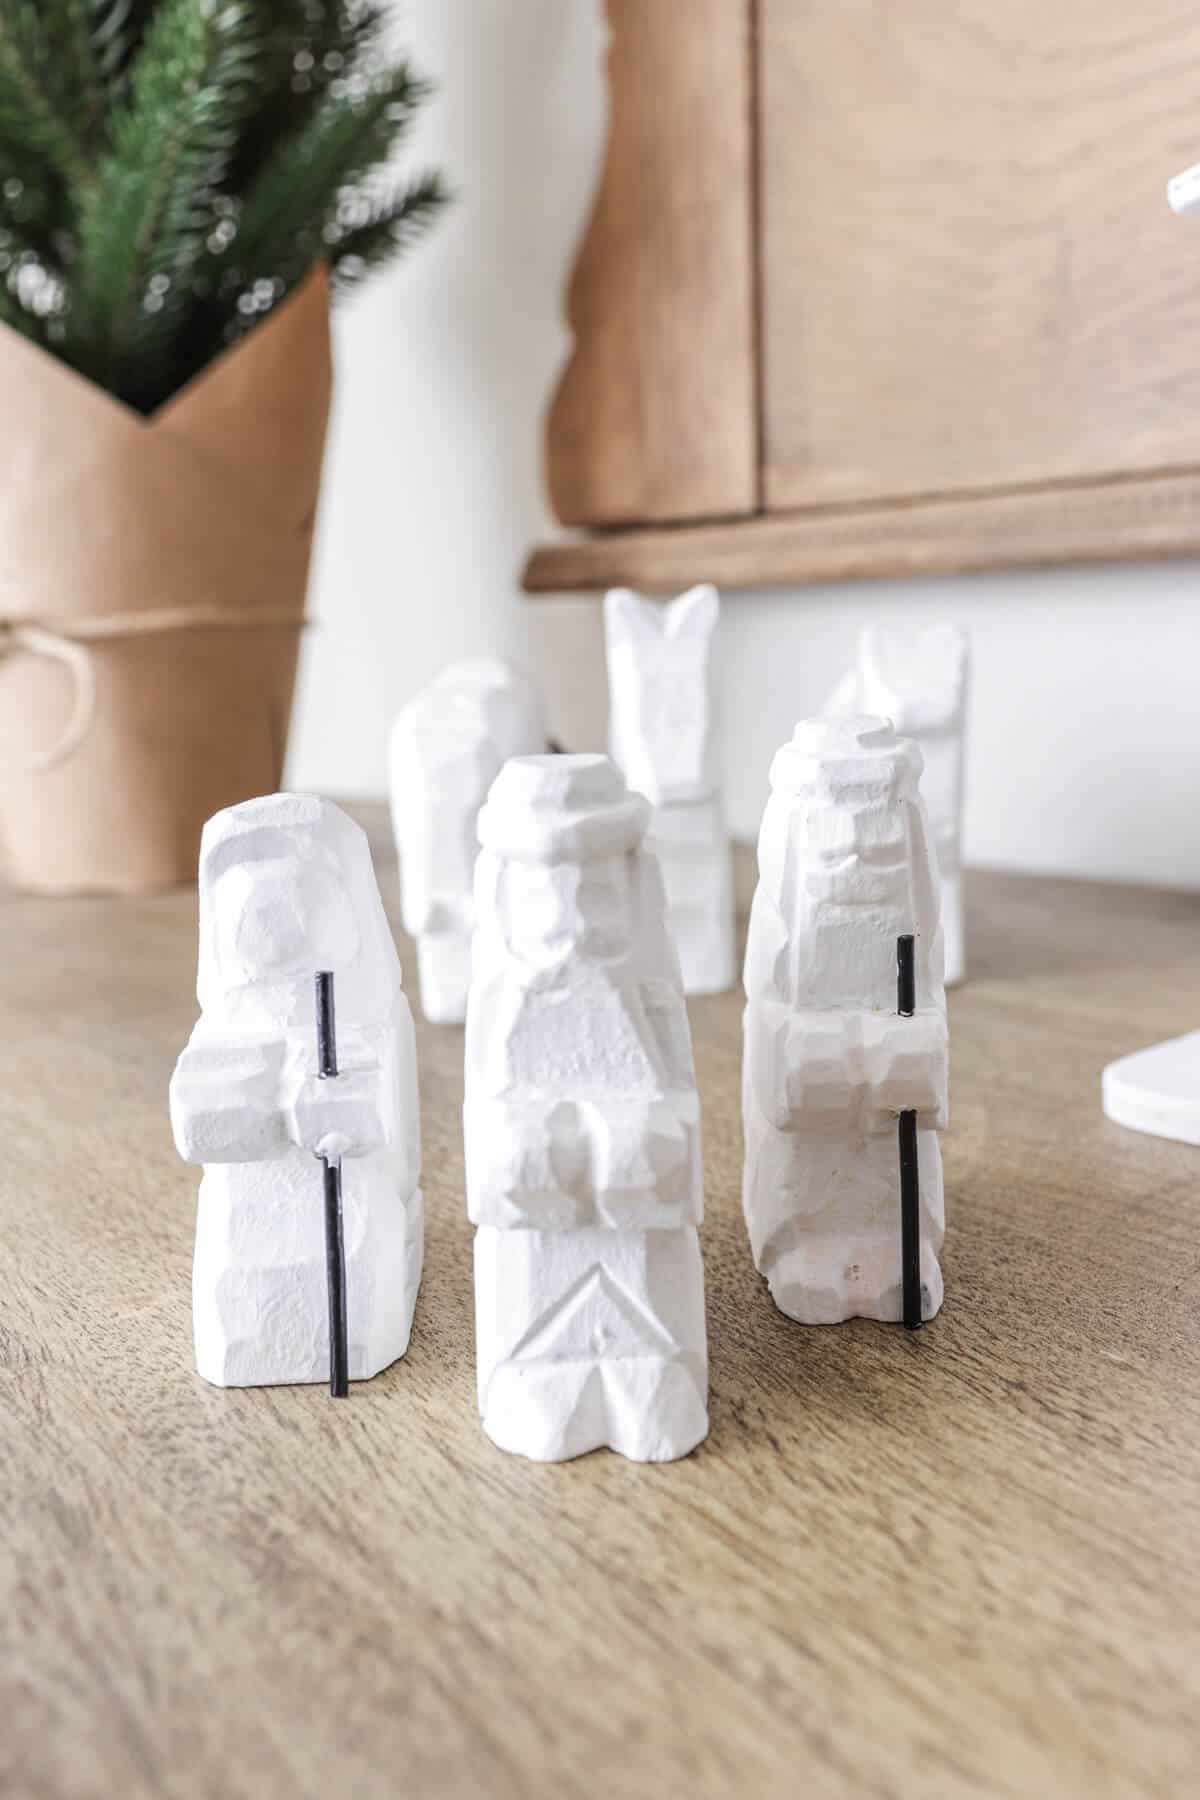
Each staff on the shepherds and wise men were black, so I kept those the same.
Our set came with a palm tree that was stained wood, as well as the roof to the natural wood stable.
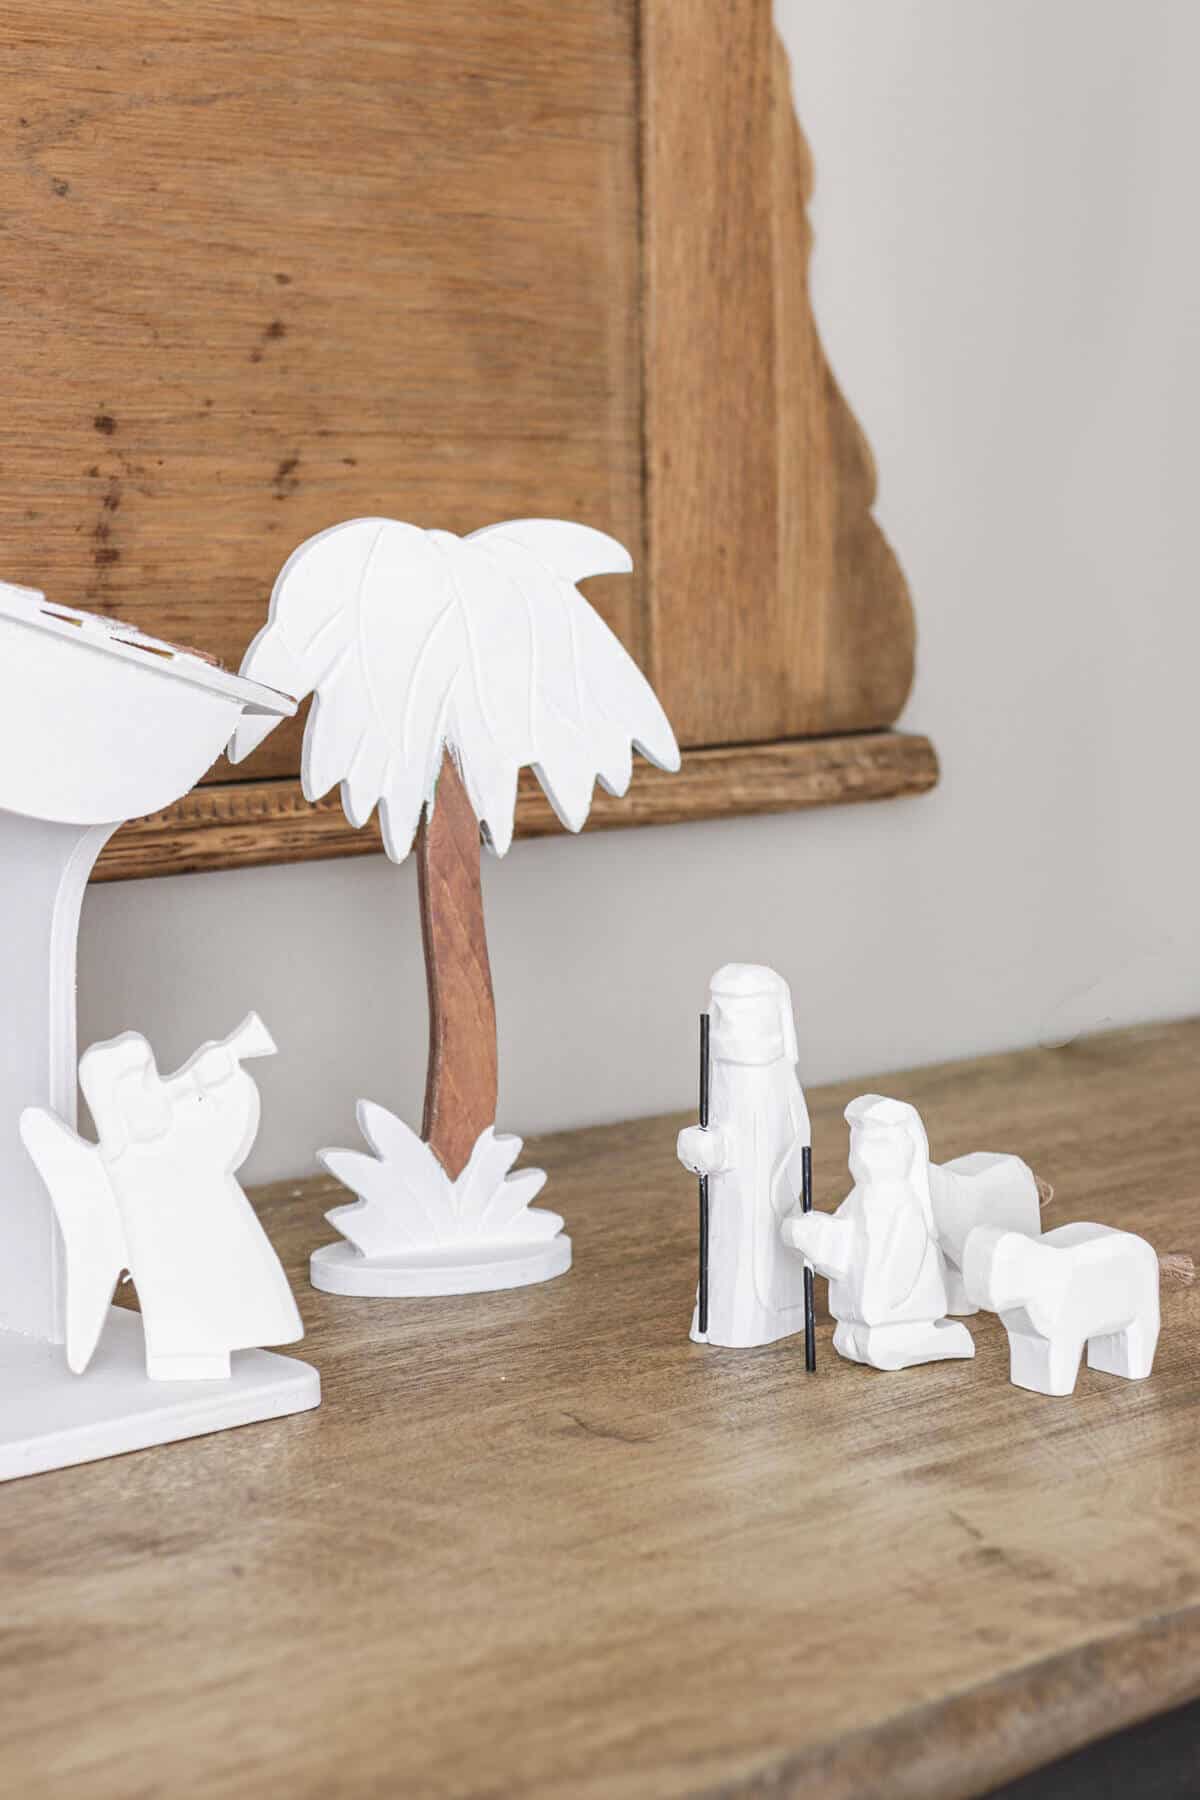
Trent suggested I keep those stained, which was a smart recommendation.
So for DIY projects, this one is the easiest by far!
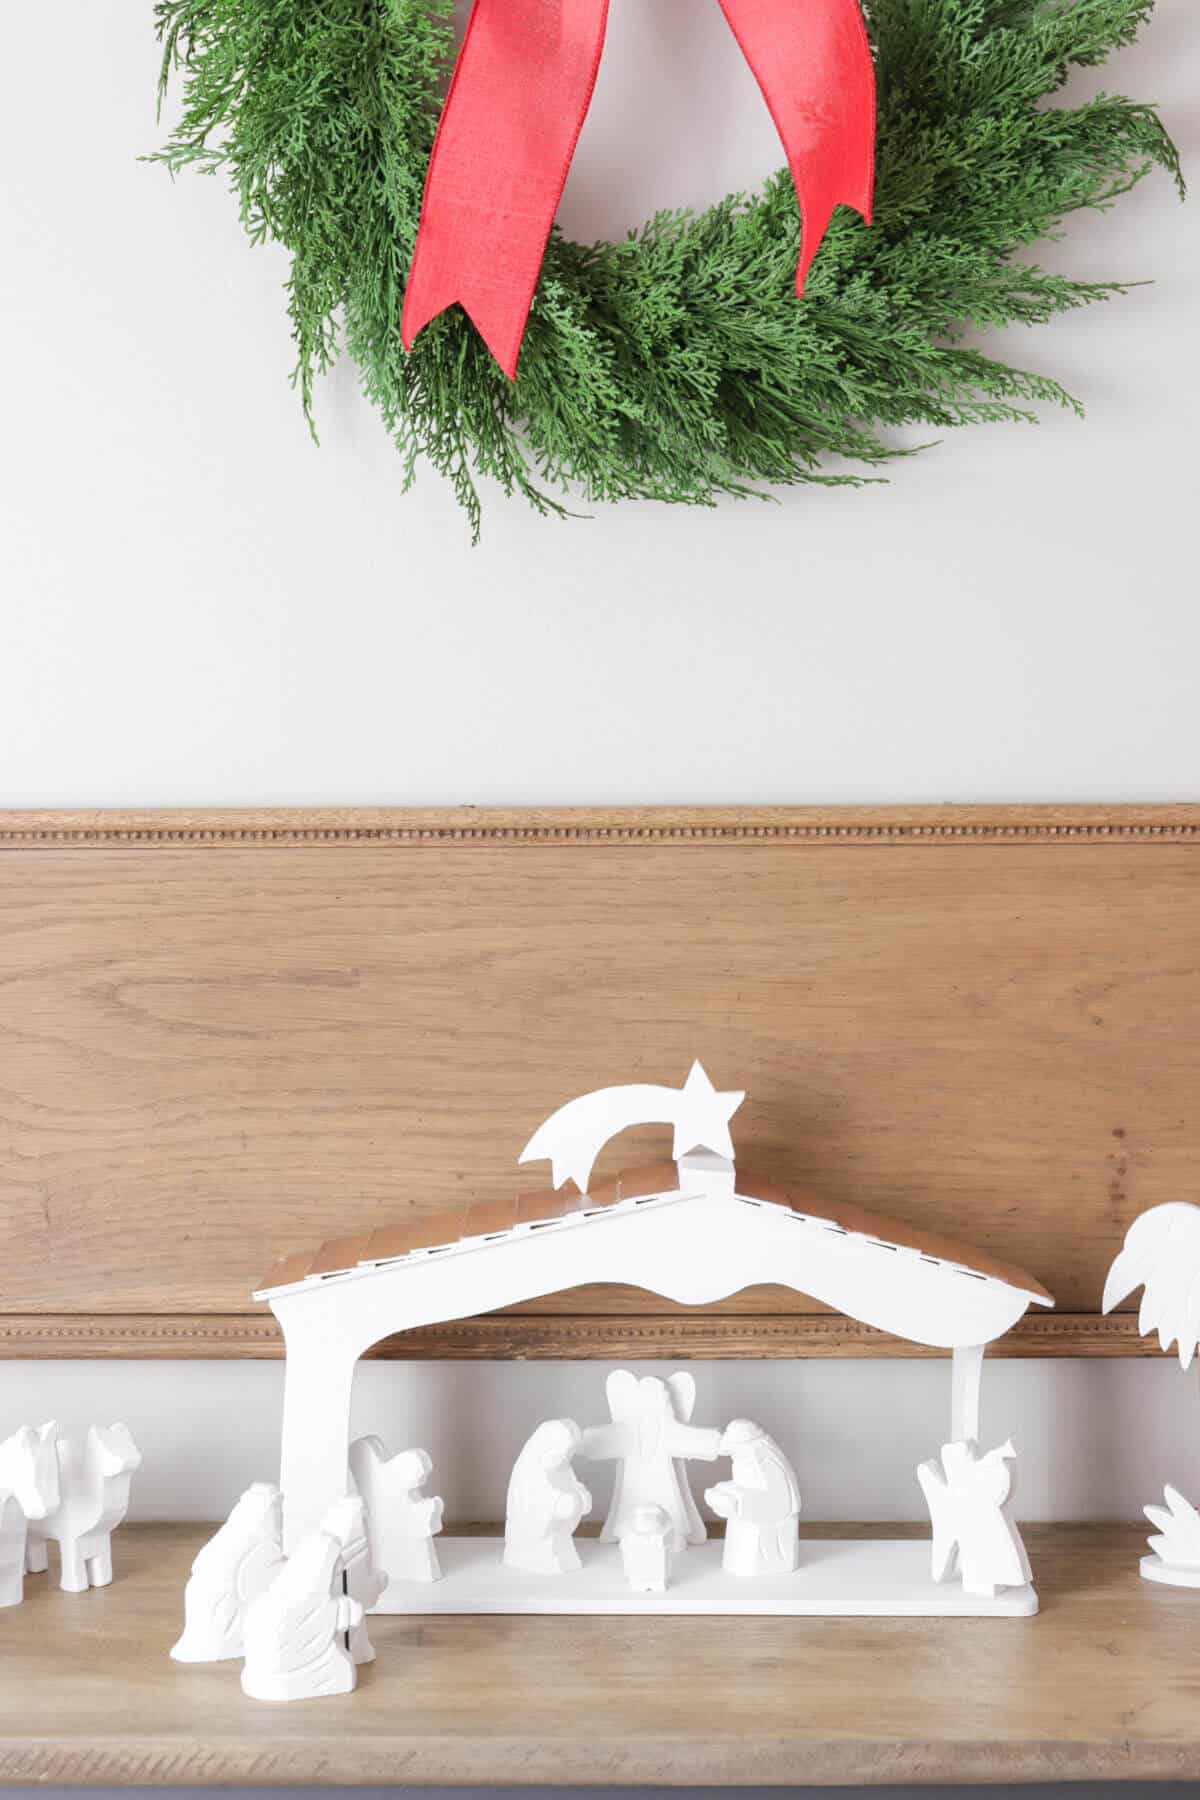
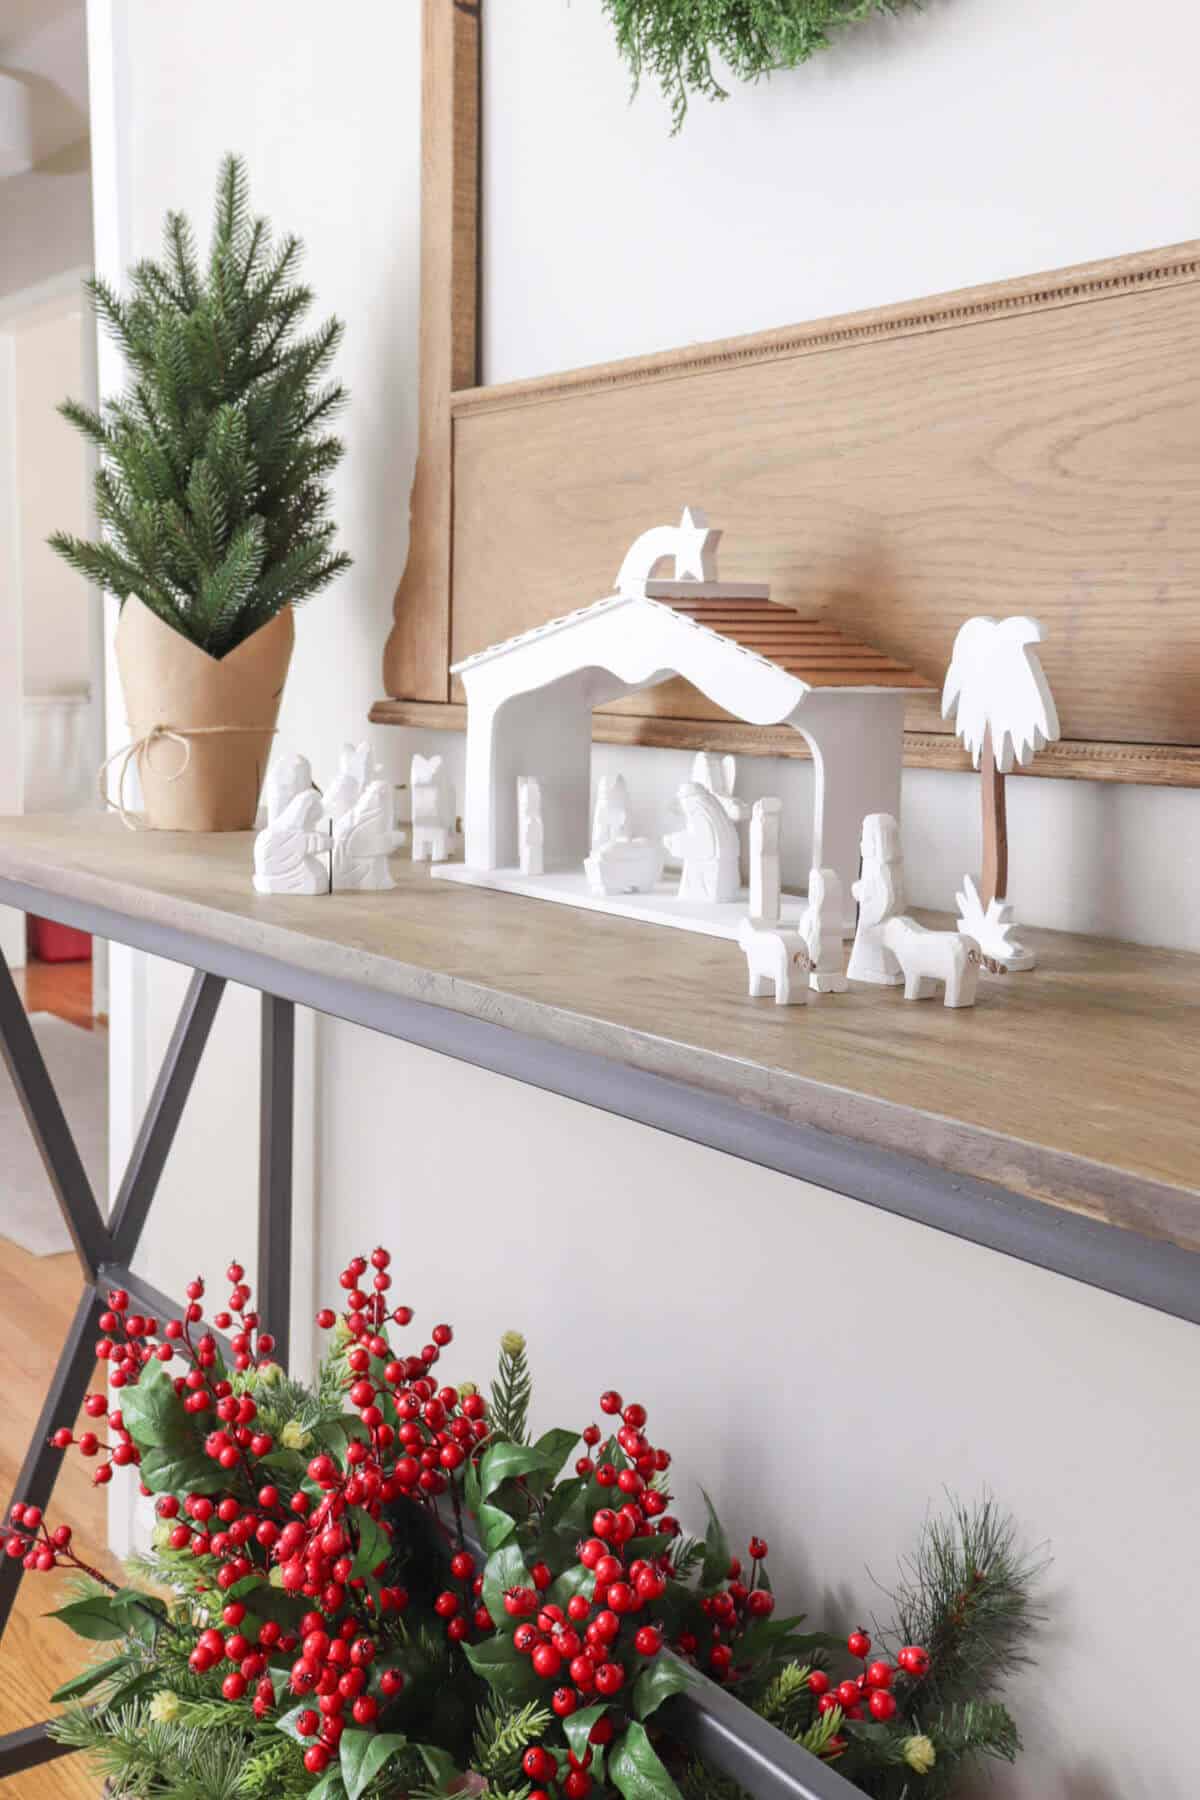
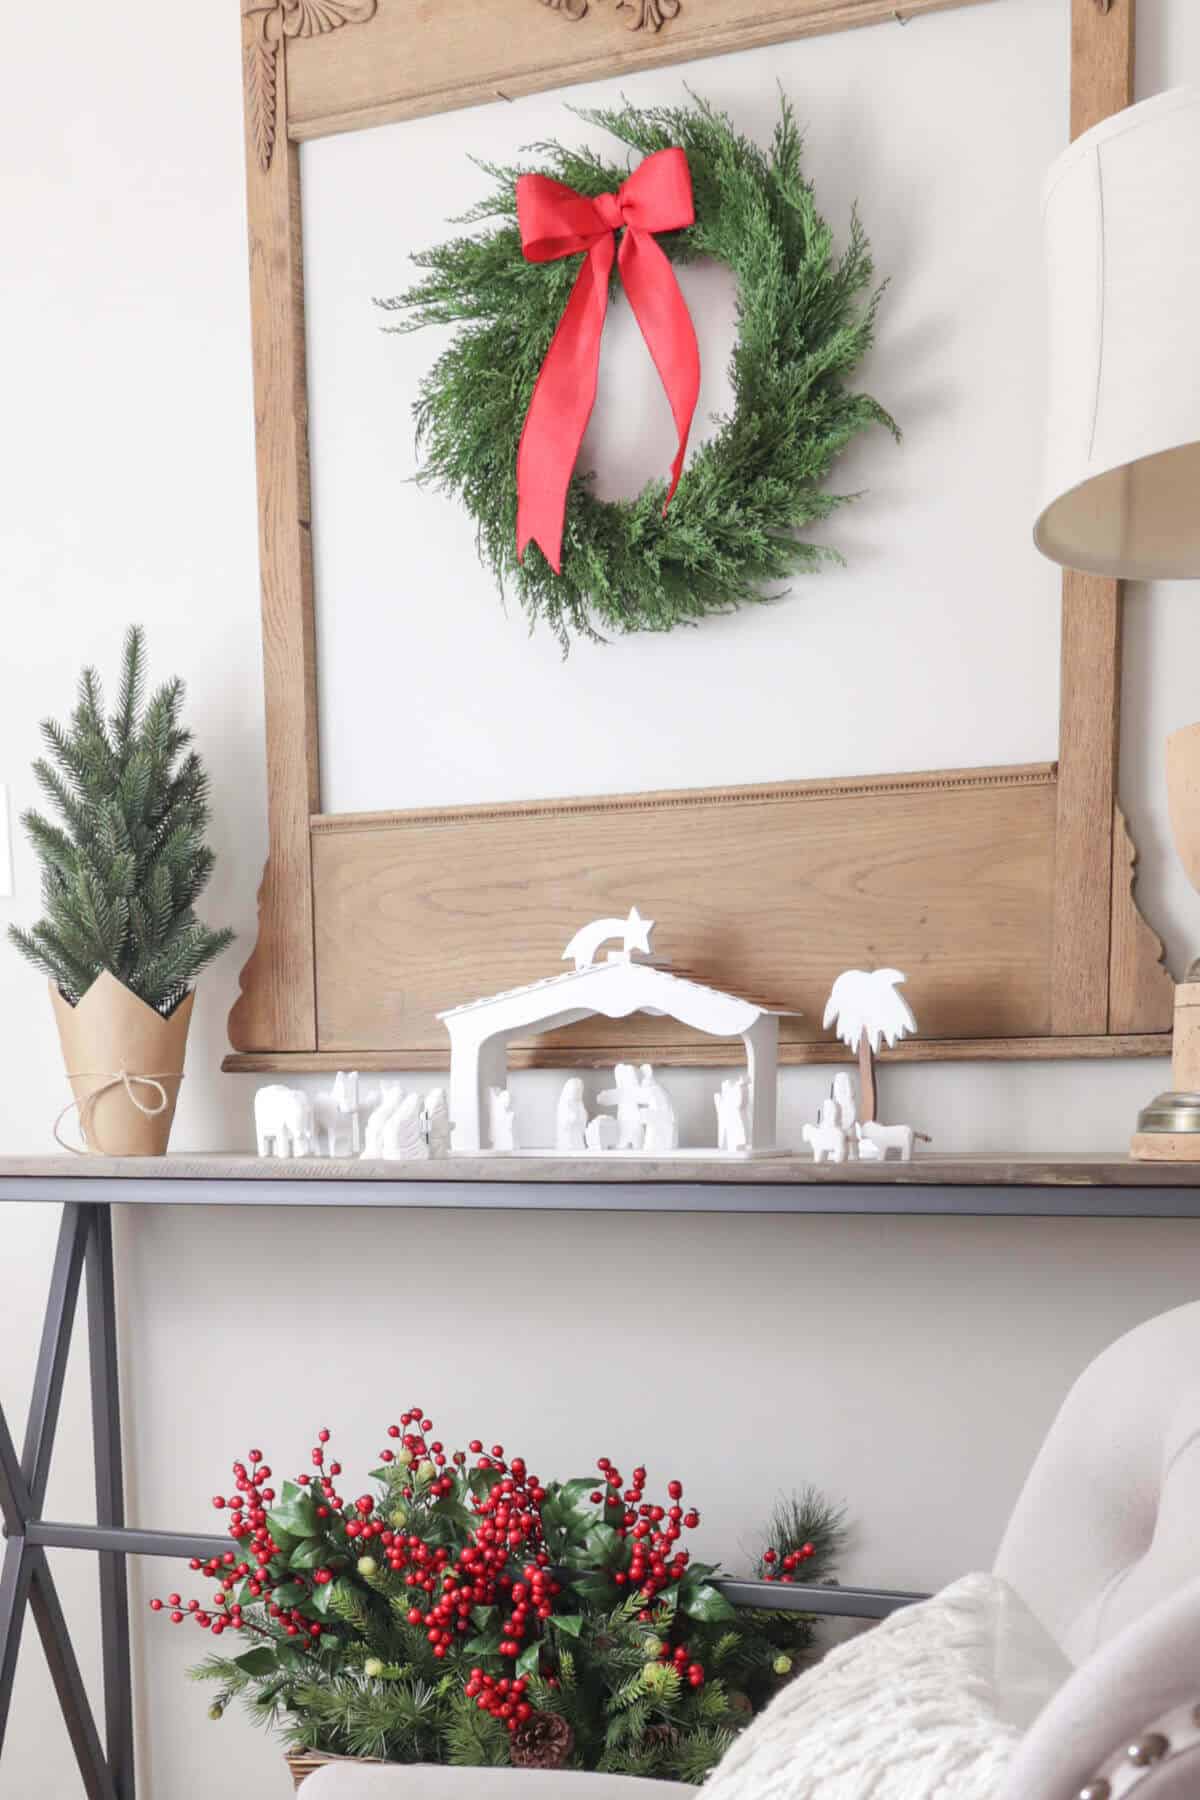
I set my diy nativity on a console table in our Living Room.
It’s a beautiful addition to our decor this Christmas season.
And I love that we have the reminder of the true meaning of Christmas in a prominent place.
Many times, we get wrapped up in the commercialized version of the season and forget about the true meaning of Christmas.
Without the birth of baby Jesus and the events of that Christmas Day, we wouldn’t have our redemption in Christ.
So a quick and easy DIY for you to explore!
The end result makes me so happy being able to display a treasured family nativity collection that was sitting unused for years.
Stay tuned for more Christmas decor to roll out next week as I reveal our Christmas tree in this room!
Be sure to sign up for my newsletter so you don’t miss a post. Plus you will get access to all my Free Printables!
Pin this for later!


Thanks Pasha! It was so good to have it displayed again after all these years.
Oh my gosh Jen – this is sooo smart!! It turned out beautiful my friend!! Now I wish I didn’t get rid of our “kiddie” nativity set ;0!
XOXO – Pasha
Thank you Marty! Looking forward to sharing the rest of the room this week!
I love it. It looks amazing.