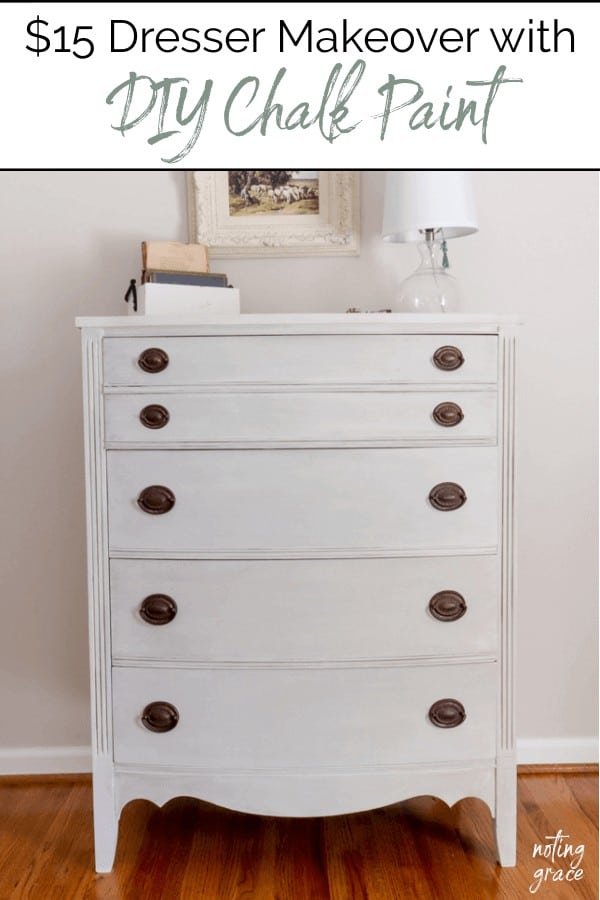
$15 Dresser Makeover With DIY Chalk Paint
We were gifted this dresser that had seen better days. This is how we made this $15 dresser makeover with DIY chalk Paint.
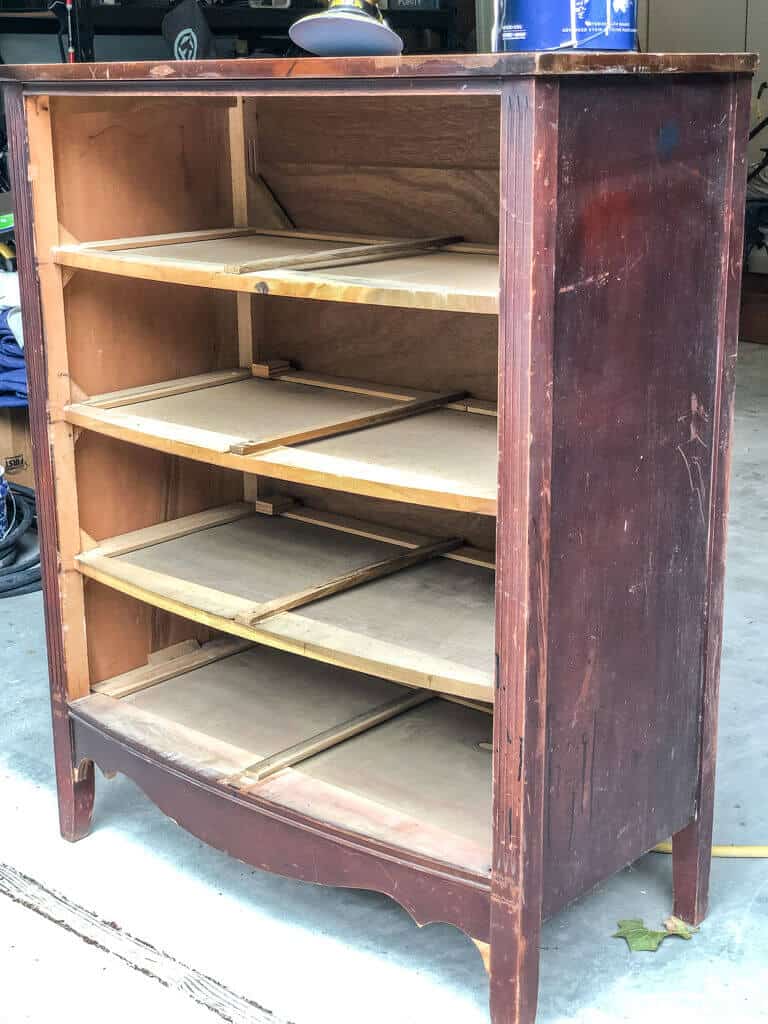
Stained, scuffed and scratched.
This sad and forlorn dresser had seen better days, lemme tell ya.
As usual, this piece comes with a story.
About 2 years ago, I purchased this armchair from the Facebook Marketplace.
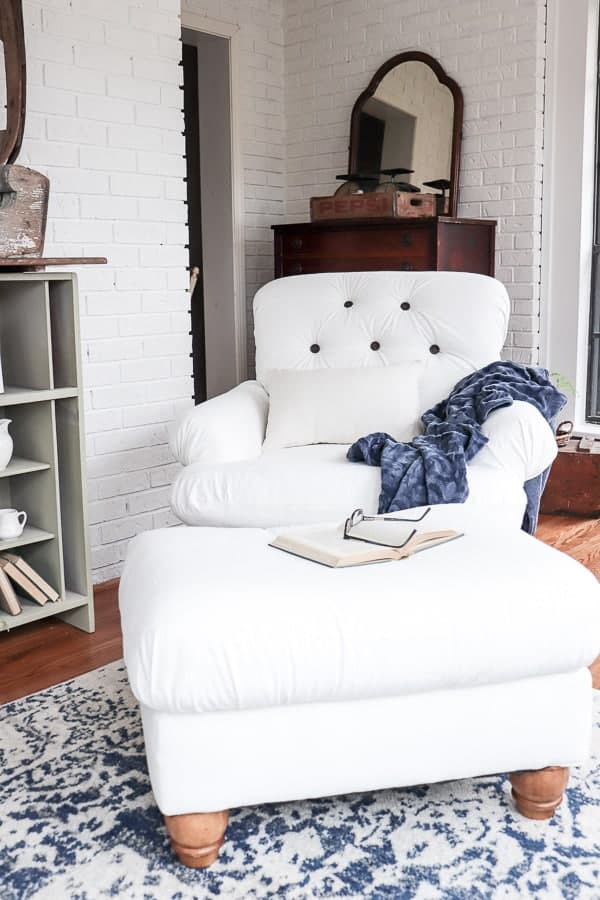
The deal was if I purchased this chair to recover, then I must take a La-z-boy recliner and this dresser.
That’s right – this dresser was a big ole FREEBIE!
It had seen better days and was desperately need of some grace.
So here’s how I updated this dresser for our guest bedroom.
$15 Dresser Makeover with
DIY Chalk Paint
Supplies:
Sanding Block – I used an orbital sander
Stain Blocking Primer
Base Coat Paint color of your choice
Small Paint Sample tinted to the color of your choice
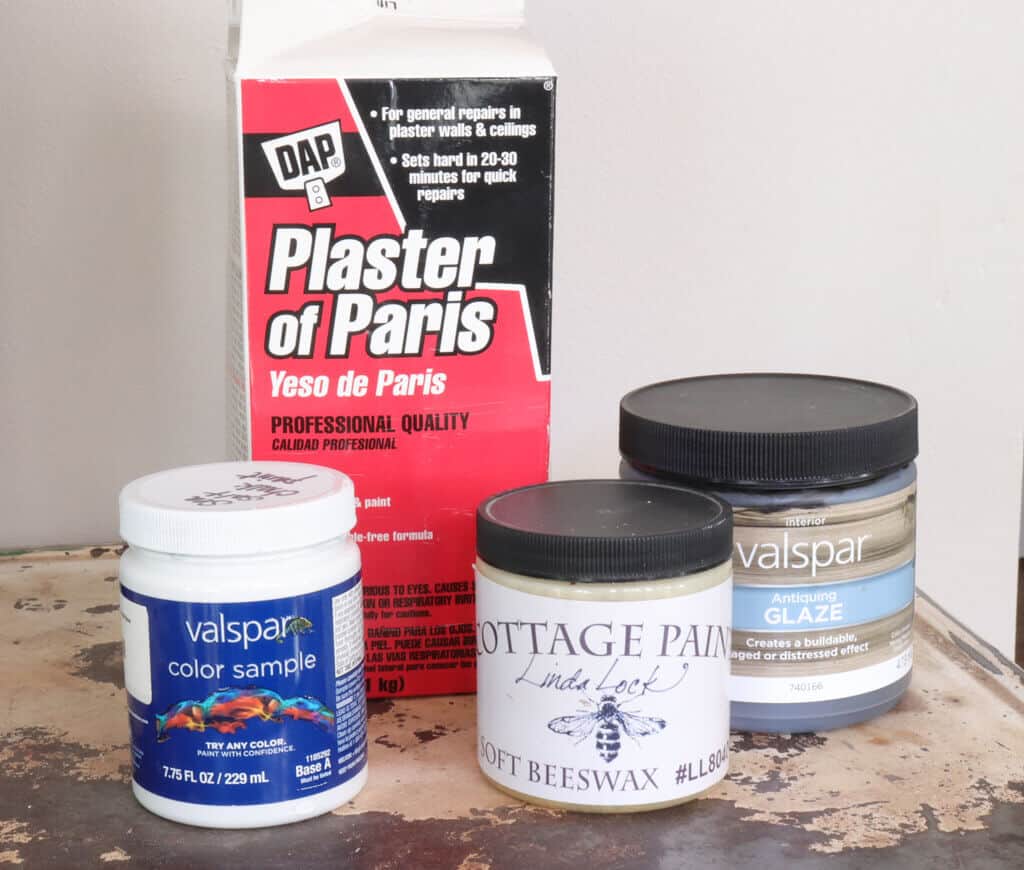
Plaster of Paris
Water
Beeswax
Antique Glaze
I started by sanding the dresser down.
You don’t need to fully remove the finish, but enough to create ‘teeth’ for the paint to stick too.
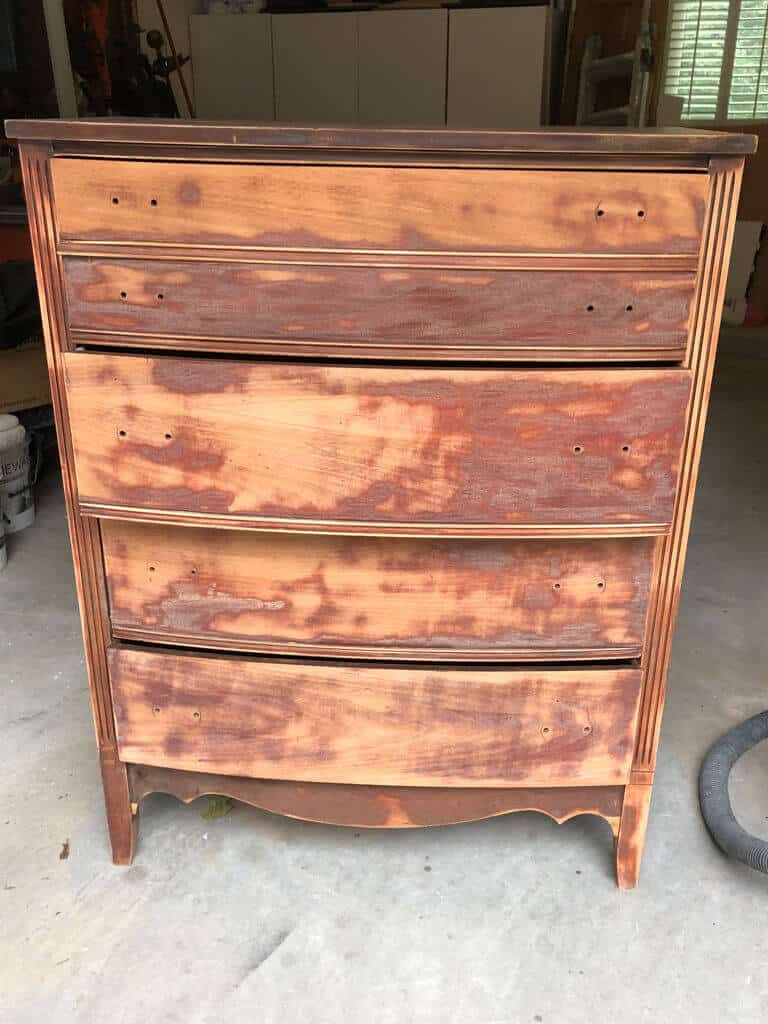
I used an orbital sander and I love to use it for speed, but it does remove more finish than is necessary.
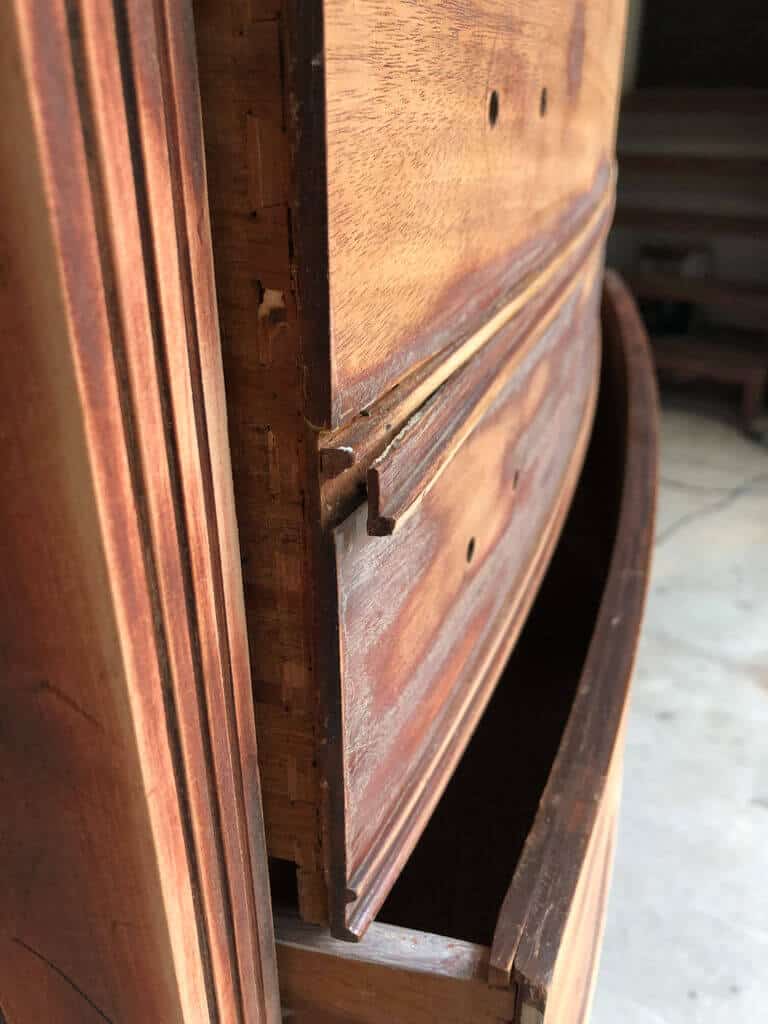
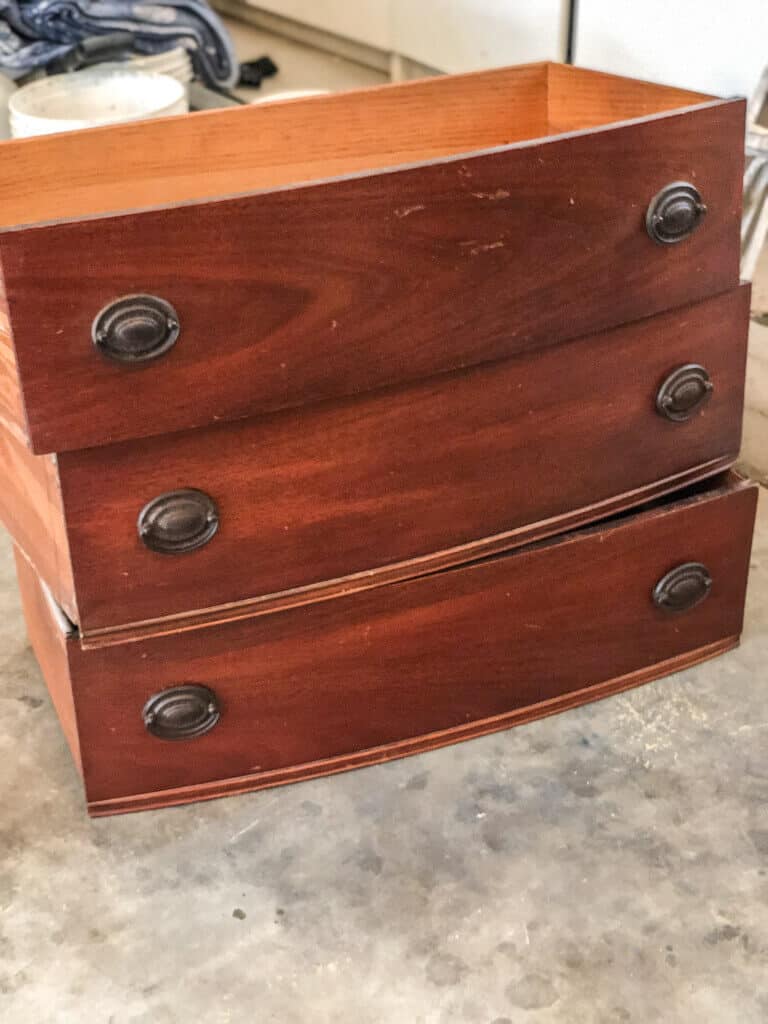
I noticed that one of the drawers needed repairing, so a quick glueing was needed to make this fix.
Now here is where I made a mistake.
I had this mistint of paint sitting in my cabinets that I am using for a base coat under the chalk paint.
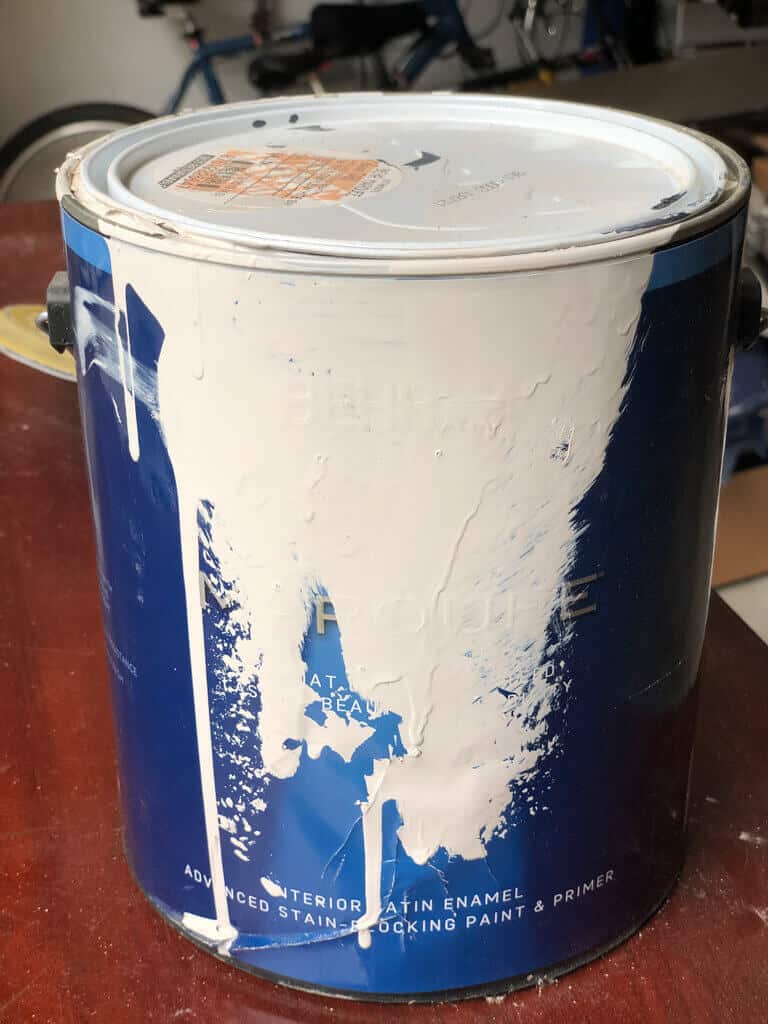
However, I quickly learned that the cherry wood was bleeding through.
So I had to apply my primer to block the stains.
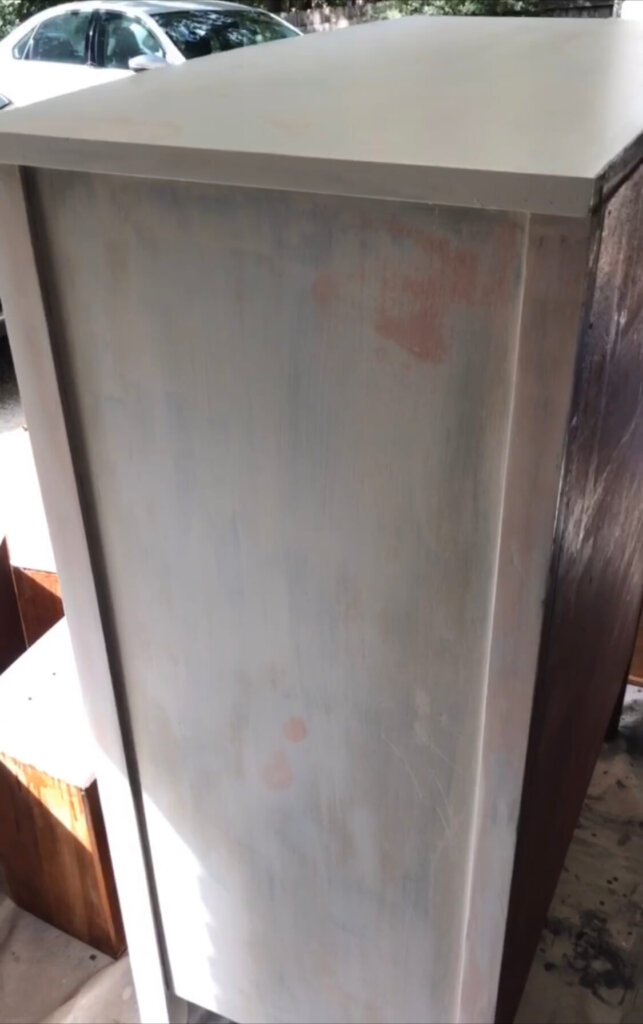
Learn from me and just go ahead and prime the piece first.
Once it was primed and covered with the base coat, I started to make the DIY Chalk Paint.
Begin by mixing 1/3 cup of Plaster of Paris with 1/3 cup of water at room temp. Stir until it’s completely combined.
Then mix the plaster/water mixture with one cup of flat latex paint and stir thoroughly.
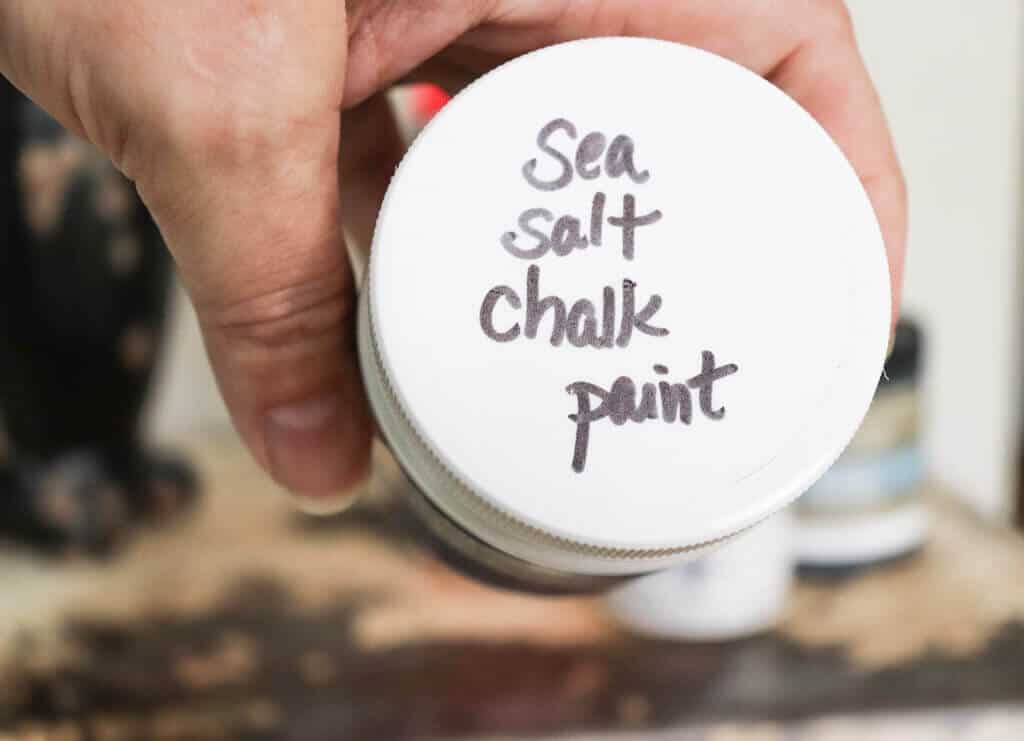
Apply the paint with a paint brush – no need to sand or prime unless you use a base coat like I did.
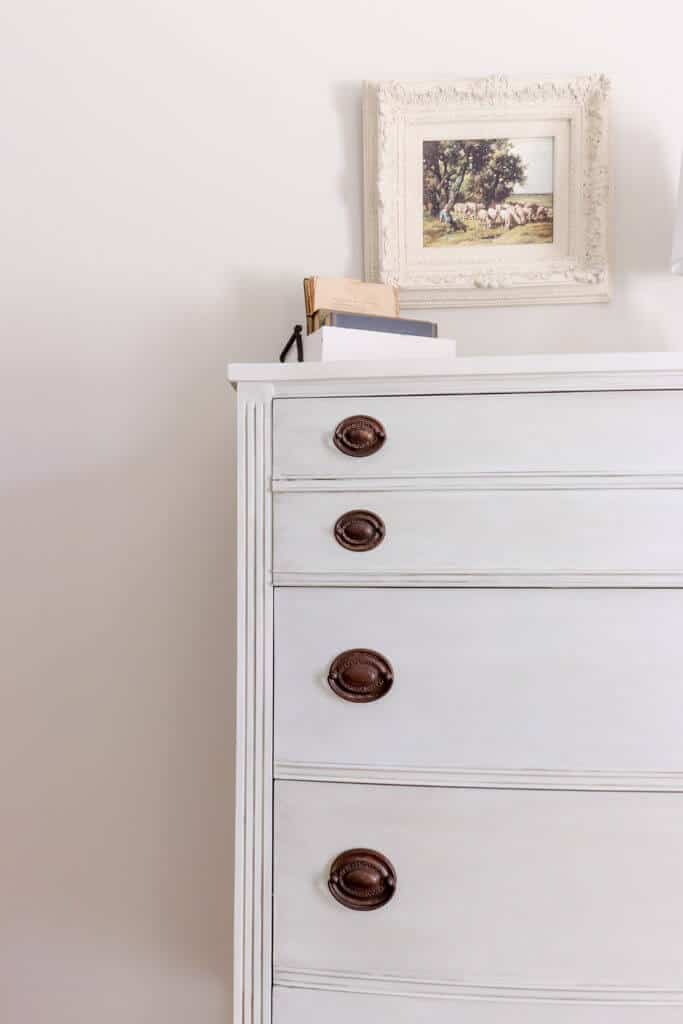
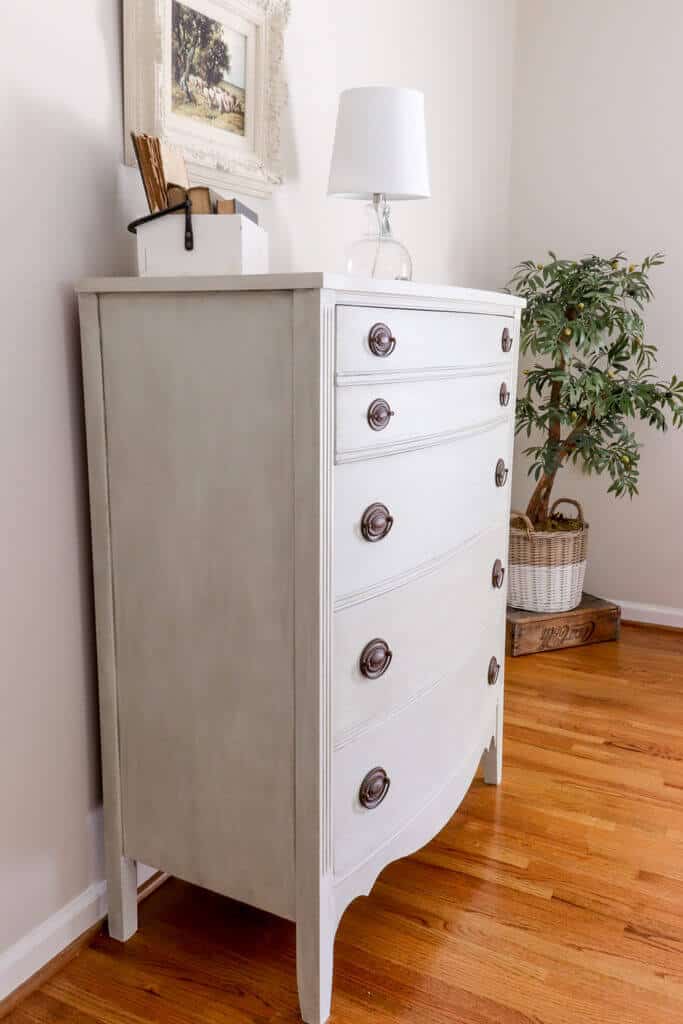
Here’s a look at the finished piece.
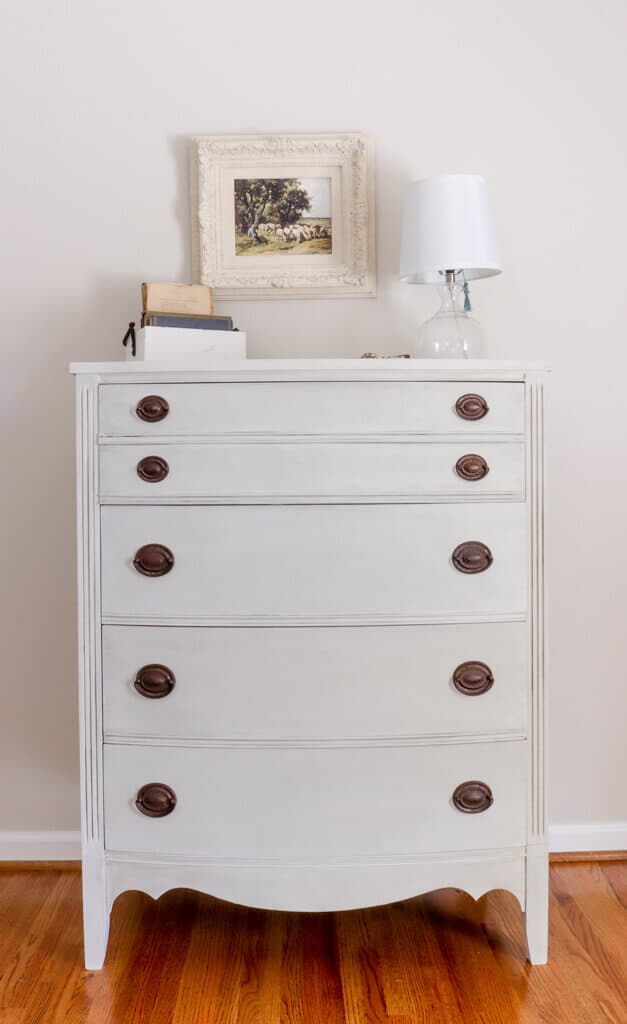
It’s so much lighter and brighter than before.
I did apply a wax mixture to the dresser.
I took some beeswax and mixed it with some antique glaze and wiped it on with a soft rag.
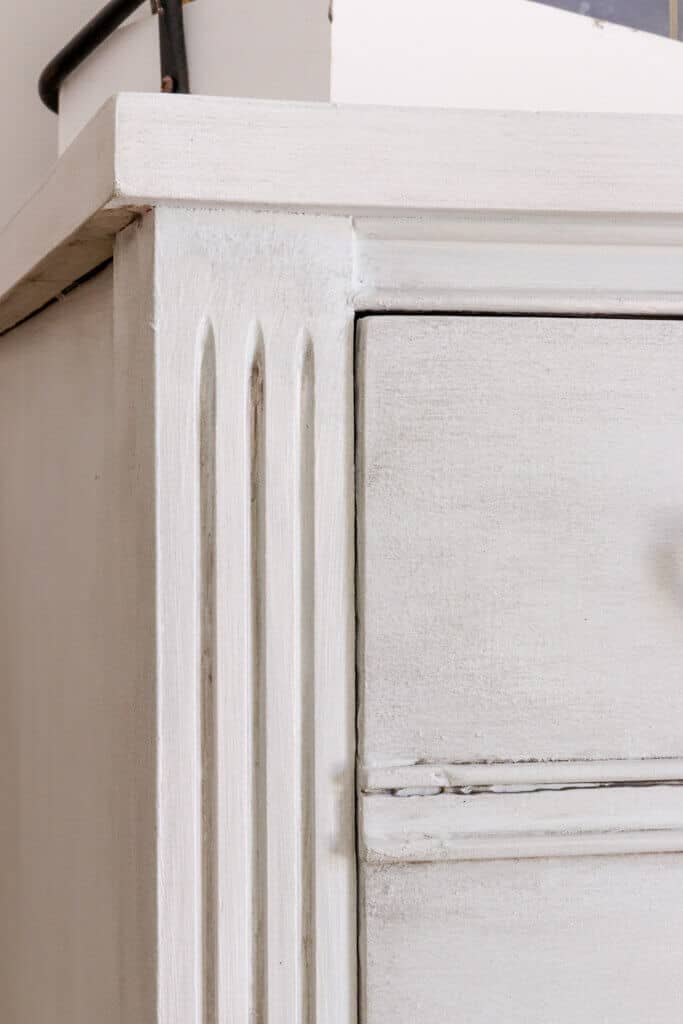
It added a soft depth to the piece and let those carved details stick out.
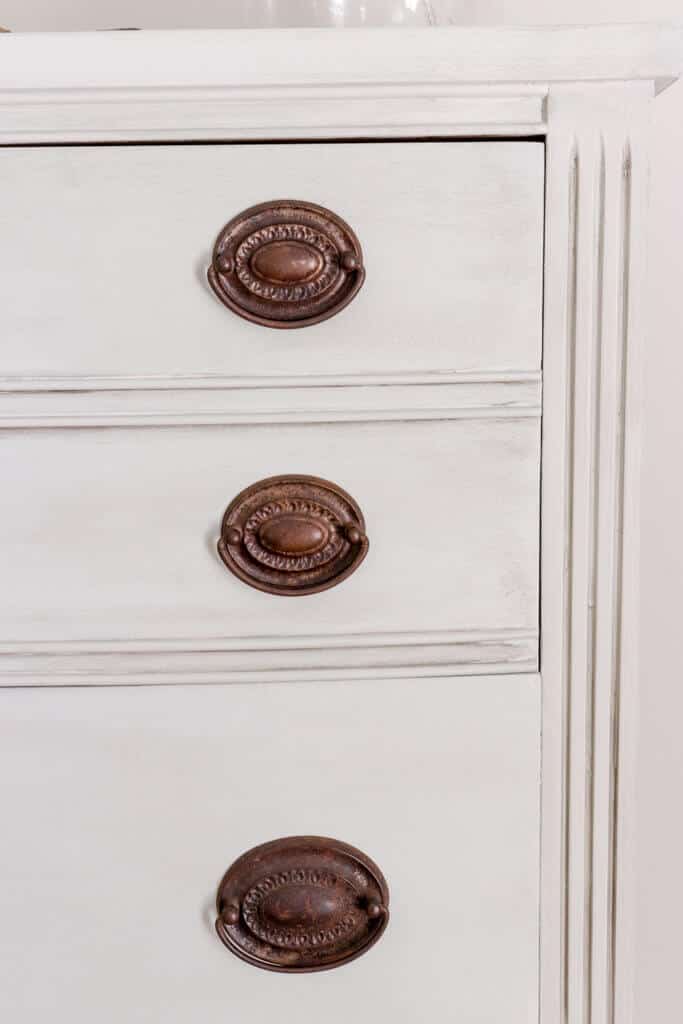
I kept the original hardware and put them back on the piece.
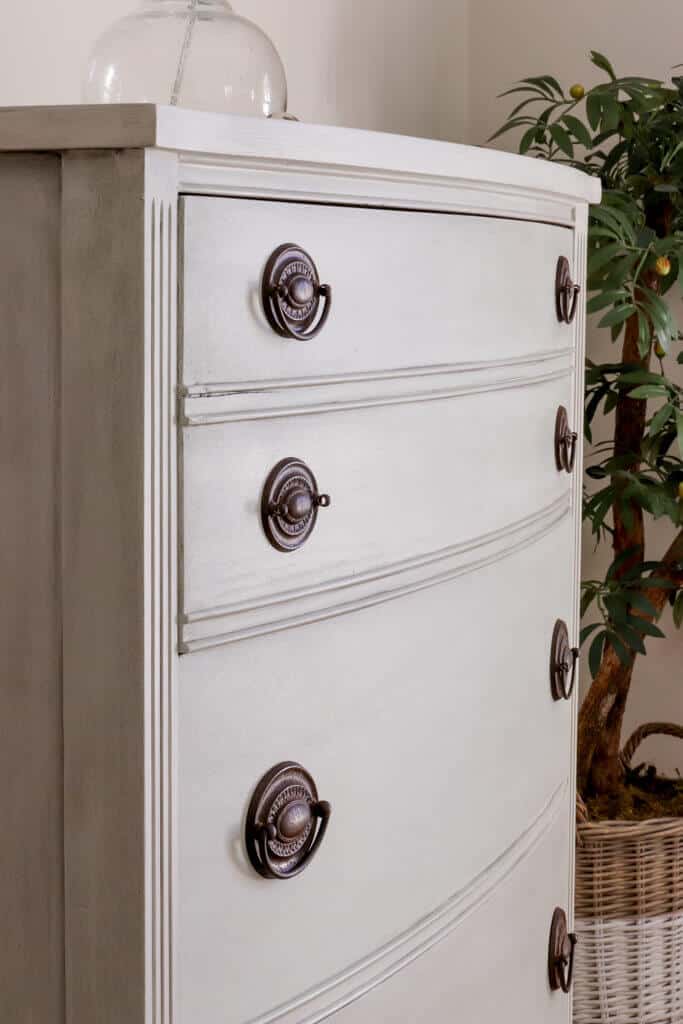
The drawer pulls were a bit rusty and had the perfect sheen I was hoping for.
So I didn’t change them a bit!
I paired the dresser with a fun print above that I found at a thrift store a few weeks ago.
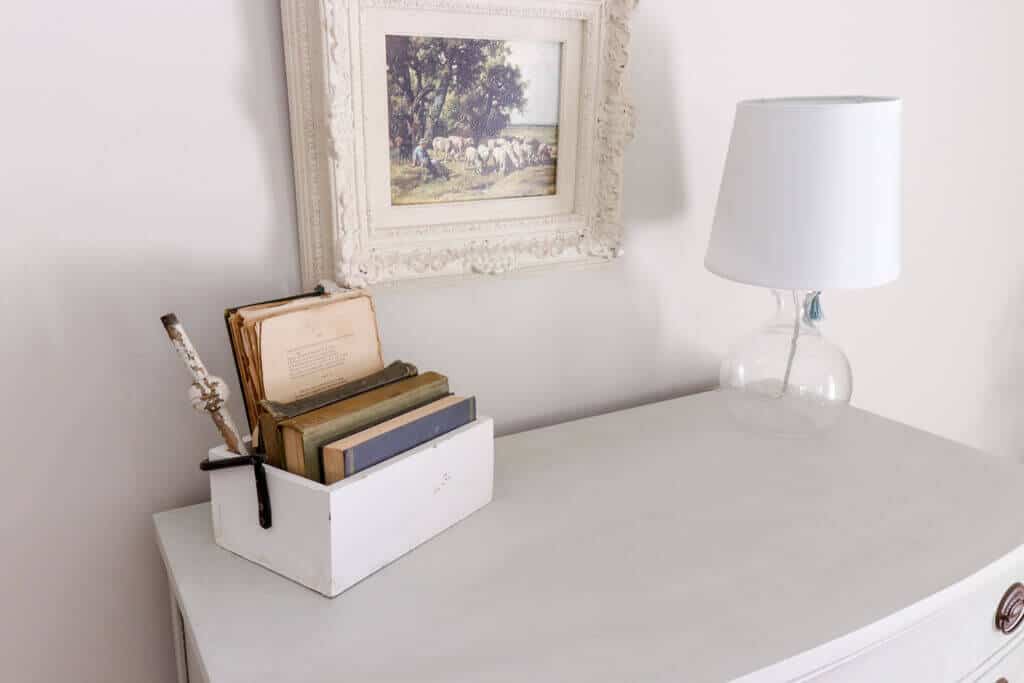
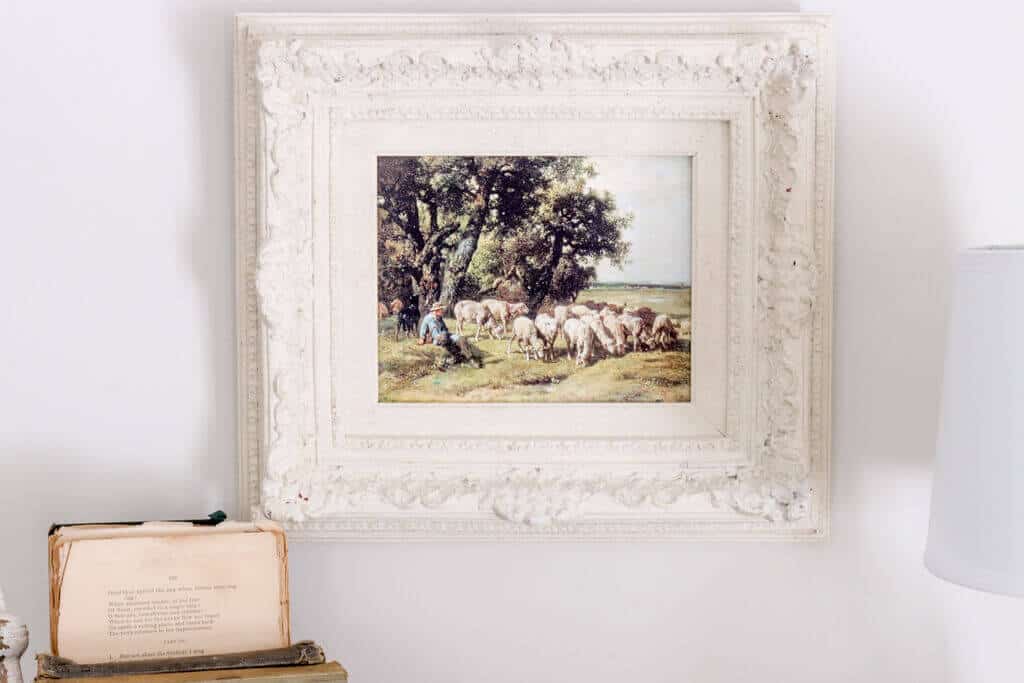
It was such a pretty print of a shepherd boy tending his flock so I grabbed it as quick as I could!
So were are almost ready to show off the guest room reveal.
Life has thrown us a few curveballs this week, but we are excited to be sharing the reveal with you soon!
Pin this for later!
2 Comments