How to Make Your Own Tarnished Silver Ornaments
I have such a love for silver – the more tarnished the better. Here’s how I created Tarnished Silver Ornaments for my Dining Room.
I love this time of year, when a group of bloggers get together to share their DIYs for this season. Today is sure to inspire you as you hop from one blog to the next with easy DIYs you can try yourself!
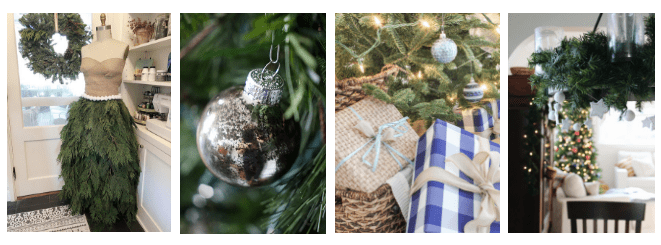
If you are coming here from Leslie’s blog, My 100 Year Old Home, welcome! I can’t believe how amazing that dress form looked draped in greenery! She is always a favorite blog I frequent often for inspiration.
I’m so happy to have you here. Make yourself at home and feel free to look around as I share my Christmas DIY with you.
If you scour the internet, you will find a multitude of articles on how to get your silver shining brilliantly.
Not me!
I just scroll right on by those articles.
Every time I visit an antique shop or thrift store, something about the tarnished silver draws me in.
It has character. It tells a story. And I just adore every piece I own, showcasing it throughout my home.
This Christmas, I wanted to bring all my favorites together to create a magical Dining Room. But it wasn’t long when I realized that I had a problem.
My Christmas tree didn’t match my tarnished silver tablescape.
So what do you do when your decor doesn’t match? Scrap it and start over? No way! I fixed my problem by creating tarnished silver ornaments to compliment my table setting. Here’s how I did it.
How to Make Your Own Tarnished Silver Ornaments
Supplies
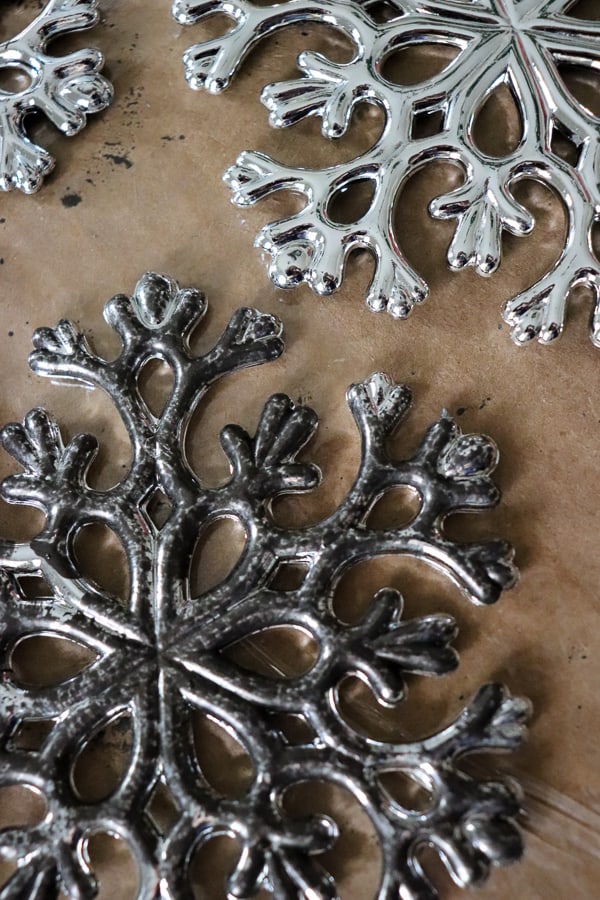
Silver Ornaments – I used the typical ball ornaments and some fun silver snowflakes
Antiquing Glaze – Martha Stewart Metallic Glaze
Foam brushes
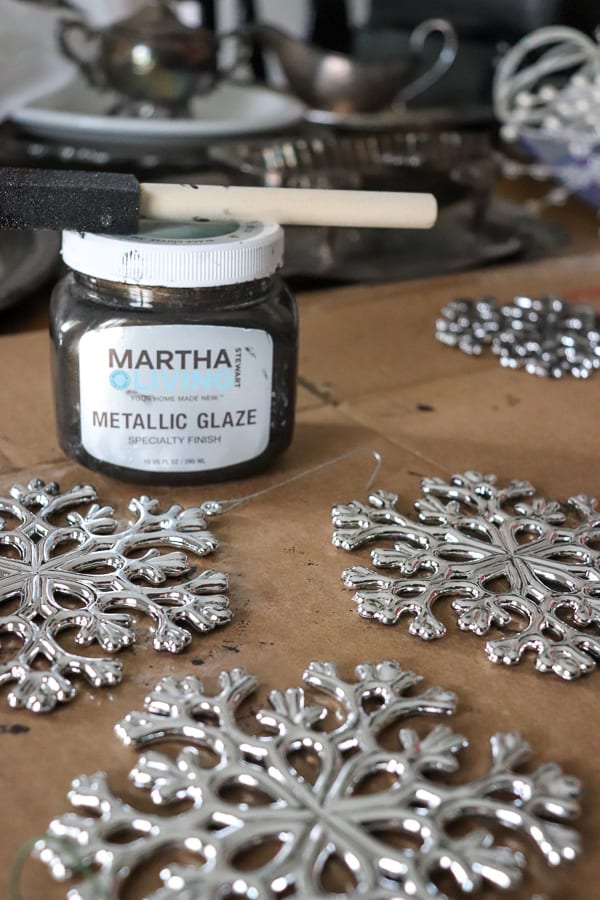
This is one of the easiest transformations I’ve ever made. Ready for this?
Dip your foam brush into the glaze.
Dab it on haphazardly. (Because tarnish isn’t uniform, is it?)
That’s all! Easy Peasy, right?
Just look at the before and after!
[amazon_link asins=’B005D8CZFM,B075198SC6,B00NFJ3NSY’ template=’ProductCarousel’ store=’notigrac02-20′ marketplace=’US’ link_id=’0a052a94-f9a9-11e8-8799-1ff81a6445a2′]
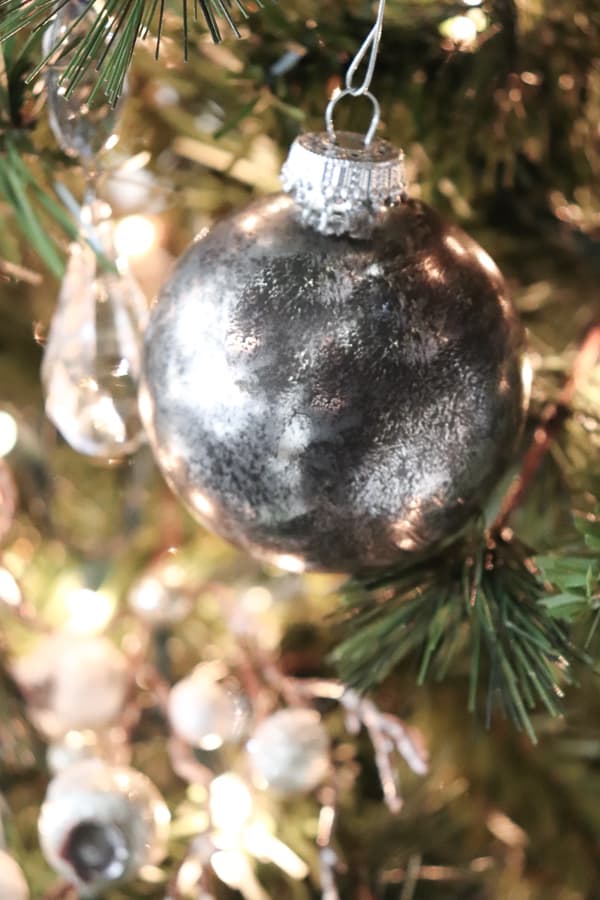
So let’s check out how the ornaments look on my Christmas tree.
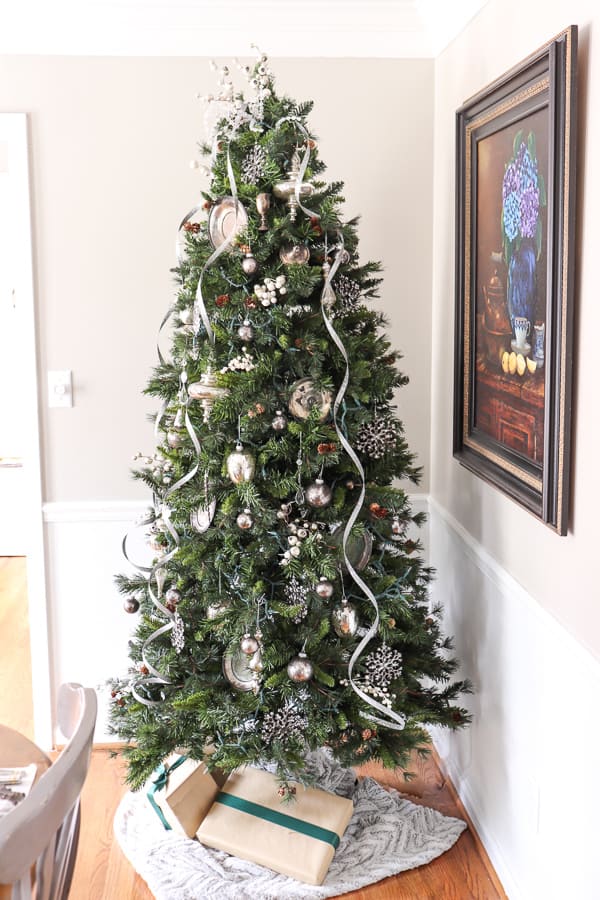
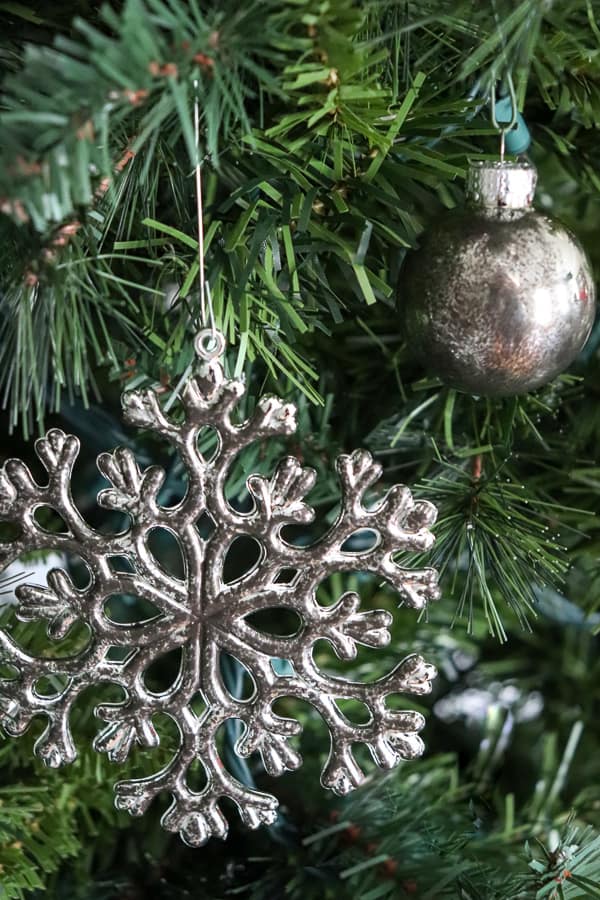
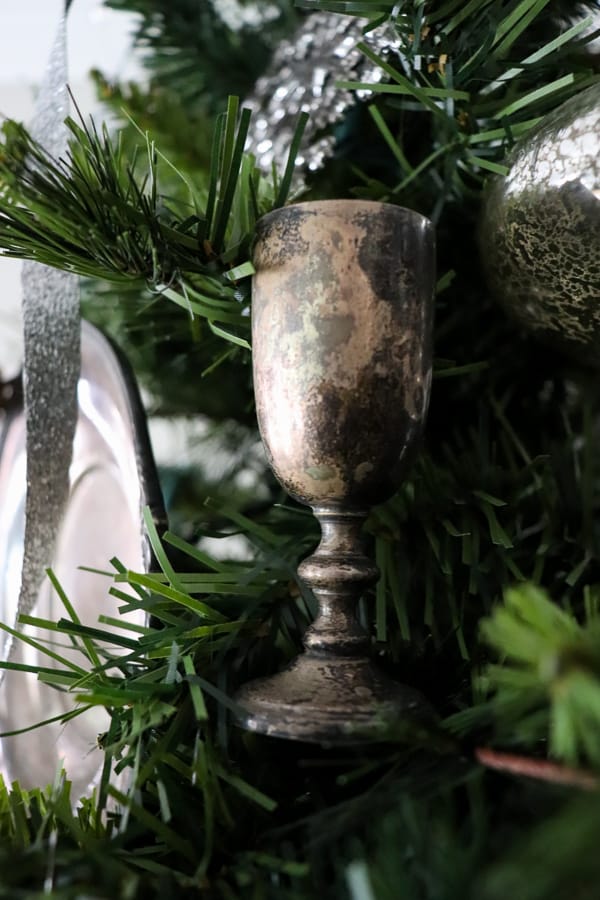
I included some mercury glass ornaments and crystals which fit right in next to the tarnished silver ornaments. To add a bit of whimsy, I included other elements of tarnished silver from my home.
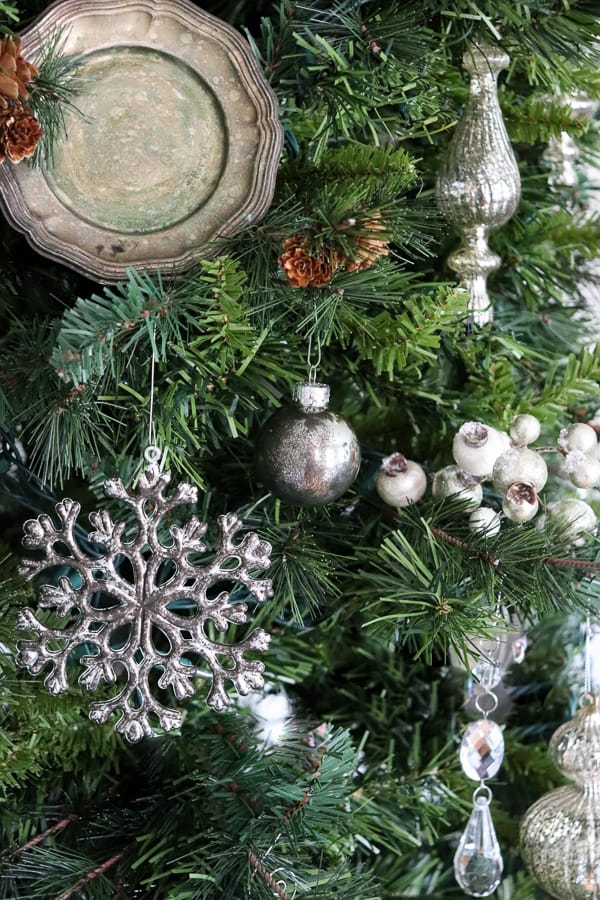
These small bread plates were a steal when I found them a few years ago. I placed them strategically on the tree.
So far, they are staying in place really well, but maybe don’t jump up and down right next to the tree. LOL
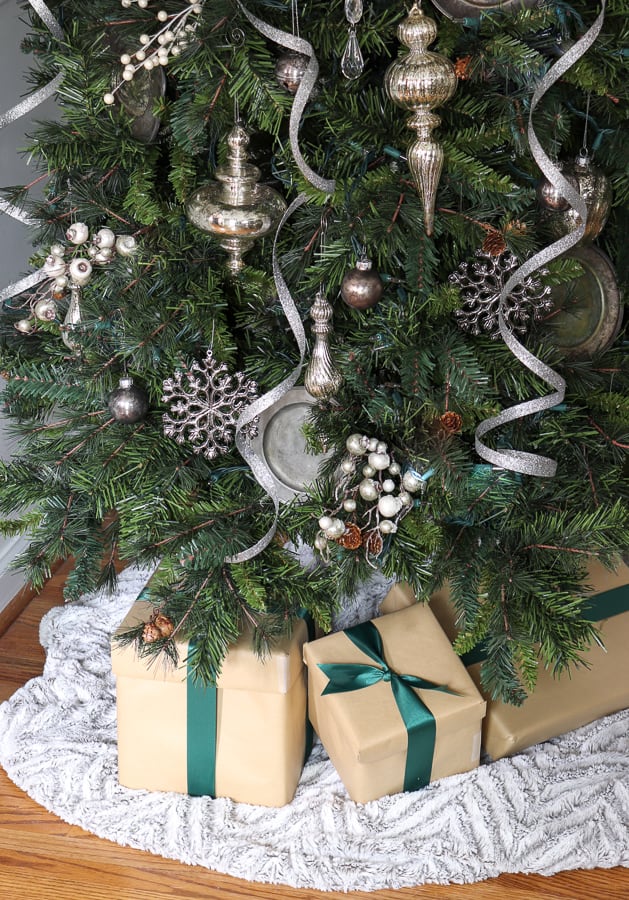
The wrapped packages are kept simple with green ribbon. This luxurious faux fur blanket was used in a pinch as a tree skirt.
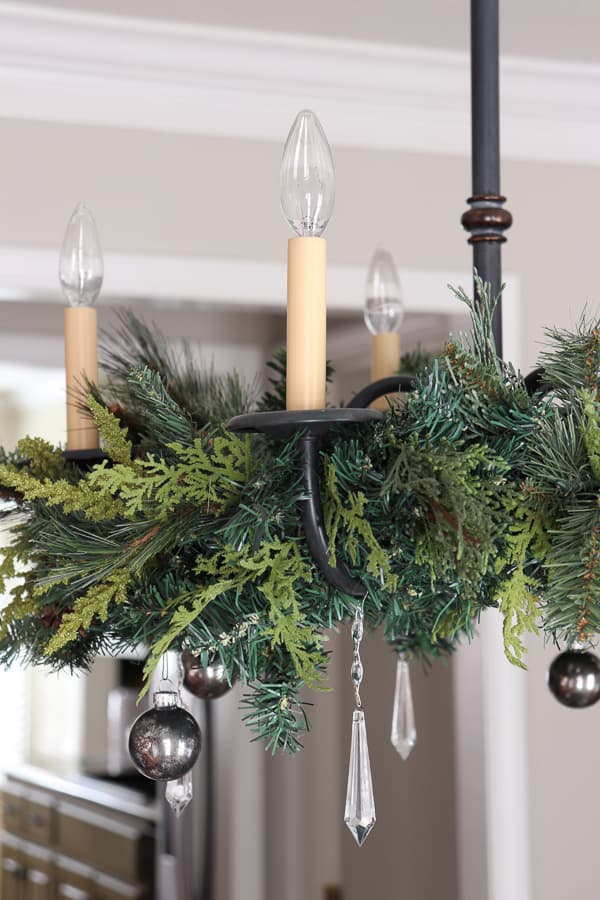
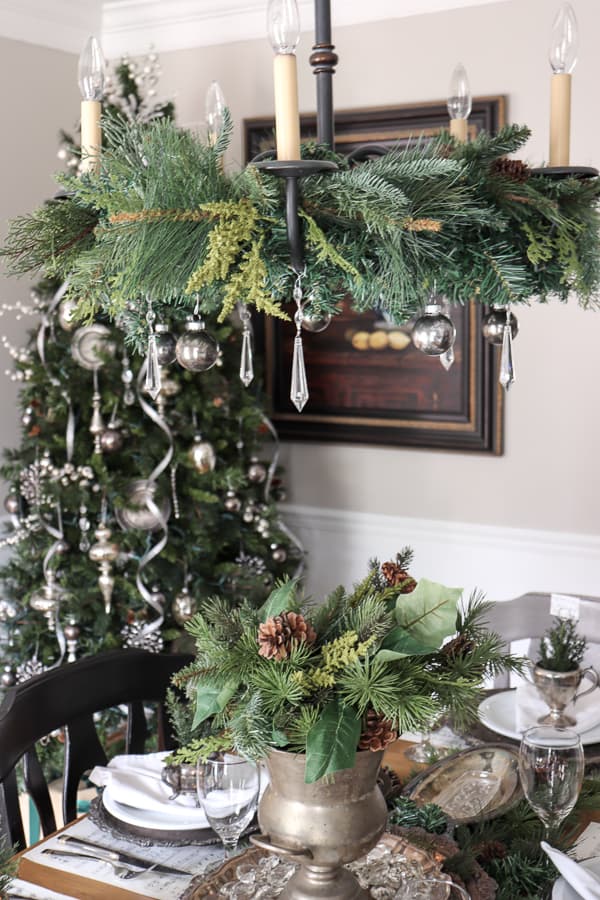
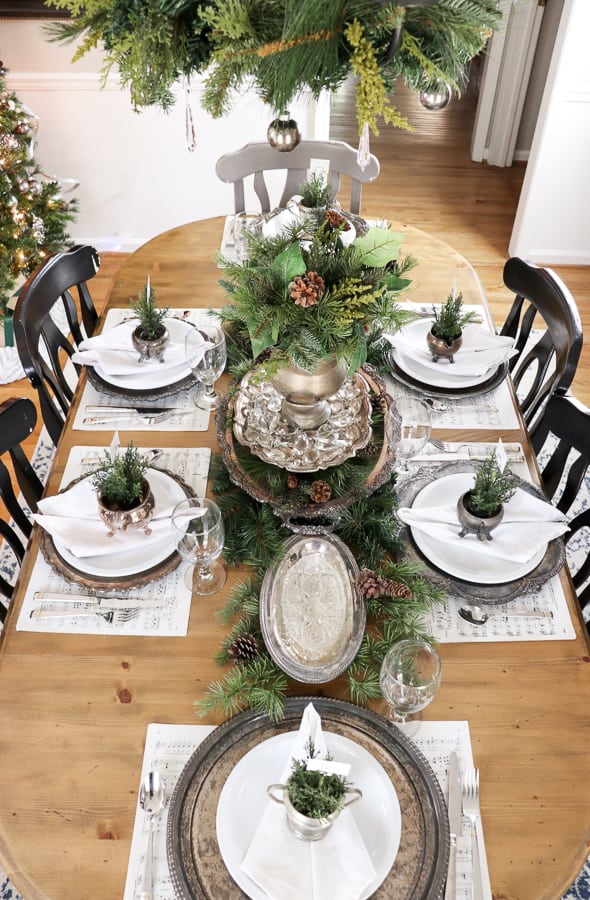
I added some DIY tarnished silver ornaments to some greenery I place around my chandelier.
So pretty – I love how they dangle over my tarnished silver tablescape.
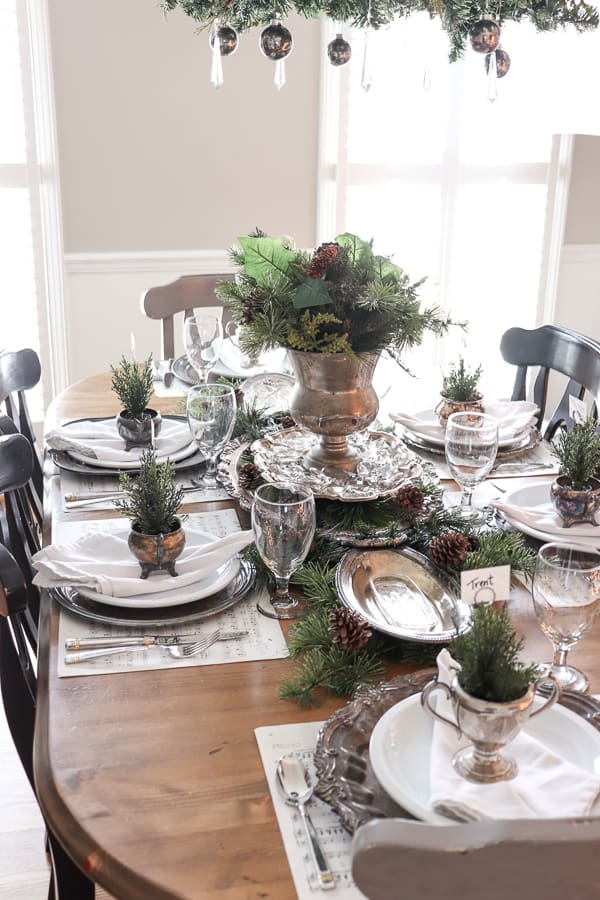
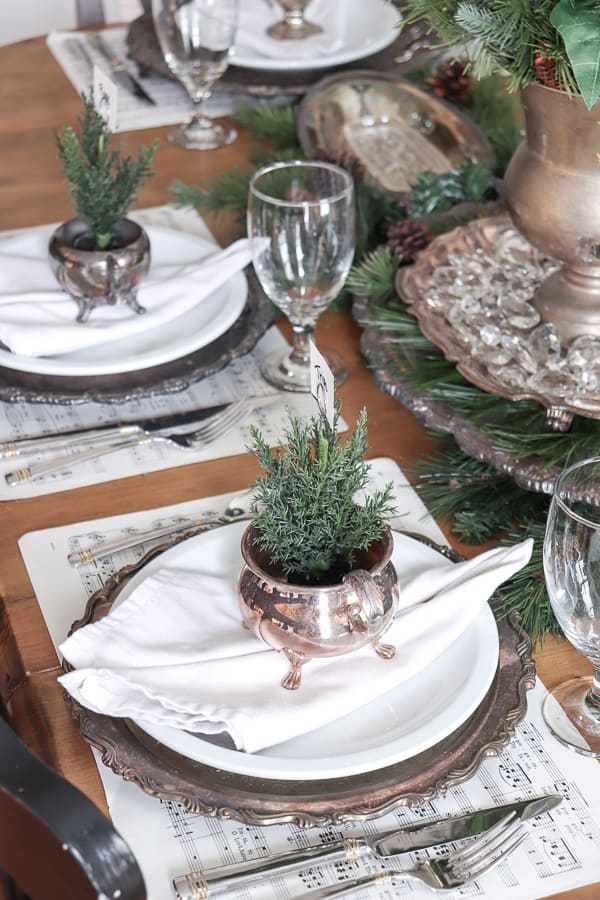
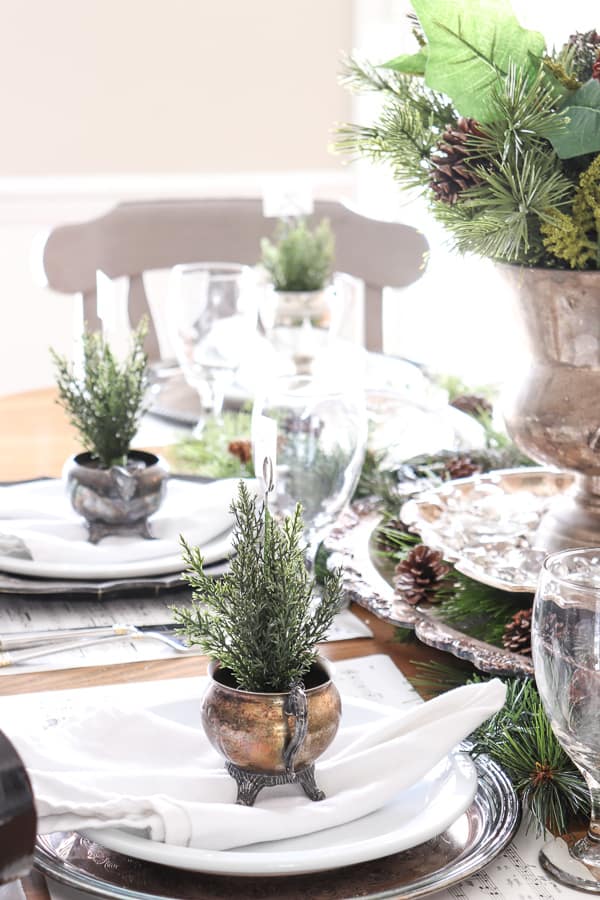
I do believe this is my most favorite table setting I’ve created to date.
The placemats are just sheets of music from an old repertoire book I had. The chargers are tarnished trays. The little creamers are housing these cute potted pine place card holders.
I used our everyday white plates, our wedding silverware, and some plain white napkins to finish the look.

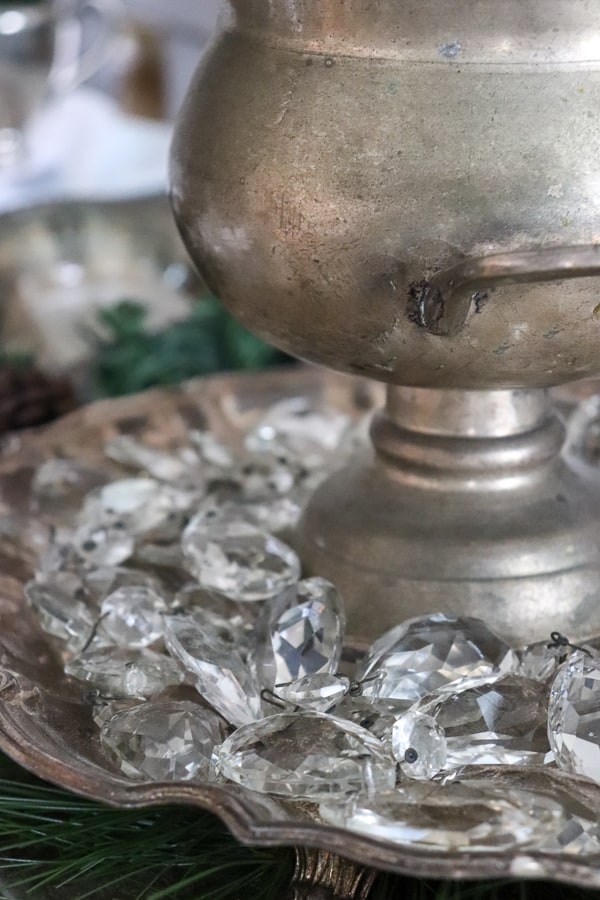
The centerpiece was a tarnished silver wine cooler on a tray surrounded by crystals from an old chandelier. I love the shiny sparkles against the dull silver.
Sources from this post
Unlit Christmas Tree – Amazon
White Glitter Garland – Amazon
Potted Place Card Holders – Hobby Lobby
Silver Snowflake Ornaments – Hobby Lobby
Mercury Glass Ornaments – Amazon
Glass Goblets – Amazon

Thanks for visiting me on this tour of DIYs. Next on the hop is Lindsey from Repurpose and Upcycle. Just wait until you see her gorgeous tree!
Also, if you want to visit everyone on today’s tour of homes – you can click below to check out their homes.
I hope this inspired you to try to find a creative solution to a decor dilemma!
2018 Christmas I DIYed That Home Tour
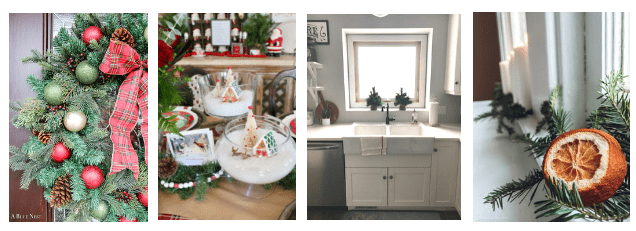
A Blue Nest | Cuter Tudor | Joy in Our Home | Little by Little Farmhouse
My 100 Year Old Home | Noting Grace | Repurpose and Upcycle | The Homemaking Momma
The Tattered Pew | Thrifty and Chic Decor | Uniquely Taylor Made

Great question! I used store bought silver ornaments and added the aging glaze to make them look tarnished. Hope that helps!
How did you do the silver ornmanets, inside or out? I have some I want to do for my silver theme. I have paint that is metalic. Any tips as I don’t see them on your site.
I read you did the silver oranments with Metalic. Did you put it on the outside or inside? If inside just the metal paint or other? Thanks
That’s a great question! I found this glaze at Michaels a few years ago, but the few that you have found would work as well. Any antiquing glaze should do the trick!
Can’t find this particular glaze at Hobby Lobby it Michaels or Walmart! What is something comparable? I have just regular deco paint glaze .