Limewashing a Stone Fireplace to Still Look Like Stone


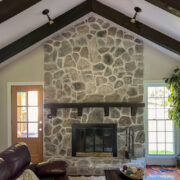


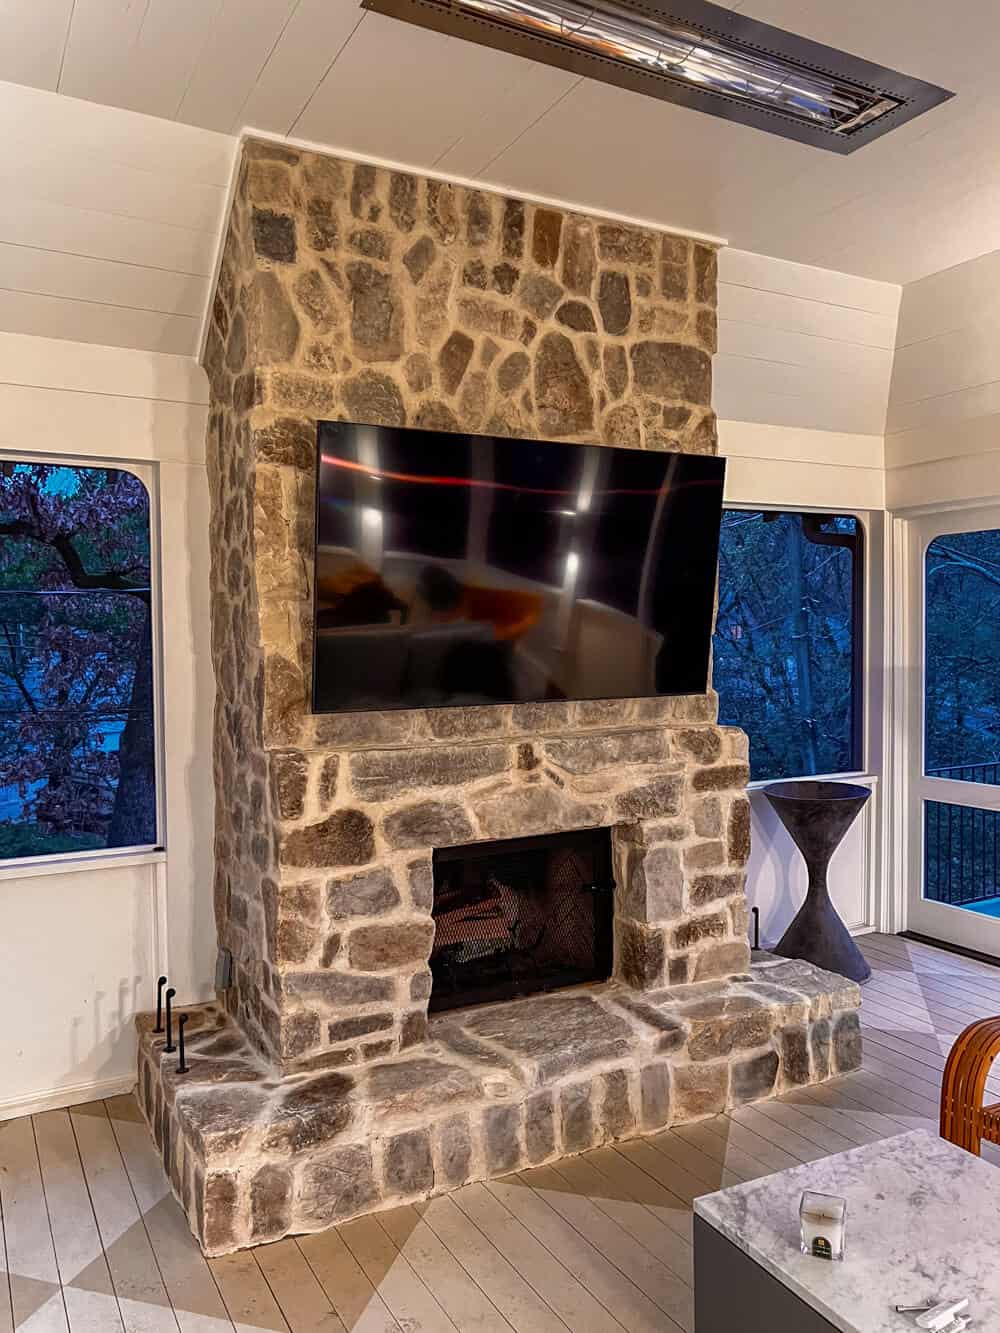
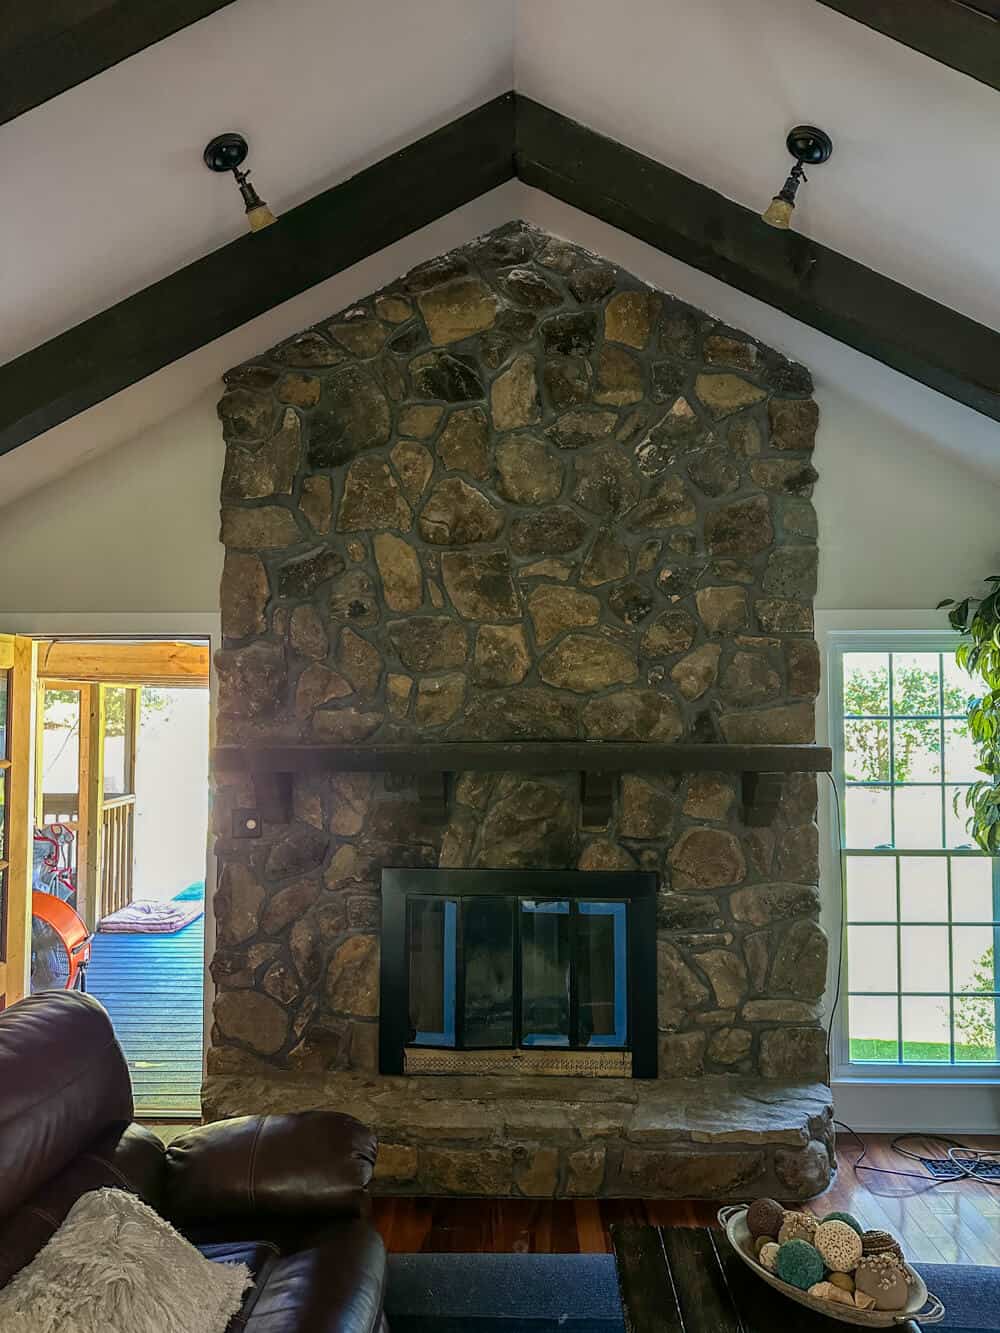
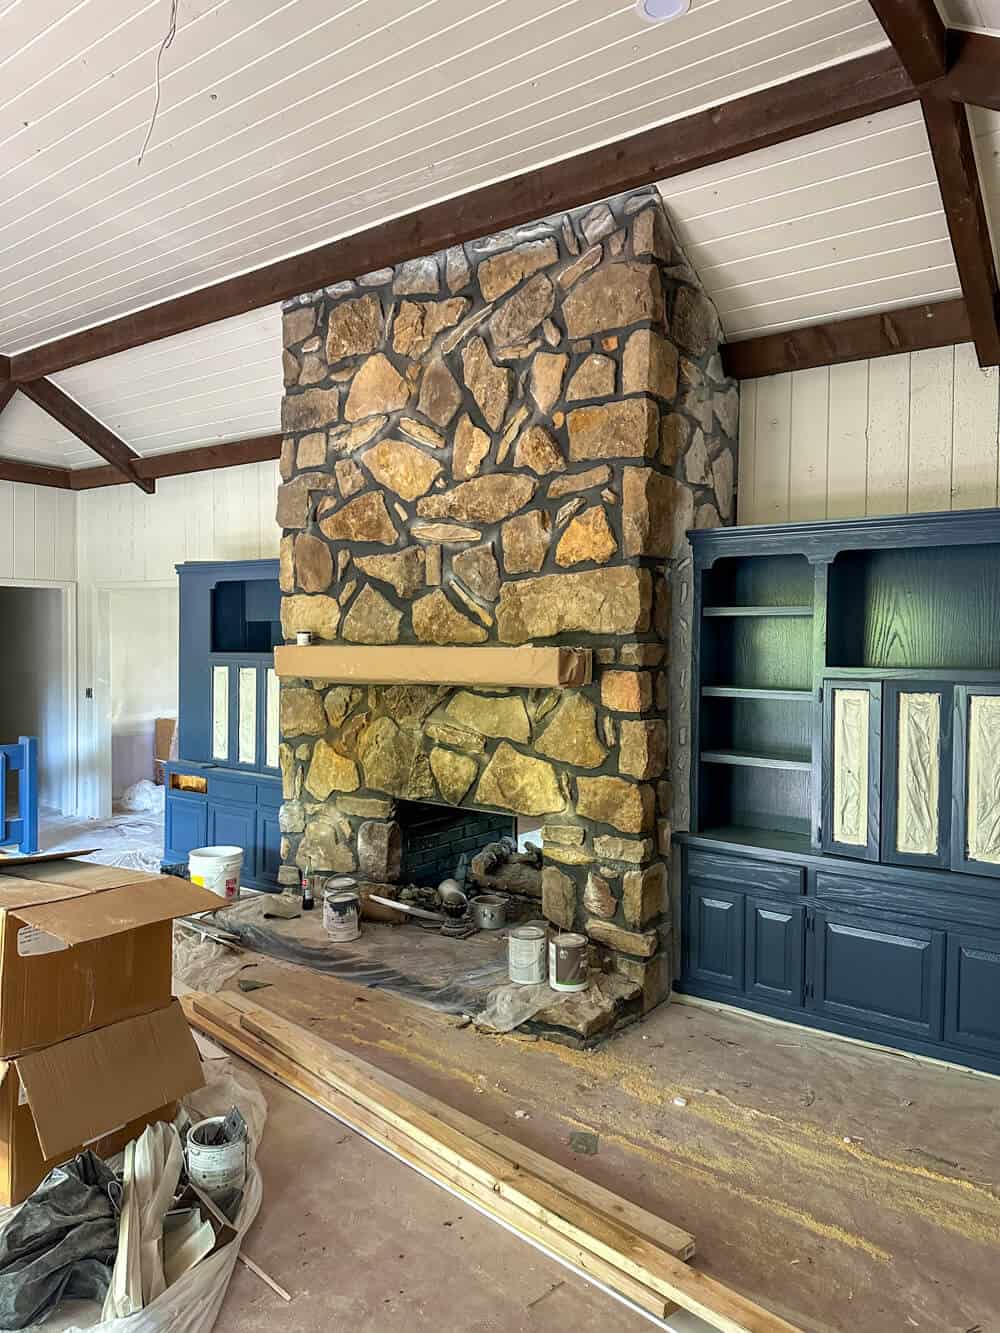
Let’s be honest—those old brownstone fireplaces with dark mortar? They’re not exactly doing your living room any favors. Some fireplaces feel more like a black hole than a cozy focal point.
If you’ve got one of those old brownstone beasts with black mortar that makes the whole room feel like a cave… we see you.

We’ve been there—tight budget, limited time, and zero margin for error.
And let us be the first to tell you: you don’t need a full remodel to make a massive impact! Limewashing a stone fireplace is an affordable, beginner-friendly DIY that keeps the beauty of your stone visible—without making it look like you just slapped paint over it.
This one-day project is all about transformation without overwhelm. With just some basic tools and a bit of elbow grease, you can completely refresh your fireplace and fall in love with your space again.
As professional limewashers who’ve tackled everything from brick exteriors to indoor fireplace transformations, we’ve learned that this one technique delivers maximum visual payoff for minimal effort—and yes, it’s totally beginner-friendly.

This post contains some affiliate links for your convenience.
Click here to read my full disclosure policy.

Hey there! If you’re new here…
We’re Jen and Trent – your budget-loving, brick transforming BFFs! With over 5 years of hands on experience lime washing homes (including 2 of our own!), we’ve helped homeowners turn their brick homes into gorgeous, timeless exteriors.
What started as a DIY project turned into a full-blown passion and business. Now, we’re here to share all our pro tips, hard-earned lessons, and tried and true techniques with you. Because loving your home shouldn’t break the bank – and yes, you can do it yourself!
Why Limewash is Perfect for a Natural Stone Fireplace
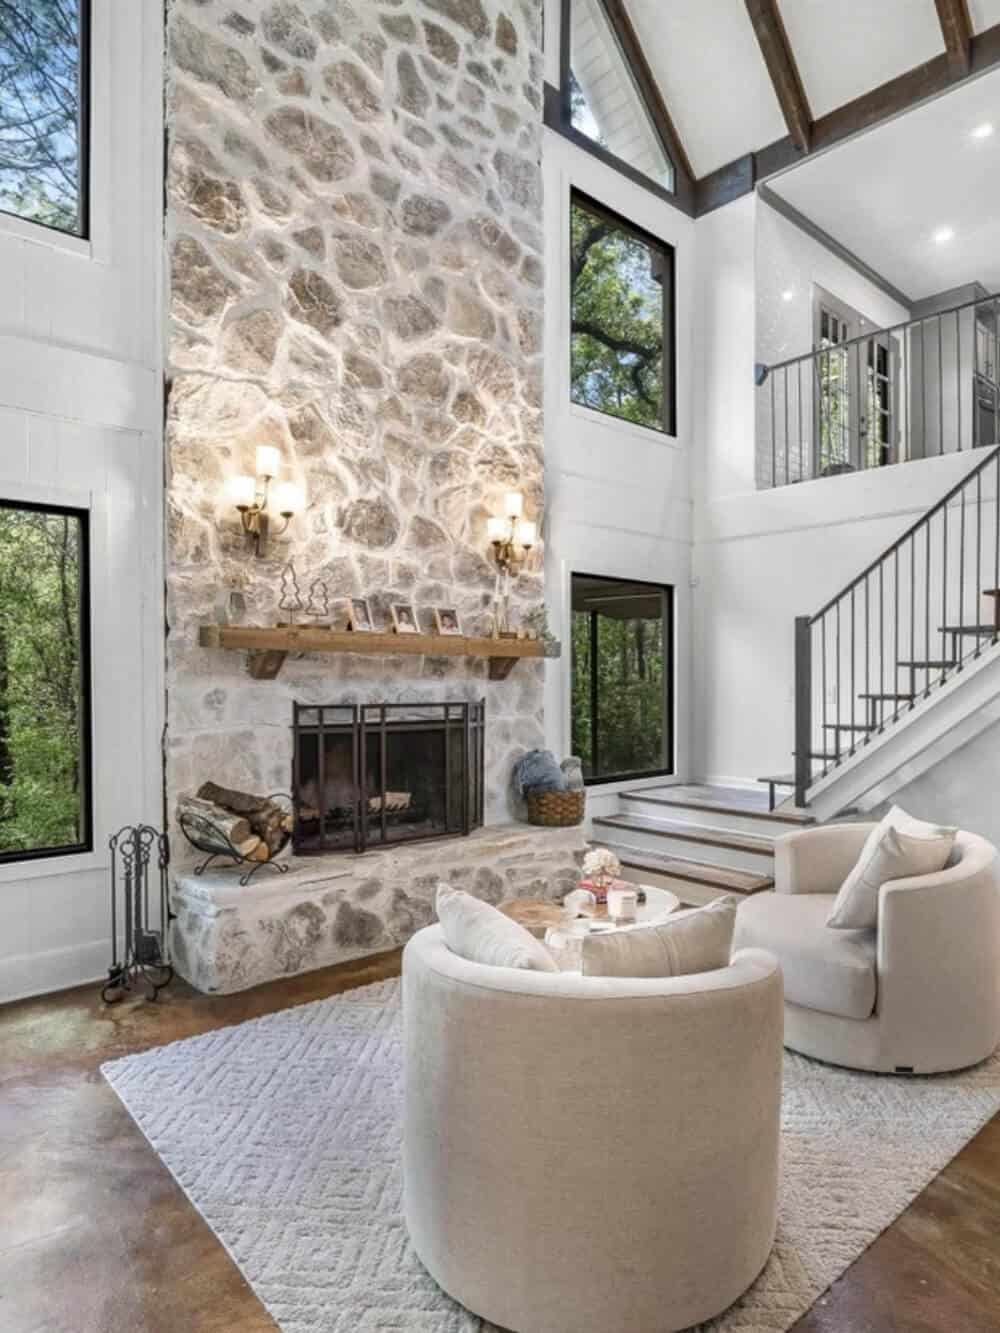
Unlike paint, limewash doesn’t hide your stone—it partners with it.
It absorbs and settles into the surface like it belongs there—because it does.
It’s breathable, timeless, and lets you create that soft, natural look without losing the texture or warmth of the stone underneath.
Plus… it’s forgiving. (Which is basically a love language for those of us DIYing with a little fear and a lot of life happening.)
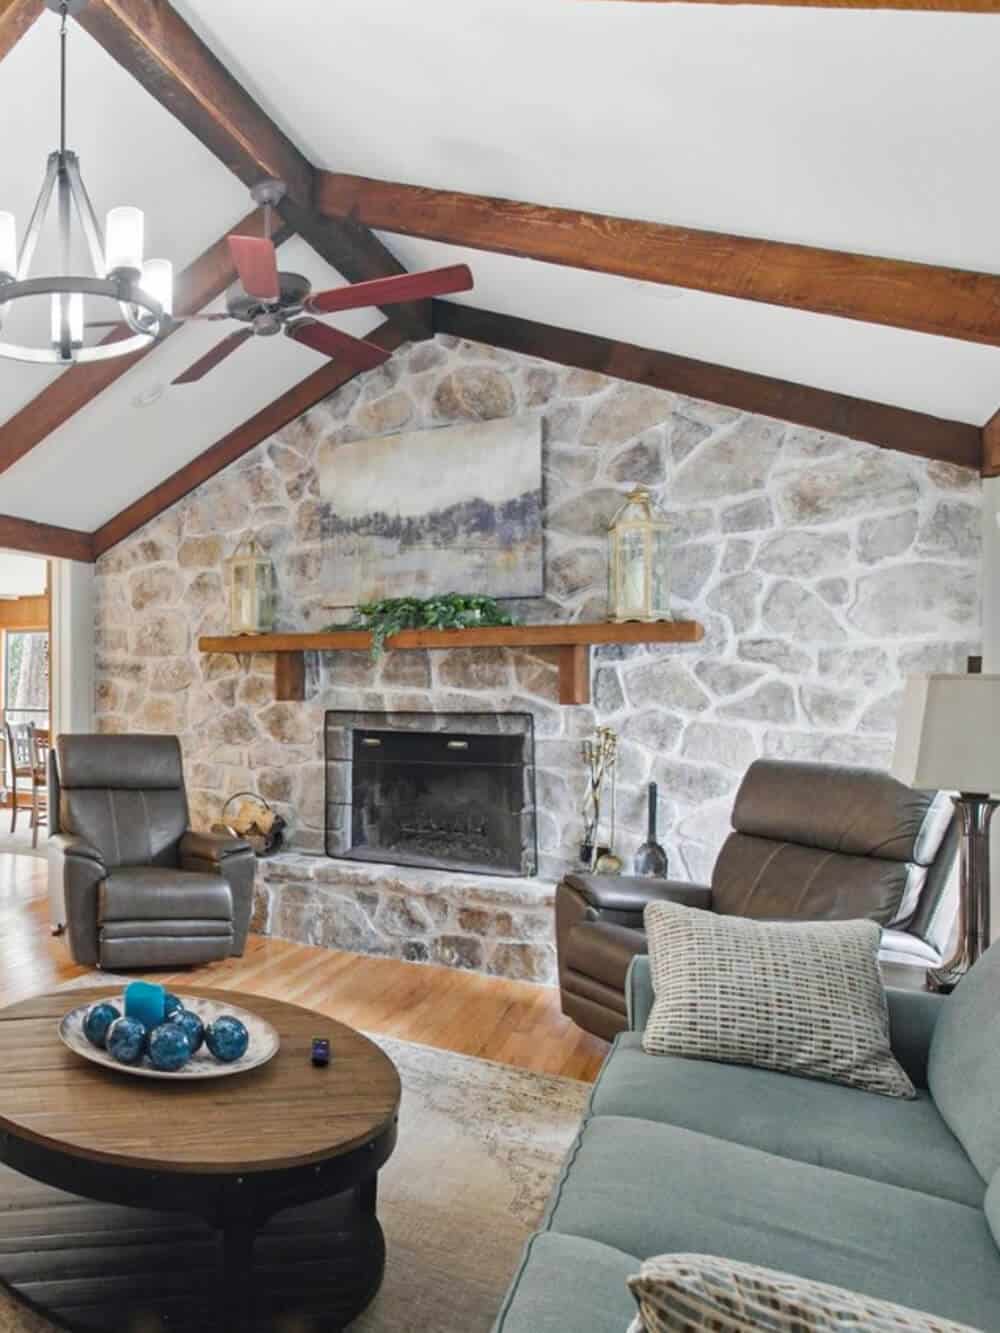
The result? A cozy, lived-in look that feels original to your home.
Tools and Supplies for Limewashing a Stone Fireplace
Here’s what you’ll need:
Cleaning & Masking Tools Needed
Limewashing Materials Needed

We’ve also put together a complete, downloadable list of all our favorite limewashing tools we’ve used on nearly every job we do.
Step by Step Instructions for a Fireplace That Still Looks Like Stone
Would you rather opt for video tutorials instead of step-by-step instructions? We’ve got you covered with a comprehensive video tutorial that guides you
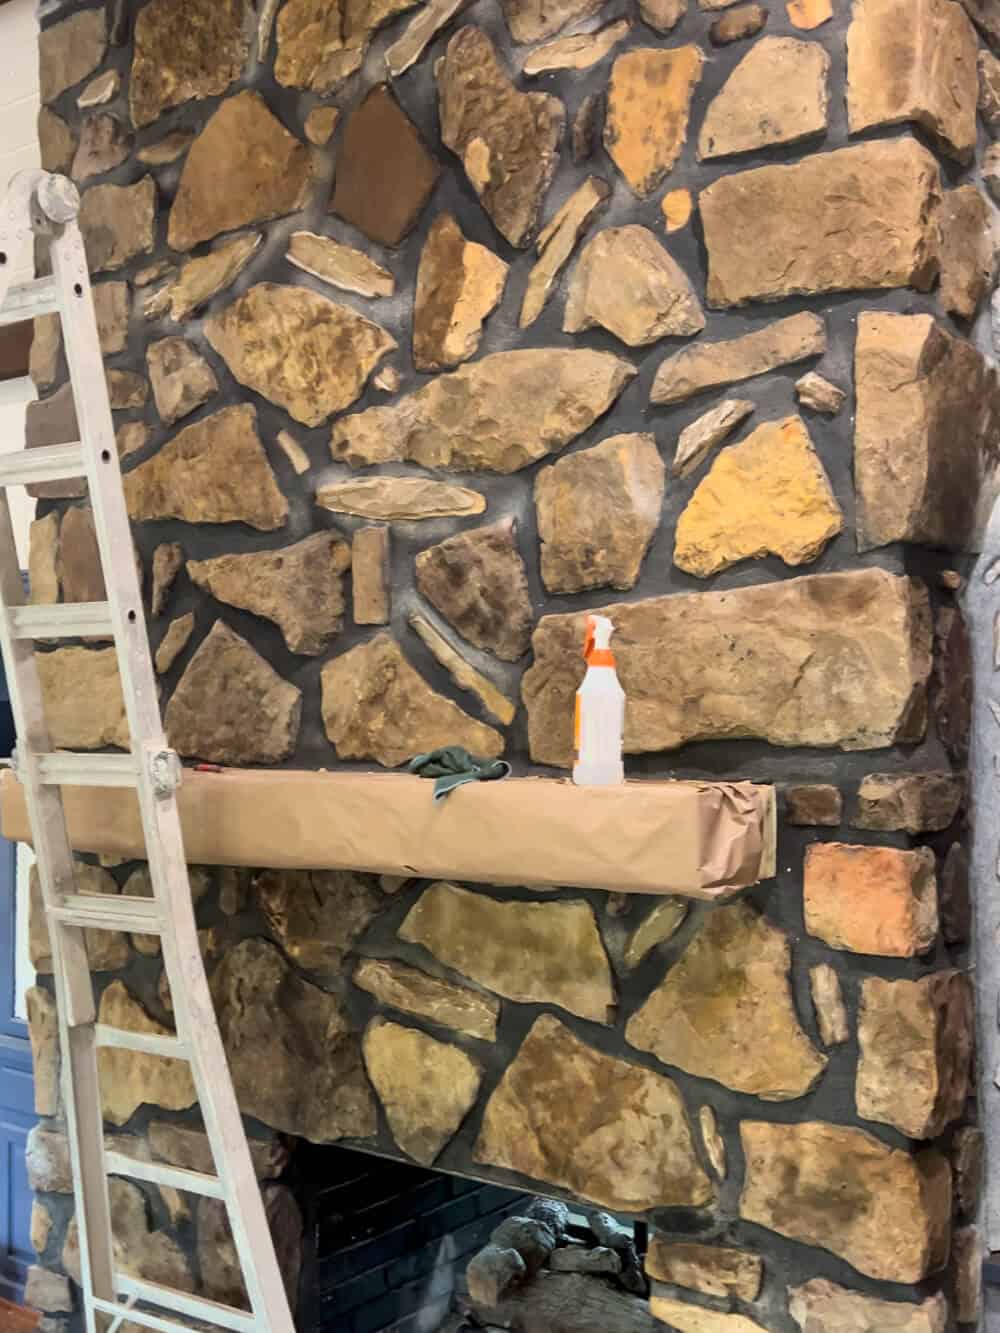
Step 1: Prep and Clean Your Stone Fireplace Before Limewashing
This step sets the foundation for everything else. Limewash needs a clean surface to absorb properly.
Natural stone brings the outdoors in—which also means it brings in dirt, moss, and mystery growths.
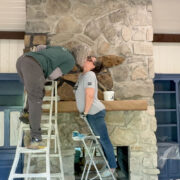
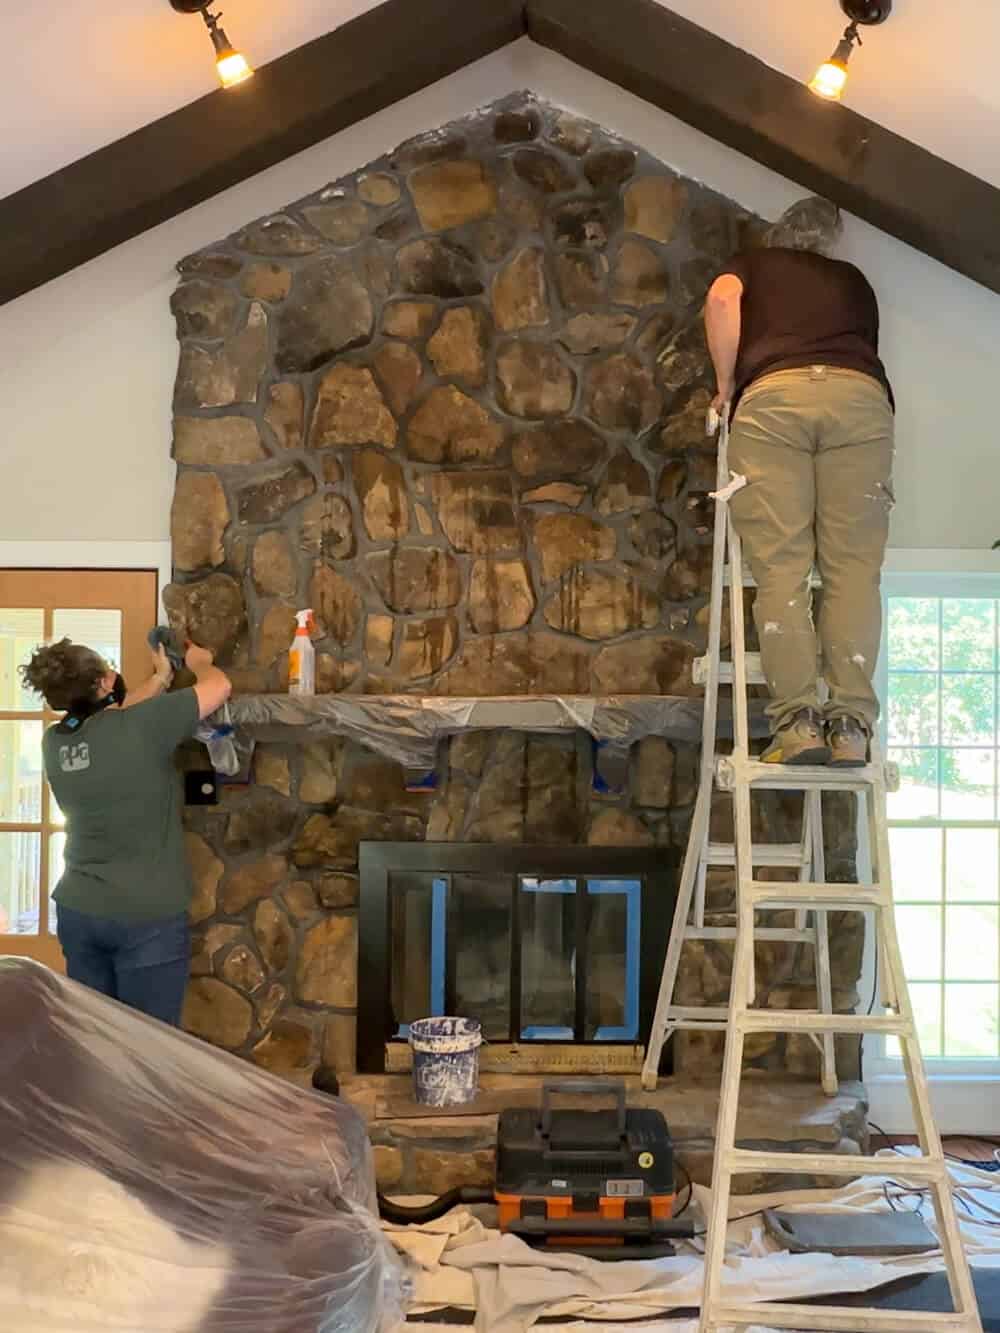
- Lay down a drop cloth or plastic to protect floors and furniture.
- Tape off any fireplace inserts, mantels, or surrounding trim.
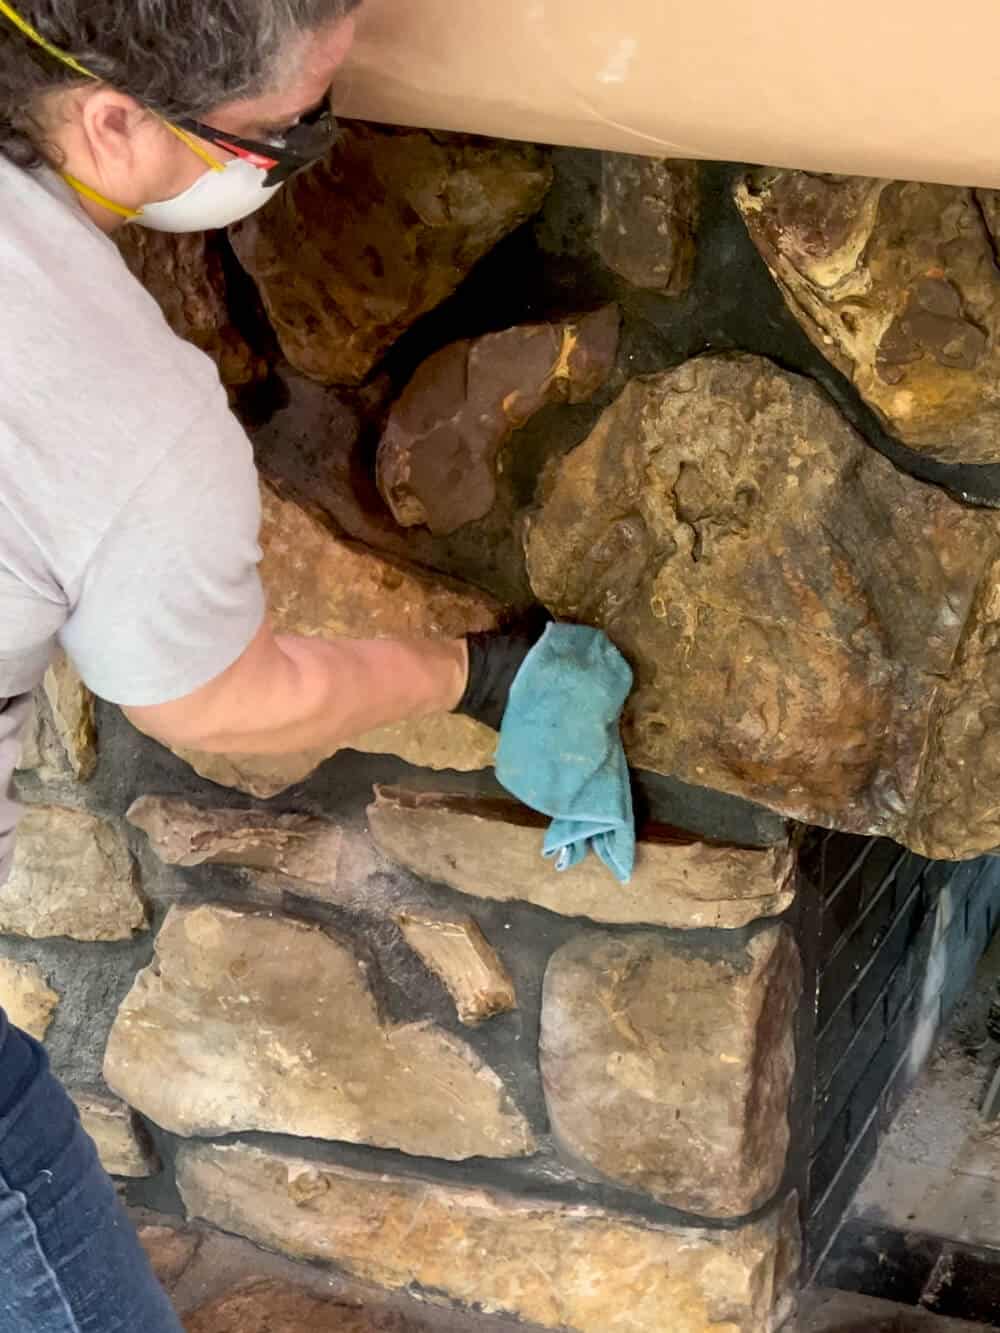
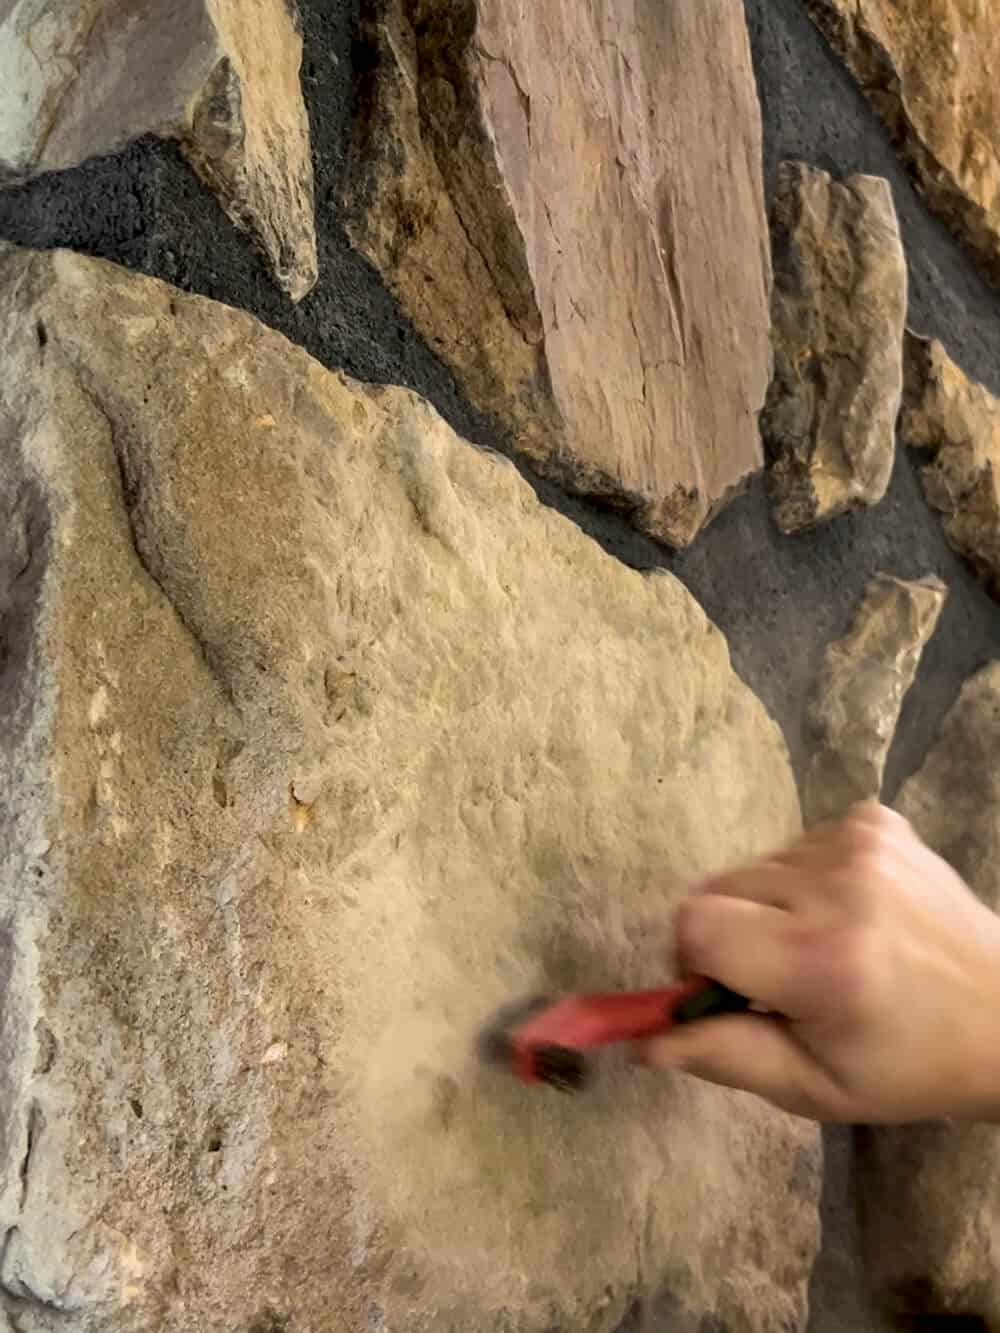
- Use a stiff bristle brush to loosen dirt, soot, moss or debris.
- Vacuum as you go to prevent dust from resettling.
- Lightly mist the stone with your spray bottle – this helps the limewash adhere evenly.
No need to scrub until your arms fall off – just remove the gunk – anything loose, crusty, or fuzzy.
Trust us, you’re setting the stage for magic, not prepping for a magazine shoot.
You want to get rid of any moss or loose debris so the limewash has a clean surface to cling to.
Oh—and wear a mask while cleaning. Trust us on that one.
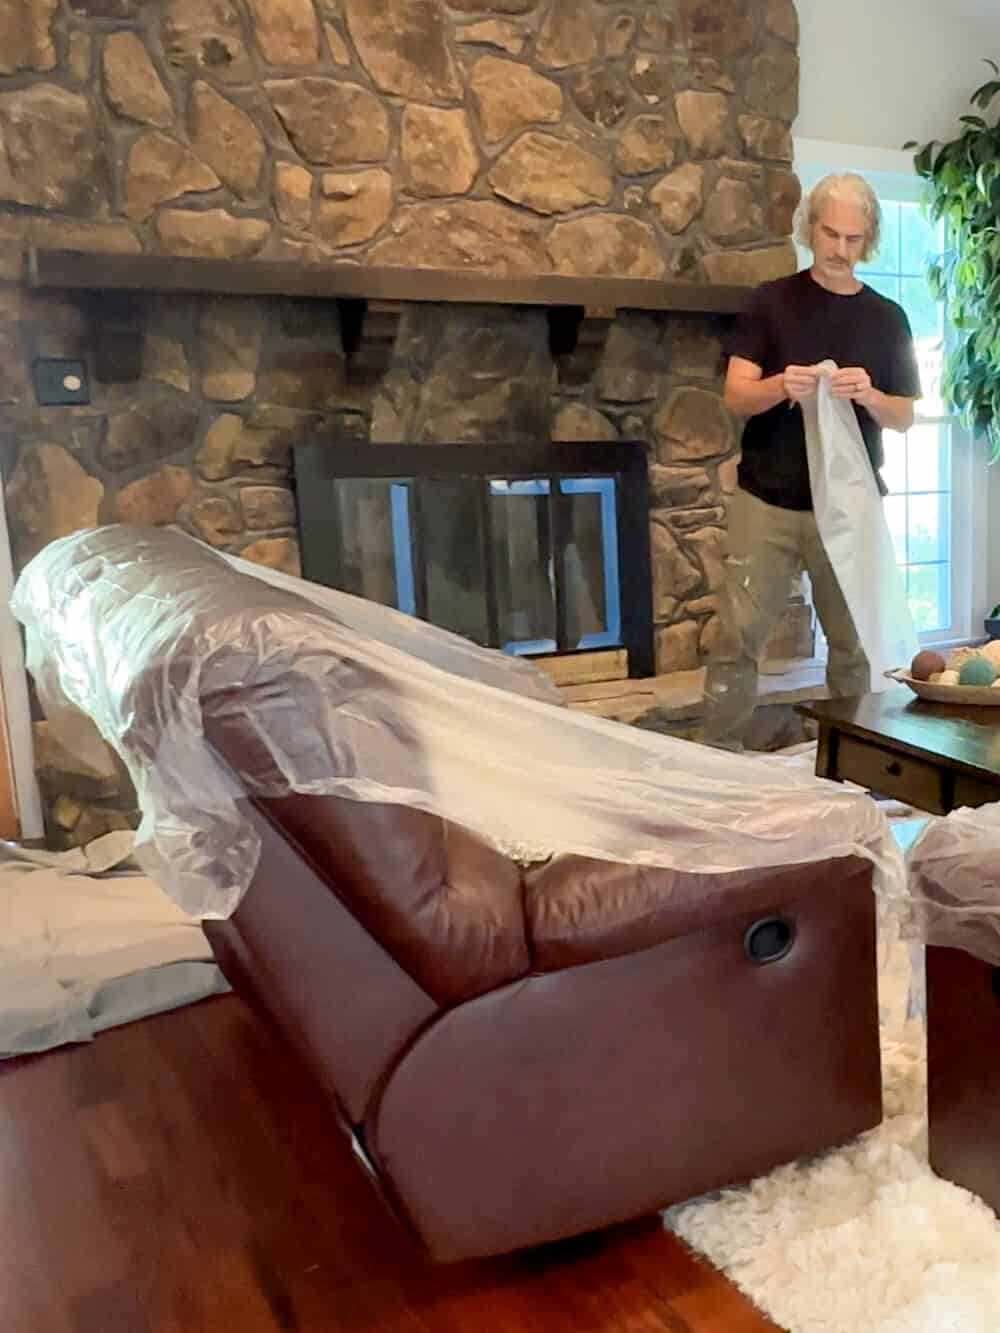
Also, cover nearby furniture and tape off any fireplace inserts or mantles.
A little prep now means fewer regrets later and you’re about to make something beautiful!
This is the part where it gets fun—and empowering. You’re not just “cleaning the fireplace,” you’re taking back your living room.
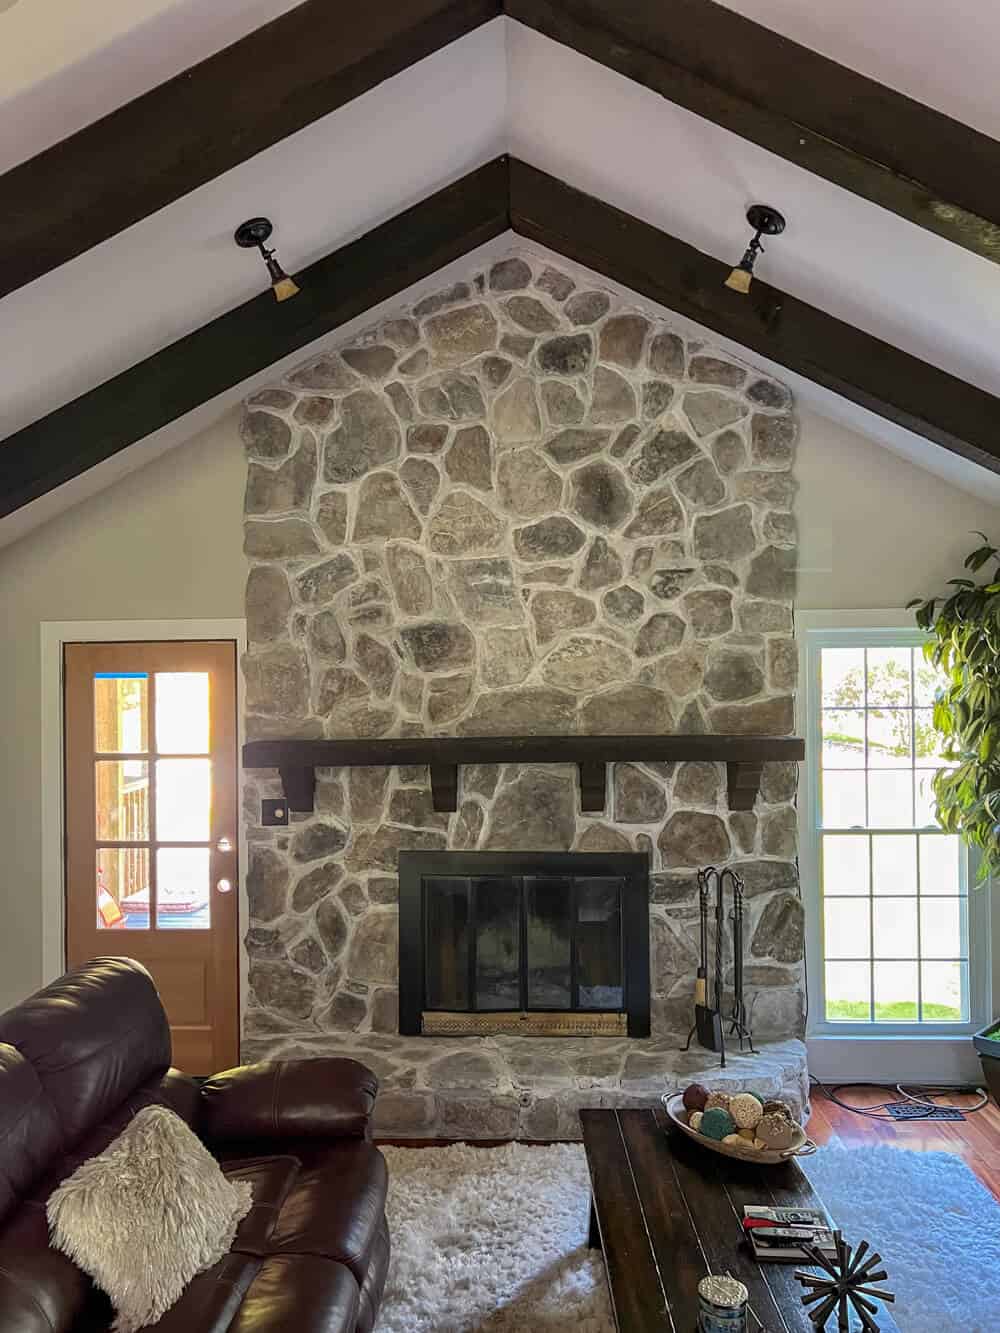
Step 2: Start with the Mortar Lines for a Subtle Refresh
Here’s a pro trick that makes a huge difference – paint your mortar lines first.
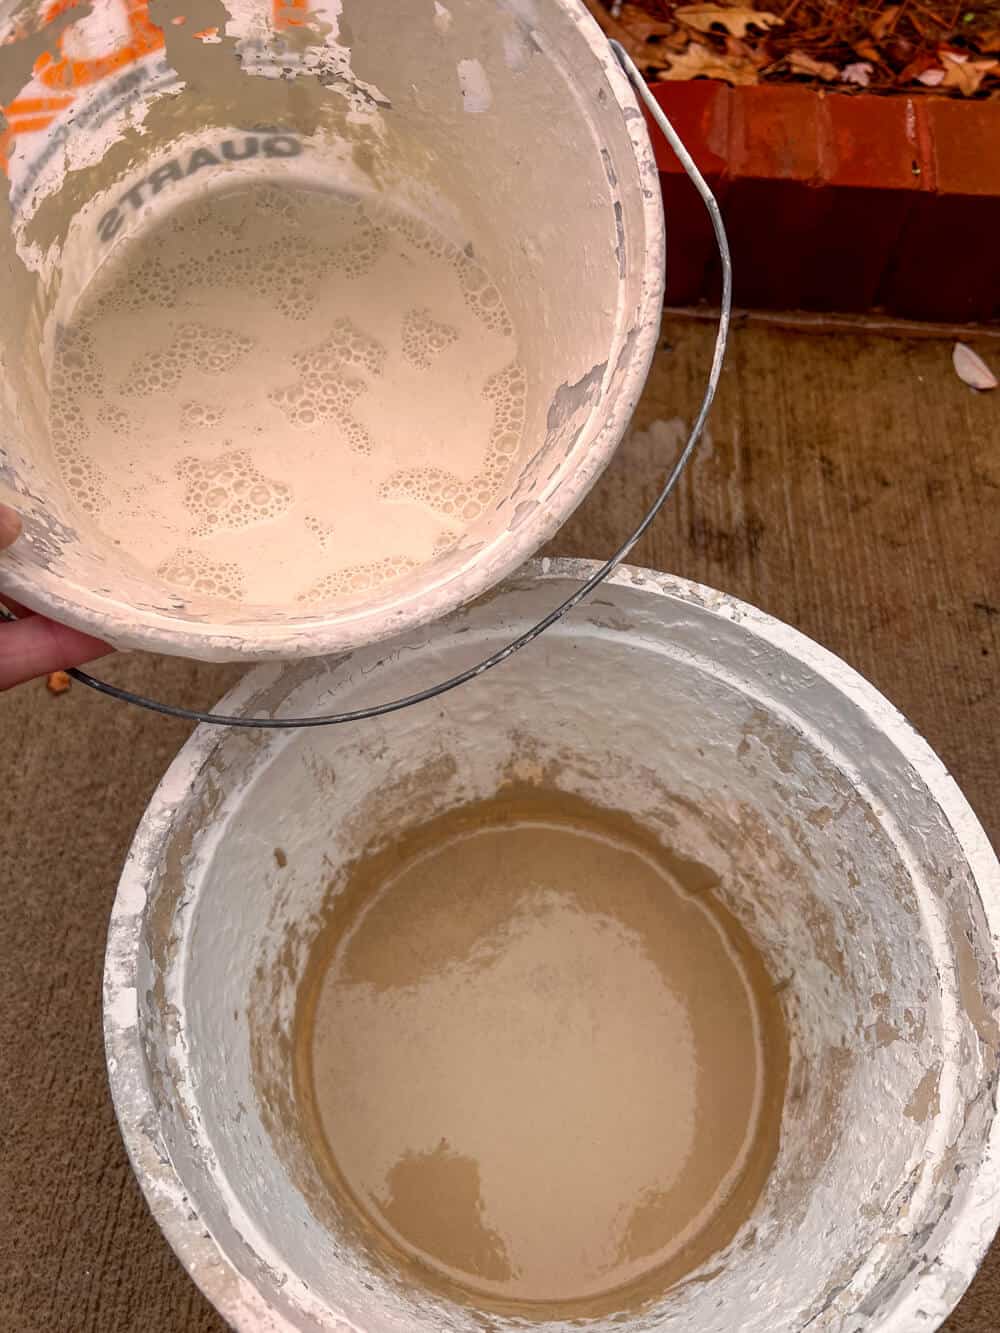
Mix Your Limewash: Start with a 2 parts limewash and 1 part water mix and brush it into the mortar lines.
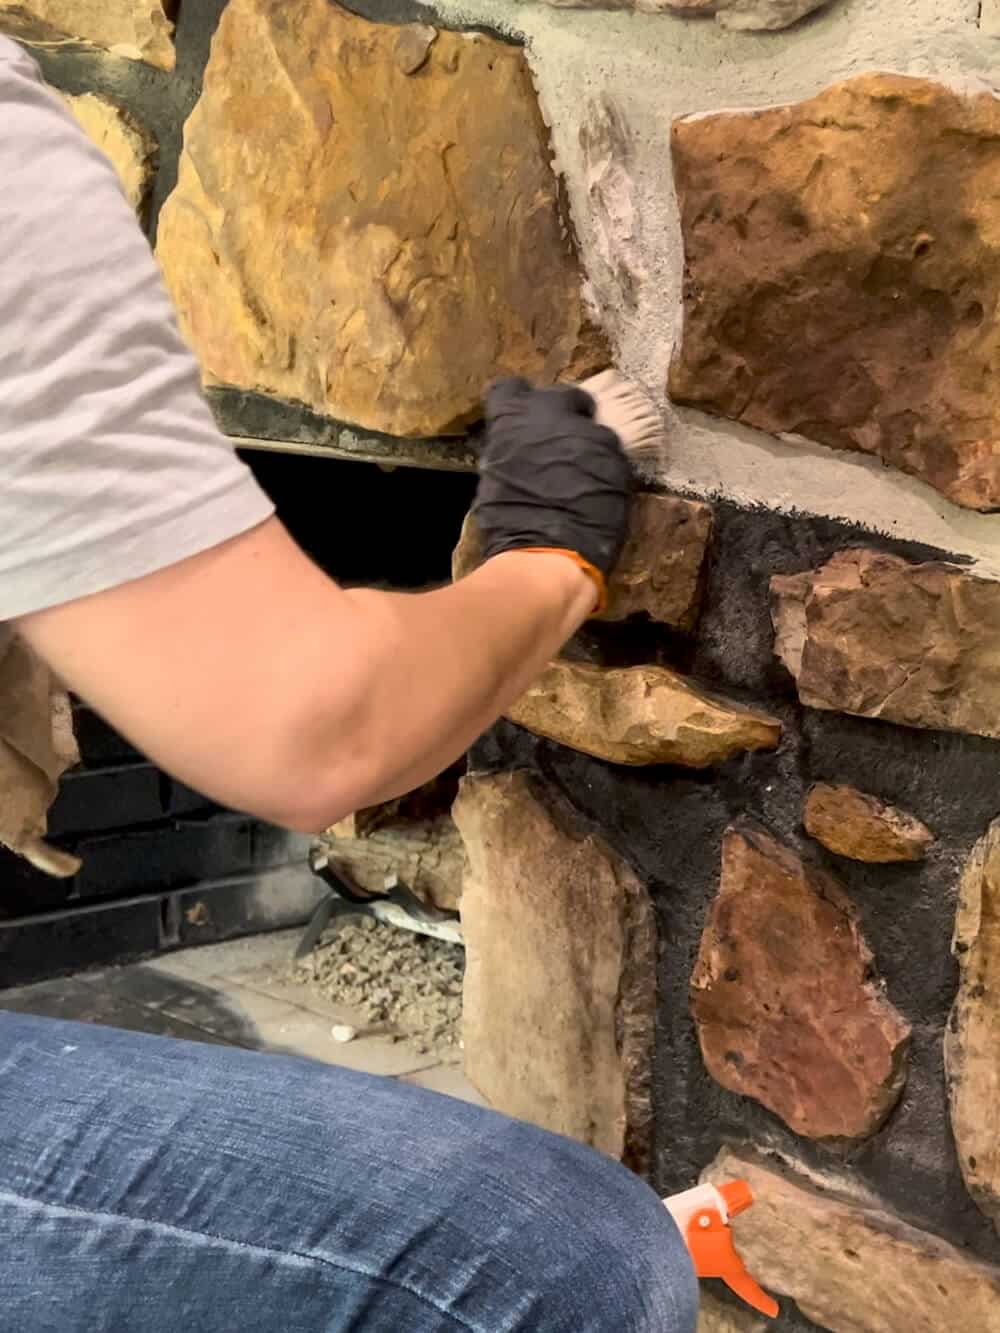
Use a Small Brush: A Small Masonry brush works great to work the mix into each mortar line.
This step helps you test the waters and preview the look before committing to the entire stone surface.

Step Back and Take a Look: Mortar-only limewashing can give a beautiful “grouted” look that brightens the whole fireplace without touching the stone.
You might even stop here and say, “You know what? This already feels a million times better.” It’s also a gorgeous look on it’s own.
If so, congrats, you’ve won DIY for the day. But if you’re ready to keep going, let’s do it.
PRO TIP!
Limewash doesn’t have to be white: You can tint it to complement your room’s palette or add warmth to the finish. But even in a classic white or soft beige, the transformation is stunning—and personal.
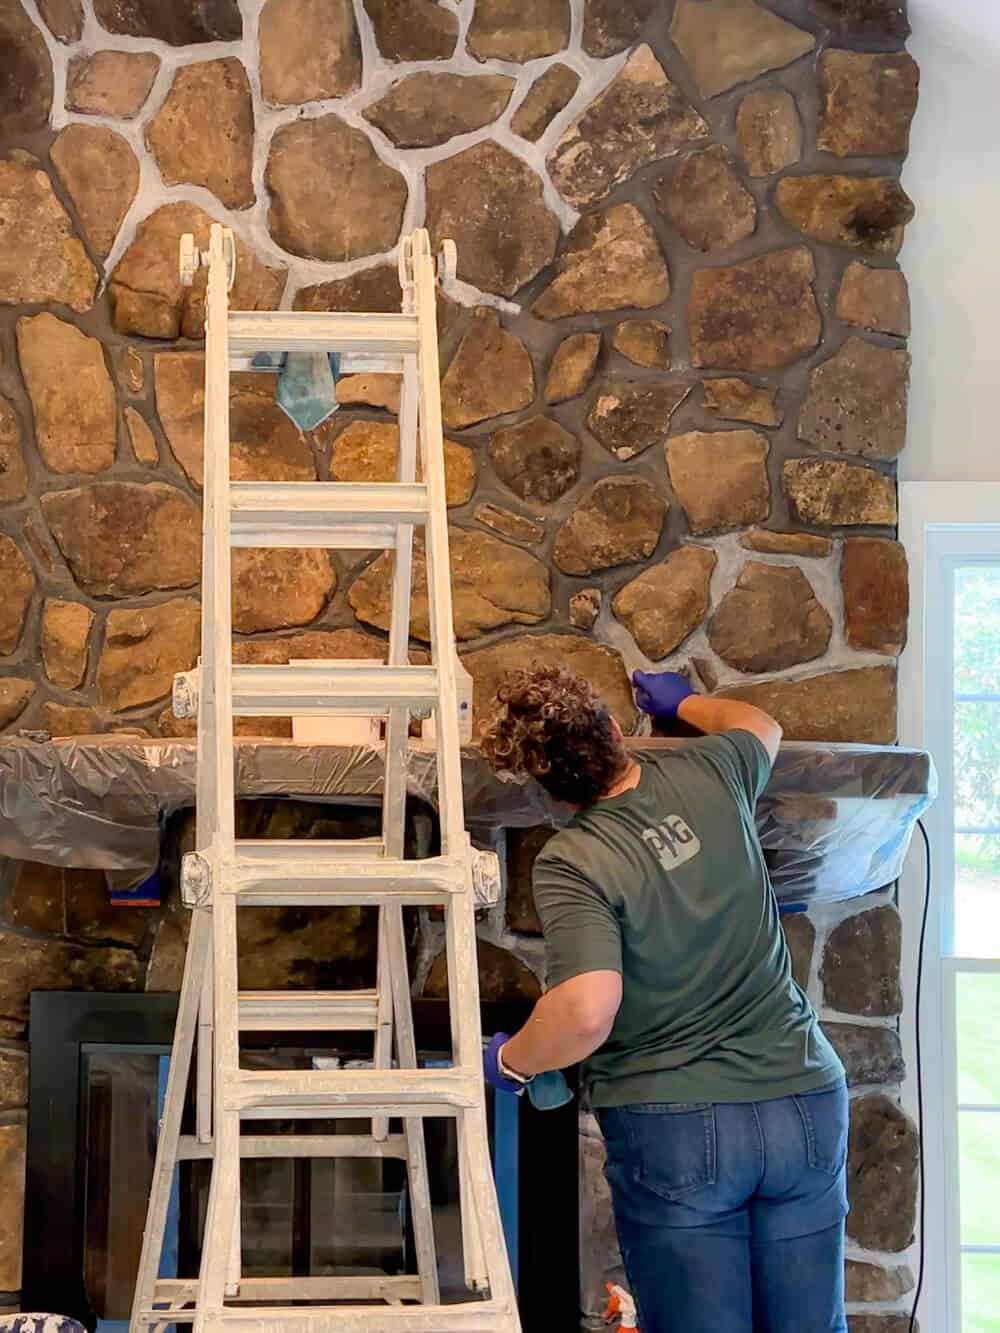
Step 3: Apply Limewash to the Stone
Once your mortar is done, it’s time to move onto the stone itself.
But don’t panic. This part is forgiving, flexible, and honestly kind of fun.
Thin your Mix Even More: a 1:1 ratio of limewash to water or more for a softer, more translucent look.
This gives a softer, see-through look.
Use Larger Brushes or Rags: dab and blend the limewash onto the stone’s surface.
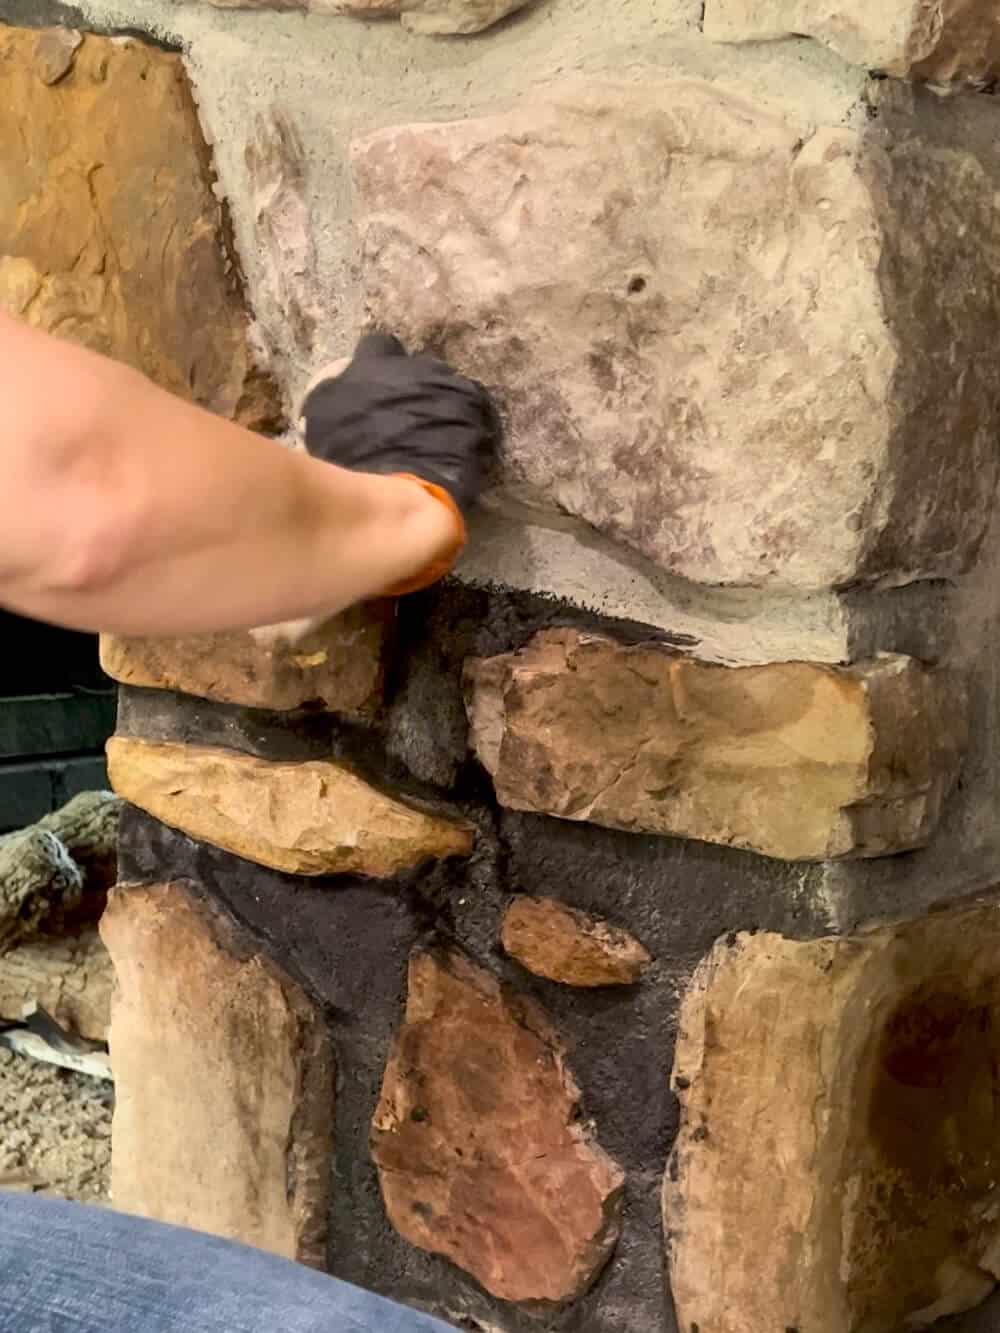
Work in Small Sections: This isn’t about precision—it’s about intuition. Step back every so often, squint at your handiwork, and adjust until it feels just right.
And slowly, you start to reveal each stone’s natural beauty.
Remember: you’re not ruining it—you’re revealing it. You’re letting the stone shine through, while toning down all that heavy darkness.
We joke that this is where you become the “stone whisperer”—because it really does feel like coaxing out a better version of what’s already there. No harsh lines. No stress. Just intuition, trial and error, and a little faith.
It’s not about perfection—it’s about creating a space you actually want to sit in with a cup of coffee (or wine, no judgment here).
Step 4: Blending and Adjusting for a Natural Finish
Limewash is super user-friendly. Made a spot too bright? Wipe it back. Missed a corner? Dab it in. It’s all blendable, all fixable, and completely yours to control.
You might find a few areas that need adjusting to get the look you want.

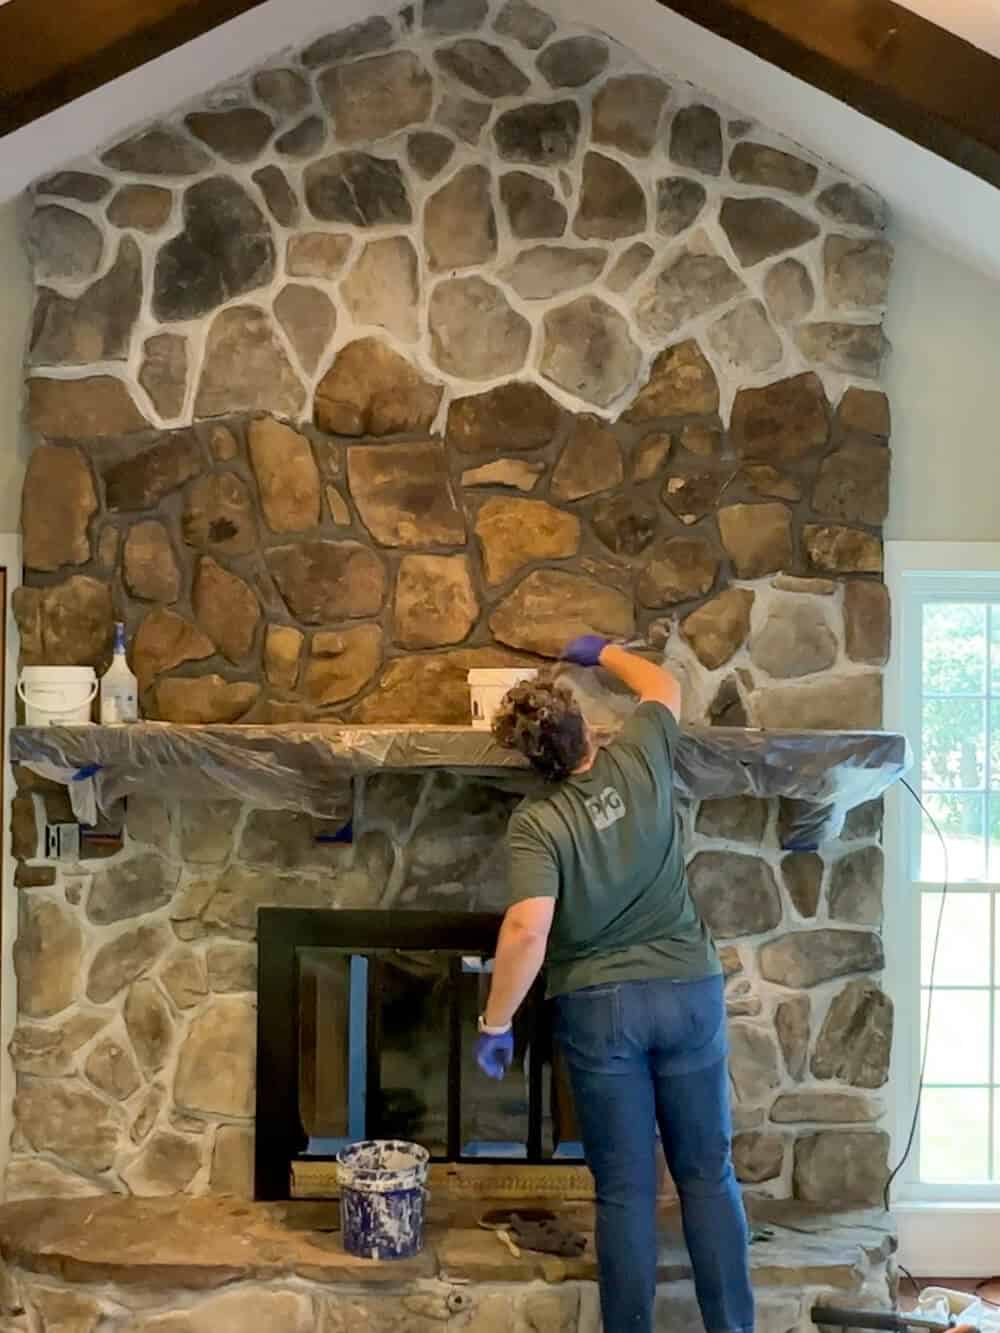
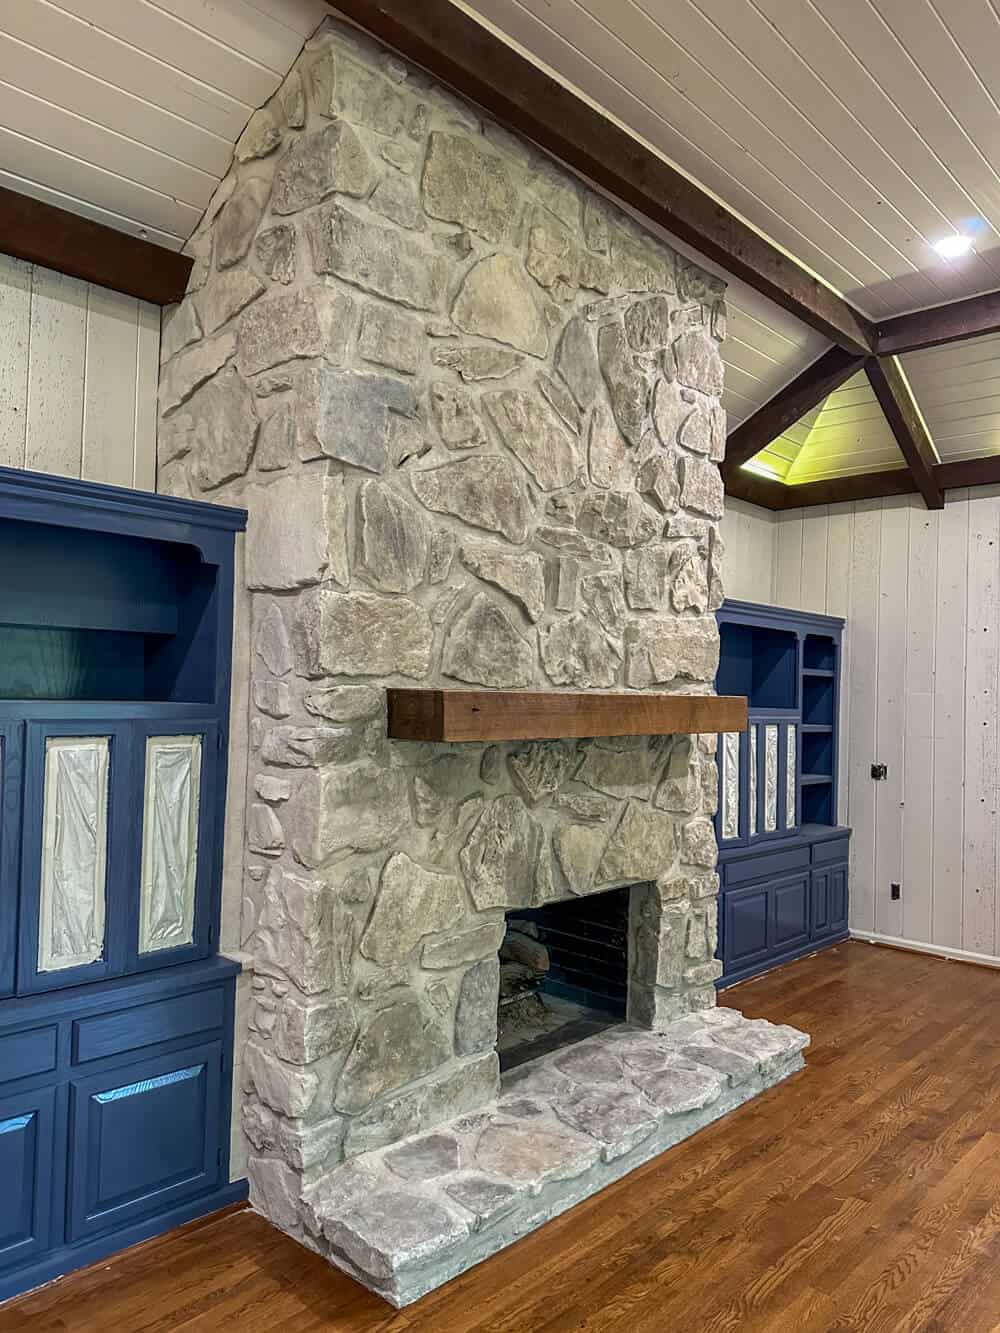
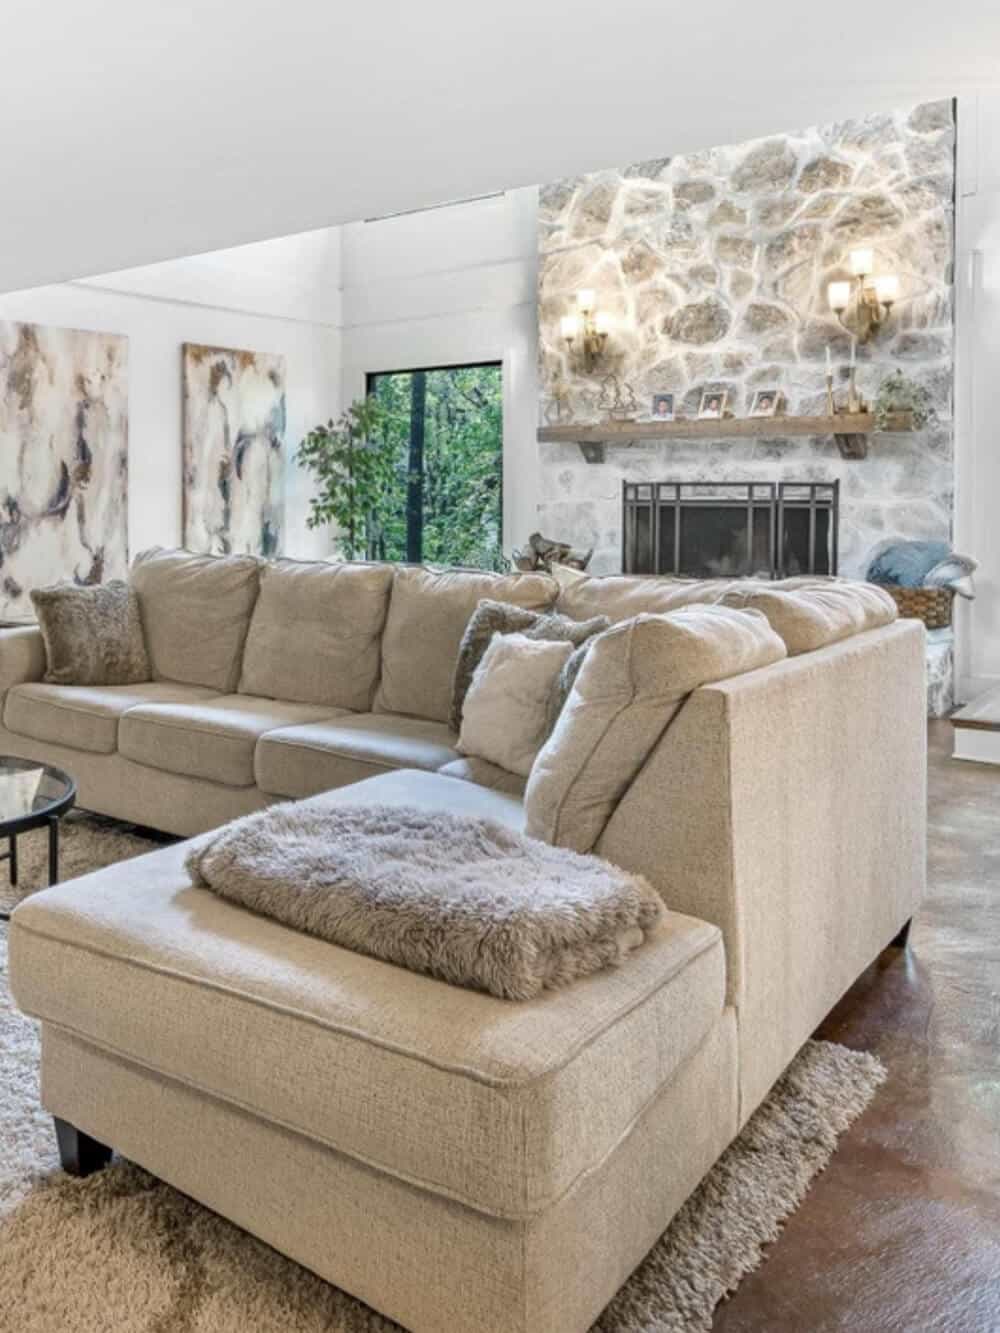
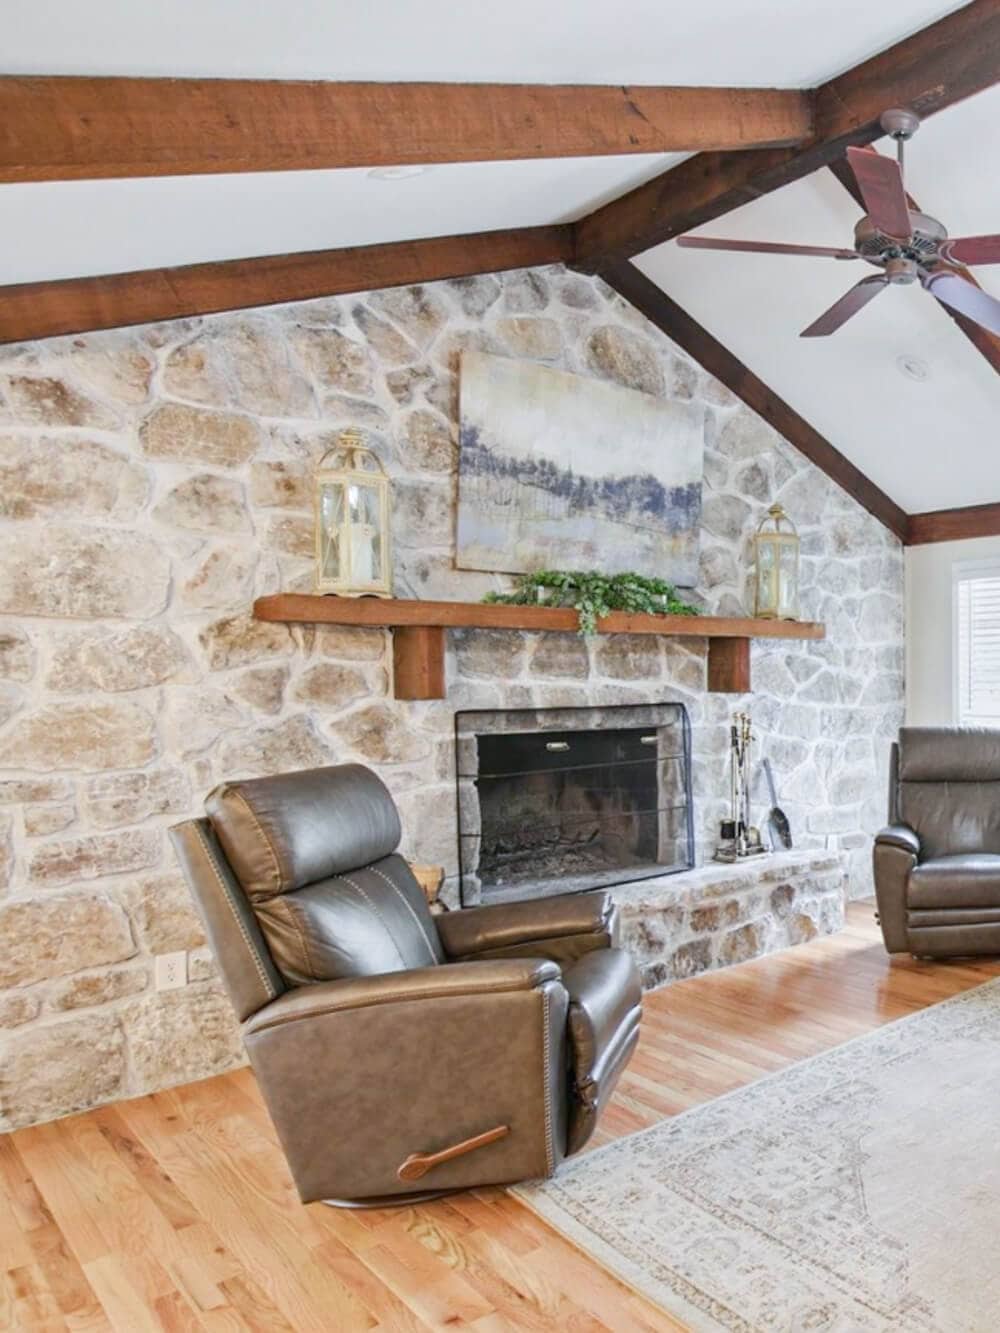
The End Result: A Fireplace You Actually Want to Look At
Once you’re happy with the balance, step back and soak it in.
You’ll literally see your room brighten up—and it’s not just the color. It’s that deep satisfaction that comes from knowing you did this.
The space will feel lighter. Brighter. Calmer.
Like it finally belongs in your home, not just your resale photos.
Even better? Limewash doesn’t have to be white. You can tint it to complement your room’s palette or add warmth to the finish. But even in a classic white or soft beige, the transformation is stunning—and personal.
Why This Project Works in Real Life
- Budget-friendly: Supplies cost a fraction of a remodel.
- Beginner-friendly: No special skills required – just patience and a little courage.
- Customizable: Adjust the color, coverage, and texture to fit your style.
This isn’t just about aesthetics. It’s about peace. Control. Creating a space that feels like a soft landing after hard days.
If your fireplace has felt more like a dark hole than a cozy gathering place… this project might be the spark you need to believe change is possible.
You CAN do this. Even on a weekend. Even on a budget. Even if you’ve never picked up a paintbrush in your life.
And when your friends come over and ask who did your fireplace? You can smile and say, “I did.”
Restoration Starts Small
One little corner. One step of courage. One old fireplace that turns into a soft glow of warmth and peace.
That’s what we’re about here at Your Home Renewed. Helping everyday families create homes they love—not by chasing perfection, but by embracing progress.
Because the truth is, God’s been in the restoration business since day one. And sometimes He starts with a fireplace.

Why This Project Might Be Exactly What You Need Right Now
We know what it feels like to want to change a part of your home, but feel paralyzed by cost, time, or fear of messing it all up.
But this is the kind of project that shows you can take a small step—and watch it transform into big results.

This is about reclaiming pride in your space. About breathing life into your home without draining your bank account. And maybe even about reminding yourself that you’re capable, creative, and stronger than you think.
So if you’re feeling stuck and your home doesn’t feel like you anymore—start here.
One wall. One brushstroke. One day. That’s all it takes to start fresh.
Ready to Try It?
You’ve got this—and we’re cheering you on.
If you’re more of a visual learner, we’ve got some full tutorial videos waiting for you.
You’re not alone, friend. And you’ve got what it takes to make something beautiful—right where you are.
Video Link
You can find more video tutorials on our Youtube Channel
And if you try it yourself, tag us @YourHomeRenewed so we can give you a standing ovation!
Answers to your questions about Limewashing Stone
Are you waiting a certain amount of time after applying the limewash to a stone before you start wiping it away?
Timing will vary, but the key is to notice when the Limewash starts to turn a lighter color and begin to dry which all depends on temperature and environment. For this fireplace, the stone started to dry pretty quickly. However, we’ve seen fireplaces that took a longer time.
Apparently even brown stone has a gray undertone? How do you ensure that the fireplace doesn’t come out with a blue hue when limewashing or white washing the mortar and stones?
It truly comes down to the paint color. There are warm whites and cool whites. Simply choose one that will best suit your room and apply it. Also, layering is an option. On certain stones that didn’t respond the way we wanted, we either removed more paint or added more to get the desired effect.
If my stones have been sealed to enhance the colors of the stone, can you still whitewash or will it even absorb?
If it’s sealed then you need to apply a primer first. Romabio has a great one called Microgrip Primer. It goes on thin and translucent and allows the Limewash to adhere.


The 2 most commonly used colors are Avorio White and Riposo Beige. Both are so neutral and blend with both cool and warm tones. Hope that helps!
Is there a certain color limewash you tend to lean towards buying? The whites all look similar!