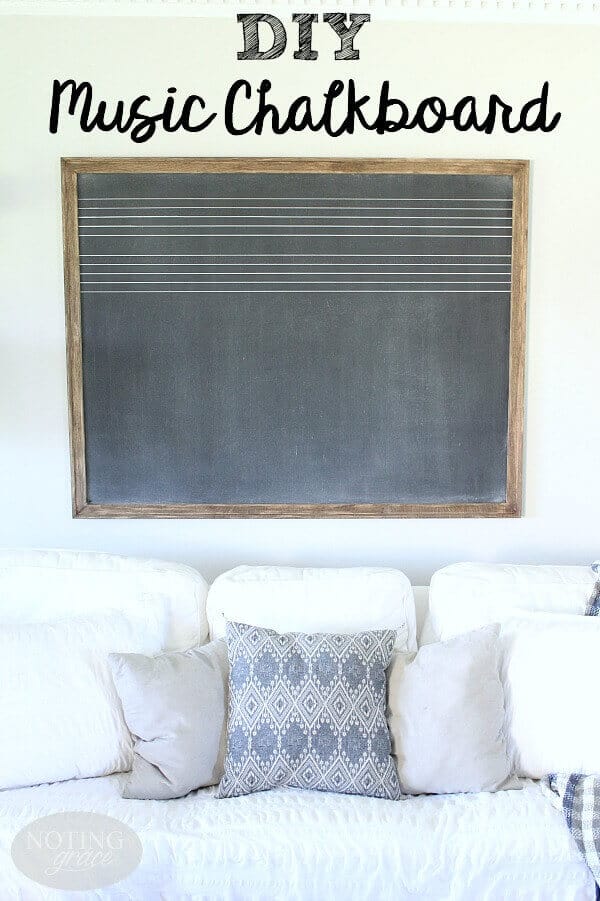
DIY Music Chalkboard
After being inspired by a vintage find from Fixer Upper, and unsuccessful attempt at finding one, I decided to make a DIY Music chalkboard.
We are a musical family.
Both my husband and myself have grown up surrounded my impromptu jams and intricate harmonies with that perfect blend that only comes from being family.
Music animates us so much that we pursued it as our career, so it’s only logical that I would want to add touches of that love into our home decor.
Here is how I made a DIY music chalkboard for my home.
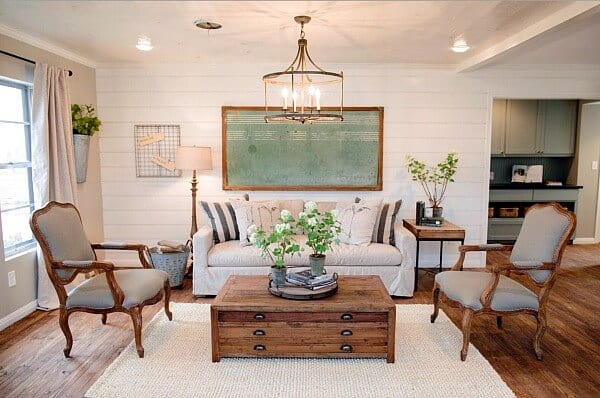
In true Fixer Upper fashion, JoJo took my breath away with this picture of a true, vintage music chalkboard that was rescued from a classroom many moons ago.
The hunt was on!
I scoured junk markets and online shops, eBay, and etsy – all without being able to find one, or at least find a music chalkboard at my price point.
So when Serendipity stepped in one day while strolling the clearance aisle of Hobby Lobby, I knew exactly how I was going to make a DIY music chalkboard of my own!
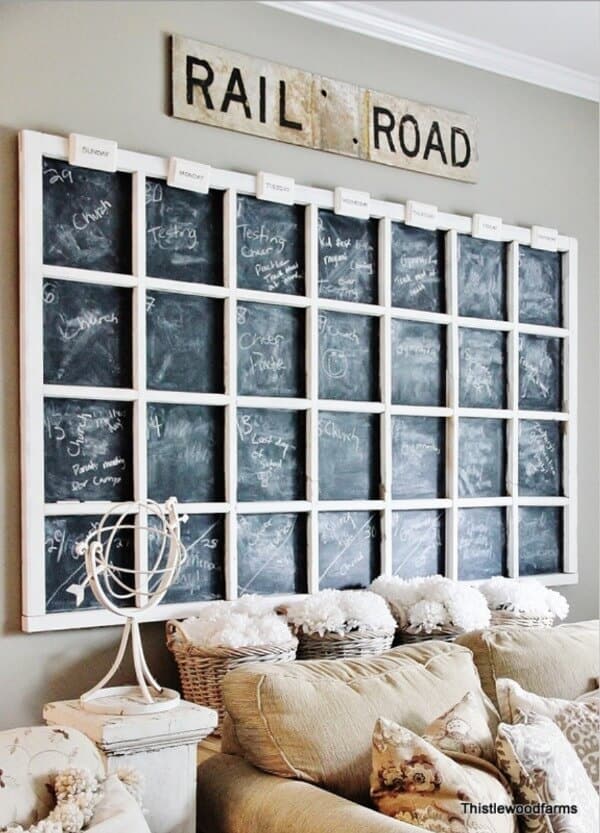
Chalkboards were already my jam. I have a crush on this one of a kind DIY chalkboard from KariAnne at Thistlewood Farm.
When I found my humongo wood frame in the clearance aisle for only $24, an audible gasp escaped my lips! I raced out of the shop with frame in hand, or rather hands since it was so big, and immediately drove to the Home Depot around the corner and got plywood to fit in my frame! I can’t wait to show you all how I made this chalkboard! Affiliate links provided for your convenience. Read my full disclosure here.
DIY Music Chalkboard Supplies
- Large wood frame (ours was 4 ft X 6 ft)
- 1/4 inch sanded plywood large enough to fill your frame
- Sandpaper
- Circular Saw
- Chalkboard Paint
- Foam Roller – I like this one
- Chalk Marker
- Chalk
- Level or ruler
- Construction glue
- Command Strips
To begin, I had to sand my frame down since it was a premade one found on clearance and I wanted a lighter look to the frame.

I double-duty sanded while I was stripping and sanding my DIY unfinished dresser. Using a sanding block was my original plan, but I couldn’t get into the edges of the frame.
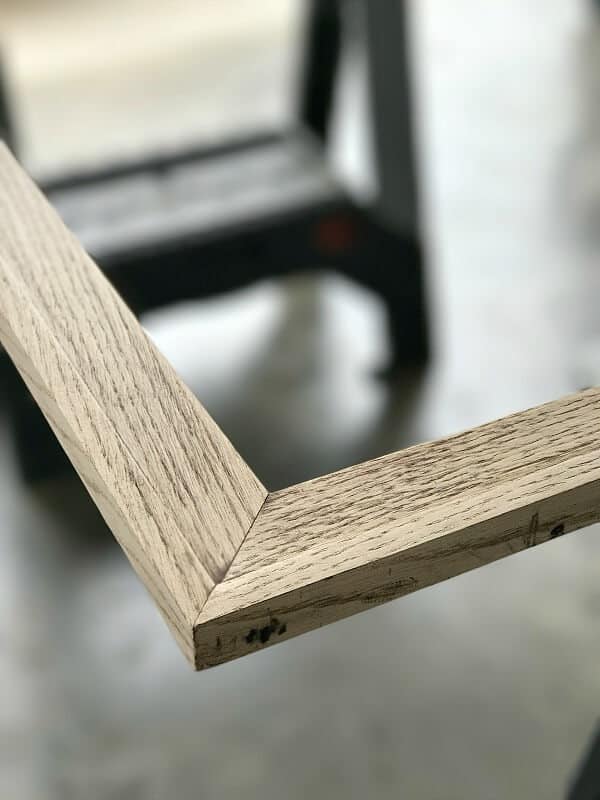
I chose to leave my frame natural. The veining of the wood grain was too beautiful to hide it!
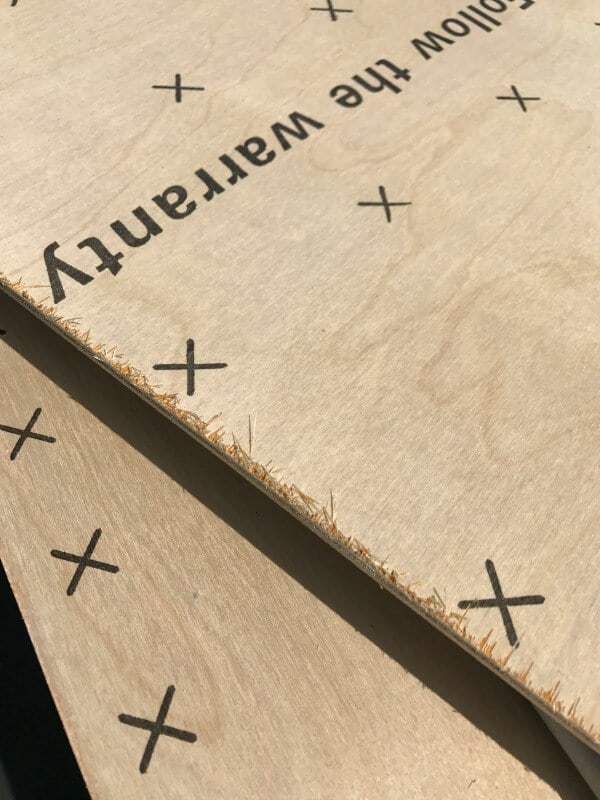
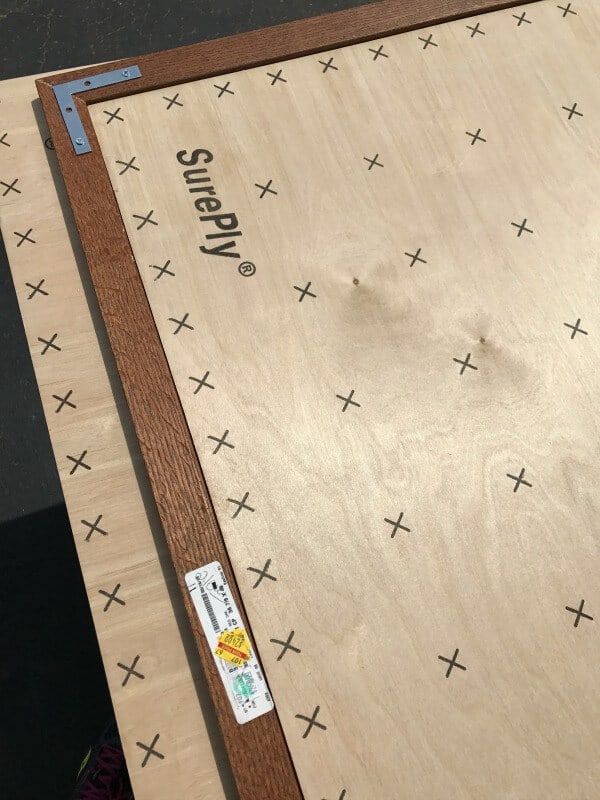
Next it was time to cut the plywood. Here’s a tip to remember!
Always place the plywood with the good side down. When a circular saw cuts, the blades rotate upward, toward the ceiling, so splintering and tears in the wood can occur. Since this is a possibility, it’s best to cut and measure on the not so good side.
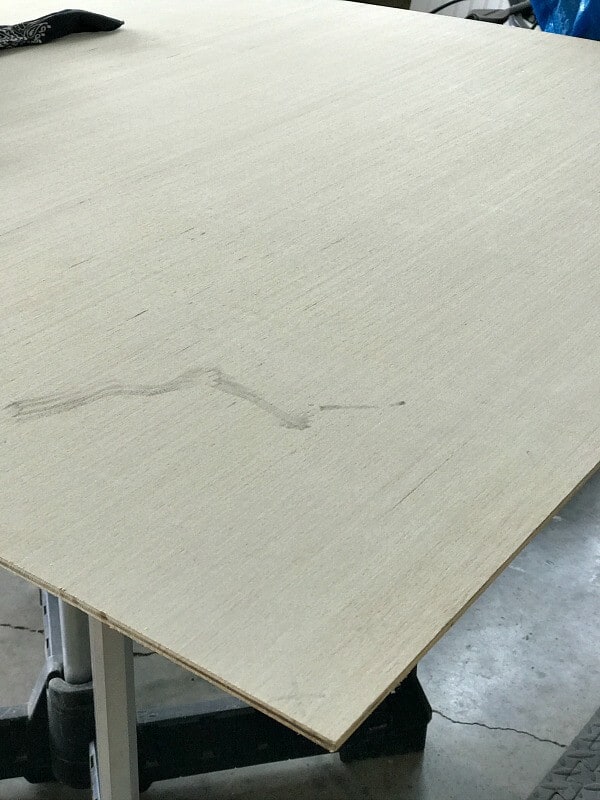
I sanded the edges a bit to get rid of any stray splinters, but no other prep was needed to start rolling the chalkboard paint. I use a foam roller. It flattens the paint without streaks or lines, and it’s easier to place in a baggie in between coats to keep your roller from drying out.
I used 2 coats of chalkboard paint for this piece.

After the paint has cured, you can ‘season’ the chalkboard by rubbing a piece of chalk over the painted surface. I waited overnight to make sure the paint was fully dry.
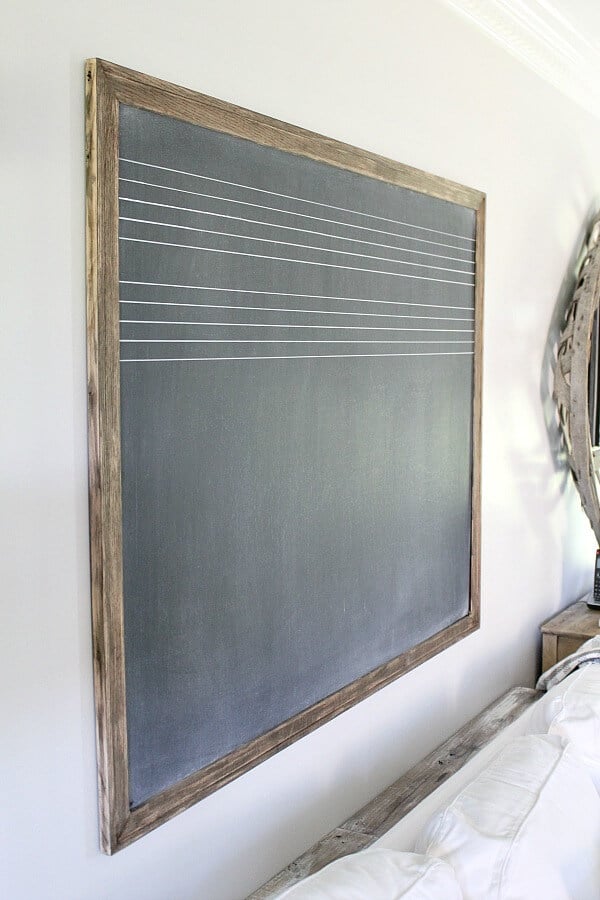
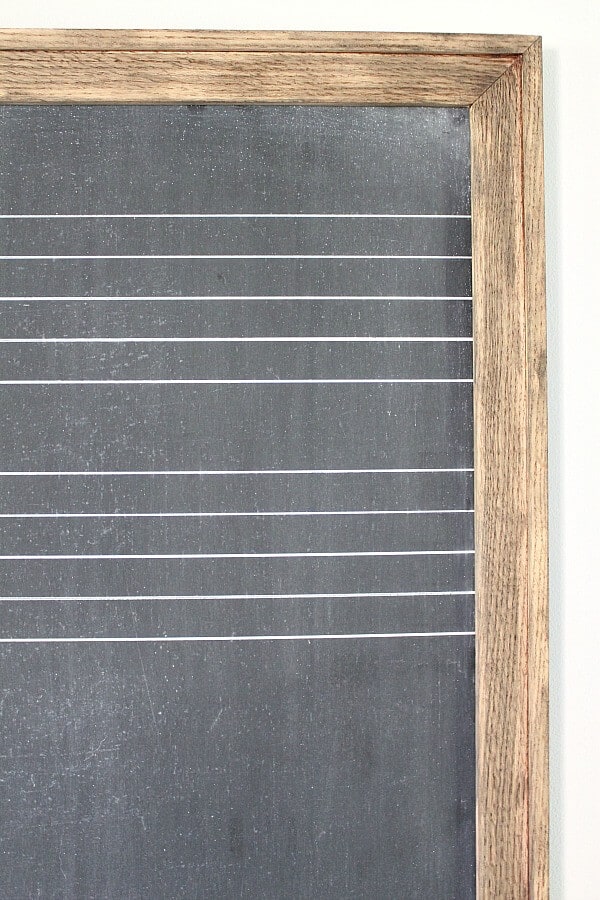
Now it was time for the fun part – making the music staff lines.
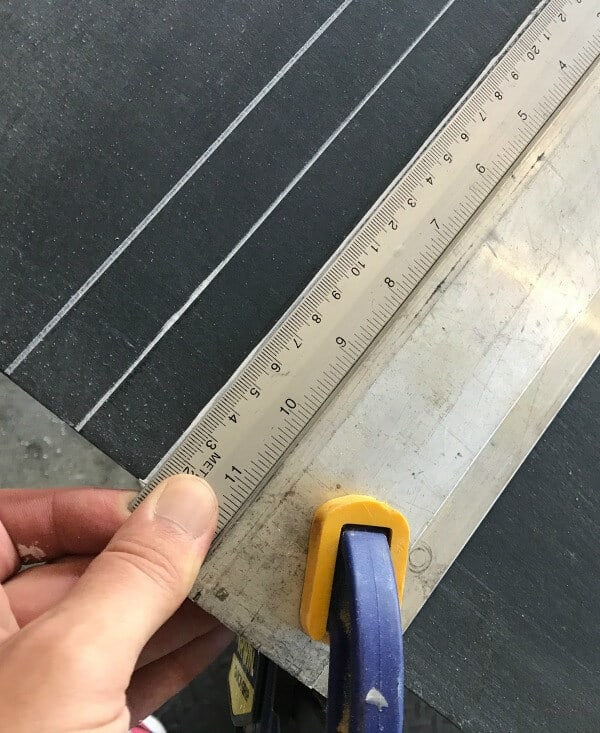
We marked off the spacing on the edges with pencil, evenly spacing the lines. Since our board was a bit smaller than a typical classroom board, we used the width of a metal ruler we had on hand.
Next we clamped a metal level to the board.
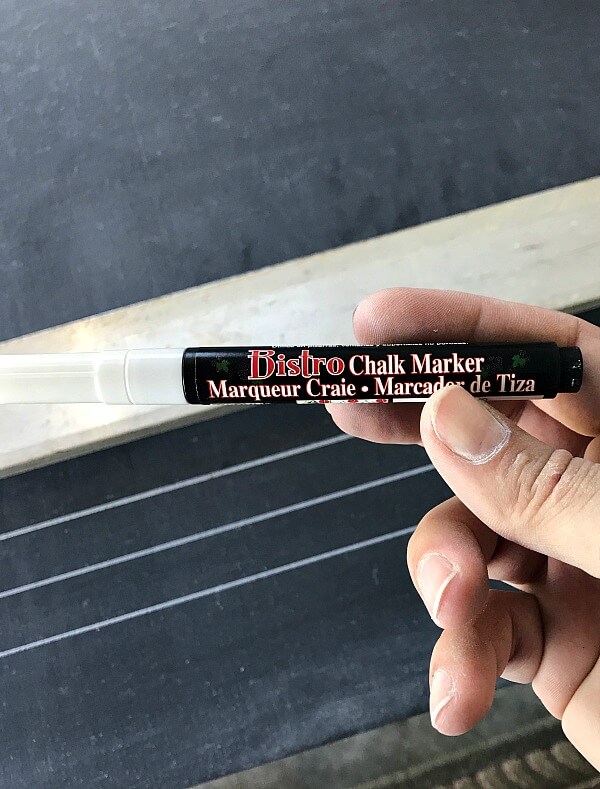
We drew the staff lines with a Chalk Marker. This product won’t wipe away if you write over it with everyday chalk and erase it. But the genius thing is that you can get a damp cloth and wipe the marker away!
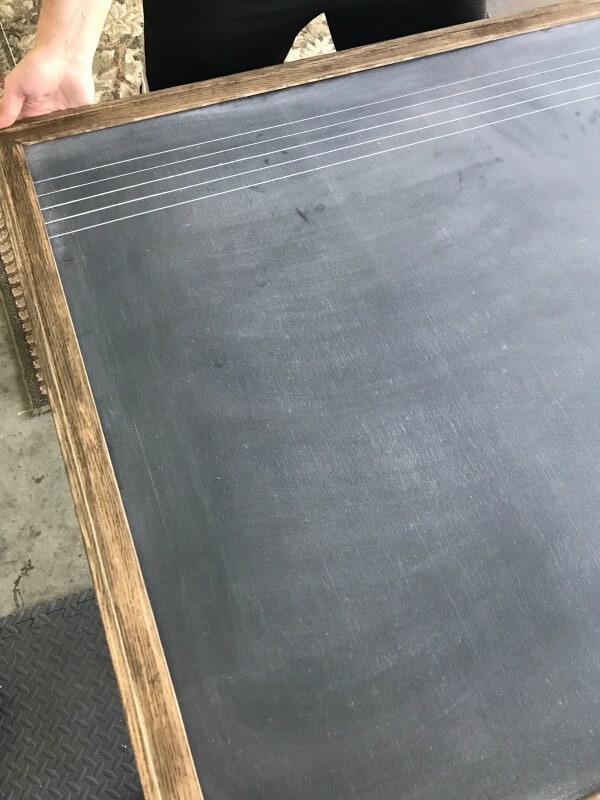
We started with one set of staff lined and dry fit the frame to see if we liked it. It needed a bit more, so we opted for the double staff.
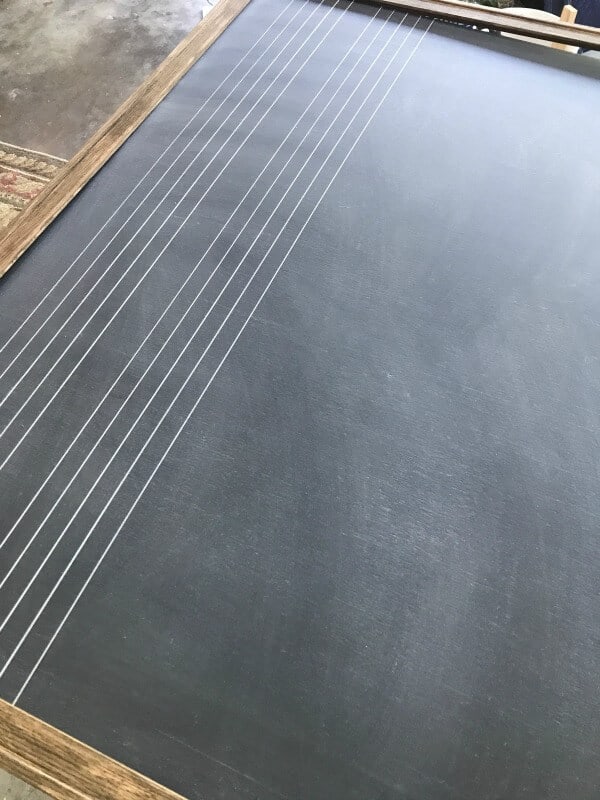
Perfection!
Finally, we used construction glue to attach our DIY Music Chalkboard to the frame.
Easy Peasy!
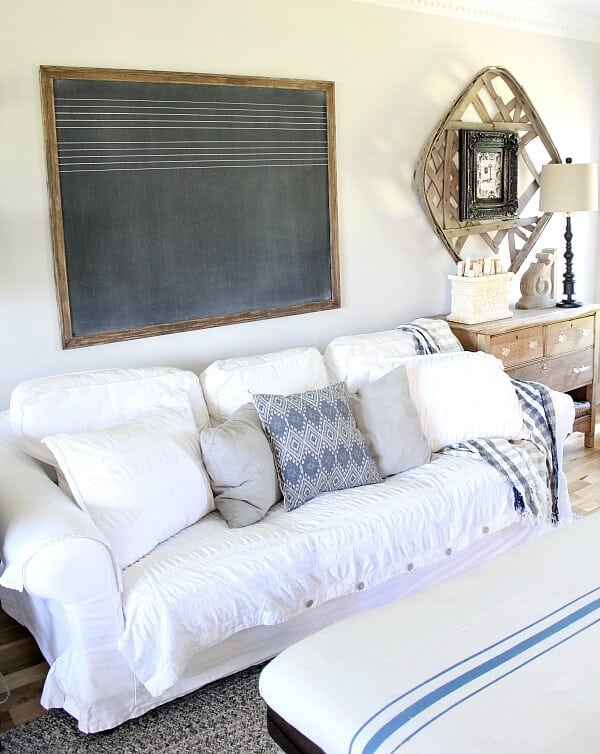
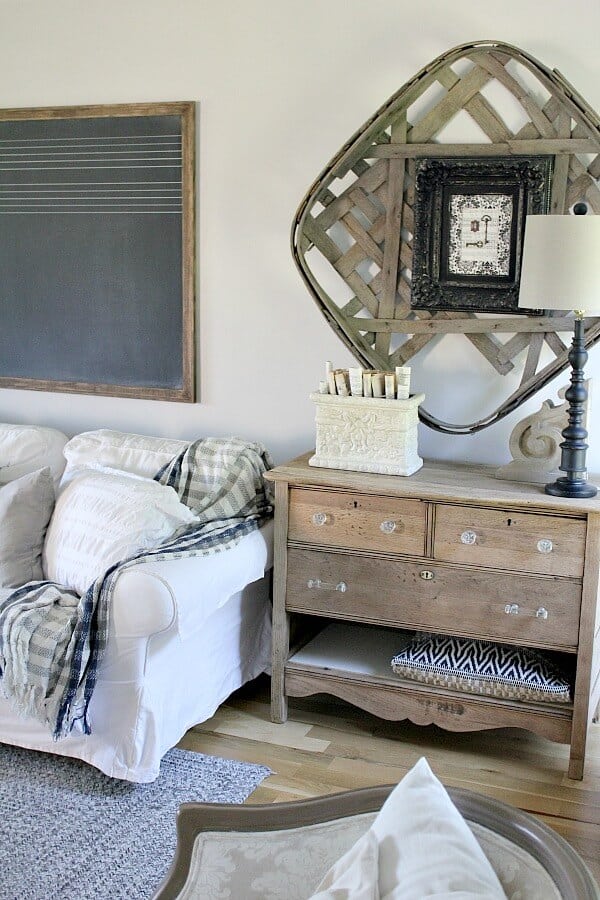
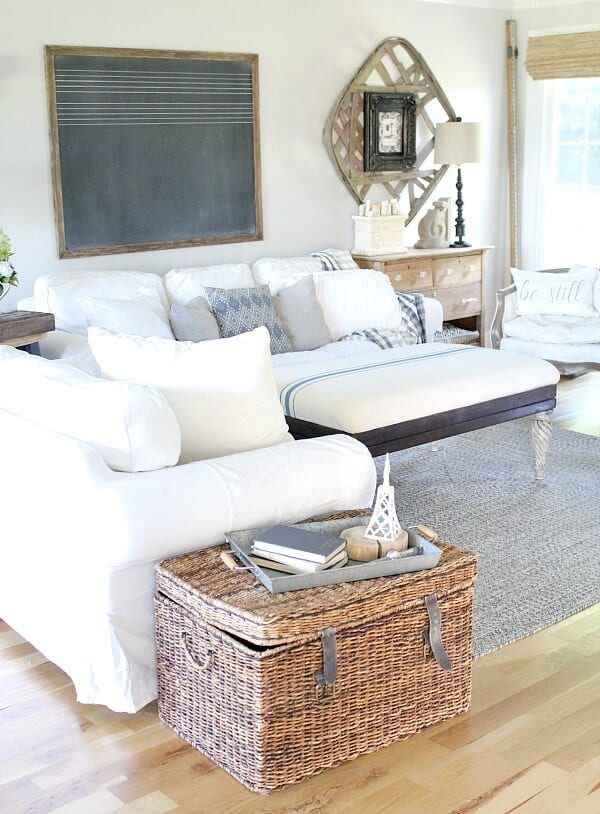
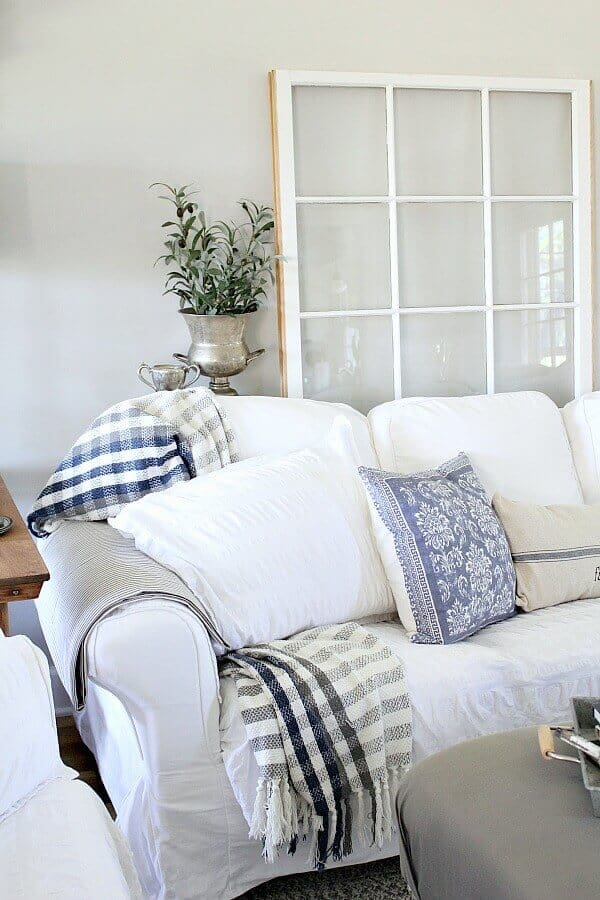
I hung the frame over my sofa using Command Strips. This project took us about 2 days to finish if you include the drying time for the chalkboard paint.
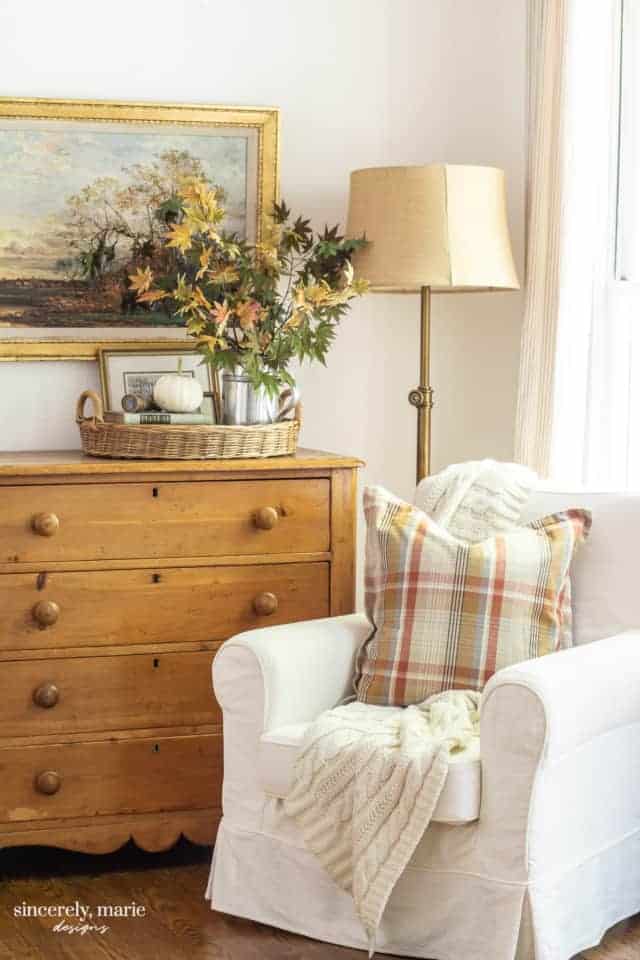
So I think the DIY music Chalkboard works perfectly for this space, complimenting my tobacco basket and unfinished dresser beautifully!
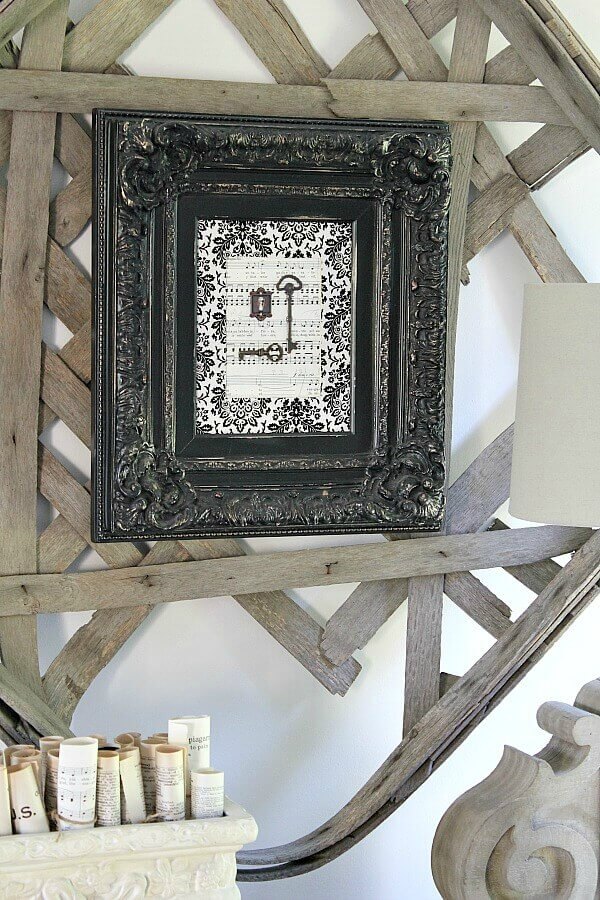
Keeping with the theme, I used rolled sheet music in a vase and a framed piece of music that I had once performed.
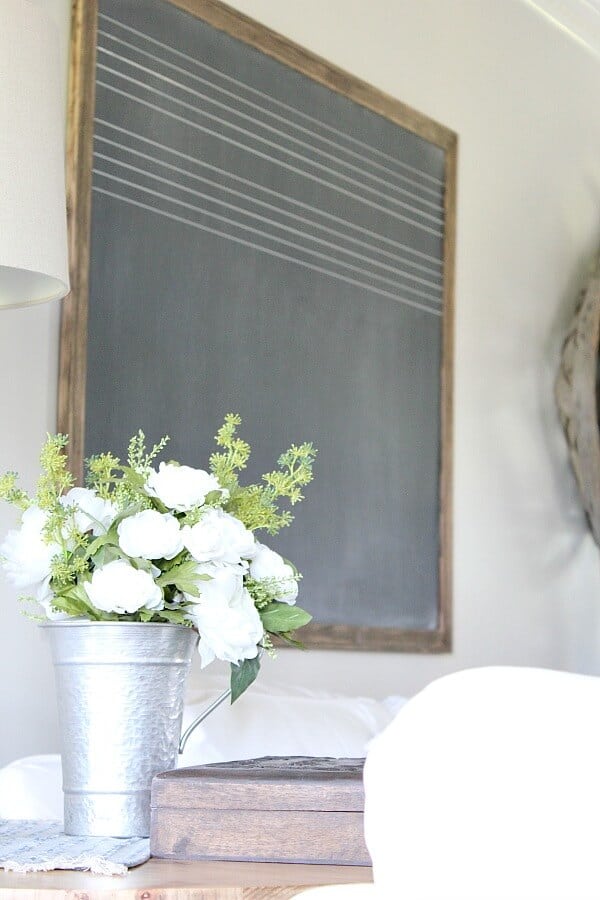
This can be a unique way to add an architectural element to your home, while also taking up wall space if you have a blank spot to fill.
Certainly, this was easier than I originally thought, but I’m equally thrilled with the final result. No more hunting for that elusive blackboard now that I have my own DIY Music Chalkboard!
SHOP THE POST

We are inspired to get new furniture in our living room. Thank you for this information on how to choose the right sofa. I like what was said about holding each piece of furniture and the premises of the room before making the purchases. Another thing that I am looking to find is a couch that is comfortable and will provide happiness. Thanks for sharing your post.
Thanks Roy!
Jennifer you realy did a incredible job. That is really impressive. I also want added this to my drawing room. Thanks for sharing this. Have a nice day.