3 Simple DIY Christmas Yarn Crafts
I always feel creative during the holidays and my crafty side emerges. Here are 3 Simple DIY Christmas Yarn Crafts that you can seriously make in 10 minutes.

Let’s be honest, friend…
When the holidays roll around, we want cozy corners, twinkle lights, and that joyful feeling of “home”—but our energy? Limited. Our budget? Tight. And those Pinterest-perfect crafts? Intimidating.
If you’ve ever said, “I love the idea of decorating, but I just don’t know where to start,” this one’s for you.
Today I’m sharing 3 incredibly simple DIY Christmas yarn crafts that anyone—even the I’m-not-crafty types—can pull off. Each one takes less than 10 minutes, costs just a few dollars, and brings a little handmade joy into your space.
Because decorating doesn’t have to be fancy to be meaningful.
Let’s create beauty from the basics—right where we are.
I love yarn – especially in the winter months.
A few months ago, I made a fun fall craft using chunky knit yarn to cover some pumpkins and you all seemed to really enjoy that!
So, I thought it would be fun to try to create some easy peasy yarn projects for Christmastime!
Let’s start with the supplies you’ll need.
This post contains some affiliate links for your convenience. Click here to read my full disclosure.
Supplies You’ll Need
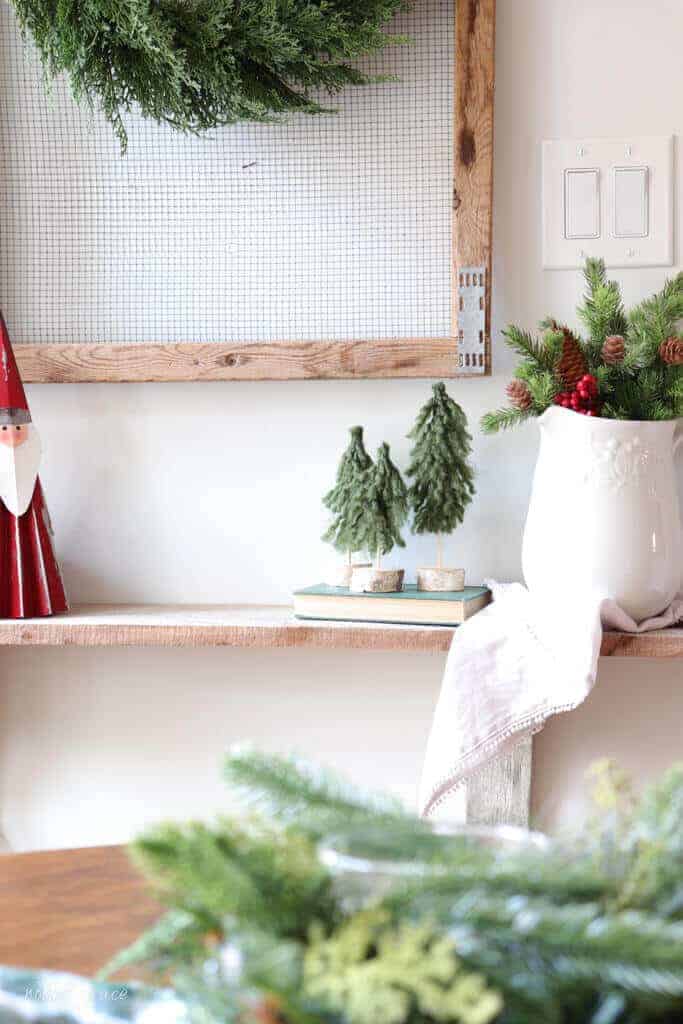
DIY Yarn Christmas Trees
These cozy little trees look like boutique decor—but they’re made with nothing more than yarn, skewers, and glue.
Kid-friendly, budget-friendly, and genuinely fun to make.
Here’s how to do it:
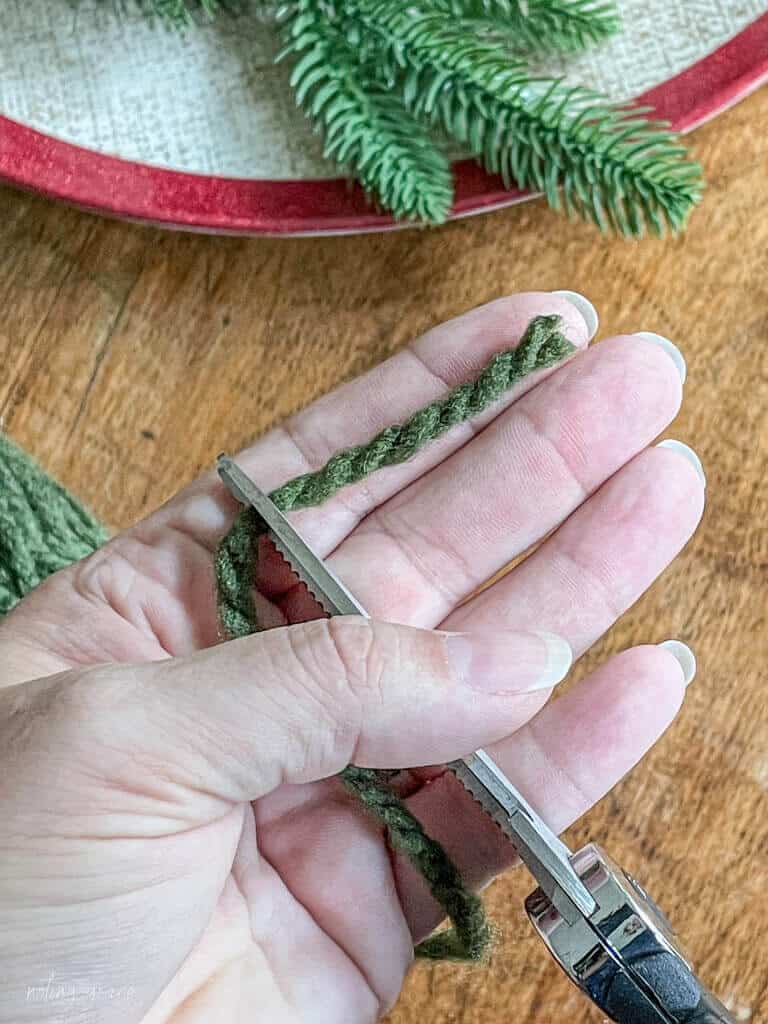
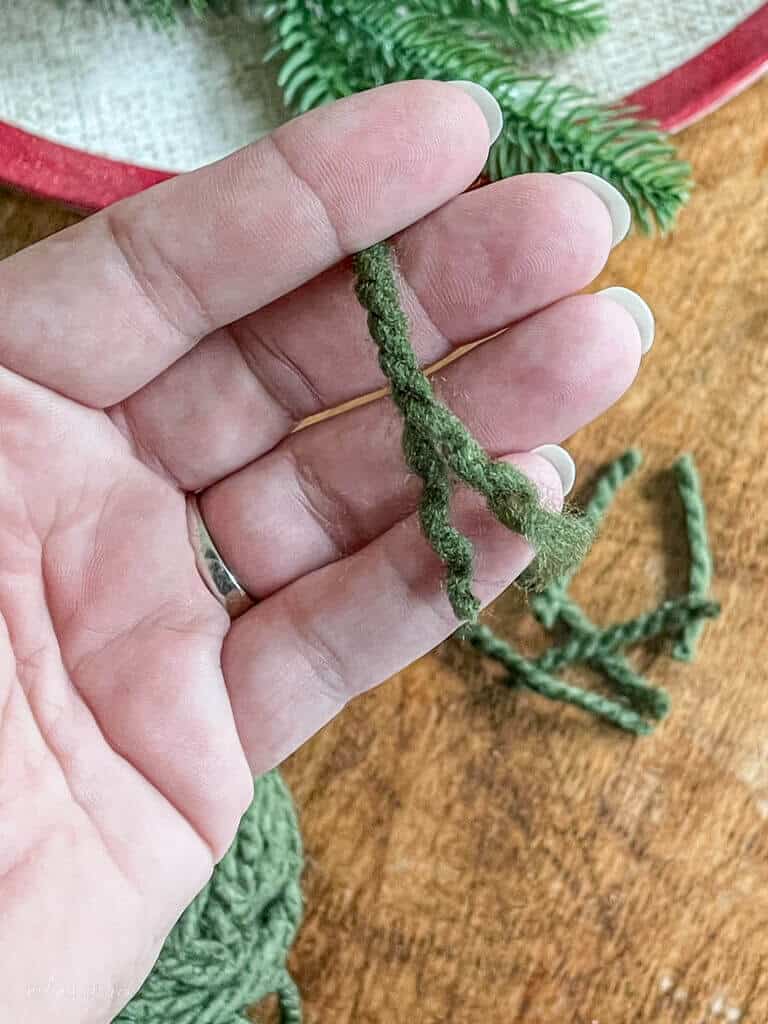
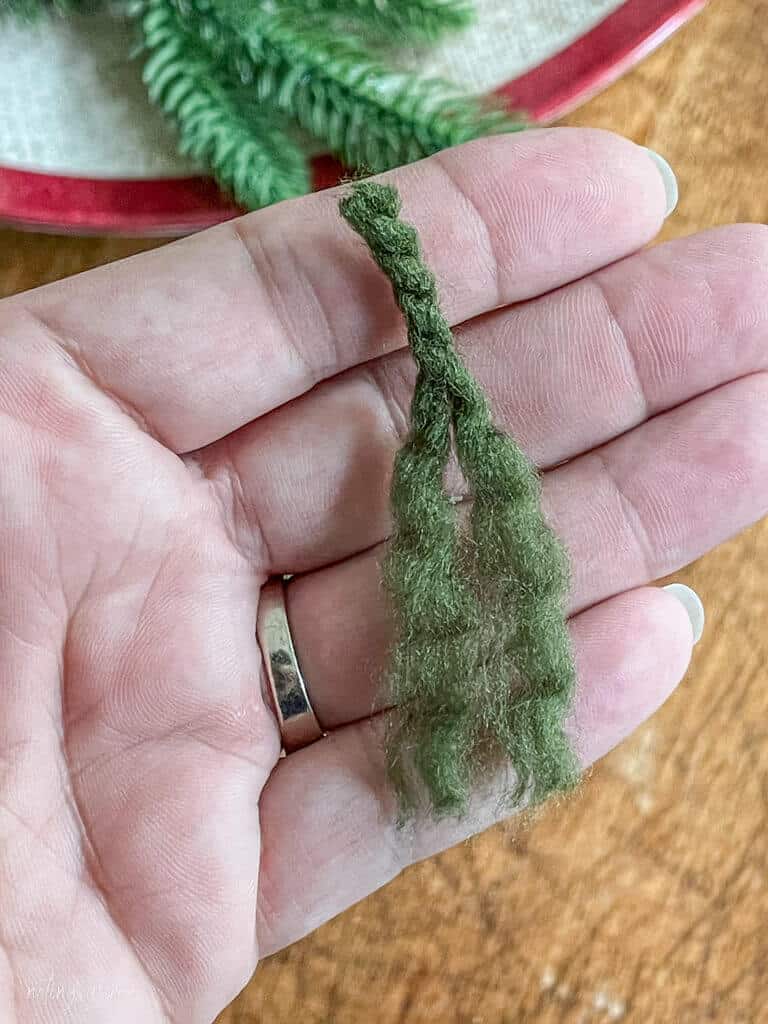
- Cut 1.5″ pieces of yarn and unravel about 2/3 of each piece.
- Fluff the ends to create a soft, frayed texture. This part is great for little hands to help with!
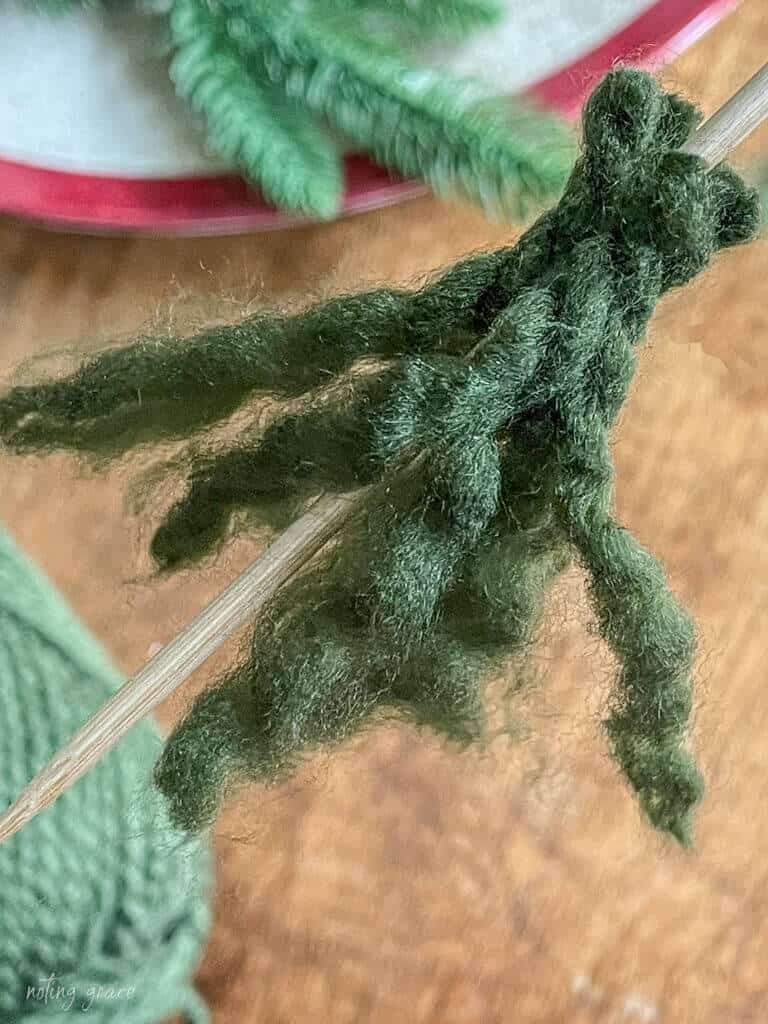
- Starting at the base of your skewer, glue the unraveled ends around the stick, one layer at a time.
- Work upward, adding new layers every 1–1.5 inches until you’ve built the size tree you want.
- Trim the top of the skewer and pinch the final piece together with glue to form a tip.
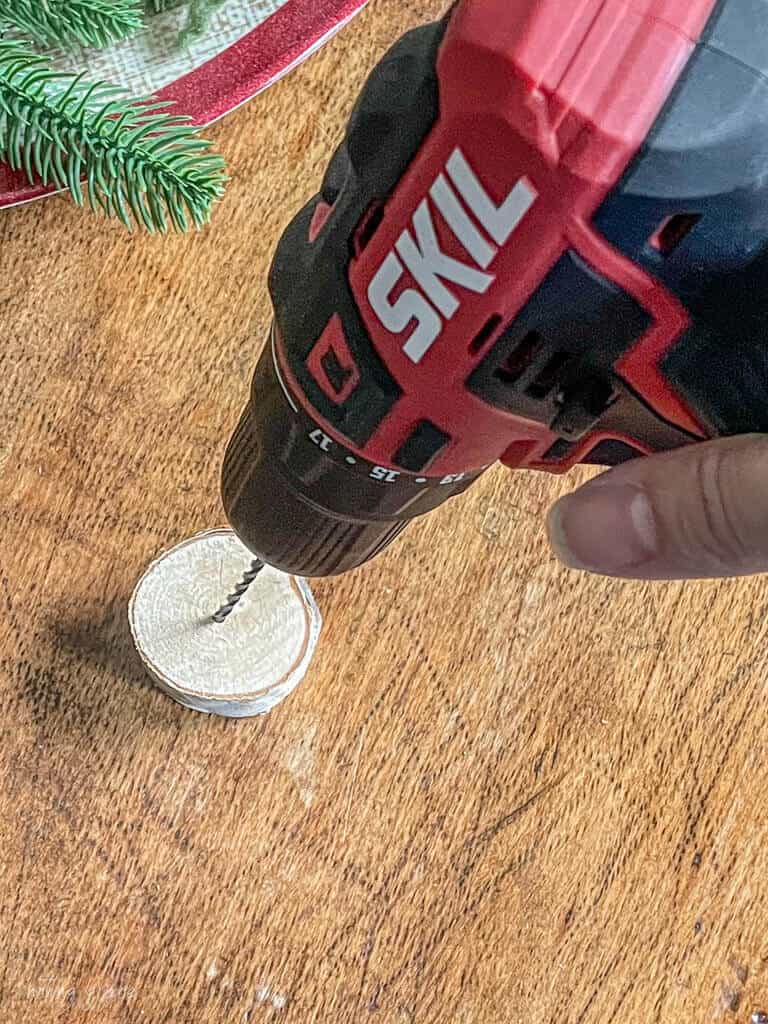
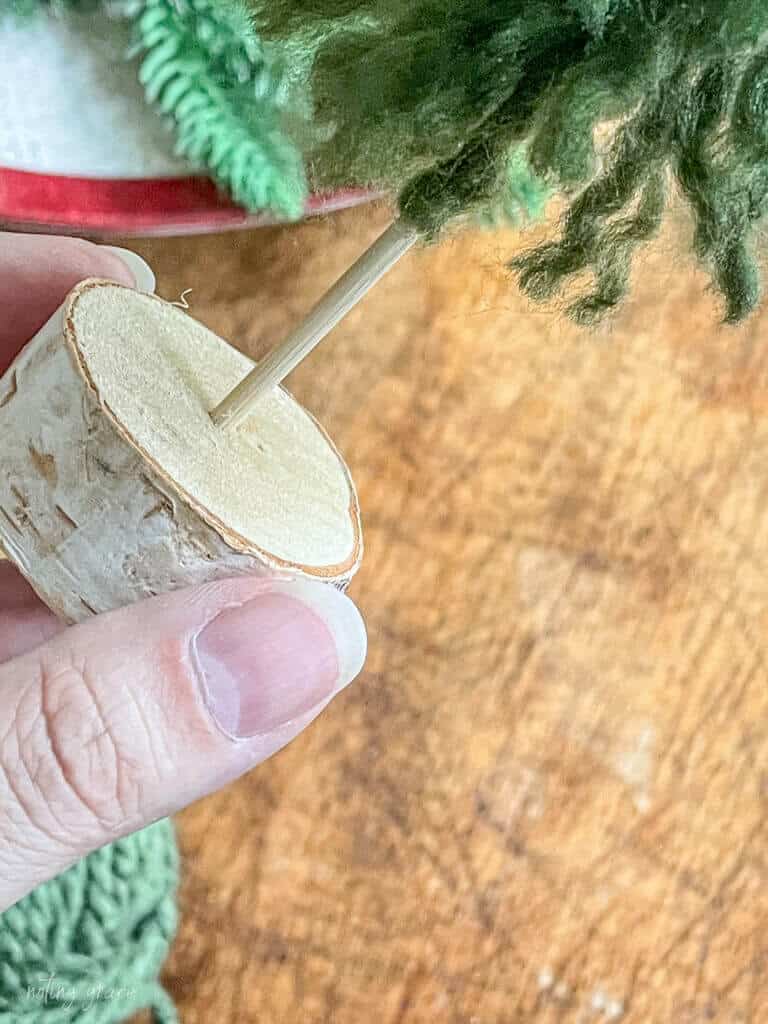
- Drill a small hole in your wood slice and glue the base of the tree into it.
Carefully squeeze the yarn to the skewer.

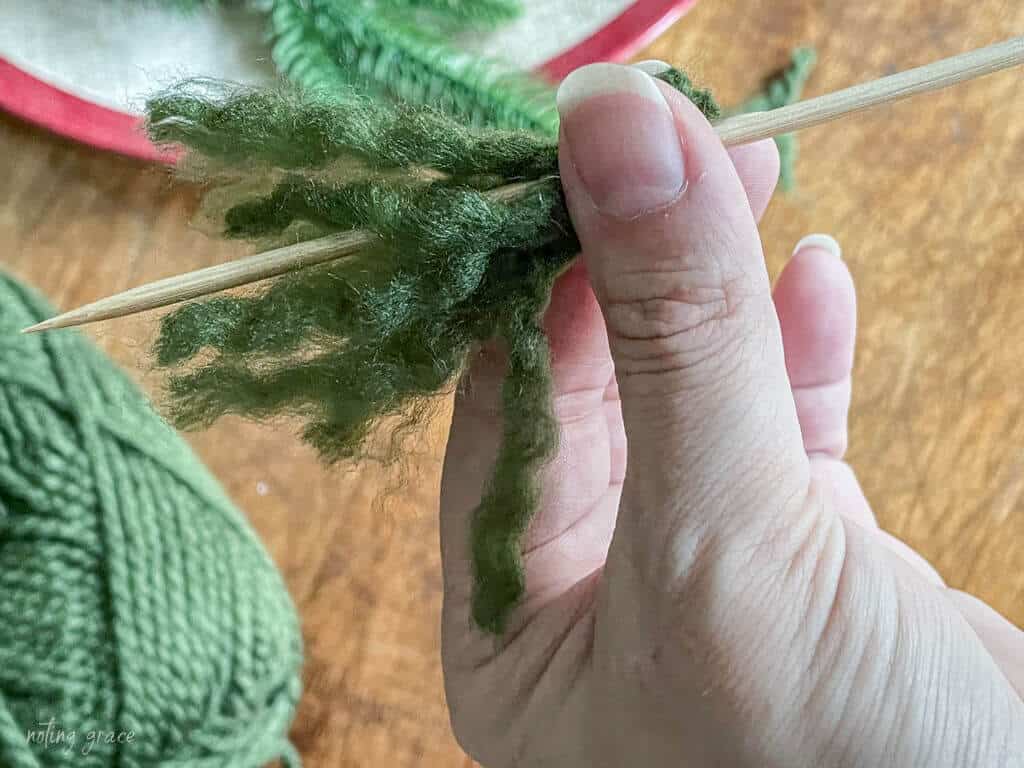
It dries pretty quickly, but be careful – I did get some hot glue on my finger which is not fun!
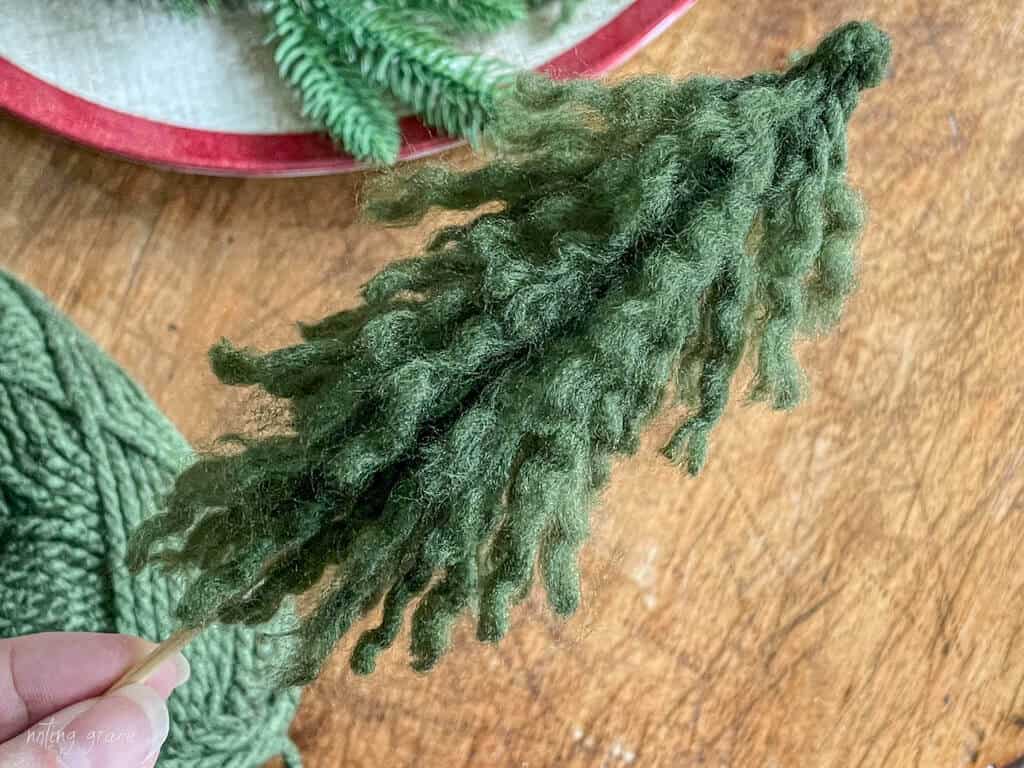

Optional but helpful tip: Give your tree a little “haircut” at the end to even it out. Just spin and snip until it feels right.
Simply give the tree a twirl and you will soon see any pieces that are too long. Just snip a little bit off and that’s it!
For the smaller trees, I added two rows, and a total of about 4 rows for the taller trees.
Isn’t that so simple?
Now let’s move onto the other yarn projects.

Chunky Yarn Ornaments
These ornaments are so simple it almost feels silly, but they look beautiful on a tree—and you can tweak them to match any style.
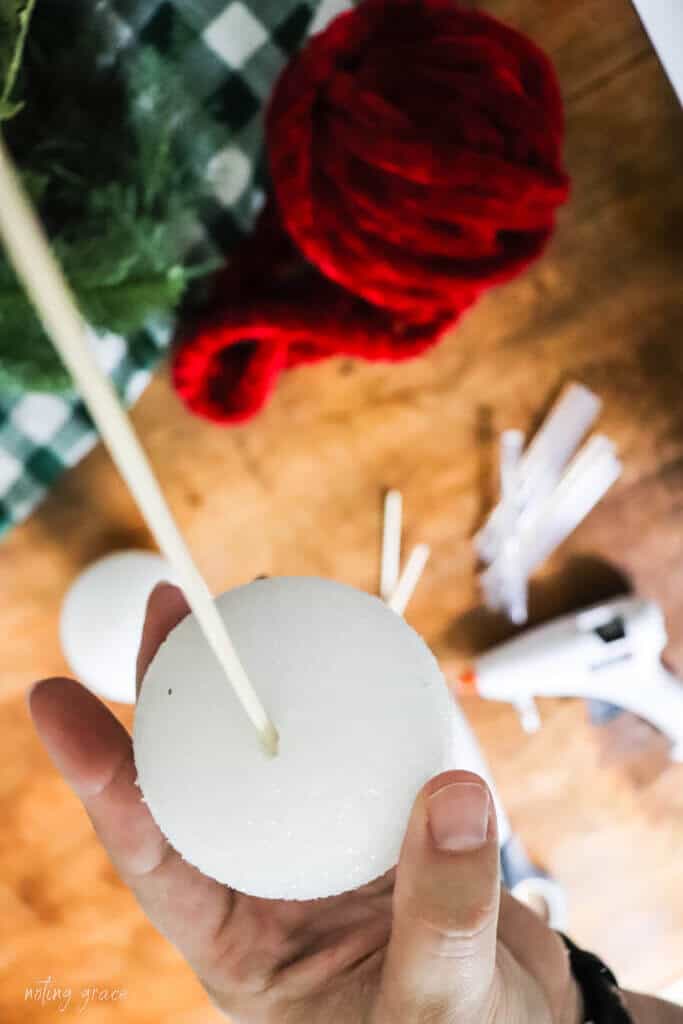
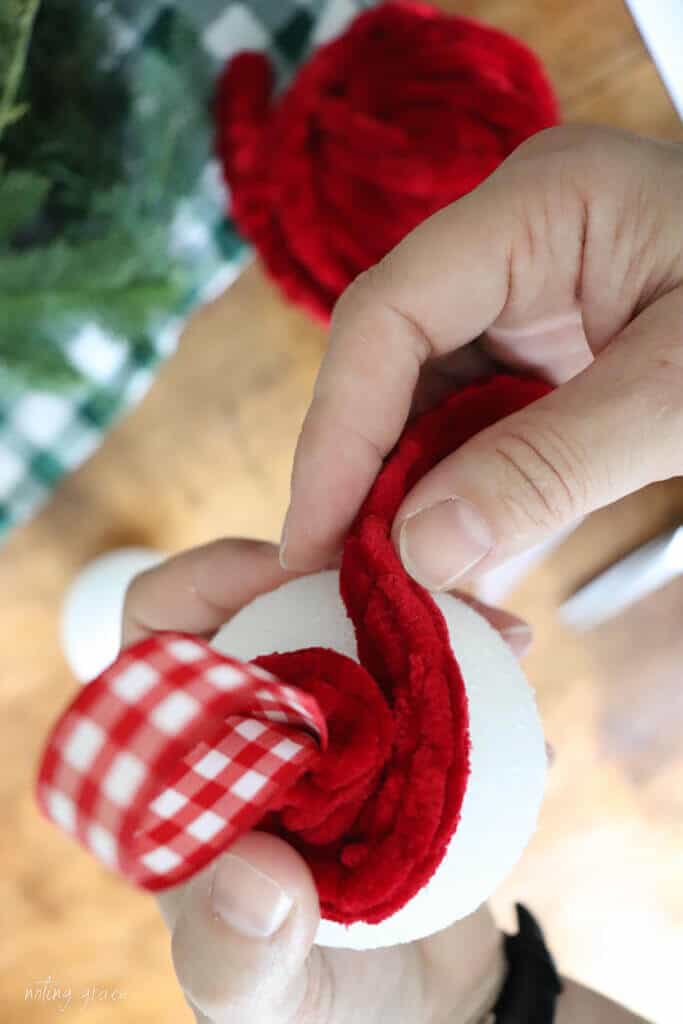
- Use a wooden skewer to poke a small hole in the top of a styrofoam ball.
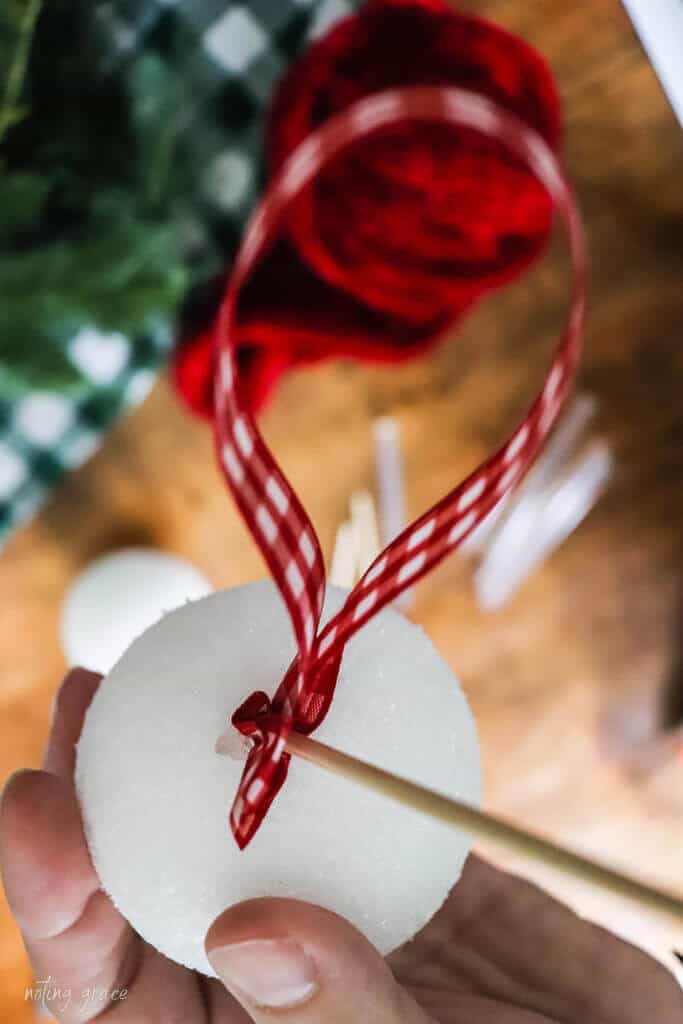
- Fold your ribbon in half and glue the ends into the hole to create a loop for hanging.
- Starting at the base of the ribbon, add hot glue and wrap the yarn around the ball, working in sections to avoid burns.
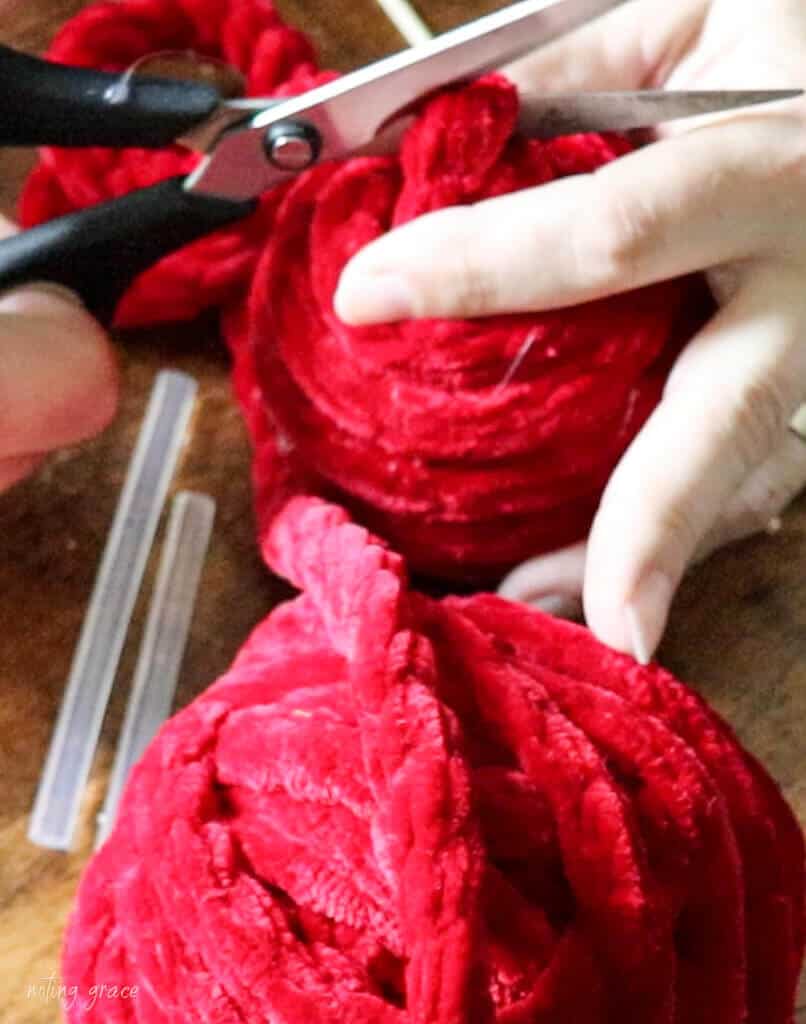
- Tuck the end of the yarn in and secure with glue.
- If you notice any gaps, just add a pinch of glue and gently smoosh the yarn into place.
I know this probably isn’t the first yarn covered ornament out there, but this was the first I’ve seen using chunky knit yarn.
You’re using almost all the same materials with the exception of the ribbon and the styrofoam balls.
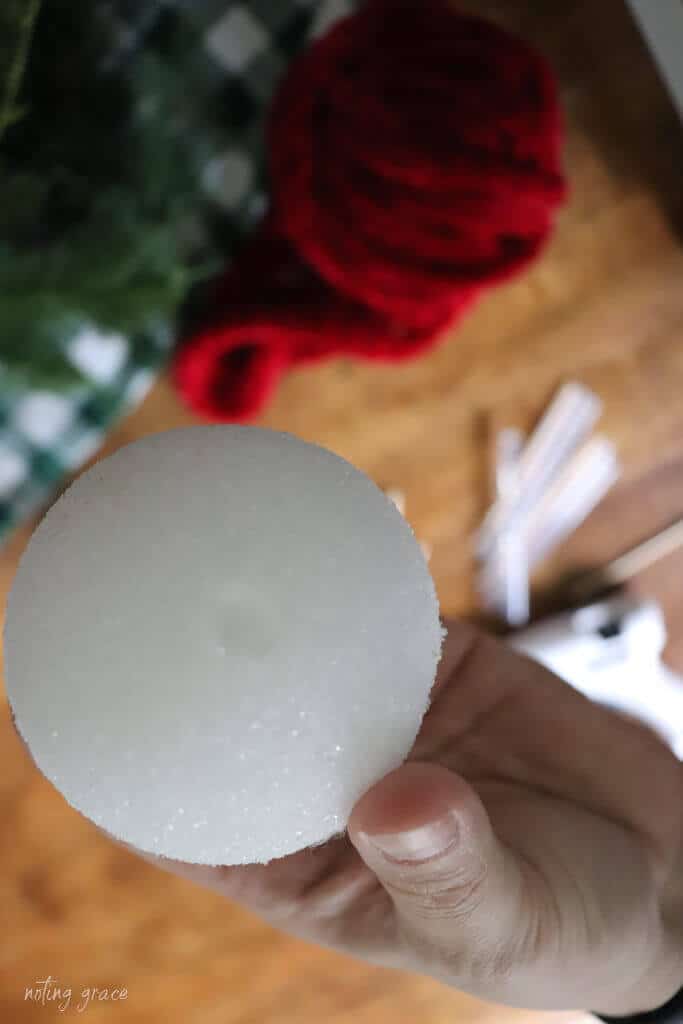


That gives you an instant ornament to work with!
Now you are ready to start adding the yarn.
I worked in small sections to make it easy to work with.
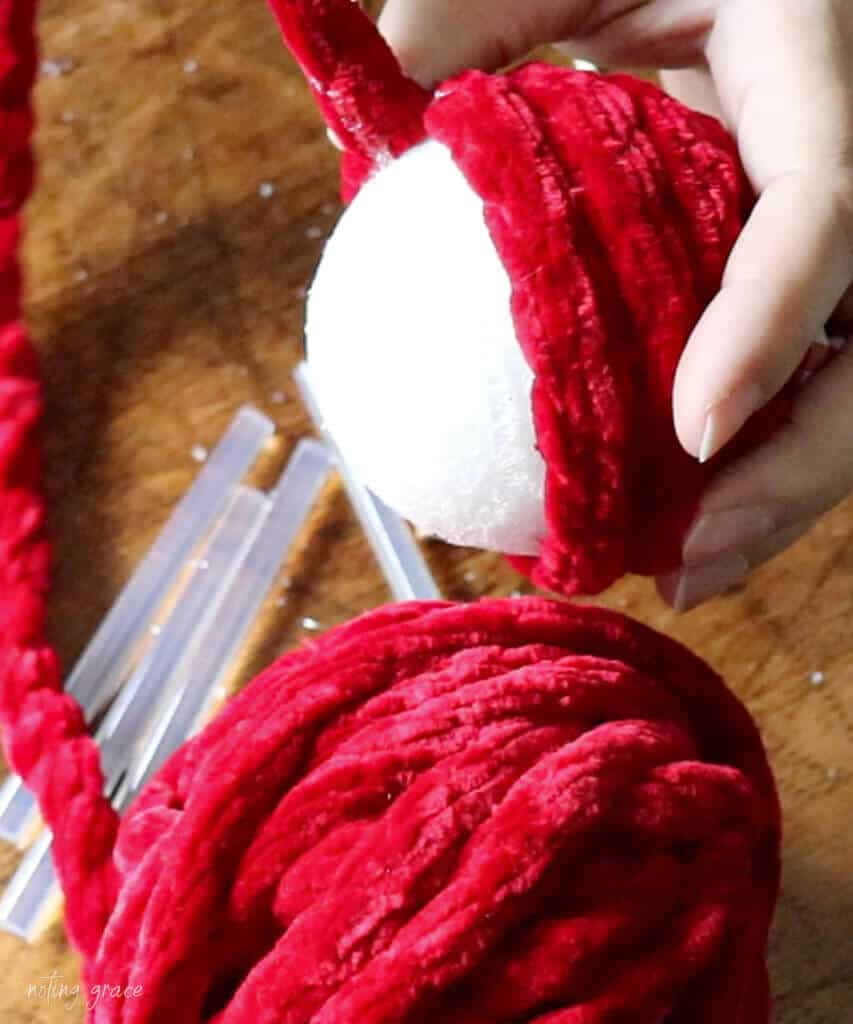
If you find a few spots exposing some of the styrofoam, just add a bit of glue to the ball and pinch it together.
That’s it!

Bonus idea: Skip the ribbon and you’ve got instant decorative bowl fillers. I used mine in a dough bowl in our sunroom and on the fireplace mantel. Same process, no extra cost.
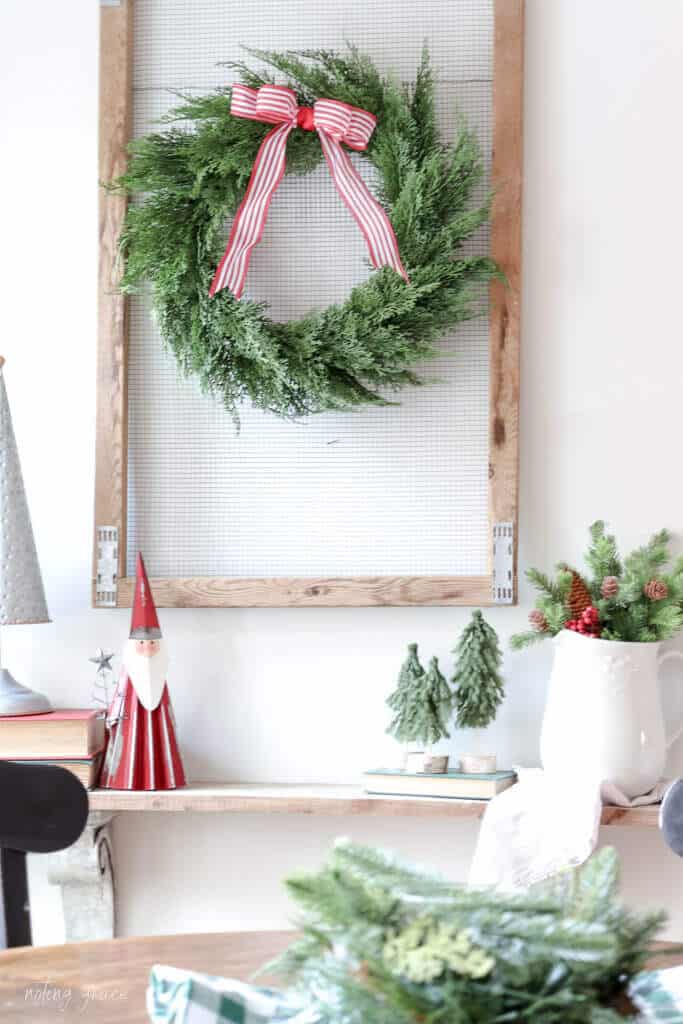
Here’s how they look in our Christmas Sunroom.


I also added a few to my living room when I decorated our fireplace mantel.

Why These Crafts Matter
Friend, these aren’t just cute little projects—they’re proof that you can create peace and beauty in your home without blowing your budget or your bandwidth.
Maybe life feels heavy right now. Maybe your house isn’t where you want it to be. But grabbing a glue gun and crafting something cozy from scraps? That’s a small step toward hope. And around here, we believe redemption starts with small steps—in our homes and in our hearts.
These projects are:
- Affordable – most materials cost less than $10 total
- Beginner-friendly – no skills or fancy tools required
- Kid-approved – great for little helpers or memory-making
- Versatile – tweak colors to fit any style or season
I especially love how the red yarn ornaments look on our flocked tree!

I hope this inspires you to pause, create, and enjoy a little moment of calm in the chaos.
And if your tree’s a little wonky or your glue gets messy? So what. It’s not about perfection.
It’s about the peace that comes when we create on purpose, even in the middle of a messy season.
If you make one of these, send me a pic—I’d love to cheer you on!
And if you’re craving more simple, soul-soothing projects like this, make sure to subscribe to my newsletter so you don’t miss what’s coming next.
Your home doesn’t have to be perfect to be peaceful.
Check out my other Christmas posts from this year:
- Christmas in the Sunroom
- Red Tartan Christmas Dining Table
- Epic Gift Guide for the Musician
- Holiday Home Tour
- Christmas Front Porch
- Christmas Coffee and Cocoa Bar
- Christmas Artwork Using Wrapping Paper


I’m so glad this inspired you, Mary! Have fun making these!
Jen
Such great ideas! I’m going to make both. Thanks for the inspiration.
Thank you Sharon! I appreciate you taking the time to comment!
Love the tree idea!! Sooo cute! 🎄🌲