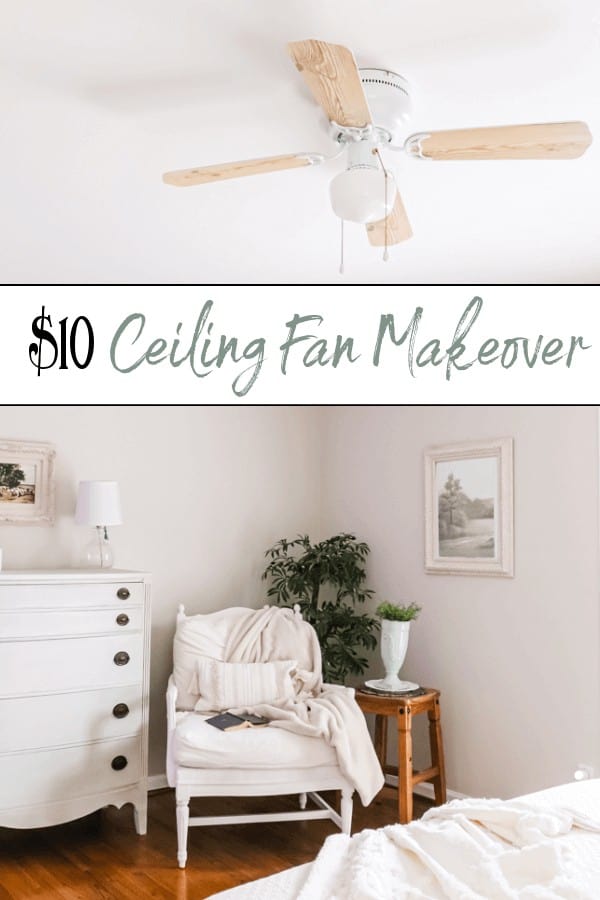
$10 ceiling fan Update: How to Easily Get this Farmhouse Look
Do you have a perfectly working ceiling fan that isn’t your style? This $10 Ceiling Fan Update may be just what you need!

Are you on Team Ceiling Fan?
Being raised by an HVAC Dad, I know the importance of ceiling fans and how they can save you some big bucks on your energy bill.
So, I’m team ceiling fan all the way!
But, the decorator in me battles with the unsightly view at times.
Nowadays, they have greatly improved the look and aesthetic of ceiling fans and there are some gorgeous ones on the market.
But those pretty ones can sometimes come with a pretty big price tag too!
So if you have a perfectly working ceiling fan but want to give it an update to create a look you love – try this easy DIY!
$10 Ceiling Fan Update
(Some affiliate links are provided below. Full disclosure here.)
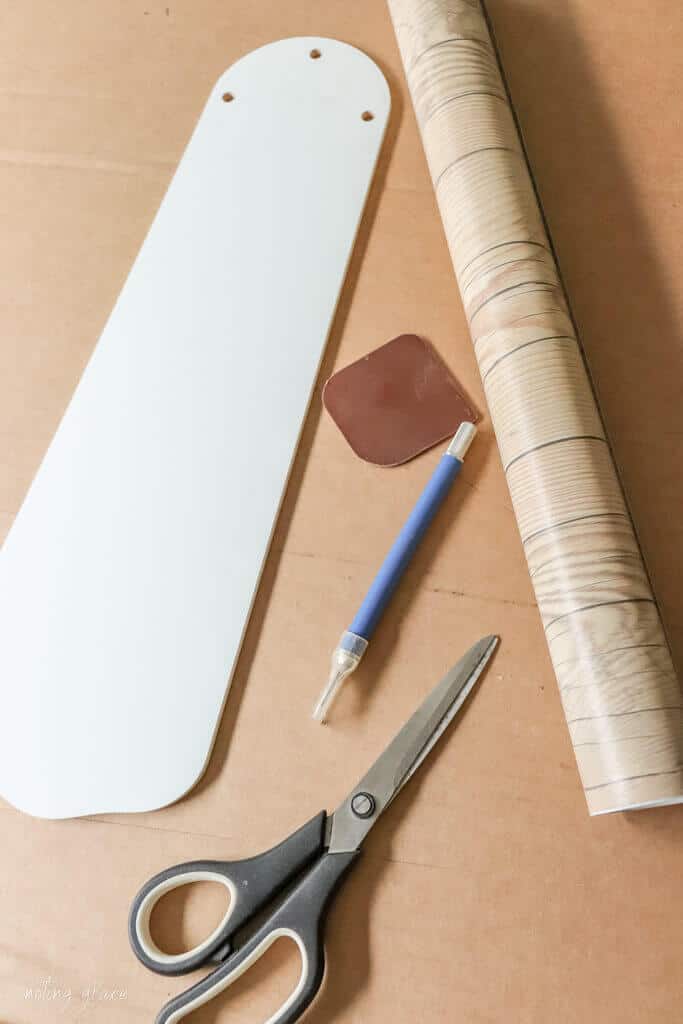
Supplies:
Ceiling Fan Blades
Faux Wood Contact Paper
Scissors
Xacto Knife
Scraper
The ceiling fan that was in the guest room we’re working on was in great working condition.
So it didn’t make sense to discard a perfectly working fan just because I didn’t like it.
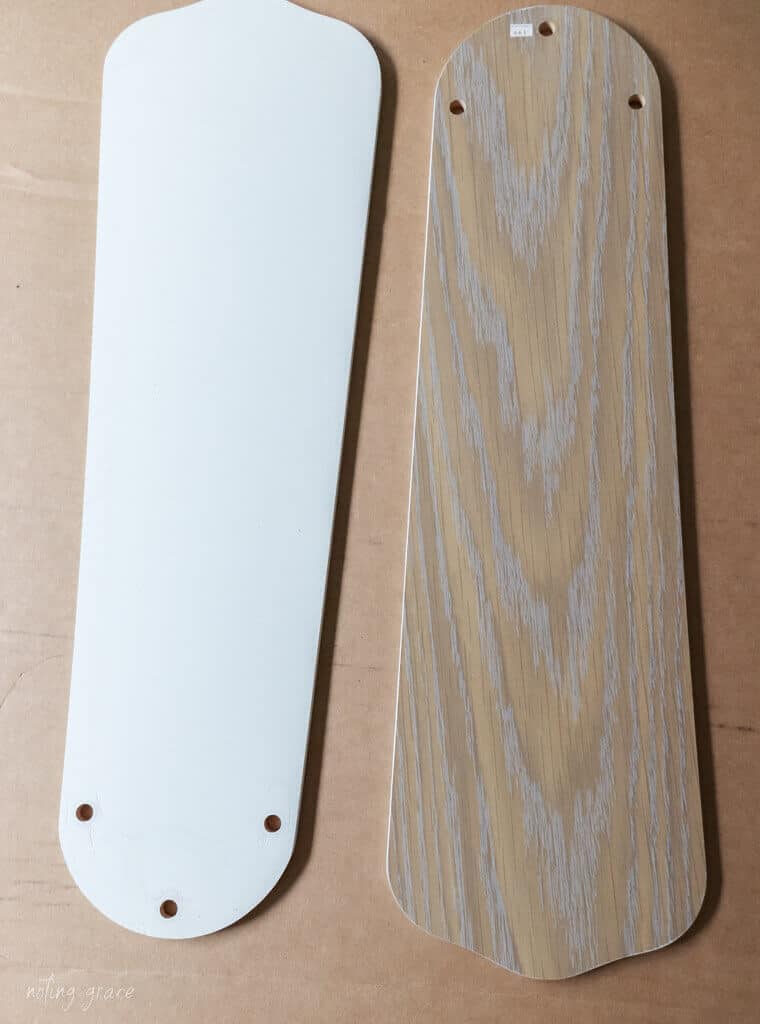
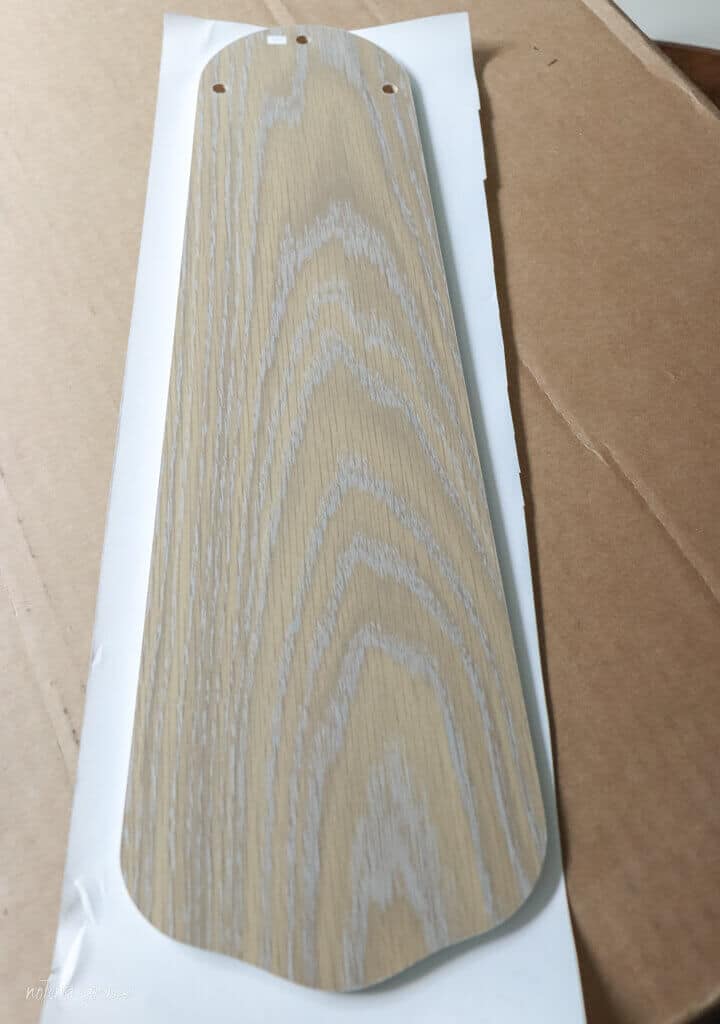
The body of the fan was fine – simple white in a satin finish.
On one side, the blades were white.
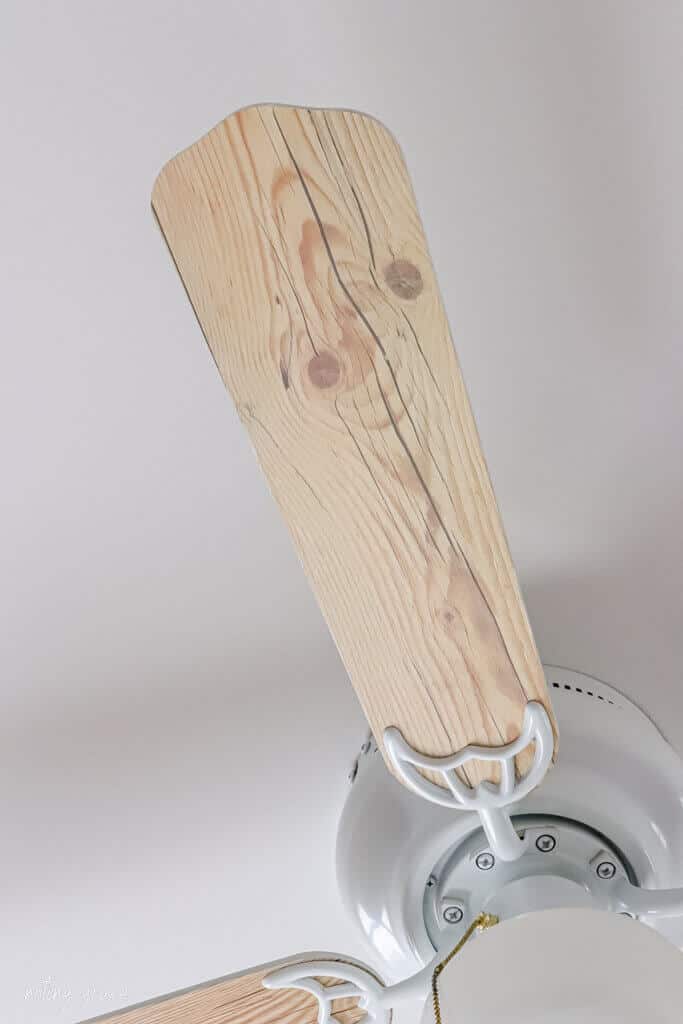
The other side had wood grain – which was the look I wanted.
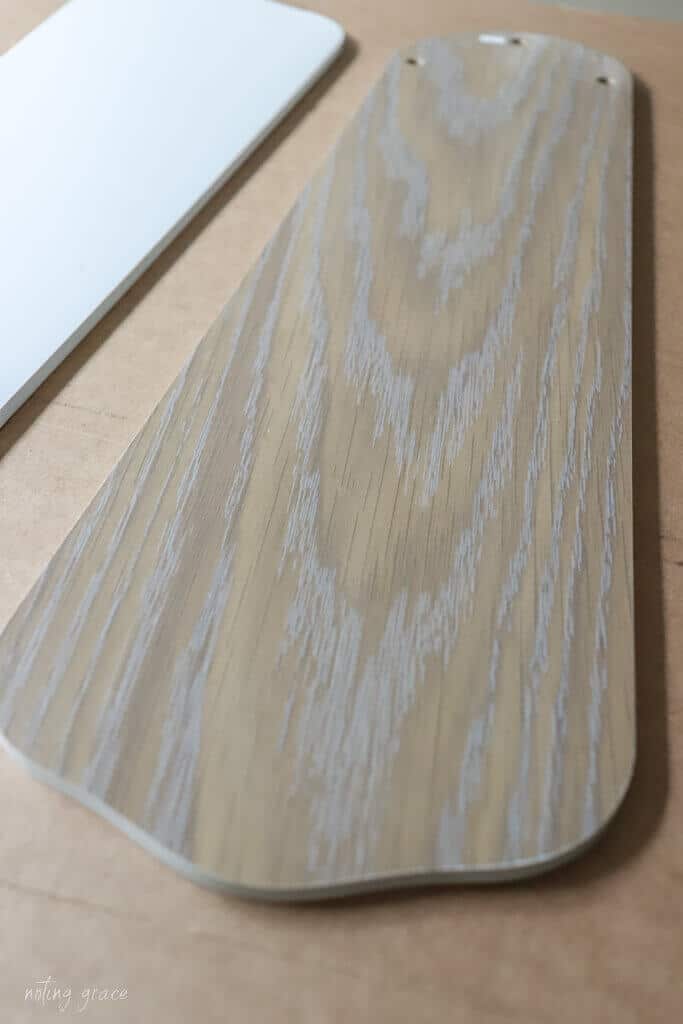
But – it was not the prettiest of wood grain – very 90s.
So I got some peel and stick wallpaper and covered the blades.
Easy peasy and super quick! Here’s how to do it!
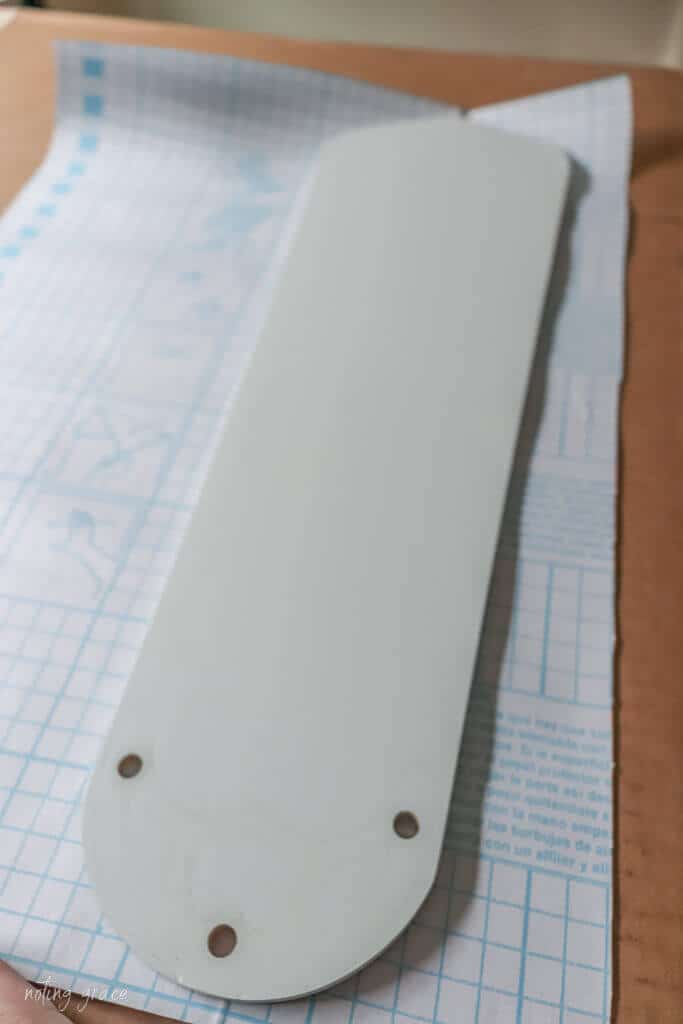
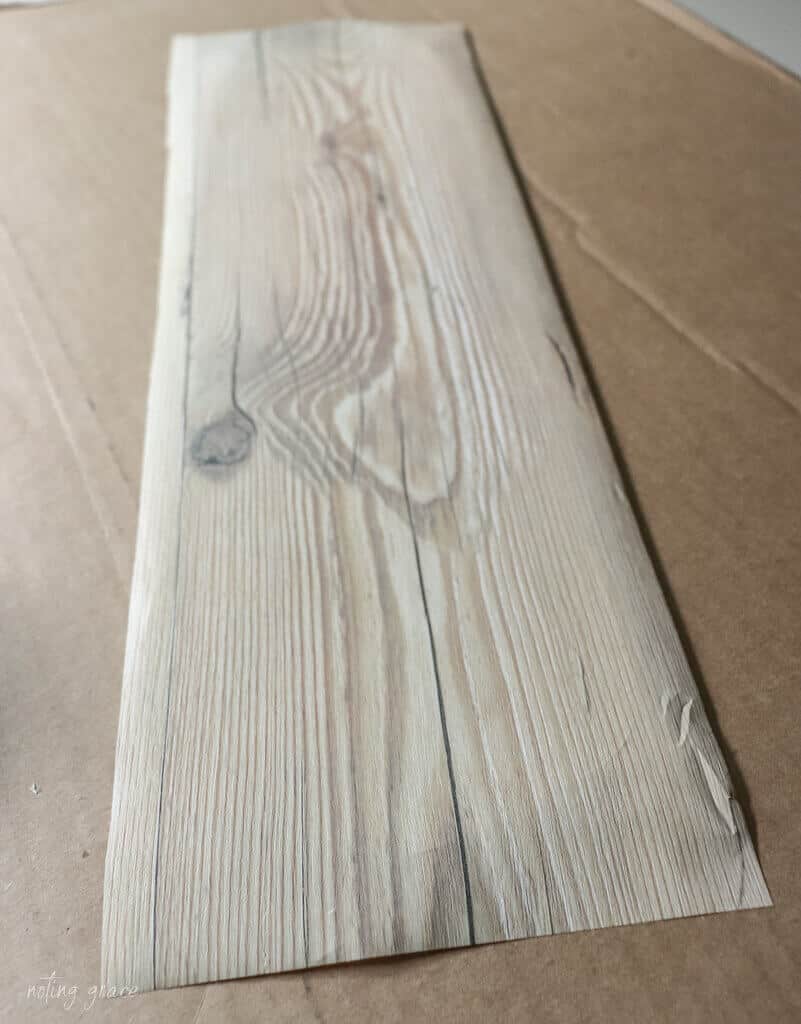
Start by trimming the contact paper for each blade.
I laid the fan blade out and then trimmed the paper. They have some wonderful grid patterns that are easy to follow.
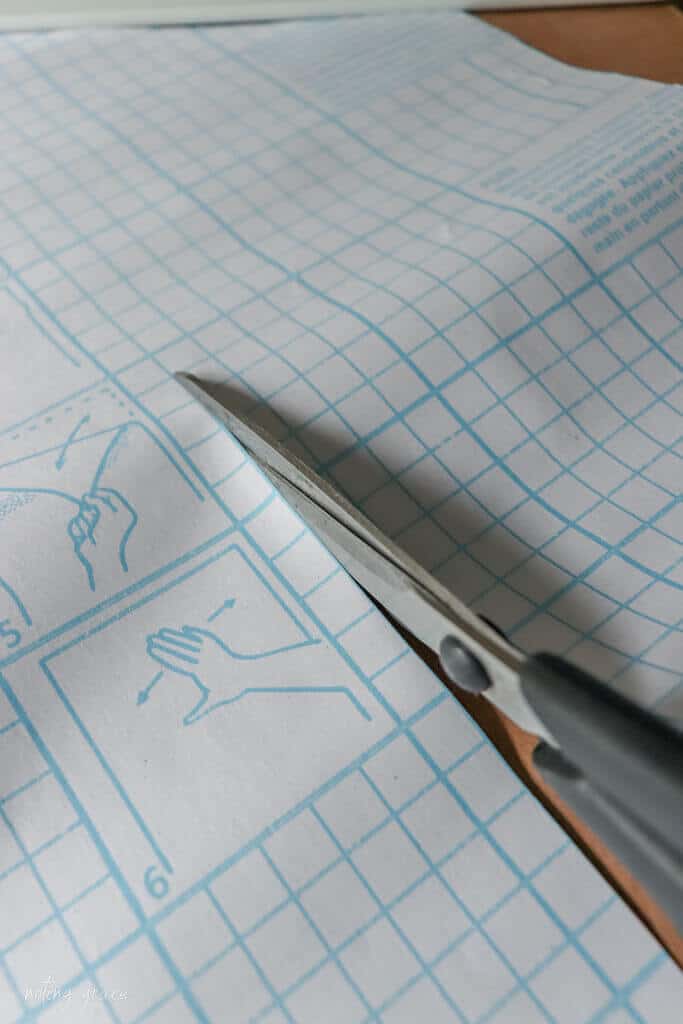
I was able to cover two blades with one cut from the roll by making 2 long rectangles.
Start with the side of the blade you plan to cover facing up.
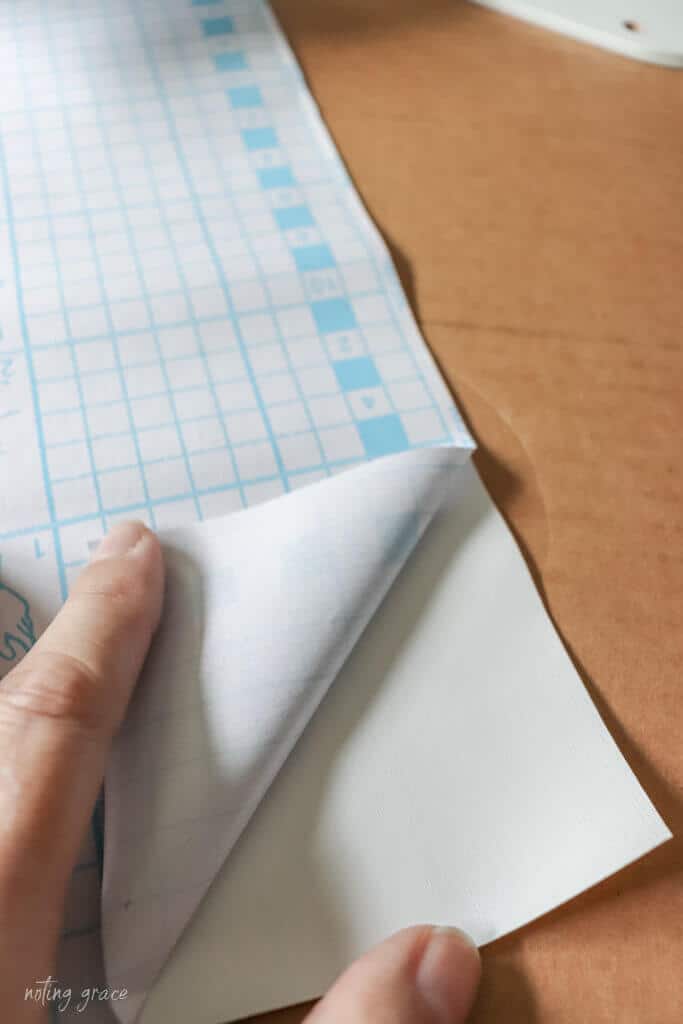
Start by peeling about an inch from the edge of the peel and stick wallpaper or contact paper.
Line the contact paper up so that the blade is centered.
Place the paper at on edge and pull the paper away slowly – but here’s the secret sauce.
Don’t pull it all away at one time.
Work slowly using a scraper to smooth the paper onto the fan blade as you go.
This ensures that there aren’t any air bubbles in the paper.
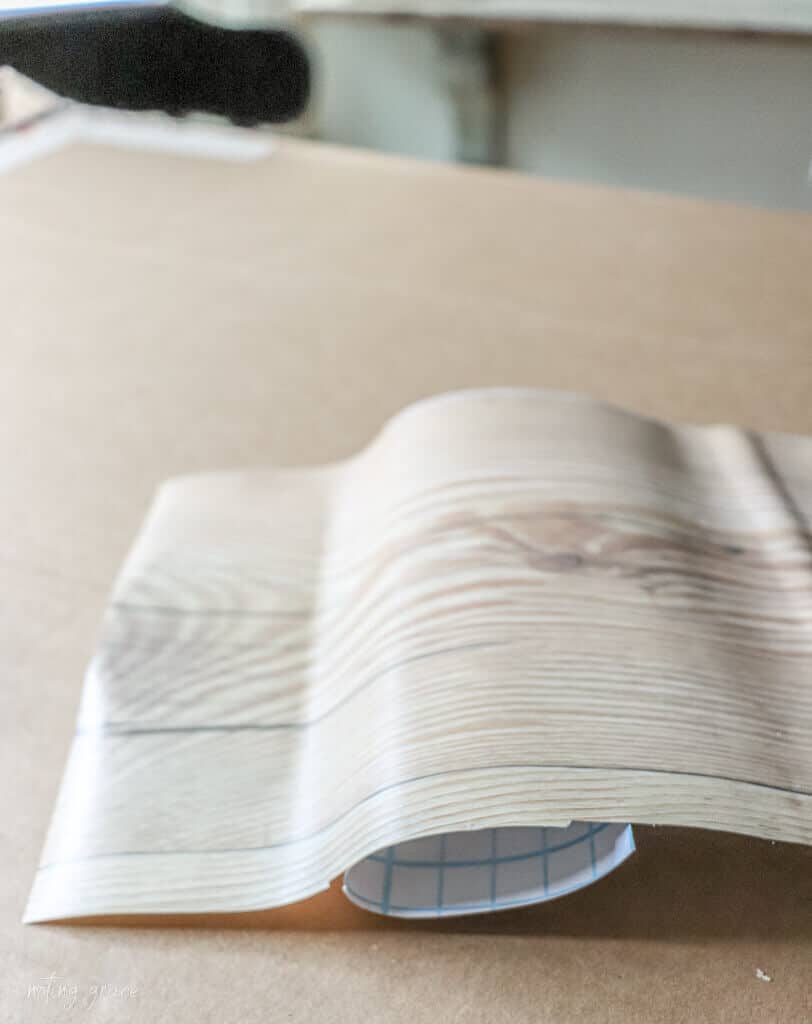
That already looks better than the old faux wood grain!
Once the paper is intact and smooth without any bubbles, it’s time to trim off the excess paper.
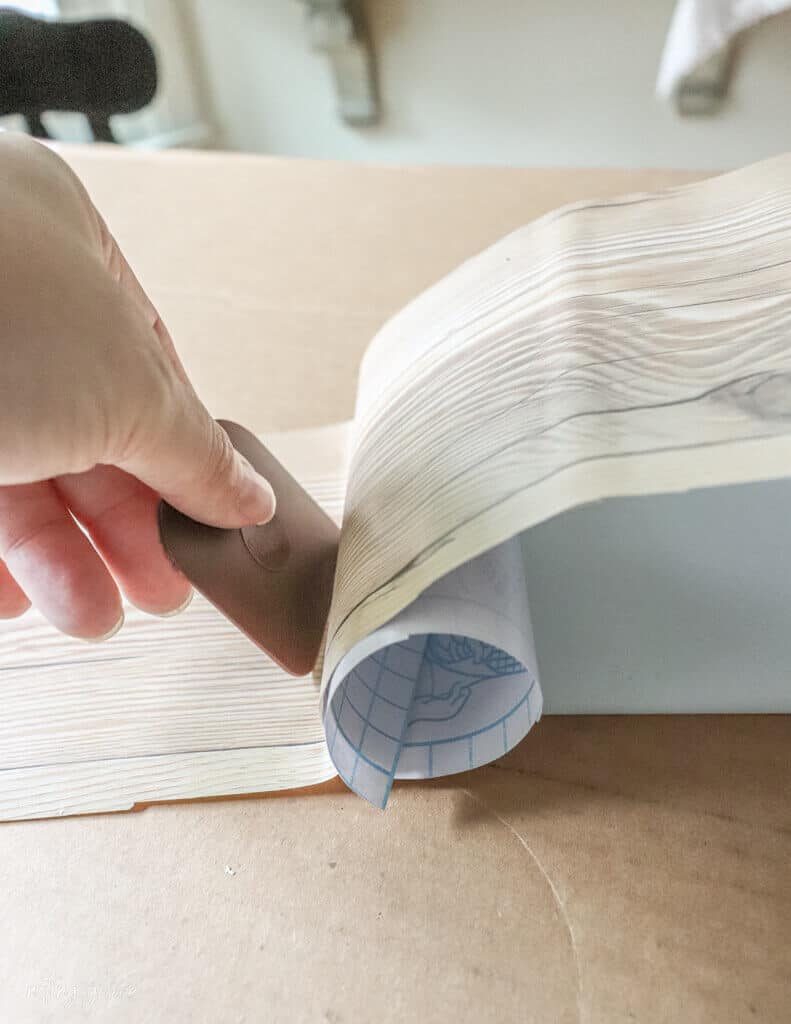
Flip the blade over and begin trimming using an Xacto Knife.
It’s a smart idea to place a piece of cardboard or other protective barrier down to make sure you don’t harm the table beneath.
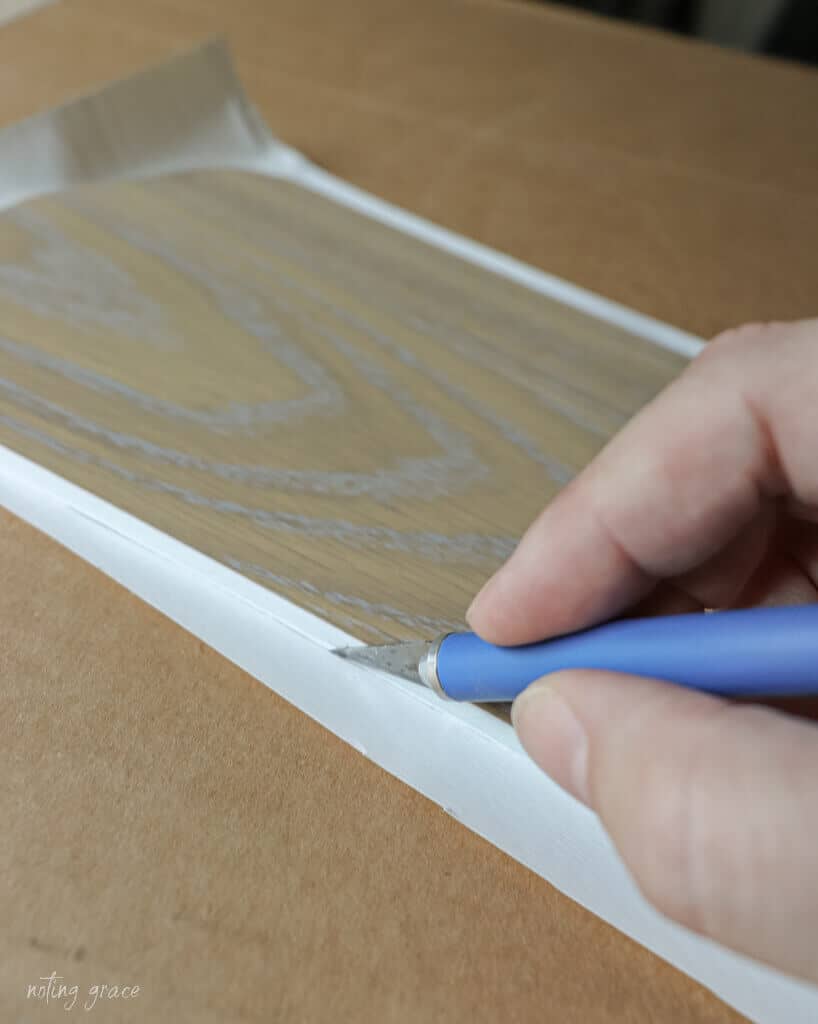
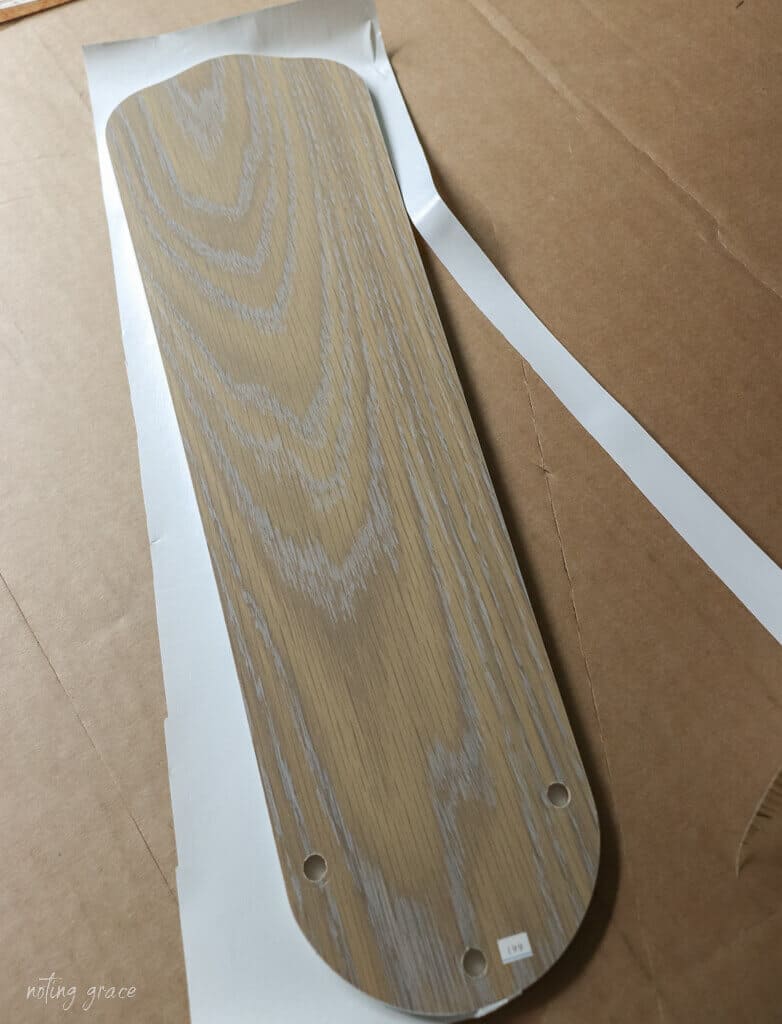
The excess paper will easily separate from the fan blade.
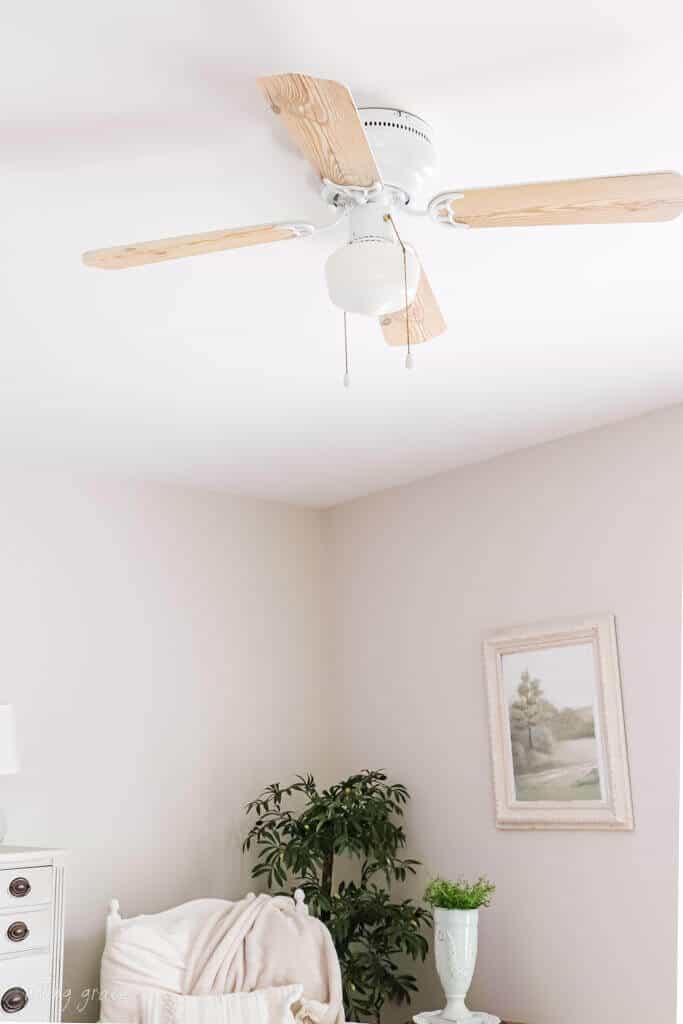
Follow the same steps for the other blades and reinstall them to the fan.
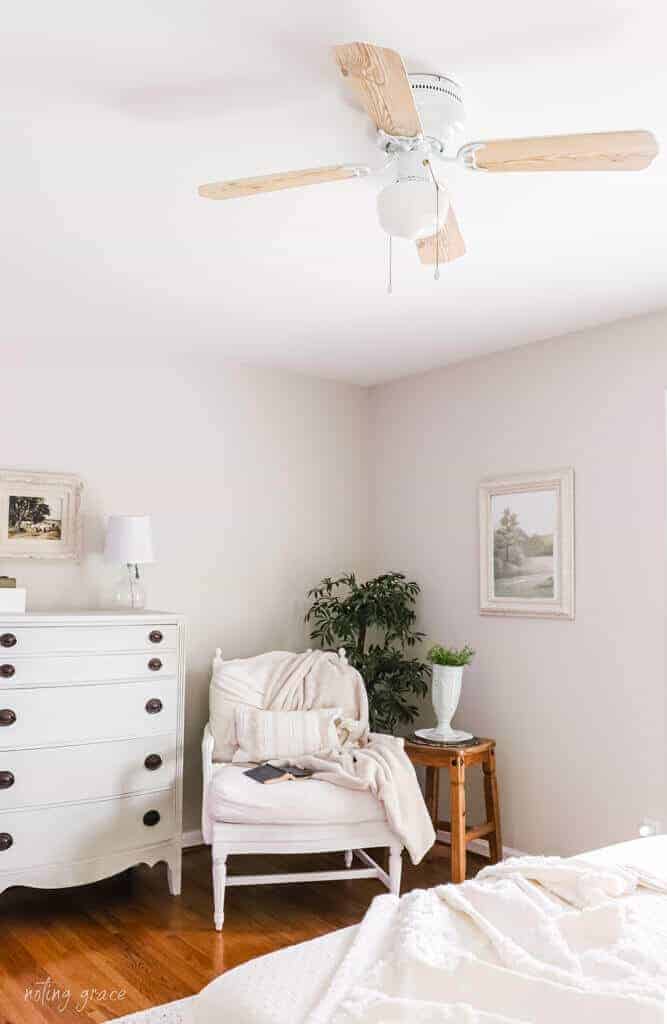
Here’s how it looks once it’s reassembled.

I just love how it turned out. A simple refresh that was so affordable!
Here’s how it looks in the guest bedroom.
We are putting the finishing touches on the guest bedroom and I will be sharing the full reveal soon!
But in the meantime – I had to share this easy $10 ceiling fan update with you all!
So what do you think?
If you have a ceiling fan that you hate but can’t afford to get rid of – I hope this helps create a solution for your home.
Let me know your thoughts in the comments below!
Pin this for later!
I’m so glad this inspired you, Susan! It’s such an easy DIY – good luck with yours. Reach out if you have any questions – I’m happy to help!
This is exactly what I need to do! I need a new globe too, yours looks great. Thank you!
Thanks Angel! Appreciate you taking the time to stop by!
I use that littler scraper for everything! It’s the best isn’t it!