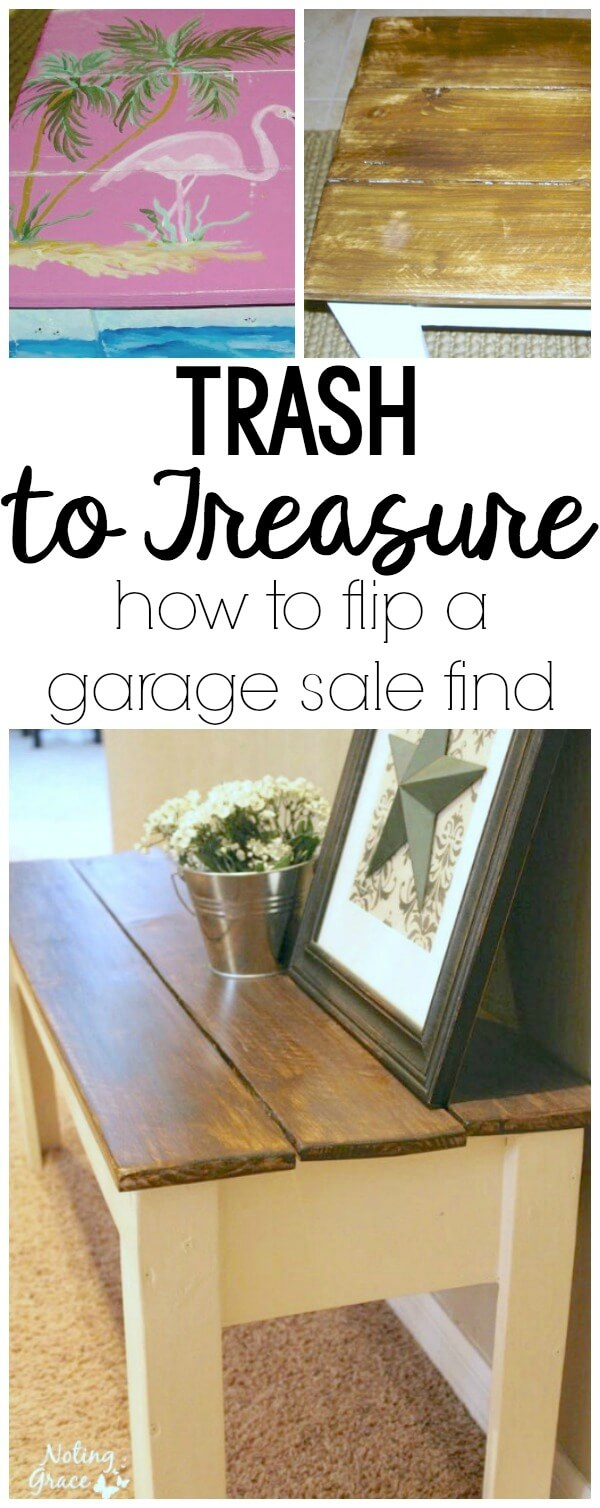
Painted Bench Makeover for only $10
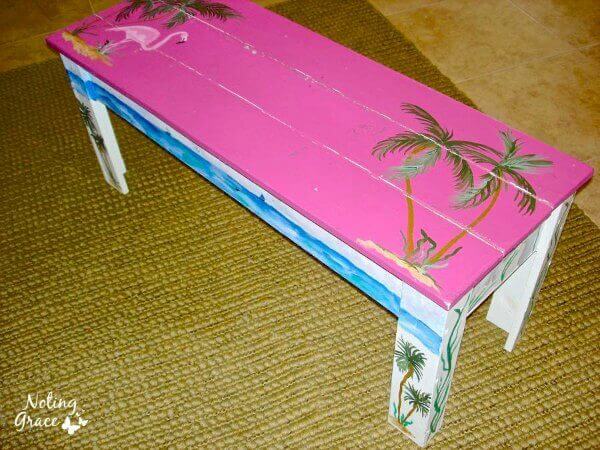
When I found this pink flamingo bench at a garage sale for only $10, I quickly bought it. Not that pink flamingos are my jam, but a painted bench is! Here’s how I transformed a garage sale find into something beautiful.
So, I’ve become a bit of a junker over the past few months.
Undoubtably inspired by other bloggers, I was on a quest to quell this creative beast inside me, so garage sales became the Saturday morning norm.
A few months ago, I stumbled upon a HUGE community yard sale. I hit about 60 homes and walked away with tons o goodies!
Here’s one of them.
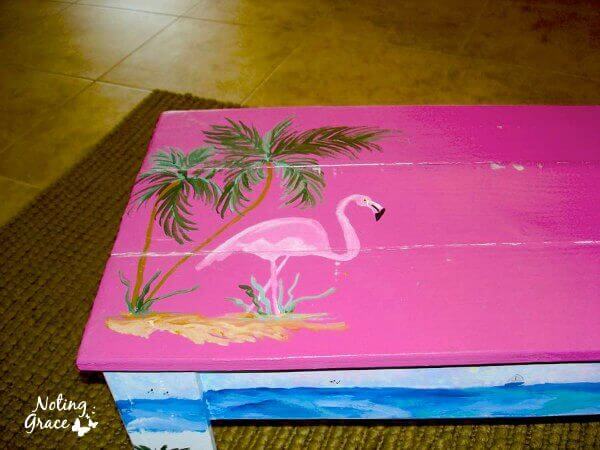
Pink. Flamingo. Y’all!
Now some of you may LOOOVE pink flamingos, palm trees and painted boats adrift on the ocean, but I thought this was so in need of some love.
Here’s how I did it – I’ve provided affiliate links for your convenience. You can read my full disclosure here.
Painted Bench Makeover Materials
- Bench
- Paint Stripper
- Rubber Gloves
- Scraper
- Cabot All in One Poly Stain – I used Dark Oak (you can find similar products here)
- Cream Paint I had on hand
First, I stripped down the top with the paint stripper and a scraper. It was so nice seeing that pink melt away.
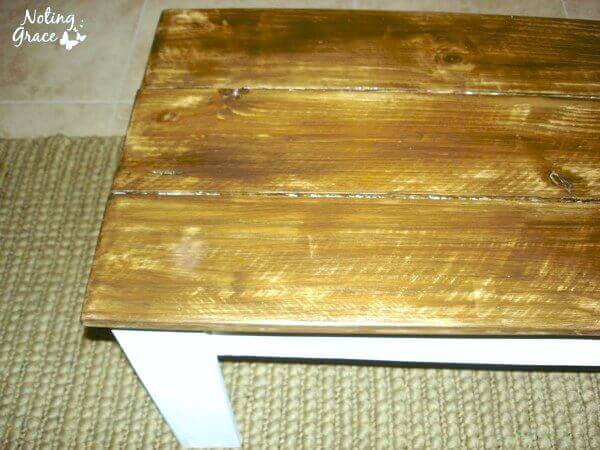
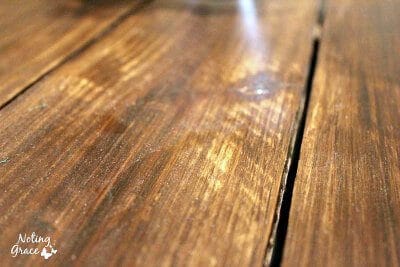
Next I used a Cabot all in one Poly Stain in Dark Oak and added about 3 coats.
While that was drying, I painted the legs with a cream color I had on hand.
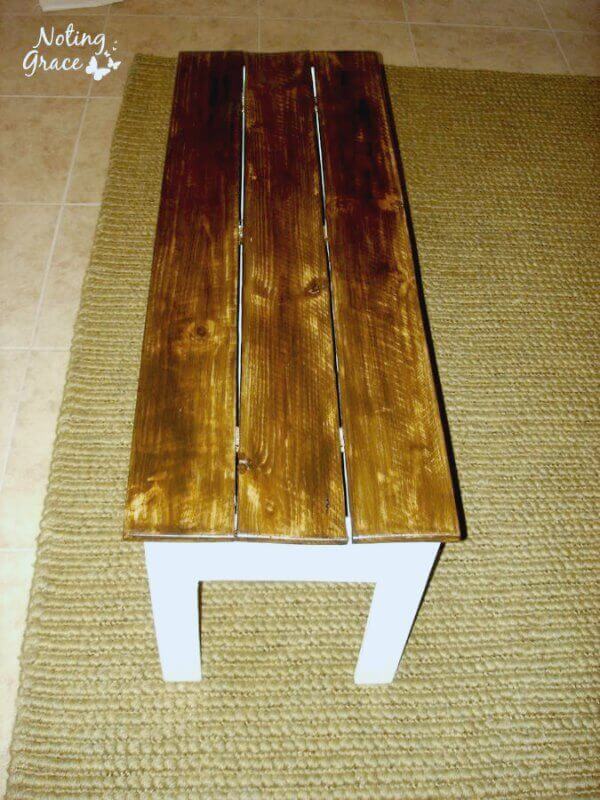
Here’s my finished product:
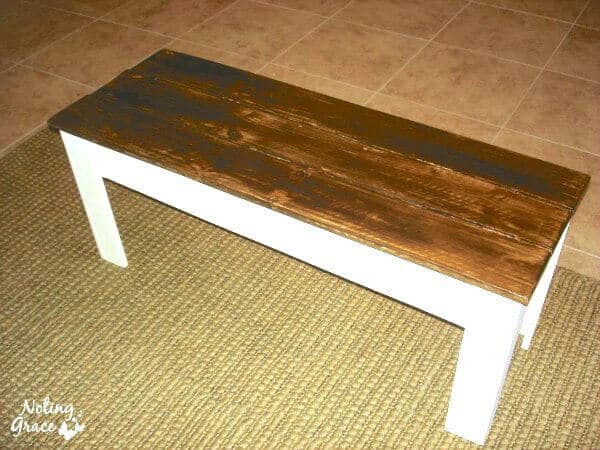
Did I mention I got this baby for $10?!?
Here’s a happy mistake – The primer wouldn’t come off completely when I was stripping it, but I stained over it anyway and I love the finished product. Even though hint’s of white peek through, I think it gives it that worn look I was hoping for.
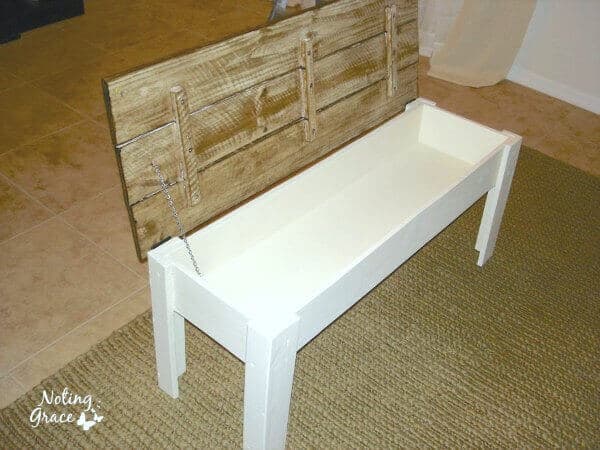
The bench opens up for great storage. Underneath, you can really see how the white primer would not come off.
I do love that variegated look, though!
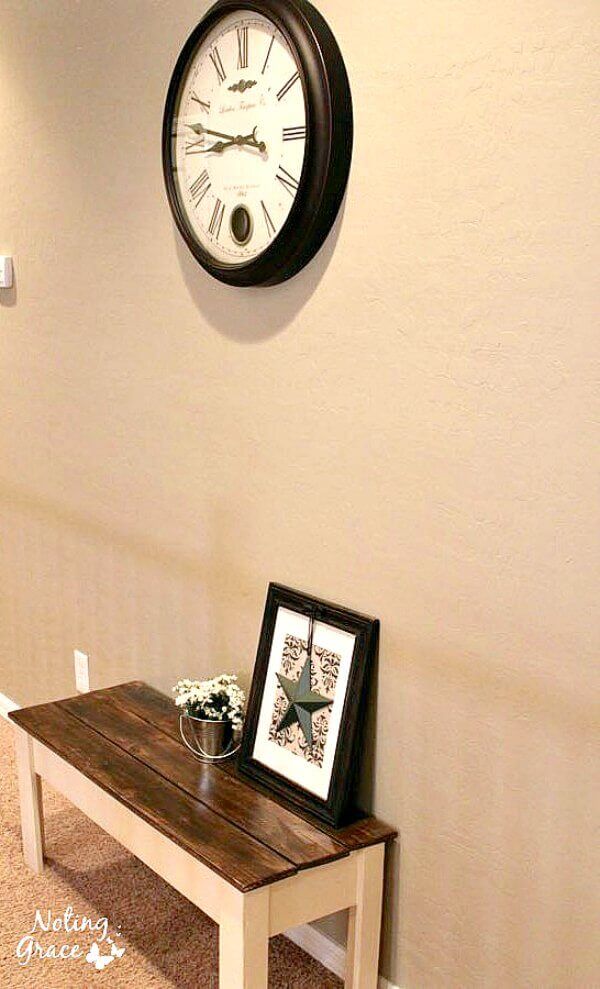
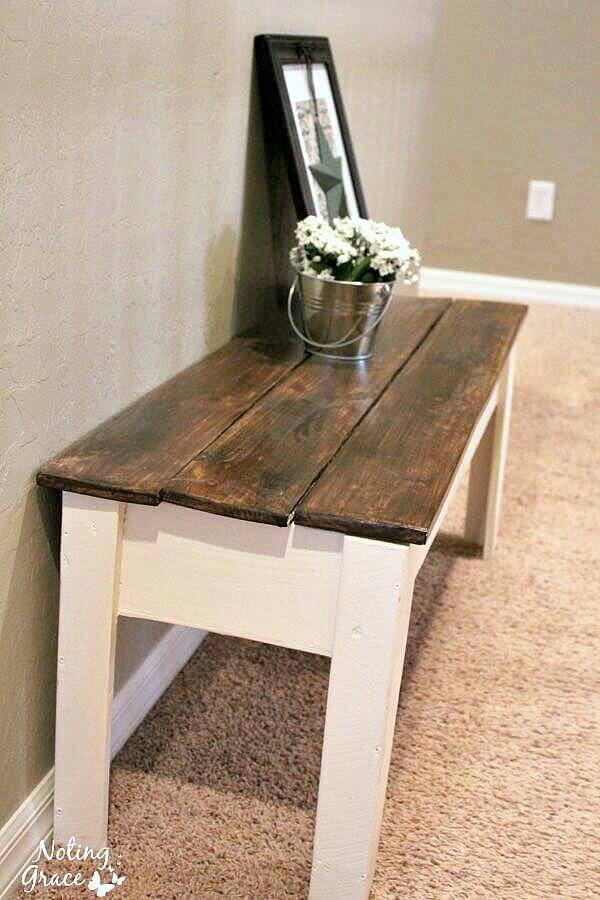
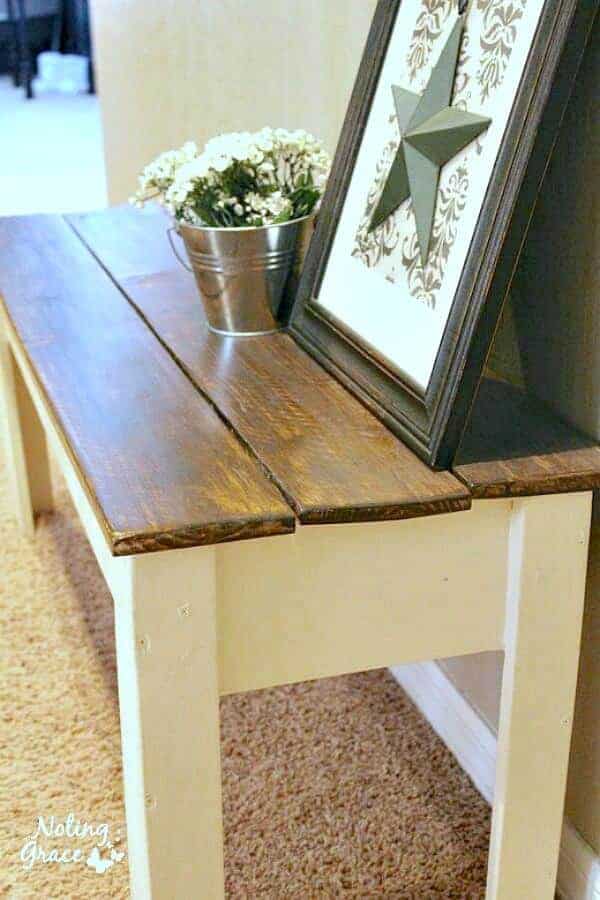
I styled the bench with a dollar store find and another piece I found on the junk hunt.
Finally, I finished it off with this metal bucket filled with cute white flowers paired with this frame for $2.
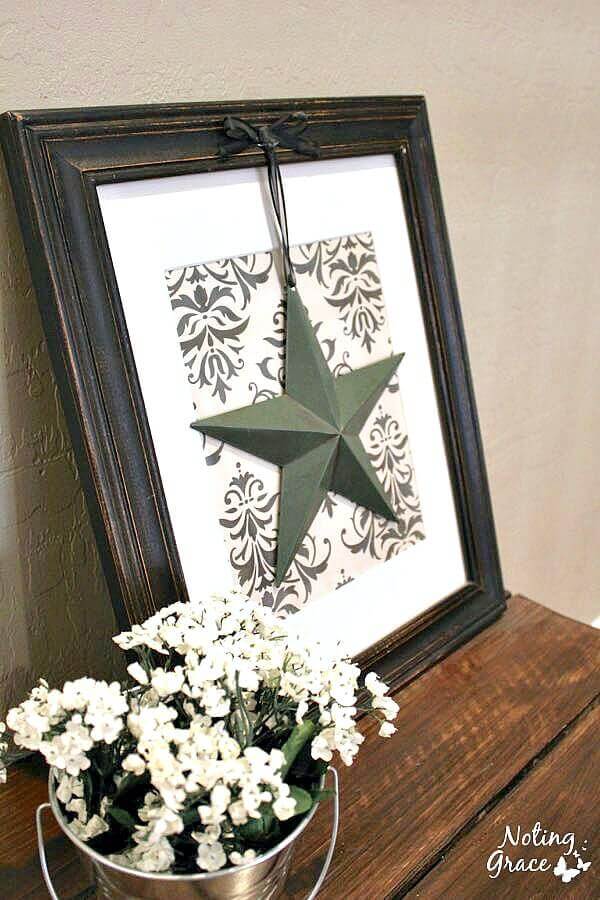
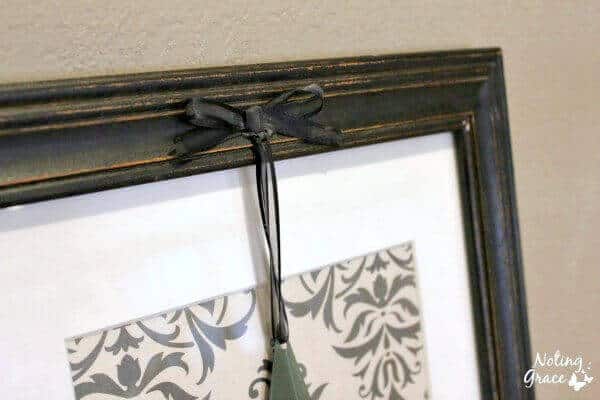
I hot glued this barn star to the frame using ribbon. It was so inexpensive. In fact, the picture is actually scrapbooking paper.

It’s a cute vignette that I was able to create in a weekend for under $20.
Not bad for a first time furniture flip!
Pin This for Later!


Thanks for your comments, Kelly – I think my paint removal preference depends on the piece itself. This bench was layered with paint, so I use a paint stripper. On my Dining Table redo, I sanded it down – about 100 times!! I really wanted to make sure to get everything off. I'm dying to try the liquid sander out there – so that may be my next project. I think the stripper was super quick and would definitely try that again. Thank you again for checking out my posts!!
Sorry to be flooding your blog with comments, but I was wondering–what is your favorite way to sand/remove paint and stain? I usually am a "lightly sand it and then paint it" gal, but I want to stain–really, I do. 🙂 It just takes me FOREVER to get a finish off so I can stain it.
What a bargain! It is beautiful, great job.
I can't believe you got the top to look that good1 Thanks for linking up, would love to have you join me again this week!
MAJOR improvement! Great job!
wow! i mean, the flamingos were cute and all..but WOW, that bench is GORGEOUS now!
Wow!!! You make me wish I could stumble onto a bench like that. Looks fantastic! Great job!
Wow! That was one loud before picture. I love a tropical motif, but the before pic was a bit kitsch for my taste. The after is gorgeous and has tons of charm, though. Well done!
It.just.looks.fabulous!
I can't wait till garage sale season is back in swing!
What a makeover! It looks great. 🙂 Thanks for linking up. 🙂