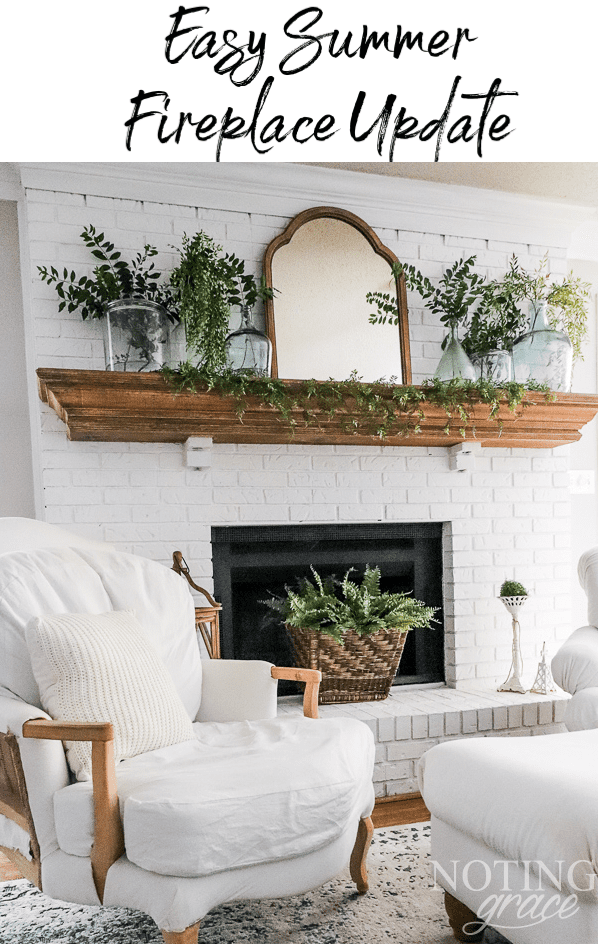
Easy Summer Fireplace Update
Dream of a farmhouse fireplace but are stuck with a prepainted one? This easy summer fireplace update went from boring to beautiful in just three days.
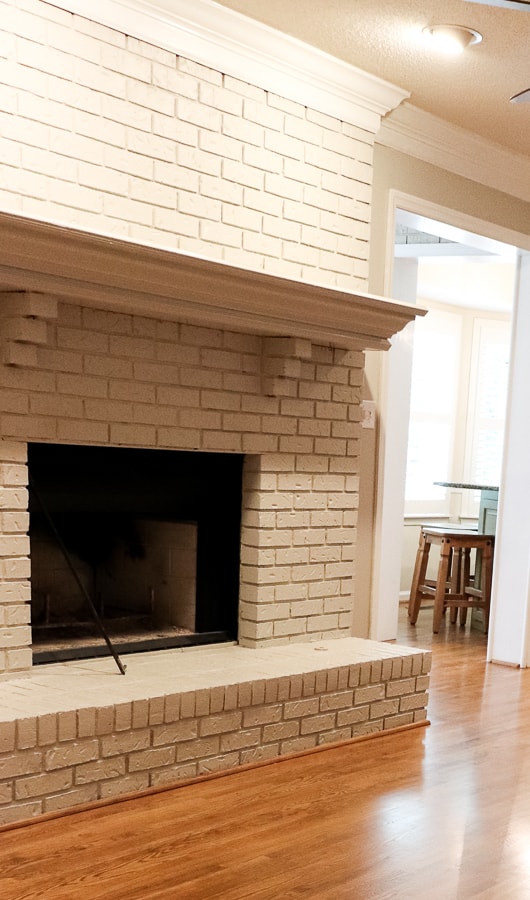
My fireplace didn’t get the memo.
It didn’t know that it was the star of the show – the focal point of the room.
When we moved in, our fireplace was painted the same bland color as the walls.
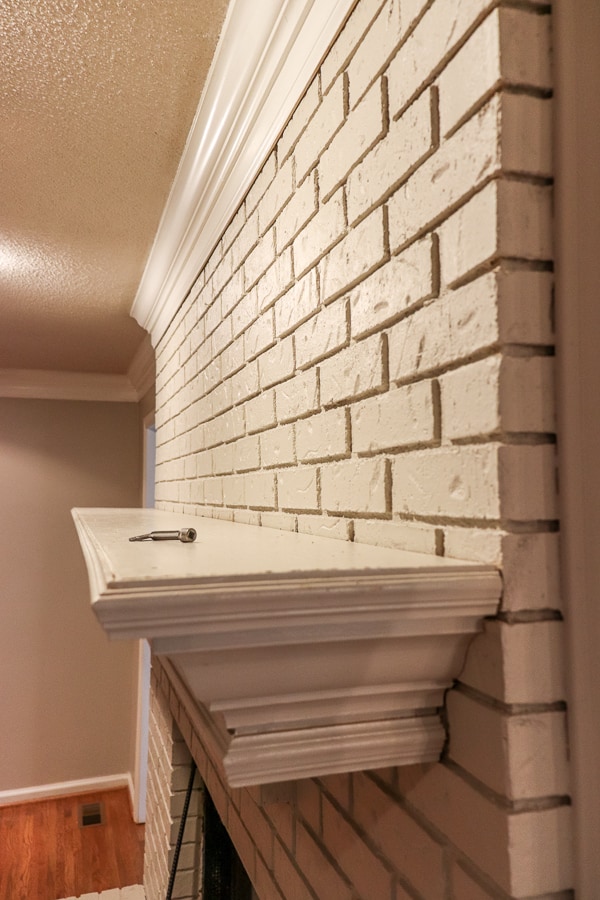
The previous owners even painted the mantel in that same blah beige.
And let’s not forget the firebox.
Or should I call it the most useless fireplace ever?
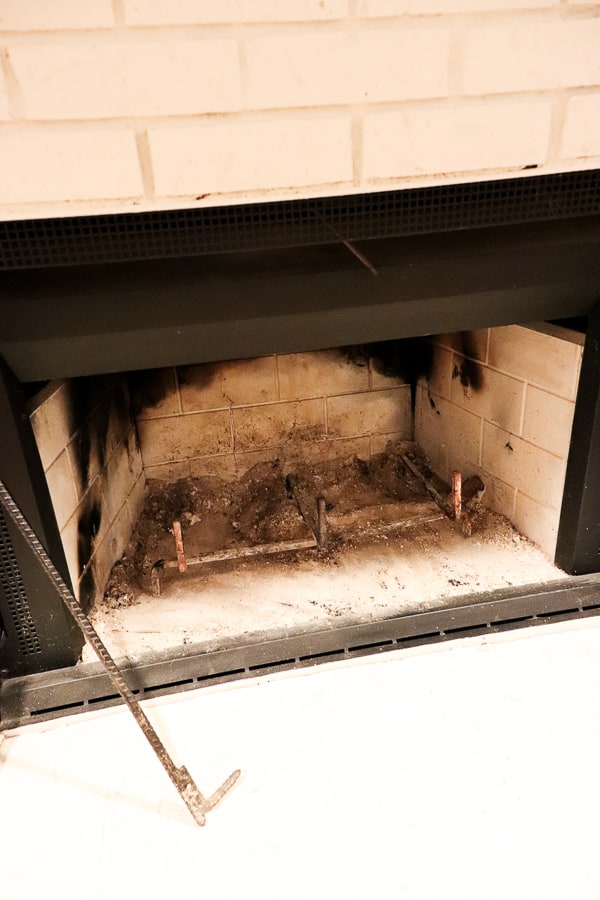
Yes, there is soot and ash in there, but according to our inspector – it’s in horrendous shape.
The flue looks as if it hadn’t been cleaned in years, but that’s not the biggest issue. The ceramic insert cracked from front to back some time ago.
Until that get’s replaced, the fireplace is just for show.
Here’s how I gave it a quick update!
Easy Summer Fireplace Update
I started by taking off the old mantel. For starters, it was too high, leaving hardly any room to add decor above.
Plus, I’m not a fan of those brick jut outs – so we plan to notch out the old mantel to hide those a bit more.
I started stripping the paint off the mantel to take it down to it’s natural wood.
While the stripper was working, I cleaned out and scrubbed the firebox and painted it with black paint intended for high heat – even though we won’t be using it.
Here it is with one coat.
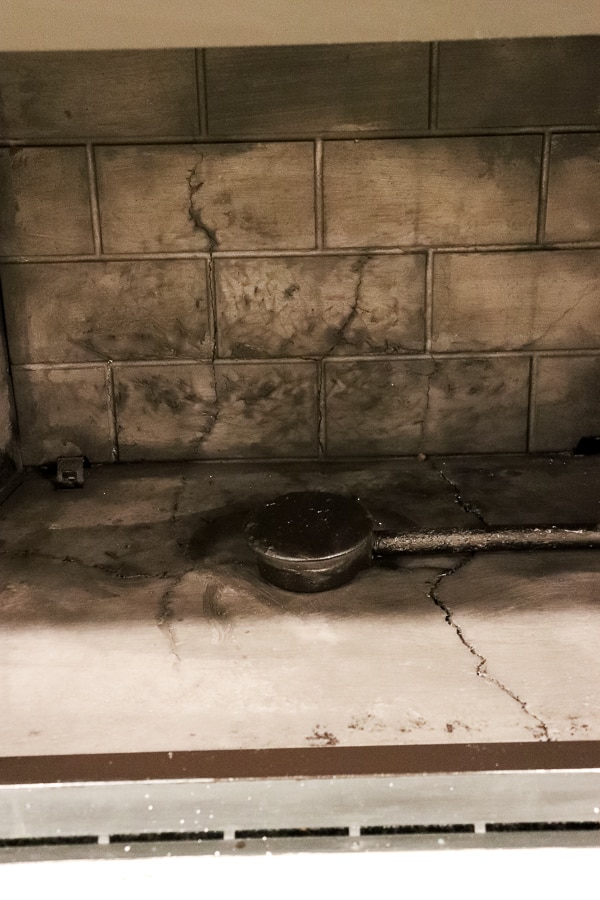
See all those cracks? No bueno!
But. do you know what else I see?
A gas line! Perfect for a future gas log insert! Saving up some pennies for that project down the road!
But it was time to address that boring brick.
I dreamed of a white fireplace.
I wanted to use the Masonry Flat paint from Romabio to create that chalky, farmhouse look. However, it’s not meant to be applied to pre-painted brick.
But I learned something new and had to share it with you!
Did you know that you can apply Romabio BioGrip Micro Primer to any pre-painted brick and it will allow their Masonry Paint to adhere?
I was over the moon!
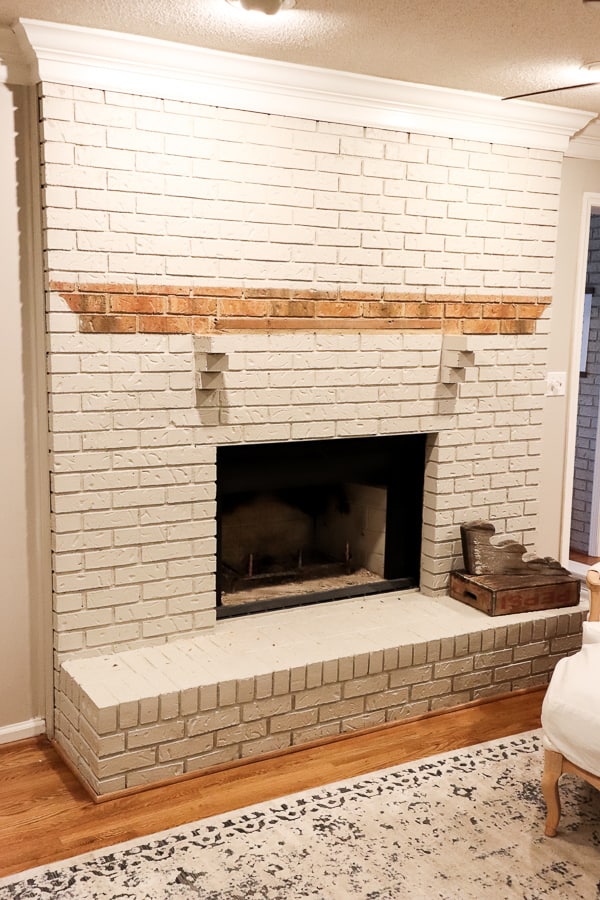
So I applied the primer – allowed it to dry and then applied 2 coats of their Masonry Paint in Avorio White.

Now I had that chalky, perfectly farmhouse fireplace I wanted!
Once we sanded down the mantel, we notched out the back to have it fit over those bricks and to lower it.
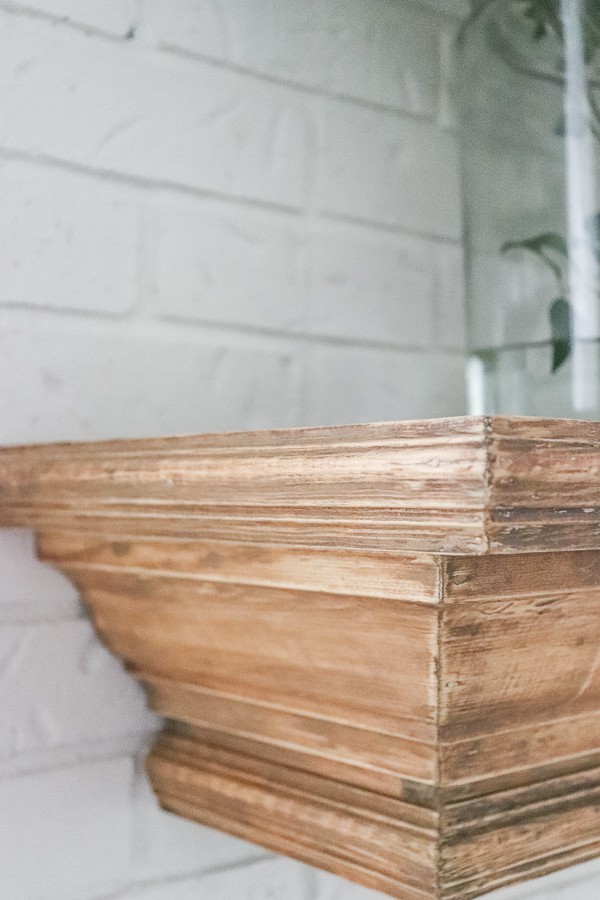
It worked perfectly!
Now I have ample space to add my favorite decor to the top.
Ready to see it all put together for this easy summer fireplace update?
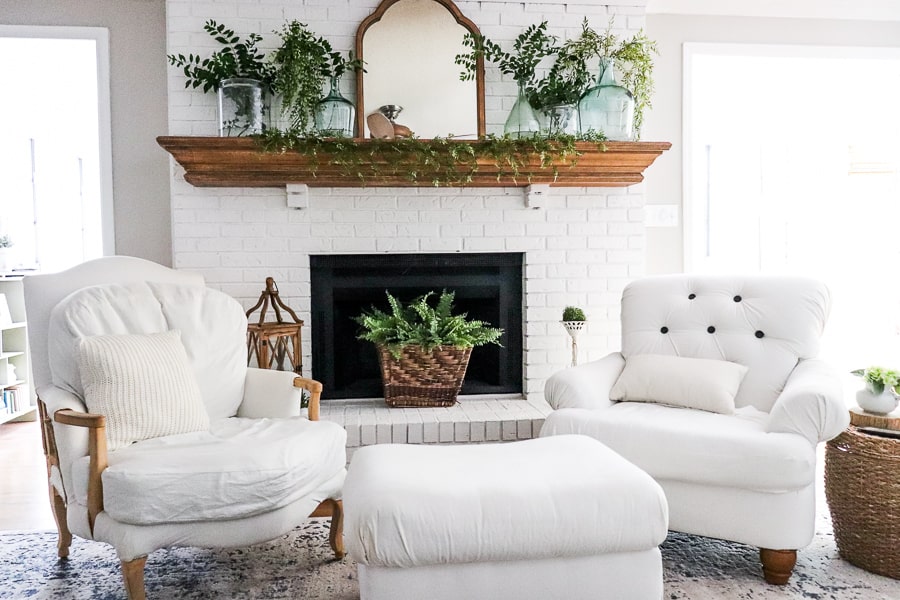
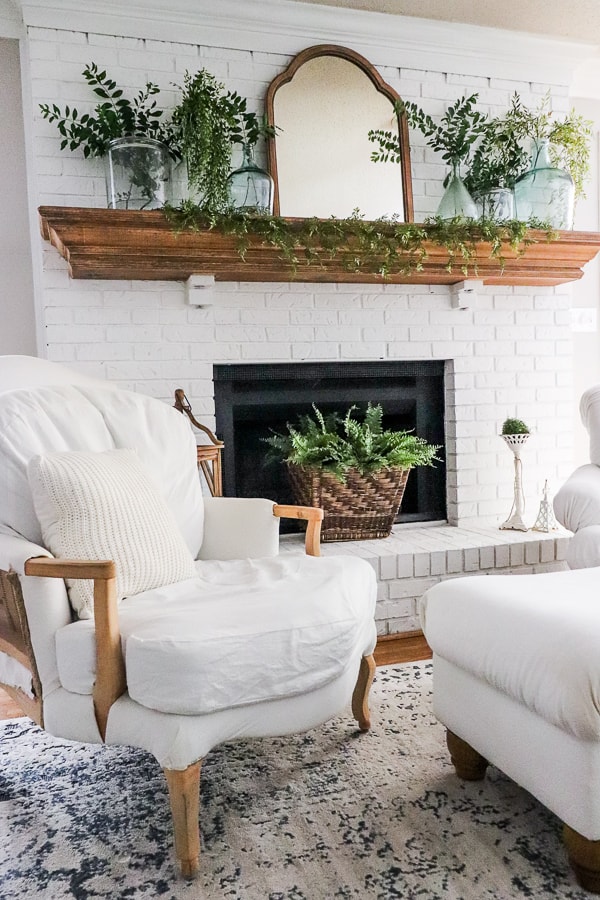
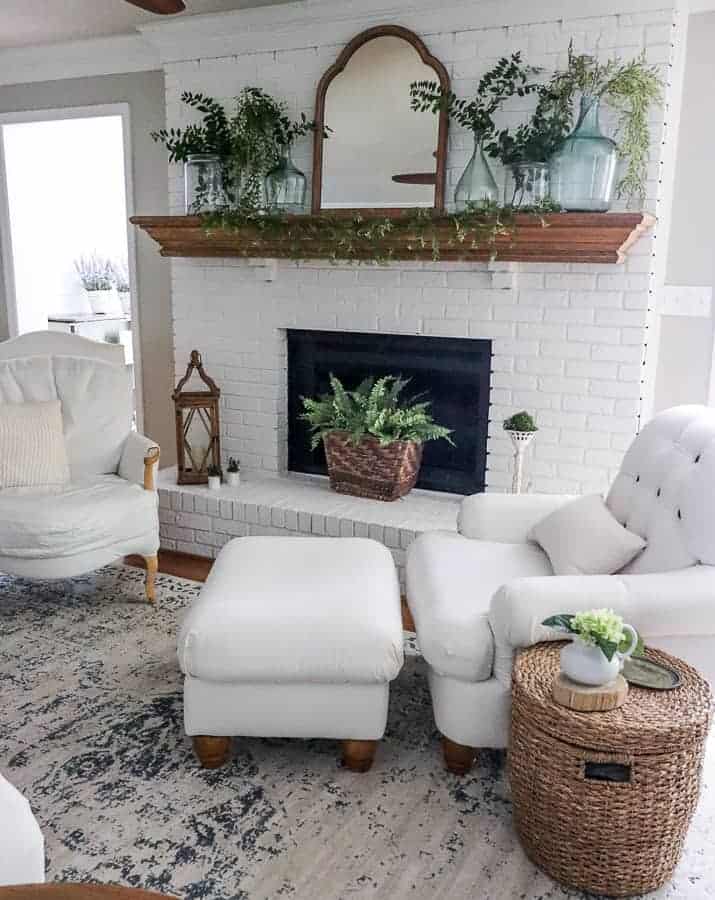
Now it’s the star of the show – ready to take it’s curtain call!
It brightens the room and pops off that wall.

I placed this basket of faux ferns in front of the firebox to hide that huge crack.
I love how the greenery adds texture and depth.

As you can see, some of the brick support is still visible, but it doesn’t scream 1985 as much as it used to.
For the mantel decor, I started with an old mirror that I sanded down and centered it to the wall.


Next, I framed in the mirror with various glass jugs and cannisters.
I filled them with a bit of water and took to the backyard to hunt for some greenery.
So, I clipped a few branches and placed them in the jugs.
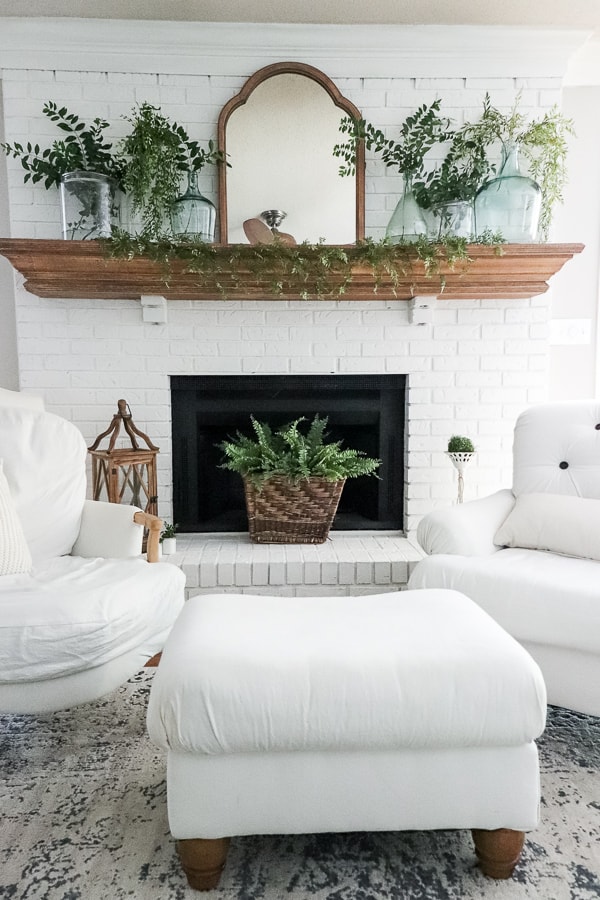
Adding a few sprigs of faux greenery, like the swag, brings in a few different shades of green.
From Boring to Beautiful!
So as you can see, fireplace makeovers are a great way to update your space with very little effort.
We completed this easy summer fireplace update in just a few days.

And if you dream of a farmhouse fireplace, but are stuck with a pre-painted one, don’t think you can’t achieve it!
So, all it takes is a little primer and you can have the fireplace of your dreams, like me!
UPDATE!


May I ask where you purchased the basket?
Hi Mel – those are both finds from the Facebook Marketplace that I reupholstered.
Could you please share where your 2 chairs are from?
Right?! I can’t wait to install gas logs in place of this!
Good grief, I cannot believe they burned wood on top of the gas line.
The end result looks fantastic!